MadaboutKitcars

This is a read-only archive of the old Madabout Kitcars forum. New posts and replies are no longer possible, but every thread is still here to browse and read.

Another Cordite Is Born ...

17 Jul 2014, 7:23pm
Scottie - Cheers mate, I do learn a lot from your build thread. :cool:
( Plus Mr T, Mac, Oxford, etc. )

- - - - - - - - - - - - - - - - - - - - - - - - - - - - - - -

What have I done now? - Part 1
It was the afternoon before I got the chance to do anything on the car.

It started off simply enough, with the first coat of paint going on the chassis repairs.


Then for some reason I decided it was time for my body shell to have some drastic surgery.


Those of you who don't want to see even more fibreglass butchery should look away now. :rolleyes:

My number one problem is the (MOT failing) issue of the rear passenger arch not covering the wheel.


I know Mac resolved this as part of his repositioning of the wheel arch itself, a very neat bit of skill.

I needed to keep things simple and I will sort out the wheel arch openings as a separate job.

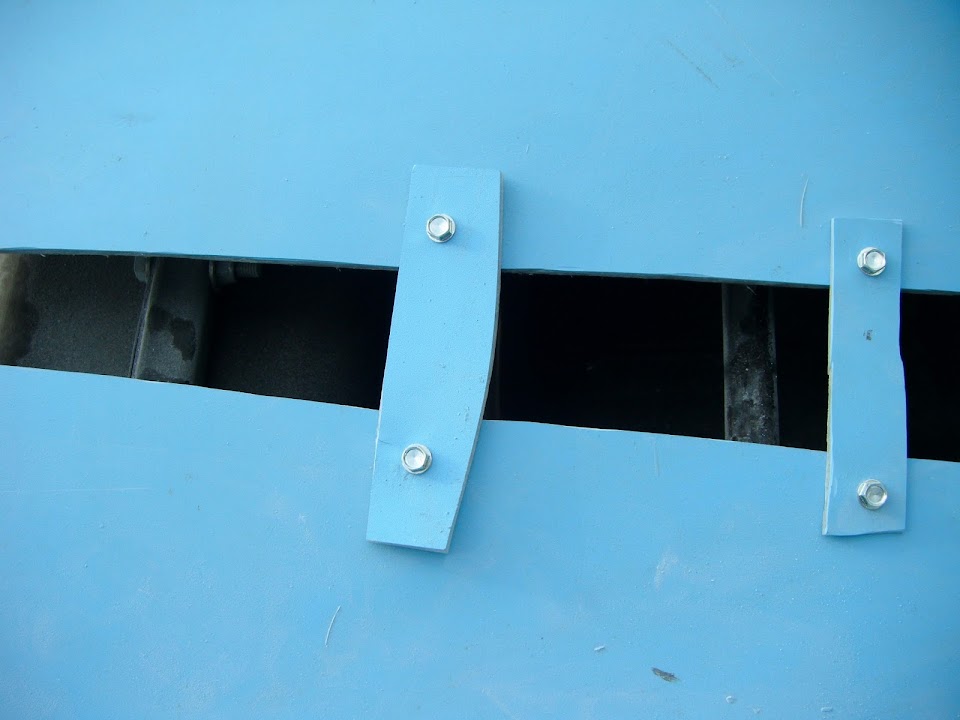
So my solution was to literally cut the back of the car into two along this line! :eek:


I have also decided to fit the second hump as this will help disguise the mess I am making.
( I hope. :rolleyes: )


I clamped the body shell to the framework.


Then make the cut...


I'd already prepared a set of brackets to hold the two halves together.


But it quickly became apparent that these were not really up to the job.


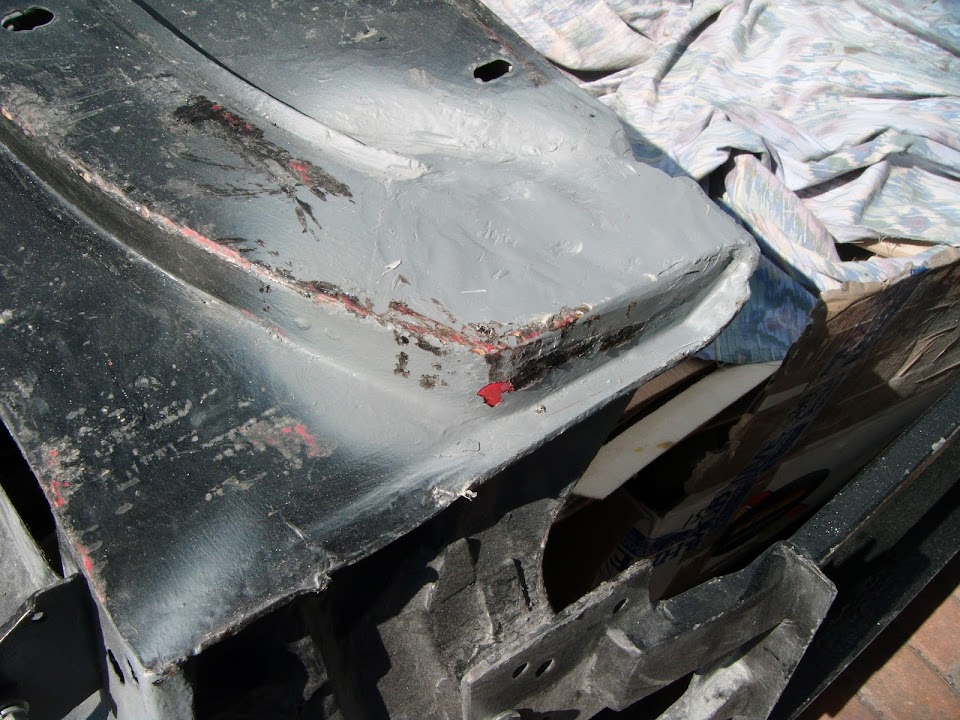
So I dug out the original Cordite fibreglass dash section that looked like this.


Then I chopped it up to make bigger support brackets like so.
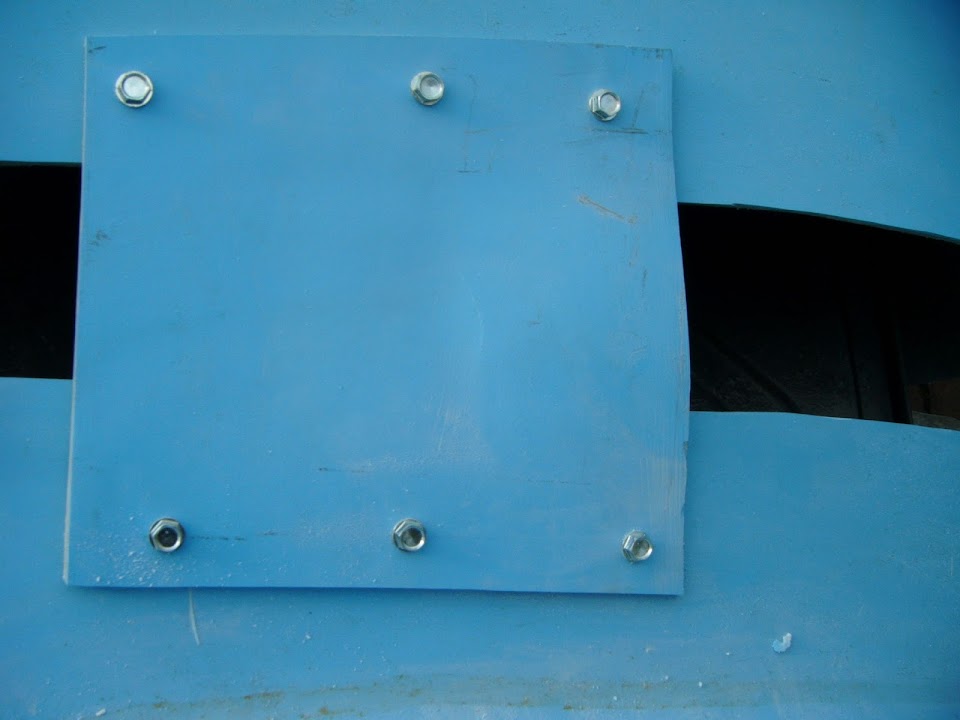


I must say that my new "chuckless" drill really came into its own today.

I was constantly switching between these three bits.
- Holes in brackets
- Slightly smaller hole in body shell
- Tech screw fitting


In order to keep the shape, it was literally one hole / screw at a time. :icon_sad:

End of Part 1...
17 Jul 2014, 7:25pm
What have I done now? - Part 2
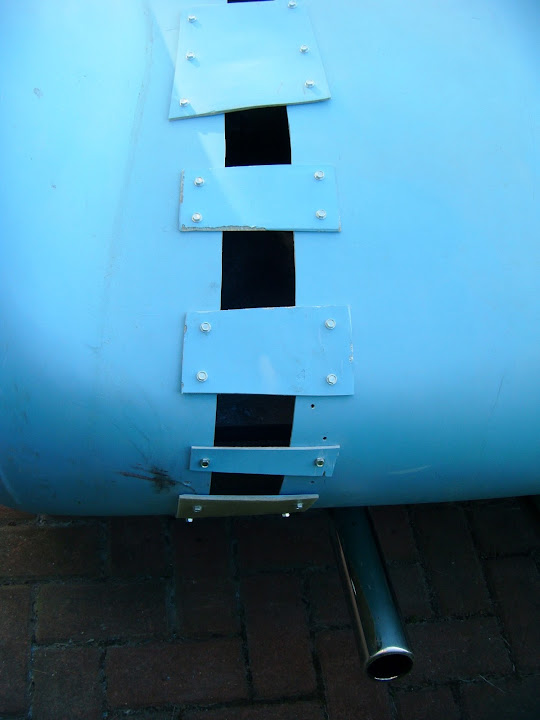
Eventually I had really created Frankenstein's monster.


The gap stretches from 1.5" at the cockpit end, to 3" at the tail pipe end.

However, the body shell actually looked a lot better when viewed from the side. :cool:


The wheel is now safely tucked in under the arch too.


Although I still need to come back and mark up the wheel arch opening for some adjustment.


Plus the hump will not hide all of my sins.


Project Hillbilly
Today was a major step in the right direction in terms of actually finishing this project one way, or the other.

Is the body shell now in perfect alignment? - No.

Is it in a better shape now, than it was before? - Yes

I can not win ever symmetry battle with this kit, but I intend to win the war!

With a bit of luck I will get the chance to add some fibreglass repairs to this gaping wound tomorrow. :pray:

So until next time, take care, Paul. :)

PS
I will come back and reply to other build threads later on, as I really need to rest now.
17 Jul 2014, 7:29pm
Phew major surgery mate! Make sure you tape up the gaps as you would be amazed how easy all your fibreglass will sag through the gaps. Looks like I may be doing something similar to the bonnet on Saturday myself :-)
Keep at it

Mac
17 Jul 2014, 7:57pm
Paul, I salute you!
Mega hacking about going on in your garden!!

Looking good, you'll get what you want now!

The added bonus also is, that it gives you the confidence to do other "un-do-able" tasks.

It did with me anyway.
17 Jul 2014, 8:12pm
Well done, Paul! I'd put in an order for a roll of CSM and 5l of resin if I were you!
17 Jul 2014, 8:33pm
Great fun, i can't wait to have a go... i hope my bodyshell is f****d too.
17 Jul 2014, 9:38pm
Just logged on to check out what you are up to Paul and WOW major bit of body work in progress there matey, this will be interesting as i have no doubt that something similar may have to be done to my body/bonnet kit when it arrives.

Keep up the interesting reads and good luck.
18 Jul 2014, 9:13am
Thanks for all the replies gentlemen. :cool:

Mac - Thanks for the "sagging" tip & I look forward to seeing what you do with the bonnet.

Scottie - Your "un-do-able" tasks comment really struck a cord with me.
Never in a million years did I think I would be doing something like this when I first started out.

Oxford - Well I am certainly working my way through the first big roll of CSM I bought!

Gary - That is the whole irony of my Cordite project, as your Spyder is in better shape.
Apart from taking a slither out of the bulkhead and maybe re-profiling the arches your car should be fine.

Swifty - The good news is that Mac's re-working of the Navigator buck means your body shell is OK.
The bad news is that the bonnet will need at least some work to fix the driver's side wheel arch.
I must confess I will also be picking my battles with the bonnet and some "quirks" will probably remain.

- - - - - - - - - - - - - - - - - - - - - - - - - - - - - - -

Well the thunder clouds seem to have moved on, so I'd better get outside...
18 Jul 2014, 6:42pm
Ice Cold In Wembley - Part 1
This image came to mind when my work area became a sun trap for the hottest part of the day (90+).


So I will be putting a can into the freezer later as a small reward for a productive day...

- - - - - - - - - - - - - - - - - - - - - - - - - - - - - - -

Healing the body shell:

Thankfully my wife was around to help me carefully remove the body shell and turn it upside down.


I wanted to avoid the fibreglass "sagging" that Mac mentioned.

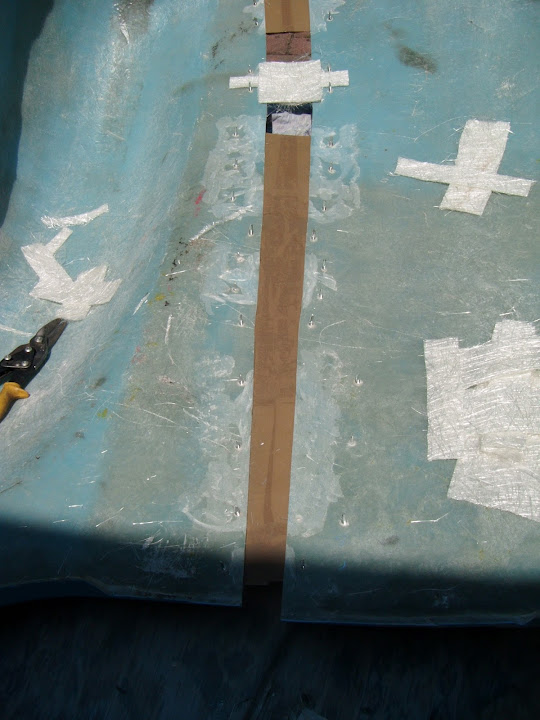
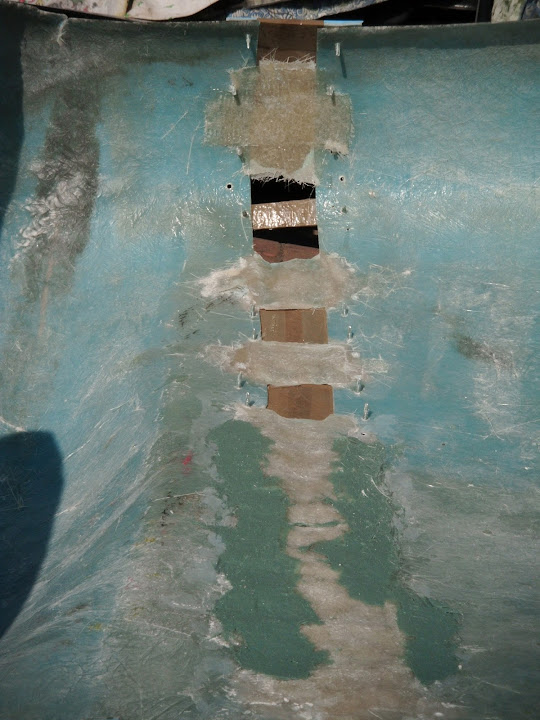
So I decided to start repairs on the underside of the support brackets.


Note:
I had already roughed up the edges using my grinder before this photo was taken.

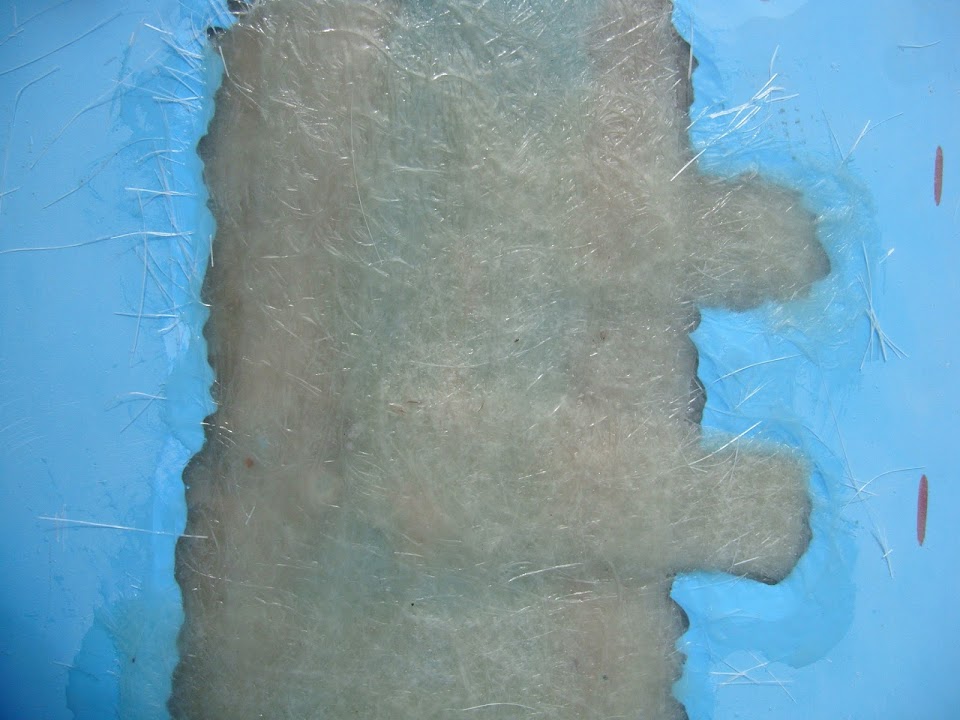
The plan was to put some brown parcel tape on the inside surface.


Then two layers of CSM inside the gap.


Followed by some strips of matting going across the gaps, in between the screws.


And a bridging layer across the whole lot, whilst still avoiding the screws.


However, as I was cutting out the matting another plan came to mind.

In addition to putting tape on the brackets, on the flatter surfaces I could also tape over the gaps too.


I will need to come back to sort out the curves at the rear end of the car another time.

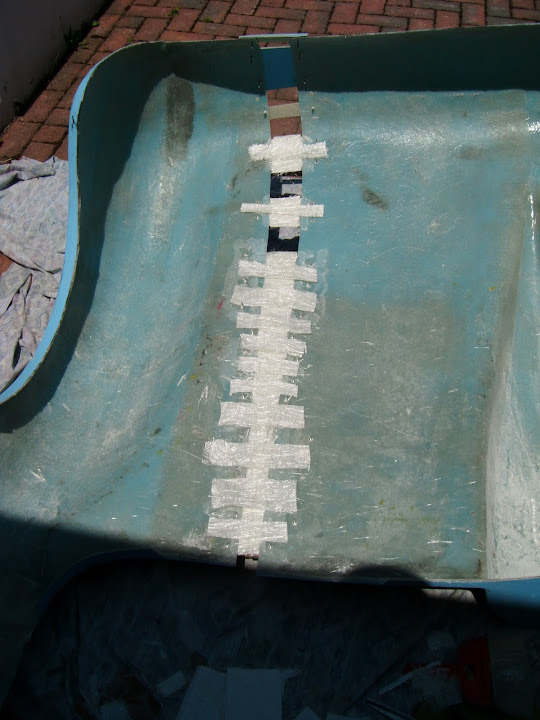
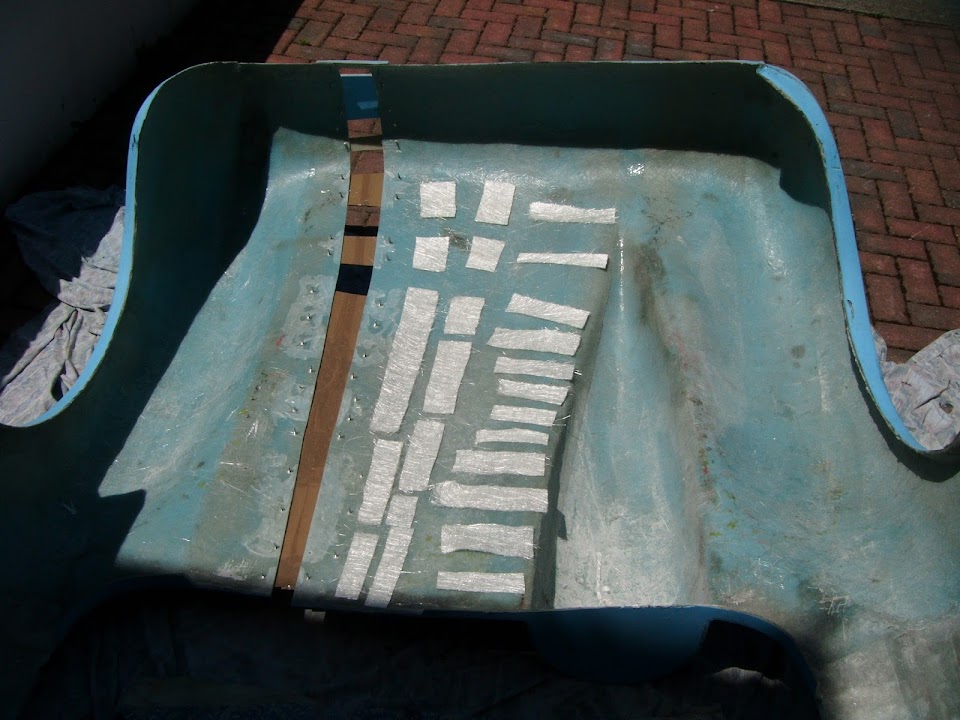
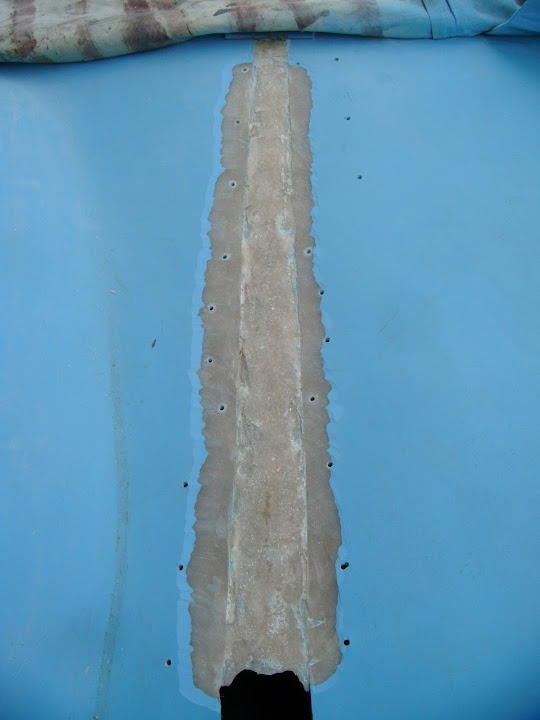
So just the two layers of matting in the gaps + the "cross stitches" looked like this.


I then laid everything out ready to start the fibre glassing production line.


As it turned out, I changed my approach slightly as I was going along and it ended up as:
- 3 layers of matting in the gap
- 1 thin layers along both edges covering the body shell and the matting in the gap
- 1 layer across the body shell and gap in between the fixing screws
- 1 layer over the top of everything else, working around the screws

So this was what it ended up looking like by the time I had finally finished.


- - - - - - - - - - - - - - - - - - - - - - - - - - - - - - -

Second Hump:
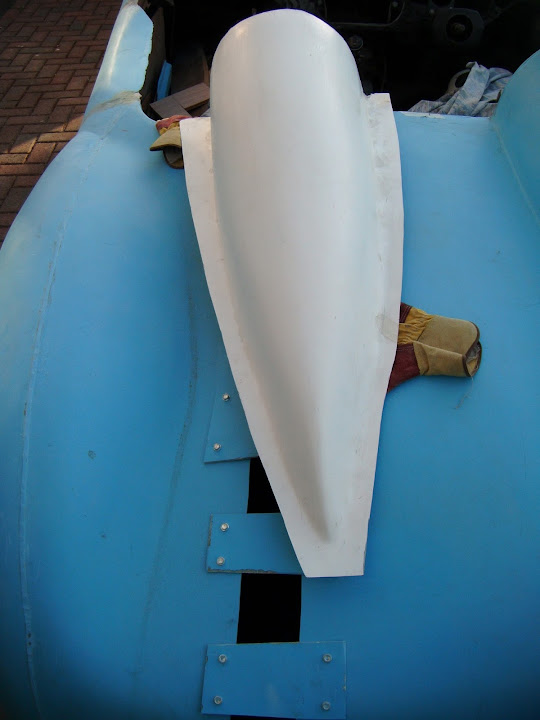
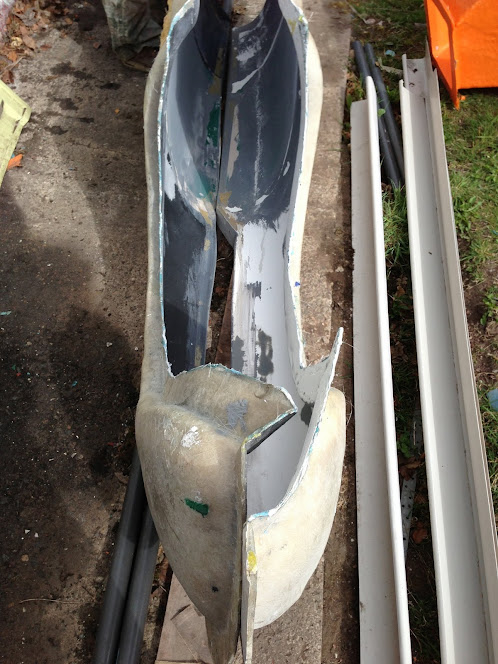
When I first thought about fitting the spare hump that AndyP57 kindly sent me I expected to cut the body shell like this.


I figured that I would be fibre glassing inside the hump to hold it into position.

Then Mac showed how he fixed his humps to the surface of the body shell without cutting it.


I will try follow this approach myself as it will allow me to add extra layers of matting on the sunny side of the body shell "gap".

( Well on the bits that will be covered by the hump anyway. )

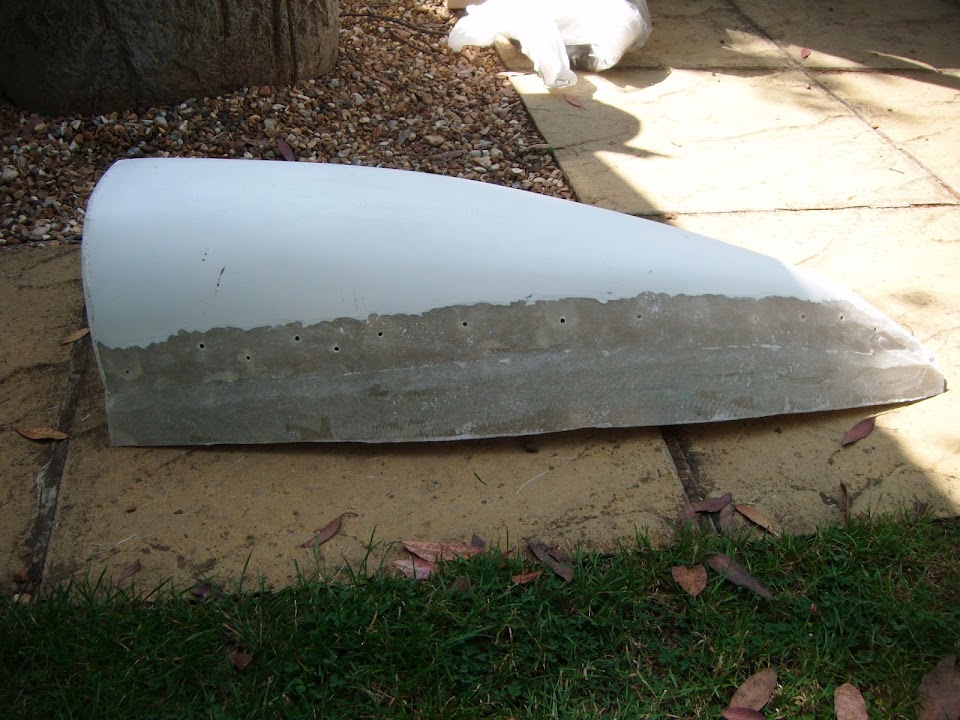
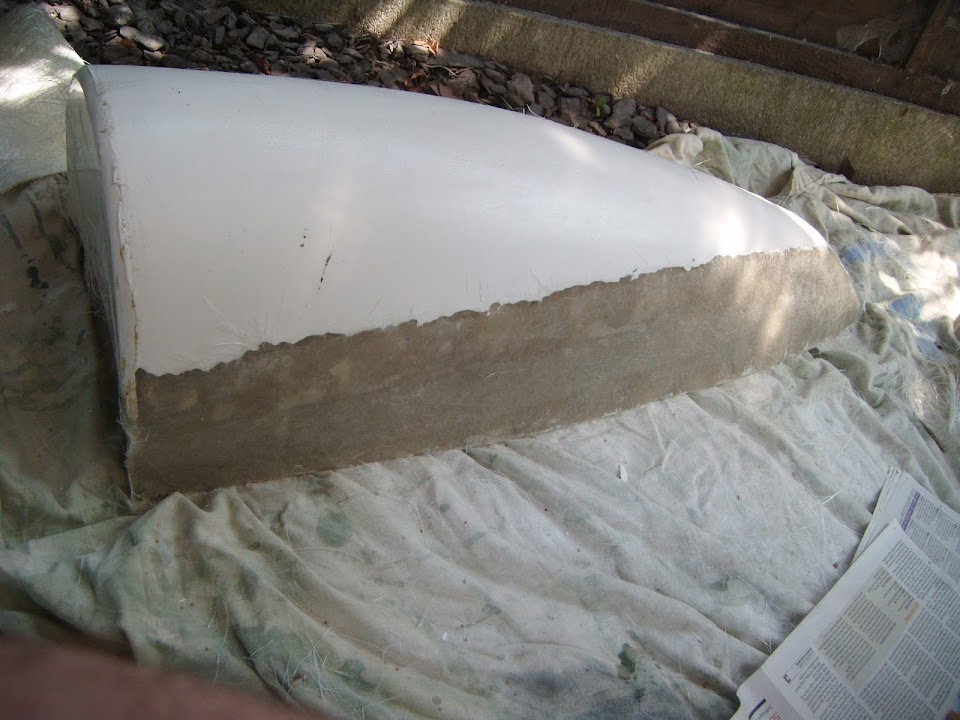
So I took my hump...


And removed the moulding edges.


I still need to convert it from a driver to a passenger hump.
( By extending one side and trimming the other. )

But will be a job for another day.

End of Part 1...
18 Jul 2014, 6:43pm
Ice Cold In Wembley - Part 2

Silencer Exits:
I still need to cut the body shell to make room for the twin tail pipes.

But before I did that, I wanted to start work on the replacement body shell panel.

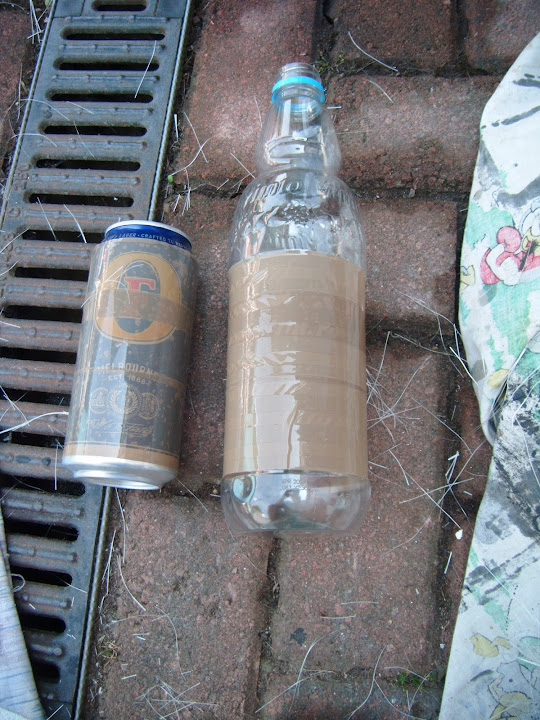
So I started with these.


Note:
Other beer and squash brands are available. :icon_wink:

Added some parcel tape.


Then three layers of matting.


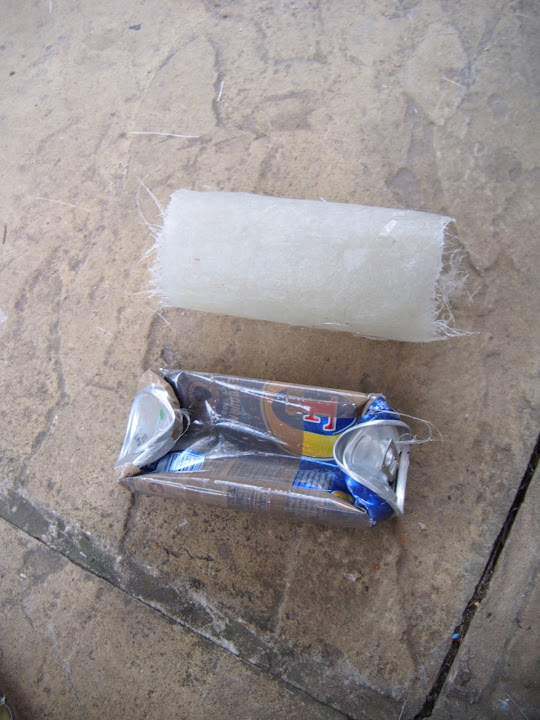
When that was set, I could remove my moulds and was left with this.


Before a quick trim gave me these.


The beer can is actually quite a good match for the tail pipe.


Whereas, the Vimto bottle has produced a slightly wider curve.


Sorry that the photos do not make it very easy to see the difference.

Which ever one I choose will need to be 'glassed into the body shell here (ish),


- - - - - - - - - - - - - - - - - - - - - - - - - - - - - - -

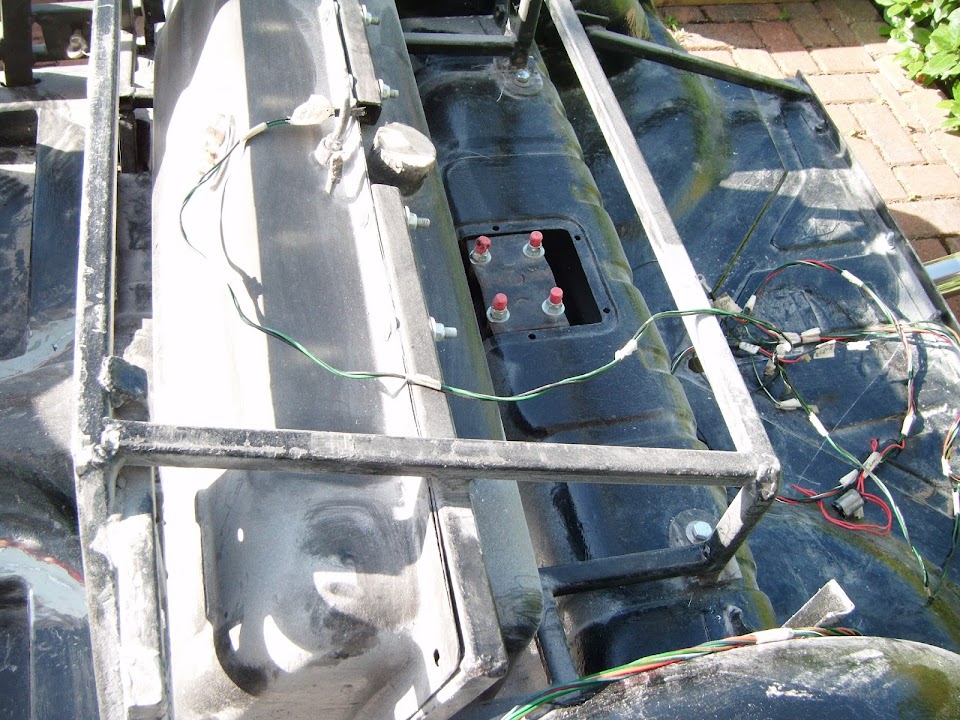
Rear Wiring Loom Routing:
One of the jobs on my bulkhead "To Do" list is to provide an exit point for the rear wiring.

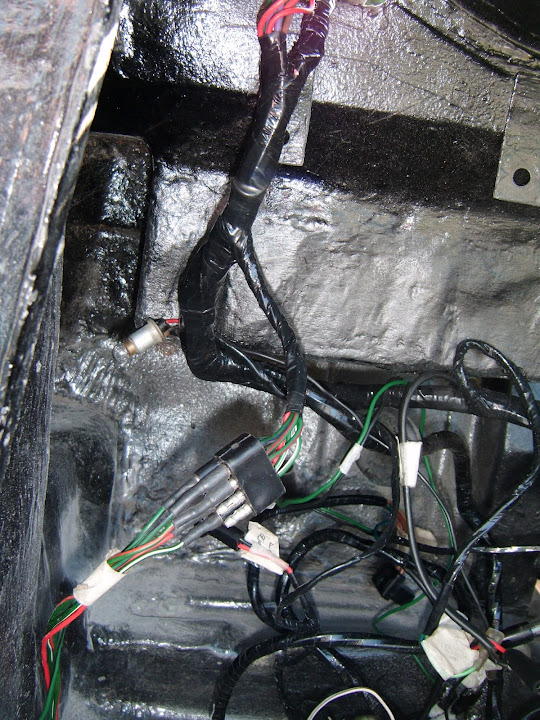
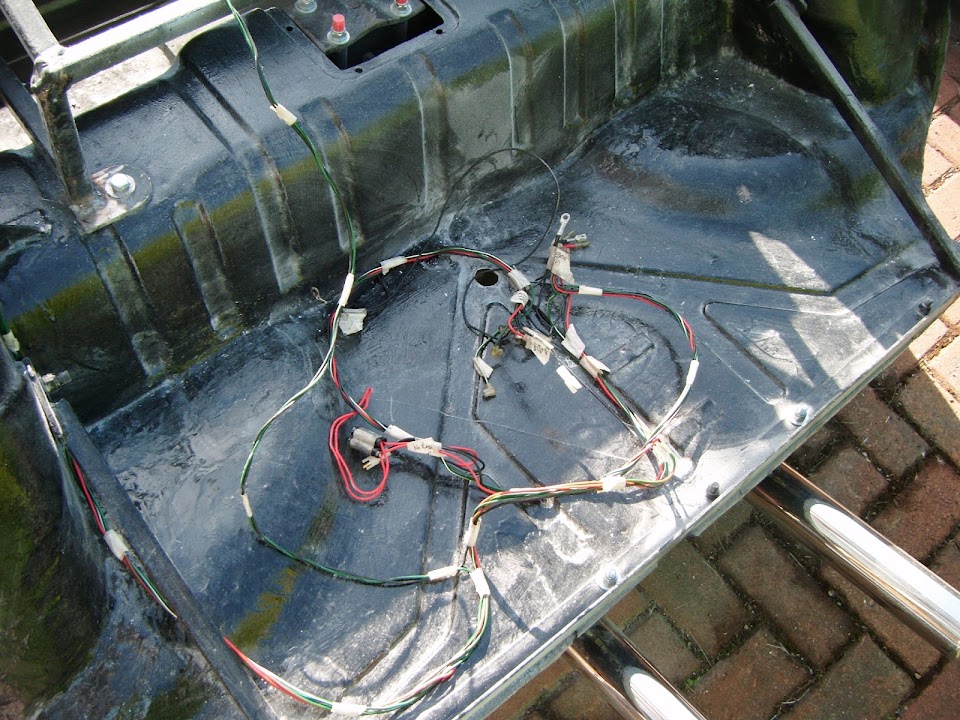
So I dug out the loom and poked this section through the bulkhead.


This let me see where the rear wiring is in relation to this point.
( It is the unwrapped set of wires, bottom left of the photo. )


So I think this may be my best bet, as it is a single panel deep at this point.


There is a lot of "boxed" sections around here, e.g. the "A" pillar.

This would give me quite an easy route for the wiring to take.


I might need to extend one of the earth leads, as this is the standard wiring loom for the fuel tank gauge.


So it should be quite straight forward to shorted the route this takes.

Note:
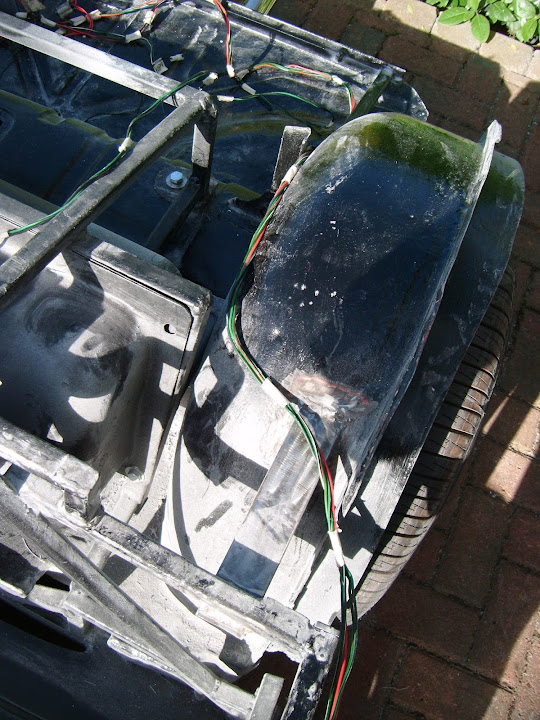
I did plan to run the wires along the higher frame rail, but will be using this frame rail to provide extra support to the sides of the cockpit.

- - - - - - - - - - - - - - - - - - - - - - - - - - - - - - -

One advantage of the excessive heat was the fibre glass reached the initial setting point very quickly.

So by the time I had packed everything else away, my wife & I could safely put the body shell back into position.

Hopefully it will continue to set under the covers, which will also protect it from the next rounds of storms.

Until next time, take care, Paul. :)
18 Jul 2014, 8:04pm
your fibreglassing getting rather slick, it must be where you work on it everyday. i will be making a few more cuts than you think...
19 Jul 2014, 7:22am
How many other groups of kit car builders would quite so happily take a cutting disk to their prized kits?
I know there were some.... Niggles..;) with these kits, and yes, it would have been nice for them to have been 'perfect'. but for what we paid I think there are quite a few of us like you Paul, who started these as novices and have got _so_ much more out of our builds "because" of what we've gone through :)
I know that personally there is no way I would have quite so happily hacked about my Countach if I hadn't dome my Spyder first. As it made me realise, if its metal you can cut and re-weld it. If its fibreglass you can cut and re-glass it. And there's nothing to be afraid abput , as you are now showing in quite dramatic style :)

Keep going matey, you're nearly there!
Dave
19 Jul 2014, 4:19pm
Gary - I must confess that I was very happy with how the tail pipe moulds turned out. :cool:
I look forward to seeing how you get on with your own "cutting and shutting" work. :eek:

Dave - Thanks for the encouragement and I have certainly learnt a lot building this car. :cool:
Obviously I wasn't expecting to need any of these new skills building a simple "re-body" kit. :icon_wink:
However, I feel much happier since I decided that any standard of finished car will be better than an unfinished one.

Whilst I avoid setting deadlines, talk of a group drive on the anniversary of Mr T's MOT really appeals to me.
12 months from now sounds like a long time, until you realise it has taken me 2 years & 3 months to get this far. :rolleyes:
So I will keep chipping away and see what stage I can reach before my 3rd winter sets in.

- - - - - - - - - - - - - - - - - - - - - - - - - - - - - - -

Some Basic Prep. Work:
The weather man seemed to be struggling to pin down when the thunder & lightening would return today.

As I just couldn't risk getting caught out by a heavy downpour with stuff laid out every where I didn't expect to do any car work.

Instead I was planning to make an early start on Sunday morning, but thankfully remembered I can't use any "noisy toys" at that time.

So given it was still sunny, I took a chance and nipped outside.

Although the first job of the day was to prune my "garage wall".


Then I simply peeled off the covers from the rear of the car & threw a dust sheet over them.


I removed the screws from a number of the supporting brackets & carefully removed them.


Then I ground down the gel coat either side of the repair and keyed the top surface of the repair too.


By the time I'd finished sweeping the dust off the car, the drive was a mess.


But before I cleaned up, I drilled some holes and put back two of the brackets I'd removed earlier over some of the remaining gaps.


Then it was time to tidy up the drive and put the covers back on.


- - - - - - - - - - - - - - - - - - - - - - - - - - - - - - -

With the sunshine still on my side, I then went and set up shop in the back garden.

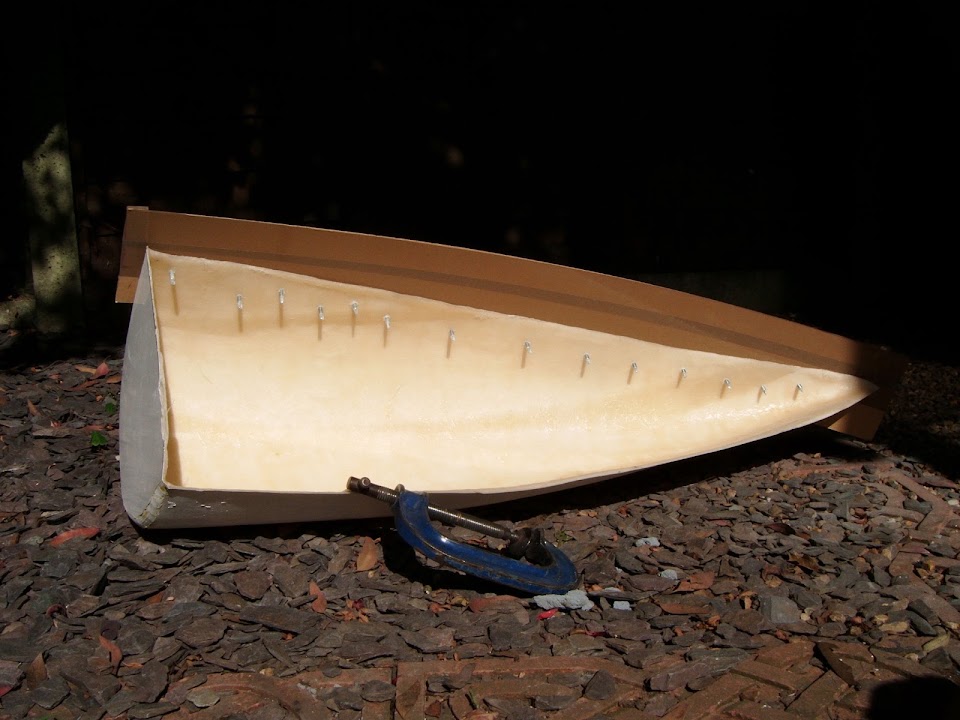
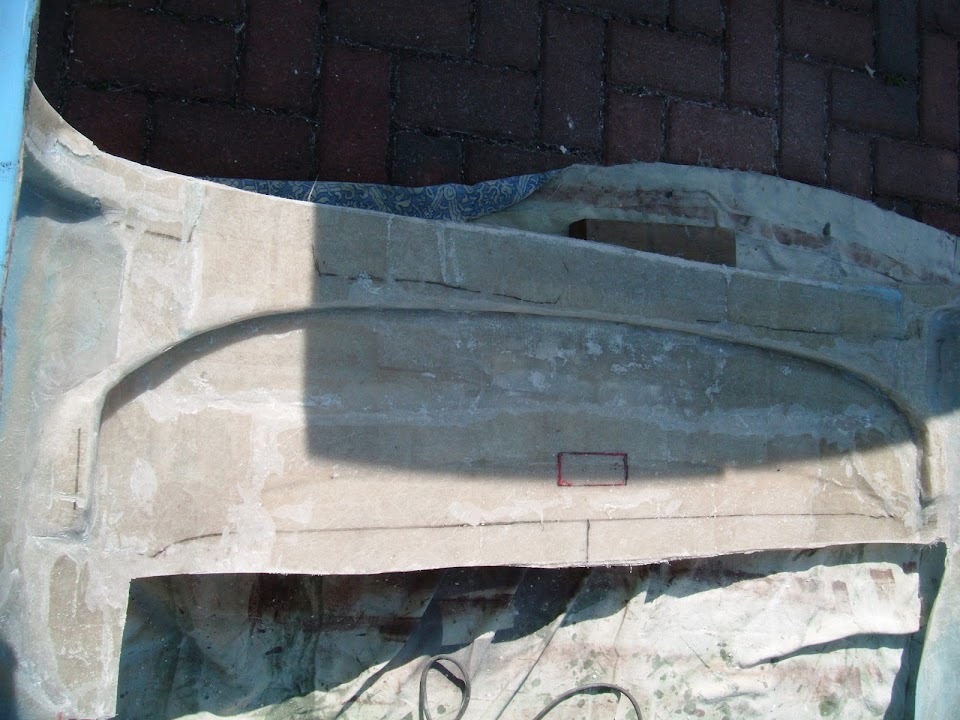
This isn't a great photo, but I was trying to show the different depths on each side of the spare hump.


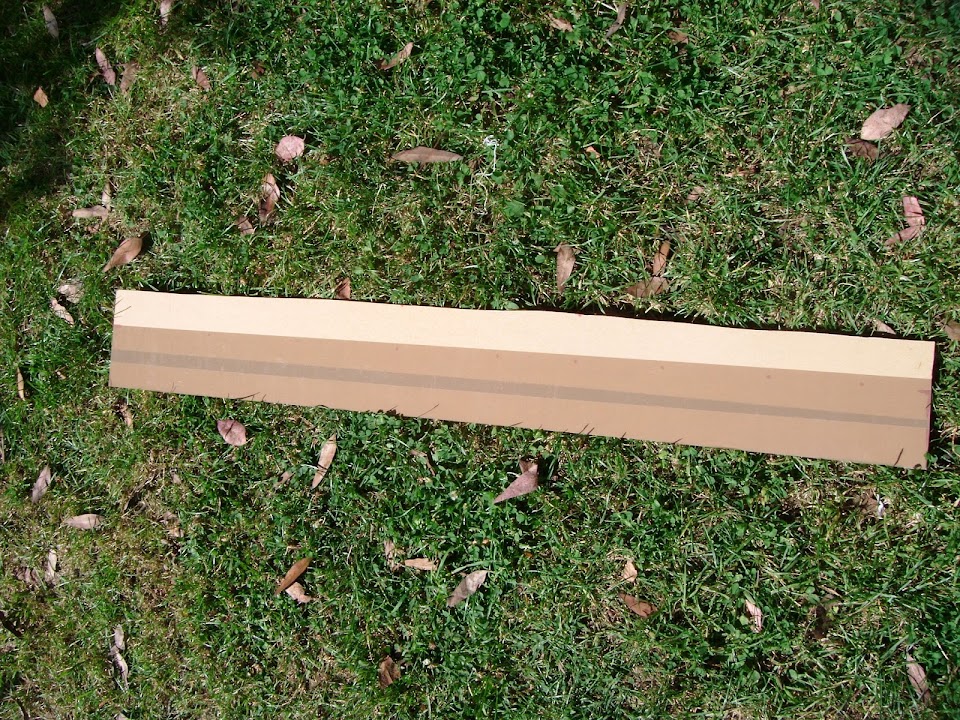
I cut a length of hard board & applied some parcel tape to the bottom edge.


Then I drilled some hole in the board & hump before tech screwing it all together.


One thing I am now currently toying with is putting the passenger hump in the centre of the passenger seat, not offset like the driver's side.

I figure if anyone is brave enough to get into a car I have build, they should at least have a decent head rest.

This idea may make blending in the hump with the body shell easier, or more difficult, so I will have a proper look at it another day.

Until next time, take care, Paul. :)
20 Jul 2014, 12:11pm
Flying Visit...
Went for a short run around the block this morning while the rest of the family were still in bed.

These days I always have one eye on the skips that I pass, in case I could recycle something for my build.

Well today was a complete result when I passed a skip with 3 car wheels left out to be taken, one of which looked "just right".

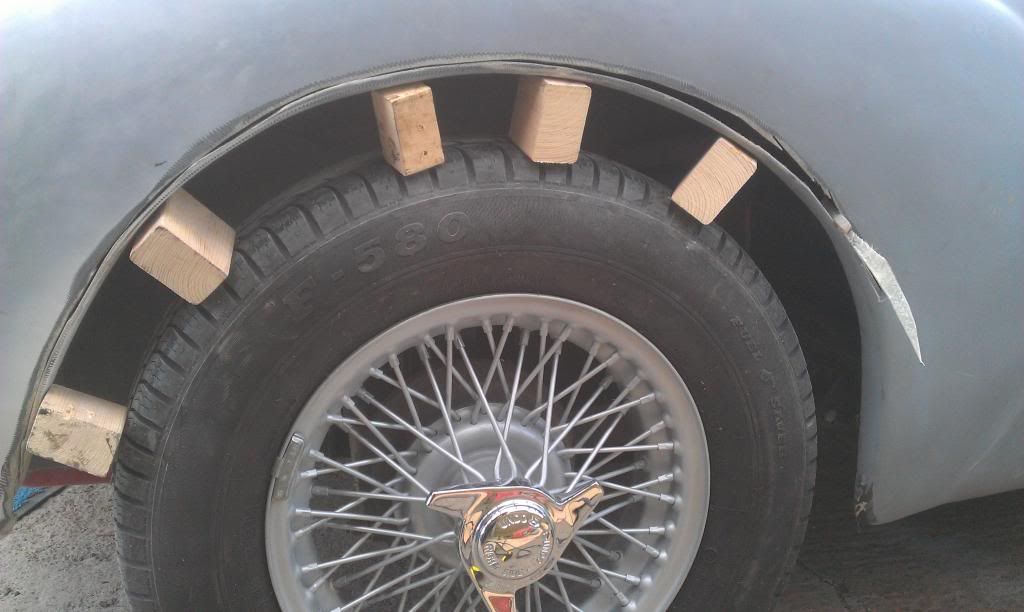
So later on I went back and collected this 13 inch wheel, with a 185/70 tyre fitted (my wheels have 175/70 tyres). :cool:


I will be using this to make a mould and build a new "standard" wheel arch opening.

Then I can cross check all four corners of the car against this and "cut & shut" to match.

Well, that is today's theory anyway. :rolleyes:

Which leads me nicely to the next bit of surgery on the rear of my body shell.

I am actually really happy with how the rear passenger arch now covers the wheel.


Whilst the driver's side arch covers the top of the wheel, it "tucks in" towards the back.


This is something I will sort out when I am tackling all the other body shell jobs in the back garden.

These is one small benefit from this work, which is a bigger area to set up my rear number plate & rear lights.

For now, I needed to add some fibreglass filler to the gaping wound I had in the body shell.

My idea to use just parcel tape to bridge the gaps between the undersides of the fixing brackets wasn't a good one.

As it didn't support the edges as well as the fixed brackets did, so I dug out any flaky fibre glass.


Then made sure that the filler was pushed into all the gaps (like someone tapping down a concrete "slab").


While that was drying / setting on the front drive, I did some fibreglass work in the back garden.

I build up the edges of the spare hump, covered the new & old edges + added strips in between the screws.


With the last bit of resin I also started to re-enforce the rest of the hump from the inside.

You can just about see the two rectangles of matting I've added in this photo.


I will eventually beef up the whole hump from the inside before it gets fitted.

I also made a second "beer can" tail pipe mould.


Anyway, that's all for now as I'm taking my family out for a pub lunch, cheers, Paul. :)
20 Jul 2014, 6:53pm
The Penny Drops...
Whilst doing a bit of forum research some aspects of what I am up against have finally fallen into place for me.
( I may have mentioned I can be a bit slow when it comes to working out this car building lark. :rolleyes: )

Something was bothering me about the rear wheel arches after I posted these photos earlier.

Passenger Side:


Driver's Side:


So obviously I went back to check in Mister Towed's threads and this photo explains part of my problem.


It appears that the original Spyder design included the "swept back" profile that exposes the tyre as per my driver's side above.

Which then brings me back to Mac's photo of the two halves of the old Cordite buck.


Previously I'd tried to illustrate the difference using my set square.

Driver's Side:


Passenger Side:


But what this meant in practical terms didn't really hit until now:
- The driver's side has a bigger sweep than the passenger side.
- So when I moved the passenger side out to cover the top of the tyre, the rear of the tyre was covered by the shallower body shell profile.

Which obviously explains why the two sides still don't match after my radical surgery.

This is turn reassures me that I am not going mad and these days at least I know I can fix this.

The other photo from Mr T I want to use is this one from when his body shell was bonded into position.


You can see the rear arch sweep, but the real bonus for me was see the fact the wheel arch has no "lip".

Both my rear arches still look like this.


As I was never sure if I was meant to cut this lip off, or not.

Cutting it off will make changing the profile of the rear arch opening much easier for me.

As I can extend the fibreglass from behind and re-enforce the whole area with extra matting.

Whereas, changing the profile and building a matching lip would be a bit tricky given my skills.

Sorry for yet another "thinking out loud" post, but this does help me plan the work I need to do.

Cheers, Paul. :)
20 Jul 2014, 8:18pm
Paul, just my opinion but I personally wouldn't remove the lip totally, having the lip at 90 degrees to the arch increases its rigidity massively, removing it totally will make the whole arch area a fair bit less stable. Keep at it mate.

Mac

PS also just looked closely at your body cut. Bit late now but if you do any more major mods I would advise putting at least one layer of chopped strand body side before using filler.
21 Jul 2014, 7:38am
Mac - Your feedback is always welcome. :cool:

Sorry I should have explained the filler over the "wound" a bit better...
I will be sanding back that initial round of filler pretty hard.
Its main purpose was to "fill in" the small voids created by me relying on just parcel tape for support. :rolleyes:
However, I will also leave a thin layer of filler across the area I have covered in an attempt to "seal" it.
Then I will mark up the position of the spare hump on top of the body shell / wound.
This will give me a "footprint" for some extra layers of matting on the "sunny" side.
This should cover:
- The cut area
- The filler
- The body shell on either side of it.
So at least the area under the hump should be pretty solid by the time I'm finished. :pray:

- - - - - - - - - - - - - - - - - - - - - - - - - - - - - - -

Can I ask for some more advice regarding the lip on the inside of the wheel arch?

I've seen Mr Bond keep, but reposition / re-shape the lip like so.


I was also planning to do something like Scottie and join my metal inner Spitfire wheel arches to the body shell.
( Not 100% sure how I will be doing this at the moment, but I worry about that another day. )


So would joining the arches to the body shell provide the same rigidity as keeping the lip?

Or would a "belt and braces" approach of keeping the lip and joining the arches be best?

Thanks, Paul. :)
21 Jul 2014, 8:54am
This may help your ponderings.
On my Spyder i went for a really low stance, in retrospect possibly too low! and I had mildly trimmed down the lip on my wheelarch when i initially fitted the shell in order to give the tyre clearance and here's how it was originally:


But i did get a bit of fouling on the lip as, as you've found, it wasn't as wide as ideal (especially with my 15" wheels fitted) and i ended up trimming it down even more after a few months driving as i was getting some wheel rub on the lip. Here's the best pic i can find to explain, the 'grey' on the lip is where it'd rubbed. Not much to look at, but sounded dreadful when i hit a bump in the road until i did a bit more trimming!!

21 Jul 2014, 12:12pm
Wheel and tyre size makes a difference where rear arch fouling is concerned. I had no issues with 175/70/14 tyres fitted, but did initially suffer some fouling to the n/s rear arch when I carried a passenger once I'd switched to 175/80/14's.

Removing the lowering block has cured the problem 99% but it still scuffs slightly over major bumps with a passenger. If I hadn't removed another leaf from the rear spring I doubt it would do that, but then the ride quality would be a bit firm. I just try to drive more carefully on bumpy roads when it's two up.
21 Jul 2014, 4:39pm
Paul, if I have to do the front arches in the bonnet I will do something similar to Bonds build. Don't forget like all areas of life there is always more than one way to skin a cat.
Mac
21 Jul 2014, 6:19pm
Dave & Mr T - Thanks for feedback chaps. :cool:
I have a long way to go before I make a final decision, but I need a lot of thinking time in the run up.

Mac - Thanks again, obviously I will be following your bonnet work very closely.
The good thing for me, is that I have someone who knows what they are doing to follow and learn from. :cool:
Also the body work set you sorted out for me has really lifted my spirits (see below).

- - - - - - - - - - - - - - - - - - - - - - - - - - - - - - -

Too many other things going on at the moment to get a decent, uninterrupted, run at the car.
So I tried to make the most of the two short sessions I did get...

Odd Jobs - Part 1
I separated this fibreglass from its mould by crushing a beer can with my bare hands.


OK, technically, I was wearing thick gloves to avoid fibreglass splinters, but that doesn't sound quite as "manly". :icon_wink:

Jokes aside, after trimming the edges I now have two sections that will eventually be joined to the body shell.


After removing the screws, the hardboard peeled away nicely from the spare hump.


Most of this new "extension" will need to be trimmed off to fit the profile of the body shell.

But I want to add some more fibreglass on the inside before I start cutting anything off.

So for now, I just gave it a light trim to reduce the number of splinters I have to dig out on a daily basis.


I did managed to build quite a seamless join in some places.


But I will still be adding a layer of matting, followed by filler, over the top of this edge.

At this stage I am not going to lose any sleep if the profiles of two humps are not identical. :rolleyes:

Then I took the spare hump and a seat to do some more testing.


So much for my theory of centralising the passenger side hump, as there is no room to do this.

At best, I can move it about an inch to the right of the line that which marks the equivalent location of the driver's side hump.


At least the hump will cover more of the "wound" in this position. :cool:


So I roughly marked out the shape of the hump so I could tell what body shell repairs work would be hidden.


However, before I started making more of a mess sanding, I had a bit of tidying up to do from the last time...

I had to hoover the gel coat dust out of the inside of my twin tail pipes. :rolleyes:

Before:
( And this was after using a hand brush on the worst of it. )


After:


Then I could seal the pipes off before the next round of dust arrived.


End of Part 1...
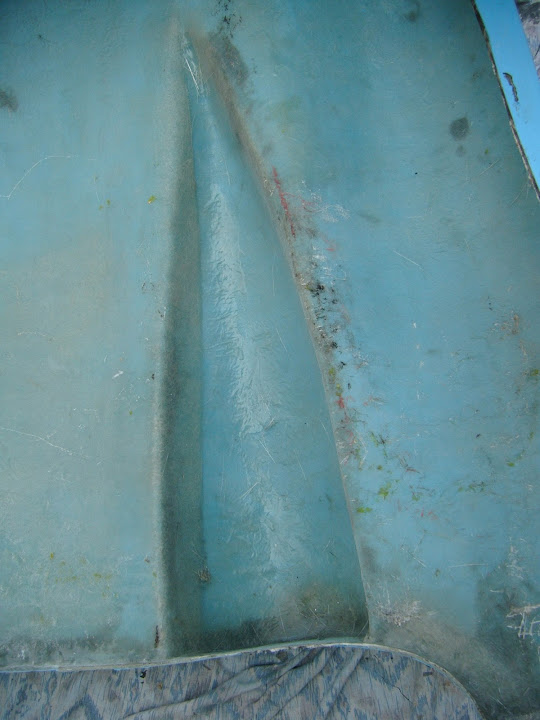
21 Jul 2014, 6:19pm
Odd Jobs - Part 2
Following on from my reply to Mac this morning, I sanded down the filler I applied yesterday.

I used my angle grinder for the major high spots and then my new sanding block for a smoother finish.


Then I removed more of the gel coat to give me a slightly bigger area to put some matting over.


I will worry about the lower section edge another day, as I still need to start the basic fibre glassing work on the underside.

At this point my available time was running out, so I was looking for a small job to do.

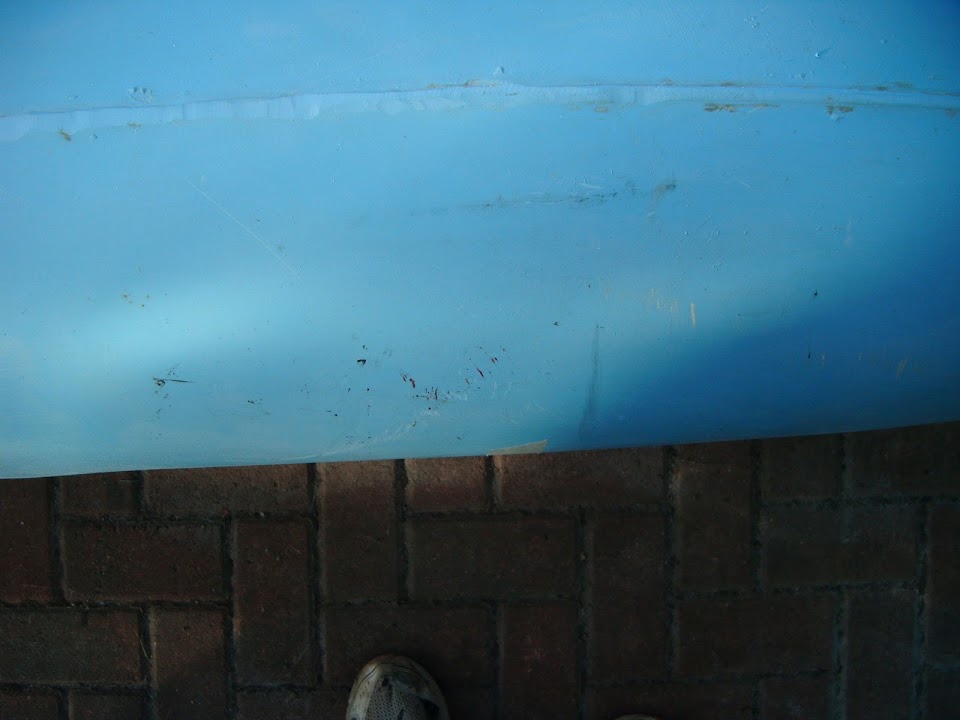
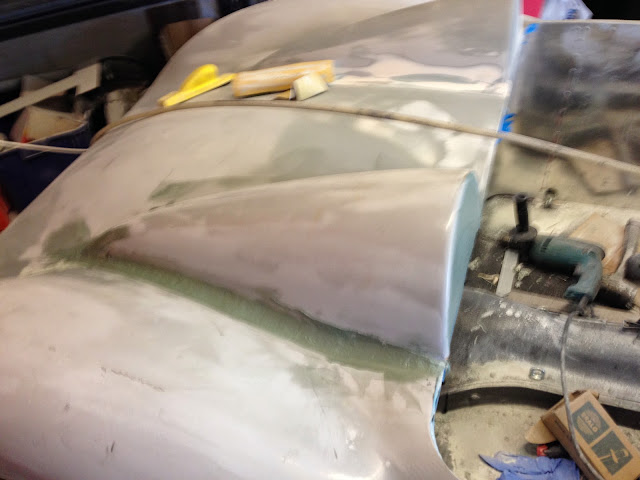
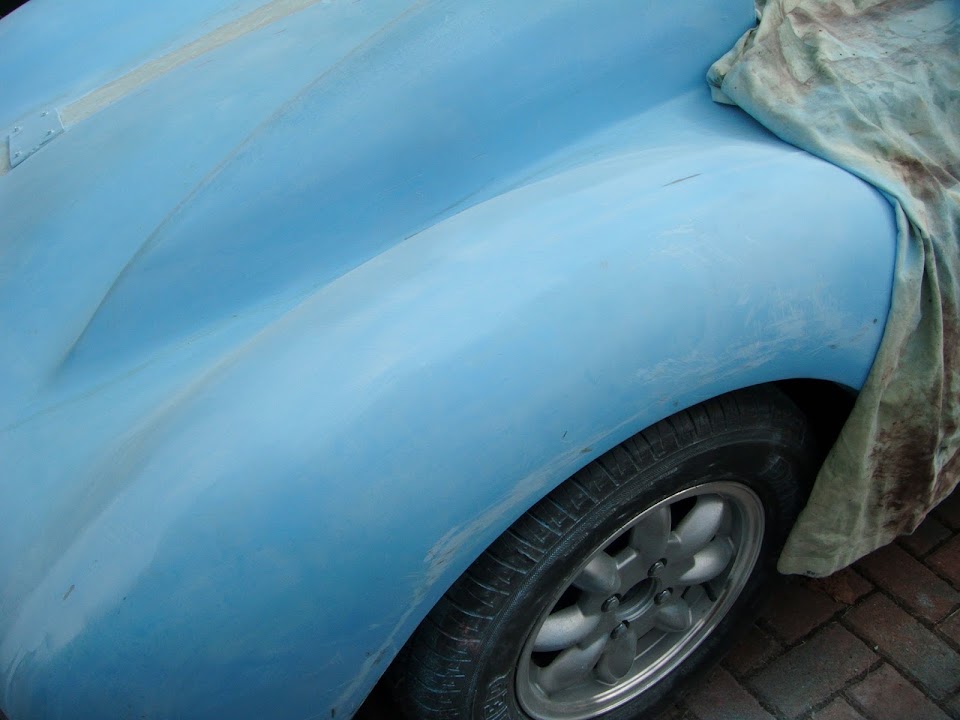
As I had my new long board and a sanding block to hand, I decided to make a start on some of the "flash lines".

This work is not even close to being on a priority list, but it was good body work practise for me.

I'd already given the high points of these lines a quick once over with my angle grinder.

But by the time I'd finished, it was clear that these sanding blocks are a better bet than power tools.
( Well, for me anyway. )

Passenger Side:

Before:


After:


Unfortunately, there were some areas where the fibreglass broke through, but I will add some matting to the underside.


Driver's Side:

Before:


After:


Now I didn't really have enough time to finish the job, but I was amazed at the improvement I was able to make.

Following my adopted "Project Hillbilly" theme...
- Will I be left with a body shell that has smooth flowing lines as far as the eye can see? No.
- Will I at least be able to get the somewhat lumpy lines smooth enough for some paint? Yes.

So whilst this job almost qualified as a waste of time at this point of the project, it actually turned into a bit of a morale booster. :cool:

All in all, one of those days were I didn't actually get much done, but it really felt like a positive step forward.

Until next time, take care, Paul. :)
22 Jul 2014, 8:02pm
My available time today was split between a short session in the morning & a longer one in the afternoon...

Morning:
Rather than unwrap the car on the front drive, I picked a smaller job I could do in the back garden.

I ground down some of the gel coat and fresh fibreglass on the spare hump / extension work.


I then put a single layer of matting across the join between old & new, which also sealed the holes from the outside.


I will add some filler to the inside of these holes and then cover the filler in more matting.

I decided to use up some of my "creased" matting on the inside of the hump, as it will not be visible there.


However, this was a real pain to work with and it took quite a bit of effort with my rollers to calm it all down.

It is not very easy to tell in this photo, but I have covered the front face and the sides opposite the new extension.


Despite the initial "creases", when this had all been flattened out and set, the hump did feel a lot stiffer than it was before.

Compared to my work on the flash line yesterday, this was a lot of effort with very little to show for it. :rolleyes:

- - - - - - - - - - - - - - - - - - - - - - - - - - - - - - -

Afternoon - Part 1:
This time I did unwrap the car and move my fibre glassing operation to the front drive.

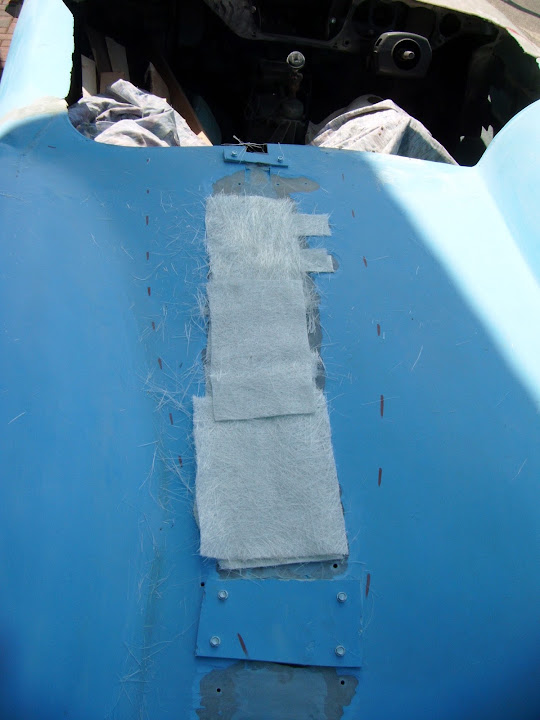
I laid out all the matting I needed to cover my gaping wound.


But the order got mixed up after the wind blew a section away and I only noticed after putting a section in the "wrong" place. :rolleyes:


I included some extension strips to cover the bracket fixing holes.
( These holes were to one side, because the frame work was in the way on the other when I was fitting the brackets. )


I have left the top and bottom edges for now, as they will be done when I finished sealing up the remaining gaps.

I also added some extra matting to the passenger side of the scuttle.


As the curve on this side was not as complete as the driver's side, although I will still be adding filler all over for the final shaping.

Then I went back to the spare hump to add filler to the holes on the inside edge.


Unfortunately, the heat was reducing my working time, so before I could smooth all the surfaces they had already set!
( Plus I had mixed up / applied too much filler as well. )


At this point my wife was roped in to help me lift & move the body shell.

I noticed that the new scuttle was clearly rubbing against the fresh primer I'd put on.


It has always been my intention to "tidy up" the underside of the scuttle and now seemed as good a time as any.

After a quick session with my angle grinder, there were no more rough edges.


But there were a few small voids given the number of steps I took to build up the scuttle in the first place.

So I added a bit of filler to fill these and give me a smooth edge.


Once this has been sanded down I can check the clearance of the scuttle to the Spitfire bulkhead.

My final bit of filler work for the day was on the fixing holes on the inside of the "wound".

Again I mixed up too much filler, but at least I worked a bit quicker and got it a bit smoother.


End of Part 1...
22 Jul 2014, 8:03pm
Afternoon - Part 2:
Then I added some parcel tape to the underside of the last set of fixing brackets I'd put on.


By now, the wind was playing havoc with my "laminating table". :icon_wink:


But eventually the job was done.


My final bit of fibre glassing for the day was to add some matting to the inside of the body shell on the passenger side.


I will continue to beef this section up to support the cutting, moving & shutting of the body shell on this side.

Just before I started to tidy up, I made a bit more mess by grinding down the filler in the spare hump.


At some point I will add more of the creased matting "left overs" to this side of the hump.

I have also been thinking about how to support the rear of the cockpit when the body is bonded on.

I've already mentioned my plan to add a flat section between the humps to support a "bonding blob".

I think I will also do something similar underneath the corners of the cockpit.


So if I add a small flat surface "two fingers" high here...


I can leave a bonding blob on top to be squashed to size.

I just need to measure and mark things up carefully, as I will be widening the cockpit corners as well.

The heat meant that everything was set enough for the body shell to be put back in place so I could tidy up.

At least we don't have a hose pipe ban, as it takes me long enough to clean the drive as it is. :rolleyes:
23 Jul 2014, 7:14am
One good thing about all this heat is that it should "bake" all ur new new glassing and any air bubbles should pop-up well before you get any paint on it?