Thurcroft Flyer - Thanks for the positive comments.

The good news is that both the Miglia Speedster & Ribble Navigator have learnt lessons from the Cordite.
Both of those kits are miles better than this one and your bonding stage
should be OK.
I recommend reading
Mr T's build thread as he covers it in a good level of detail.
Actually, I've read his thread so often I know where that bit starts, so look for post #614 here:
http://www.madabout-kitcars.com/forum/showthread.php?t=3113&page=31
What surprised me was that the bonding was only on the bits that "touch".
( Well apart from his re-enforcing blob at the back of the cockpit. )
The real strength comes from fibre glassing everything together on the inside of the cockpit.
Which if you keep reading
Mr T's build he will also cover in great detail.
- - - - - - - - - - - - - - - - - - - - - - - - - - - - - - -
Water - Inside And Out:
After a good run of making progress on my car, my luck finally ran out yesterday.

In fact it was just before 5am when my wife & I were woken by a noise from the en-suite bathroom.
By the time we worked out the noise was from a burst pipe, the water was already spreading.
I had to run down two flights of stairs (we sleep in the loft) to reach the mains water stop cock.
By the time I got back up stairs there was water in the bathroom, bedroom & the "box" bedroom below.
( Which would normally be empty, but my wife's god-daughter was staying with us. )
The water had leaked downstairs through the light fitting, so the fuse box had also tripped.
So there were more trips up & down the stairs for my torch, extra towels & newspaper to mop up the flooding.
I even needed a trip to the summer house for some tools as I tried to shut off the value to the burst pipe.
Unfortunately, the value didn't fully seal the pipe, so we had another small leak when I turned the water back on.

Thankfully we know a good, local plumber who had it all sorted out by early afternoon.
But by then I needed a lie down, as I was all over the place following the hectic start to my day.
The Good News - We were there when it happened & dealt with it within minutes (that felt a lot longer).
I dread to think the amount of damage that could have been caused by this if we were out / on holiday.
 Plumber's Top Tip
 - Don't forget that your heating will still work if you turn the mains stop cock off.
So you can have the heating "ticking over" while you are on holiday, without the risk of major flooding on your return.
I can guarantee that we will follow this advice in the future, as this was a major scare.
- - - - - - - - - - - - - - - - - - - - - - - - - - - - - - -
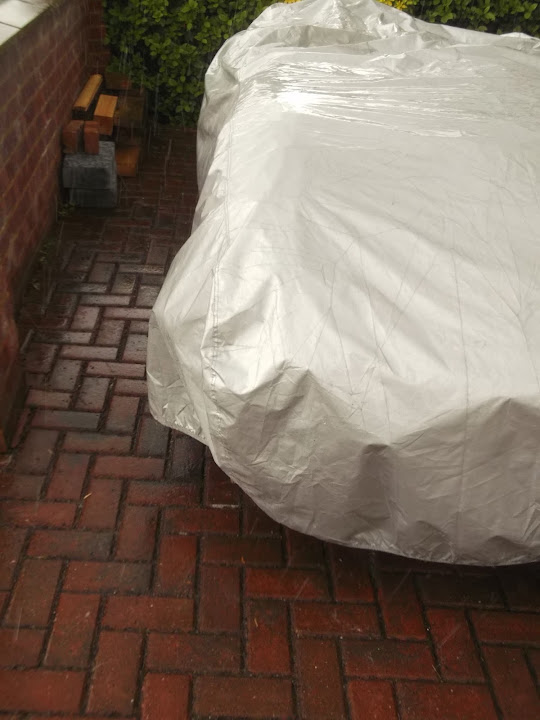
All of this puts today's "rain stops car work" into perspective.
Hopefully, I might get a chance to do some more work tomorrow.
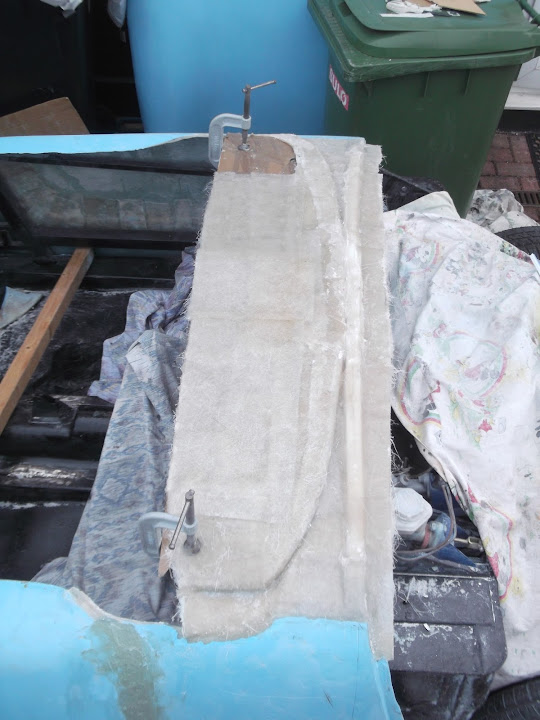
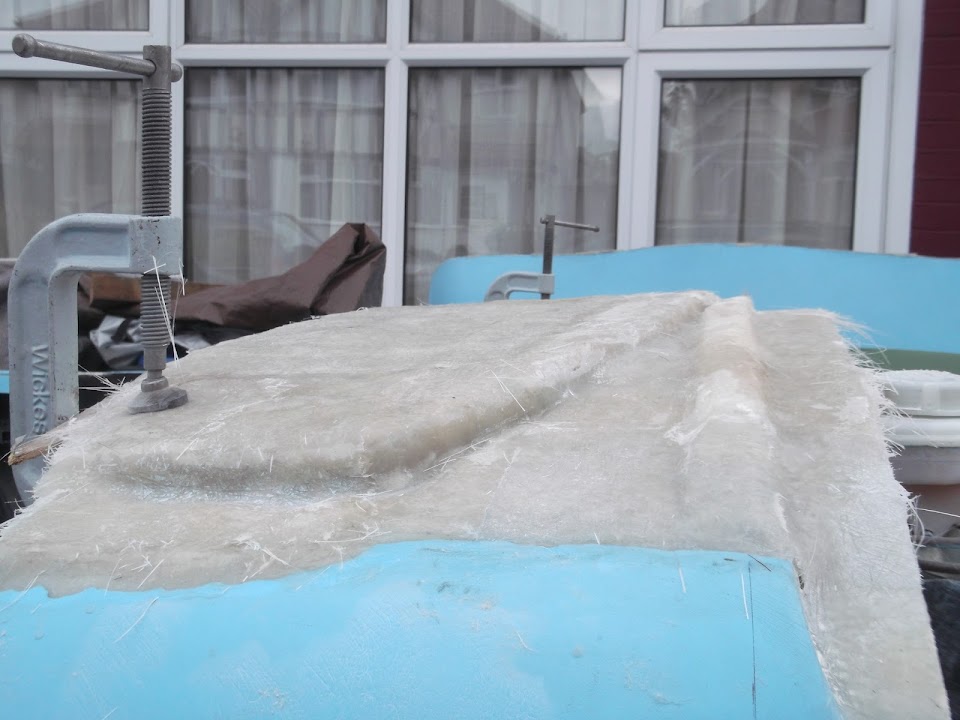
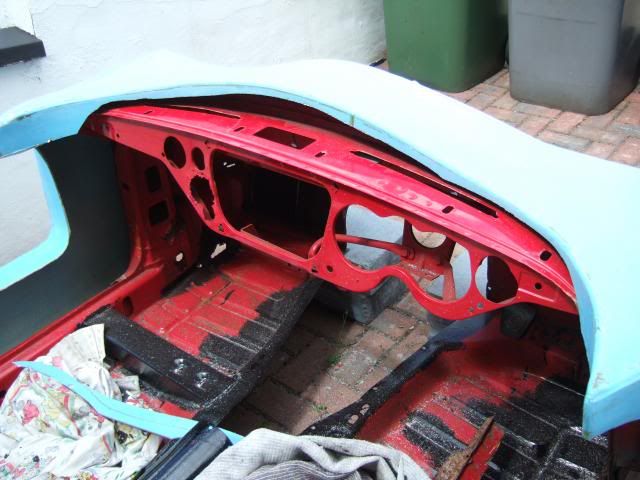
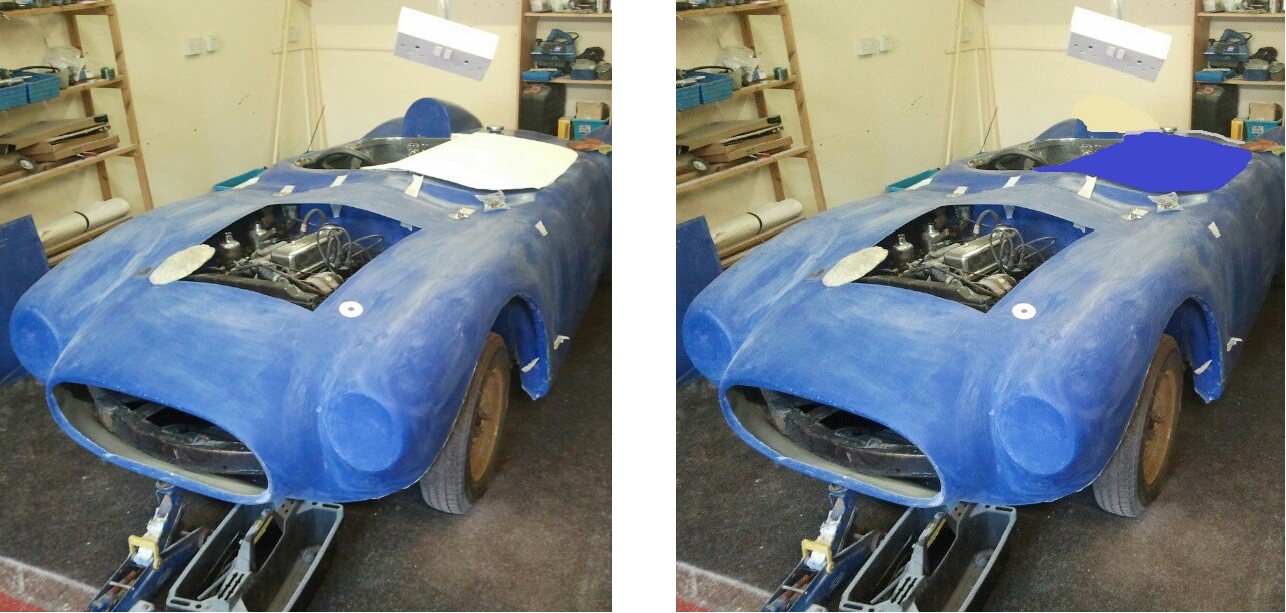
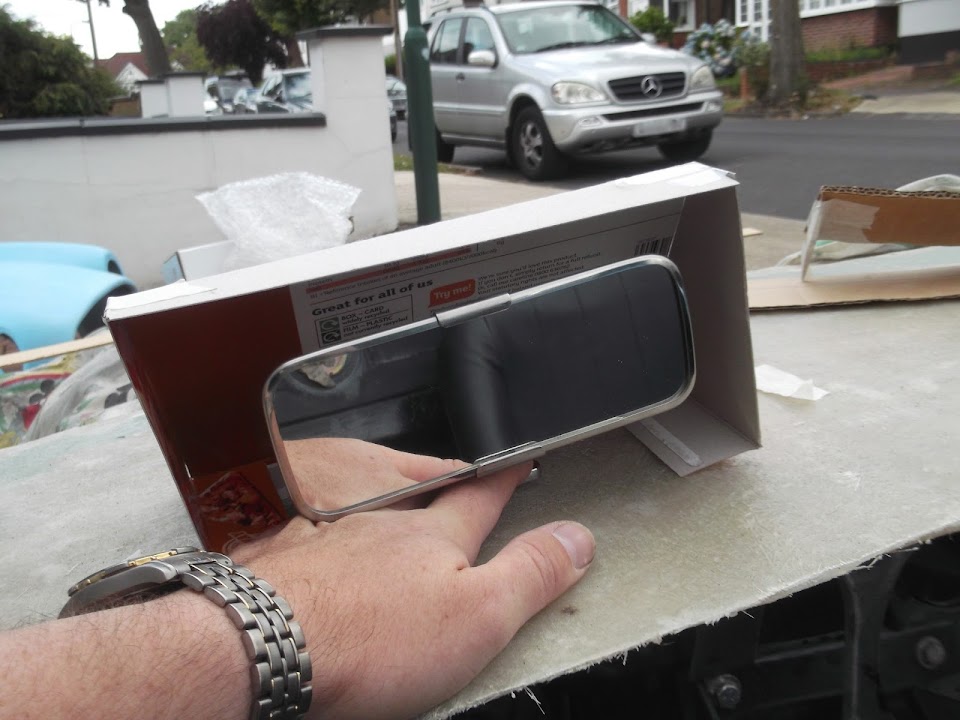
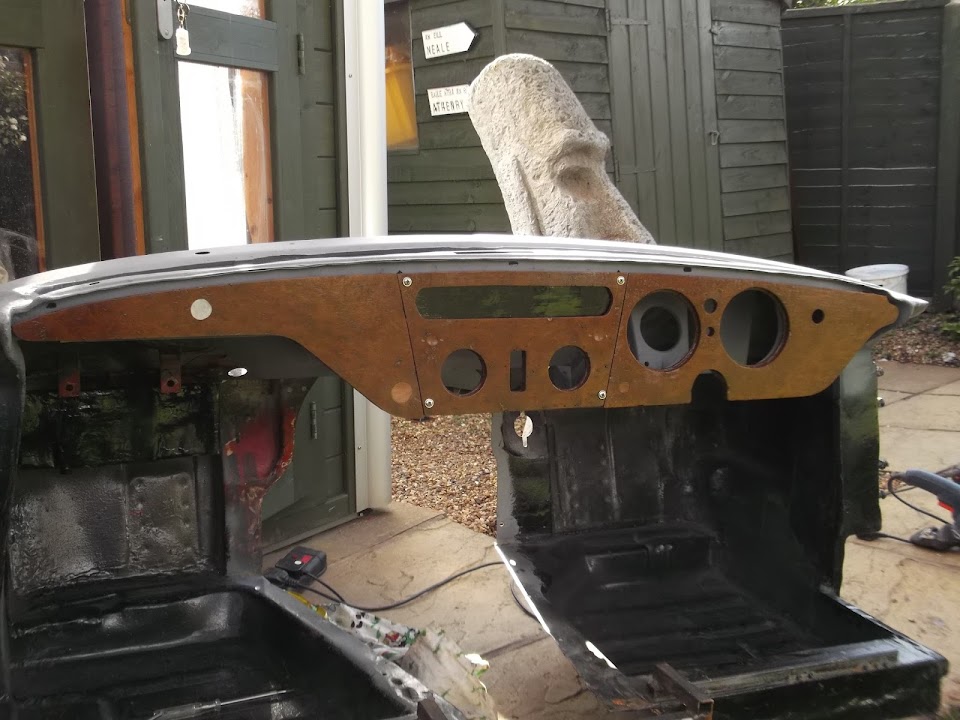
I have put a bit more thought into the scuttle design as I need something to cover the "gap" at the top of the dash.
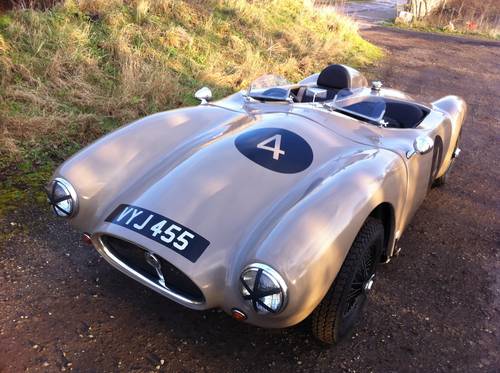
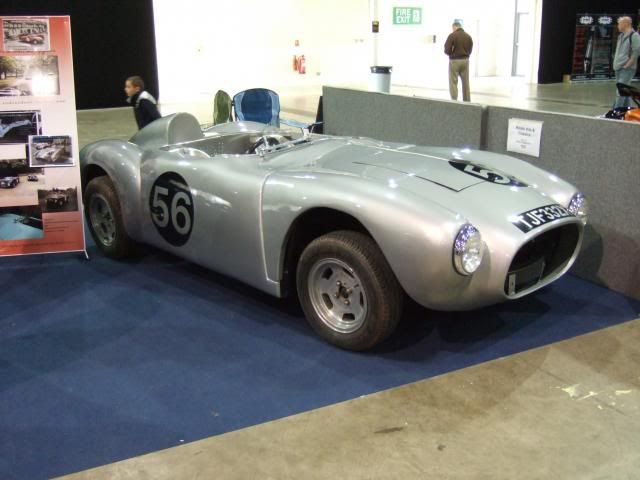
I've always liked this photo, so may just put a simple, short, edge on the cockpit side of the scuttle.
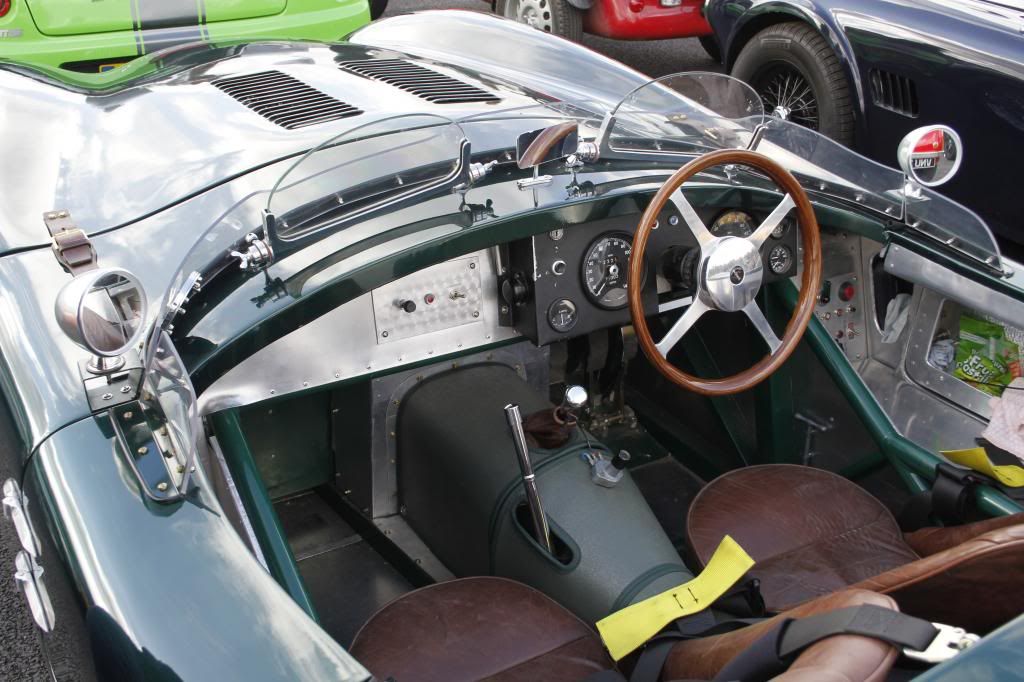
This should tie everything together nicely and cover the rear edge of the Spitfire bulkhead into the bargain.
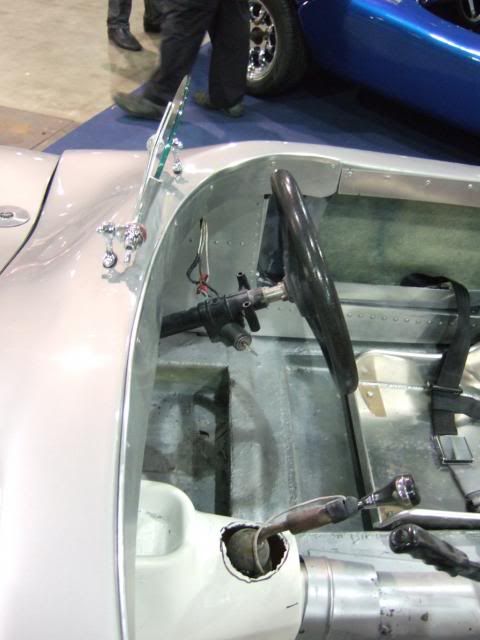
I am also following the work
Mac is doing on his Navigator build and need to make something like this too.
This will need to cover the corners of the Spitfire bulkhead and "blend" this area together.
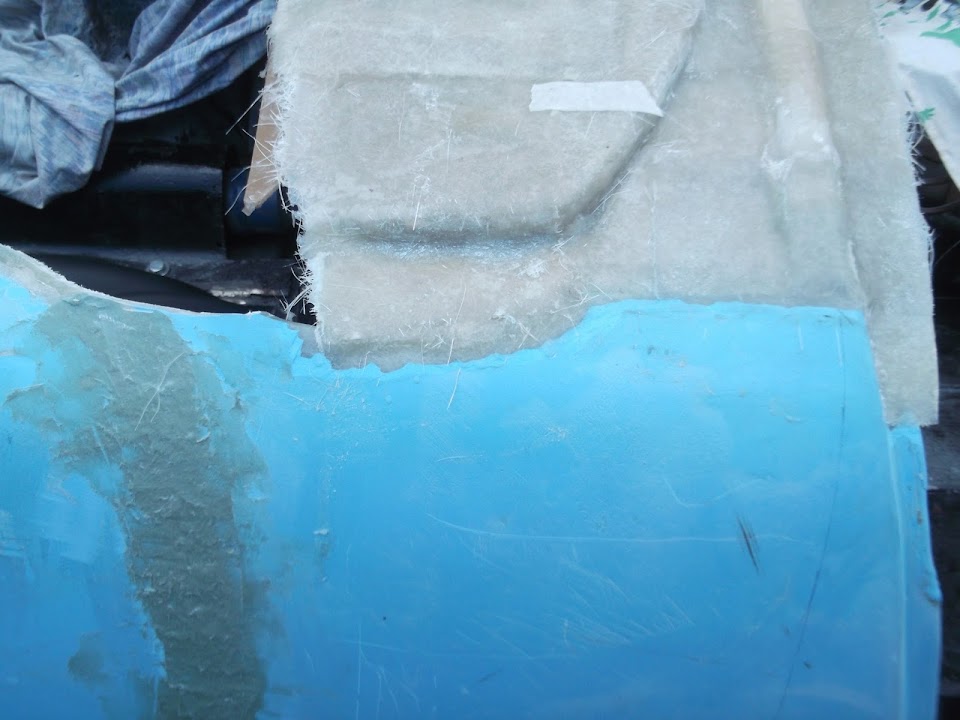
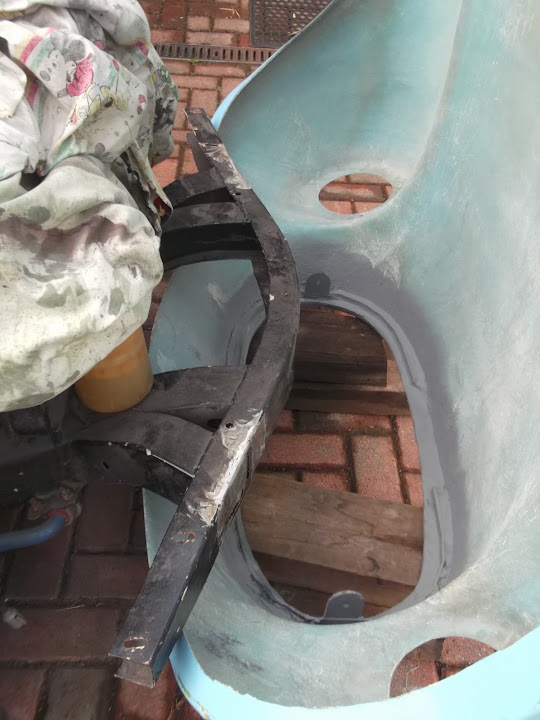
I'm also re-considering the "lump" in the bulkhead that I simply built my fibreglass mould around.

I plan to have a closer look at what "smooth" shape I can get over the rear section of Spitfire bulkhead.
If that "lump" is in the way, when I am going to "cut & shut" it flat & re-do part of that corner.
Although, ideally, the lump will form the high point of the scuttle in this area, in which case I can save myself some work.
Clearly I am making this all up as I go along, so I have to expect a bit of trial and error.

- - - - - - - - - - - - - - - - - - - - - - - - - - - - - - -
One thing I forgot to post the other day was a very quick test with some of the plywood I got for the sides of the cockpit.
( This section was left over from the time I built my first battery box. )

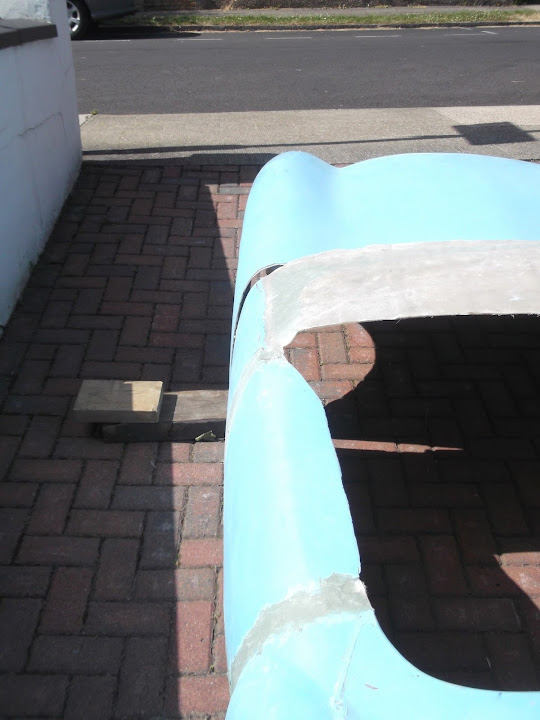
If they were mounted to the internal framework, the top edges of the cockpit would be almost than 4" / 10cm wider than the ply at the top.
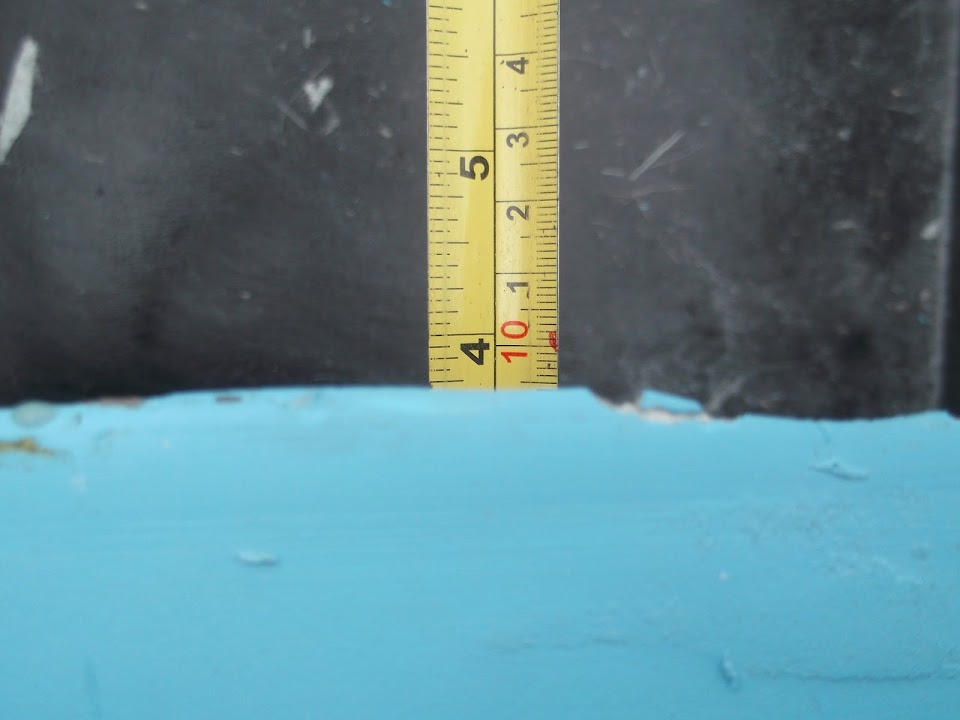
This means there is more than enough room to trim back the cockpit sides even further than I'd roughly laid out here.

I still need to do a bit more playing around with this.
One of my current thoughts is to put an extra strip of ply (no more than 2 inches deep) under the cockpit edge.
Hopefully this "double layer" would provide some extra support for climbing in and out of the car.
I know there are a lot of people who are against the use of wood, but if this was good enough for
Mr T, then its good enough for me.
Well, that and the fact I have already bought a load of plywood for the cockpit and it seems a shame to waste it.
- - - - - - - - - - - - - - - - - - - - - - - - - - - - - - -
Until next time, take care, Paul.