MadaboutKitcars

This is a read-only archive of the old Madabout Kitcars forum. New posts and replies are no longer possible, but every thread is still here to browse and read.

Another Cordite Is Born ...

14 Jun 2014, 7:06pm
A Test Of Resolve - Part 2
Eventually the rain stopped, although the dark clouds remained, so I decided to take a chance and not start packing up for the day.

So I slotted the arches together and used the fixing bolts to locate the corresponding holes in both layers.


You can also see that I clamped the front end down to make it easier to carry.


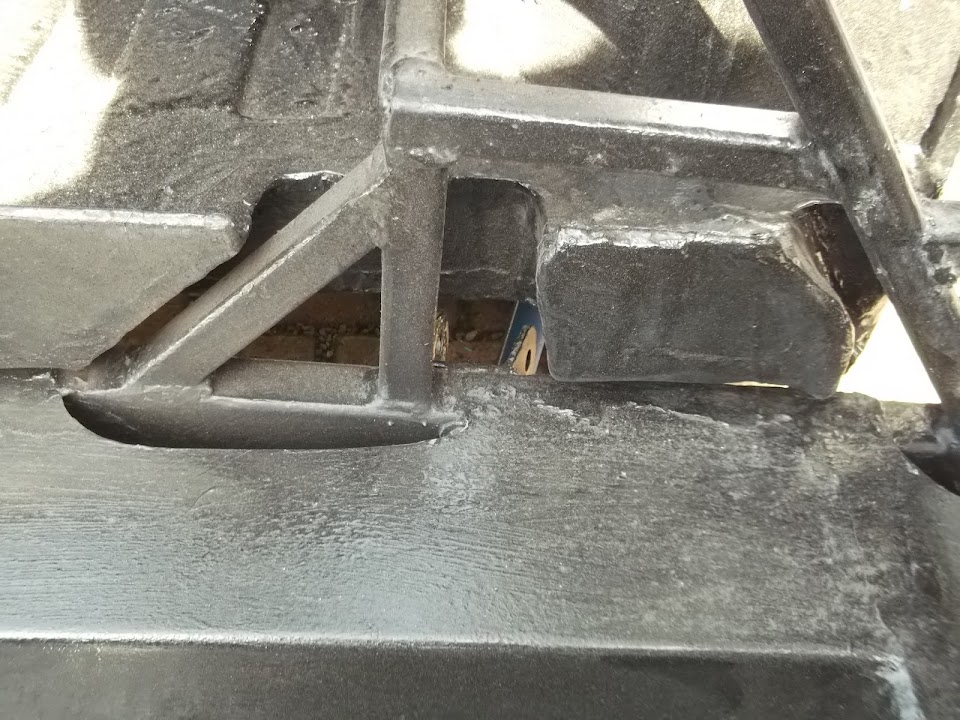
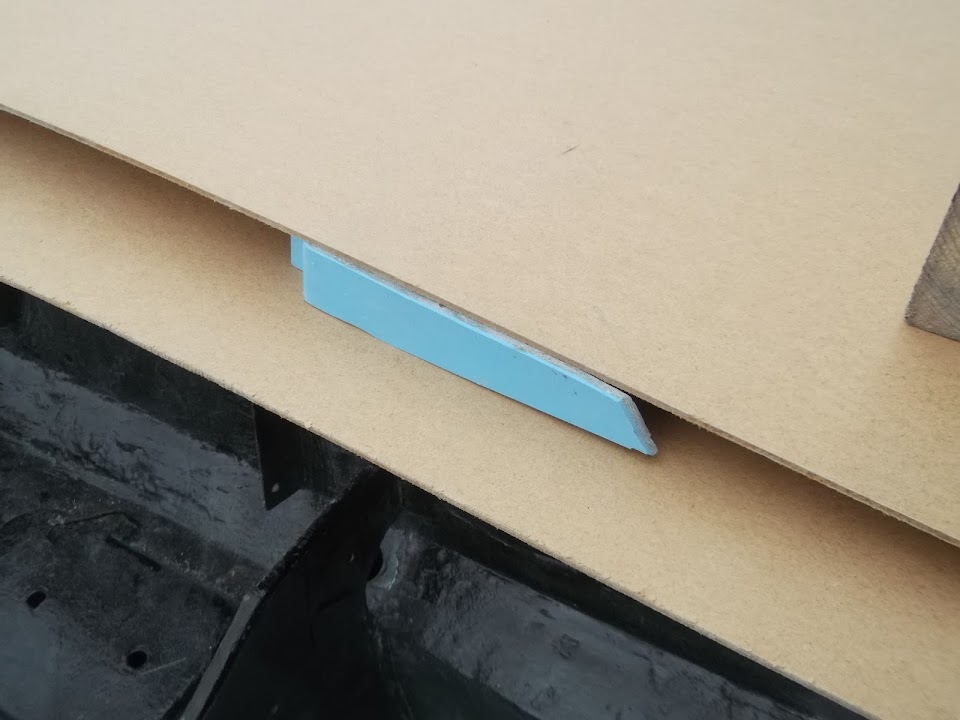
Initially I left these two spacers on the rear of the chassis, but in the end I will only be using the rubber layer.
( This helps level the arches as the hand brake panel is "lifted" over the frame + floor. )


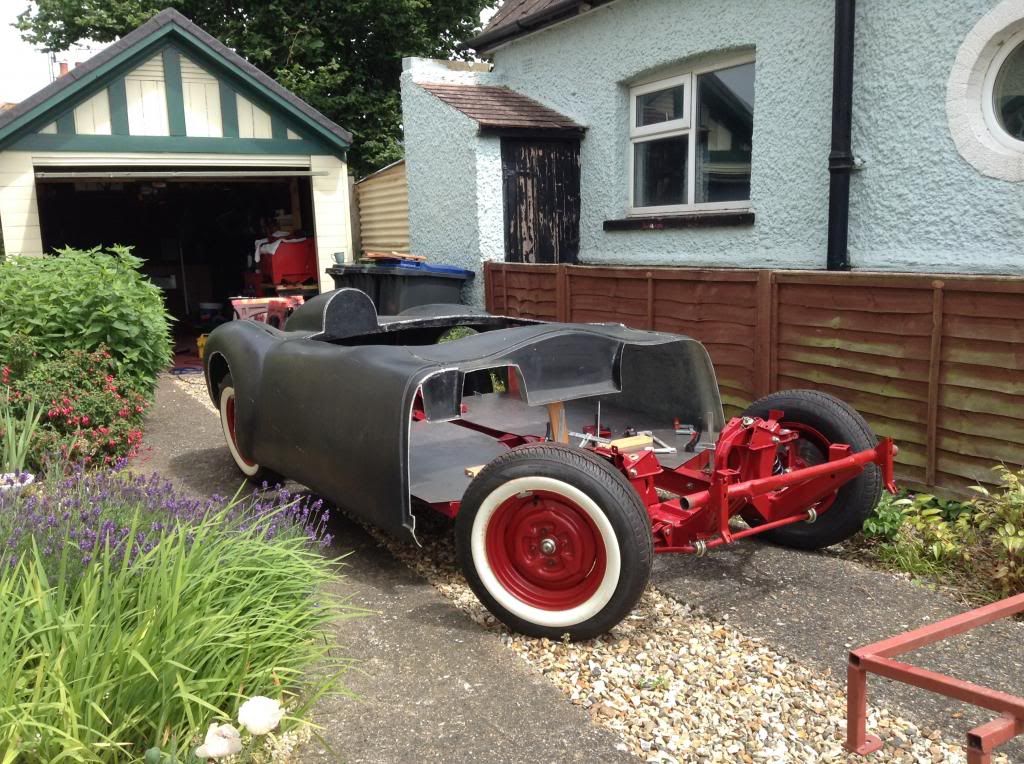
As it was, it took my wife and my two daughters to help carry this thing onto the chassis.

Then I put a couple of bolts on each side to hold the frame to the bulkhead.
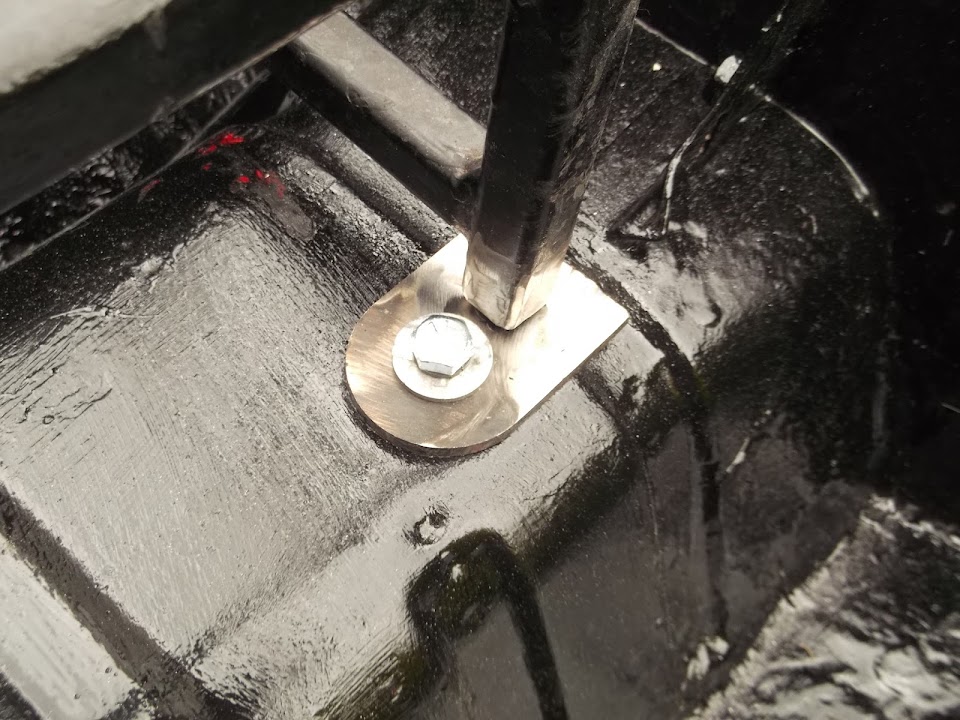
( I did spray some stone guard on both sides of these brackets. )


Then I did up the four chassis bolts.
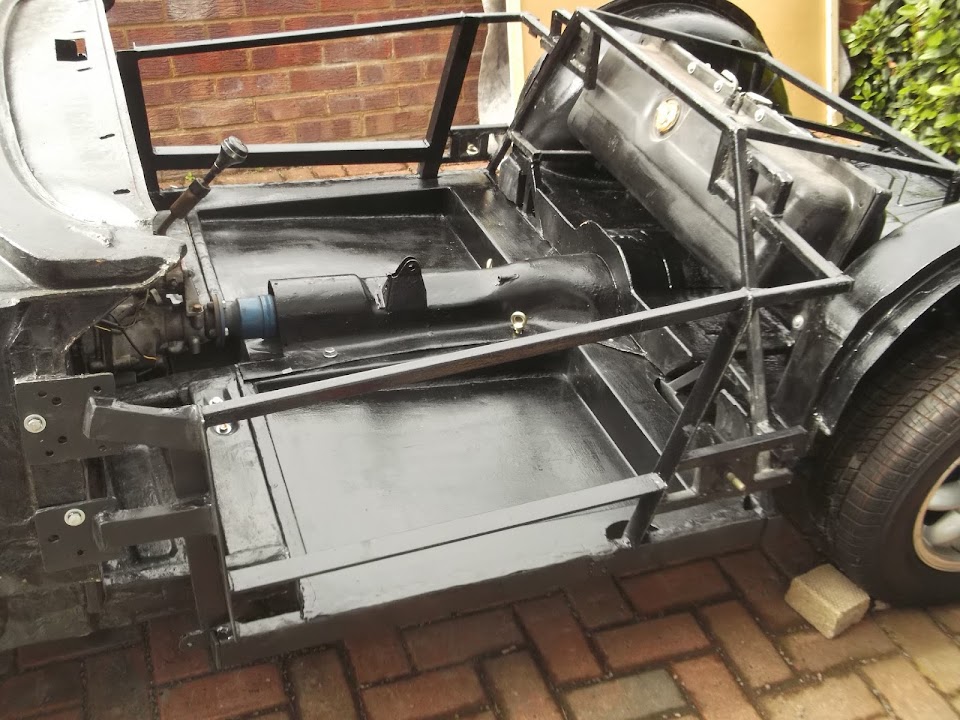


With the bolts tightened the hand brake panel does sit flush with the floor. :cool:


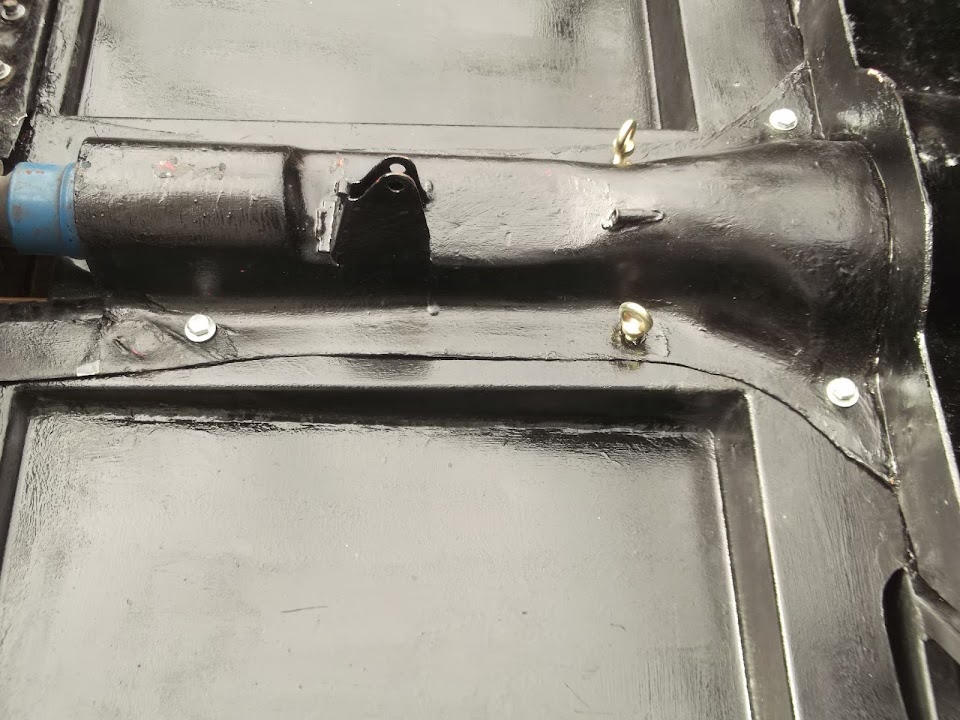
The seat belt bolts also go in, although one hole feels like it needs the thread re-tapping.

I am currently in two minds about what to do with this section as the bolts will clearly hold the hand brake panel in place.

So should I run a few lines of welding down the edges and cover it in fibreglass filler for a final "seal"?

Or should I run a length of bonding paste along the edges and smooth that down when it has set?
( As I do have a big tin of it and haven't used it before, so this would be an excuse to practise. )

At the back of the frame, the arches sit centrally over the lowering block studs.
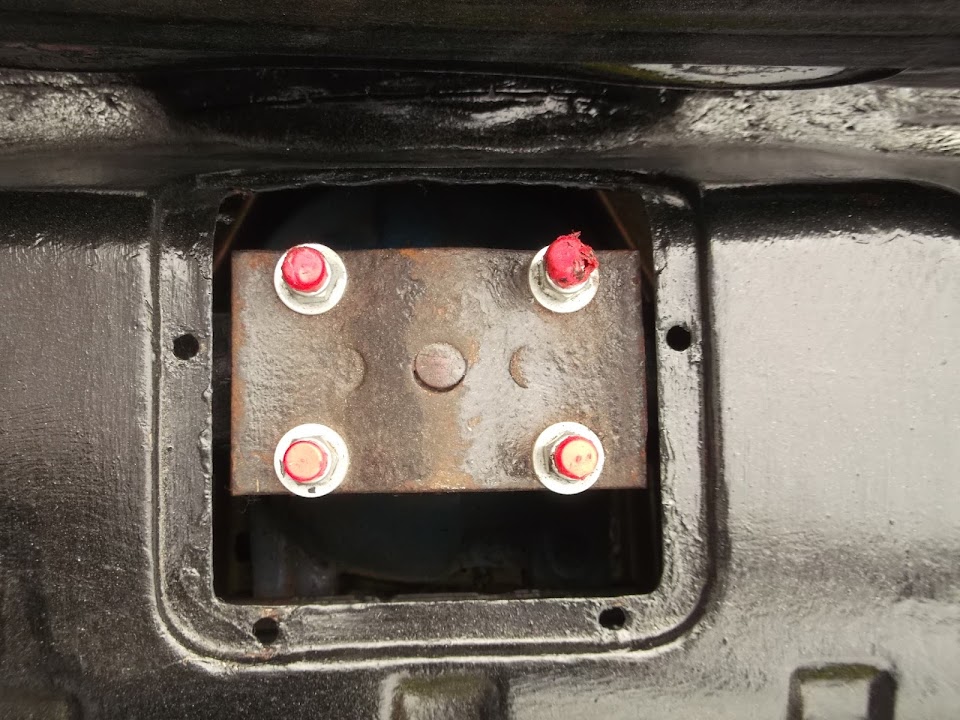


Which just leave the "feet" for the rear frame to sort out.

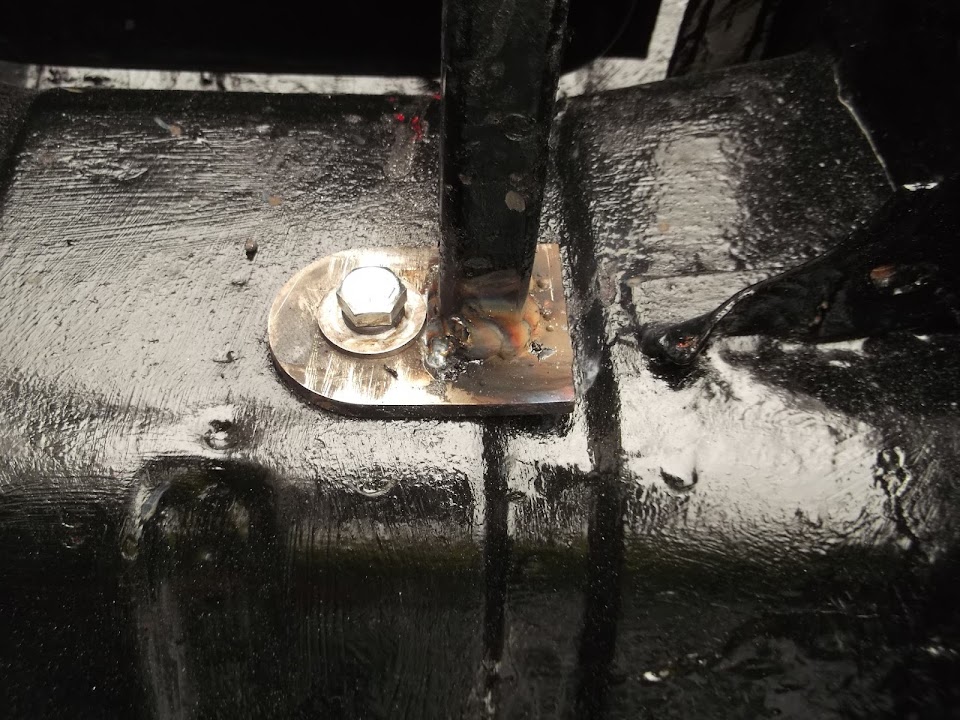
By chance, the driver's side is at the right height and the foot just needs to be welded on.


The frame "leg" had been left a little longer on the passenger side.


But nothing a quick trim couldn't fix.
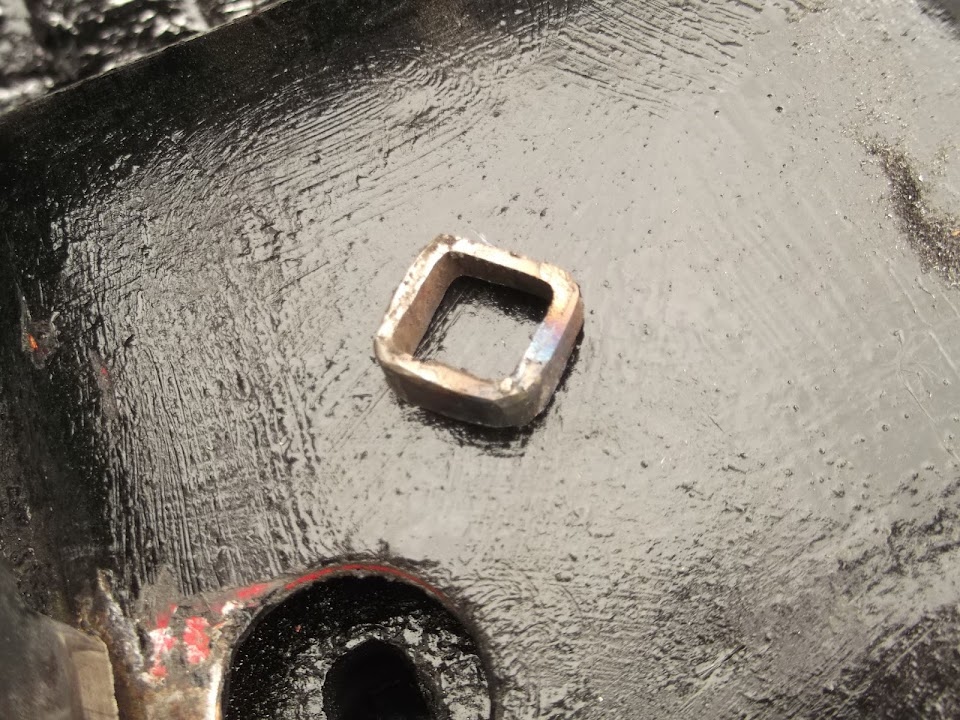


Then I cut & tidied up the feet.


So now both feet will now fit nicely in position like so.
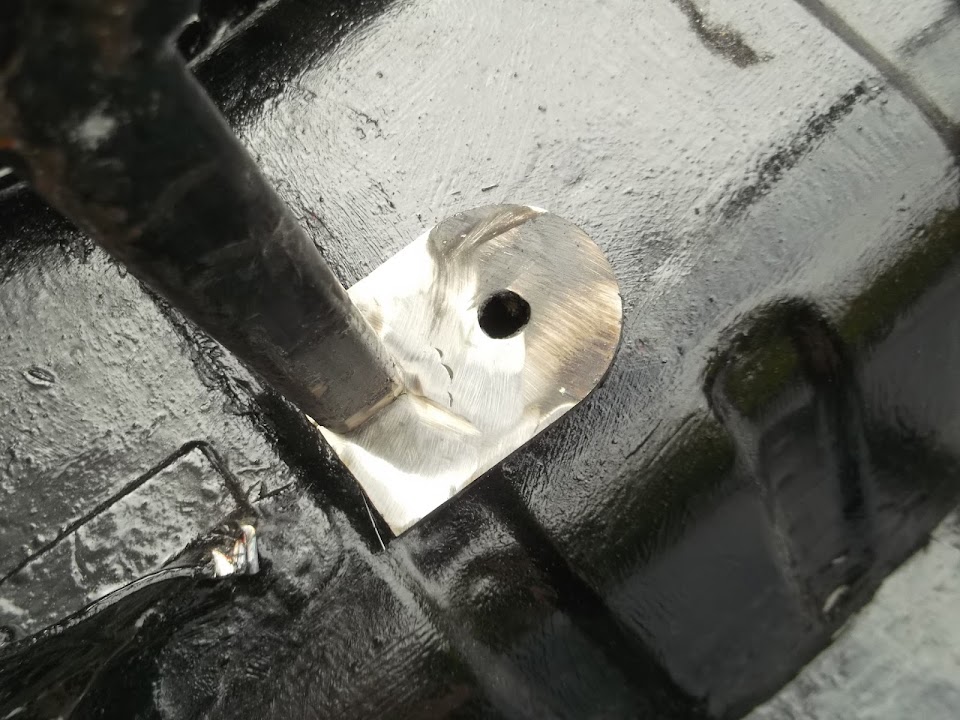


I will do the welding another day.

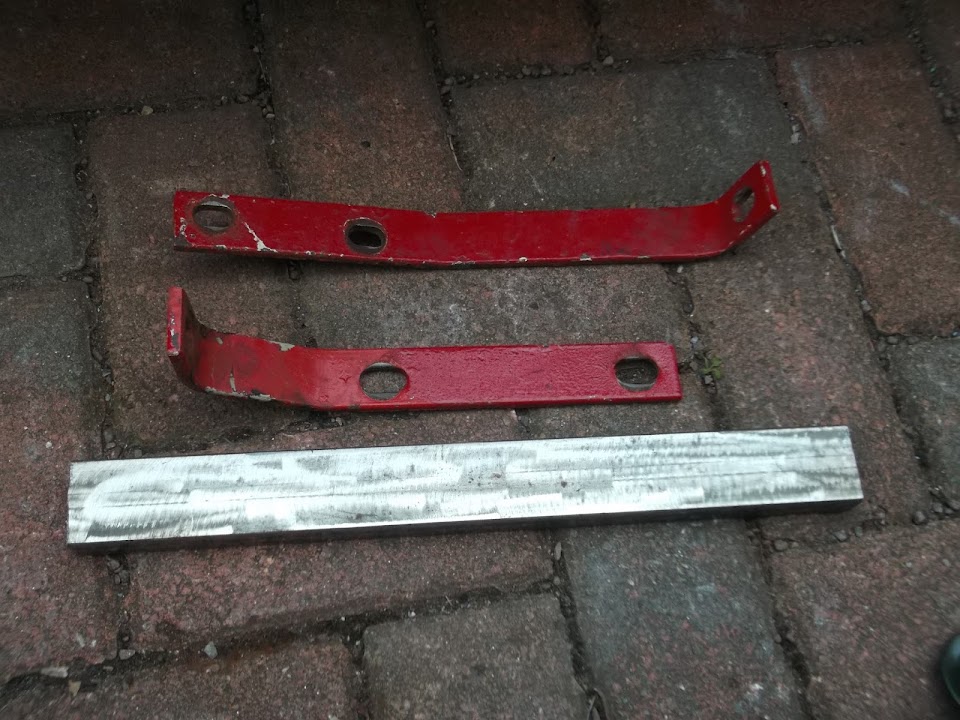
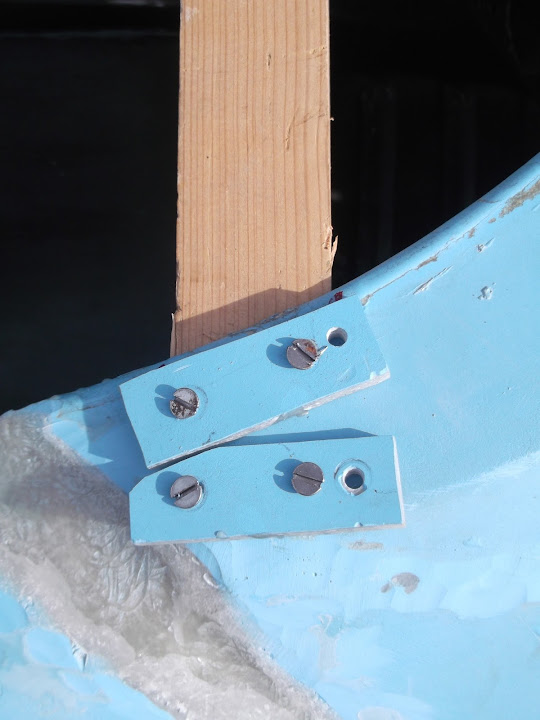
The only other thing I want to do is an two extra brackets (one on each side).

I need to make some templates, but I should be able to join the frame to the arches by re-using an original seat belt mounting point.

One thing I noticed is that one of the fixing bolts is at an angle rather than perpendicular. :icon_sad:


So I will have to sort that out at some point.

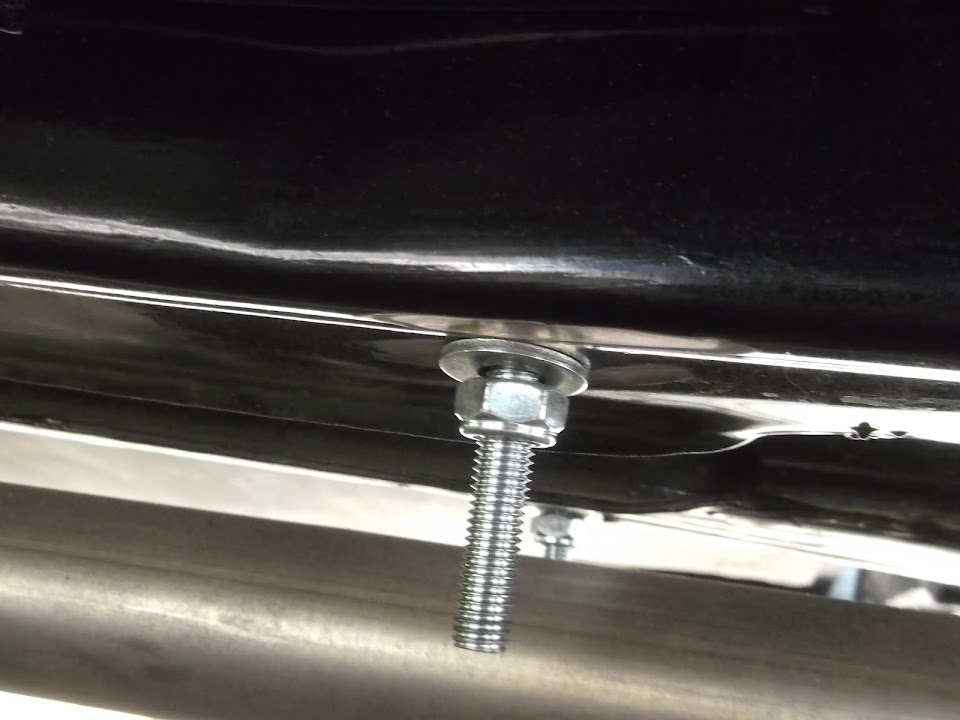
But taking that photo did remind me to take my angle grinder to all four bolts and trim them a bit.


Which will at least speed up the bolting / unbolting process.

Finally with the body shell back on...
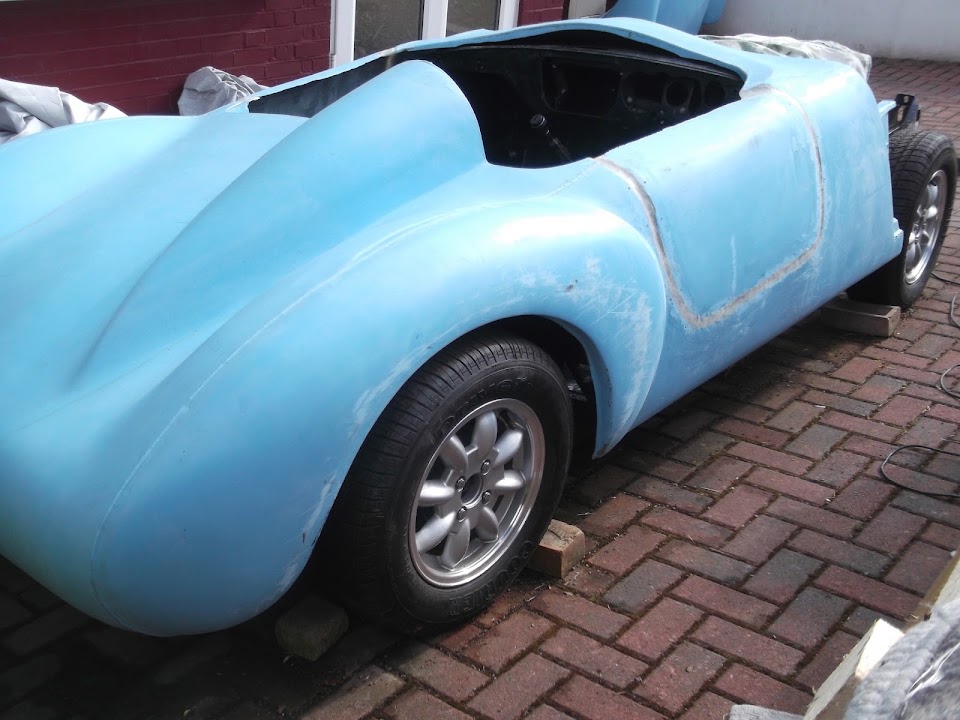


I noticed another area of work that I need to think about / fix.
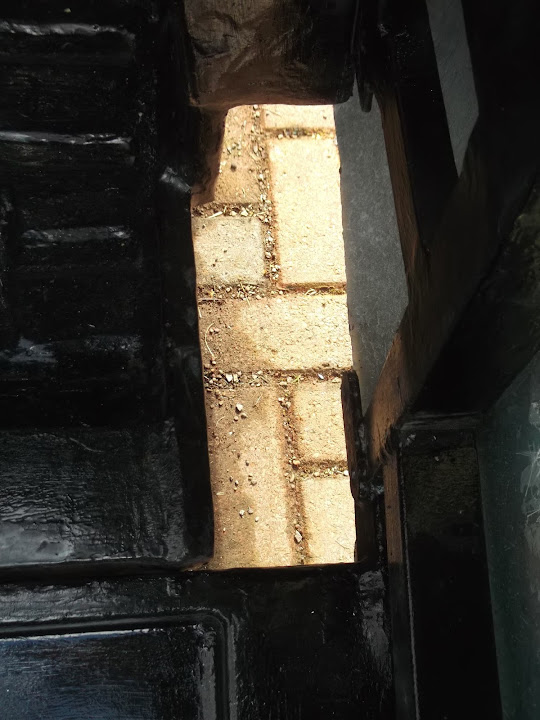


The car isn't going to be very water tight unless I insert a floor of some sort between the bulkhead and the body shell.

At least with all the big parts in one place (for now) the drive is looking tidy.


Note:
I forgot to put the heavy duty tarpaulin under the car cover to help keep the water out of the floors.

Despite the set backs, I know I am getting closer to fixing this stuff onto the chassis for good.

I also know that there will be a lot of small, time consuming, jobs to finish off before that happens.

So I will try to remain positive and keep chipping away and I'm glad I stuck with it today rather than simply give up.

Although Father's Day will be a relaxing one, so it will be Monday at the earliest before I can carry on.

Until next time, take care, Paul :)
14 Jun 2014, 8:05pm
Good progress Paul, close to becoming a moon rover!
16 Jun 2014, 3:04pm
Mac - Thanks, I am really hoping that the rear frame and arches will only need to be removed one more time.
( To seal the underside of the hand brake panel and floors once I've fixed them from above. )
Once I have bolted this lot to the chassis for the final time I will definitely be heading in the right direction. :pray:

- - - - - - - - - - - - - - - - - - - - - - - - - - - - - - -

Normal service is resumed...
Had a great Father's Day with my wife and daughters yesterday. :cool:


The restaurant even gave me a "daddy goodie bag" with a beer, baseball & money off voucher in it.


OK, the meal was expensive, so the "free" gift was included in the price, but it was still a nice touch.

No matter how hard I try not to worry about all the work ahead of me, it does keep getting me down.

But thankfully I looked back at what I have achieved over the last few months and I have made solid progress.

So I will continue to do what I can, when I can, and try to remain happy with that.

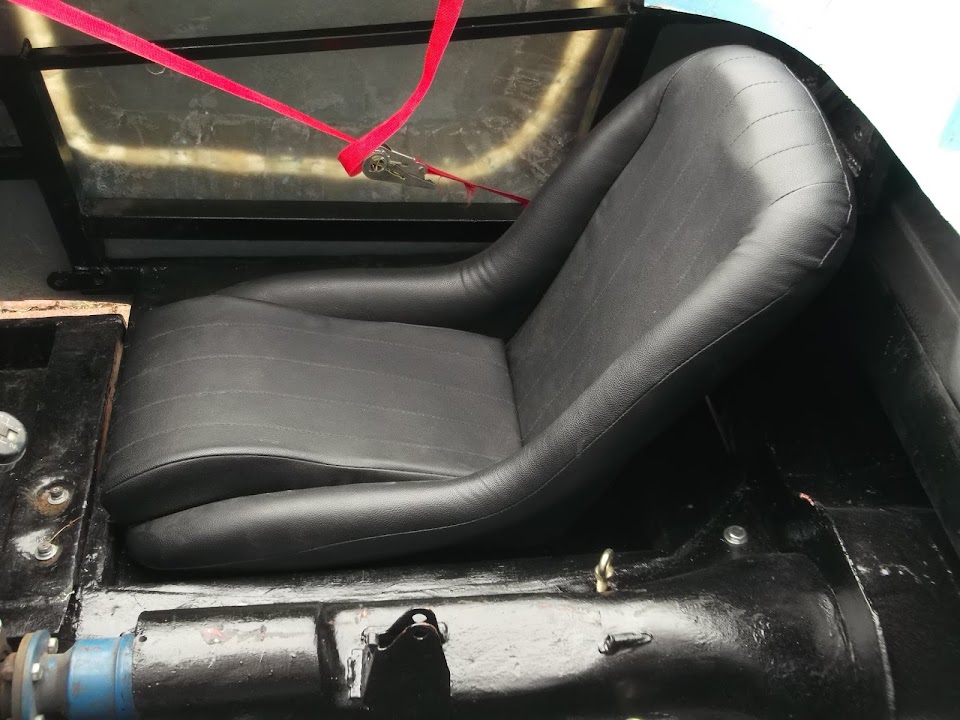
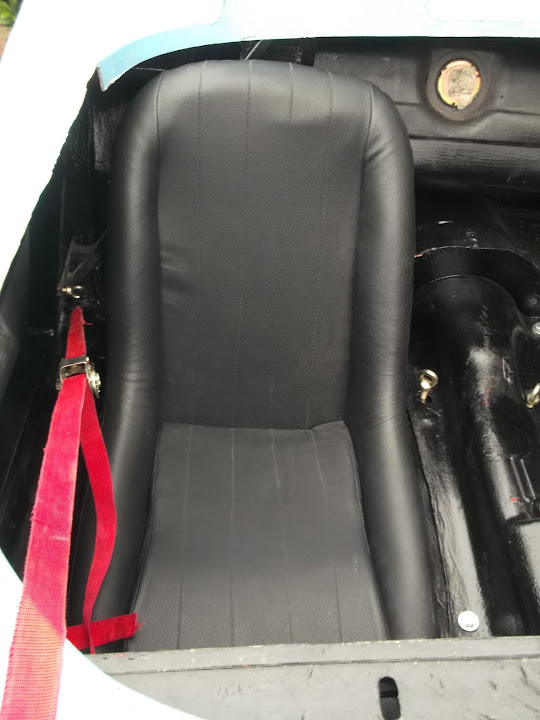
I started today by fitting one of my seats into the driver's side.


The good news is that I think I can make this work, so I will stick with these seats for now.

Notes:
- Neither seat will have seat runners fitted as there is just no room.
- But I fill fit the supplied spacers between the seat and the floor which will lift them 1cm (ish).

Then I climbed in and checked the driving position which allowed me to check a few things:
- I can reach the back of the bulkhead with my feet, so pedal operation should be OK.
- I can also see over the top of the Spitfire bulkhead, which for some reason I was convinced I was going to be too low.

However, I will be too low to see over the top of the standard wind deflector.

I went back through Mr T's build thread to find a photo with him sitting in his car.


I couldn't get a decent self portrait, but my eye line definitely lower than his.

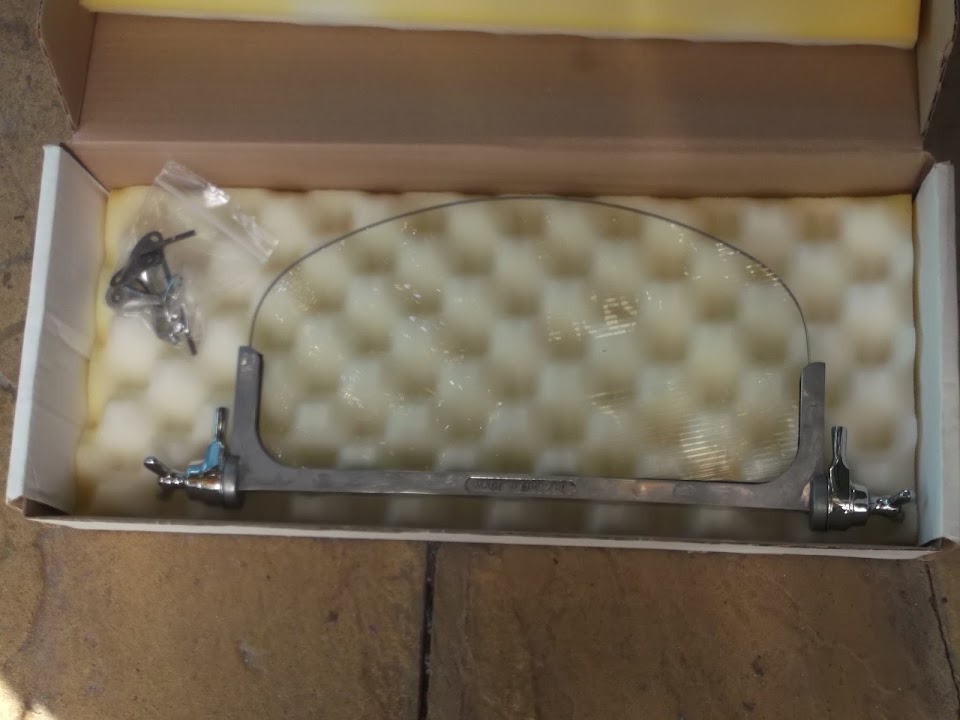
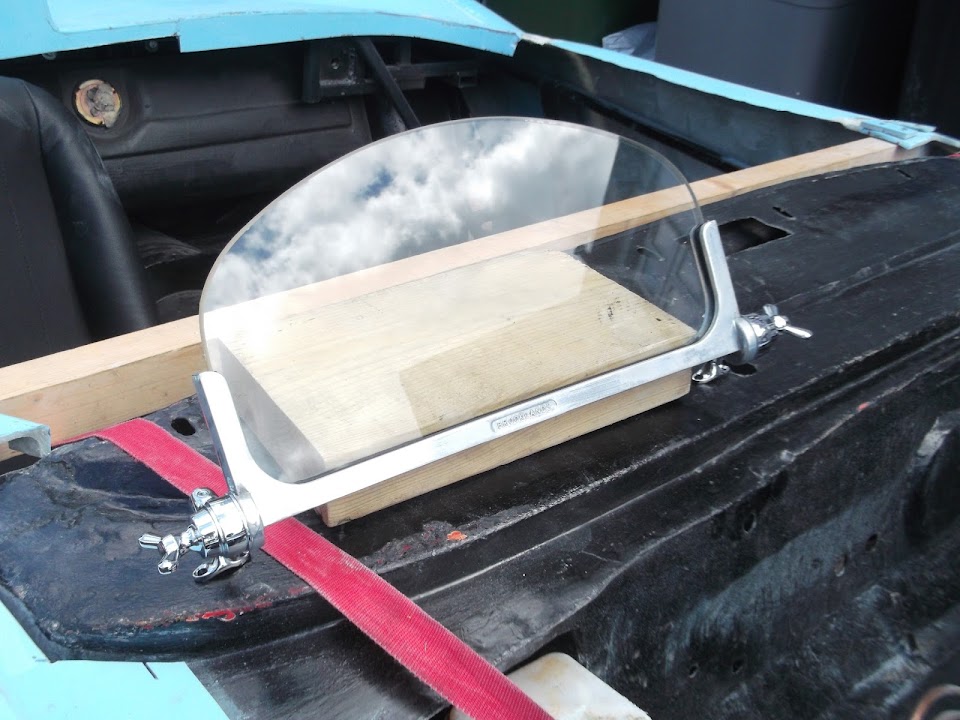
I'd bought one aero screen a long time ago.


And now I think I will commit to using two of these for my build.

That way I can simply remove them completely when it is MOT time.

The other thing I will need to do is build a wind deflector for the base of the screen.

Something like this.


Which means I need to finalise the body shell / bulkhead arrangement so I know how / where all this will fit.

In addition to the front of the cockpit I will also need to sort out the back of the cockpit area too.

The back of the seats sit very tight to the rear frame work.

So I think I will need to fit the plywood panelling inside the frame, rather than the traditional outside approach.

Previously I had a problem with the back of the bodywork getting pressed out by the framework.


Part of this problem may have been due to the fact the front of the hump is fitted at an angle.


But it was the lip of the door openings catching on the door opening framework that prevented any forward/backward movement.

This is no longer a problem since I removed the lip to seal the doors.


Although you can still see the angle of the door gap pointing upwards along the bottom.

But I intend to brace and cut the bulkhead this week to see how things can be aligned. :eek:

Back to today and I welded the feet back on to the rear frame work.

I fitted my mini crush tubes and then bolted the feet into position.


However, this "pulled" the arches down a fraction, so the frame no longer touched the feet for welding.

This was an easy fix, as I simply sat on the frame which brought it back in contact and I could start welding.

Thankfully after the initial welds were done, I could get back on the ground to finish the welding off.

Driver's Side:


Passenger Side:


You will notice that the feet are in different positions relative to the "legs" of the frame.

That is because the Sammio frame work is not exactly symmetrical. :rolleyes:

These are the gap between the frame and the wheel arches.

Driver's Side:


Passenger Side:


The only good news is that with these feet welded & bolted in, the whole structure is now really rock solid.

I will still have a look at fitting extra brackets between the arches and the framework.

Although this may be a bit OTT and everything should be fine without them.

At this point, the rain returned and I called it a day.

Until next time, take care, Paul. :)
16 Jun 2014, 8:11pm
Its taking shape now Paul, don't let all the work get to you.
I know how you feel 'cos it gets to me at times, but today I had a good day, which boosted my morale! Stick at it, one more day closer to completion!
16 Jun 2014, 8:40pm
Looking good Paul.
17 Jun 2014, 6:56pm
Scottie & CarNoob - Thanks chaps, I actually had one of those "good for morale" days today. :cool:

- - - - - - - - - - - - - - - - - - - - - - - - - - - - - - -

No Turning Back Now - Part 1:
The first job of the day was to fix the rear arches to the rear frame work.

I had a collection of bits to play with...


Which I was hoping to use together with the original seat belt mounting point in the arch.


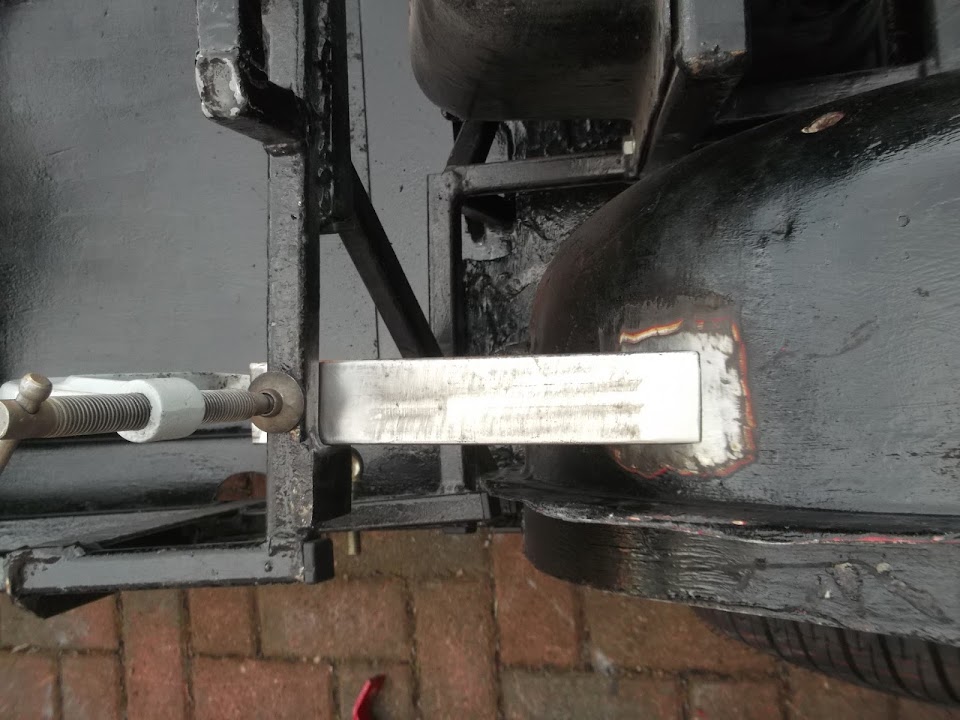
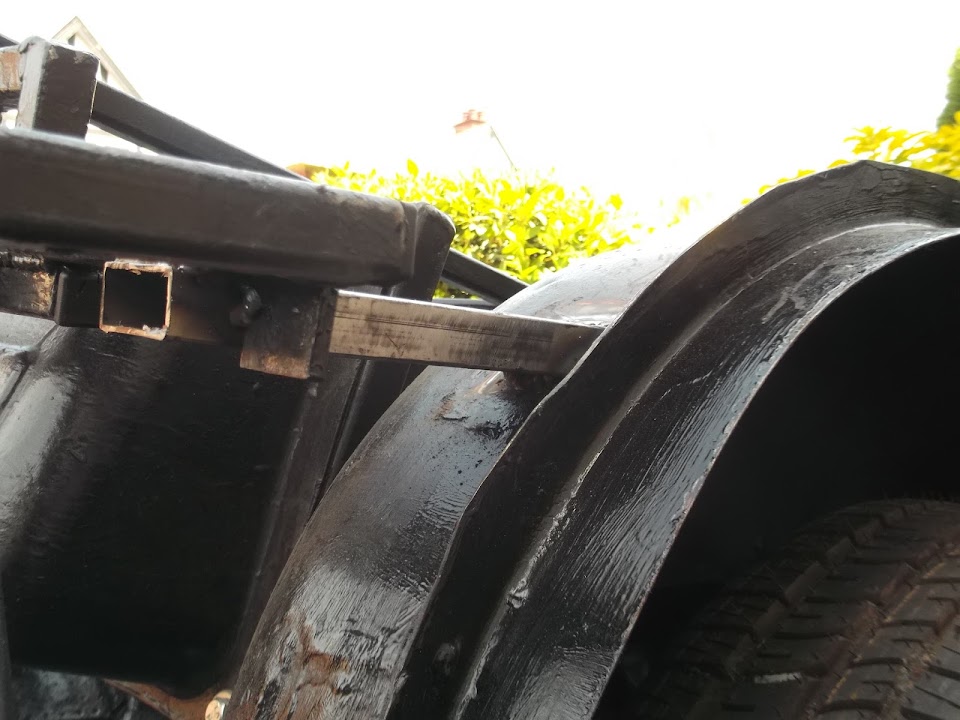
In the end, I just couldn't get the angles to work, so I decided to use the box section like so.


I cut one end to match the contours of the wheel arch & shortened the other end.


After cleaning all the surfaces I clamped it into position and welded it in.


It is low enough to avoid fouling the bodywork, but is also a strong join.


With one side out of the way, the other side was a straight forward repeat of the first.


I also remembered while I wasn't planning on fitting the plastic end caps until all the welding was done. :rolleyes:


While I had the welder out I welded six sections of the hand brake panel to the floors (3 on each side)


The photos aren't great, but the welding, together with the brackets I welded to the arches earlier will hold everything together.

I will either weld some more sections another day, or try the bonding paste along the join.

- - - - - - - - - - - - - - - - - - - - - - - - - - - - - - -

I recently came across the flexible fuel line I'd bought ages ago while looking for something else.

You may remember that I accidently sealed the original hole in the boot floor for the hard fuel line.

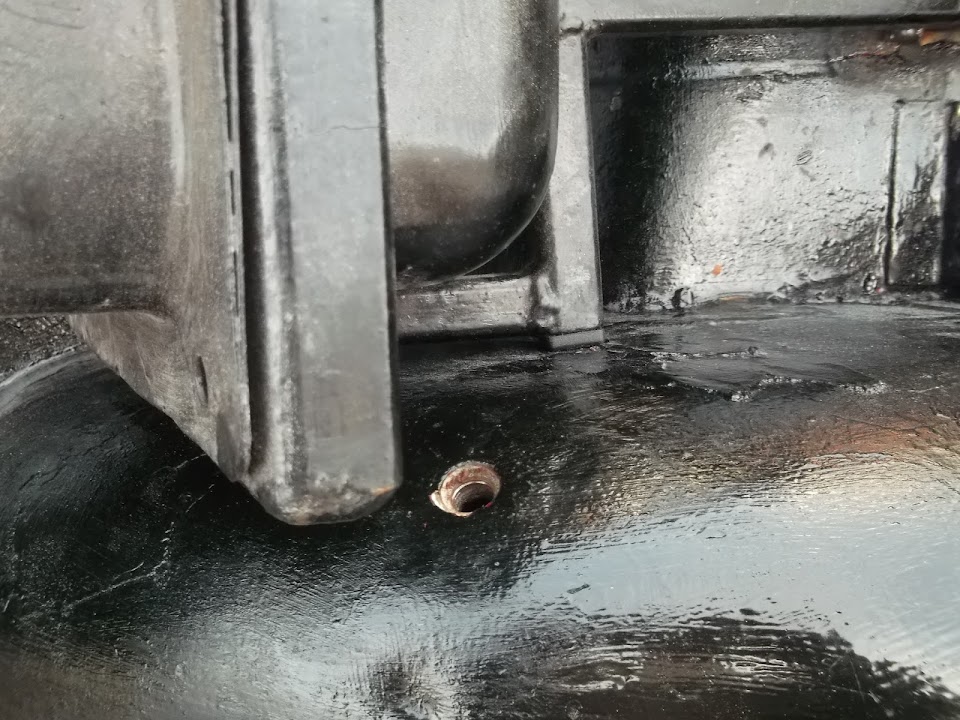
Well I think I will simply re-drill it and cut the hard line to be just inside the boot floor.

Then I will run the flexible pipe along the framework to meet it there.


This will allow me to simply seal off all the gaps where the frame and arches meet to make the cockpit water tight.


I think it would have been much harder to seal the hard line if I'd attempted to feed it through one of those gaps.

So the big jigsaw puzzle pieces were slowly, but surely, coming together nicely. :cool:

But 'the elephant in the room' was still the need to make the Cordite body shell fit around the Spitfire bulkhead.

Well today was the day to "just do it" as Mr T would say and then see what happens. :eek:

End of Part 1...
17 Jun 2014, 6:56pm
No Turning Back Now - Part 2:
Given the running joke on Scottie's build thread I was thinking of calling today's post...

[color="red"]The Wembley Angle Grinder Massacre[/color]

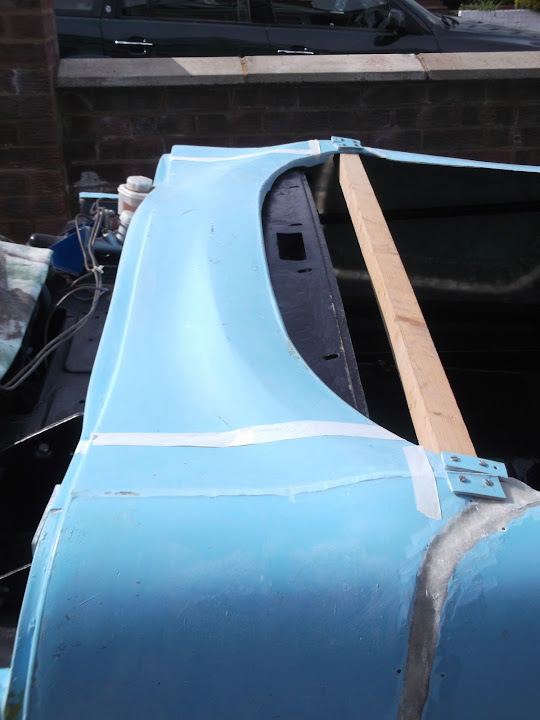
It started when I had the body shell off to do the welding as I cut a length of wood to fit inside the body shell.

This was taken before I starting to trim the wood.


But I bottled out of fixing the wood to the body until I'd re-fitted it back over the framework.
( I was convinced I knew where I wanted it to go, but had forgotten to mark it. :rolleyes: )

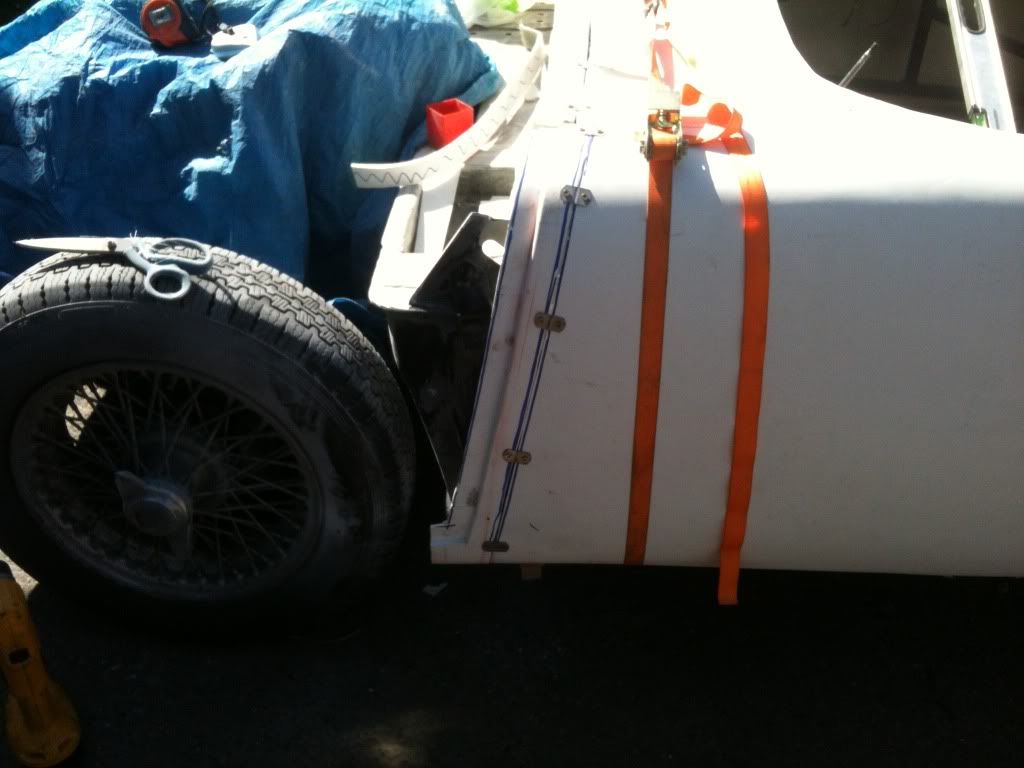
With the body in place I used some of my fixing brackets and some wood screws to brace the top of the body shell.


This photo should give you another idea of just how much body shell needs to drop.


Then before I had the chance to change my mind, I propped up the body shell to make room for the angle grinder...


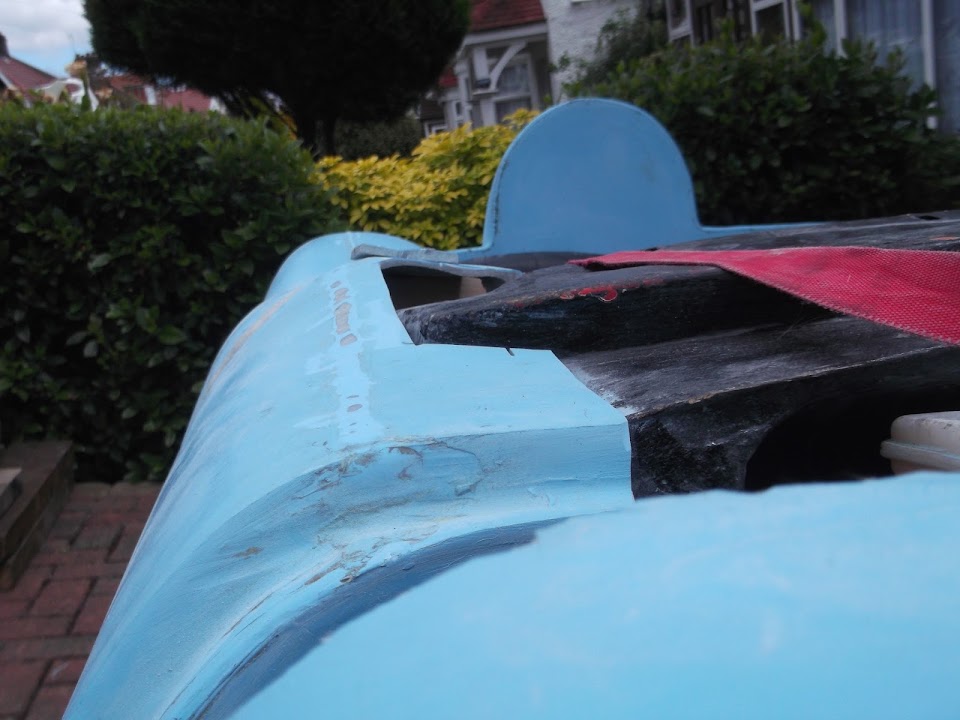
... and cut out the middle section completely. :eek:


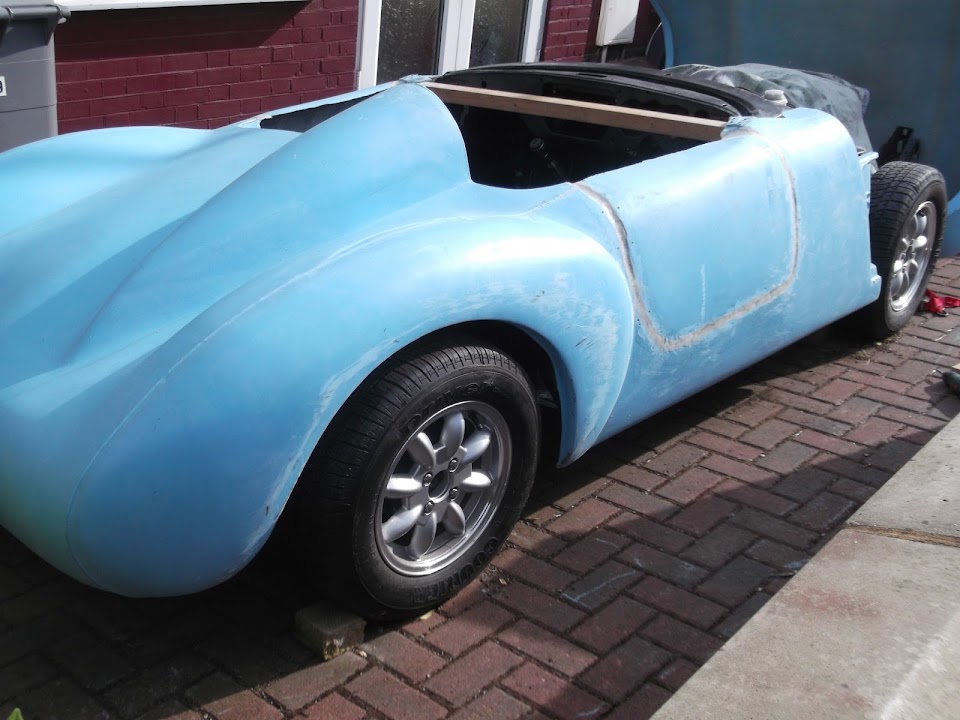
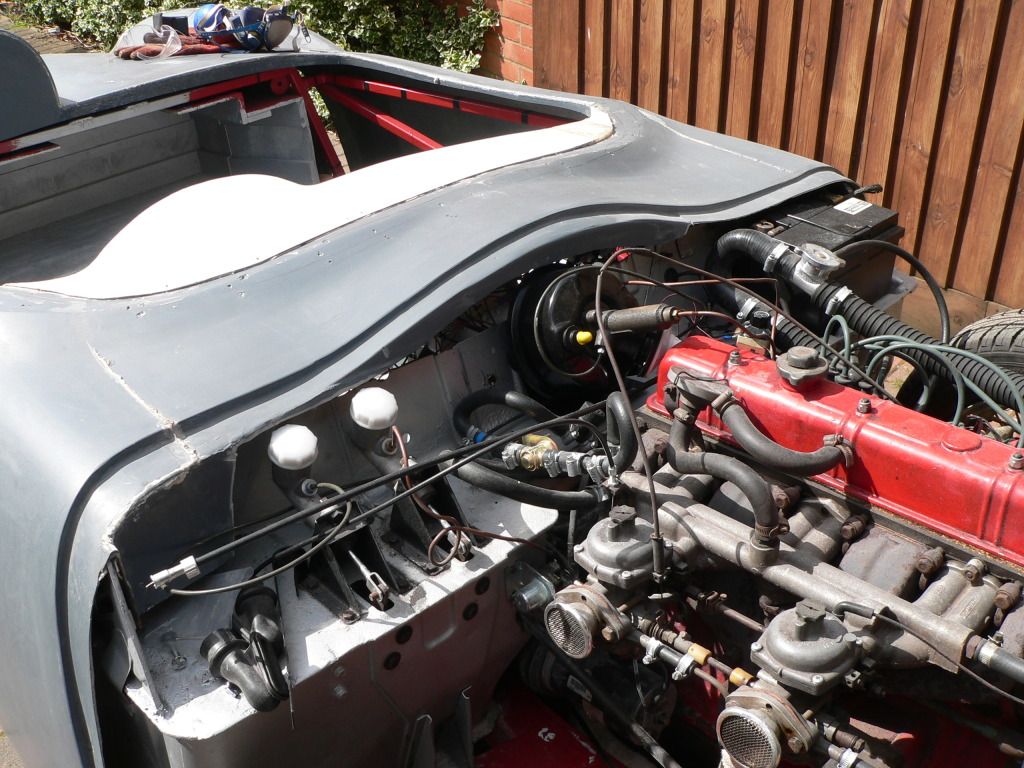
Which left the body shell & bulkhead looking like this.


I knew this wouldn't be enough, so I continued to trim away with the angle grinder until the body finally dropped into place.

Unfortunately, in my excitement it now appears that I forgot to take any photos of the final shape of the remaining edges of the body shell.

Still, you can see these levels are miles better.


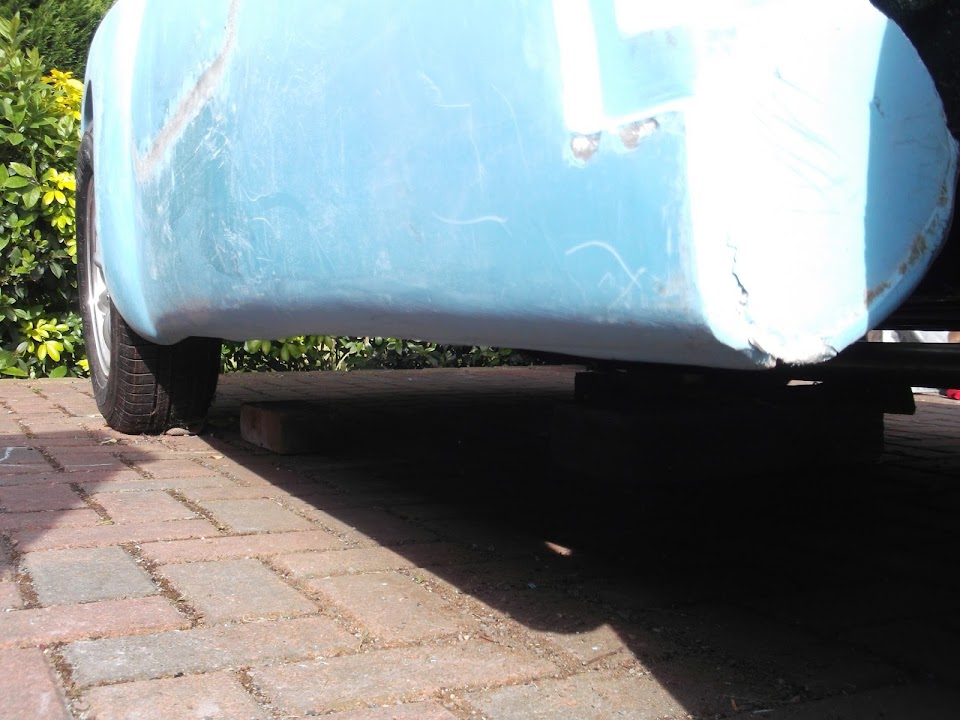
Also the bottom of the body shell now completely covers the bottom of the frame and bulkhead


You can also just make out how the door gap is much closer to the door opening frame work.


The final job of the day was to see how I would sit relative to this new body angle.

So I used the off cuts from the rear arches brackets to prop up the seat at the back.


These are actually a bit bigger than the real seat spacers, so I will actually sit lower.

Then I roped my wife into taking the photos.

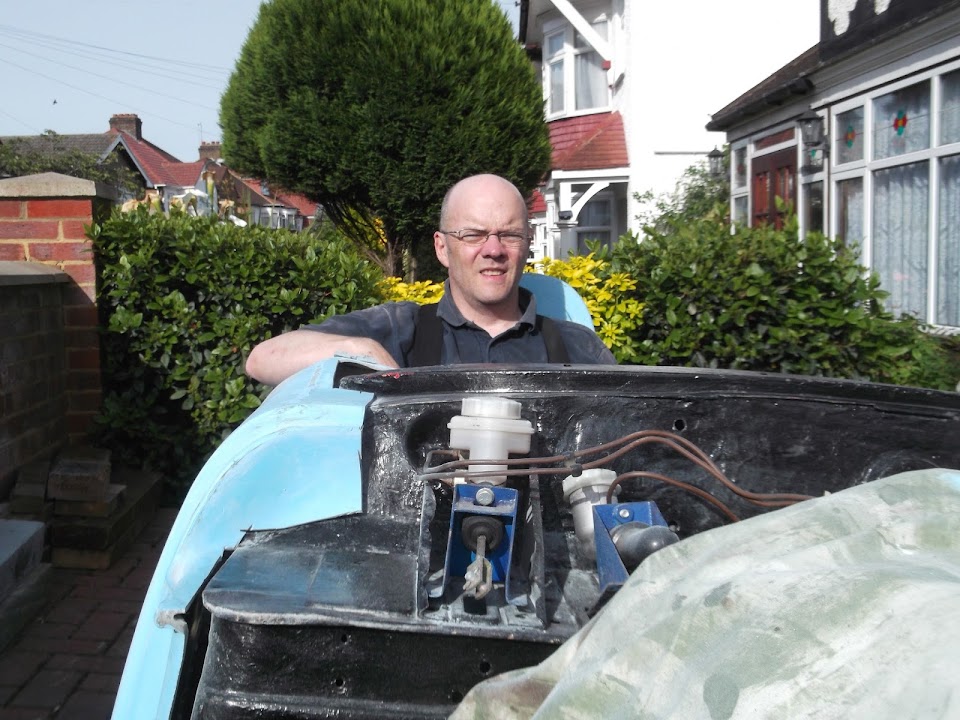
Head On:
( Sorry for the facial expression, but the sun was in my eyes. )


- You can just about see the "cut outs" required to get the body shell to sit nicely on the bulkhead. )
- I need to dig out the aero screen again to see if I can see over the top of it.

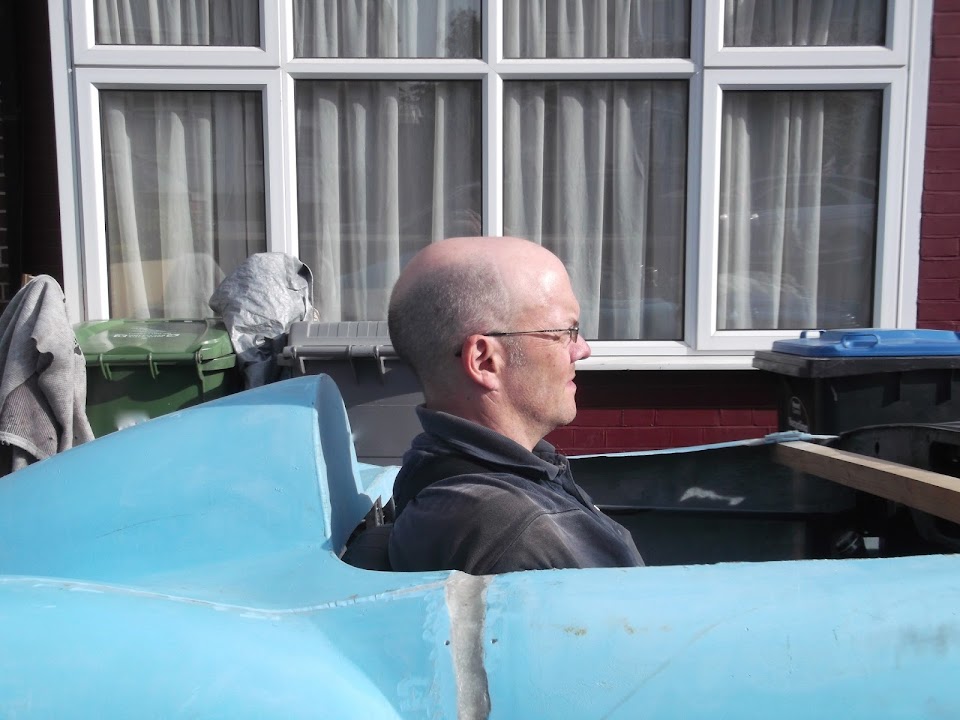
Side On:


Based on this view, I might actually just bolt the seats directly to the floor to drop down a little lower.
( Well, subject to the aero screen height point above. )

Rear View:


Given all the other body work I will need to do, I don't think I will attempt to centralise the hump.

Overall, this was an epic day for my build in terms of making a commitment to getting the car built. :cool:

There was a time when I really wasn't sure that my Frankenstein build approach was going to work.

Obviously, there is still a shed load of work required, but I am prepared to give it a go.

I will take a few more photos tomorrow and try to talk you through the next round of "issues" to resolve.

So until next time, take care, Paul. :)
17 Jun 2014, 8:04pm
Wow!!! Brilliant progress. I know that you've encountered lots of little "bits-n-bobs" (putting it politely) that you're having to correct along the way and i certainly know what that's like, but it'll be SO worth it! :)
17 Jun 2014, 8:32pm
Move the hump... otherwise it will always be in the back of your mind! well slightly to oneside...
Is the area around the windscreen equal on both sides? mine is approx 1 1/2" different.
18 Jun 2014, 11:32am
Wow

WOW Paul this is looking fantastic. I haven't been around to see the forum for a while and now you have moved on massively. Well done, top work.
It's obvious to see how much your confidence in your own ability has moved on as you seem to just give things ago knowing you can resolve/get over anything.
Keep going, your car is (does) going to look amazing. Still can't believe you are doing this on your drive without a garage:loco:, there are people all over the world who have thrown the towel in and not finished their kit car builds and some of them had massive garages with endless cash for parts and tools and were building giant maccano kits with everything done for them. looking forward to the next instalment buddy.
UFO17.
18 Jun 2014, 4:08pm
Dave - Cheers, I had actually read this post of yours before I started cutting and it really struck a chord...

davecymru wrote:
6) I'm a hell of a lot less afraid to experiment and tinker with things than i was at the start.
7) ... having something that i can do whatever i want to with, tinker with, redesign etc. without having some say "that doesn't look right" ...


I hope to end up with something that will work and that will be a major achievement in itself.

So pity the fool* that tries to tell me my car "doesn't look right". :icon_twisted:

( * Trademark the other Mr T. )

Gary - There was a time when the hump would have bothered me, but not any more.
There is no way I can achieve any sort of perfection with this build, so "rough & ready" will do for me.
Although I will put a lot of thought into whether I can make my spare "driver side" hump fit the passenger side.

I've put some photos of the "windscreen" areas in my update below.

UFO17 - Thanks for your kind words and I like the "loco" smiley :loco: which sums up building on the drive nicely.
I think it is fair to say I have considered throwing the towel in at certain low points of this build.
But I really take a lot of positive vibes from all the encouragement I've got from this forum.

- - - - - - - - - - - - - - - - - - - - - - - - - - - - - - -

The Calm After The Storm - Part 1:
Following yesterday's angle grinding frenzy, today was a much quieter, calmer and more reflective affair.

Actually, I didn't have much time to play with, so I simply started the next round of "mock up" / beard scratching work.

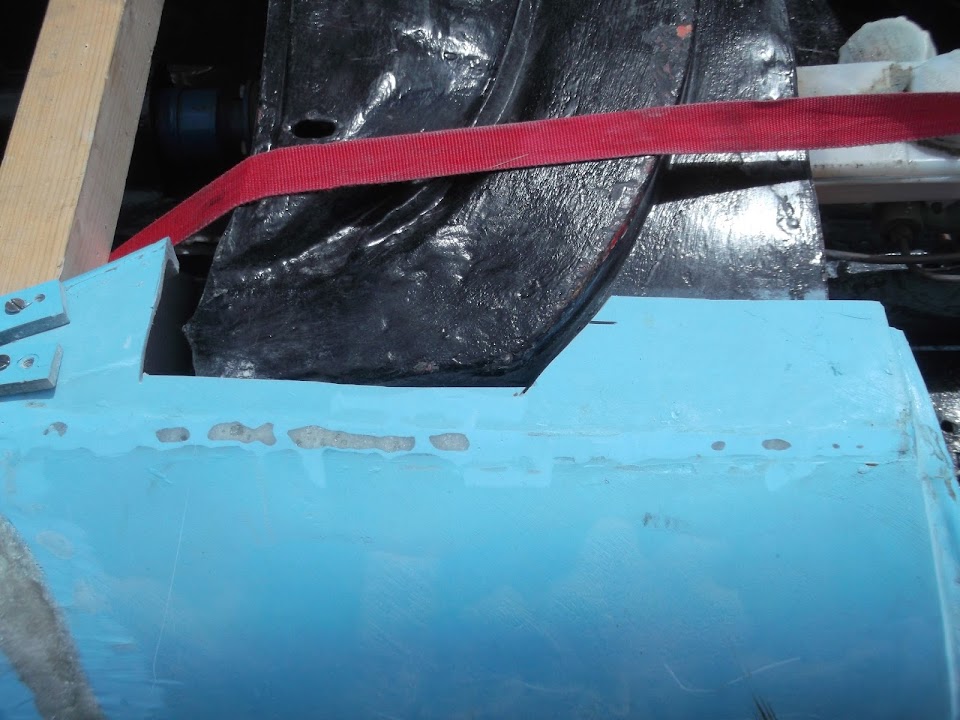
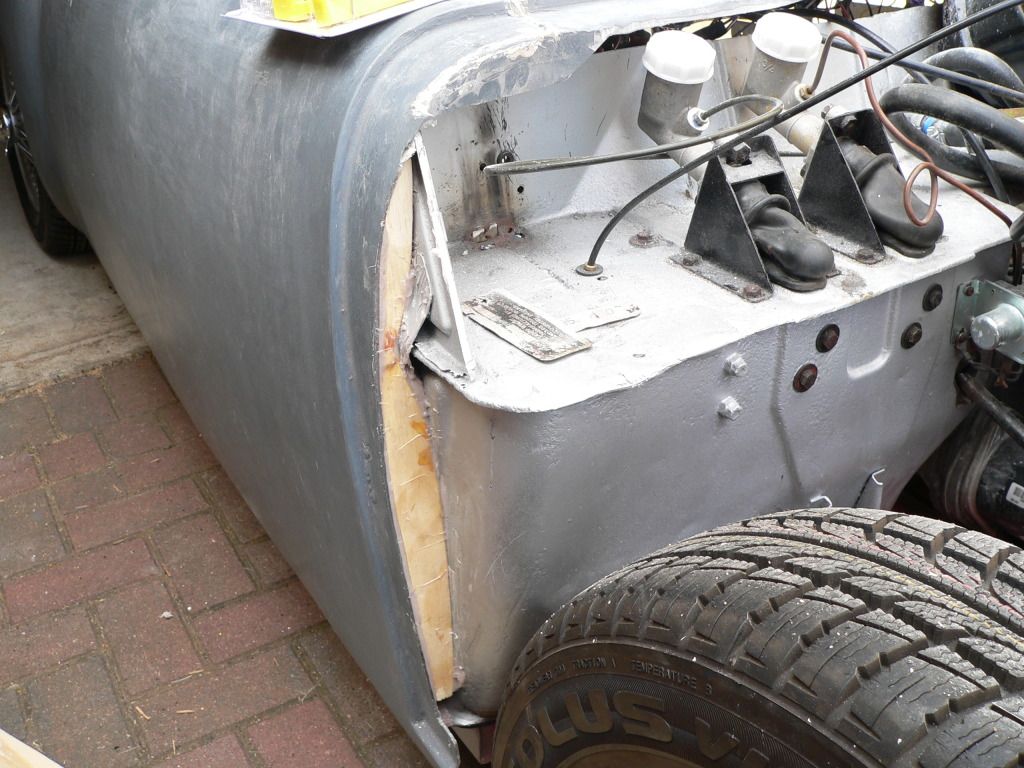
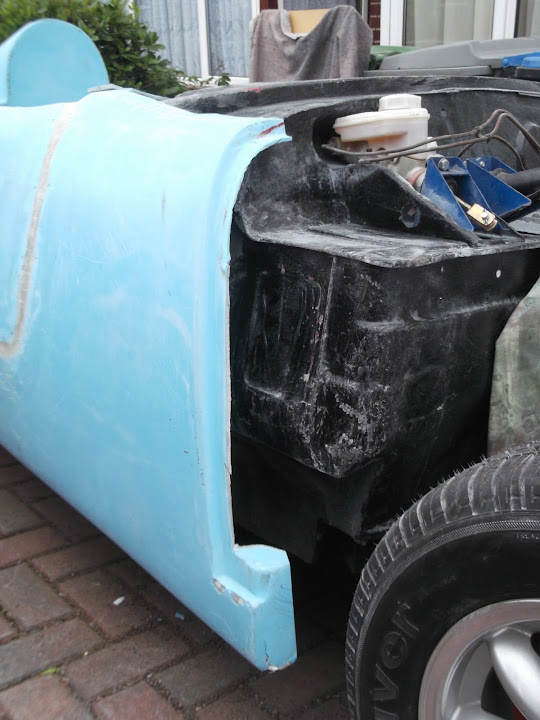
I'll start with the photos I forgot to take yesterday showing the edges of the bodywork as they stand now.

Passenger Side:


Driver's Side:


If I trimmed these edges a bit more, the body shell could actually drop a little bit further.

But that may cause a few problems with creating a new bonnet "lip".
( I'll come back to this lip later on. )

To follow up on Gary's point about the differences between each corner of the cockpit.

Passenger Side:


Driver's Side:


Both of these corners will be cut away completely so I can construct a flowing join with the rest of the body work.

I will also be trimming the side edges of the cockpit to square things up a bit and provide more room around the seat backs.


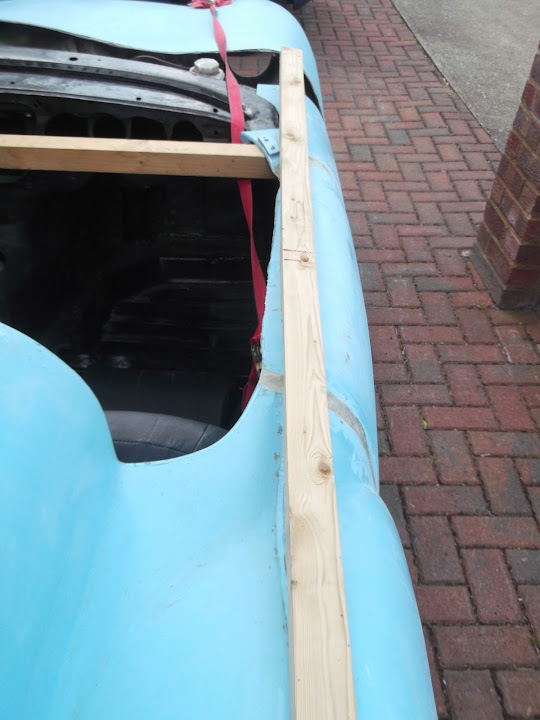
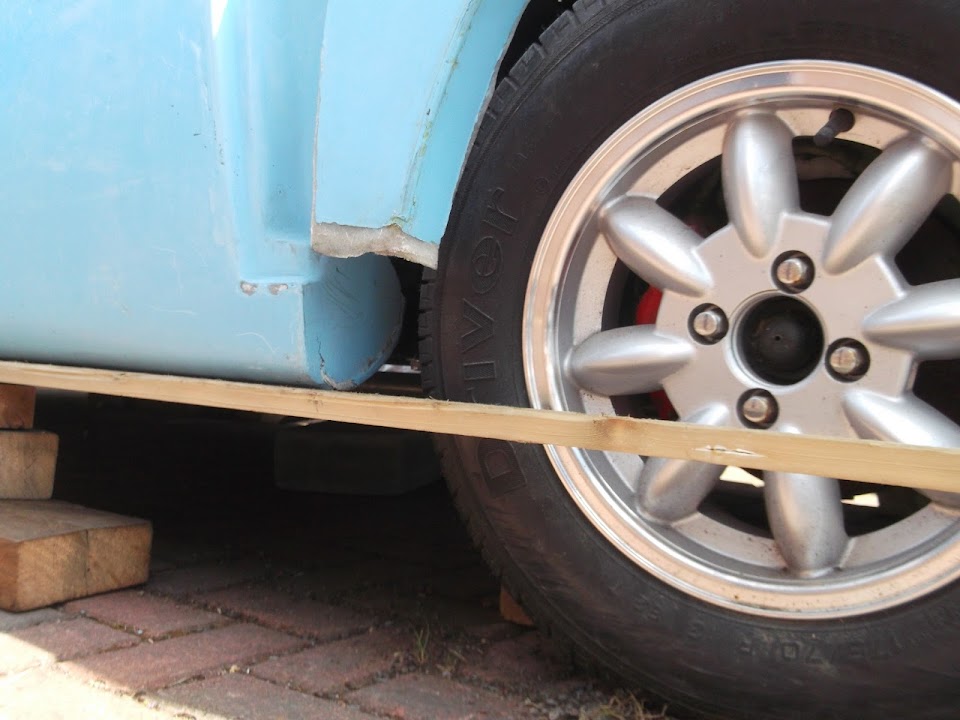
While I had the length of wood out, I decided to double check the alignment of the bottom of the body shell.

So I propped the wood up.


And you can see that the bottom of the body shell sits below the centre of the wheel.
( Unfortunately, the wall in front of our drive stops me taking a proper side view photo. )


This seems to be roughly the right position based on what other builders have achieved.

I dug out the original Cordite screen just for comparison.


Whilst it looks like I would be able to see over the top of this...


Building the body shell up to match the contours of the screen holder would be a ton of work.
( Plus it would probably look terrible. )


So twin aero screens it is. :cool:

There are two "flat" areas on the Spitfire bulkhead, but the nearest to the driver is no good.


As it would be very difficult to attach the mounting bracket on the right (as you look at the photo above).

So I tried the screen on the other flat section and that should work.


Again it should be possible to see over the top of these.


I assume that for the MOT, I would just need to adjust the tilt angle to be on the safe side.


End of Part 1...
18 Jun 2014, 4:09pm
The Calm After The Storm - Part 2:
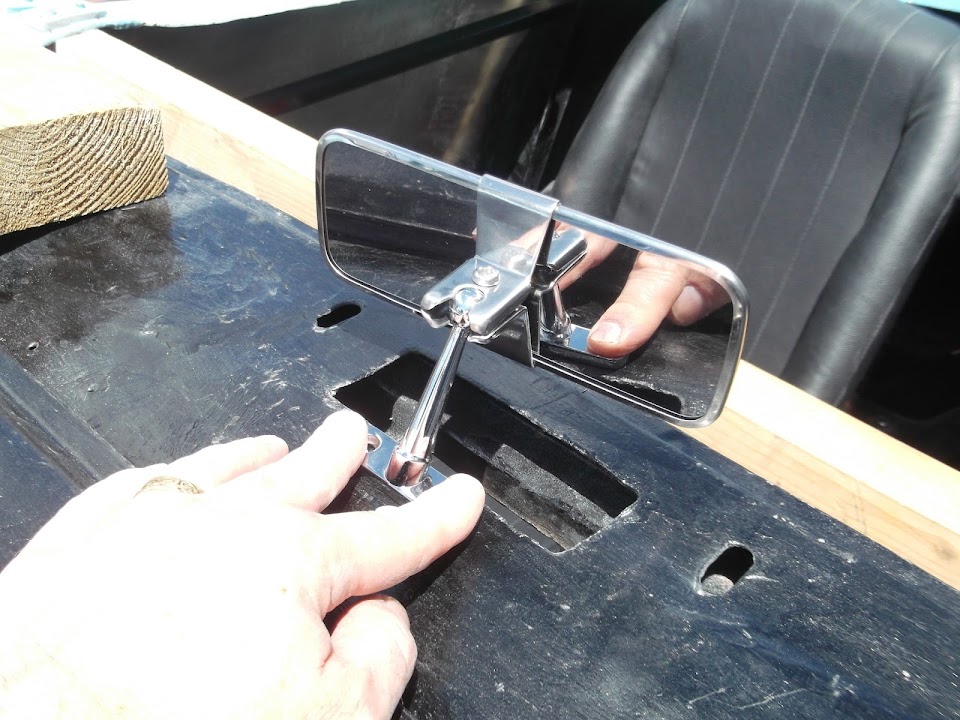
Next I took out some of my "shiny" bits, so I could see how they would fit / work.

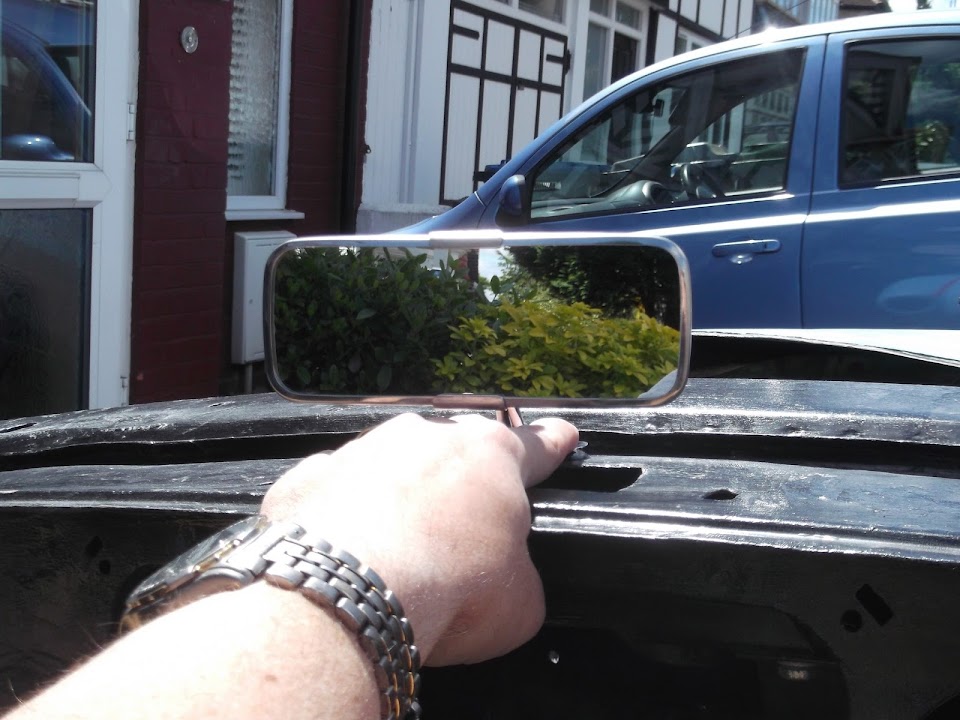
I started with the rear view mirror.


This seems to work reasonably well here showing the hedge behind me, but I have options to move it about a bit.

As I can either "patch" the big hole next to it, or use the hole to mount the mirror to the fibreglass covering the bulkhead above it.

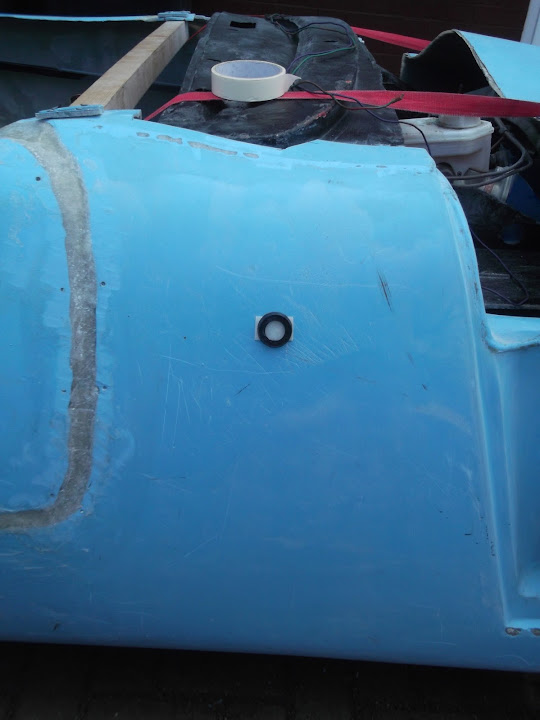
Next it was the side mirrors.


Now it was possible to see "something" out of the driver's side, but admittedly not very much.

I actually need someone to hold the mirror in place on the passenger side to check the view.

However, I expect that the mirror on that side will be purely for decoration. :rolleyes:

I just need to go and have another look at some finished Spyder photos to re-check where their mirrors have been fitted.
( Plus I've always like the way that Mr T built those brackets for his mirrors. )

The reason for confirming the plan for the mirrors at this stage, it to re-enforce the body shell where they will be mounted.

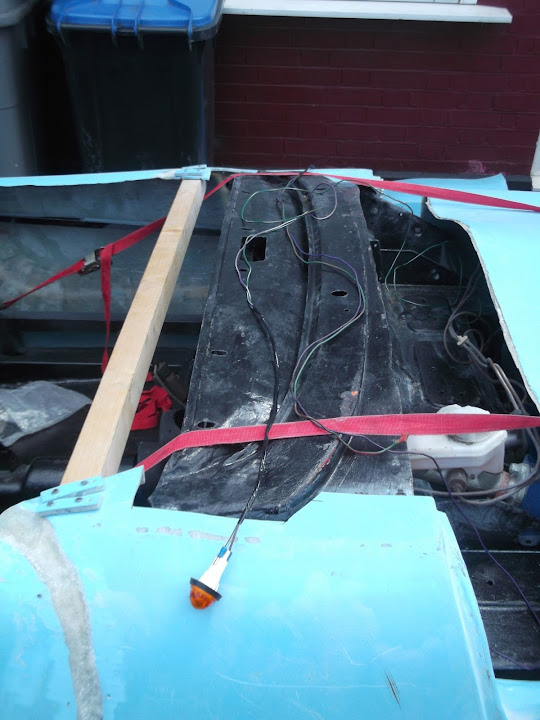
The other thing that needs to be fitted in this area are the side repeaters.

You can see I have plenty of wire available to connect these to the loom behind the centre of the dash.


If they were mounted somewhere around here...


Then there would be plenty of access between the Spitfire bulkhead and the body work in here.


Again, I will have another look at some more photos to see if there is a common fitting point.

I quickly threw my new gear box tunnel cover into position.


As I need to mark up and drill the bulkhead for all the fittings to go back in.
( I previously welded all the holes, cracks, etc., up when restoring the bulkhead. )

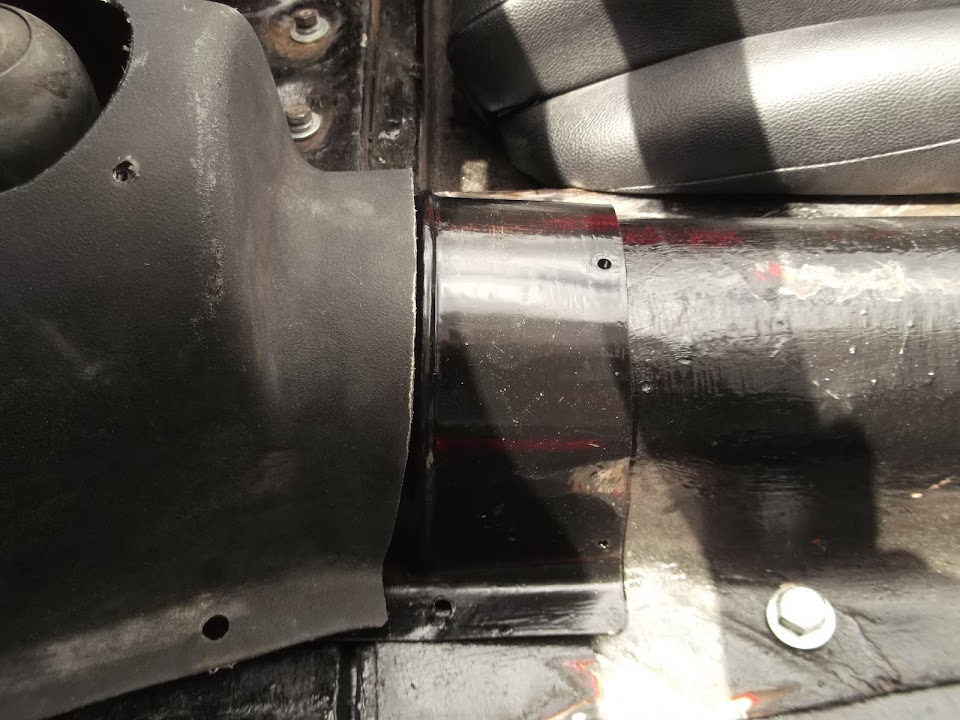
I also found the connecting section that joins the hand brake panel to the gear box tunnel cover.


I've since gone back to look at photos of the arrangement in my original donor Spitfire.

I think the tunnel is supposed to go "over" the bracket, but the fit is not great at the moment.

I will double check this using my old white tunnel and see if I simply need to trim a bit off the end of the tunnel cover.

Here is a comparison between the box section I used to prop the seat up and the real seat spacer.


So as I mentioned yesterday, my actual seating position will be marginally lower than the photos.

My final checks for the day were what I need to do to build a "lip" for the bonnet.

The first "challenge" is that the Cordite bonnet lip is further forward than the Spitfire one.
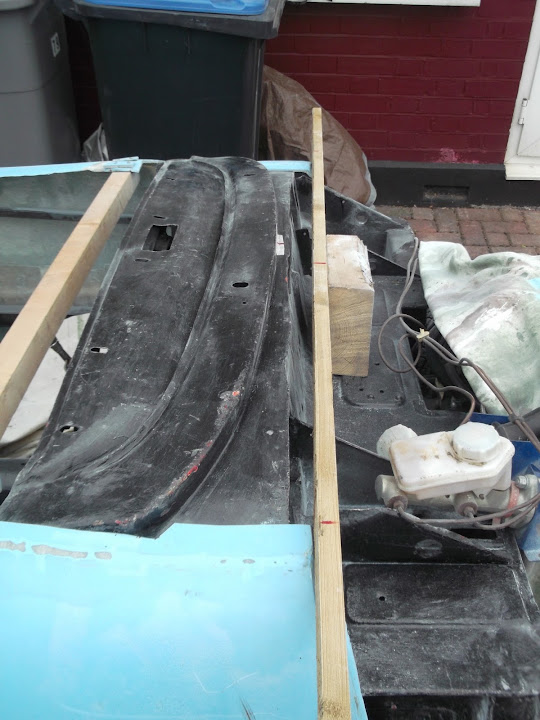
( The lip ends to the right of the wood as you look at this photo. )


Note:
This position is fixed based on the back of the cockpit pressing up against the framework.

However, it should be possible to extend the existing Spitfire lip outwards as far as is required.


It should even be possible to add a small / gentle budge in the centre similar to the original one.


But the real test of my fabrication skills will come at the corners.

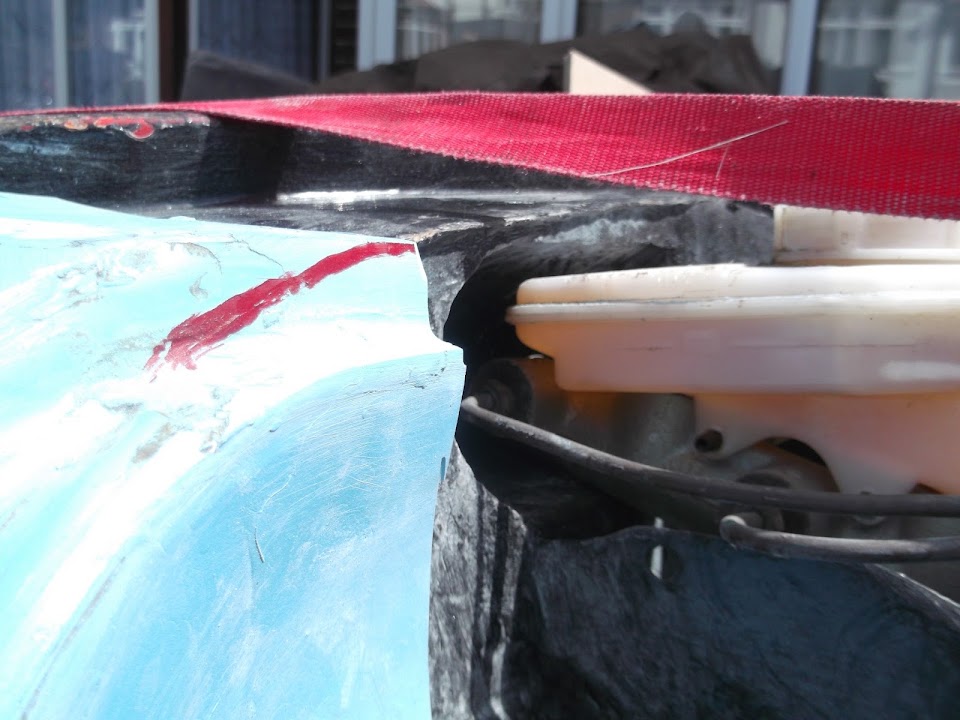
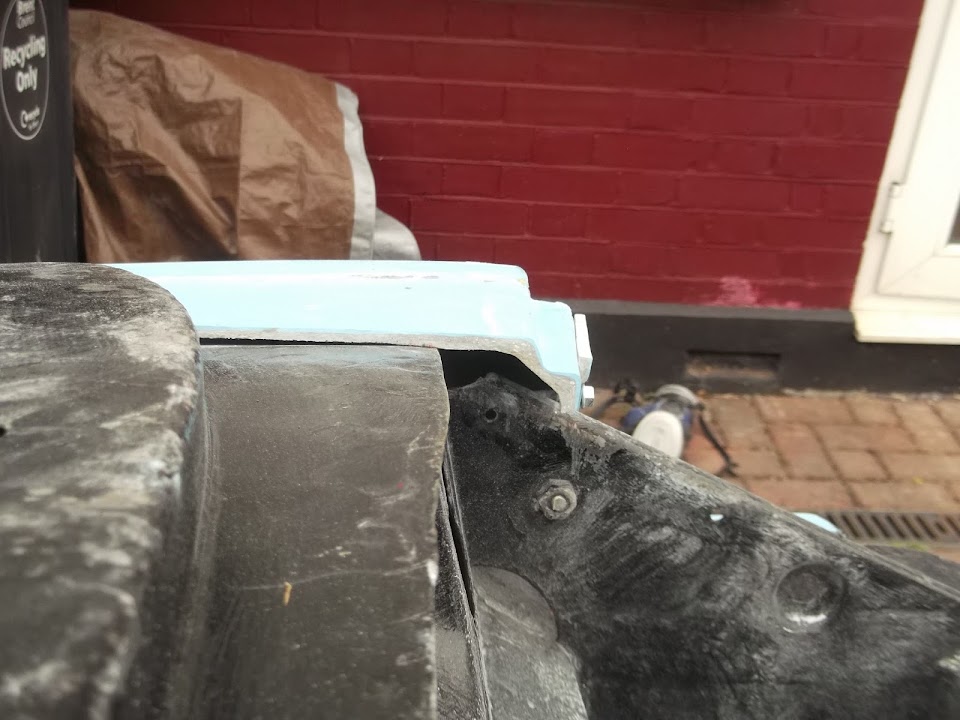
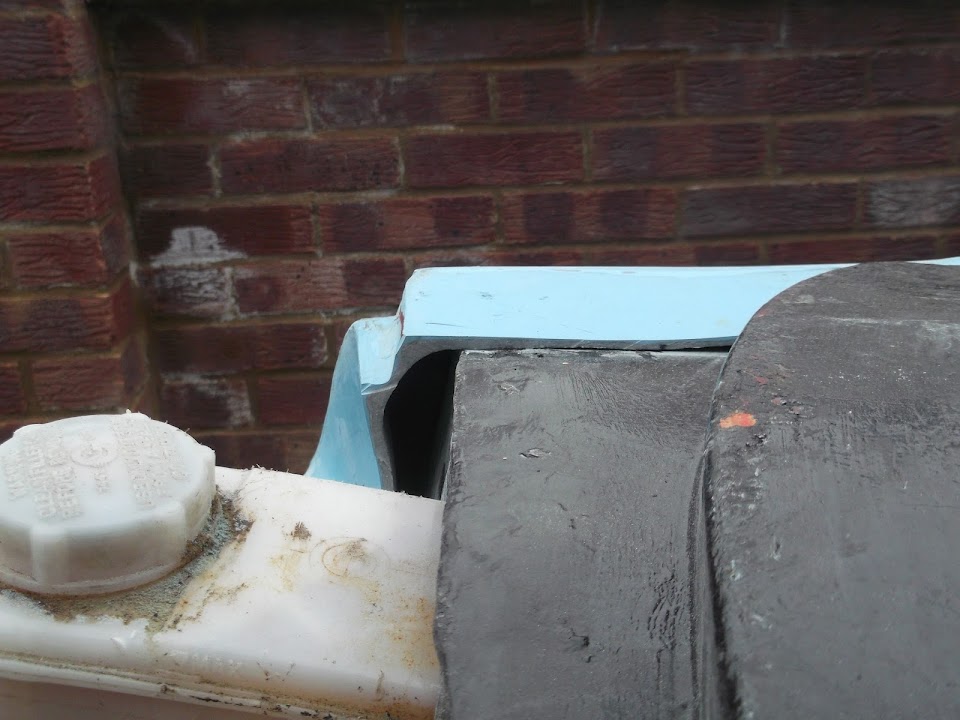
I want to reshape the bonnet lip to follow the red line I've drawn on.


As this would help me clear the top of my dual line master cylinder.


Clearly there is a lot to think about and I need to decide the best way for me to tackle this.

Some of the work I want to do on the body shell will be easier to do with the body shell off the frame.

E.g. The boot opening (which I am desperately trying to avoid thinking about at the moment).

But there are other jobs that may well be easier to do when the body shell is bonded into position.

At this stage, I actually think "bridging" the body shell across the bulkhead may be one of those jobs.

As I would "simply" need to lay the fibreglass matting directly over the bulkhead and build up the shape required.

Either way, I have a lot to think about and I will take the time required to get this right if I can.

Overall, I believe I have reached quite a significant stage of the build.

As although the road ahead may be long, it definitely reaching a point with a car that will work at the end of it. :cool:

Until next time, take care, Paul. :)
18 Jun 2014, 4:47pm
Well Paul, your car's coming together nicely even though you're cutting it up. Keep plugging away and you'll be on the road before you know it.

I can recommend mounting your mirrors on some type of extension so they're actually of some use in seeing what's behind you. Nobody's ever batted an eyelid at the way I've mounted mine -


I'm not the only builder to have put them up on pedestals either -

18 Jun 2014, 5:21pm
Getting closer all the time, Paul.

Do I remember correctly that you asked Gary to provide it in blue gel coat so that you wouldn't have to paint it? Good thinking!
19 Jun 2014, 5:09pm
Mr T - Cheers, it is odd that cutting the body shell up actually makes me feel like I'm making progress, despite all the extra work it creates.
Your build thread remains the main reference document for my build, I've lost count of how many times I've referred back to it.

Oxford - I think is is fair to say there will not be much of the blue visible by the time I finish cutting, shutting & filling! :rolleyes:
I must confess that I also expected the "gel coat" option to be a glossy finish, but you live and learn.

- - - - - - - - - - - - - - - - - - - - - - - - - - - - - - -

Trying to see the wood for the trees - Part 1:
This photo, that GaryH posted the other day, got me thinking.


So I went back through some other build threads (Mister Towed, DaveCymru & TrlTone) last night.

Because the Spyder body shell goes over the top the Herald bulkhead, there are some similarities.

There were two areas that really caught my eye, the first is taken from Mr T's build.

These photos show that the horizontal bonnet lip, doesn't really need to have any fibreglass perpendicular to the edge.


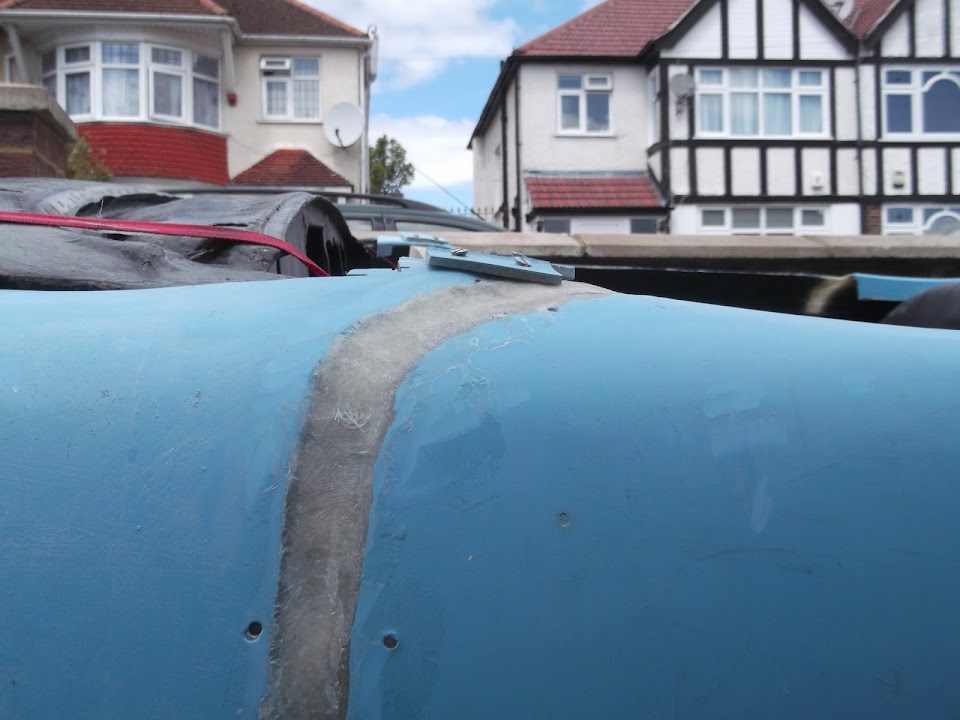
So out came the grinder and the body shell "bloodbath" continued...


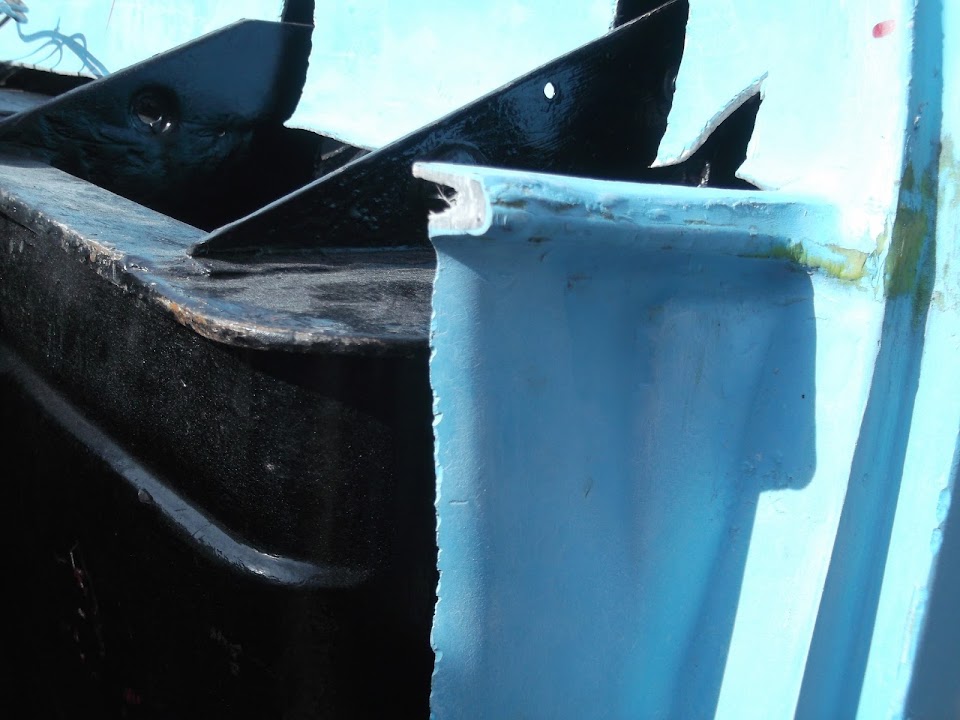
As my bulkhead doesn't have a traditional sill, my "filler" piece will be significantly larger at the bottom.

- - - - - - - - - - - - - - - - - - - - - - - - - - - - - - -

You may remember my "vision", when I finally spotted the difference between the Cordite & Spitfire's bulkheads.

This was one of the Cordite's development photos.


A line extended from the bottom of the bulkhead / top of the chassis would reach the bottom of the bonnet lip.

Whereas, the Spitfire bulkhead is "taller" from the pedal mounting shelf to the bottom of the bulkhead / top of chassis.
( In this case, the chassis is represented by the breeze blocks. )


So today I double checked the level of the Spitfire chassis relative to the Cordite bodywork, & it was still a little high.

So I removed a little bit from both sides of the body work which dropped it a faction more.

Now the chassis lines up pretty well with the end of the bonnet lip.


Which means this is as close to the "factory" body line as I am likely to get.


I think this will give me a decent enough stance, so hopefully the car shouldn't look too bad. :pray:

- - - - - - - - - - - - - - - - - - - - - - - - - - - - - - -

The other thing that jumped out when I was reading these threads was the "cut & shut" work done on the passenger side.

This is from Tony's build.


Looking back on the work Mac did on the new Navigator buck, this area of the Cordite was also cut out & re-joined.

Which would tie in my this old quote I found (while looking for something else)...

lancelot link wrote:
... The Cordite ... its a fairly mild tweak to an existing option ...


If I was a betting man, I'd wager that the Cordite simply inherited one of the Spyder's alignment problems.

At first glance the passenger side does appear to be further forward than the driver's side.


So I tried to measure the difference across the width of the car using the bulkhead as my reference point.


I think the passenger side is ahead of the driver's side by around 1 cm across a gap of four feet.

Given some of the other alignment issues that Mac had to fix, that is practically "spot on"! :icon_wink:

Jokes aside, I need to pick my battles and at this point I am prepared to live with the difference.

As I will be building a new scuttle over the top of the bulkhead I can at least make that straight (ish).

End of Part 1...
19 Jun 2014, 5:11pm
Trying to see the wood for the trees - Part 2:
I've also come to the conclusion that I will need start work on the scuttle before I remove the body shell.

Even if I don't finish all the "sculpting" work, I think a basic join is required to allow removal without any damage.

In order to work out some possible options I cut up the middle section I'd removed previously.


Looking at that also reminded me that the Cordite bonnet lip was not a consistent depth from one section to another.


So if I can build a lip that is the same depth across the entire body shell that will be an improvement.

Some more cutting allowed me to test what the original "bump" would look like if the lip was aligned with the outside edges.


To be honest, this is just too high in the middle and I will need to build something shallower.

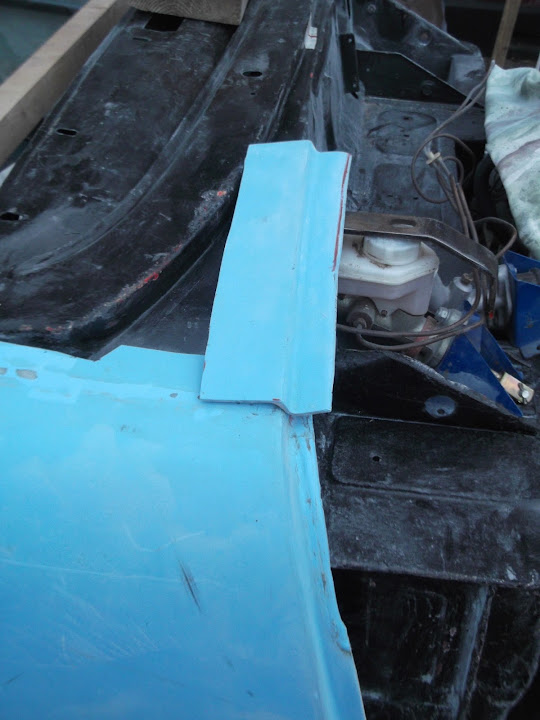
So I cut the centre section in two, so see if it might help me get over the brake master cylinder.


If I can design some curves that clear this with ease, that will make my life a lot easier in places.
( Getting the bonnet to fit the new body shell profile is going to be a nightmare what ever I do. )

Note:
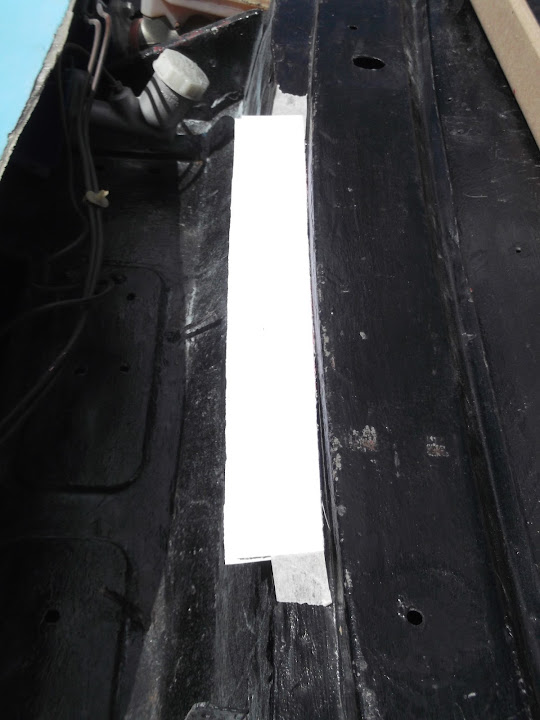
I need to build a gentle slope from the edge of the body work back to cover the bulk head "corner".

At this point the dirty black cloud overhead started to drizzle, so it was time to stop & cover everything up.

- - - - - - - - - - - - - - - - - - - - - - - - - - - - - - -

When "play" resumed, I struggled to come up with a simple plan to form the bonnet lip.

As I just couldn't quite get the 3-D puzzle working in my head. :rolleyes:

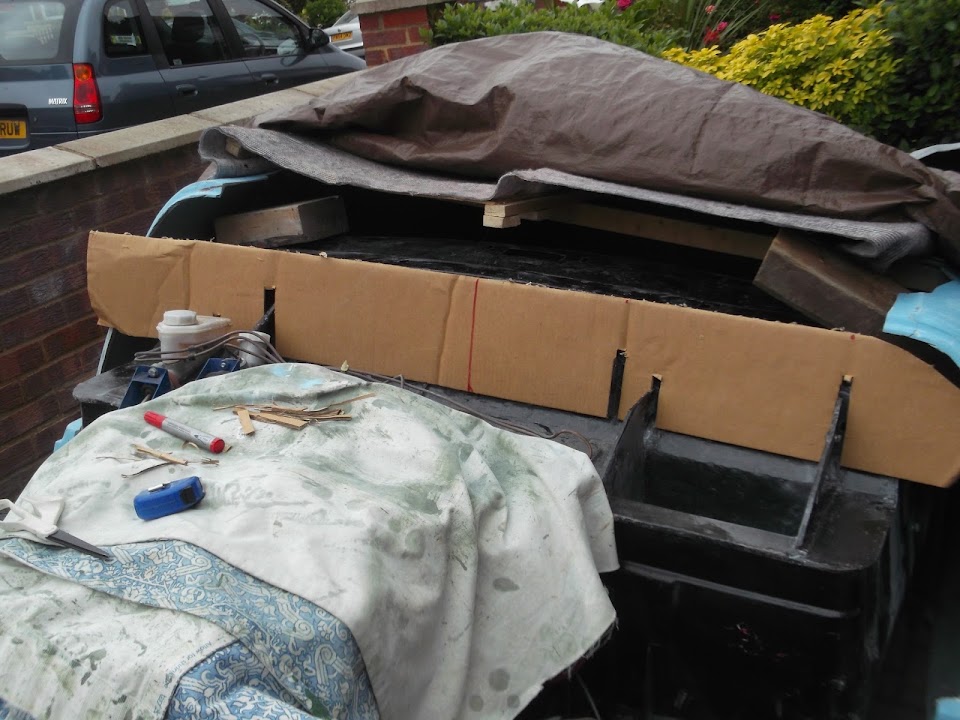
Initially I started working on a large cardboard template to draw a profile.


Then that was supplemented which a smaller template for the master cylinder.


Before I gave this approach up as a bad idea.

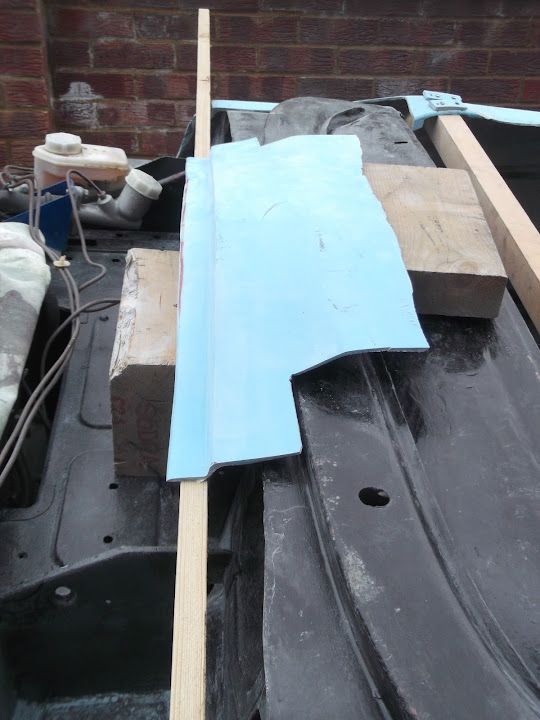
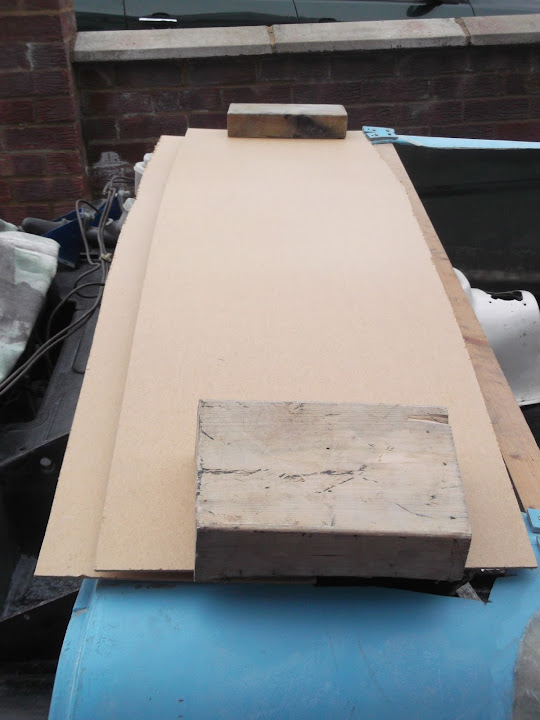
My next attempt involved cutting out some hardboard to match the profile of the bulkhead.


This is actually a bit wider than I need, but gives me roughly the right profile.


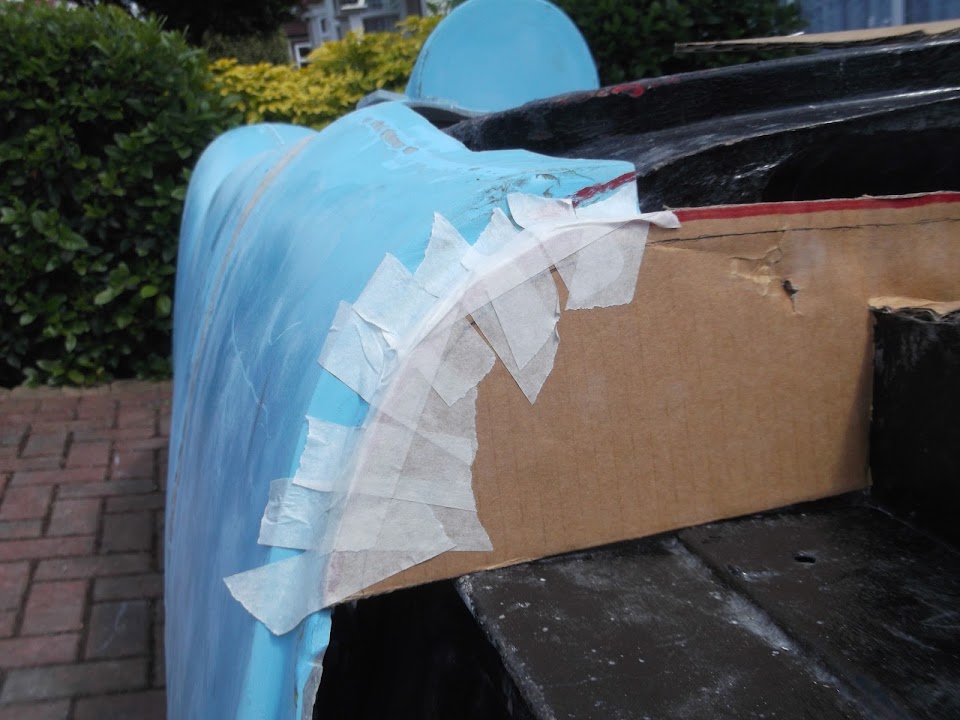
Although getting the edges to blend in is still going to require a lot of work.


Hopefully the next photos give you some idea what was confusing me earlier.

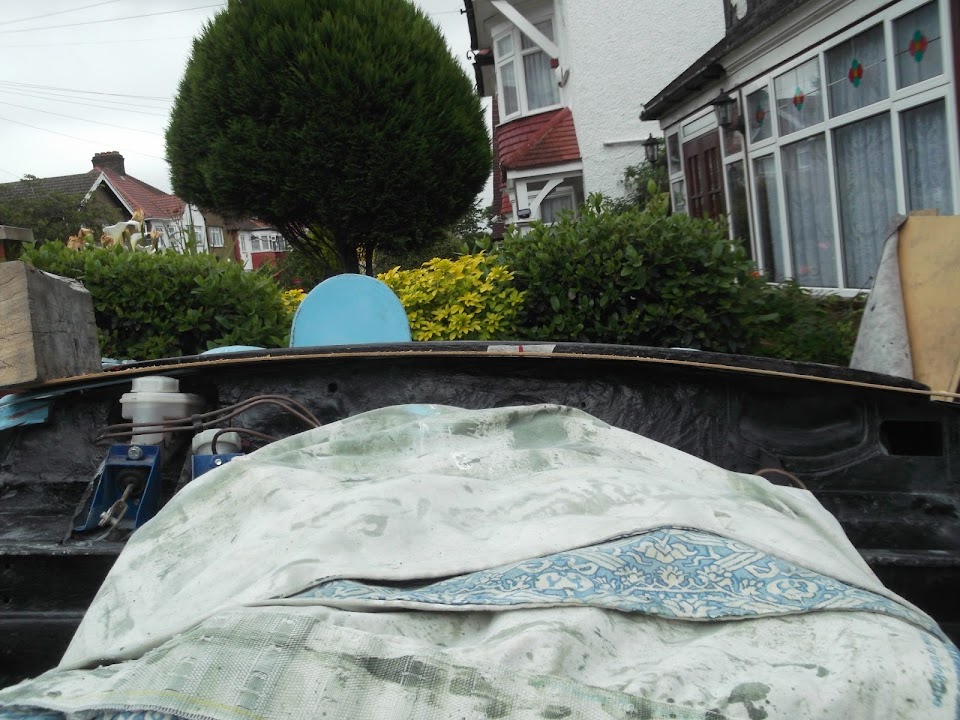
The lip on this off cut is roughly where the new bonnet lip needs to be.


The key point is that the "top" of the lip will be roughly level with the top of the bulkhead, which is further back.


Once I stopped thinking about where the Spitfire bonnet would shut, I made slightly better progress.

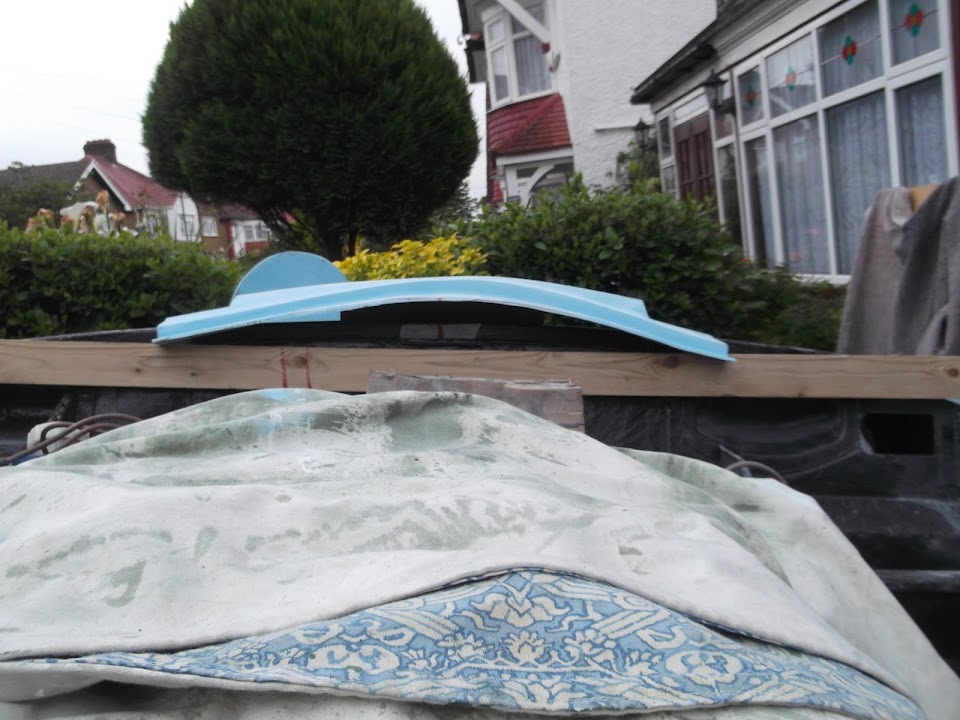
Then I used what was left of the hardboard to see if that would form the basic outline of the scuttle itself.


I would need to make spacers to provide a constant gap along the bonnet lip.


But would be able to prop up the back of the scuttle to give it some shape from the bulkhead to the cockpit.


These are just my initial plans and they clearly need some more thought / work.

The weather stopped me making any more progress, but I've still got plenty to think about.

Cheers, Paul. :)
19 Jun 2014, 8:40pm
the sill looks very level, will the hardboard be turned into a base for you to make fibreglass panel?
20 Jun 2014, 7:45am
Paul, I'd strongly recommend that you shape your bulkhead to fit the contour of your bonnet, not the other way around or there'll be a knock-on effect that will leave you having to redesign the whole front end of the car. :(

As for clearing your master cylinder, I'd just put a bulge over it. That should be easy given the fabricating skills you've developed over the last year or so and there's no reason why a bulge shouldn't cross from the bonnet onto the bulkhead.

You could either cut the bulge through the middle or keep it intact so it lifts off the bulkhead when you raise the bonnet (hope that makes sense).

I just formed the bulge I needed to clear my airbox with stainless mesh and 'glassed over the top -


Simple...
20 Jun 2014, 8:09am
Wise words once again from the venerable Towed Paul!

What he says makes perfect sense.

I think you are a brave man! All that cutting up. You would have never felt confident enough to have done that at the start of your build!
20 Jun 2014, 9:41am
Mister Towed wrote:
Paul, I'd strongly recommend that you shape your bulkhead to fit the contour of your bonnet, not the other way around or there'll be a knock-on effect that will leave you having to redesign the whole front end of the car. :(


Totally agree with the above as i've been there and done that, all the pain and anguish can be seen on my old Spyder thread.

I was learning at the time and didn't know any better, and TBH how things ended up were nice, but it was a LOT of faff that i could have avoided!
20 Jun 2014, 5:00pm
Gary, Mr T, Scottie & Dave - Thanks chaps, I'll try to cover your points in the post below. :cool:

- - - - - - - - - - - - - - - - - - - - - - - - - - - - - - -

Thinking Time:
I been on sick child duty for most of the day, so whilst I've not worked on the car, I have been thinking about it.

Now whether that is a good, or a bad, thing remains to be seen. :icon_wink:

Oddly my thoughts started when Phil9 put this picture of his car up this morning.


It reminded me that those curves across the bonnet / scuttle were one of the things that drew me to the car in the first place.

I guess I had reached the point where I had given up on the idea of making my car look that good. :rolleyes:

It is true to say I wouldn't have dreamed of butchering the body work the way I did when I started.

But the cold reality is that the body shell would simply not fit over the bulkhead in its original form. :icon_sad:

And the bulkhead is being used to overcome other problems with the Cordite framework and Cordite fibreglass bulkhead. :rolleyes:

So the next compromise was that if I wanted the bottom edge of the body work to look OK, the cutting had to start.

I knew that if I changed the bulkhead that I would have to butcher the bonnet to match.

However, I had figured that if I was able to make a simple curved bulkhead / bonnet lip then it would be easier for me to match.

It was actually Micky1mo's "hybrid" that gave me hope that this was possible.

In his case, the bonnet still retains all of the nice curves at the front.


But it all flattens out to a simple bonnet / bulkhead edge at the back.


I will come on to my latest idea for the bulkhead in a minute...

But before I get to that, I have decided to "fix" the passenger side to provide a straight/square line across the bulkhead.

Obviously that is yet more work, but this build is not likely to be finished any time this year, so why compromise now?

Given how much work I have to do on the body shell's bulkhead, why build it wonky to save time?

In my head, the current bonnet shape couldn't work because the body shell wouldn't fit.

But I may have missed a trick when I was trying to solve this "3-D puzzle" yesterday.

Let's go back to these photos...


What I keep missing is the fact that the bonnet lip would actually have been "ahead" of the Spitfire bulkhead.

So if the length of wood can join both sides without fouling, then a thin slice of the entire original bonnet lip could have remained.
( With a thin section of scuttle filling the area to the left of the wood before it reached the bulkhead. )

There is still the problem with the fact that the curves of the body shell dip below the line of the Spitfire bulkhead.

However, it might be possible to "sculpt" the scuttle from that original the bonnet lip back over the Spitfire bulkhead in some way. :pray:

Now clearly this is not going to look as good at the original, flowing, shape, but please see point #1, this shape doesn't fit.

So my next experiment will be to see what the current profile of the bonnet looks like if I simply join the two cut ends of the body shell together.

In order to do this I will add a "barrier" layer to the inside of the bonnet and then build up a layer of fibreglass over the top.

This should give me the shape required for the bonnet lip and I will see what I can do with that.

It is certainly worth spending some time looking at the options based on everyone's advice.

Finally I think there will be some sort of "Wembley scoop" required for the brake master cylinder.
( I was actually looking at how Mr T made the scoop in his reply when I was re-reading his build the other day. )

So even if no physical work was done today, I might be making some small progress.

Cheers, Paul. :)
20 Jun 2014, 7:11pm
Paul, why not give Andy a call, its as easy to layup just a piece of the body as it is a whole one, if he could do you a deal on just the top third of the scuttle area it might save you some work ?
22 Jun 2014, 6:56am
Mac - Thanks for that suggestion, as I didn't think of that option.

- - - - - - - - - - - - - - - - - - - - - - - - - - - - - - -

Saturday:
Most of the day was spent drinking beer in the sunshine at my friends' BBQ.
( Thankfully my wife was driving. )

So although I didn't get a chance to write it up yesterday, I did do some more mock up work.

I started by highlighting a section of scuttle based Mac's idea.


But before I spoke to Andy I wanted to test my theory about the gap in front of the Spitfire bulkhead.

So I needed yet another cardboard template and I used the bonnet itself to generate the pattern.


The bulkhead lip would be lower than this bonnet outline because there of the gap where the bonnet closes.
( Edge of bonnet at top of photo and off cut from original bonnet lip at the bottom of the photo. )


After cutting out the profile I simply taped both ends to the edges of the body shell.


The template did fit in the gap like so.


But when you look at this from the front it is clear that it is too low. :icon_sad:


So I tried raising the profile a little, then a lot.


But as I was fixing one area I was messing up another.


At this point I was reminded that the bonnet can't be sitting high above the engine!

So I decided to abandon the template and see what I could do with the bonnet itself.

Unfortunately, this is as close as I can get the bonnet at the moment.


Because I am still waiting to cut these brackets off.


Note:
I have written to the DVLA again trying to get confirmation that these can be treated as "brackets".
This would allow me to remove them and still retain an "unmodified chassis" under the re-body rules.

The best I could do was hold the bonnet in place like so.


Which still left me a few inches short at the back.


However, this was still close enough for me to see what I needed to do to make this work.

The top of the bonnet will pretty much line up with the original Spitfire bonnet line.


Although my crude attempt to use cardboard to show the curve required looks rubbish.


It did give me hope that a gentle curve from the edges of the bonnet to the bonnet centre could be made.

Note: I really have taken on board everyone's feedback about keeping the original bonnet profile.

And I certainly don't wish to appear like I am ignoring the advice given by people with more experience than me.

So I hope I have shown that the practical problems I am facing are leading me to a modified bonnet profile solution.

The other thing that occurred to me was that Micky1mo's "hybrid" was an ex-Ribble project.

This was the body shell that Ribble used to test out a Tribute style build using a cut down Spitfire.


Initially, the fact that the original bonnet profile is retained over the top of the Spitfire bulkhead looks encouraging.

However, I never did see a decent "side on" photo of the way the body shell was sitting.

But as I re-look at the photo above now, I can see the bottom of the bonnet lip is marginally below the top of the bulkhead sill.

Now whilst I don't have that sill in place, you can see that the bottom of my bonnet lip now sits a lot lower than that.


So I believe Ribble abandoned this build approach because the front of the body shell pointed upwards.

( Obviously any feedback from AndyP57, or AndyP85, on this would be most welcome. )

The simple fact is that the shape of the Cordite bulkhead is not compatible with the Spitfire bulkhead so compromise is required.

I have no idea if I can actually do a decent job of building a new scuttle from scratch, but I guess we will soon find out.

With a bit of luck I will get a chance to start on this later today.

Take care, Paul. :)
22 Jun 2014, 7:26am
Paul, if the front horns are making life miserable why not do what I have done, drill the spot welds out and remove them. If you need an inspection then just re attach them with a couple of self tappers and touch up with a bit of paint, they can then, fall off again after the inspection :eusa_shifty::eusa_shifty: Another thing that might help is some relatively thin fibreglass sheet, it can be bent easily and with a bit of heat from a heat gun can be formed into quite tight bends ? If you want ill ask Next door to lay up a piece next time hes doing anything, probably get it done for a beer? I would do it myself but the laminating table has disappeared under a pile of junk!
Good Luck
Mac
22 Jun 2014, 8:35am
Paul, I really feel for you on this one!
What a sod to find out that it won't fit at this stage.

In the picture where you have the cardboard former attached to the bulkhead, and it can plainly be seen that the Spit is too high?

I would be real tempted to cut away the dash top, and do a lot of welding with cross bracing etc, to actually lower it so the body fits. Is that not possible?