MadaboutKitcars

This is a read-only archive of the old Madabout Kitcars forum. New posts and replies are no longer possible, but every thread is still here to browse and read.

Another Cordite Is Born ...

5 Jun 2014, 7:16pm
Scottie - Thankfully I have mainly taken steps forward today. :cool:

- - - - - - - - - - - - - - - - - - - - - - - - - - - - - - -

Morning:
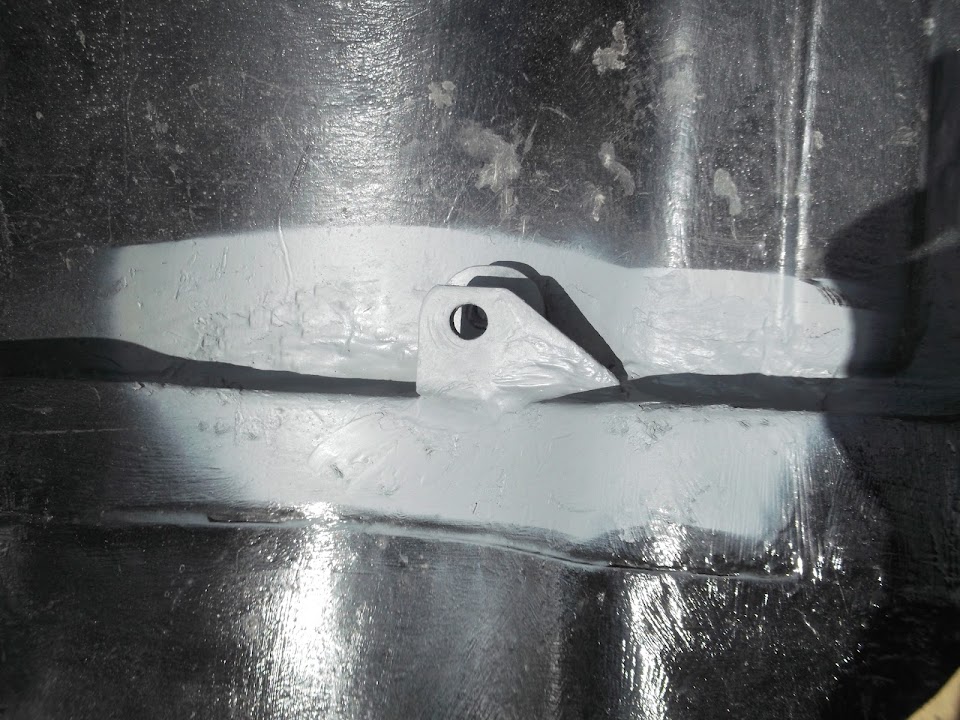
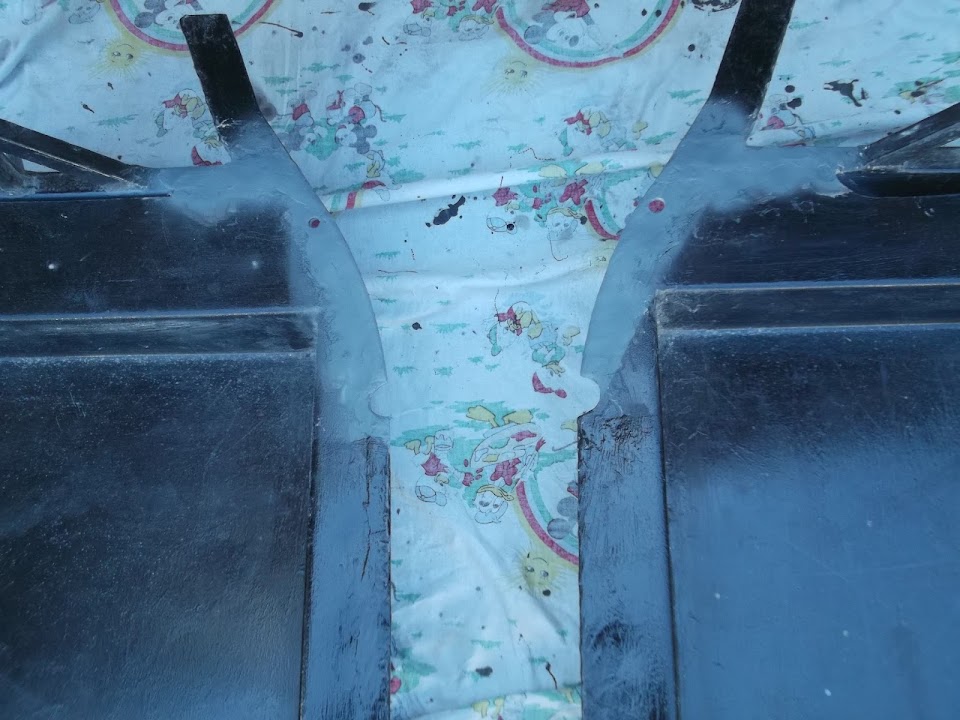
First job was to hammer the hand brake pivot panel as straight as I could get it.

I also cleaned up the metal as best I could for welding, but there were some hard to reach places.
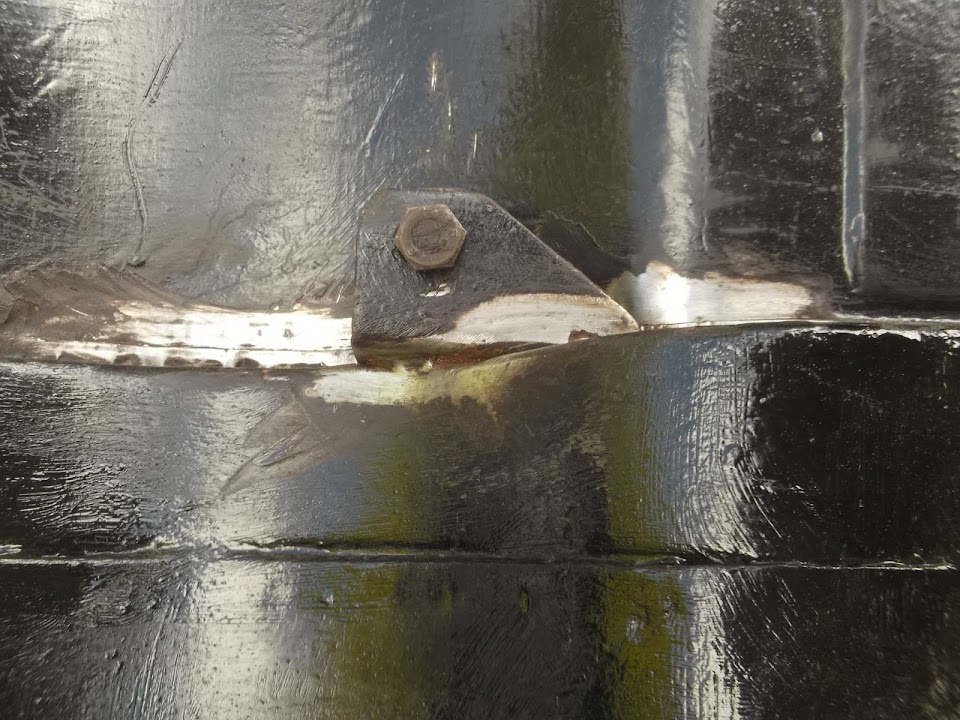
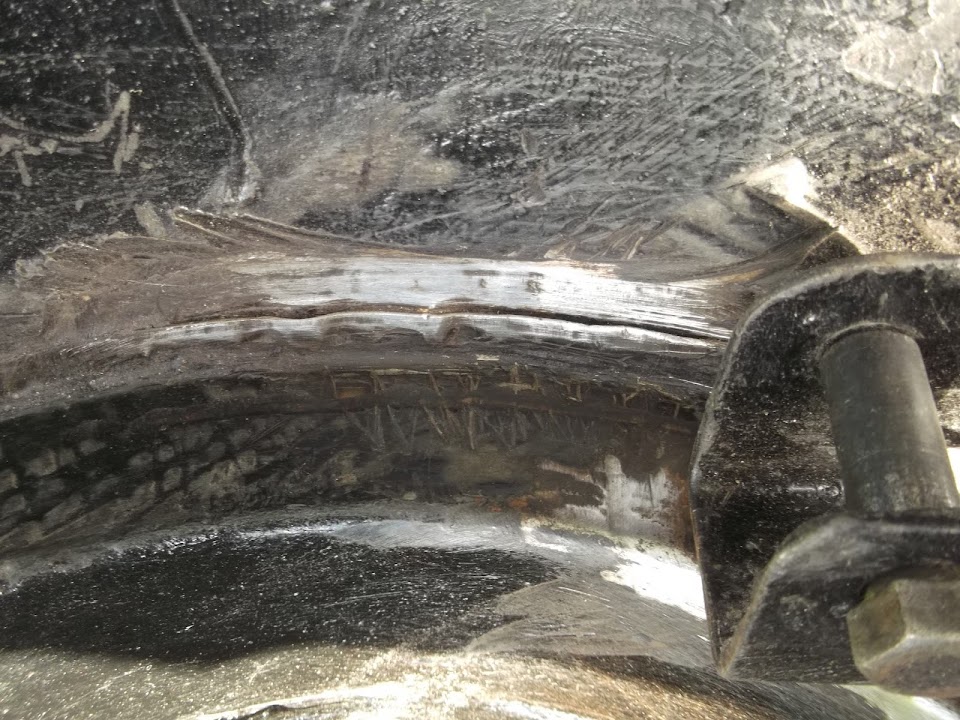


Note: I had refitted the bolt to ensure nothing got twisted when I was hammering / welding.

I couldn't get the welder in behind the bracket, but, in addition to welding the panel, I added extra welds to the edges of the bracket.


Then I slapped some fibreglass filler over the welds and across the edges of the panel the welder couldn't reach.
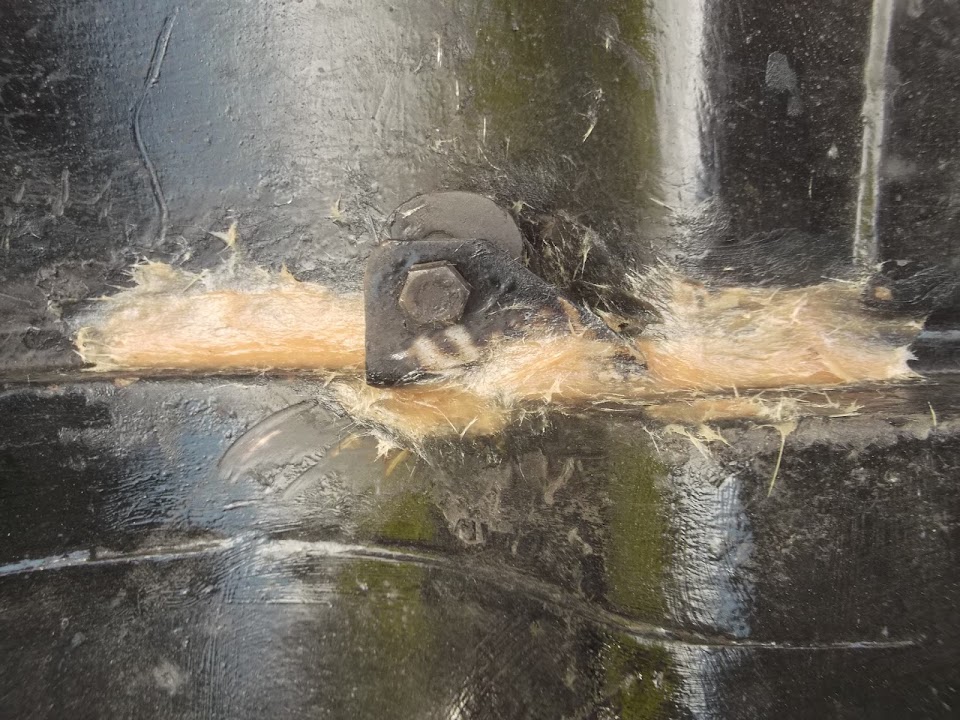


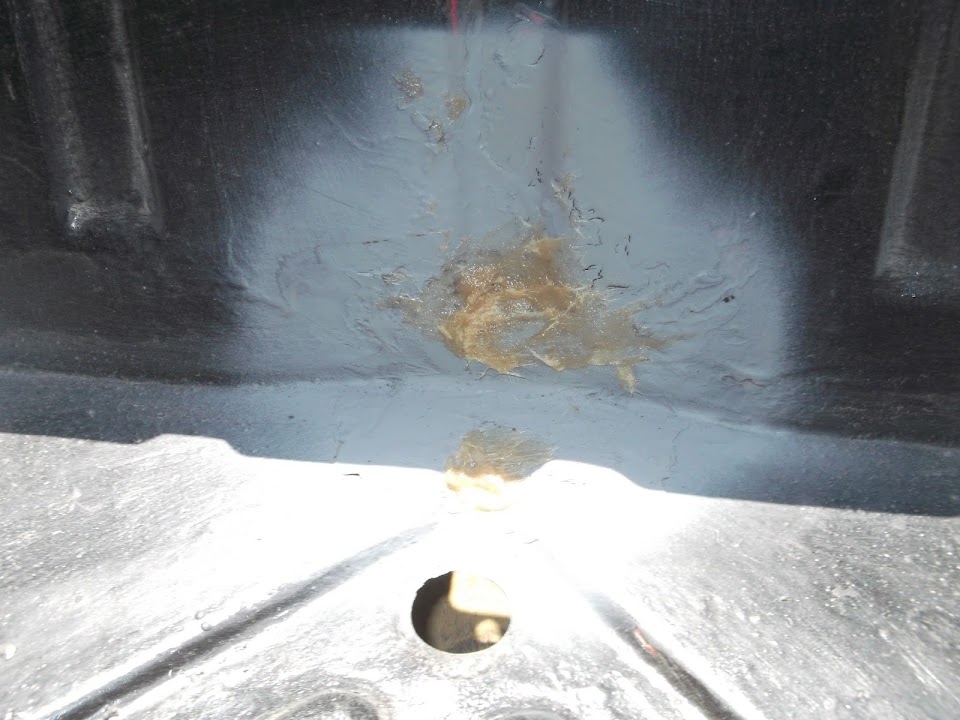
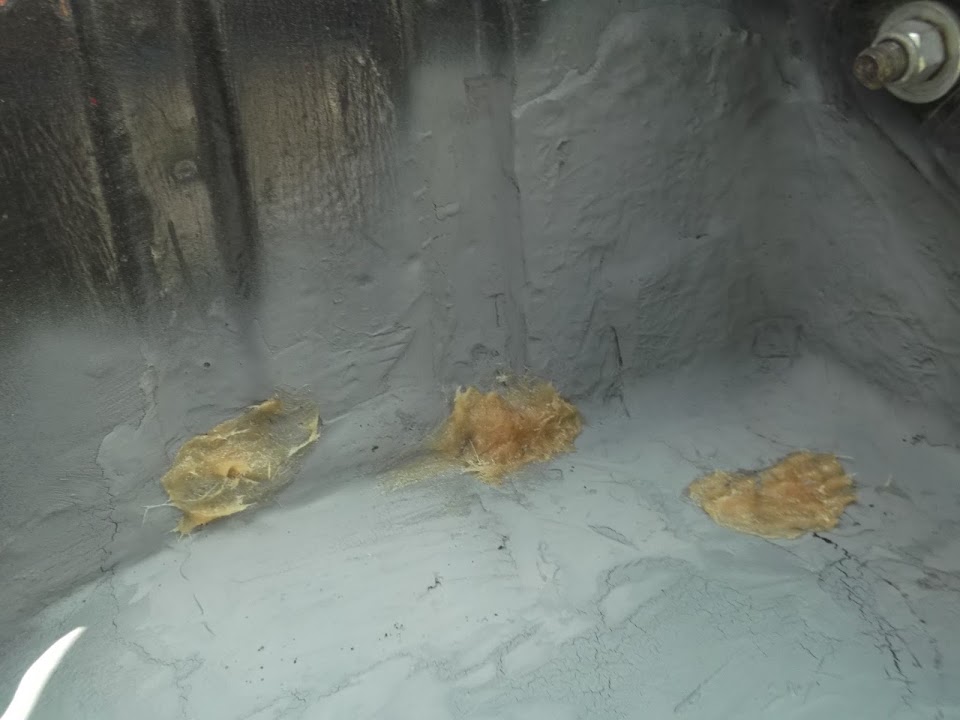
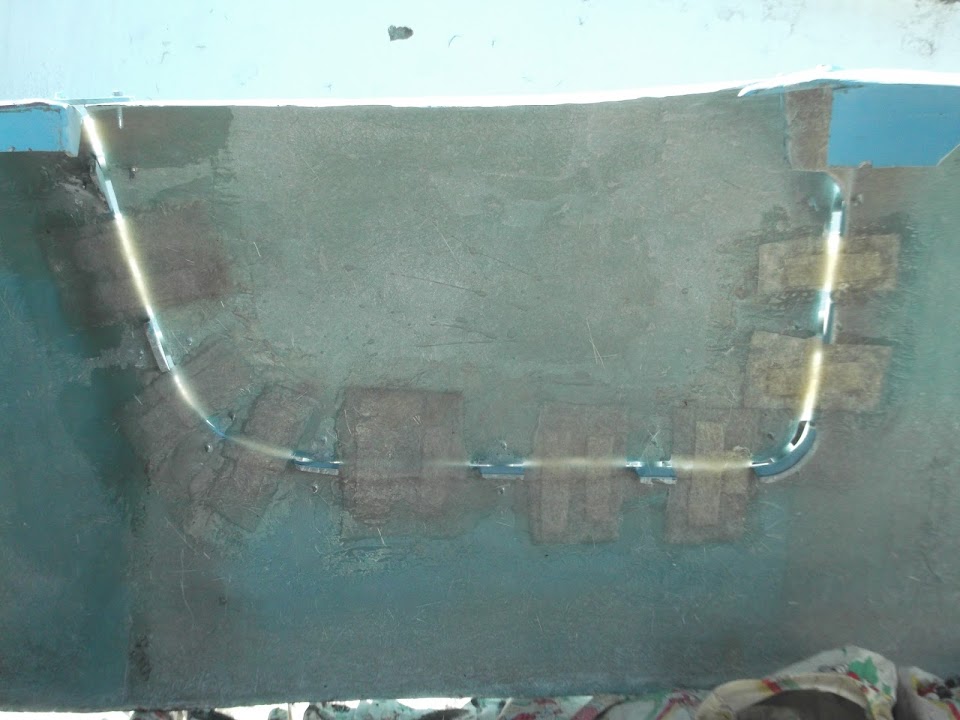
I then continued to use the filler on the final areas of the underside of the arches.

Including the two corners that had been fibre glassed previously.
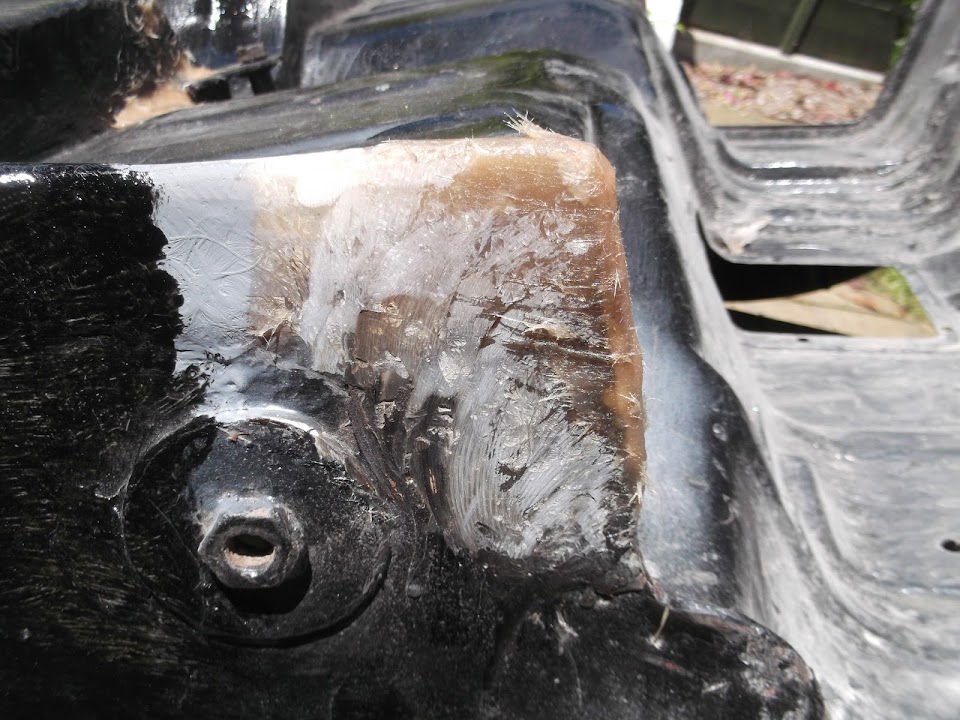


Plus a small hole in boot floor.
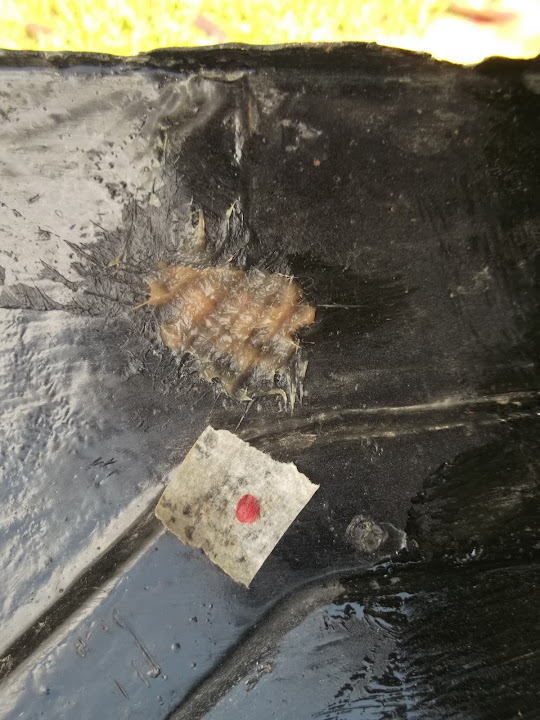


While that was all setting, I turned the arches back over so I could work on the "sunny side".

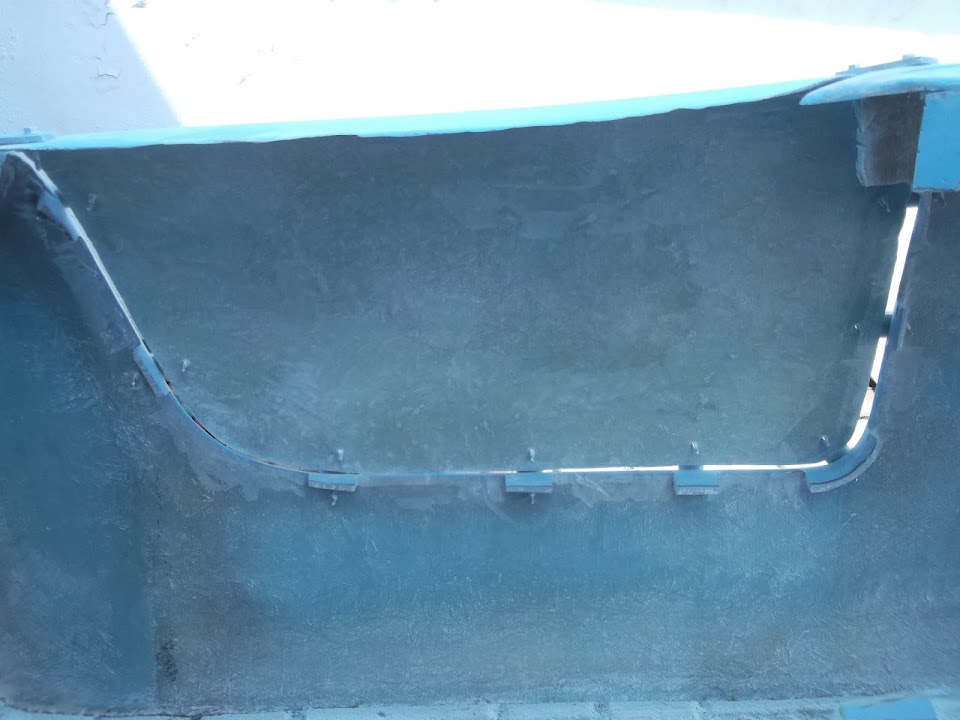
After checking the modified panel I had to dig out some slightly smaller clips.
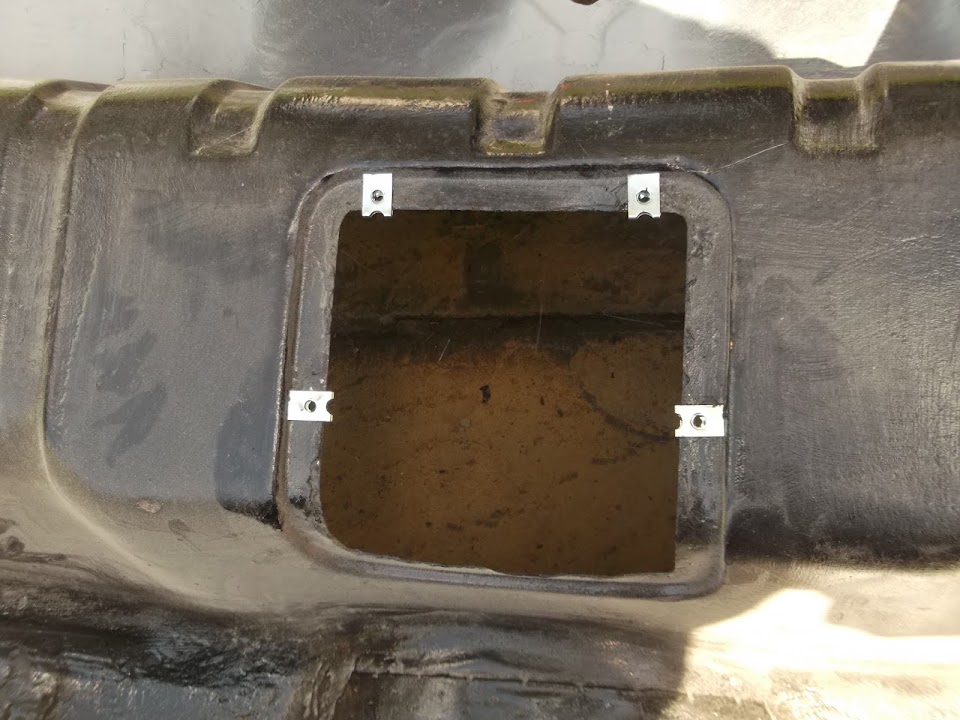


Then I tested the screws to make sure they would hold the panel in place.
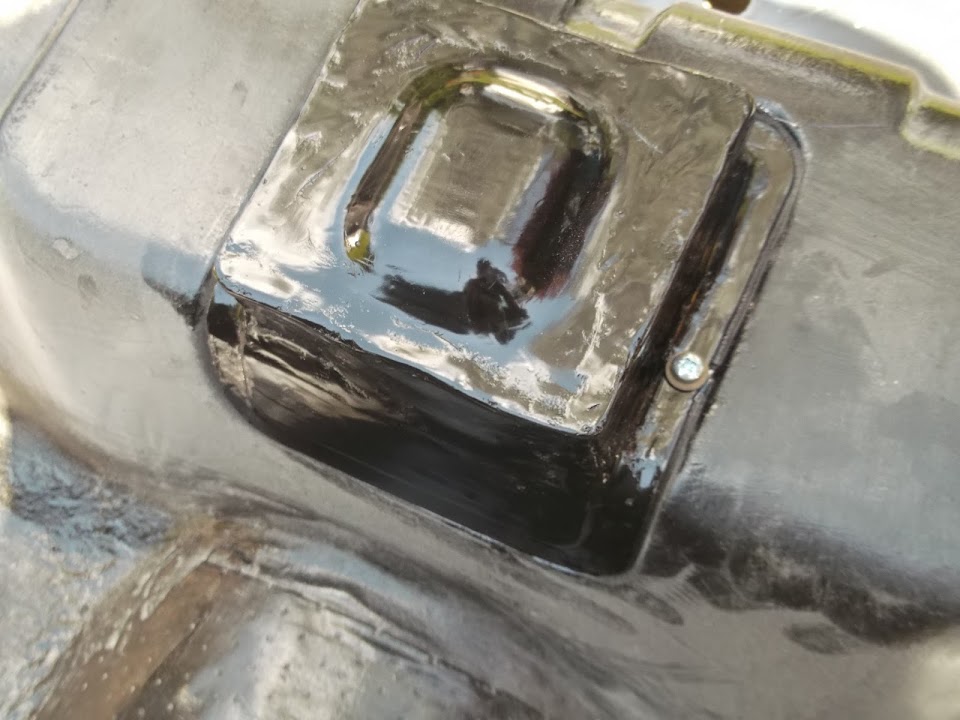


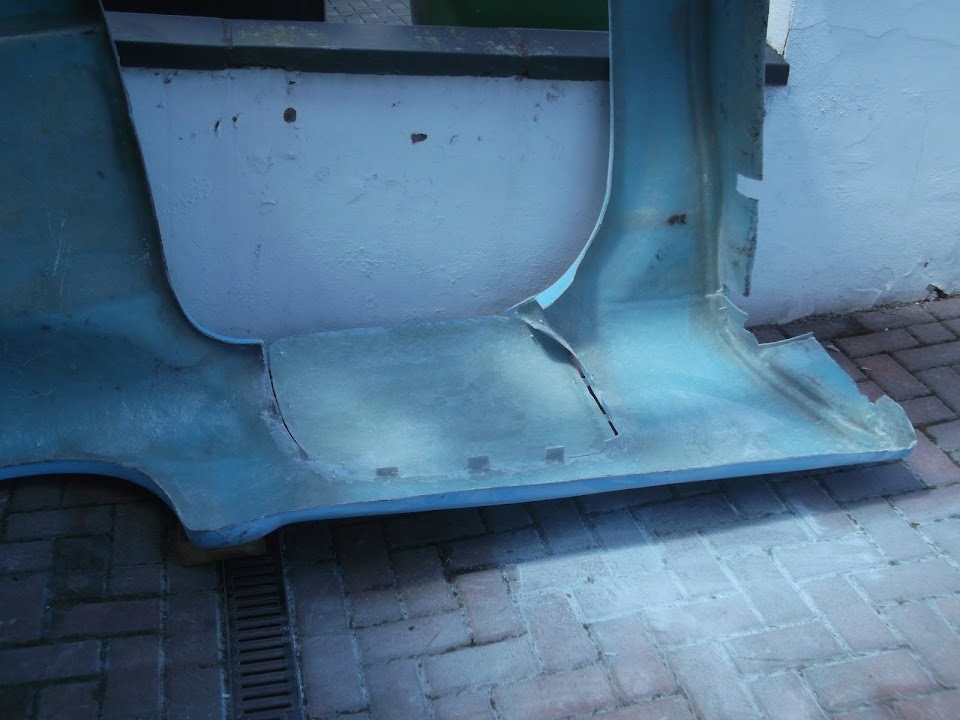
I will not be fitting this panel until the arches are on the chassis.

As the "hole" allows me to centralise the arches over the suspension / lowering block bolts.

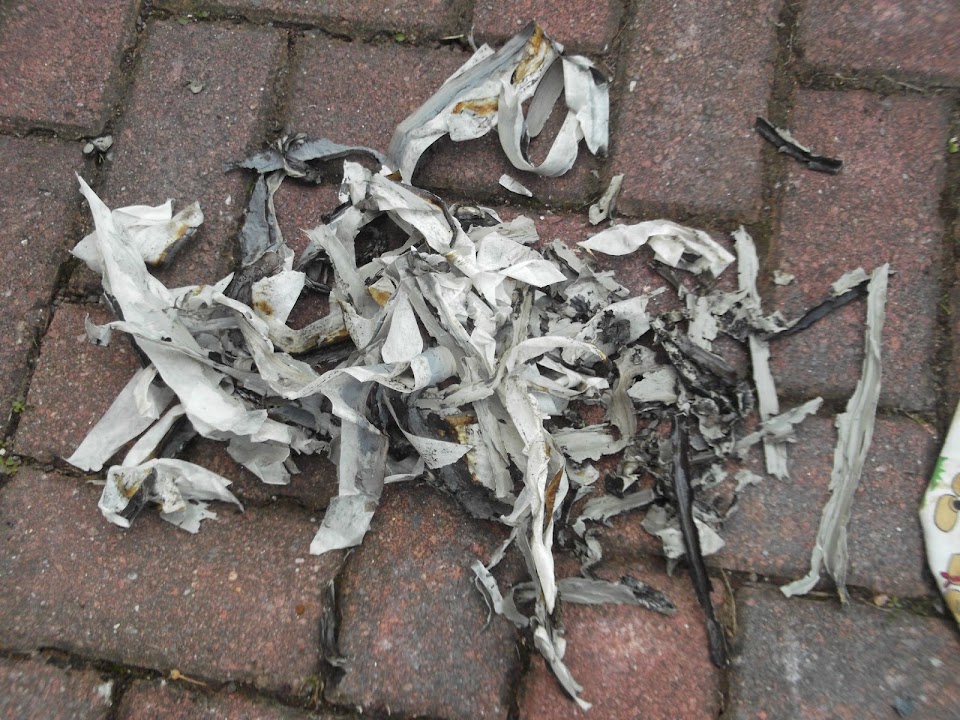
Next job was to tidy up the fire damage from welding the panel on the other side. :rolleyes:


After cleaning up the mess I got some etch primer on.


Previously I had taken a section out of this strip of metal attached to the wheel arch.


But one side was coming away, so I decided to trim both sides to get rid of the upper section completely.


Then it was another round of applying filler.

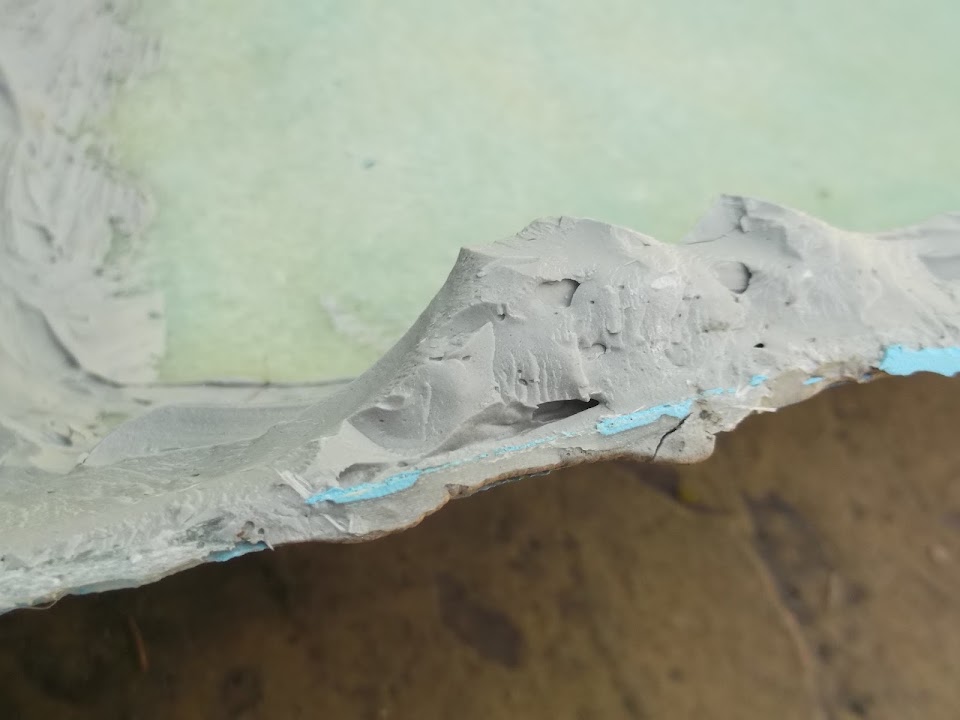
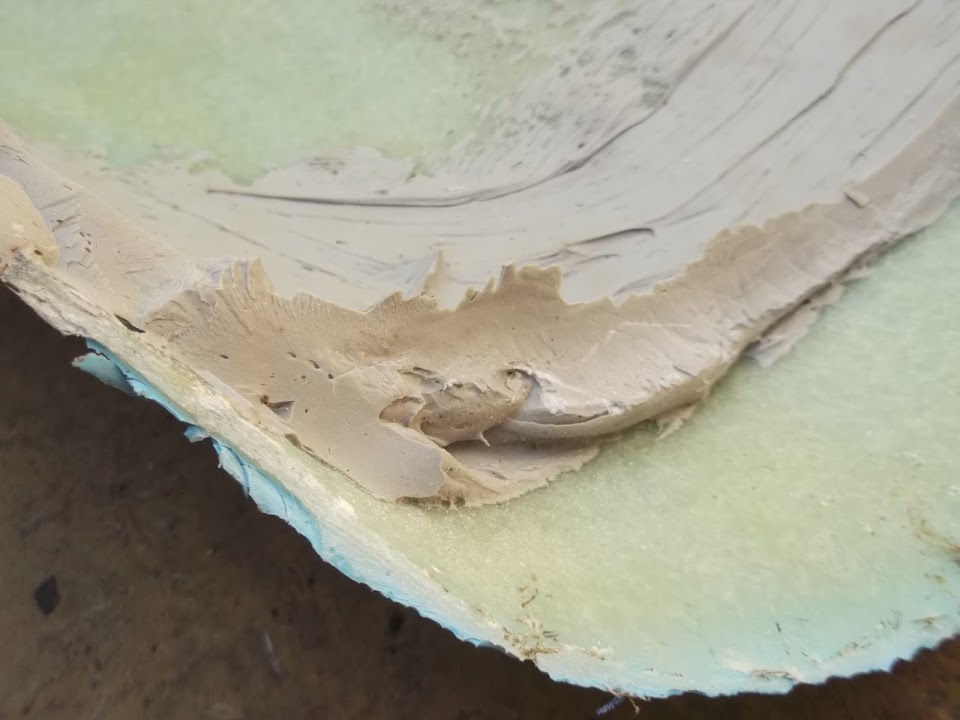
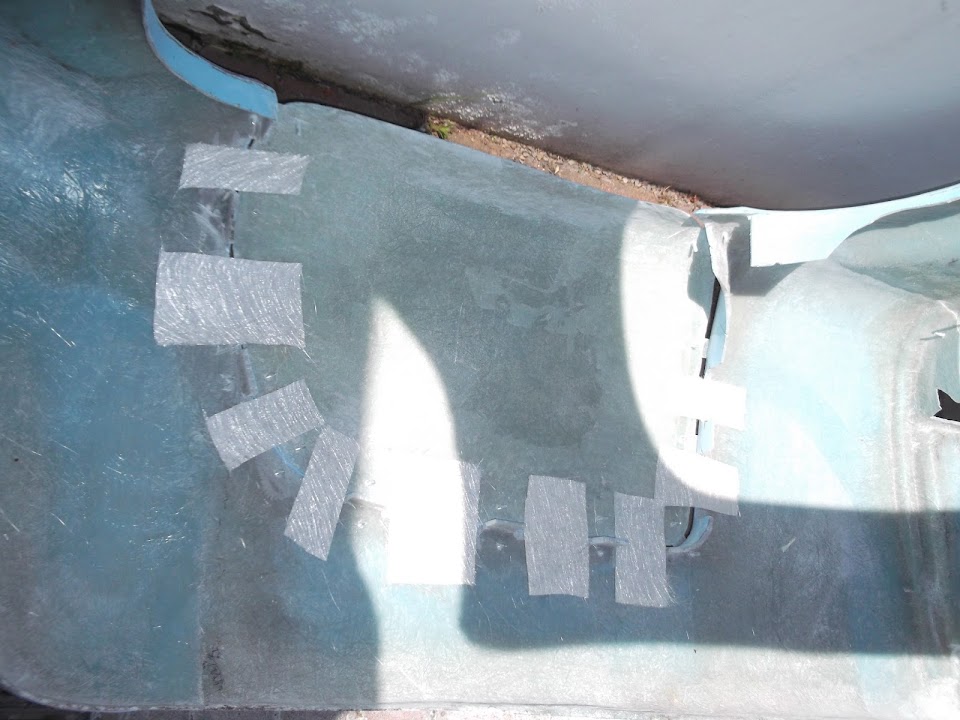
I was going to add another layer of fibreglass in this corner, but it was quicker to use the filler instead.
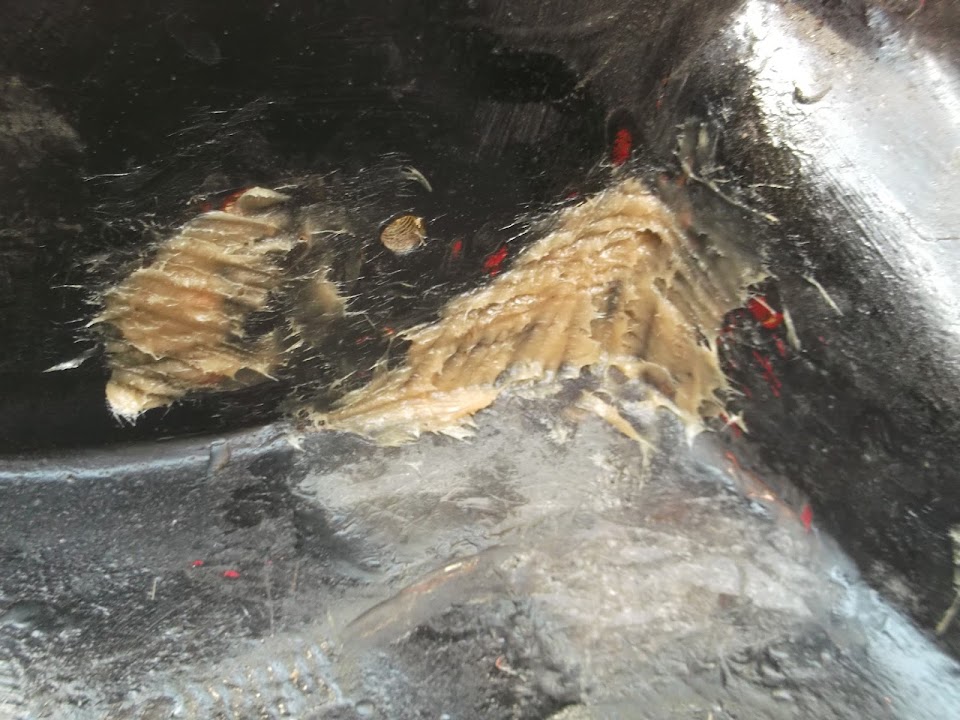


The other corner had the extra layer of matting, but just need a small "topping up" in some areas.


Finally there was some more topping up to do on the fibreglass on the boot floor area.


At this point I just left everything to dry / set rather than start something else at the front of the house.

End of part 1.
5 Jun 2014, 7:16pm
Early Afternoon:
I left the arches sunny side up and sanded down all the filler I'd applied in the morning & sprayed on some etch primer.


It was during this process that I discovered I'd missed adding filler to the holes next to tail pipe bracket :doh:


So both sides got a small blob of filler.


I really think that is all of the filling and patching work finally completed :pray:

Then I carefully turned the arches over so I could clean up and primer the under side.


Once again I just left everything to dry / set.

- - - - - - - - - - - - - - - - - - - - - - - - - - - - - - -

Late Afternoon:
I wanted to give a second coat to the areas I had painted black on Tuesday.

But in the end, the warmth of the sunshine meant I got carried away and started painting over the stuff I'd just primed too. :rolleyes:


- - - - - - - - - - - - - - - - - - - - - - - - - - - - - - -

Early Evening:
Turned the arches over again!

Cleaned up and primed the last bits of filler next to the tail pipe support bracket.


Started to give the sunny side it first coat of black.

But then disaster struck as I ran out of both time and paint. :icon_sad:


- - - - - - - - - - - - - - - - - - - - - - - - - - - - - - -

Late Evening:
I had to pick my daughter up from her friend's house and even Halfords was closed by the time I got back.

So I'll pick up some paint in the morning and finish off the painting then.

At least I managed to get quite a bit done today, so I've got to be happy with that. :cool:

Cheers, Paul. :)
5 Jun 2014, 8:16pm
Good progress as usual Paul, so now the work on this piece is about done what's next on the list?
Mac
6 Jun 2014, 4:40pm
Mac - Cheers. :cool:
The next big job is joining these arches to the rear frame work.
Although based on today's efforts that still seems a long way off at the moment.

- - - - - - - - - - - - - - - - - - - - - - - - - - - - - - -

Another one of those days...
I picked up some more black paint this morning and finished off the "sunny side" of the rear arches


While that was drying I finally bit the bullet and headed to the front drive.

It was two weeks ago when I applied the seam sealer to the rear frame work.

But this was the first time I'd checked it and it was not good.

It had stuck in some places, but not others, and had also "lifted" away from the metal on some edges.

I must confess I was having a major sense of humour failure as I dug all of this stuff out. :icon_sad:


It took ages to remove it all and in the end I was still just back where I started.


Thankfully I saw a bit of the D-Day anniversary during lunch and that gave me some perspective.

No one has been shooting at me during this build and I am unlike to die working on it either ( Touch Wood ).

Note to self - I must find some time to watch Band of Brothers again.

Before I returned to the rear frame I went back to the rear arches.

I was planning to use the bed liner stuff that Mac used on his build.

( Note to Mac - My offer to buy your "left overs" still stands. )

But I am going to try "normal" stone chip spray paint out of a can just for convenience.

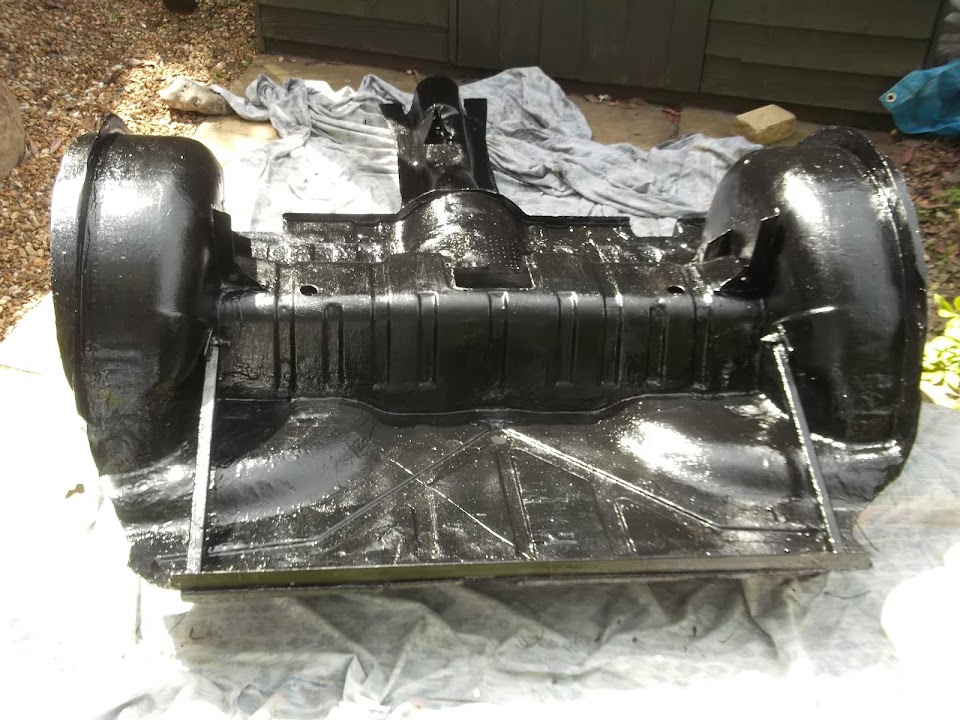
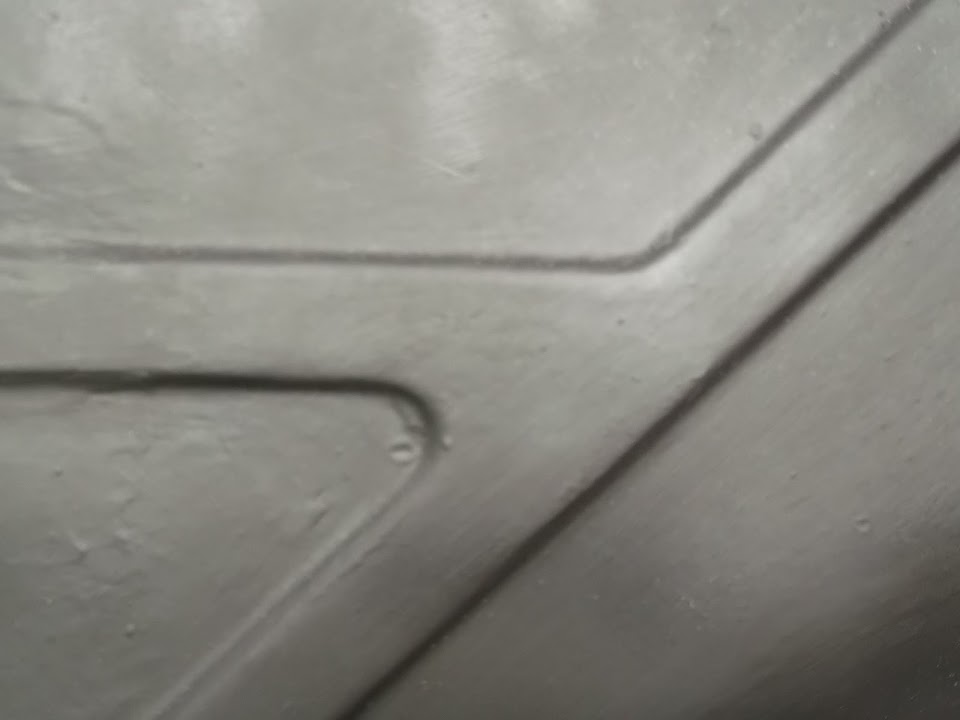
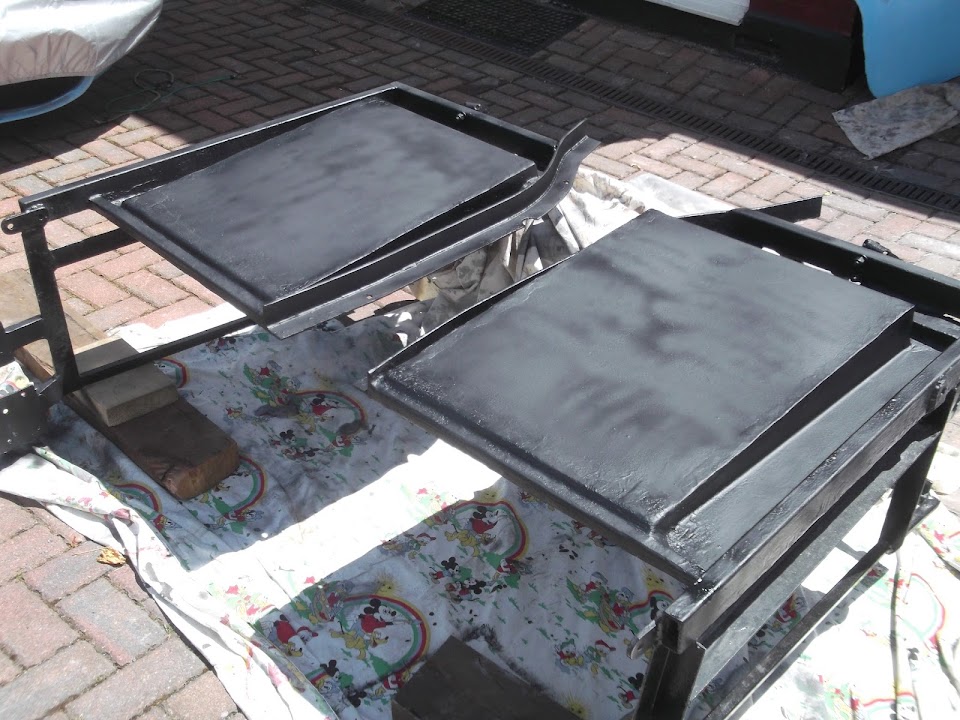
I sprayed the underside of the arches and this stuff dries a nice "matt" black. :cool:

So I thought I'd wait until the whole thing was dry before taking a photo.

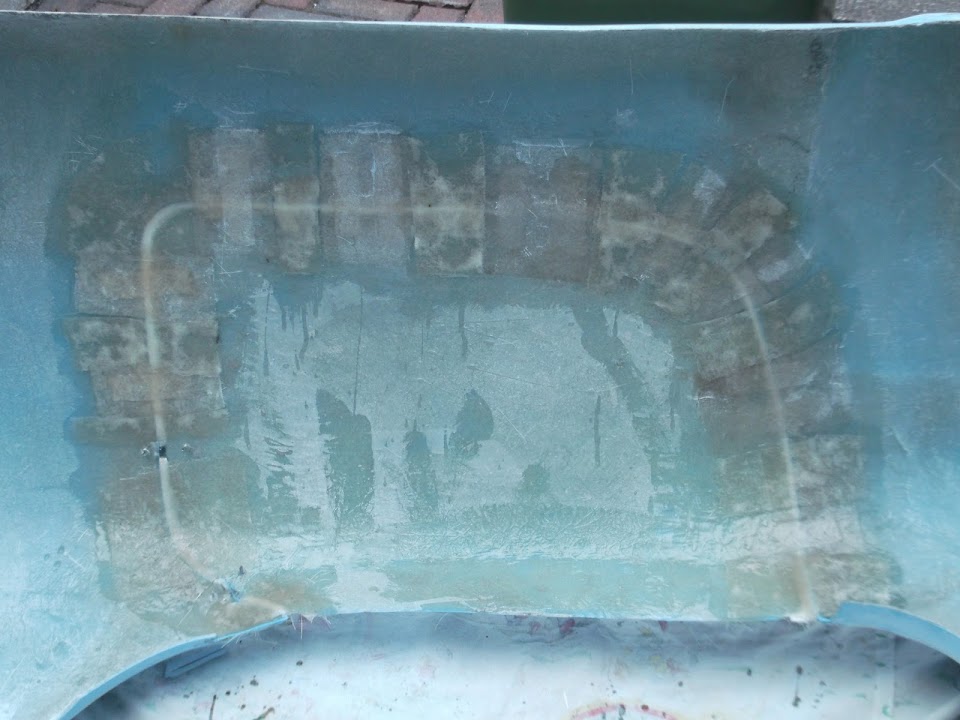
Obviously I only remembered this idea when I can to write this up and the arches look like this.


:rolleyes:

Then it was back to the front drive where I mixed up some fibreglass filler.

I had to do lots of smaller batches as it was very hot out and it was setting quickly.


I left the front edge as I decided to cover this is fibreglass matting rather than "stuff" filler in the narrow gap.


After a couple of layers of matting were added, it looked like this.


I need to do a little bit of work to finish this off, but it is mainly done.

Given the heat it didn't take long for everything to be touch dry.

That way I could get the frame out of my wife's parking space.


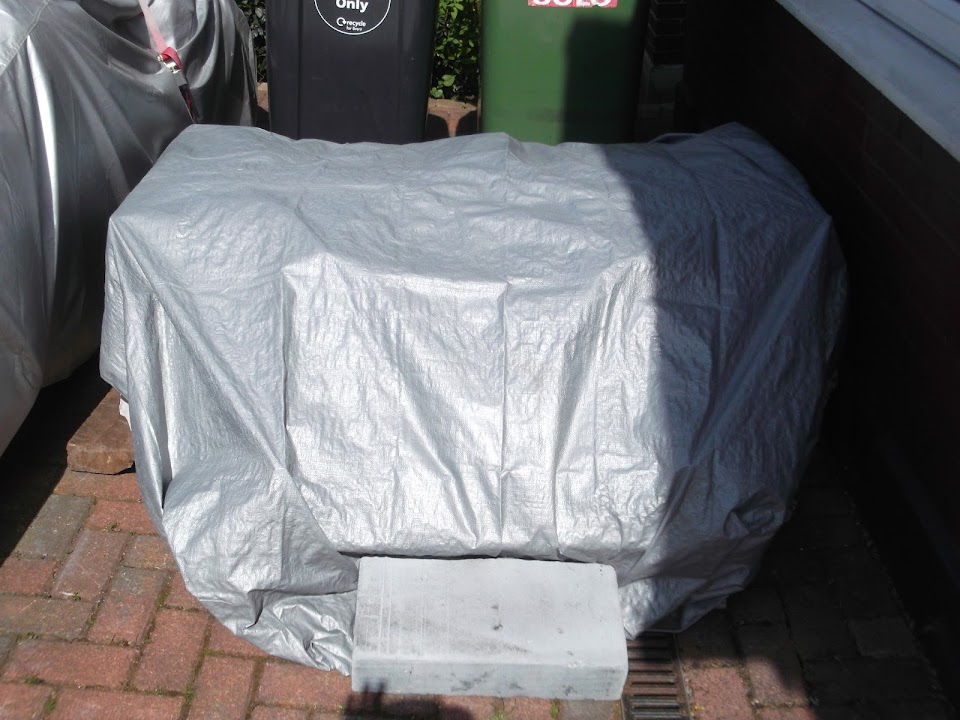
Although I did leave a dust sheet over the top to protect the cover from fibreglass strands.


The only good news is that the rest of the family have had a tough week so there is a curry on its way. :cool:

So I'll end on a positive note, despite the sealer set back, I've still make progress.

Although I will be very glad to see the end of the work required on these two big pieces.

Until next time, take care, Paul. :)
6 Jun 2014, 4:54pm
I don't know whether this will help Paul, but before I apply stuff like that, I always clean the area carefully with paint thinners, this ensures no grease or residue is left on the work and usually gets good adhesion results.

I know a lot of people do not like thinners for various reasons, but I swear by it and have done so for a very long time.
7 Jun 2014, 3:30pm
Scottie - Thanks for the tip as I'm trying to live and learn.

- - - - - - - - - - - - - - - - - - - - - - - - - - - - - - -

Bonus Session:
Between the weather forecast and family stuff planned for today, I didn't expect to do any car work.

But then the rain broke early and I had a couple of hours to play with. :cool:

This is the first coat of stone chip on the underside of the rear wheel arches that I forgot to photo yesterday.


The photos don't seem to do justice to the lovely matt finish.


So the first job was to get a second coat on.


I guess there are not many spray booths where you need to prevent any over spray reaching a tree. :rolleyes:

Questions:
Is two coats of this stuff enough?
Should I paint anything else over the top of the stone chip, & if so, what?

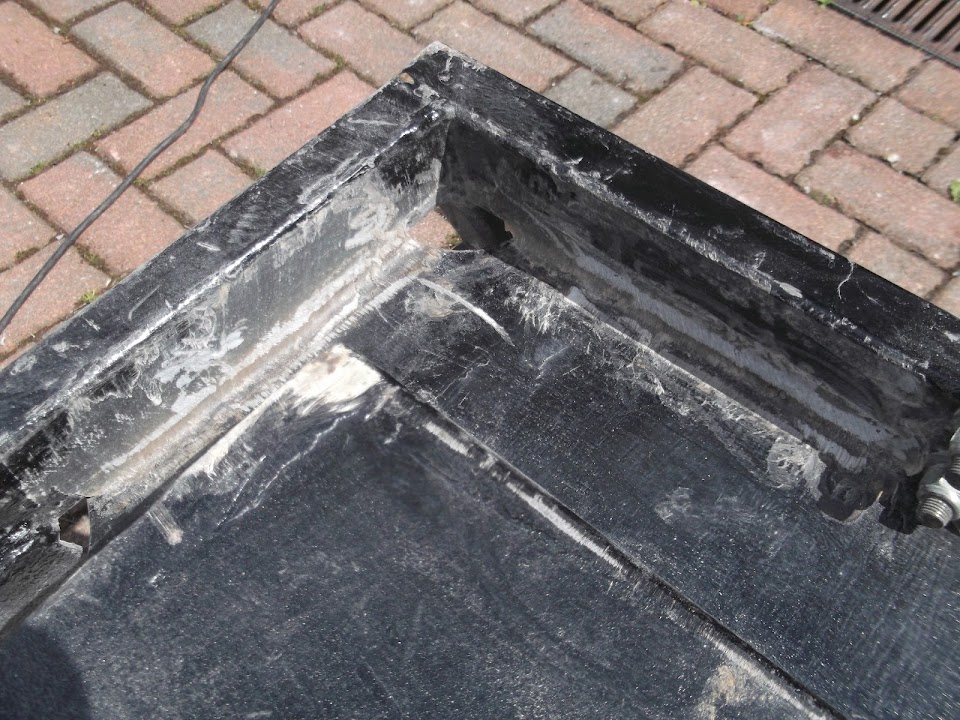
Then I cleaned up the fibreglass and filler on the under side of the lowered floor pans.


Before putting some extra matting on the corner joins of both sides (& both floors).


Last job was to get some etch primer on the bulk of the filler and some bits of the fibreglass.


So despite my mishap with the seam sealer, the underside of the rear frame is slowly, but surely, getting there.

Once I have got this side to the stone chip stage, I can finally worry about joining this to the rear arches. :eek:

But that's all for now, as I've got to go.

Take care, Paul. :)
7 Jun 2014, 11:42pm
Looking good Paul soon you will have a car shape, I like the splatter finish you can get with stone chip by doing many dust coats rather than one or two heavy ones where it flows to be smoother,I have some areas just stone chip and some sprayed onto with gloss both seem to be performing well on my Jeep floor and inner sides. Personally I prefer the look not painted and splattery, one thing I do know is if you are spraying over with a top coat let the stone chip dry a day or two otherwise the top coat thinners seems to soak into the stone chip and it takes weeks to harden fully, I took some pics of just stone chip / black gloss / black satin top coats, but whilst trying to upload them to here from my phone my mind started to hurt so I gave in, I can email them you if you like? I am going to try a wheel silver spray over stone chip on the chassis of a 1980 StarCraft folding camper I am rebuilding although it may look a bit like hammerite. Regards Ed.
8 Jun 2014, 6:36pm
Ed - Cheers, I've now finished working on the arches for a little while.
So the stone chip will have plenty of time to set if I do decide to paint over it. :cool:

- - - - - - - - - - - - - - - - - - - - - - - - - - - - - - -

Phew, what a scorcher!
Started the day by moving my wife's car off the drive so I had room to work.

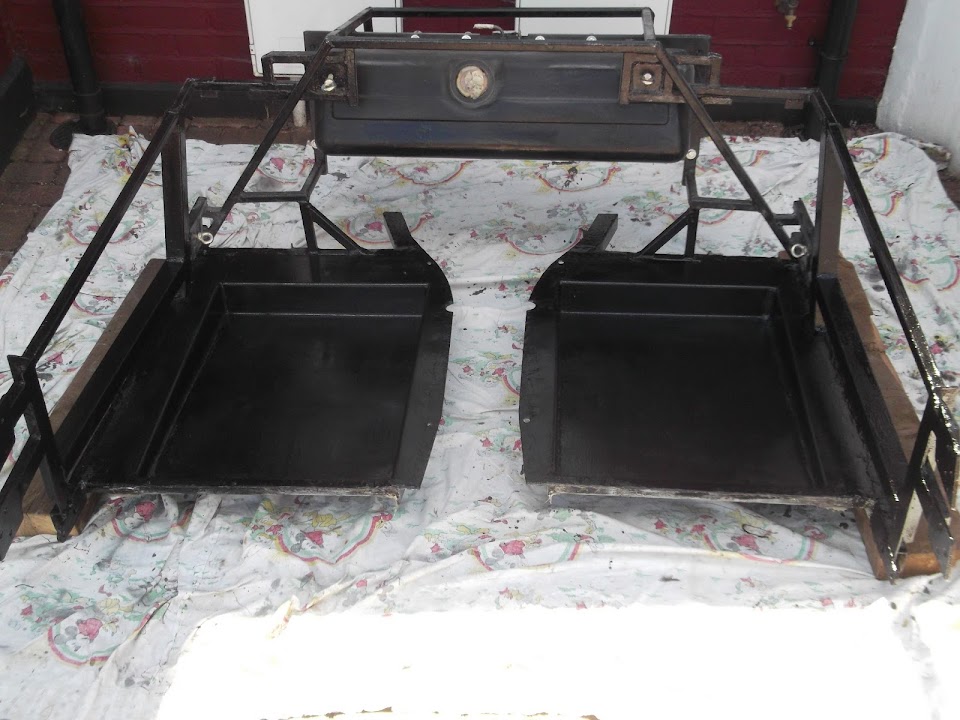
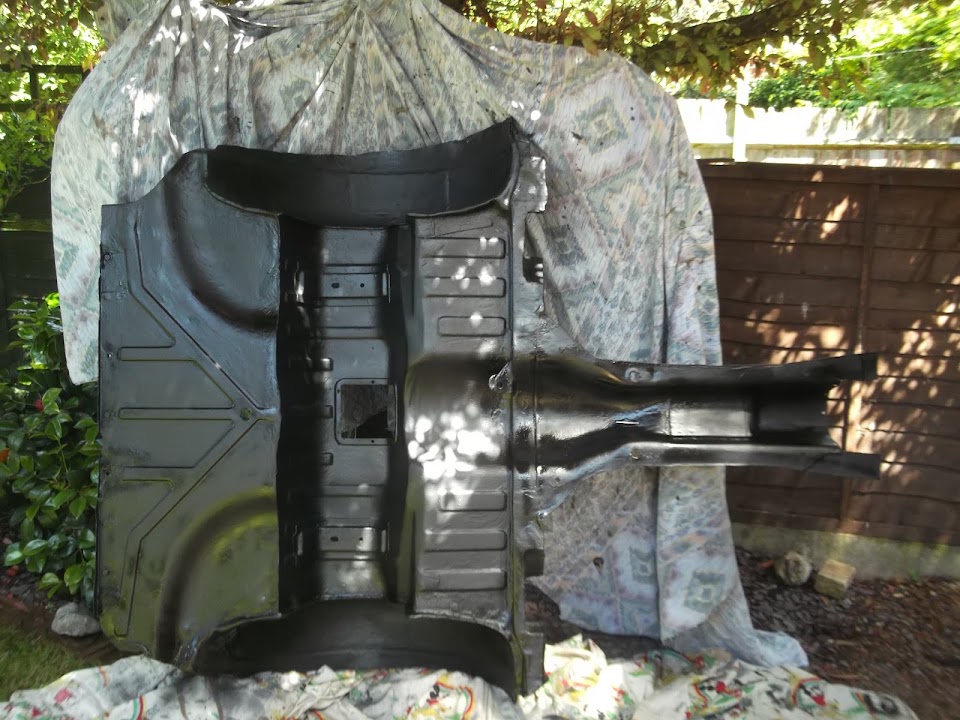
Then I set up the rear framework / floors "sunny side" up.
( As it was too early on a Sunday morning to start up the angle grinder. )


Then I painted the various areas that had been filled and primed previously, but not painted.


After:


While I was waiting for the paint to dry I headed back to the garden to find my doors.


OK, technically it is one door and one outer door skin.

But as you can see the door was held together just as badly as the other one I'd separated previously.


Note:
As always, this was a Sammio quality control issue, nothing to do with Ribble.

So it only took a couple of minutes of gentle work with a screwdriver to separate this door as well.


At some point I need to remove all the bonding paste from both door skins.


But by now the paint on the frame/floors was dry enough for me to turn it over onto the underside.

It was a decent enough time to start making noise, so I tidied up the fibreglass matting from yesterday.


And covered it with primer.


Then I painted all the other areas that were primed yesterday, leaving the fresh primer to dry.


End of Part 1.
8 Jun 2014, 6:37pm
Striking the right balance...
Part of me would love to spend the whole day working on the car in the sunshine.

But I'd rather the build took longer than miss out on family stuff and we had a family lunch 'al fresco'.

I promised to play badminton in the garden after the next job on the car.

I decided to grind the bonding paste off the door skins as it was a simple, if very messy, job.

Door Skin #1

Before:


After:


Door Skin #2

Before:


After:


Now given the fact our washing lines were full, I couldn't risk covering them in dust.

So I was working around the side of the Summer House which ended up looking like this. :eek:


I also used myself as a dust barrier and ended up looking like someone from "Rent-a-ghost".

Unfortunately the badminton required me to go up a ladder and prune a tree.
( Something that has been on my to do list for a while. :rolleyes:


Next job was to move the rear frame / floors back out of the way for the night.

However I decided to do one quick job on them before I covered them up.

Yesterday I had used the last drops of the resin to "stuff" some chopped matting into two corners where the floor met the frame.

To be honest, is looked a bit of a mess.


So I mixed up some fibre glass filler and smoother the whole thing out on both floors.


While that was drying, my final job of the day was to turn these off cuts...


Into these brackets to fix the door skins to the body shell.


Then it was time to pack everything away in time for dinner al fresco.
( Eating outside, twice in one day? Very continental for N.W. London. :icon_wink: )

Peepsy put a nice post up on his Tribute build about balances the kit & "normal" life.
( WCA did something similar. )

Whilst I keep saying that this build will take as long as required.

Occasionally, the sheer volume of work still to do does get to me at times.

So I will stress the positive, I spent time with my family today in glorious sunshine. :cool:

Plus the car is closer to the finish line now, than it was at the start of the day.

So a good result all round.

Take care, Paul. :)
8 Jun 2014, 7:05pm
Paul, good work mate, sorry but I think the half pack of bed liner is going to get used I'm afraid. Are you sure that was bonding paste holding the door skins on, looks more like standard filler to me in which case that's shocking!
8 Jun 2014, 11:59pm
Viatron wrote:
.Are you sure that was bonding paste holding the door skins on, looks more like standard filler to me in which case that's shocking!


Agreed.

But, keep going! One day at a time! I worked on my steering columm today, and it was the simplest thing that went t*ts up.
9 Jun 2014, 6:56am
Hang in there Paul! I know what you mean about the sheer volume of work still to be done.
I am having dreadful thoughts that I may not finish my build this year at the rate I seem to be progressing at present!

One step at a time and we will eventually run out of things to do. :-)
9 Jun 2014, 7:15am
Mine's been on the road for nearly a year now and I'm still working on it. All part of the experience though...
9 Jun 2014, 4:16pm
Mac - No worries on the bed liner, I'm looking forward to seeing how your cockpit panels will look covered in it.

Mac & Oxford - To be honest I'm not sure I know how to tell the difference between filler & bonding paste. :rolleyes:

Either way, it didn't work. Which, ironically, gives me more confidence to try things, as I can't be worse than a "professional". :icon_wink:

Scottie - I look forward to the day that I have run out of things to do. :pray:

Mr T - Please don't mention the work required after I have finished building it! :icon_sad:

All jokes aside, thanks for all the comments chaps. :cool:

- - - - - - - - - - - - - - - - - - - - - - - - - - - - - - -

Another inch...
I only had a few minutes to play on the car today, so I "unwrapped" the rear frame / floors.

By leaving them where they were to save time, I had to squeeze in around them to finish off the painting.

I did the two front corners on both sides.


Plus the two joins I smoothed over yesterday and they now look miles better. :cool:


Whilst this is hardly dramatic progress, it is a significant step as the underside is now complete. :cool:

This means that I can now cover this side in stone chip paint and think about joining this to the rear arches.

Although I may need to rope in an extra pair of hands for this, as there will be some heavy lifting required.

But that is a problem for another day.

Take care, Paul. :)
10 Jun 2014, 7:05pm
Scorchio! - Part 1:
Whilst my main focus is still getting to the 'moon rover' stage, I do need to do a bit of work on the body shell first.
Because it is hard to see how body will sit when modified to accommodate the Spitfire bulkhead without the doors in place.
I also want to be able to make a final check on the position of the tops of the seats vs. the top of the rear cockpit edge.

So that was today's mission, which started with setting up my "staging post" of parts & tools in the front porch.


I dread to think how many trips I've made from the back of the garden to the front drive on this build.

Then I lifted the body shell off the chassis and left it on the drive to play with.


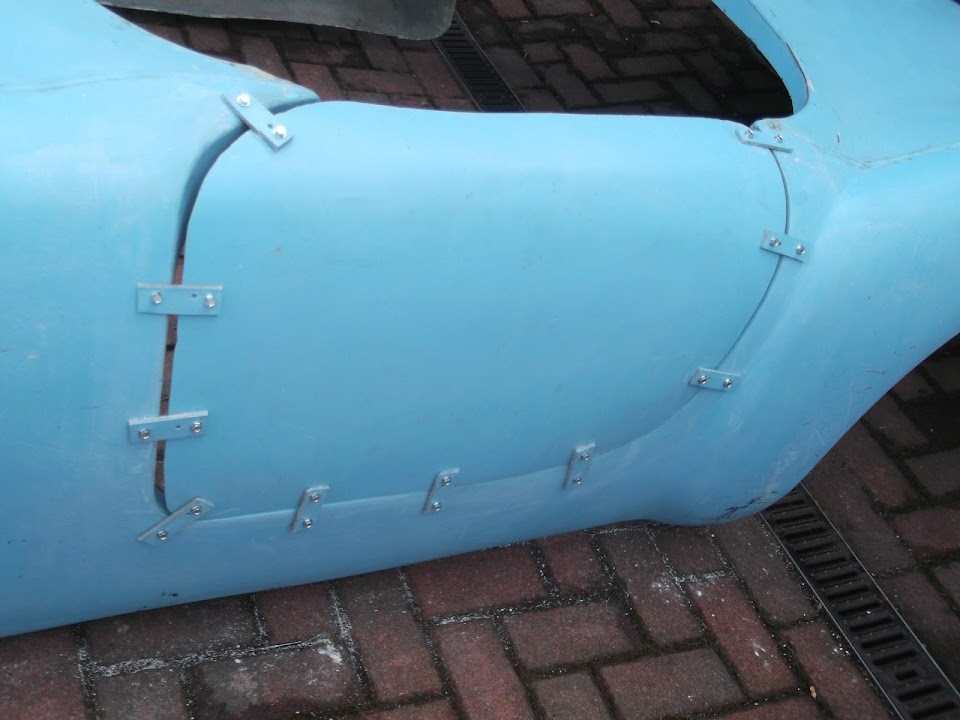
I put some tape on the door skins, so I could mark the position of the bracket hole with a bradawl.


Then drill it through.


Then a tech screw held the bracket in place.


Note:
I drilled extra holes in all the brackets to allow for the door "gaps".

Eventually the passenger door looked like this.


In the end I added another bracket in the bottom right of the door as you see it in the photo above.

Then it was a slow process of drilling the corresponding hole in the body work and putting another screw in, one bracket at a time.


Whilst I did spend a lot of time trying to figure out a "best fit", the honest answer is there simply isn't one.

Clearly I will need to order buckets of the bridge filler that Mac is using on his build.

So this is as good as it is going to get and at least the door is vaguely in line with the body.


You can get a better view of the different size gaps when looking from the inside.


At this point I realised that my plan to cut the lip of the door opening off after I had screw the door skin in place wasn't a great one.

As the screws were in the way of the angle grinder.


So I cut the lip off in sections and ground it flush, which was another dust storm creating job.


I will come back and remove the remaining lip during the next round of fibre glassing.

Then I used some of my skip rescued wood to prop the body shell up on it's side & keep the weight off the door.


Then it was time to cut out sections of fibreglass matting to fit in between the screws.


Thankfully I remembered to put down a dust sheet before I started or resin would have gone through the gaps and on to my drive.


In the end, I put on the layer of matting in the photo above.
Then added a thin strip across the the door gap.
Before adding a couple of thin strips over the top of that.


While that was setting, I dragged the rear frame / floors out again.


And gave them their first coat of stone chip paint.


In order to tidy up the front drive "a bit" I put the cover back on the rolling chassis, which now looks like a pickup.


End of Part 1...
10 Jun 2014, 7:07pm
Scorchio! - Part 2:
When the stone chip was touch dry I moved the frame/floors out of the way & covered it up so the next dust storm didn't reach it.


Then I very carefully moved the body shell back onto the drive, as the passenger door had reached an initial set.


There were a few edges to trim on the driver's door before it would fit into the door opening.


Then I could get on with repeating the bracket fixing task.


This time I trimmed most of the door opening lip off before I started.


Unfortunately there was simply no way of getting a decent fit with the driver's door, so I just did the best I could.


Again, it is pretty decent when looking along the side of the bodywork.


But in order to get that line working, the gaps at the top of the doors jump out.


Again here is the view from the inside.


Then it was time to prop the body shell up again.


This time I put the thin strips of matting over the door gaps first.
Then the big sections of matting between the screws, followed by thinner strips over the top.


While that is setting, I'll go back to a couple of things I found during the day.

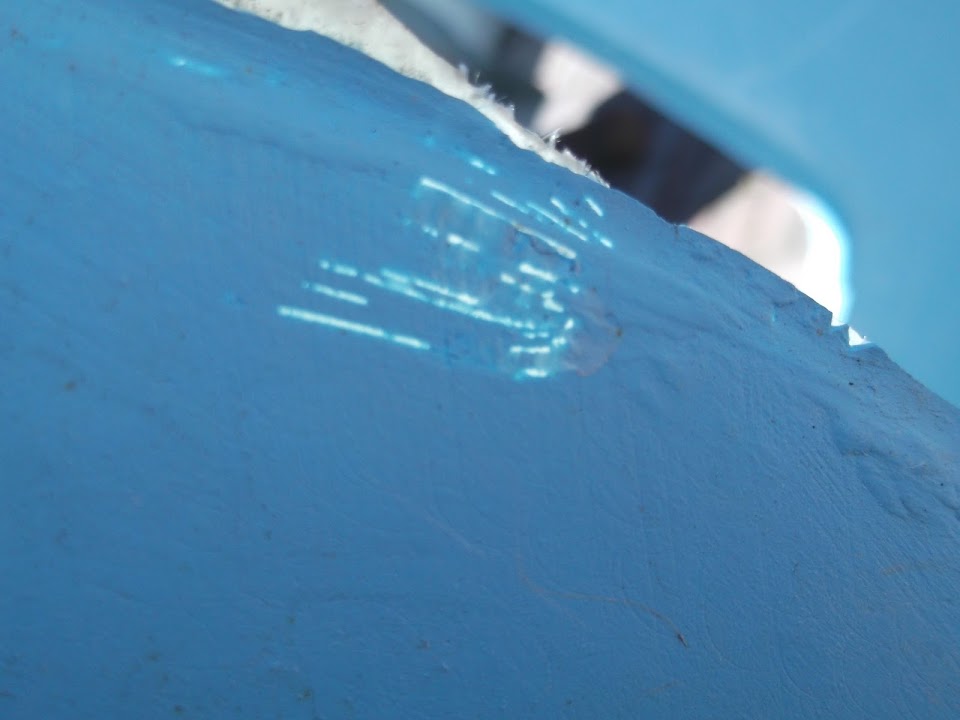
The first is the thin / non existent gel coat on the driver's door that was "see through" with the light behind it.


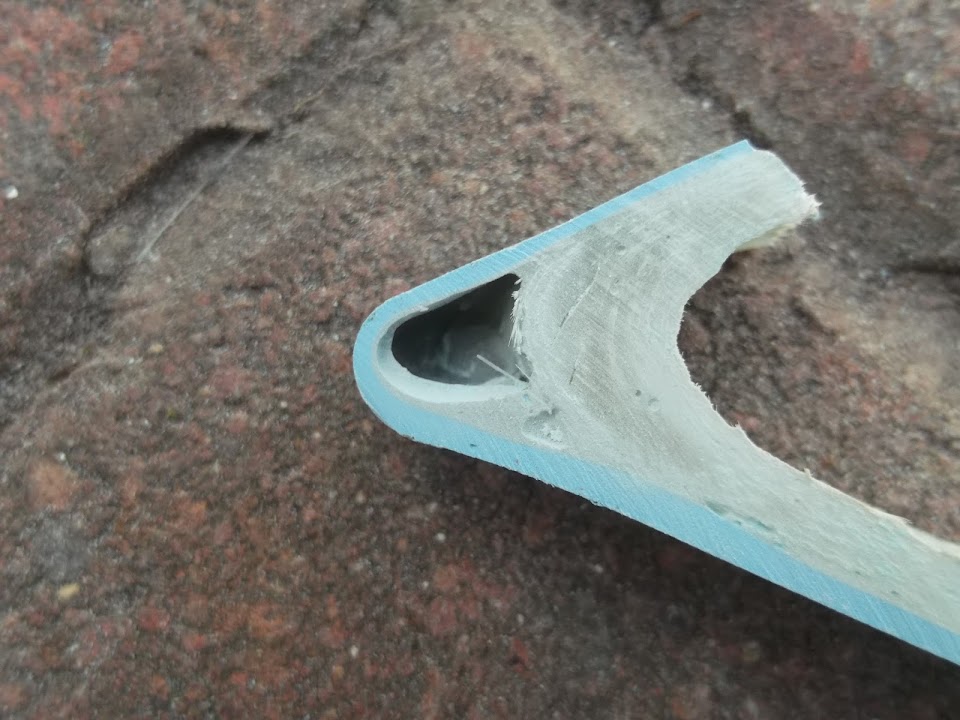
The second is the fact that the fibreglass didn't reach the gel coat in this section.


Which I had cut out of this corner.


The reality is I will probably have to cut these corners out completely as part of the bulkhead fitting.

The good news is that I found fibre glassing "fibreglass" a lot easier than fibre glassing metal.

I also take great comfort from the body work Mac and other have done on their builds.

Clearly it is possible to get a smooth finish from a rough starting point.

And let's face it, these doors are as rough as they come. :rolleyes:

Again, stressing the positive, sealing the doors shut was definitely the right choice.

The end of the day saw the body shell back on the drive and covered up for the night.


If the weather holds tomorrow I will remove the fixing brackets and finish sealing the doors.

Although I might leave the top sections until after I have worked out what I need to do to work around the bulkhead.

Overall, a very productive day, where my available time and the weather played nicely together.

Until next time, take care, Paul. :)
10 Jun 2014, 7:38pm
Looking good Paul. You'll be catching me up soon!
11 Jun 2014, 3:41pm
Scottie - Cheers. :cool:

- - - - - - - - - - - - - - - - - - - - - - - - - - - - - - -

"Shut that door!"
Well, the weather held, but my spare time evaporated. :rolleyes:

I removed most of the screws and fixing brackets.


I left two brackets in place in one corner as there is no matting behind that section (yet).


Daft as it may seem, I got a real kick out of the fact the doors were solidly fixed in place. :cool:

Anyway, with limited time available I came up with the idea of simply turning the whole body shell upside down.


My theory was that this would allow me to work on one door after the other, rather than wait for one side to set before turning it over.

But before I started fibre glassing, I needed to remove the rest of the door opening lip from the passenger side.


The large section of lip in the bottom left of the photo corresponds with the two brackets I left in place.

After a session of cutting and grinding the passenger door was ready.


The driver's door just needed a minor trim along the top edges on both sides.


Who needs sun screen while working outside when you can use fibreglass dust instead? :rolleyes:


I cut out all the sections of matting that I needed and laid it out in order so I knew which strip went where.


As before, I put one strip along the door gap and then a bigger section across the gap.


I thought there might have been a few issues with the angles of the bodywork, but all the matting stuck with no problems.

With one door done, I repeated the process to do the other one.


Then I left that to set while I got on with other stuff.

However, I didn't want to block my wife's parking space two days in a row.

So when the fibre glass had been set for a while I carefully moved body shell on top of the rolling chassis.

It was effectively a "piggy back" with the bulkhead and rear valance ends of the body shell taking the weight & the sides not touching anything.

Unfortunately, I only remembered to take a photo when the cover was back on.


Then I had to hose the drive down to make it look a bit more respectable.


So not as productive as yesterday, but still moving forward. :cool:

Until next time, take care, Paul. :)
11 Jun 2014, 5:29pm
I take my hat off to you Paul working outdoors with such dedication. Keep it up as i always like to see what you have been up to and as each job is complete you are that little bit closer to the finished car.

Your newly acquired fiber glassing skills are looking good. :smile:
11 Jun 2014, 8:15pm
Looking good Paul, some advise if you don't mind?
don't just use fibreglass filler on the outside, grind back the gelcoat either side of the exterior join so you get down to or as close to raw fibreglass a possible then use matting and resin all along the exterior of the join. If you have got down to the raw fibreglass even with a couple of layers you should still finish up below the level of the rest of the body / doors and you can then put a skim of fibreglass filler on top to bring the profile back.
HTH
Mac
12 Jun 2014, 3:28pm
Swifty - Thanks, although I wouldn't recommend a front drive / garden build.
Given I have only been using fibreglass for a few weeks I am happy with how it is going.
I know there will be a ton of work required to get my old body shell vaguely like your new one.
But I can see that my "chipping away" approach has already achieved quite a lot when I look back on my build.

Mac - Your advice is always welcome, as you are like a Yoda / Obi Wan of car building. :cool:
So it should be no surprise to see what I did today...

- - - - - - - - - - - - - - - - - - - - - - - - - - - - - - -

Only mad dogs and Englishmen...
... and Sammio builders go out in the midday sun.

But that was the only time I had available so I made the most of it.

Started the day by moving the body shell into position.


Removed the last two fixing brackets from the passenger side door, which now looks like this.


This was the driver's side before I started work.


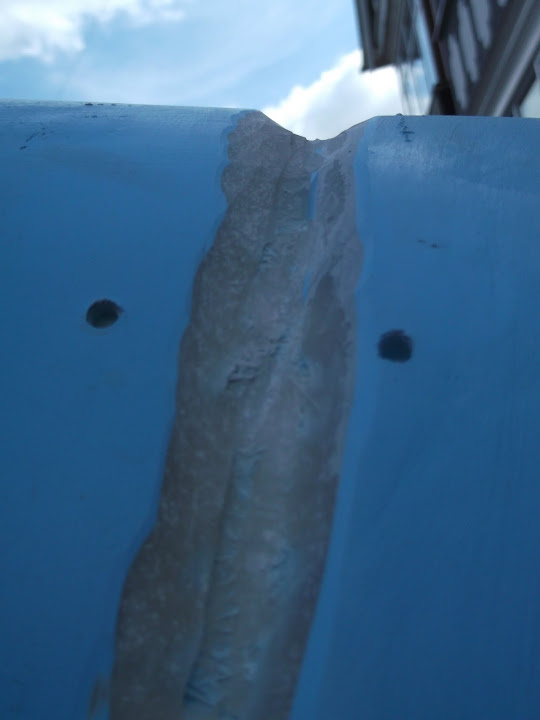
And after grinding away both sides of the door gap it looked like this.


Then the passenger side got the same treatment.


Now I'm not saying the gel coat was wafer thin on the door skins, but I think just the noise of the grinder scared it off.

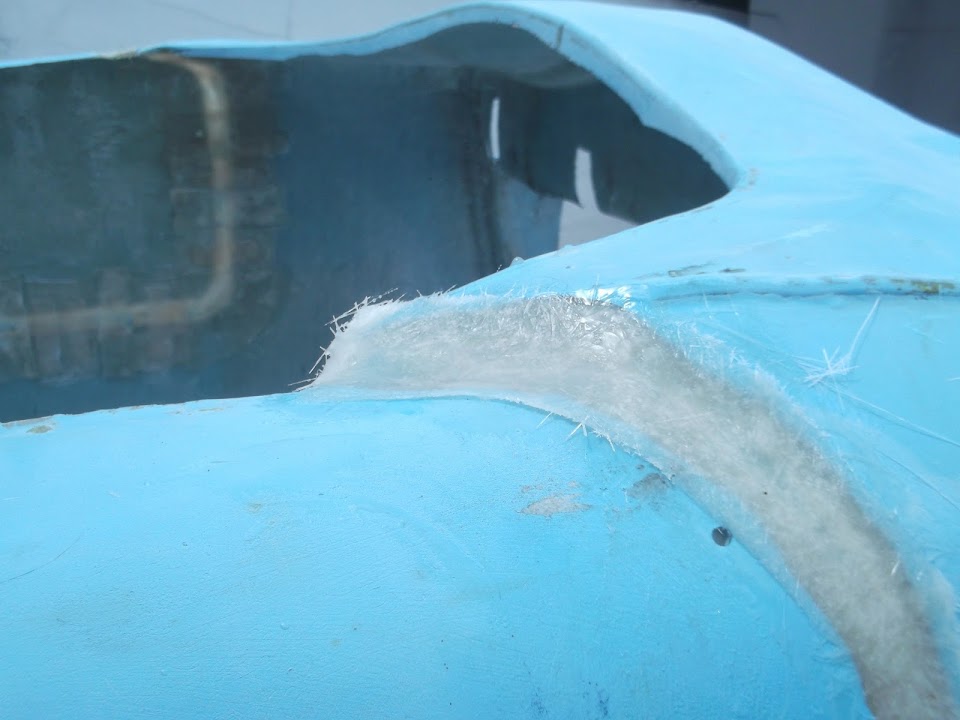
In addition to the door gaps, I also ground down the last remaining sections of the door opening lip on the inside too.

This would allow me to cover the area where the last fixing brackets had been from the inside.


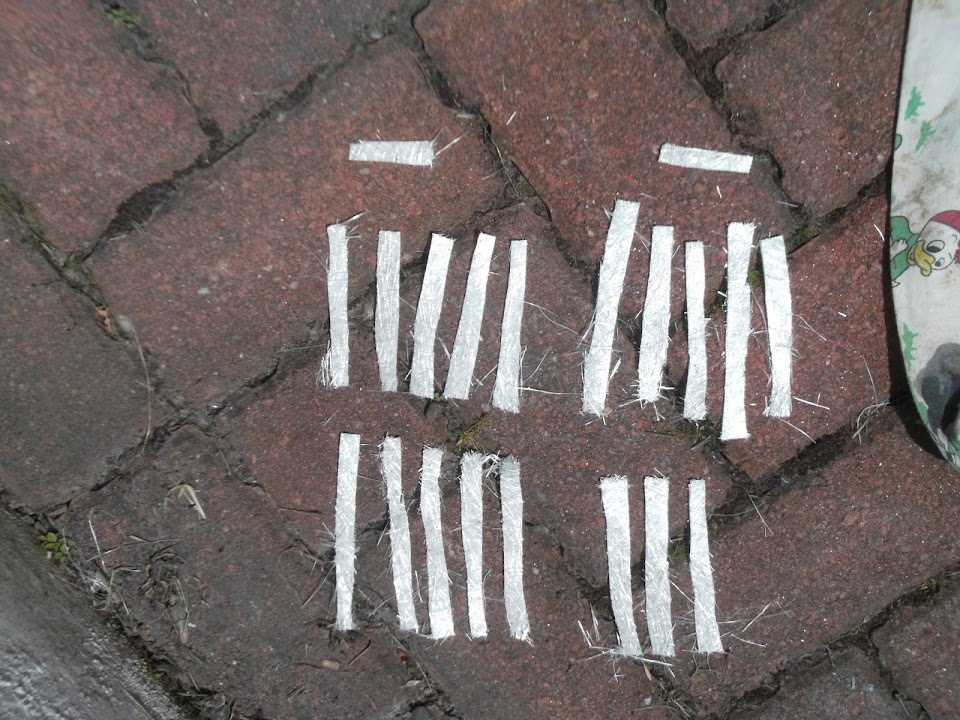
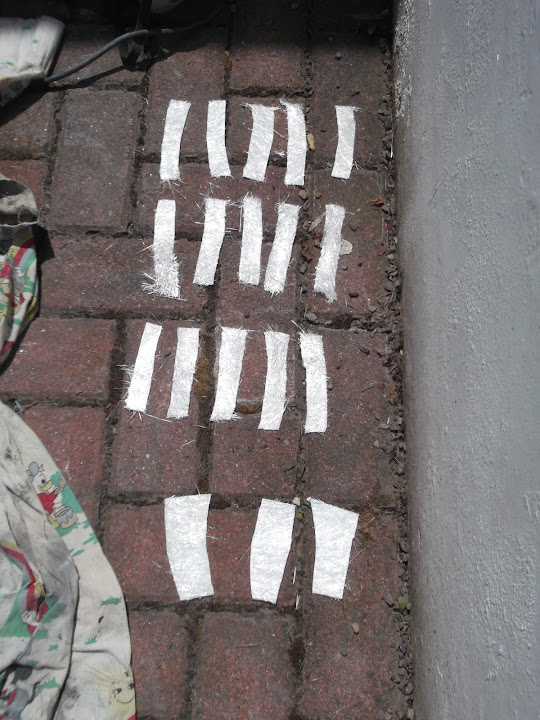
I did that work at the same time as the work below, which had started with me cutting out a selection of fibreglass "soldiers".


As I find it easier to work with lots of small strips rather than fewer longer sections of matting.

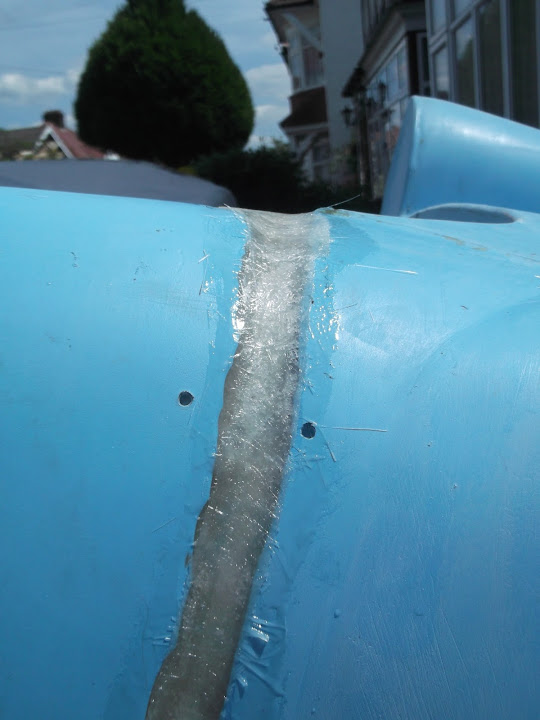
This was the door gaps after the first two layers of fibreglass matting was added.


Whilst all areas got at least two layers, I did have to build up a couple of spots.

E.g.


But there are also some areas where I will just have to live with the gaps for now.


Eventually all these problems will have to be dealt with when I get to the point of fixing the other major body shell issues.

Although I will come back and "tidy up" today's work.

- - - - - - - - - - - - - - - - - - - - - - - - - - - - - - -

The only other thing I had time for today was a second coat of stone guard on the underside of the frame/floors.


In addition to the dust sheets, I also had a section of cardboard to keep the spray paint off the front wall of my house!


- - - - - - - - - - - - - - - - - - - - - - - - - - - - - - -

If it was hot working on the car at midday, gardening in the afternoon was seriously hot work!

But I've now done all my chores and put a cover over the body shell, which I'm leaving on the drive over night.

Now I'm off down the pub now for a beer (or two) with my mate.

Until next time, take care, Paul. :)

PS
Here is my top fashion tip of the week...

Whilst shorts keep you cool in the heat, they do let the dust in.


:rolleyes:
12 Jun 2014, 5:39pm
Nice one mate that looks like a nice strong job, skim of fibreglass filler and knock it back with 40 or 80 grit for rough shaping and you'll be golden :-)

Didn't get up the workshop tonight as work conspired against me but will definitely be up Saturday for more humping!
Keep up the good work
Mac
13 Jun 2014, 4:00pm
Mac - Thanks. I'm going to leave the filler work for now until I finish all the other "cutting & shutting".

- - - - - - - - - - - - - - - - - - - - - - - - - - - - - - -

Barely an inch of progress...
I gave the edges of the fibreglass in the door gaps a very quick tidy up.


Then I put the body shell back on the rolling chassis so I could give my wife back her parking space.


Funny how it looks very different with the doors fixed in place, although this does make it harder to get in & out. :rolleyes:

In fact, I'm slightly concerned that my short legs might need to use some steps to get in when the frame goes back on!

Without the rear frame work, the back end hits the tyres, but you can seen the driver's wheel sits pretty central in the arch.

Whereas the passenger side doesn't. :icon_sad:


Which ties in with the work Mac did to rebuild the Cordite buck into the new Navigator one.

Whilst I'm still trying to avoid thinking about that phase of work too much, I did have a quick look at the bulkhead "gap".


The bottom of the body shell needs to be at least 1.5", if not 2" lower.

Part of this will come from radical surgery to the scuttle in a similar vain to Micky1mo's Navigator project.

As looking inside the body shell, it is wider than the Spitfire bulkhead.


So I think what I need to do is to cut the body shell so that the outside curve for the bonnet meets the curve of the Spitfire bulkhead.

I don't have Photo Shop, so here is the basic idea using prints of a couple of old photos.


I will then need to work out the best way of "covering" the top of the Spitfire bulkhead.

Plus the edge of the bonnet will need to be re-profiled to match the final bulkhead shape.

Which is why I was trying not to think about all of the work required in the first place! :rolleyes:

Cheers, Paul. :)
13 Jun 2014, 8:11pm
Paul, I can imagine you turning up at Tescos car park, reaching into the passengers footwell, and placing the small set of steps on your right hand side to get out by!!!!


I don't think so!! Any similar ideas I may have had about glassing my doors in have now vanished like the morning mist!

Your shell looks good mate.
14 Jun 2014, 7:03pm
Scottie - Perhaps I should bolt some foldable foot rests to the side of the car? :icon_wink:


- - - - - - - - - - - - - - - - - - - - - - - - - - - - - - -

A Test Of Resolve - Part 1
The rain absolutely hammered down last night, so I made sure I checked the forecast this morning and it said cloudy, but dry.

So this was going to be the day when I tried to get the rear arches and the rear frame joined together.

I roped in my wife to help me bring the arches through the house and on to the drive.

She also helped me shift the body shell and the rear frame / floors.

So now the front drive was seriously full of big parts...


Initially I started to put the arches & frame together like so.


Then it occurred to me that I might not be able to clean up the frame to weld the mounting "feet" back on with the arches in place.

So I pulled the arches out of the way and cleaned up the box section on both sides.
( Sorry photo is a bit blurred. )


The other thing I did at this point was put some plastic end caps into the frame.

I know Mac had recommended using a sealant instead and I'm sure I have some of this stuff (somewhere).

But I couldn't find it, so I've gone with the caps for now with a squirt of Waxoyl down the box section before they were hammered into place.

There are three basic sizes in use at this end of the frame.
( Sorry this is another collection of blurred photos. )


Note:
I may actually come back and re-do this if I can find the sealer before the final bolt down of the frame.

But by now, my Spider Senses were telling me that all was not well with the weather.

Sure enough, the rain came and I only had time to quickly covered things up as best I could before taking shelter myself.


At this point I found myself having another major sense of humour failure. :icon_sad:

Although there was another reason I let the weather get to me more than usual.

I've been re-reading my hard copy of the report Mac wrote on the new Navigator buck.

Whilst I want to sort out the "moon rover" before i really get stuck into sorting out the body shell.

I did want to check any issues relating to the Cordite bulkhead before I start cutting mine to fit the Spitfire bulkhead.

I was unsure about keeping a bit of the bulge in the scuttle rather than keep the whole section flat.

So I decided to check one thing about this area that Mac mentions while I had the body shell off.

Sure enough, the red line shows that the bulge in the scuttle is not in the centre. :rolleyes:


At least the fact this body is all over the place will give me the confidence to cut it up / out when the time comes.

The only down side is that there is just so much to do.

End of Part 1...