This is a read-only archive of the old Madabout Kitcars forum. New posts and replies are no longer possible, but every thread is still here to browse and read.
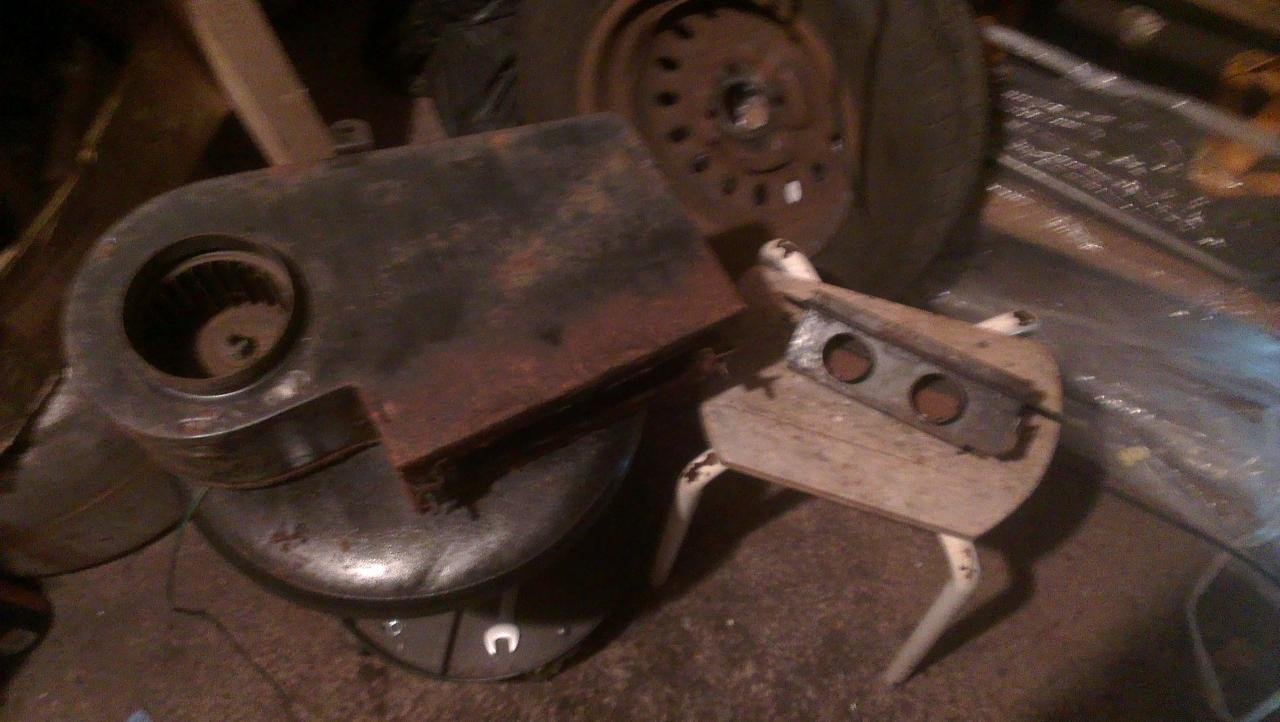
I have removed the heater box from the bulkhead. I need to inspect it to see if it can be used. If it can be used, it will be cleaned and painted for the installation later on.
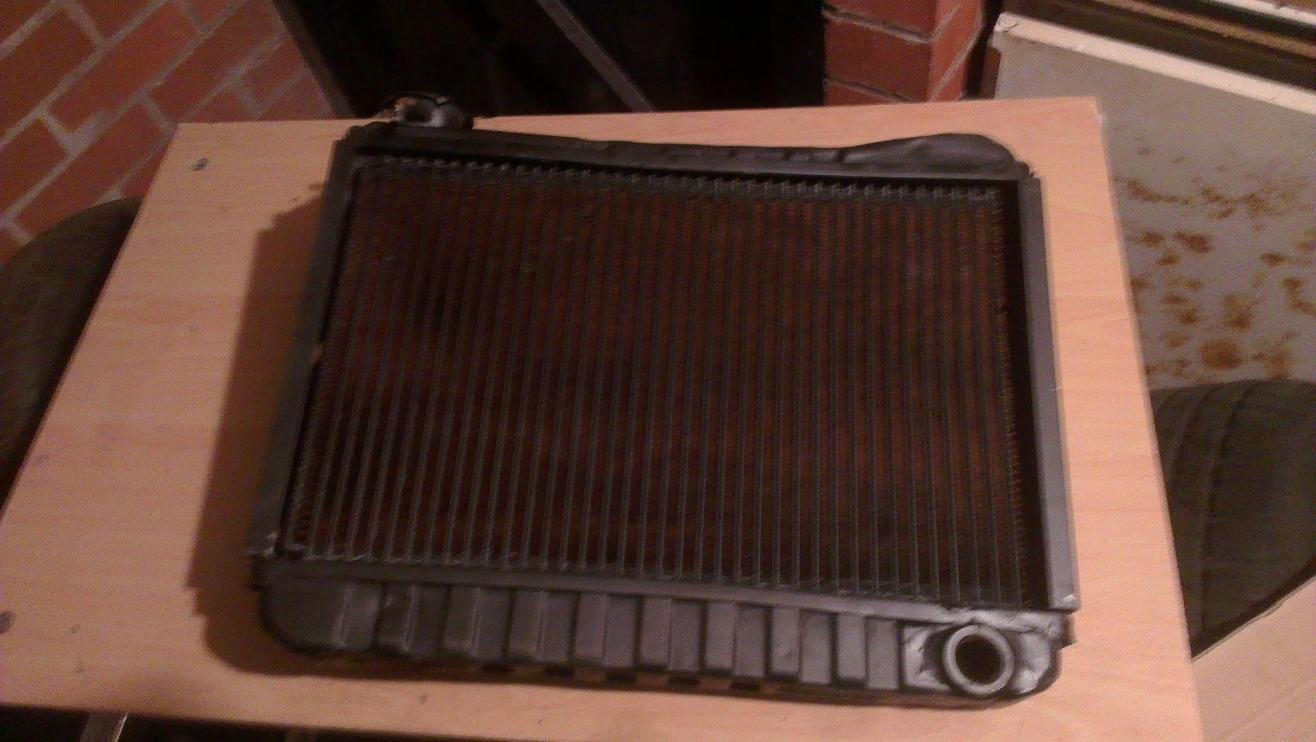
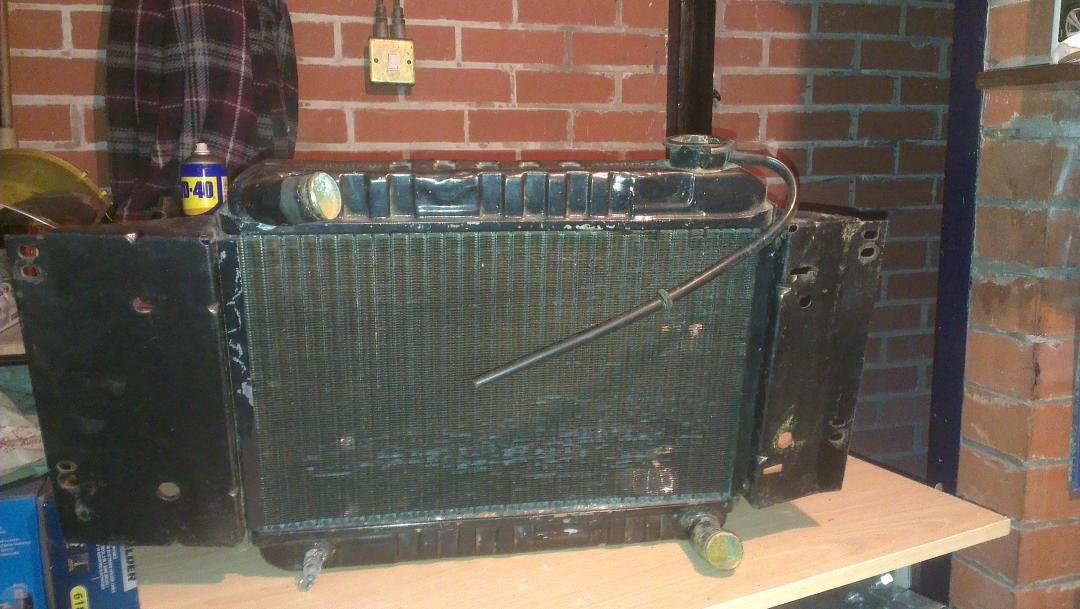
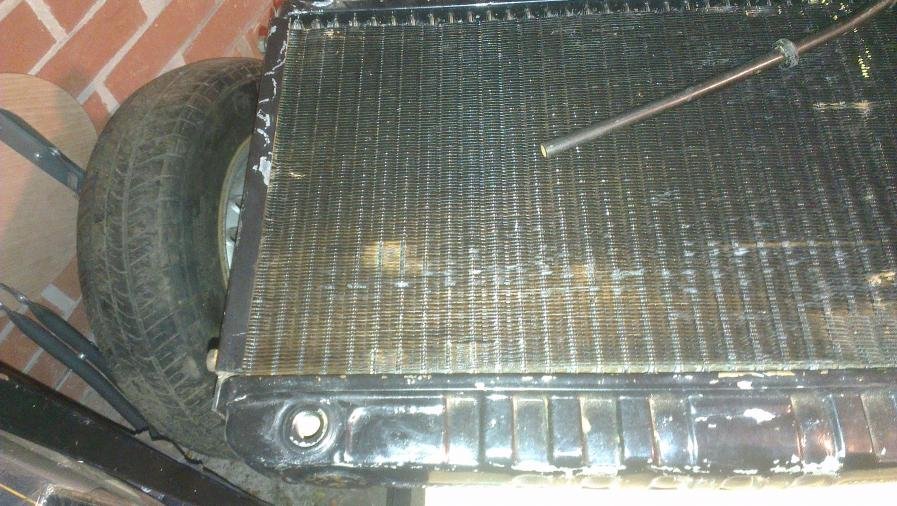
I have bought a reconditioned radiator too. I have now removed the brackets from the old radiator and will clean and paint those too before fitting them to the new radiator.
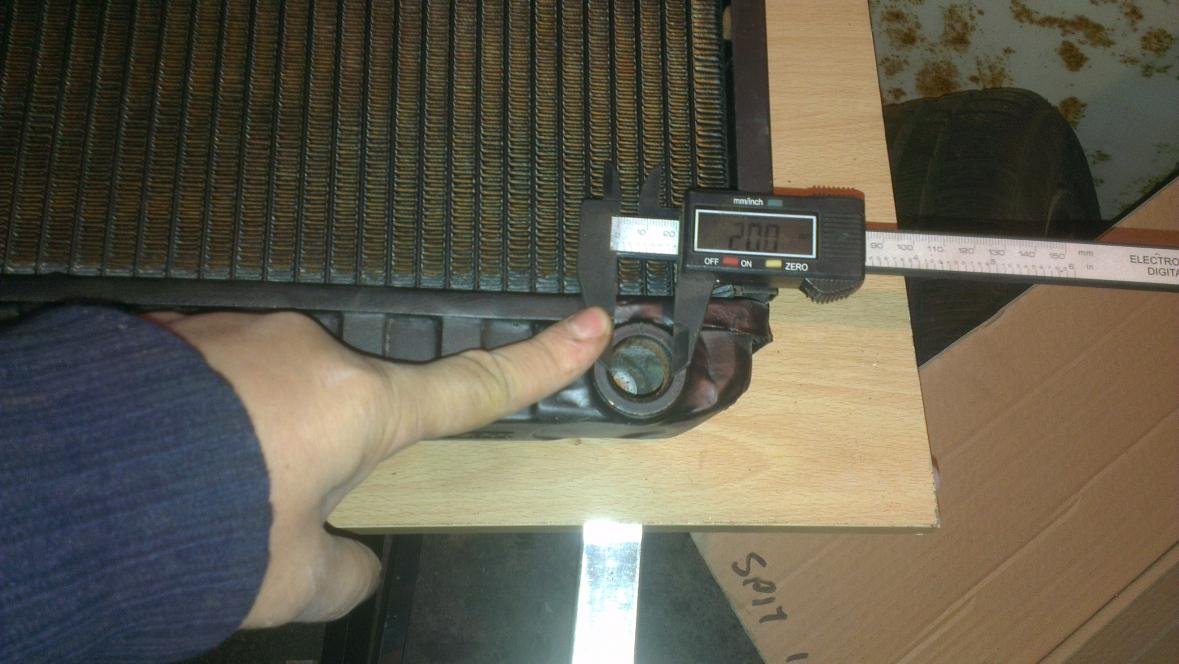
I have noticed that the drain hole on the new radiator is not only on the other side (compared to the old radiator) but also larger in diameter, so I will have to order a new drain plug. I have bought a new radiator cap too. I could choose to buy 7psi or 13psi radiator cap - I have bought the 13psi one (I have a Spitfire 1500 engine). I hope that was the right choice.
Yes mild steel ...I don't know what Mike used but it should be 25x25x3mm box section ...A length is around 20-22 feet but you will be surprised how much you get through ...I think the original S*mmio frames were about 3 lengths ..
You could get away with 20x20 if you are adding to the existing structure ...if you want some brackets to use as bolt on points ...there are probably some on the existing frame , as Mike used my program at my suppliers ...arch shaped brackets about 50mm wide and some 25mm wide brackets with a hole either end ...I have a selection at the workshop ..happy to post you some ...I use the larger ones as seat belt points too..
Excellent advice on the 25 x 25 x 3mm section of mild steel.
You could get away with 2mm thickness minimum, however, the 3mm will be much easier to weld.
Paul L, Gary and molleur - thank you for the confirmation and the advice on steel box section. Gary tank you for the offer to post some brackets and it would be great if you would do this. I have PM-d you about it.
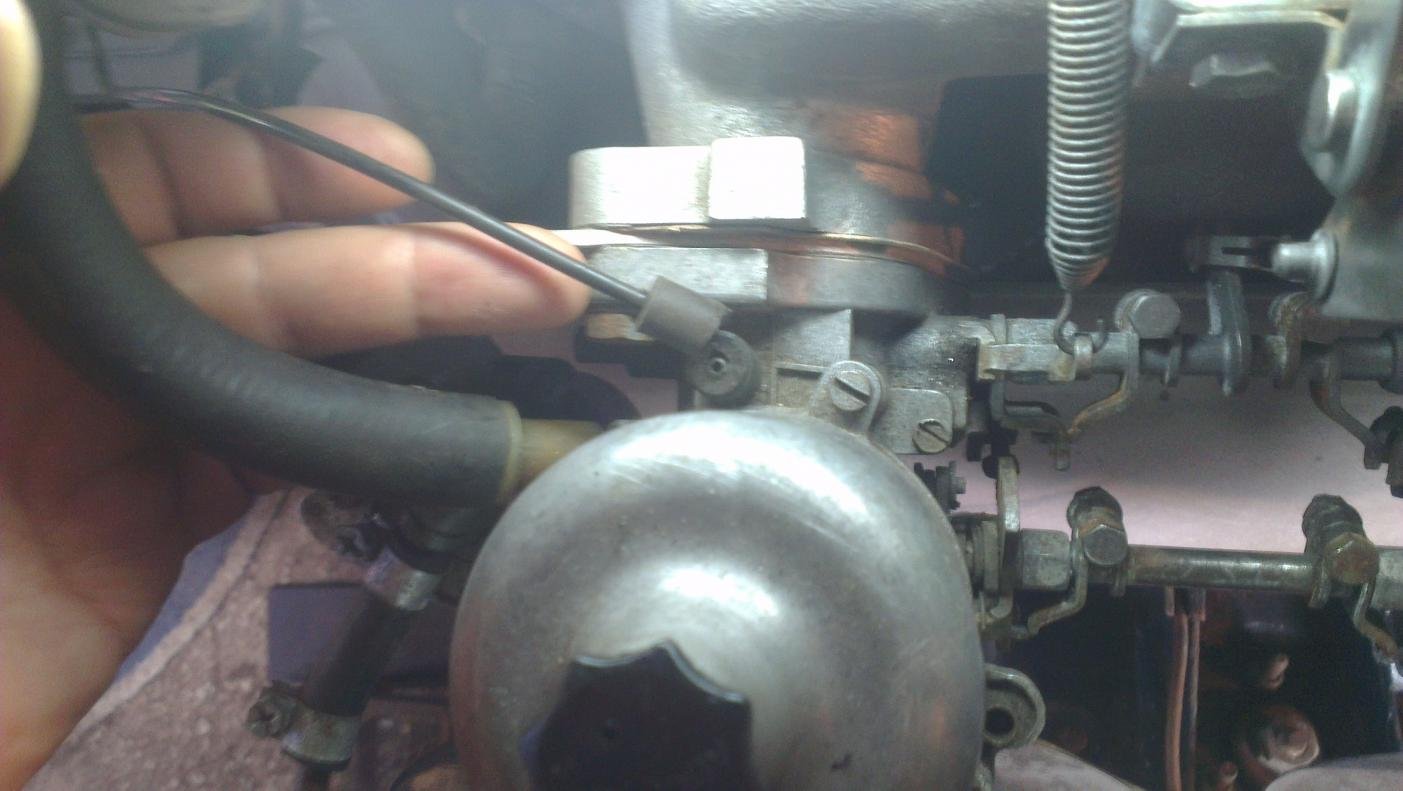
I need some advice please. When I was replacing the heater hoses I've noticed the rubber in the picture below has split. Is it possible to fix/glue this or it need to be replaced?
I have looked in the Haynes manual and Internet trying to figure out the part name/function so I can order one, but no luck. It is located between the manifold and the carburetor.
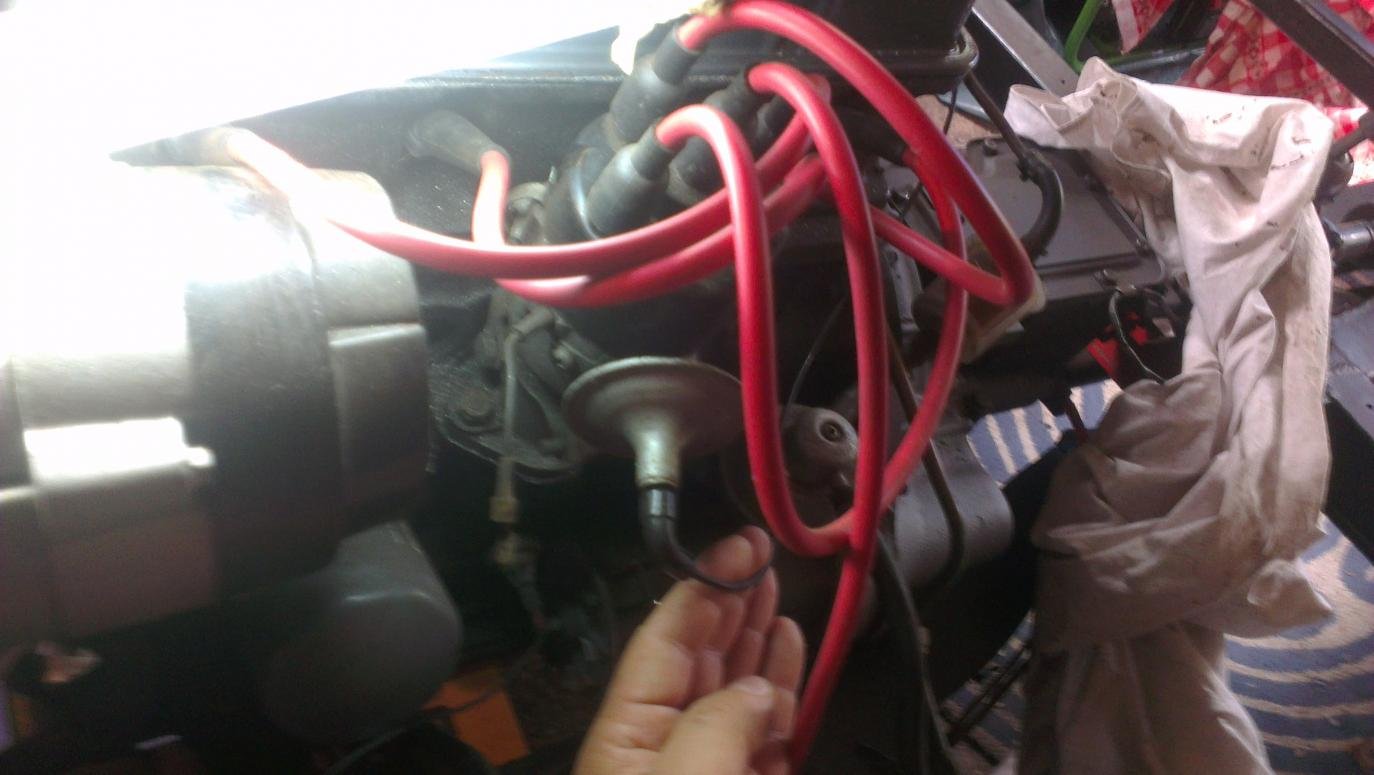
And it goes from here:
My wild guess would be that it has something to do with a vacuum? so the rubber need to seal this point, but as I said it's just a guess...any advice would be helpful and appreciated.
As Molleur says, it's a plastic tube that varies the ignition timing depending on the vacuum at the inlet manifold.
Throttle(s) closed = big vacuum and little ignition advance so it doesn't stall as it slows to an idle. Throttle(s) open = less vacuum and lots of ignition advance so the spark fully ignites the fuel/air mix before the firing stroke piston has travelled back down the bore at higher revs.
Cheap as anything and available from most motor factors so not worth trying to repair.
molleur, froggyman and Mister Towed - thank you very much for your help. Mister T thank you for the explanation, I understand the system a bit better now. Thanks for the links to order the parts too.
Mister T I hope your Speedster build is going well - did you started the build thread already? I've enjoyed your Sammio thread a lot, so I hope to read about building the Speedster too.
Thanks for asking mate. Yeah, the progress was a bit slow last two-three months. Work is crazy busy lately and some (minor) health issues were in the way too. My build might be a bit slow due to work commitments, but I will not give up building and finishing the car, that is for sure.
I hope to resume the build in a couple of weeks. In the meantime I have been researching and reading about fibreglassing and I have bought quite a lot parts and tools/stuff for the build, so it's all there when I continue, which should be soon hopefully. I have bought some steel box to reinforce the frame, welding mask, main lights and the assembly for them, etc.
Unfortunately I did not receive the brackets, at least the last time I checked, which was just before the Christmas (the car is at different location to where I live and all the car parcels are delivered there). However, I have been told a couple of days ago that I have an envelope waiting for me, so maybe it's your parcel. I will let you know and thanks again for posting it.
Your Formosa long nose bulkheads look fantastic and I really like how the car is turning out so far. It is well built and will be great looking one too, that's for sure.
THANK YOU ....It was a padded envelope folded in half from memory , so sounds like they have arrived ....
Good luck progressing with the build ...they are worth the blood , sweat and tears ... I did some work on a Miglia recently , made a few changes etc. and corrected a few issues ..it was starting to look very promising when it went back ...
THANK YOU ....It was a padded envelope folded in half from memory , so sounds like they have arrived ....
Good luck progressing with the build ...they are worth the blood , sweat and tears ... I did some work on a Miglia recently , made a few changes etc. and corrected a few issues ..it was starting to look very promising when it went back ...
Gary-Thank you. Hopefully I won't have to work this weekend and will be able to work on the car. Will let you know if the brackets have arrived.
That looks good the side profile with the chromework certainly changes the look
redratbike-thanks for the tip. Not sure about the chrome, but for the rest it's a very good looking car. I will be happy if I achieve a half of that quality.
THANK YOU ....It was a padded envelope folded in half from memory , so sounds like they have arrived ....
Good luck progressing with the build ...they are worth the blood , sweat and tears ... I did some work on a Miglia recently , made a few changes etc. and corrected a few issues ..it was starting to look very promising when it went back ...
Hi Gary, just to confirm, the brackets have arrived, thanks again mate. I have bought steel tubing, so it is really time to start learning welding (which for some reason I keep delaying).
What kind of changes you have made on Miglia you've been working on, what do I look foor please?
I had a few hours working on car on Sunday and will post the photos over the weekend.
I fitted a Miglia body to a Spartan chassis and created a tubular inner frame and bulkhead similar to a Formosa one ...corrected the rear arch mis-alignment on the drivers rear they all suffer from , cut a bootlid in to it and created an inner boot , hung the doors , cutting and correcting the fit and gapping as much as possible , made dropped steel floorpans , changed the grille aperture and bonnet area as well as shortening the headrest ......
Wow, thanks for the photos Gary. This is going to be a very good looking car. I can see that the hump is much smaller than the original, which leaves more space for the boot opening. It's helpful to see how you have mounted your Formosa hinges to the bonnet lid, so I will try to do the same with the hinges you have sent me the first time. Cheers man.
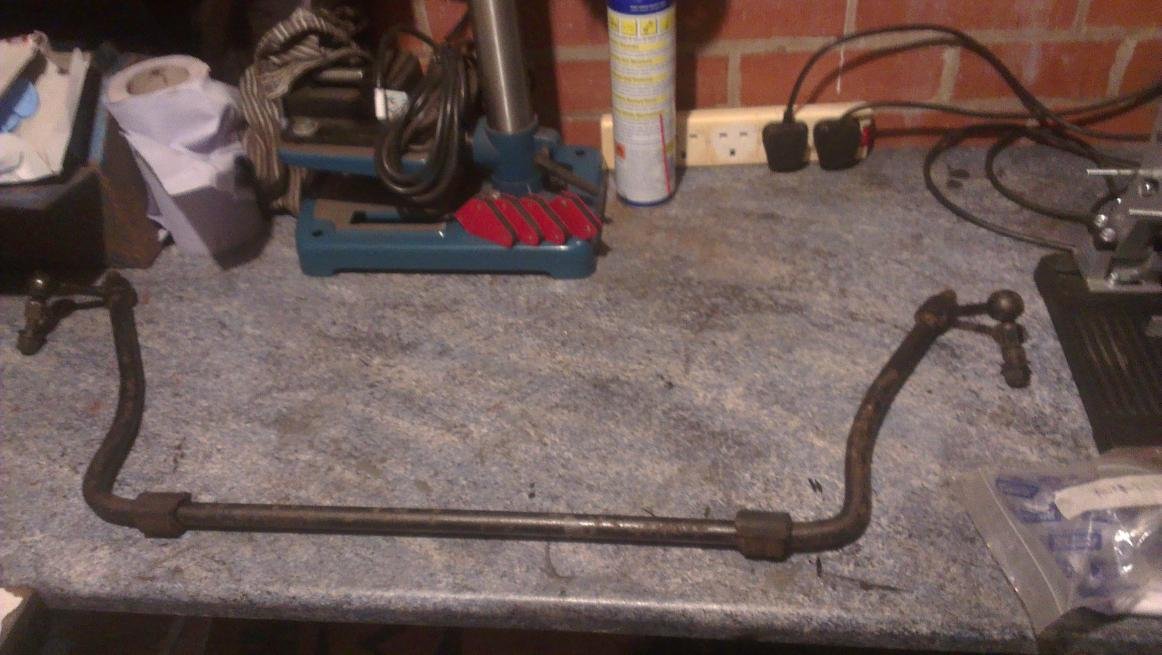
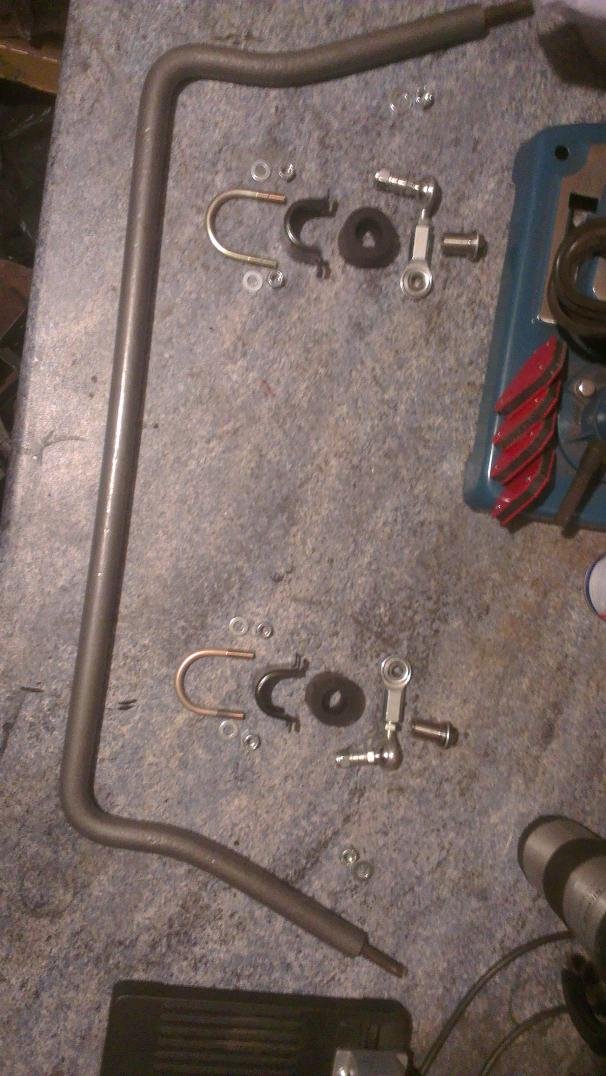
I had a few hours on the car a few days ago, so here are some photos. I didn't do as much as I planned but I am a bit further. I decided to replace the anti-roll bar and drop links, which took a bit longer than expected.
I bought a 2nd hand (thicker) one from a Spitfire and bought new clamps, U bolts, nuts, bushes and drop links.
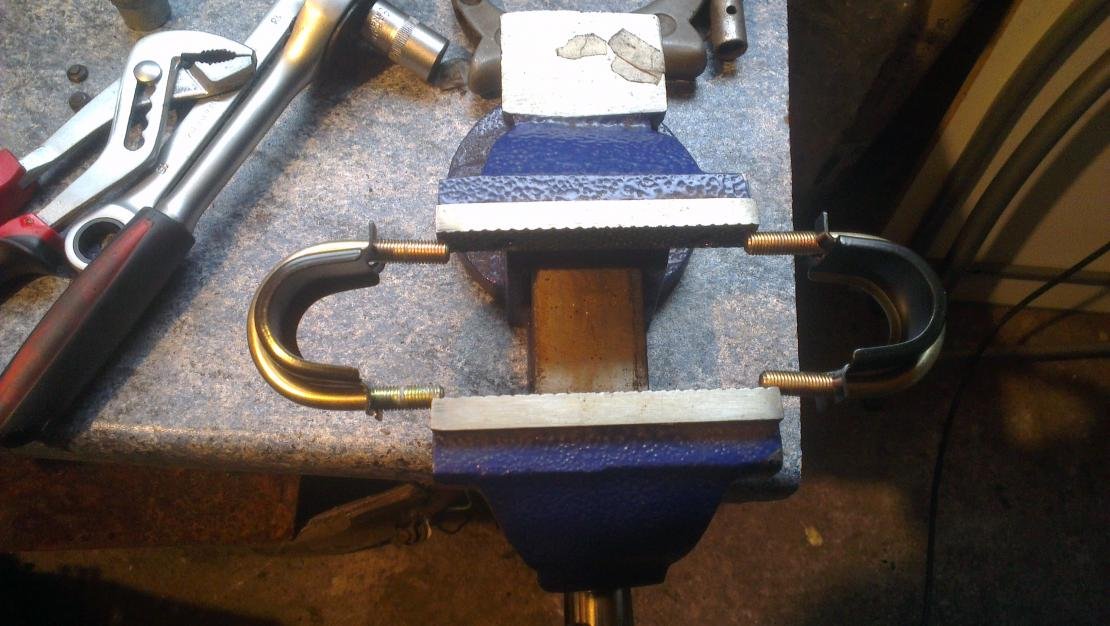
The U bolts needed a bit "persuasion" to fit into existing holes on the Herald chassis.