This is a read-only archive of the old Madabout Kitcars forum. New posts and replies are no longer possible, but every thread is still here to browse and read.
First job will be to get the roll cage painted and fitted (assuming it comes out!). What have others done? Hammerite?
I've gauges ordered and a few other bits (lights and fuel cap). I'm till trying to decide what to do with dashboard. I have the Nubodi one but like the look of the tribute one retaining the demisters etc... decisions, decision...
Got a mate fabricating the bases for the chairs and have new (2nd hand) carpets for the car.
To borrow a phrase from IT - I'll be looking to get "the least viable model" completed asap and MOT'd and then I can carry on tweaking from there. Maybe I should have left the interior as is but now it's out I'll have to sort that first.
Been talking to Chris about a few things and I'm changing from the Nubodi dash to the new Tribute one (as per Geoff's build) - mainly to keep the vents.
Also the new centre console as per the below pic. That's the metal fabrication that Chris has made the buck from, it will be GRP with the plan to cover in foam and then material (pleather) over that.
That looks like a neat solution.
I would imagine that you could mount all the heater controls into the centre console or lose it and have a more retro look.
I was intetending to go with Chris's dash but retain the BMW centre console, looking at this I can see me fitting the new centre section as well.
I still think I will keep the BMW door panels, I know that many people have replaced them but they look a bit like covered hardboard with a pocket. I don't think I could drive a long distance without a door armrest.
Bit of a bugger as I have just lashed out on the original BMW cup holder section so that I can fit a centre armrest.
Really like the look of the console / tunnel I will have to keep my eye on this thread to see the finished article then see if I need to save up to get the dash and console . tunnel.
I think the Tribute centre console will work even better as it leaves space for the stereo mounting.
I was thinking about a similar speaker grill to the DNA car but mounting it with a hinge so a GPS screen could be hidden behind it.
I think the Tribute centre console will work even better as it leaves space for the stereo mounting.
I was thinking about a similar speaker grill to the DNA car but mounting it with a hinge so a GPS screen could be hidden behind it.
That looks great - not sure if with my red seats it might be a bit too much though?
I'm still undecided about a stereo in the car. One minute I'm putting a full ICE system in, then next just an old fashioned stereo or nothing...
First job was to remove the roll cage and paint it. It had only been placed in loosely - or so I thought. Good a good bit of 'persuading' to get it back out.
Toyed with the idea of getting it powder coated but decided just to go with Hammerite and a hammered look finish. Applied it with a brush and it looks pretty good (2nd coat hadn't fully dried when I left). Also means if it gets scratched I can easily touch up.
Also removed the drivers side window (That damn sneaky bolt under the door that holds the 1/2 light frame nearly tricked me again)
Then tried a trial fit of the windows.
Wow, trying to save some pennies up for a set. Those dials with Chris's new dash will be a real finishing touch.
Please post all the fitting details so those of us who don't understand electrickery stand a chance.
A simple wiring diagram of the existing plugs into the old binnacle showing colours and where each wire goes to would be great, well someones got to do it so it may as well be you!
Wow, trying to save some pennies up for a set. Those dials with Chris's new dash will be a real finishing touch.
Please post all the fitting details so those of us who don't understand electrickery stand a chance.
A simple wiring diagram of the existing plugs into the old binnacle showing colours and where each wire goes to would be great, well someones got to do it so it may as well be you!
Don't worry, I have every intention of posting as much as possible. I find the other posts on this site where people have put kinda 'how to' guides really useful.
Although saying that I've not read the instructions yet so they might be beyond me yet :-)
After painting the roll cage last weekend it was time to fit it this weekend. Had the help of a friend.
I drilled the holes in the rear as the instructions said and then fitted the roll cage. A couple of rubber mallets got it in and down
We then realised the front windscreen roof and door seal and the plastic where the sun visors and interior light are in, had to be removed. Also the holes on my side were not quite in line so had to lift the roll cage remove rubber and plastics and elongate the holes.
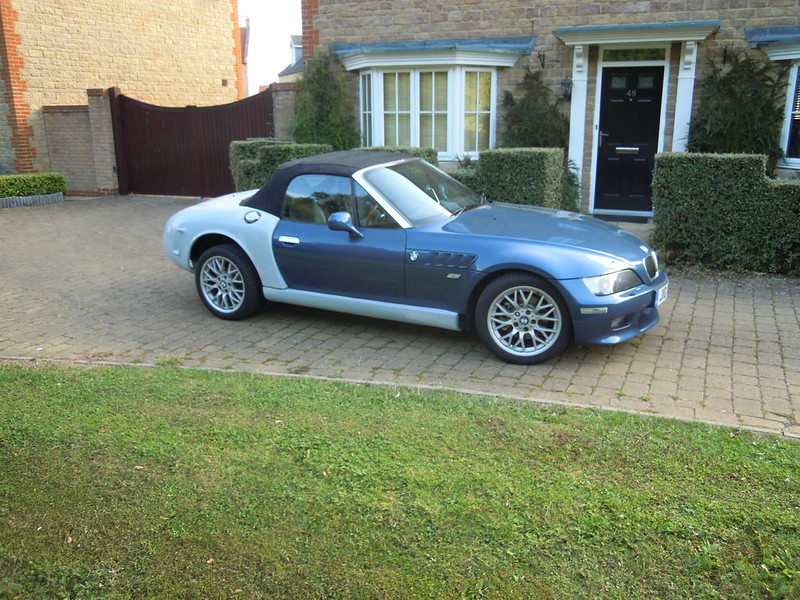 DSCN4253 by eric holm, on Flickr
  IMG_1629 by couerdelion2013, on Flickr[/IMG]
  X8AAOSwQItT6pl~
 20180120_155902 by couerdelion2013, on Flickr
 20180120_155921 by couerdelion2013, on Flickr
 20180120_165922 by couerdelion2013, on Flickr
 20180120_165929 by couerdelion2013, on Flickr
 20180127_155604 by couerdelion2013, on Flickr
 20180127_160609 by couerdelion2013, on Flickr
 20180127_162738 by couerdelion2013, on Flickr