This is a read-only archive of the old Madabout Kitcars forum. New posts and replies are no longer possible, but every thread is still here to browse and read.
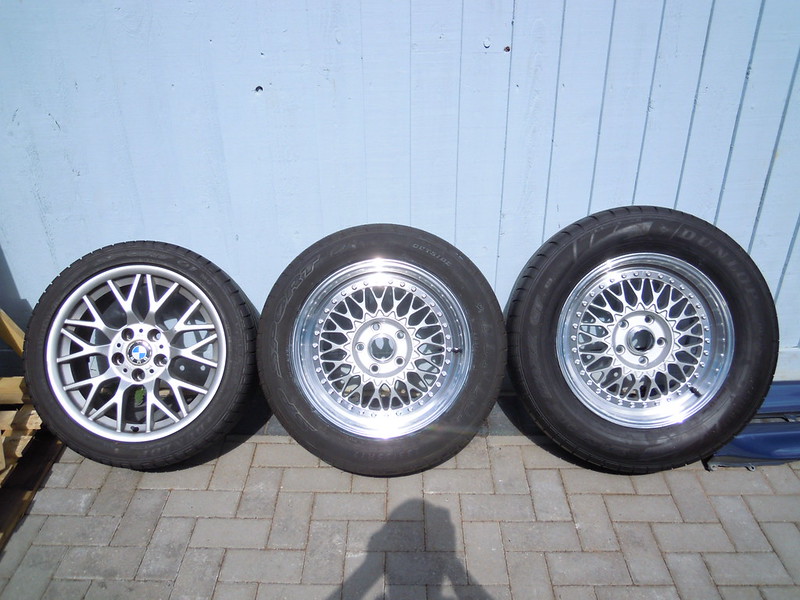
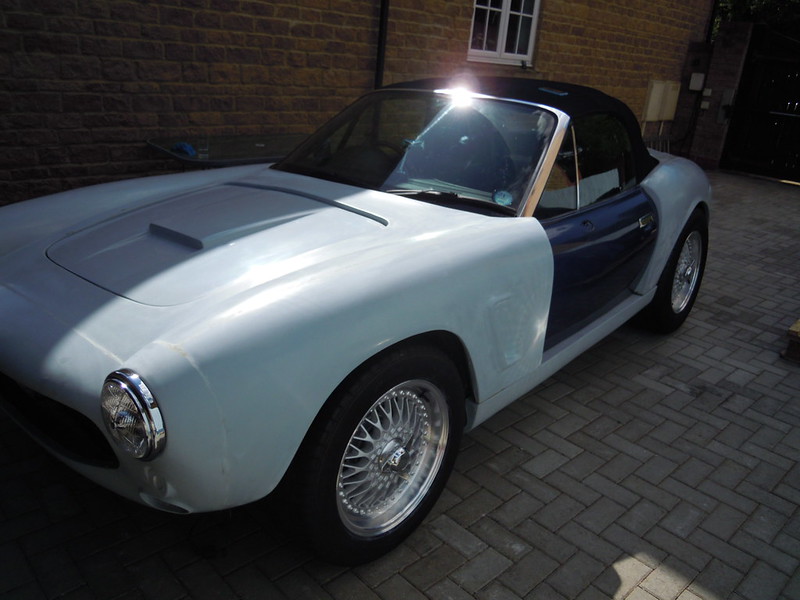
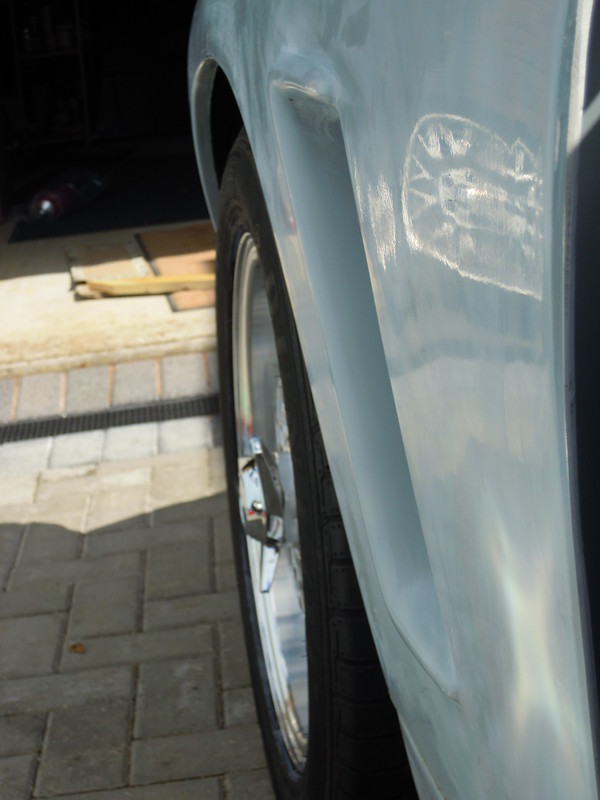
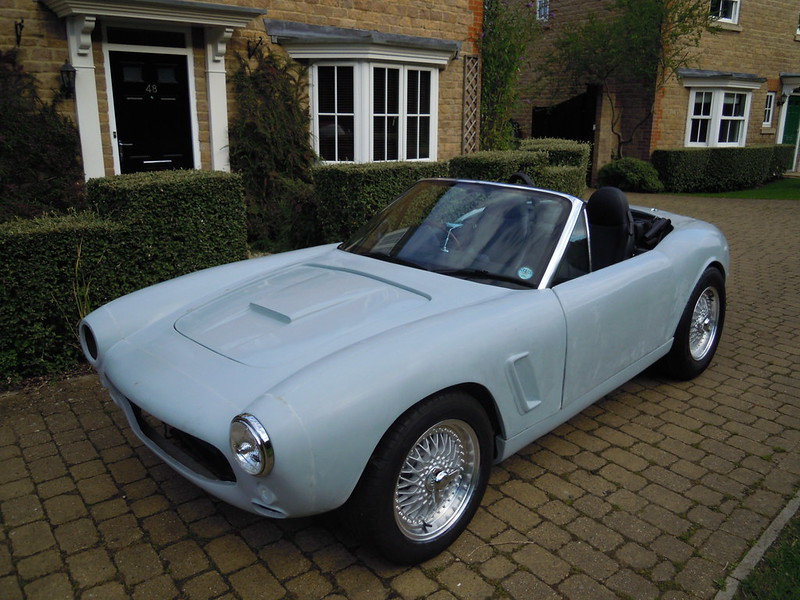
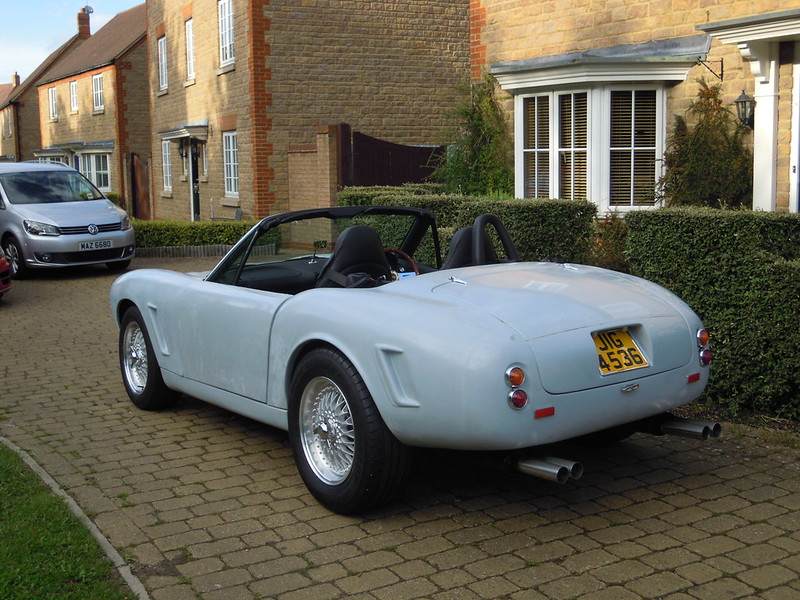
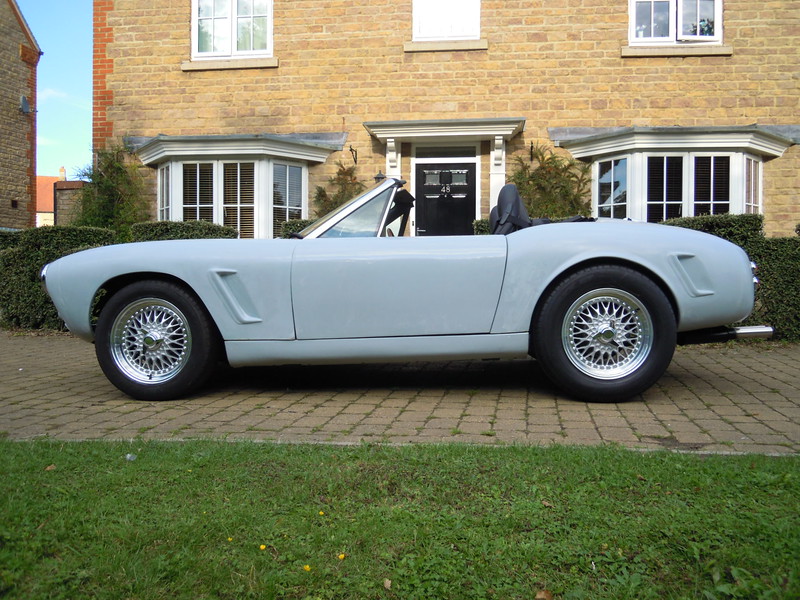
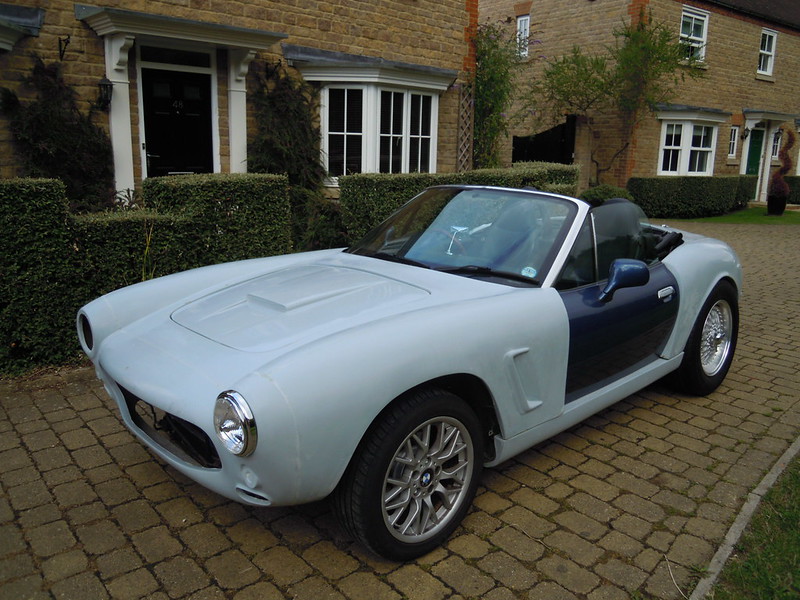
I've lots of electrics and tinkering to do before I get to the doors, also take rear-end off and refit, specifically getting the Fuel cap and filling fitting correct so the body goes flush.....Also not sure how the door skins go on? I know there is lots more fiddling to do with locking systems, so getting a lot more done before attempting that. Will start listing lots of parts on ebay now to clear some space.
Good to see you today Andy, hope you found some other useful parts as well as the spot lights.
Due to head gasket troubles on my other car, I should be jamming some camping gear into the 250 and going to Ipswich for the Street Rod Nationals this coming Bank holiday weekend. Well worth a day out on the Sunday (public day) with several hundred hot rods, customs, American cars and even a lookalikeish Ferrari!
Also went to Newark Autojumble today and got lots more lovely parts for the build, can you believe I bumped in to Hurnleft!
And there was a red tribute MX5 250 GTO there, what were the odds!
Are you keeping a log of your build time ? Just wondering the KitCar article this month quotes around 320 hours ! Assuming you have the parts to hand I can't see why it would take that long . If I were working a 40 hour week on this car conversion I would say a maximum 4 week build or 160 hours including prep and paint at about 5 days.
Sorry no time sheets being filled out, not sure of the purpose of that for me that is. Am keeping track of spend and will release all figures at end of build. My time is free and not costed also I think everyone has their own pace. I spent months working every now and then on the interior and also prep'ing the car before the build, brakes, springs, etc. I think the poeple who can best advise are those doing it all the time and probably take their pace and double or treble it for a first timer.
I guess I have had around 7 full days on mine since the kit arrived on 1st Aug, it will give you an idea. 1st timers are going to make some mistakes as well as there is no manual! just this great forum, without it I would be loathed to take it on.
I am trying to work out what you had to remove / re-position at the front to get the bonnet to clear.
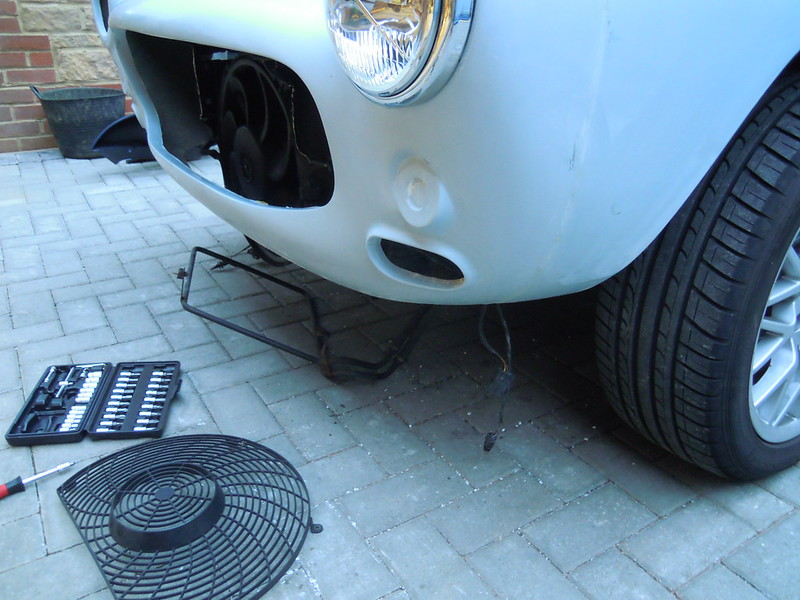
In this first photo it looks like you just removed the power steering cooling loop and the fan cover but in the photo from your flickr page it looks like you removed the fan altogether (I can only link to your flickr pics).
I am trying to work out what you had to remove / re-position at the front to get the bonnet to clear.
In this first photo it looks like you just removed the power steering cooling loop and the fan cover but in the photo from your flickr page it looks like you removed the fan altogether (I can only link to your flickr pics).
If you did have to remove the whole fan, are you planning the Land Rover replacement Chris has talked about or something else?
I will be doing this to mine soon so very interested.
Good morning!
I had to remove the whole fan and cover, grind/cut away some panels and re position the pipes, I took photos all the way and the one you see above shows the front end resting on the fan housing so it is not all the way down.
As I dont know yet how much space is between the back of the new grill and the radiator I don't know if I will be fitting any fan there yet
Hold the grill in place, duct tape it and you see how much space you have, most difficult is cars with AC, since the fan cover is in the way, but take that away and you should be fine...
Eric is saying that he still doesn't get clearance.
Can you post any pictures of your car front with the bonnet raised so we can see how you have done it please. If you just post the links I can turn them into the pictures for you.
To WCA: i have posted earlier something about the 2 different fans there can be mounted by BMW, but in both cases I got it all set up with the originals in place
I didn't want to trim the lip, but that was my fall back plan
With my wheel sizes my ride height is going to be pretty high so the lip will be noticeable, although will likely be behind the reg plate.
I had most of the problem not with the fan, but the metal pipes and their position, luckily there was plenty of adjustment with the fitting brackets to persuade them to get out of the way!
Eric is saying that he still doesn't get clearance.
Can you post any pictures of your car front with the bonnet raised so we can see how you have done it please. If you just post the links I can turn them into the pictures for you.
Thanks
This one shows how much those pipes need to be into the car to get the clearance, anyhow for my car at least...Those pipes need to go as near to the Aircon radiator to make the front end come down nicely without any interference. BTW the bonnet is fully down in this picture
hi Andy
Great to see it progressing. Im so pleased you went with the long exhaust tips. By the way Ive just bought a perfect pair of all black Rover 75 seats which are much lower as they are manual adjustment. Im going to fit them to mine. I believe they came from an early model. Did you see the article in Complete Kitcar magazine?
Hey Richard! hope you are well and probably feed up of answering the phone as it must be ringing off the hook. I have seen the magazines, 2 of them only online, haven't been through WHSmith recently as been out of country and now back at work
Will pick up a copy when going though the airport next. From the photos Iv'e seen it looks amazing and gives me that little bit of inspiration encouragement we all need in the middle of a build.
Ha ha we can joust when we meet next with our cars in reverse
Yep all going well and loads more parts turned up today including bump stops for rear suspension, just waiting for extra thick pads and coil overs so can fit, hopefully I can get the issue with ride height and wheels sorted.
I still have those seats, looks like there is no takers yet, what it needs is for them to be promoted somehow to get more interest in converting Rover 75 seats for use in a Z3... or maybe someone passing Milton Keynes who needs a pair may take pity on me and give me 1 metre square space back in my overloaded garage.


 op2:
op2:




 with our cars in reverse