This is a read-only archive of the old Madabout Kitcars forum. New posts and replies are no longer possible, but every thread is still here to browse and read.
Hi Hammy
Great start, with your extensive prep and planning i wouldnt expect any less. Looking forward to seeing the progress.
Mines back from the painters after the body mods and from the 1 pic ive seen loks nice and shiny! Ill post some pics for inspiration maybe when i finally get my hands on it.
The wheels look awesome bye the way, realy suit the car, build, era!
Whilst I have been planning for a few months that doesn't mean you can't potentially make mistakes. If I had bonded the body before I did the lights I'd have been screwed.
.
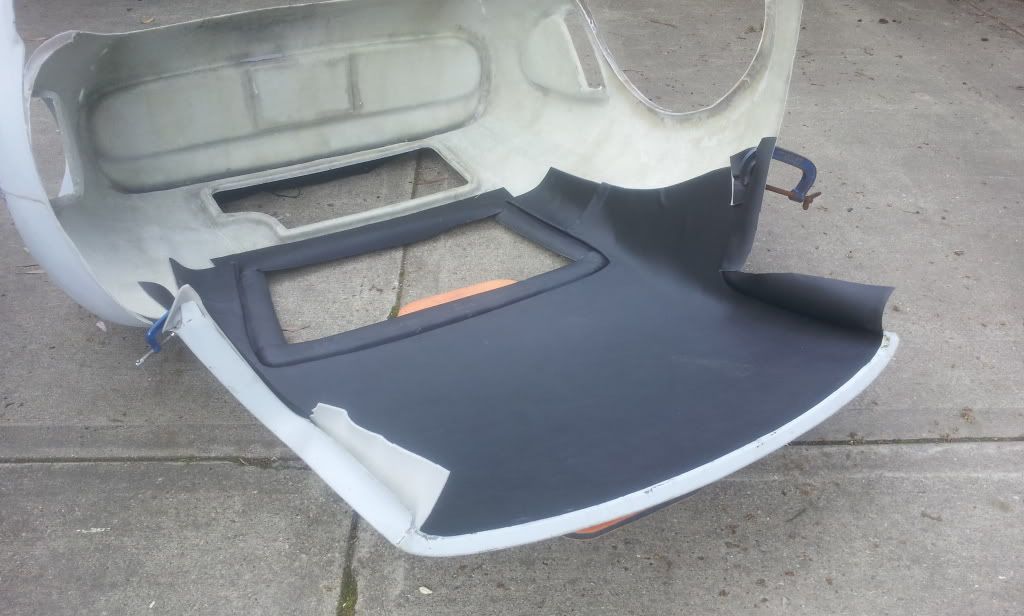
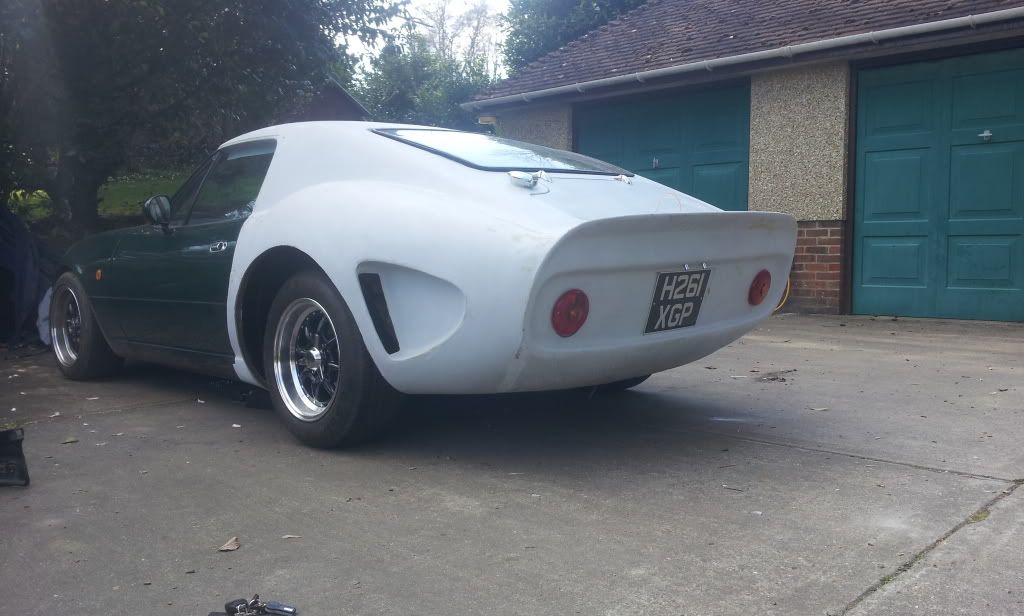
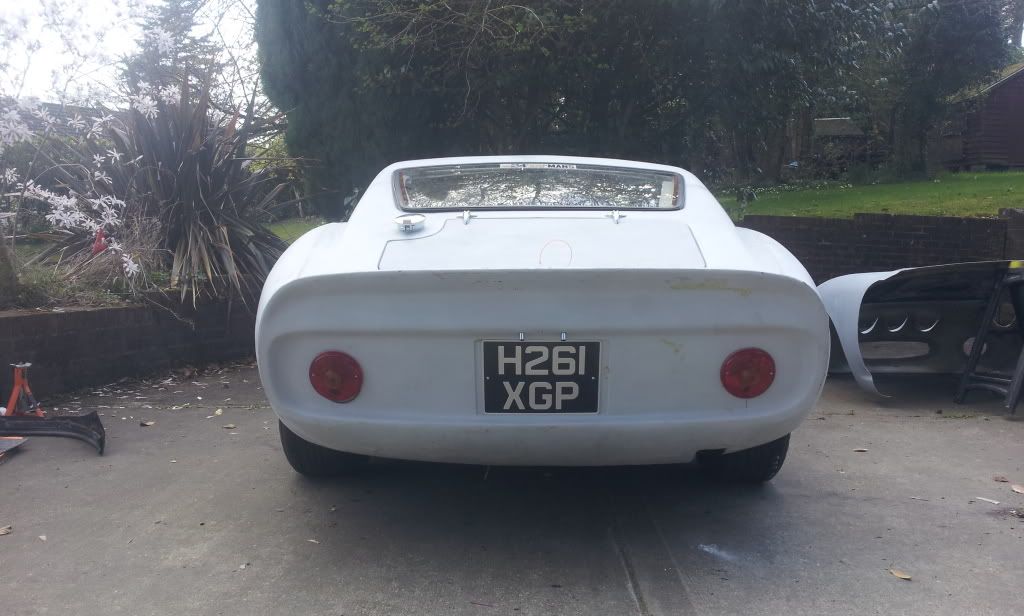
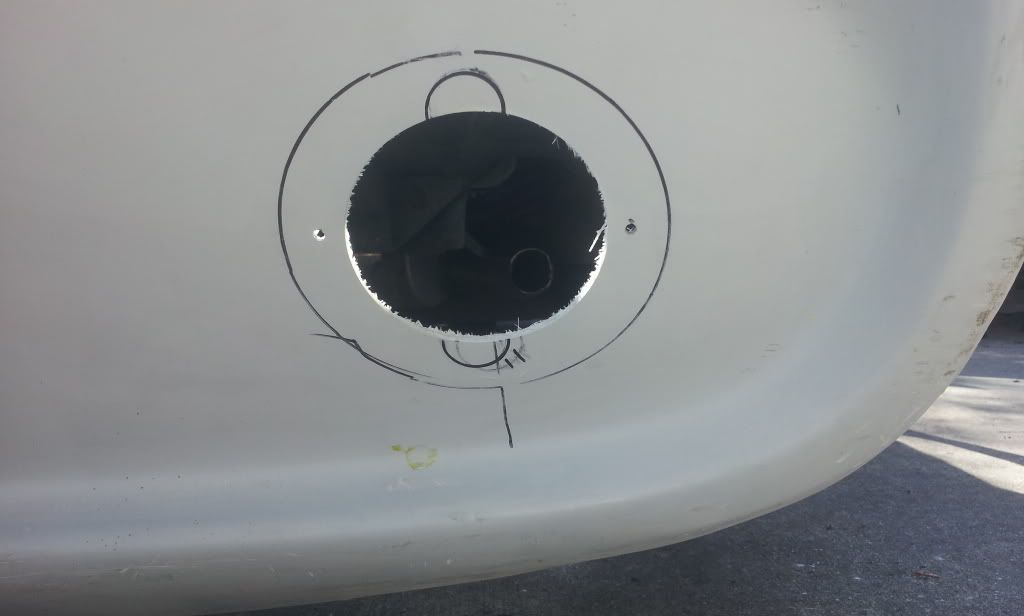
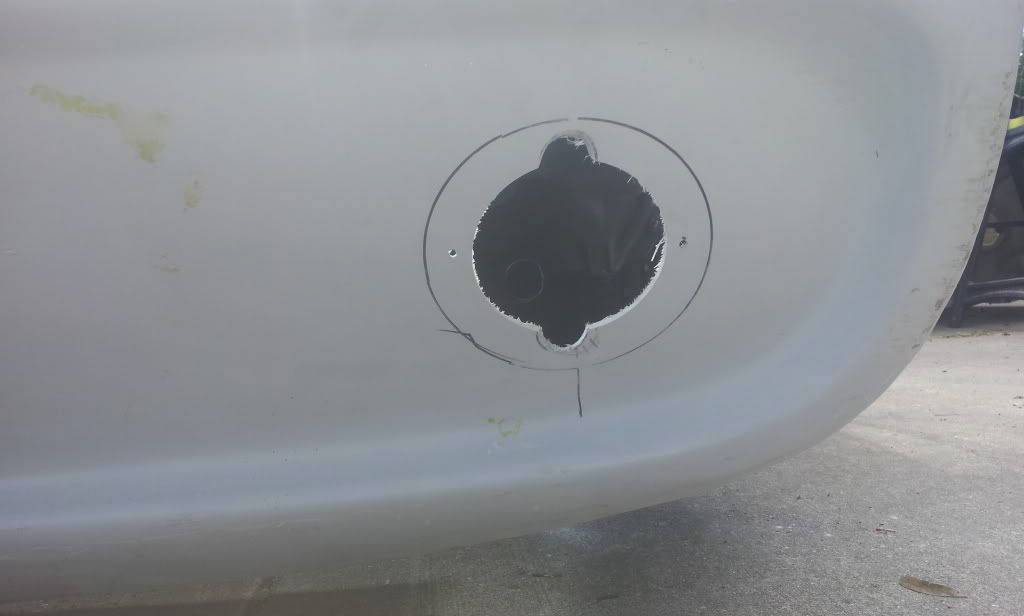
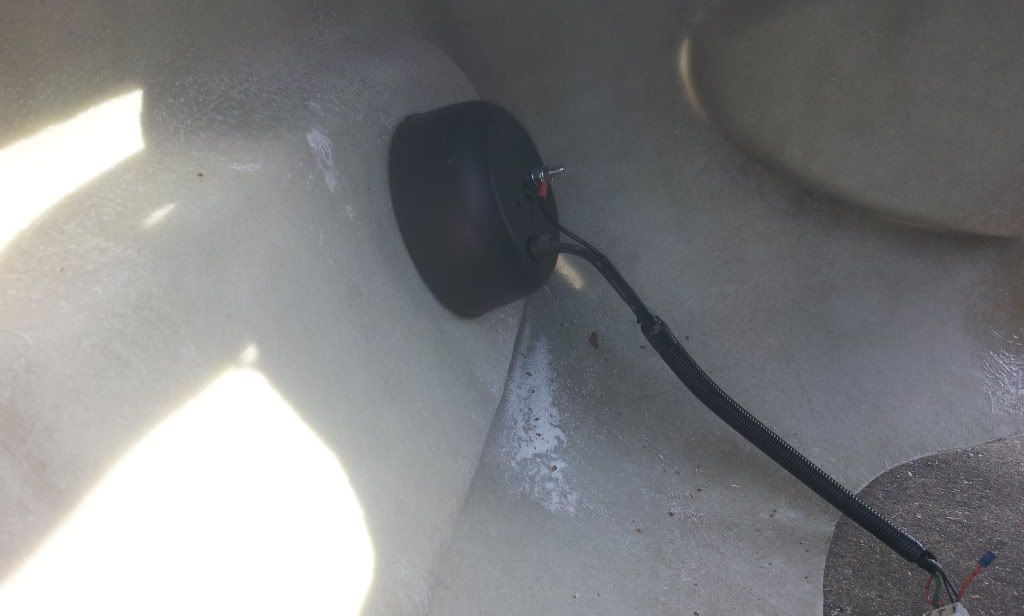
So these lights have two bolts so they can be externally mounted, my plan was to have the body mounted to the rear of the body shell and then the lense only on the surface. So I measured the screw holes then dropped 5mm and cut the hole... Because of the internals of the bowl you need to leave room for two things, one being room to change bulbs and more importantly room to let illumination through...
Sorted..... But now think if the body was bonded on already...
Luckily.... Actually very luckily I hadn't. So these rear bowls were fitted then pulled tight to the body by screwing the lenses on and bonding the bowls to the bodywork. I don't have a pic of that but a liberal amount was used. If you don't and you undo the lenses to change a bulb then guess what? The bowl falls off and you'd have a very very tricky job on your hands..
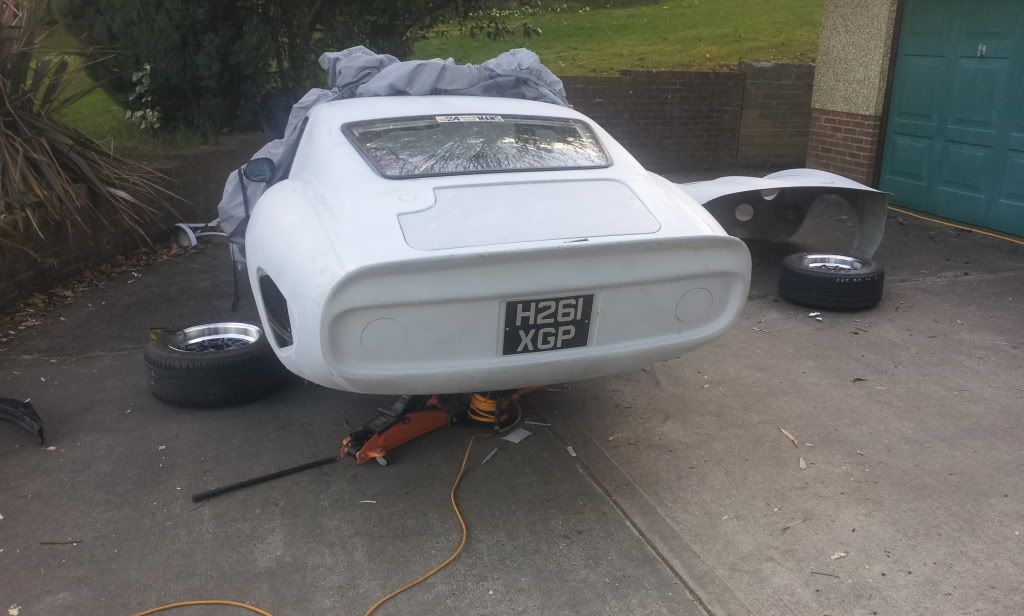
Rear now fully fitted. When Chris dropped the kit off he accidentally brought fast setting resin. As a two man job it work out quite well and we did one edge at a time. Just be aware if you do the same to have 3 nozzles for the resin. it sets rock hard in 12 mins!!
prepping the area around the windscreen for paint this avo so the screen can go in, as I have mentioned before, this is my daily driver and needs to be back on the road. Hence the months of planning.
To expand on that i fitted the seal to the window first and then ran parachute chord all the way around the part of the seal that fits over the bodywork. Then lay the screen into position and get someone to very gently push down on it from outside. Meanwhile your inside the car feeding the seal on by slowly pulling the string out at right angles to the seal. Fairy liquid helps. ( there are other brands of washing liquid that are equally as good). Hope this helps.
To expand on that i fitted the seal to the window first and then ran parachute chord all the way around the part of the seal that fits over the bodywork. Then lay the screen into position and get someone to very gently push down on it from outside. Meanwhile your inside the car feeding the seal on by slowly pulling the string out at right angles to the seal. Fairy liquid helps. ( there are other brands of washing liquid that are equally as good). Hope this helps.
Nice to meet you today, didnt wanna bore your Missus by chatting too long. See you at the BBQ mate
ving spoken to Chris at Stoneleigh and realising what my problem was fitting the rear screen me and my mate set about it today. It was going really well......
Then BANG!!!!!
My eyes were no more than 6 inches underneath this when it happened!
The bottom line is I did notice a very very very slight craze in the edge of one part of the screen just before fitting. It looked oh so minor but when the cord hit that bit it was a straight BANG!!! How I shut my eyes in time is a miracle, so I spat some glass and dressed my hands and arms. PS This is serious so Im not at all embarrassed to post it. If my mate had been applying pressure to the screen in the same place that he was 10-15 secs earlier Id be in hospital and praying I still had my eyes. Im not exagerating. I spat out glass and my mouth was bleeding. Gents itd be easy for me not to list this post to save build embarrassment but having known a guy that died under his kitcar its worth a mention.Ive been restoring and building cars for 27 years and I wasnt far from losing my sight. IF IT LOOKS WRONG IT IS WRONG Guys.....
Yes thats some of the blood, yes new sticker needed lol....
Hi Hamy, sorry to hear you were injured and relieved ( not as much as you) that it was not much worse!
I purchased an MOTd kitcar a few years ago, after getting it home spotted a few things that looked 'wrong', 6 weeks later a rotton chasis rail gave way whilst my mechanic was moving the car, thankfully slowly, and the the car did an unexpected handbrake style stop dead. Embarrassing that i bought a lemon (heart wanted it to be right, head ignored the smal but visible warning signs)... but i echo your sentiment exactly, if it looks wrong it probably is!
Shame i missed you at the show yesterday, Chris said you'd been on before i arrived. Maybe se you when i collect the car or at the BBQ. You wil have seen from my car theres plenty to put right before its in a sensible condition despite shiny surface, im OK with those things though and busy compiling a fix list with Chris.
Anyway back on topic, glad you well after close scare.
Glad you are ok, there always seem to be good and bad days, chin up it will be worth the blood sweat and tears in the end! Recently had my own set back fitting the indian boot hinges, dropped two of the nuts behind the rear bulkhead (now recovered them) they were imperial threads not metric being lazy to sort through a big container of rusty mixed nuts I have to find some but I decided to buy new ones it was late and instead of waiting I fitted the hinges with only six nuts, I then fitted the gas struts to make the boot rise, result - broken hinges and damage to the rear deck, more ordered from the same company but picture was different and they were cheaper, they came and were not as good quality and the wrong size, right ones now on order and rear deck repaired, delay caused and lesson learned.
thanks lads, like I say pride would've stopped me posting it but integrity made me do it. It shows that you get more complacent with age. new screen, glasses long sleeves and gloves next time. Onwards and upwards....
Well it pays to be honest about mistakes as we and all learn from them, must admit I did not post my broken hinges untill now, thanks for posting yours, I don't have rear glass but when you think some people on here are new to this and learning as they go, its worth posting informaion like this, mine is my first build but I did a Btech in auto enginering when I left school and prior to my current job, which I do not wish to disclose on a public forum had thirteen years working in an eginering field.
An example of this is the rear calipers on an Mx 5, when I tried to retract mine to fit new pads I had to look online and found that there is an allen screw hidden under a bold head that looks like its attaching a mounting bracket for the hand brake, a common problem and even garages do not know this and force the calipers causing them damage. Anyway onwards and upwards!