This is a read-only archive of the old Madabout Kitcars forum. New posts and replies are no longer possible, but every thread is still here to browse and read.
Next the dash. school report said always has head in the clouds. Im one of those people who can picture what i want in my mind now im old enough to be able to produce it. Filled and sprayed [IMG]http://[/IMG]
Tape edges of film lay on water for 60 seconds then spray activator wait 20 seconds until film dissolves then lower item at an angle until submerged shake under water then lift and spray with water until residue pva is removed. Not Bad for a first attempt [IMG][/IMG]
The dash is a very important aspect of the build imho - it's part of the main interface you have with the car, along with the seat, steering wheel, gear lever and pedals.
I do like your boot too. I wasn't confident enough about my 'glassing skills when I started mine to start cutting big holes in the body so I went for a luggage bay accessed from behind the seats. If I was starting again I'd probably go for a boot lid like yours.
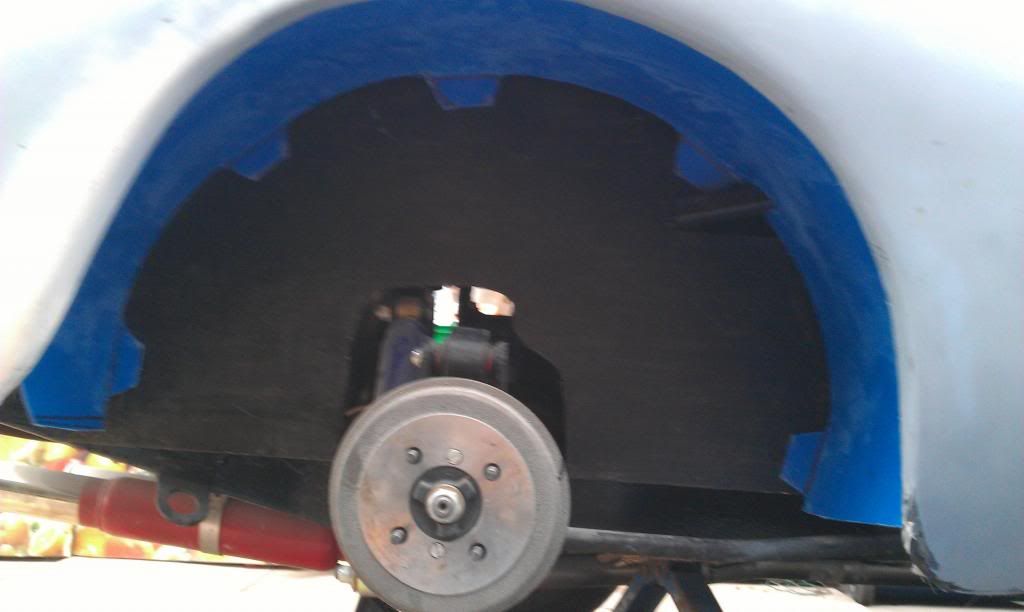 [/IMG]
 [/IMG]
  [/IMG]
  [/IMG]
  [/IMG]
  [/IMG]
  [/IMG]m doing
  [/IMG]
  hoto: on a previous page

 rear end now level
 [IMG]http://i1354.photobucket.com/albums/q683/JPB00[URL=http://s1354.photobucket.com/user/JPB007/media/156_zps3d8ec2c1.jpg.html]
 7/137_zps60275eb1.jpg[/IMG][/URL]


 Quick doodle wi
 th the I pad,