This is a read-only archive of the old Madabout Kitcars forum. New posts and replies are no longer possible, but every thread is still here to browse and read.
Hi Andy
Just to add to what Seanick said. I have been doing a little fibre glassing on my car and it is not difficult ,just messy.Youtube has a lot of videos and if you follow the instructions on the tin it will work.
As for your donor. That is a very pretty Miata. I think a mechanically good ugly MX5 would be a lot cheaper, and as you are going to pull it apart and cover the whole body. I think I would save the money for the extras needed to make it look great.
With any donor MX5 they rust, take your time and have a good look at the sills and wheel arches, in fact all the underneath.
goodluck
Roger
I agree with Peeps. I have had a look at the advert, it looks far to good. What you need is a scruffy mx5 that is covered in dents, but as little rust as poss on the rear of the sills. The rear arches all get covered so even those can be poor and just trimmed and welded up.
You can get very good mx5s over here for 750 GBP!
I got mine for just over £700, it needed it's sills doing and a pair of headlights for it's MOT.
This time of year there will be plenty bargains out there!!!
Item 140883536627 on UK eBay looks very tidy and is very cheap (at the moment...) even factoring the cost of travel and driving it back to Poland it would still be better value for money! I'm sure there will be similar deals for LHD models on the continent.
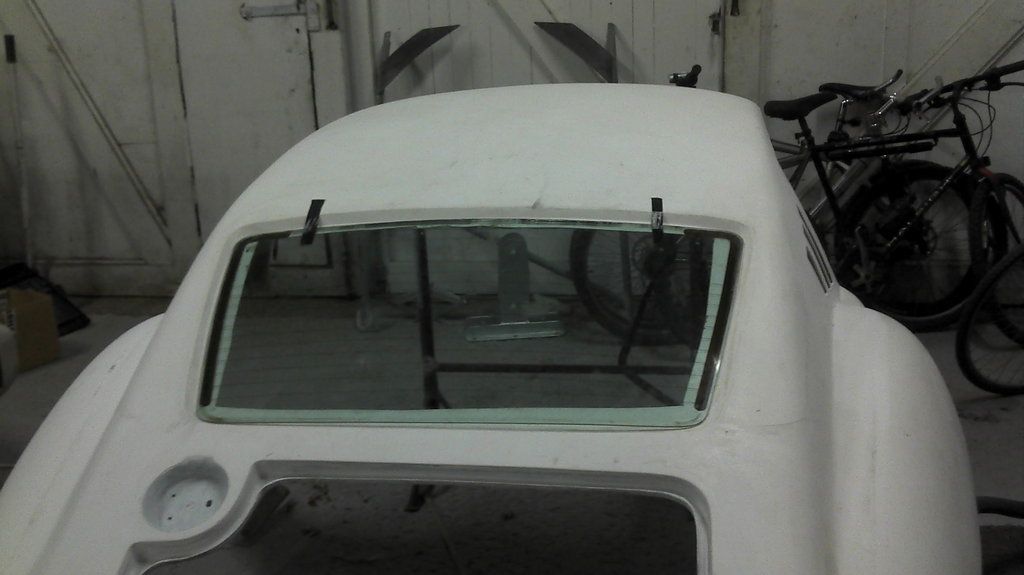
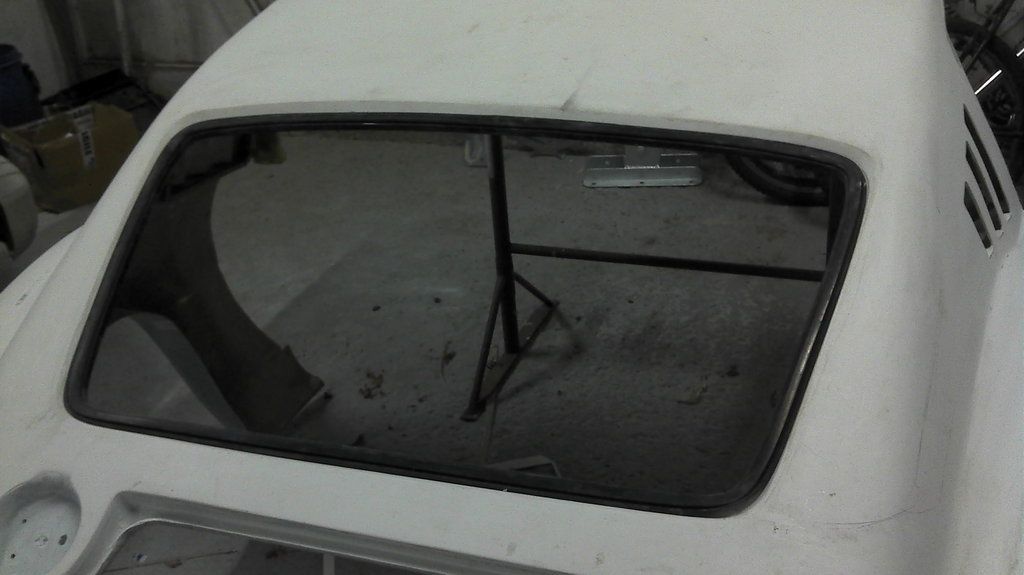
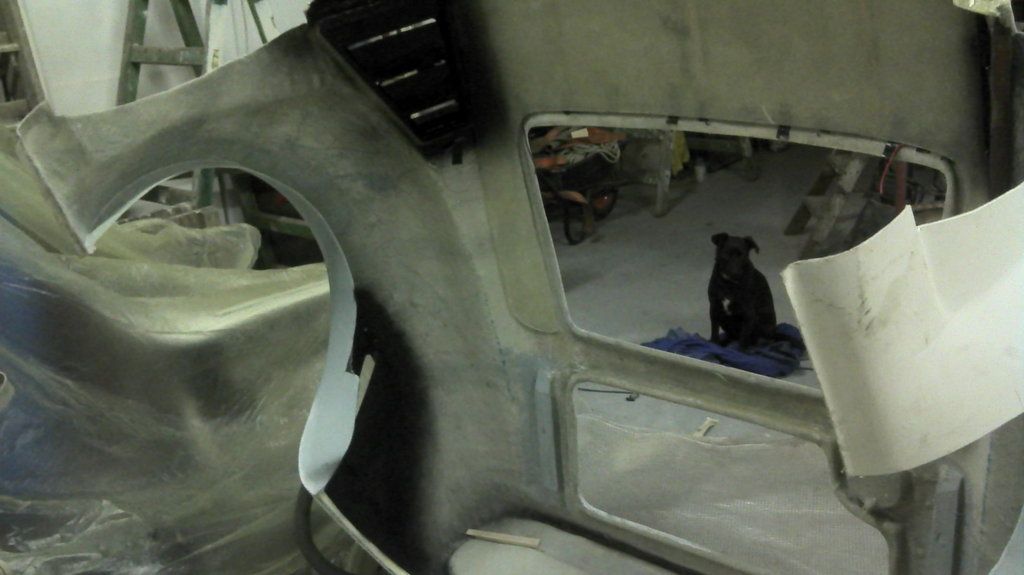
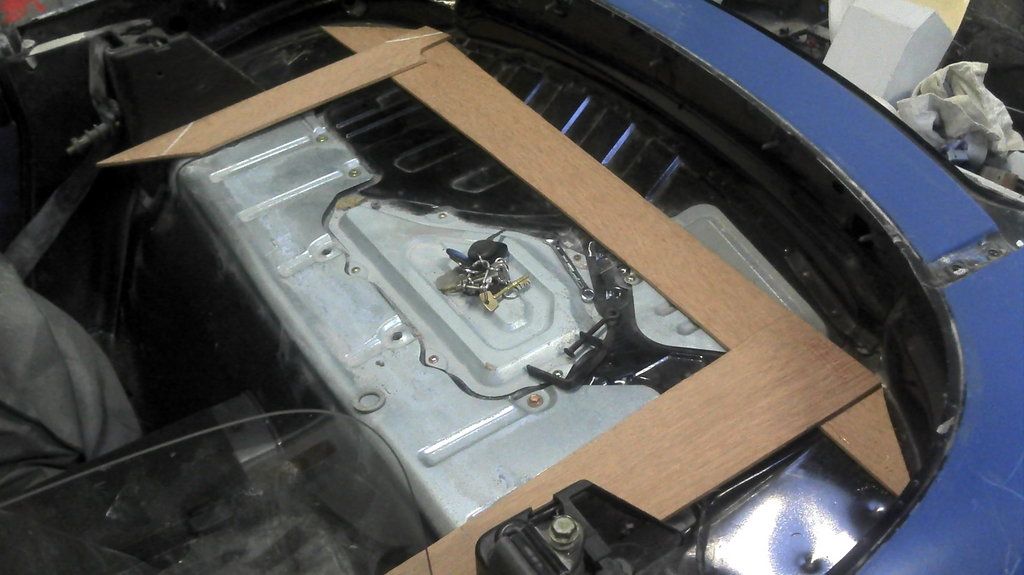
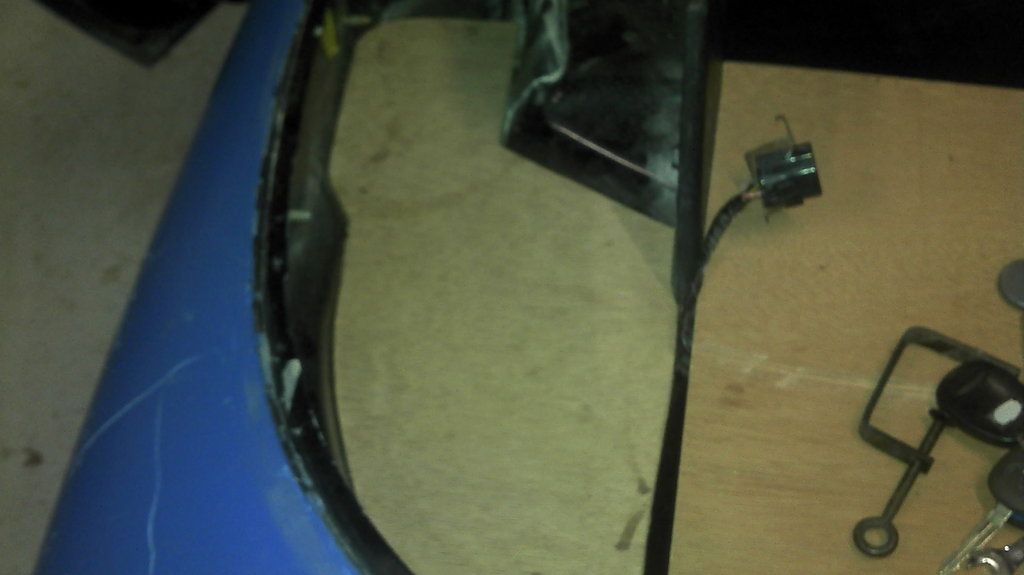
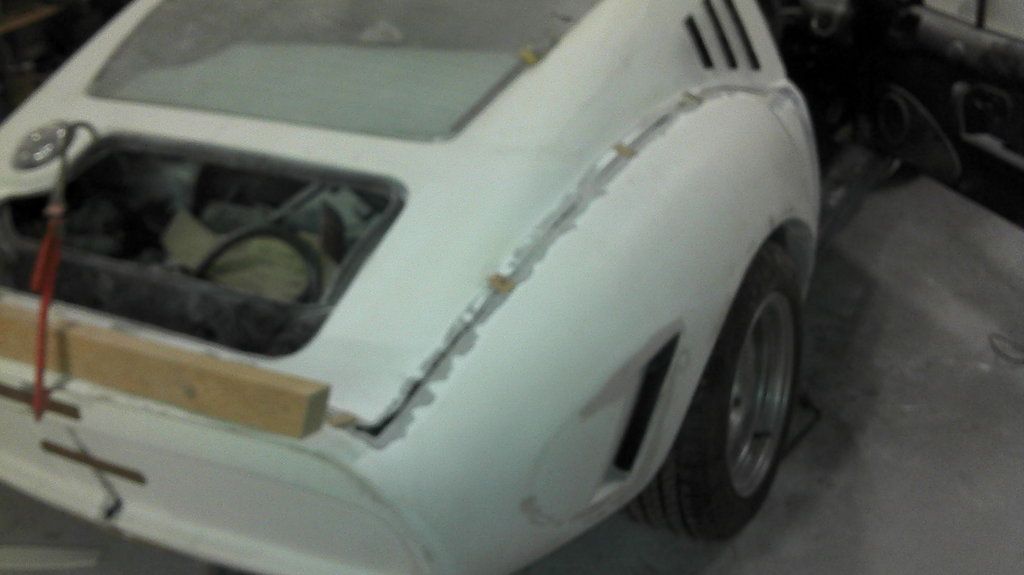
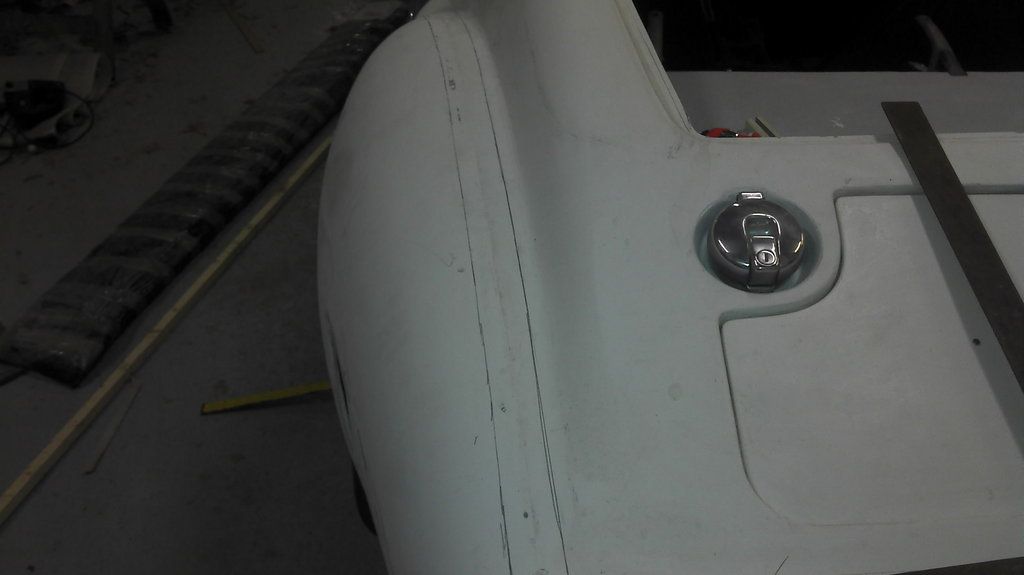
Another few hours this afternoon and I have dry fitted the glass to the rear. The hole in the car is the size of the glass less 6mm, so I taped it in place, marked it out, then marked out 6mm smaller. After cutting out I checked the rubber fitted.
[IMG][/IMG]
[IMG][/IMG]
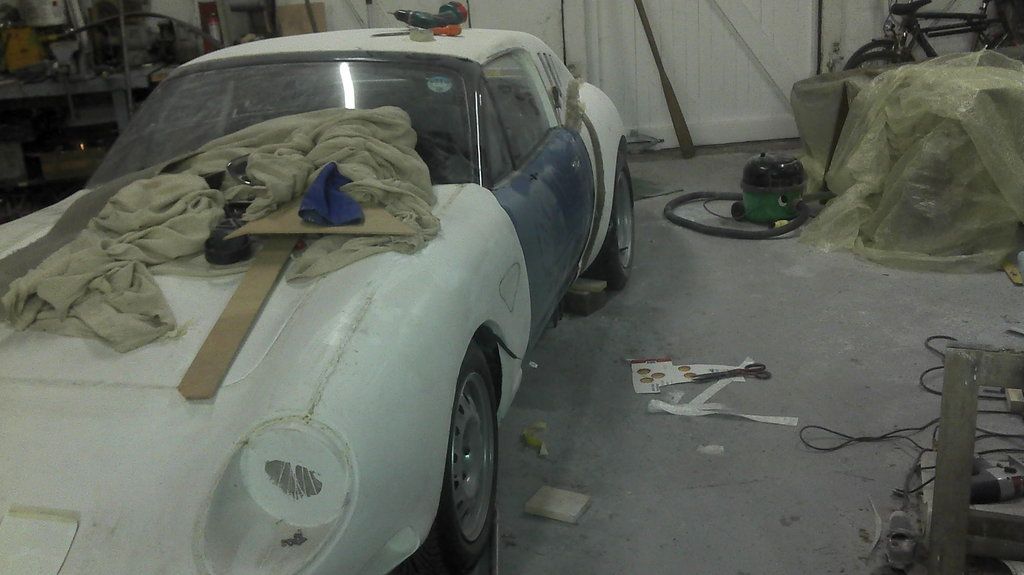
Also had a final cut and sand of various new bits of GRP , tidying up the door edges, fitting the headlining etc. So glad to finish that as the dust is horrid. How do you cope with it Chris??.
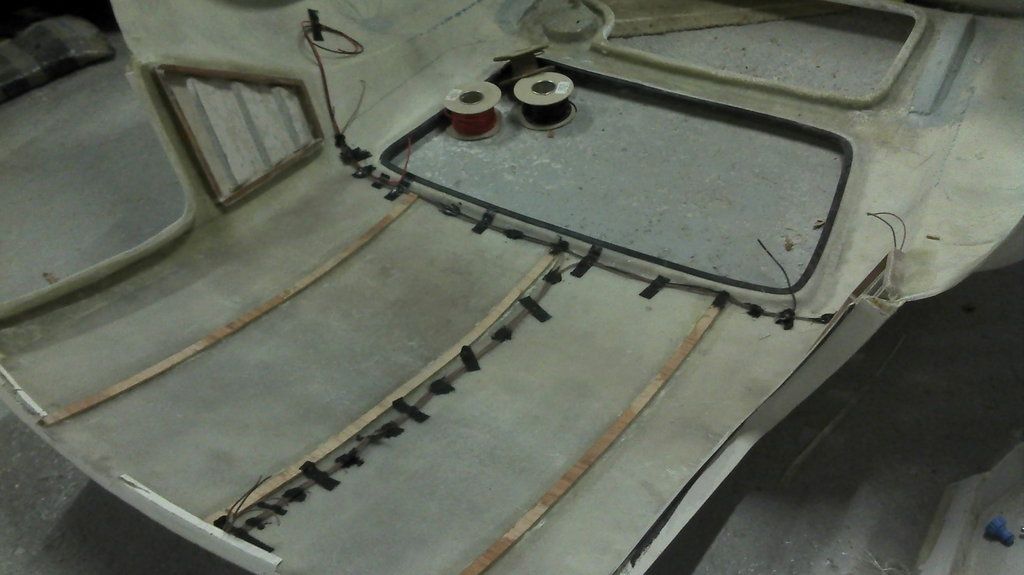
Finally ran wires for two extra interior lights and the heated rear window. Taped in place then stuck them in with a lodge of polyurethane sealant. It would be REALLY annoying if they were to rattle!!
[IMG][/IMG]
Thanks You all for advise I will find something cheaper and then starts fun with it.
Mx5's are cheaper in PL in winter too :P
I'm in UK every 6months so I will order kit then
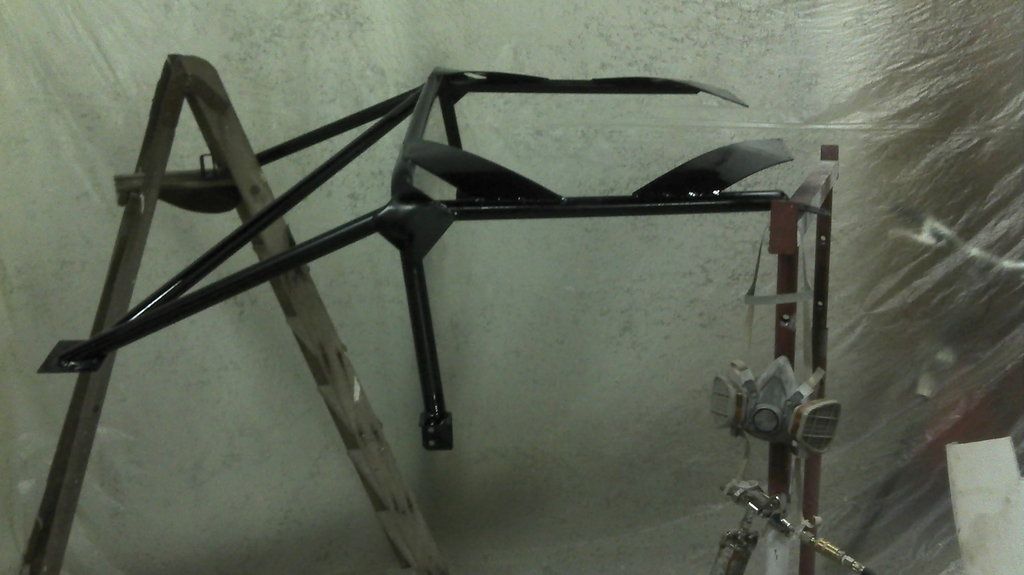
Quick go this afternoon. Sanded up the roll cage and sprayed two coats satin black. Also splashed a bit around the inside of the vents.
when it was time to go my 'instant spray booth had covered up the lightswitches so it was a fairly chaotic exit![IMG][/IMG]
[IMG][/IMG]
Week 4......and not alot has happened due to serious dose of Man Flu. Not able to cope with the evening sessions!
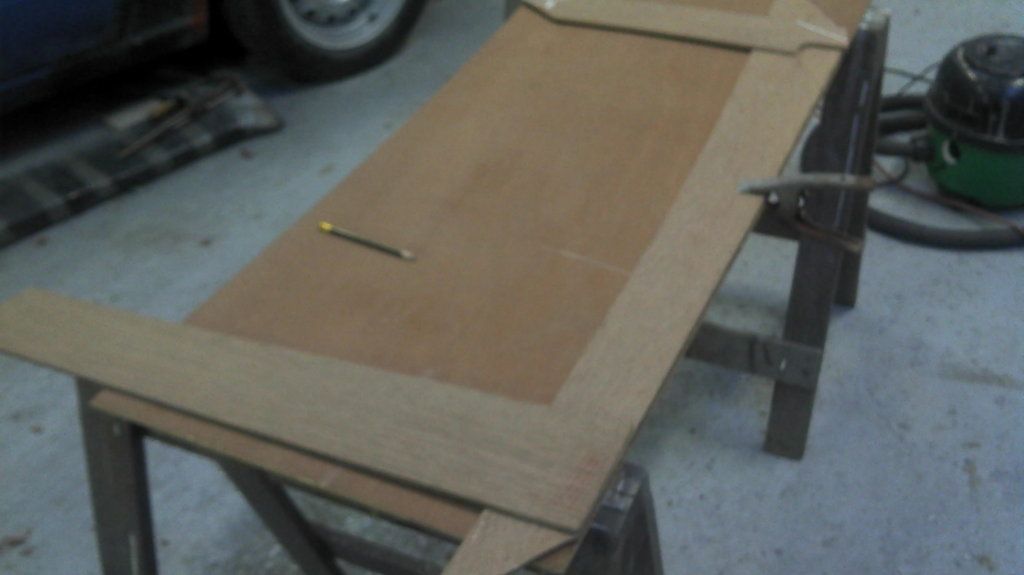
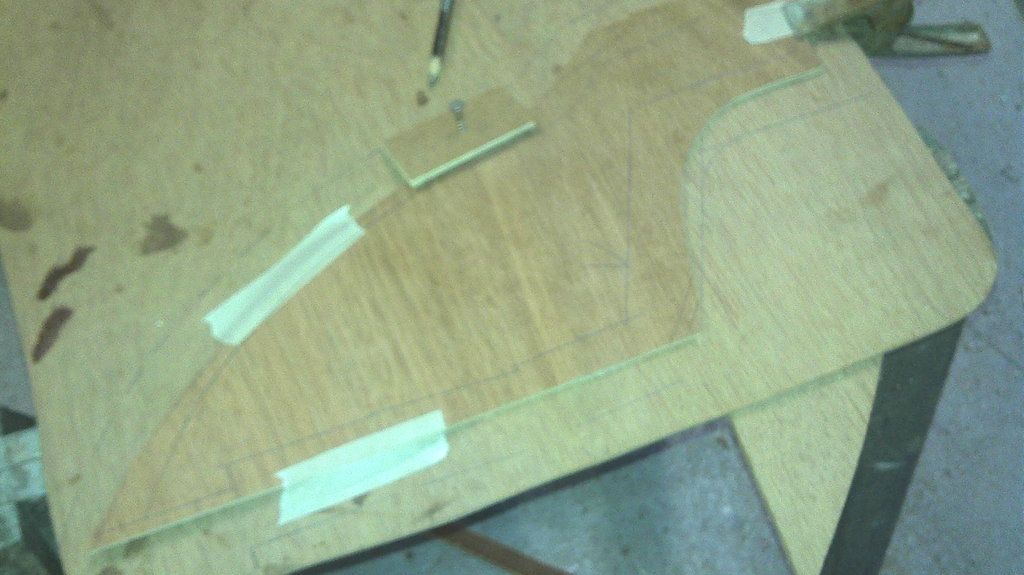
Fitted some 6mm ply to the rear.
made a patten like this......uding a hot melt glue gun to hold the pattern together...[IMG][/IMG].....
Transferd it like this.....
[IMG][/IMG]
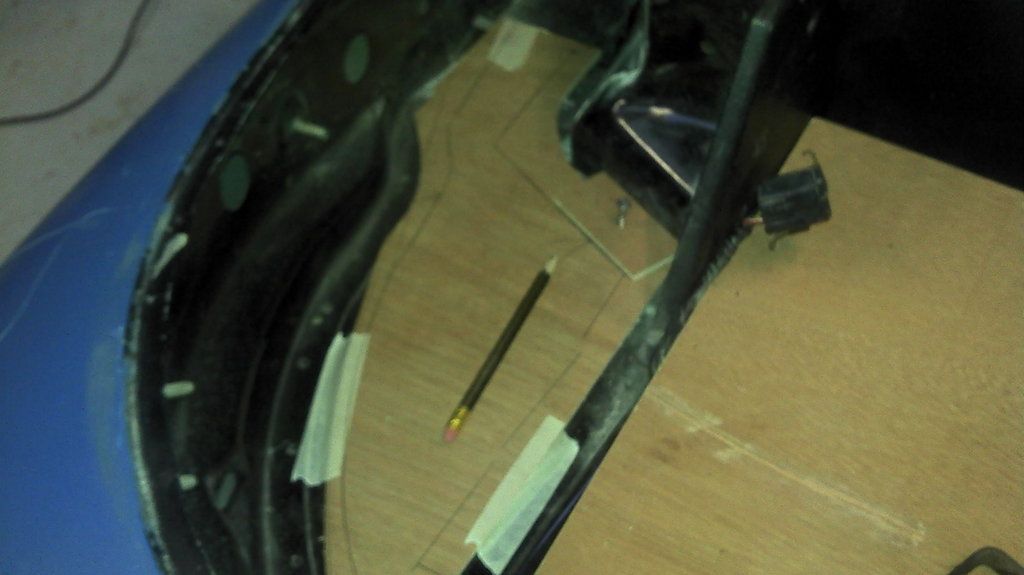
The ends were done buy rough cutting a bit of ply then using the boatbuilder method to take a patten. A small piece of wood, parraelle sided, is used as a 'dummy stick' to transfer a mark on to the ply (spile board). Then to transfer the marks fix the ply Patten to the finished ply and using the dummy stick again reverse the process. This method is used for everything from planks to locker bottoms, and can be mm accurate.
[IMG][/IMG][IMG][/IMG]
[IMG][/IMG]
in this case it nearly worked!
Hope to have the rear on by this time next week, with a finished interior.
Have new plans for the front...
@ Chris, did you have to stretch the initial/original mould for the Supra, or did you mould from the finished Supra??
The Supra was a one-off using the original 240Z moulds before modding for the MX5. Sold it as an unfinished project, so no moulds made. Did u want one?
Great work on the narrowing, it looks great. Can't wait for the front end!
No, dont want one, I was just trying to understand the evolution of the shape.
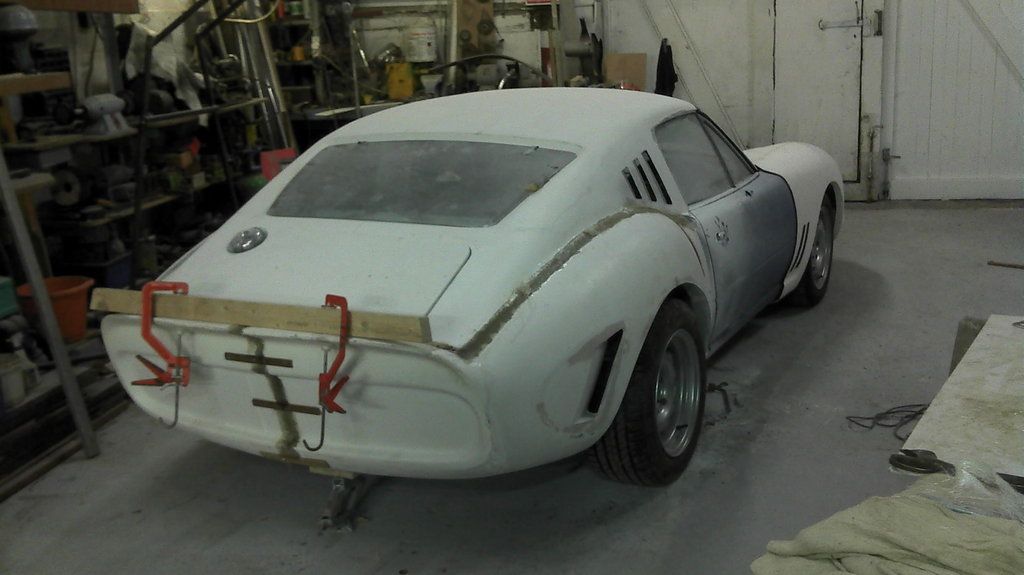
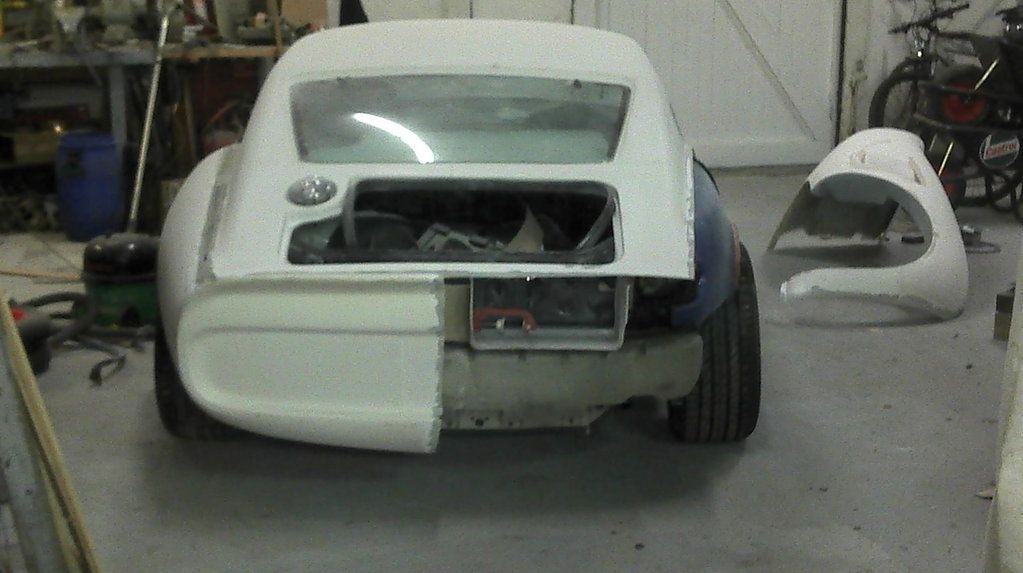
Glad you like the narrow version. I reckon I could have taken out 3" per side and it would still look good.
[IMG][/IMG]
On advantage is it makes the mid section between the wheels (panal after door) 2" longer too.
Cut, taper outside edge one inch each side of the join to a feather edge. Support, then 3 layers csm. Remove body, clean up inside and glass two layers. Replace body, grind off excess glass to just kiss the original gell then either add more glass or gell coat over. Fill and fair ad infinitum.
Works for boats!
 [/IMG]
 [/IMG]
 [/IMG]
  ound:
ound:  I will find something cheaper and then starts fun with it.
 [/IMG]
 [/IMG]
  ...
...  [/IMG].....
 [/IMG]
 [/IMG][IMG]
 [/IMG]
 [/IMG]
 [/IMG]

 Driving it soon!
 [/IMG]
 [/IMG]
 [/IMG]
 [/IMG]