MadaboutKitcars

This is a read-only archive of the old Madabout Kitcars forum. New posts and replies are no longer possible, but every thread is still here to browse and read.

G46 No.6 Blackbird

8 Jan 2015, 11:10pm
The list

davecymru wrote:
TBH, looking at your to-do list, there doesn't seem to be a _massive_ amount left!
Best of luck matey!


Actualy the list seems to help as there are a few easy tasks and writing them down brings some renewed enthusiasm to get to the MOT stage.

Paul, Thanks for the link about the headlight covers, its those fiishing touches that make a car.

I have some hinges off the donar so i will head off and try to get the boot lid secured.

However, after a bad experience with fibreglass not curing the the cold temps, I'll save the body work till it warms up a few degrees.
You guys still glassing on the south coast must have higher temps than up here in the bitter north east.

I am amazed what you do with your bodies!

Tony, I read about a completed white G46 at the scimitar sprint day at curborough. Give me a few months and lets see were I am.

Cheers HM
24 Feb 2015, 12:00am
HouseMartin wrote:
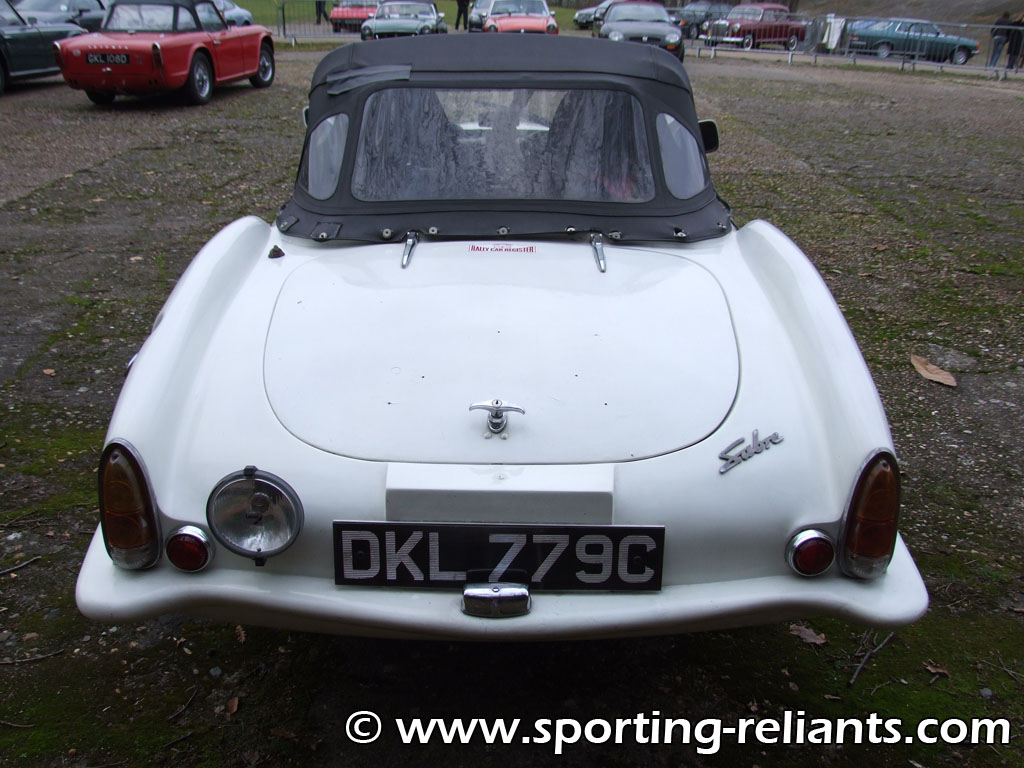
Following on from Micky Jaguar rear lights, i was hoping to keep a reliant theme, with units similar to the early sabre

Archived forum photo


good job you didn't try too hard - that's the prototype Sabre (Ashley GT body) - production cars were different!
24 Feb 2015, 10:57pm
Rear end

scimjim wrote:
good job you didn't try too hard - that's the prototype Sabre (Ashley GT body) - production cars were different!

Jim, Nice of you to point that out. What were the production rear light like?

I do wonder if the the G46 will ever go back into production.

HM
24 Feb 2015, 11:32pm
JCs Sabra - the only roadworthy one in the UK

Cooperman's Sabre 4


lovely Sabre 6


one of only two convertible Sabre Sixes (owned by Tony & Jaki who also own the prototype)

24 Feb 2015, 11:47pm
Feb 2015 update

Just to keep the updates flowing.

I have ticked off a couple of Jobs from my MOT list.

The battery is now secured with a metal strap.
Archived forum photo


I have removed the bonnet into the shed and purchased the landrover front indicators.
Finally I have decided to attach them to the either side of the front grill as per No.1 and No.5.
Fitted some vw campervan chrome surrounds to the headlights and am currently messing about with difernt options for the front grill.

The low level unpresurized overflow bottle has not been located yet,
but I have blanked off the radiator and thermostat pipes with some nice red silicon caps.
These are required as I now have a combined thermostat pressure cap housing and can get rid of the high level expansion bottle
that was in the way of the bonnet closing .
Archived forum photo


I have also exchanged the sheet steel front bumper supports for angle iron for easier access to the radiator fan, horns, timing marks and steering rack.
Previous I could not do this as the bonnet was supported by these panels.

I am working on the heater inlet cover and hope to have that fitted for next months update.

I really do not want to get the floors and door sorted but cannot mess with fibreglass
when the temp under the carport is only a couple of degrees above freezing.

Hopefully a bigger update next month

HM
25 Feb 2015, 2:48pm
HouseMartin - Every job done counts. :cool:

I was actually surprised at the number of fibreglass jobs I managed to do in the cold weather.

I just made sure I only made up small batches and used a higher than "normal" catalyst ratio.

Either way, there are definitely some signs that Spring is on its way. :pray:

Good luck, Paul. :)
10 Jun 2015, 10:23pm
Slow progress

Another month passes by with no update and but some progress.

I now have:

The front indicators mounted and working in the bonnet grill
Archived forum photo


The bonnet fasteners complete, but the wheel arches now need some work to align them with the wheels.
Archived forum photo


The expansion bottle secured in the enine bay
Archived forum photo


The heater inlet cover cover fitter, but it is just a blank with no intake!
Archived forum photo


The speedo connected and the dash secured, apart from the glove box.
Archived forum photo
.
I am undecided if I relocate the light and wiper switches to the main dash or keep the console arangement.

The rear view mirror is still to do!

I have reshaped the floor and tunnel and reprofiles the old simitar seats so they are more curved around the shoulder and lower in the car,
but i still have to fix them to the floor.

Both door now close and latch using the scimitar latches and door handle.
Archived forum photo


However they need some serious cut and shut to folllow the contours of the body.
Archived forum photo


Battery Ok
Archived forum photo


Bootlid secured with self tappers. but i would like to make a bigger opening see chalk marks..
Archived forum photo


So maybe MOT stage by August

HM
11 Jun 2015, 7:44am
HM, you're still making progress. I would it the buttons in the dash...
12 Jun 2015, 9:30pm
Great work! Looking forward to pictures when you get the chance.
13 Jun 2015, 4:44am
House Martin - That sounds like serious progress to me. :cool:

Especially when you mention "doors"! :eek:

Although it does sound like you have a lot of fibre glass repair work to do. :icon_sad:

Good luck, Paul. :)

PS
+1 to looking forward to more photos.
28 Jun 2015, 10:04pm
Turn around

Nike55 wrote:
Great work! Looking forward to pictures when you get the chance.


here you go..

Archived forum photo

I managed to get the engine started again and finally opened the garage doors to get a little drive.
It is good to sit behind the wheel and move, even if it is only a few feet.
Especially good on a sunny day.

Archived forum photo


The photos highlight that the roll hoops spoil the look of the car.
However they do enable me to put a temp hard cover between them and the screen to keep the cats out!
Lots of hard work for nothing, unless I take it for a track day.
At least they are easily removed with 4 bolts.

Archived forum photo


When the car body is trapped in an enclosed space, you miss areas that are still outstanding.
Glassing the body cut at the bottom or the doors is now no1 on my list.

Archived forum photo


The switches from the console are now in the dash, Lights, Wipers/Washer, Heater fan and Heated rear window.
The glove box even latches and locks!

Archived forum photo


Turning the car around gives also gives me access to correct the wheel arch misalignment.

Archived forum photo

Back to the garage.

Archived forum photo

If I could just acquire the headlight covers from a 718.

Almost there, I need to get a matching set of wheel and good tyres for the MOT.
Can't wait for the drive to the garage.

HM
29 Jun 2015, 8:44pm
HouseMartin - I hope the last round of jobs before the MOT go well.

I think the roll hoops might actually make the car look more period.
( As they look like a new addition to an older car if that makes sense. )

Good luck, Paul. :)
30 Jun 2015, 6:22am
Paul L wrote:
HouseMartin -
I think the roll hoops might actually make the car look more period.
( As they look like a new addition to an older car if that makes sense.


Hmm, with a bit of work maybe...


:rockon:
5 Jul 2015, 7:17pm
Paul L wrote:
HouseMartin As they look like a new addition to an older car if that makes sense.Good luck, Paul. :)


That's exactly what they are! Audi TT roll bars.
I think the only parts from a modern car that I have used so far.

Nice picture Mr T, I like the central rear view mirror.
So now I feel a outing with some dark grey paint and the removal of the passenger hoop may be the way forward.

Thanks
HM
8 May 2016, 11:05pm
2016 update

Well I am still tinkering around the edges, but not getting any closer to a finished my G46 as the 4 year mark approaches.

Major step forwards this weekend.

I have finally managed to secure the windscreen.
Thick metal tube spacer to raise the mounting point of the windscreen uprights to give the required angle so that i was looking through the screen rather than over it.
Creating of a fibreglass lip on the bulk head to meet the glass has taken longer than I had hoped as the bulkhead curves and screen curves were a little out.

Archived forum photo


Several sessions of filler and sanding to get the profile of the lip to match the curve of the screen and a final touch up in mat black before the rubber seal and lower silver filler strip.
The scimitar wipers arms were cut down with a hacksaw and bent in the vice only needing a spot well to hold the new 9" blades.
The twin 90 degree washer jets are both missing the wipers so i go for 2 to a single set in the middle so I can hit both blade from the same jet.

Archived forum photo


Just the rod mount interior mirror to finish that job. The rod being tension by a nut accessible under the heater inlet panel.

Archived forum photo


Next job is seeing if I can lower the steering wheel a couple of inches inch for better visibility of the dials. Before starting with the interior.

HM
9 May 2016, 5:55pm
Great to see an update. :cool:

Not really sure what has happened to all the other G-46 builders.

Good luck, Paul. :)

PS
I'll be happy if I finish my build before 5 years are up. :rolleyes:
24 Jul 2016, 2:33pm
July Update

I have fitted new bushes to the door hinges as the original scimitar ones has lots of play that mean closing the doors was difficult.
The door hand now unlocks by pulling rather than pushing.
The scimitar door cards now fit snugly on the doors and
Rear view mirror now fixed to the centre rod.

Archived forum photo


I also now have a working fuel gauge, so I know it has not all evaporated over the last 3 and a bit years,
I expect the fuel is probably past it’s “use by” date by now.
The cooling fan now blows cold air through the radiator from the front
rather than trying to sucking air though the radiator and out the front grill,
which was somewhat pointless when the car is moving.

Archived forum photo


The wire wheel adapters needed modification as the wheels fastened against the 4 nuts, rather than the hub taper.
This was due to the scimitars ½” threads rather than the 3/8” threads used on Triumphs.
I purchased a 25mm 90 degree counter sink drill to recess then a little further so they are all fitted and looking good.

Archived forum photo


Looking forward to driving off into the sunset:

Archived forum photo


Next few jobs:

Oil and filter change
Adjust the handbrake and remove slight steering play.
Tweek the headlight aim and fit some perspex covers

Archived forum photo


Then the rub down for a paint job
24 Jul 2016, 3:24pm
HouseMartin wrote:
The cooling fan now blows cold air through the radiator from the front rather than trying to sucking air though the radiator and out the front grill, which was somewhat pointless when the car is moving.


I take it the fan was wired the wrong way?
24 Jul 2016, 5:35pm
always refreshing to see a G46 posting. Love the roads up your way I assume you can go out road testing and not worry about being pulled up.

I have to ask what colour will she become, Have my G46 on view from my temporary office now a constant inspiration when working, hope to start back on her before the end of the year after I have finished my office/barn build.
24 Jul 2016, 8:20pm
lovely job with the windscreen.
24 Jul 2016, 9:16pm
HouseMartin - Sounds (& looks) like you are making great progress. :cool:

I bet you can't believe that it is almost time for paint after all these years.

You are one of the few "long term" builds still being updated and seeing you get so close give me hope too.

Good luck, Paul. :)
25 Jul 2016, 6:20am
Hi HM, great work so far, it's going to look great in paint. Nice to see another G46 coming together.

I know you got your 356 screen and frame way back in December 2012, but can I ask where you got it from? Was it a one off or does the source supply them commercially?

Sorry for the questions but I'm looking for a source of complete Speedster screens with the posts and top frame at the moment and all I can seem to find in the UK is the screen and side posts, but not the ally top frame.

I know Chesil and Martin & Walker have them, but I'm anticipating that they may not be too keen on selling them to someone who's not using one of their kits - it'd be a bit like contacting Caterham to ask for a windscreen for a Westfield...

Cheers HM, keep up the good work. :)
25 Jul 2016, 6:35am
Mr T - Spooky!

While the rest of my family were still asleep, I'd actually re-read this build tread from the start this morning.

So I know the post about the windscreen is here:
http://www.madabout-kitcars.com/forum/showpost.php?p=45206&postcount=48

Hope that helps, Paul. :)

PS
HouseMartin - Re-reading the thread confirms what an epic job you have done to reach this stage. :cool:
25 Jul 2016, 7:42am
I know Chesil will sell screens seperately as a mate bought one ...and I bought several 550 screens from M & W in the early Sammio days , so again , they are happy to sell their products too ..