MadaboutKitcars

This is a read-only archive of the old Madabout Kitcars forum. New posts and replies are no longer possible, but every thread is still here to browse and read.

Another Cordite Is Born ...

24 May 2014, 12:38pm
My Land Rovers as nearly all painted with Rollers, it give a excellent finish, but you really need to take your time.


24 May 2014, 2:35pm
I painted my Sammio by hand and result is not bad.The only problem I
have is that the paint is very "soft",it get,s scratches very easy...
Probably because it is on polyester?
I used a 1K industrial coat ,but i thinkthe problem with the polyester is
that i couldn,t find a""high build filling-primer"i could apply with a roller.

When i sort this problem I can imagine painting it another time:ohwell:
25 May 2014, 7:45pm
Mas123Mas & Jerome - It is good to know that hand painting is a real option. :cool:
I still have some more research to do, but I have found "marine" paint designed for fibreglass.
Unfortunately, I am still a long way from worrying about painting my car. :rolleyes:

- - - - - - - - - - - - - - - - - - - - - - - - - - - - - - -

Sunday Service - Part 1
First job of the day was a family trip out to see the latest, time travelling, X-Men film. :cool:

I did get the chance to do a number of small jobs in the late afternoon sunshine...

The filler I applied to the remaining edges of the floors yesterday was "tidied up".


I just about managed to get some etch primer on these edges before running out of paint.
( More primer is on its way. )


Note:
I remembered to put a dust sheet down today after I got primer on my drive yesterday. :rolleyes:

The "join" brackets got their first coat of black paint.


I also painted the front and inside edges of the floors as they were primed yesterday.


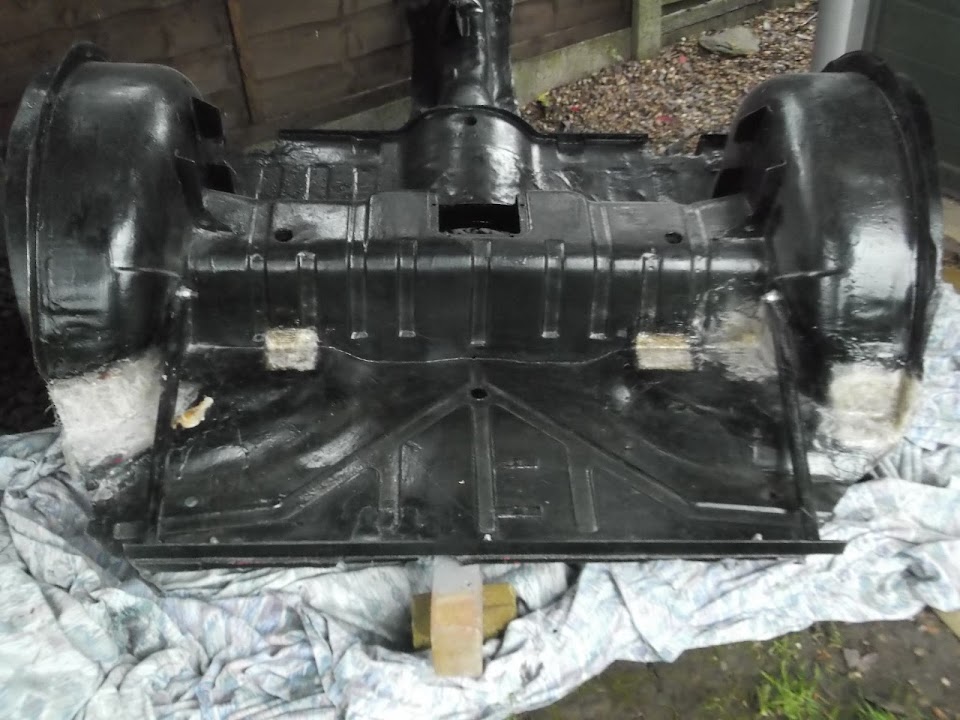
While the rear frame was "drying" on the drive, I switched my attention to the rear arches in the back garden...
25 May 2014, 7:46pm
Sunday Service - Part 2
I cleaned up the excess resin and applied some fibreglass filler to the underside of the "factory" holes I'd sealed.


I also put some filler "behind" one of the corner holes I'd repaired with fibreglass on the other side.


Note: I plan to seal this in with a layer of fibreglass when I start working on the underside of the arches.

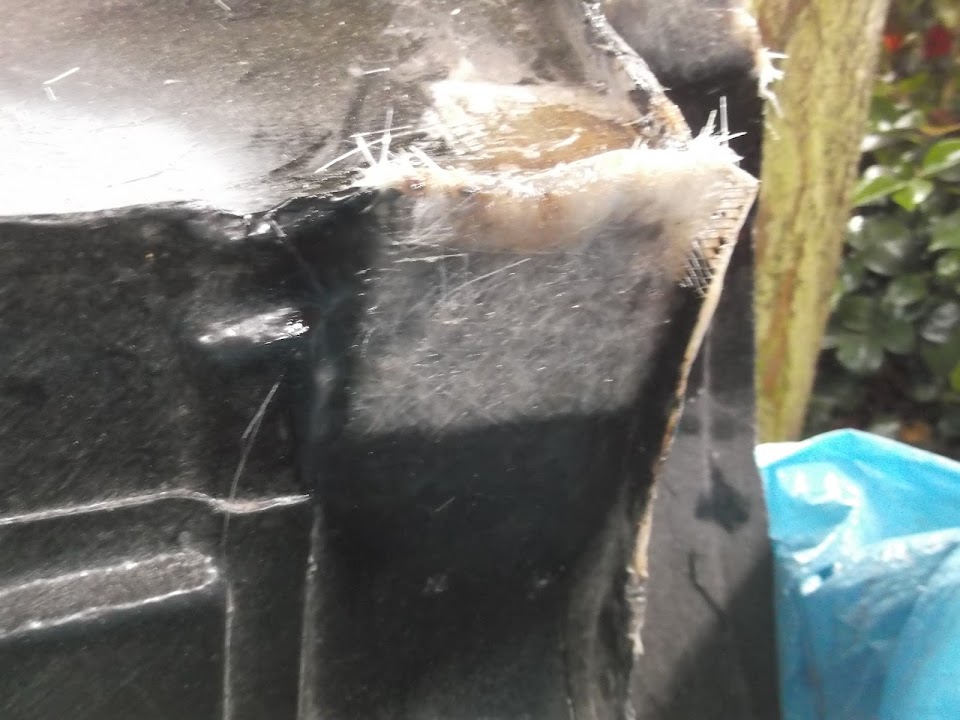
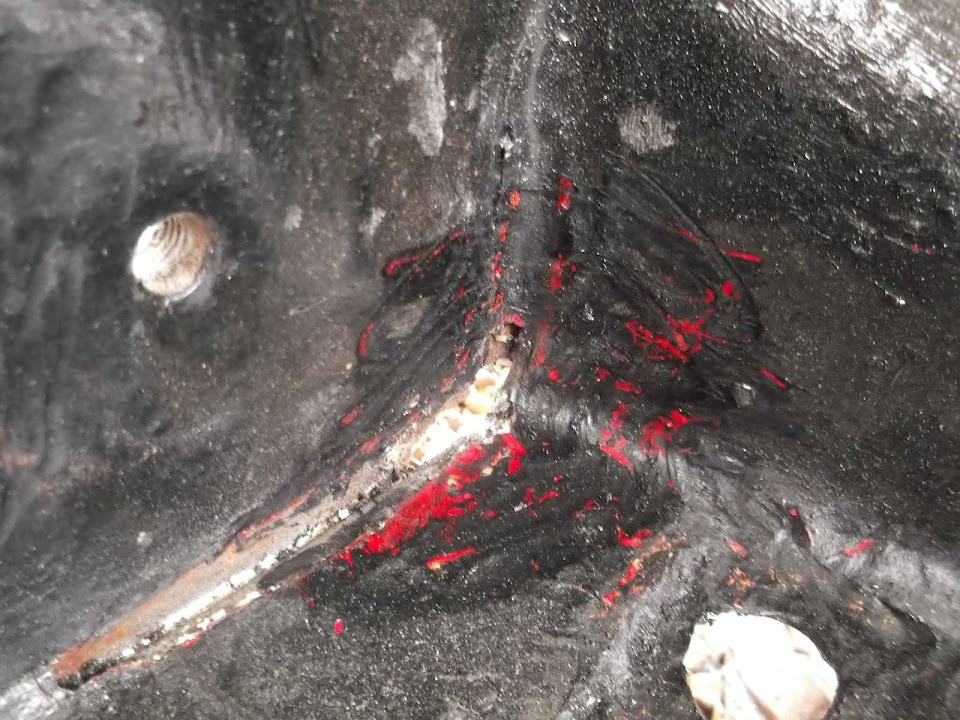
Then I had a close look at the corner where I had dislodged the fibreglass repair.

I started by simply trimming off the excess.


Then I cut a section out, but in the end I knew the whole thing had to go. :icon_sad:


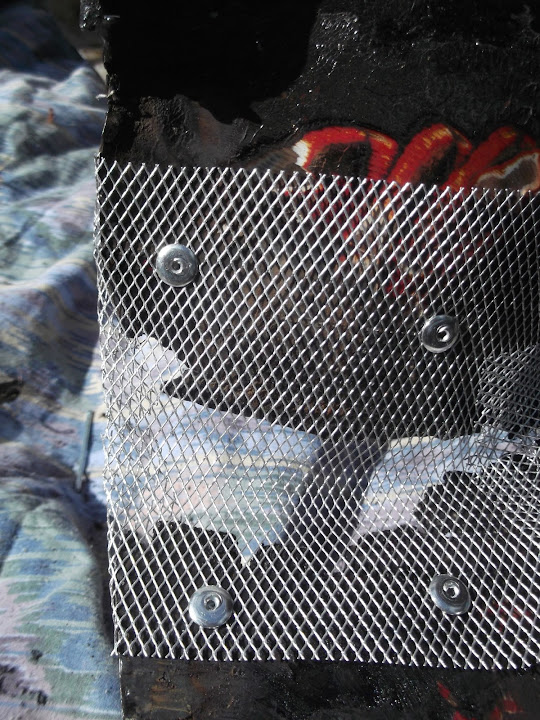
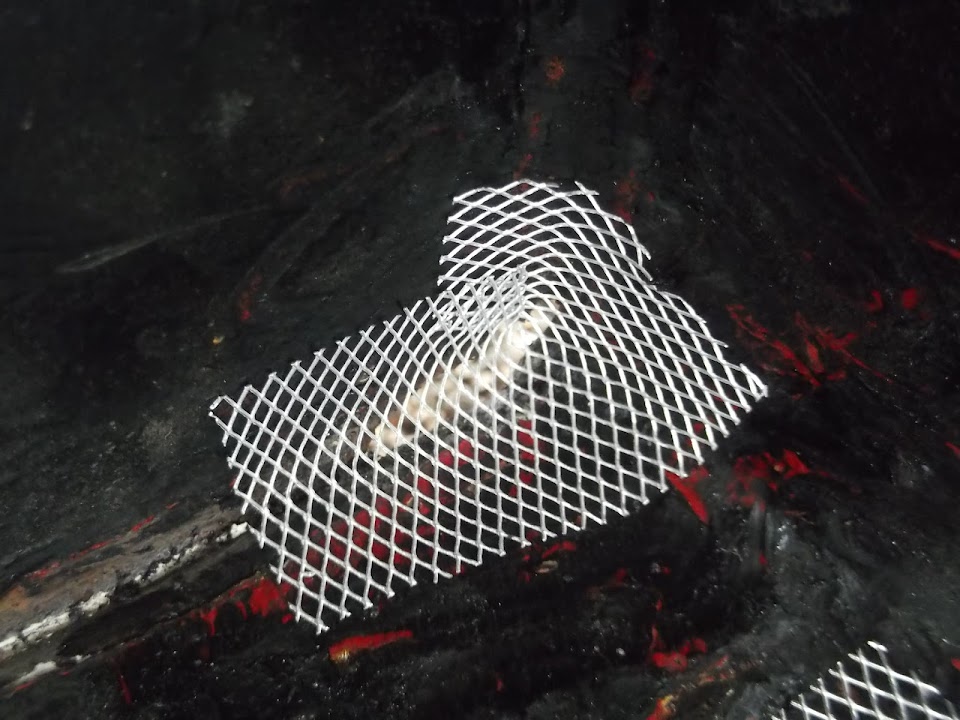
So I had another chance to practise my fibreglassing skills and I made a few changes this time.

The first was drilling some holes so I could use rivets to hold the mesh in place.


This gave me one less thing to worry about, as previously the mesh was moving, as well as the fibreglass matting.

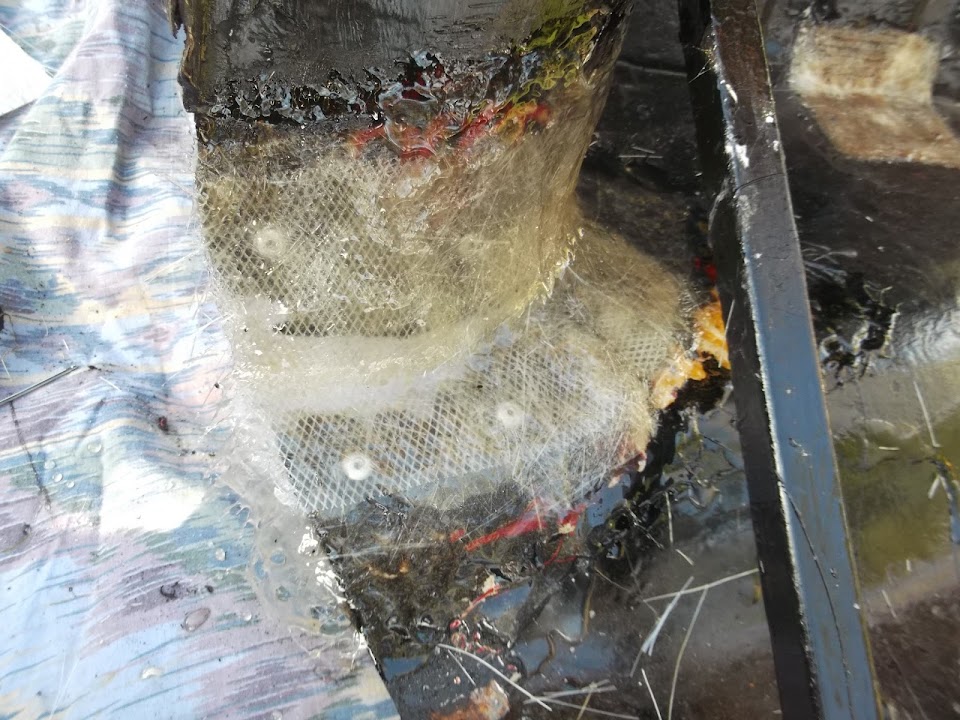
I then used 4 smaller strips of fibreglass matting rather than one big one to cover the hole.

I also used some cardboard as a workbench to apply the resin to one side of the matting before putting it on the arches.

I used a 1.5% mix as it was quite warm out and I needed all the working time I could get.

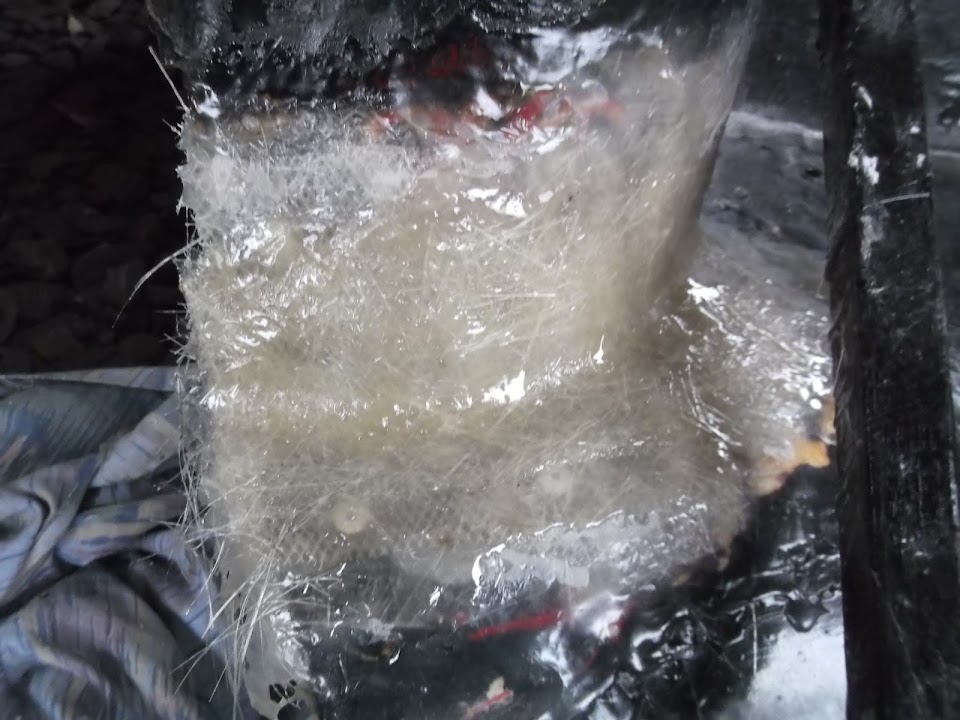
These little changes, coupled with my experience from the first go, did seem to make a positive difference. :cool:


I will add another layer of matting over the top of this one on another day.

I know you can add extra layers at the same time, but I didn't want to push my luck while this is all new to me.

Just before I uploaded these posts I tucked the arches away for the night, taking a lot more care with the fresh fibreglass than last time!

Until next time, take care, Paul. :)

- - - - - - - - - - - - - - - - - - - - - - - - - - - - - - -

Mac's Reading Corner:
Another example of metal work magic...

Taking an old 4 door Cortina and turning it into a 2 door that would pass as factory.

Details Here.
27 May 2014, 4:59pm
Rain stops play...
Unfortunately, Monday was a complete wash out and today hasn't been much better. :icon_sad:

But, thankfully, I do have a tiny bit of progress to report...

I roughed up the fibreglass repairs on the rear wheel arches.


Then I set myself up for another round of messy fibreglass work.

Note: My cheap skate, disposable, resin mixing containers.


:icon_wink:

I managed to add another layer of fibreglass matting to all the areas.


That should do it for this side, but I will add fibreglass to the other side of the bigger patches.

Cheers, Paul. :)
28 May 2014, 4:30pm
Paul,
thanks for the reading matter!
On your post about using pure resin to fill gaps...don't do it, resin on its own will be far to brittle. What you can do is make your own fibreglass filler, chop some matting up into very small pieces and mix with some resin until you get a thick gloopy mixture which will do the same job as the fibreglass filler you have been using.
HTH
Mac
28 May 2014, 4:40pm
Mac - I hope the links took your mind off being away from your garage and thanks for the resin tip. :cool:
I've been waiting for the sun to return before I unwrapped the rear frame and have a look at the seam sealer.
At the very least, all these rain delays will have given the stuff plenty of time to set.

- - - - - - - - - - - - - - - - - - - - - - - - - - - - - - -

Play misty for me...
It has been hard to get anything done during this run of rubbish weather, but I am trying to do something when I can.

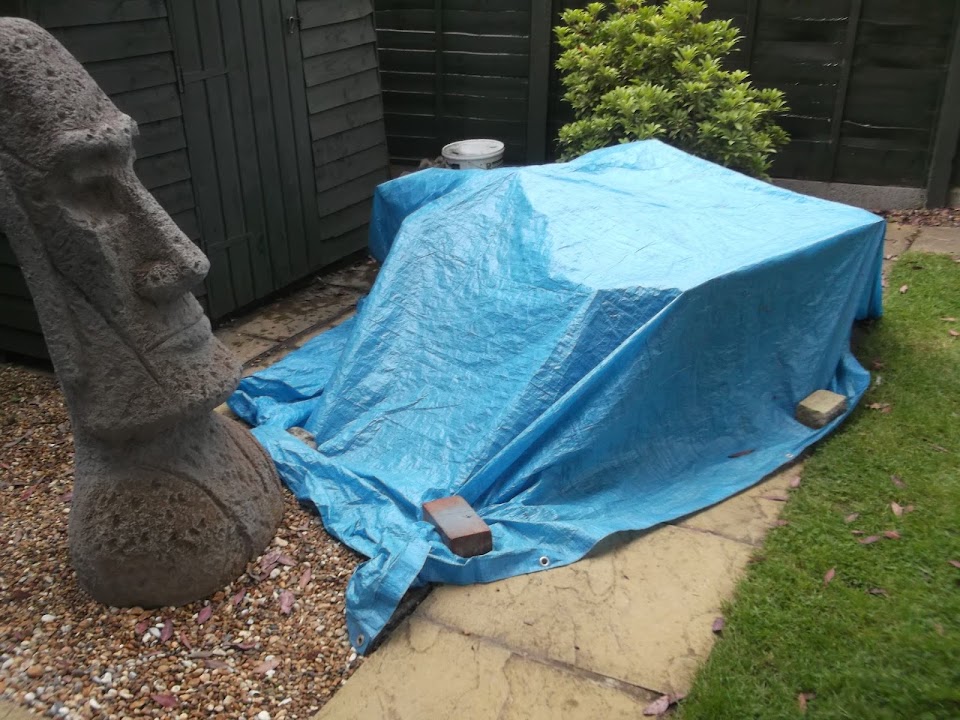
Thankfully the tarpaulin kept most of the rain off yesterday's fibreglass repairs.
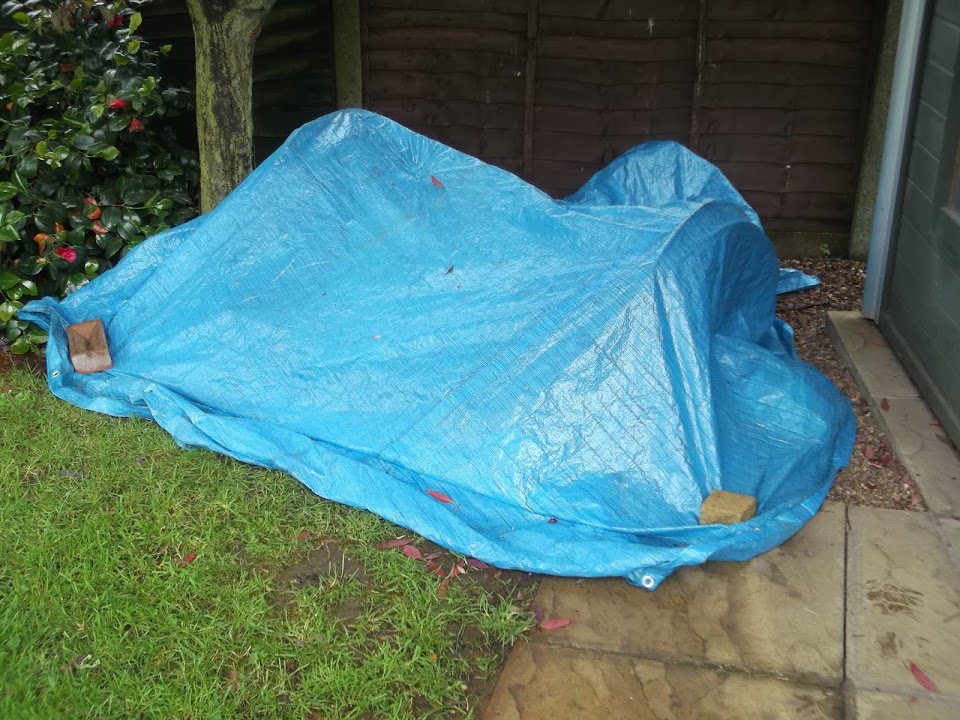


I decided to leave those areas to cure a bit longer before I tidied them up in preparation for paint.

Instead, I just turned the arches over, so I could start work on the other side.

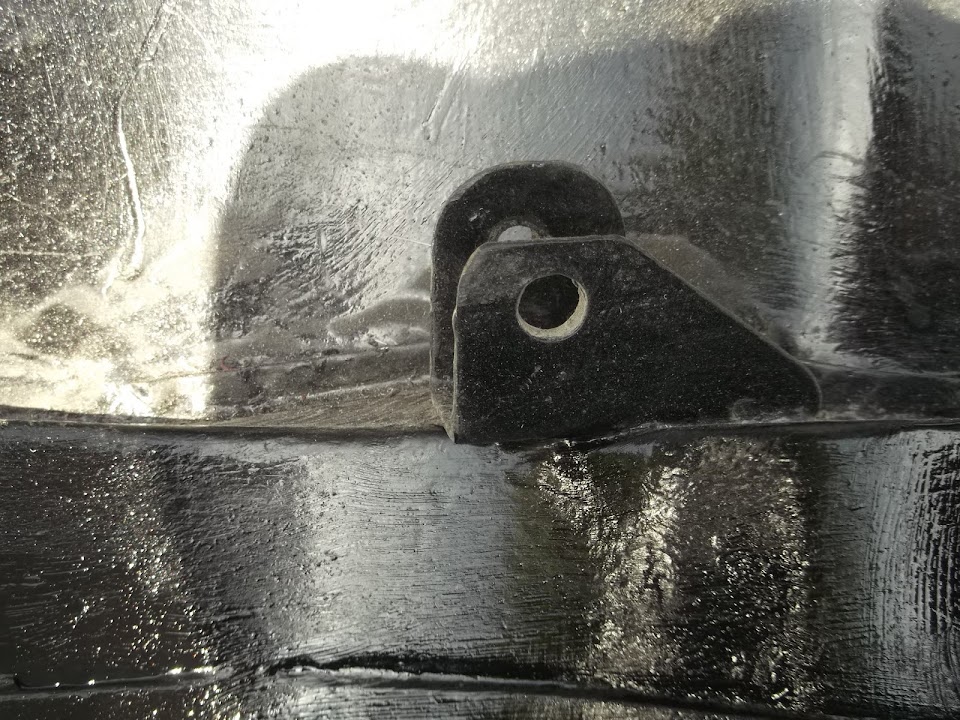
I started by cleaning up the filler I had applied on the underside of the "factory" holes I'd sealed previously.
( Sorry the photo is a bit blurred. )


After the fibreglass work below, I managed to quickly get some primer on the two "holes".
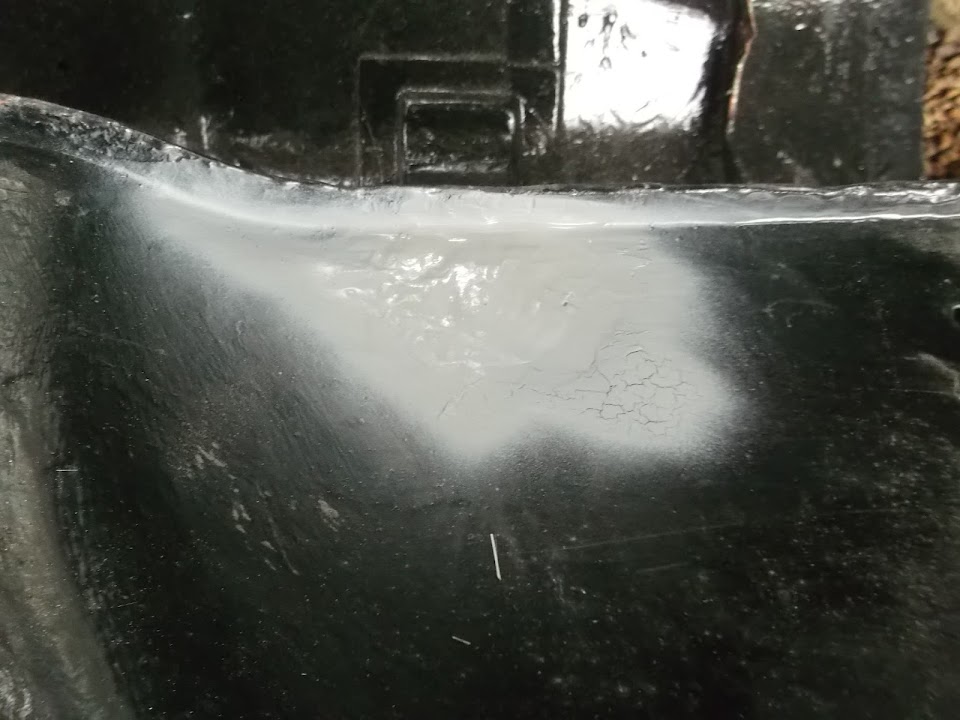


As far as the "factory" holes are concerned, apart from some black paint, they are now complete.

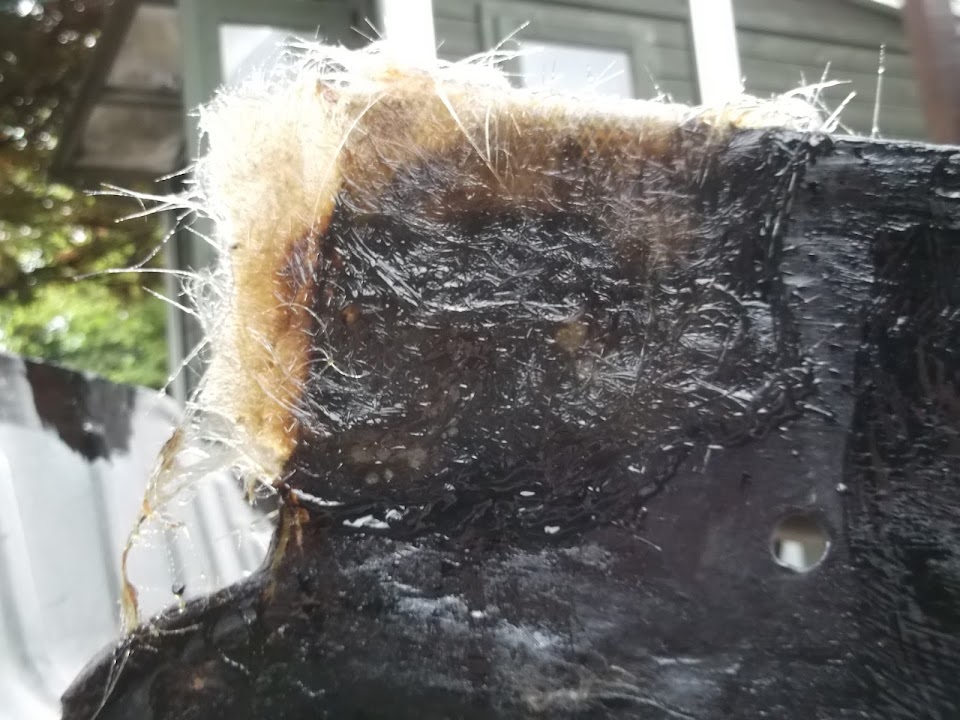
Just before I started on the next round of fibreglassing, I cut off the backs of the pop rivets I'd used on the mesh.
( Another poor photo. )


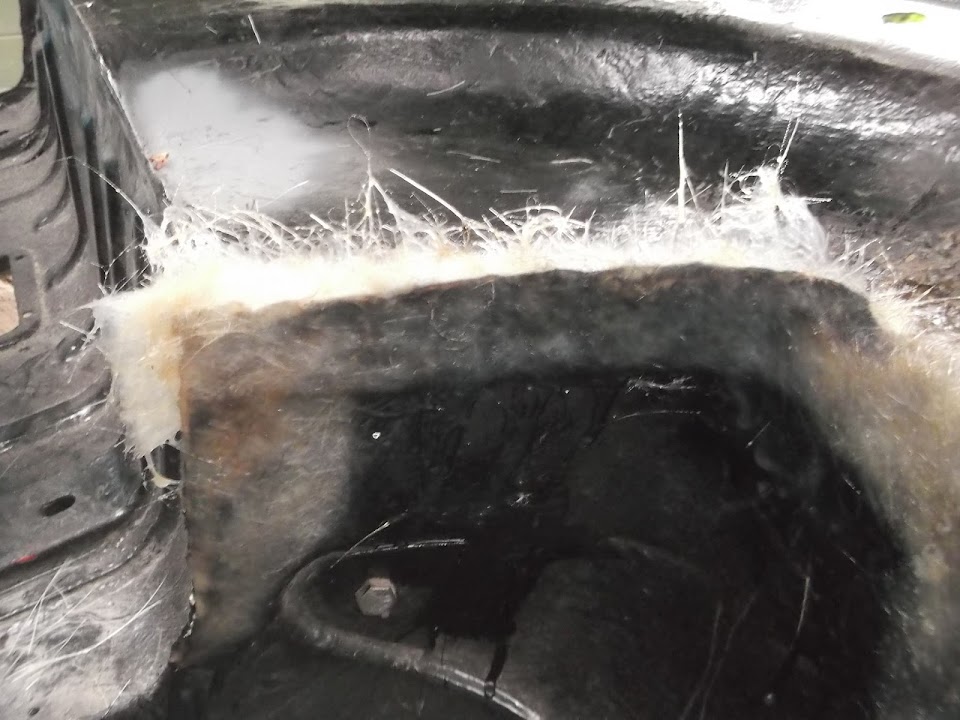
I also trimmed off the excess fibreglass from the corner that I had damaged and re-done.


Not sure what happened to the "before" photo, as I was sure I had taken one?

Then I used some mesh to build up the edges on one of the inside corner repairs.


One tip I'd picked up from another build was to mask off the handles of my brush & roller.
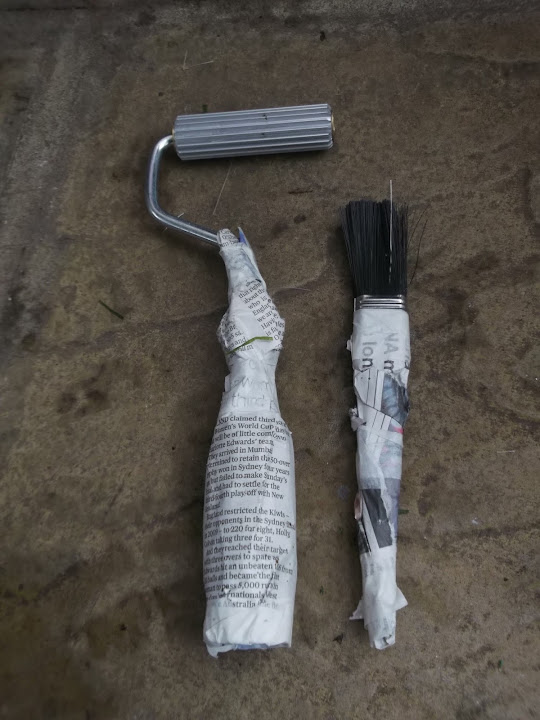


This does speed up the cleaning process a little bit, as I only have to worry about the ends.

My plan was always to re-enforce the other side of the big gaps like this one.
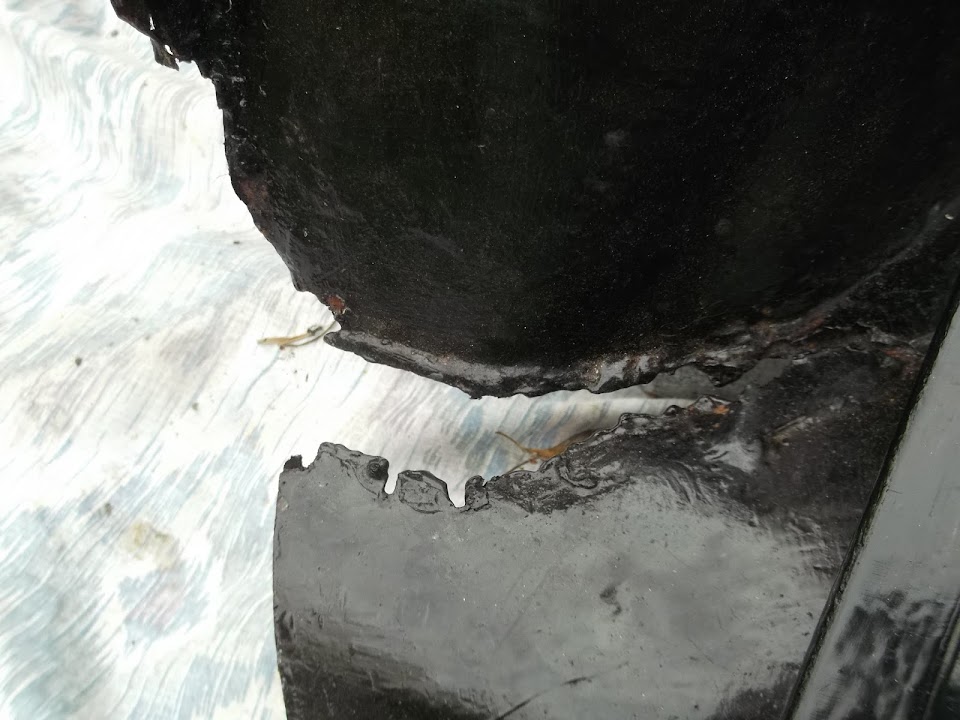


The reason for doing these repairs in fibreglass, and not metal, in the first place was to get the practice.

And based on today's efforts I certainly need more practise. :rolleyes:

I managed to successfully build up several layers of small sections of matting behind the big gap seen above.
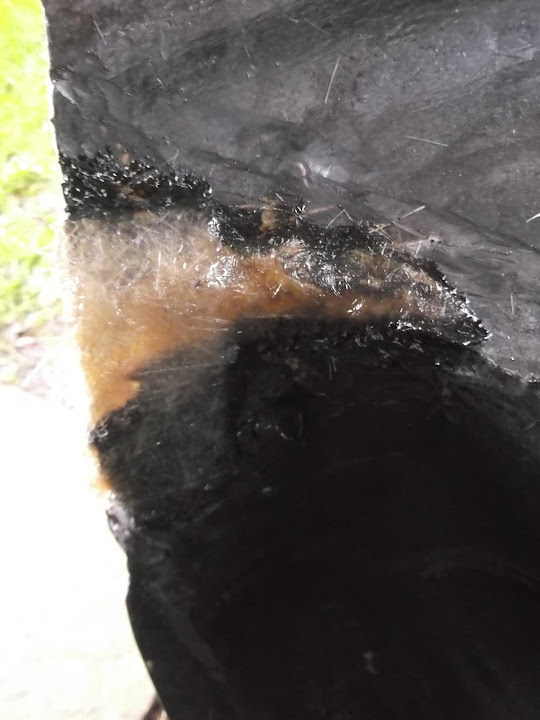


But the mesh re-enforced corner section didn't go as smoothly, although the side doesn't look too bad.


Where I tried to fold it over the edge didn't work out as well as I hoped.


So I simply started on the other corner repair and just covered some of the filler I'd put in there.
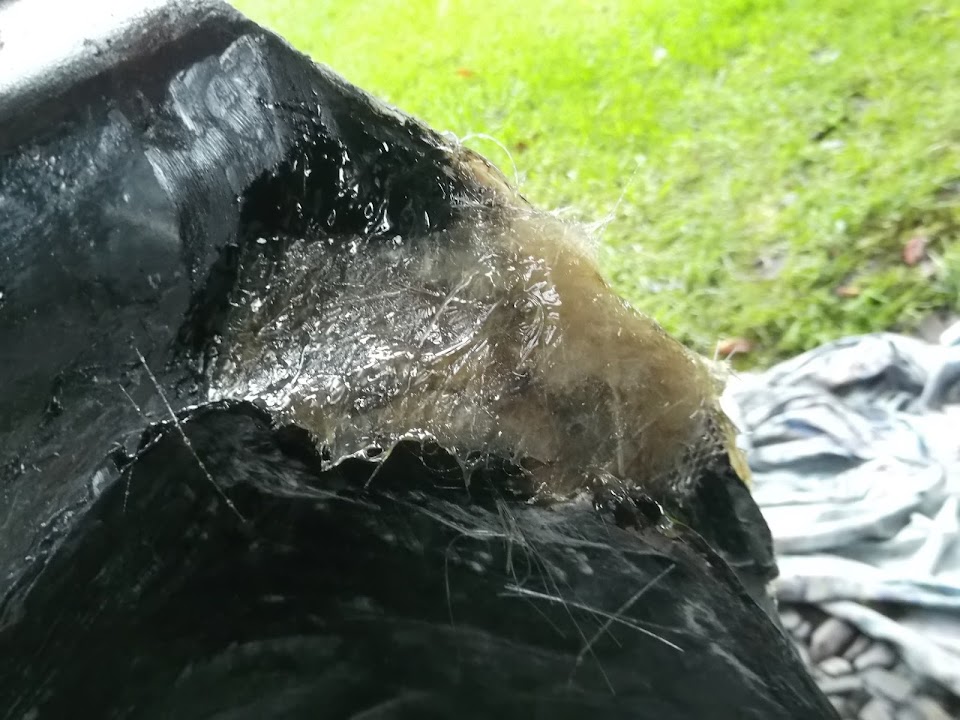


My initial plan was to attempt to add extra layers of matting in all three of these areas before the first batch set.

But I am happy to take my time and tidy up this round of work before I come back to it and finish it off another day.

I am still a beginner and there is no point in rushing this if I then have to come back and do it all again.

So this is how the underside of the arches look now.


Just before I updated this post, the fibreglass was dry enough for me to pull the cover over the top.
( As it looks like the rain will be returning any minute. )

- - - - - - - - - - - - - - - - - - - - - - - - - - - - - - -

Gardener's World
Whilst the rain isn't doing my build any favours, the garden has gone a bit mad in terms of stuff growing.

We have a big family bash at our house on Saturday, so I was forced to do most of the pruning in the drizzle.


At least our new vegetable patch is coming on nicely. :cool:


- - - - - - - - - - - - - - - - - - - - - - - - - - - - - - -

Without a decent run of dry weather, I'll just have to accept that progress will be slow.

So until next time, take care, Paul. :)
28 May 2014, 9:26pm
Viatron wrote:

On your post about using pure resin to fill gaps...don't do it, resin on its own will be far to brittle. What you can do is make your own fibreglass filler, chop some matting up into very small pieces and mix with some resin until you get a thick gloopy mixture which will do the same job as the fibreglass filler you have been using.
HTH
Mac


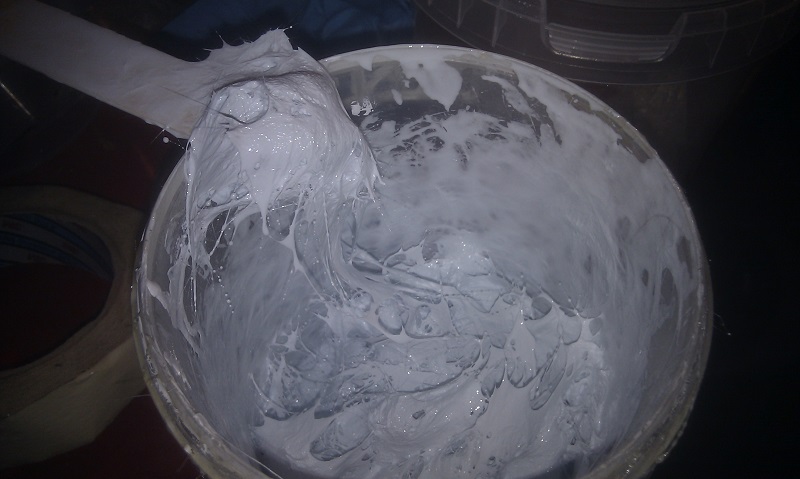
Always keeps those little offcuts. You can make them look like this....

29 May 2014, 3:44pm
Oxford - I vaguely remember you mixing that up, so I'll go back and have another read of your build thread.
Talking of which, have you had the chance to make any progress on your own car?

- - - - - - - - - - - - - - - - - - - - - - - - - - - - - - -

Tidying, fibreglassing, gardening & raining...
First job of the day was to shift all the tools and bits that were in the dining room to the Summer House.


Now, the only thing left indoors is one of the seats.


As I hope to visit a seat seller tomorrow and want to make a side by side comparison.

The only car work I had the chance to do was to add more fibreglass matting to the rear arches repairs.


But to be honest I am still struggling to "fold" the matting over edges. :icon_sad:

So I will continue to build these areas up in smaller steps until I get the hang of it.

Finally I finished "edging" the lawn, which is seriously back breaking work using hand shears. :rolleyes:


So the good news is that the house is now almost ready for our guests on Saturday. :cool:

Which means I might be able to spend a bit more time on the car tomorrow. :pray:

Cheers, Paul. :)
30 May 2014, 7:55pm
Drizzle...
My master plan of doing waves of fibre glassing from first thing in the morning disappeared in the waves of fine mist in the air. :rolleyes:

However, I did managed a rare piece of male multi-tasking, combining chauffeur duties for my wife & daughter with a visit to an ebay seat seller.

Now I remember Mister Towed's very valid point that certain types of bucket seat just don't belong in these cars.

Also based on Google images, I can't find a single Sammio / Ribble with this type of seat fitted.

But I really like the idea of built in guides for the shoulder straps of my racing harness arrangement.

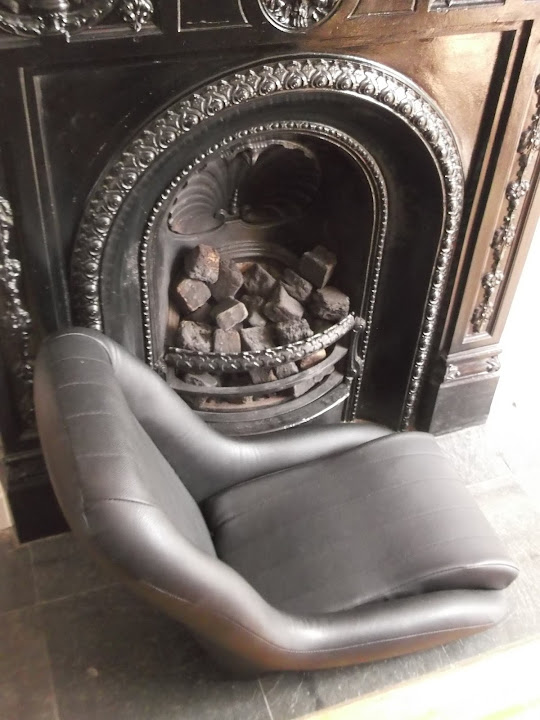
So these are the seats I went to look at...


I had thrown my "problem" seat in the back of the car, so here is a side by side comparison.


This is how that seat looked when I test fitted the passenger side recently.


The back of bucket seat can be adjusted so that it is not reclining and this would allow it to move further back.

This in turn would allow it to sit lower in lowered floor pans, something the angle of the current seat back prevents.

The end result would be that very little of the top of the seat (apart from the head rest) would be proud of the bodywork.
( At least that is what I think / hope. )

All I did do today was take some measurements and I will need to have another look at the car when the frame and body and back on.

It is a big decision and so I will take my time and if this doesn't work I'll find something else.

- - - - - - - - - - - - - - - - - - - - - - - - - - - - - - -

The middle of the day was another half term trip to the cinema with one of my daughters for the latest Tom Cruise blockbuster.
( Which was basically Groundhog Day, but with guns and aliens. :icon_wink: )

By early evening I just managed to do another round of fibre glassing on the rear arches.

I still can't do a decent job of working the matting around edges and making it stick. :icon_sad:

So I decided to simply leave the edges "hanging" and simply join them from the other side during the next round.


The only good news is that my previous fibreglass work is setting nice and hard.

( I ground away any dodgy bits where I'd previously messed up on the edges. )

Obviously the weather has meant this has all taken much longer than I expected.

Still, any progress is good progress at the moment. :cool:

Until next time, take care, Paul. :)
30 May 2014, 8:58pm
All looking neat Paul, also lovely garden by the way Love Mike :rapture:
31 May 2014, 9:04am
"Any progress is good progress"
Wise words Paul. that's what I keep telling myself!!
1 Jun 2014, 8:17pm
Mike - Cheers. Despite everything taking so long, at least I'm still moving forward.
That garden photo reminds me that some things are worth spending time on to get right. :cool:
Finally, do you have any tips for getting fibre glass matting to go around edges?

Scottie - It is only when I think about a deadline that my rate of progress is depressing. :rolleyes:
Instead, I must keep my focus on chipping away at the "To Do" list until the car is finished.
Obviously I have no idea when that day will be, as there is still tons to do, but I will get there.

- - - - - - - - - - - - - - - - - - - - - - - - - - - - - - -

Saturday
We had a very nice family get together yesterday and even though it wasn't very sunny, it was warm enough to sit outside. :cool:

- - - - - - - - - - - - - - - - - - - - - - - - - - - - - - -

Sunday - Part 1:
The fact I still can not seem to get fibreglass matting to go around edges and "stick" is starting to get on my nerves. :rant:

So I have now decided to use fibreglass in a number of areas on the rear arches so I can get more practise.

I only mix up 100ml of resin at a time at the moment, as I'm using lots of small sections of matting in different places.


I have continued to build up the repairs section that I've previously been working on.

But I have also started on a few new areas too...

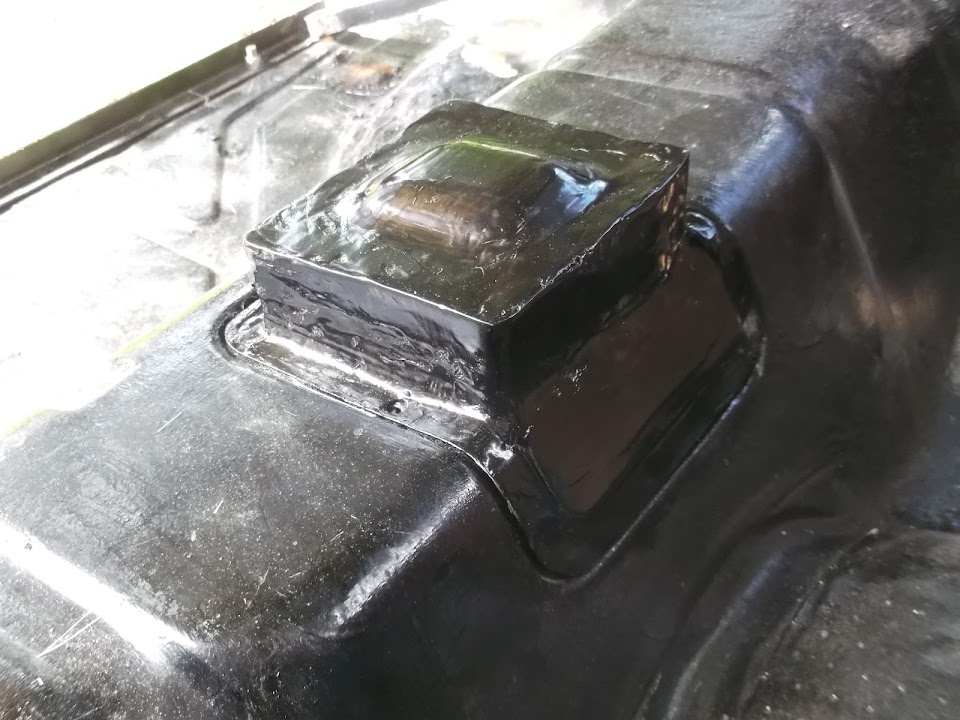
Boot Floor:
The rear tail pipe bracket makes it harder to repair this hole from the "sunny side".


So I am fixing that from underneath.


There isn't an equivalent 'factory' hole on the opposite side of the floor, as a whole rotten section is missing. :rolleyes:


But I fixed that is the same way.


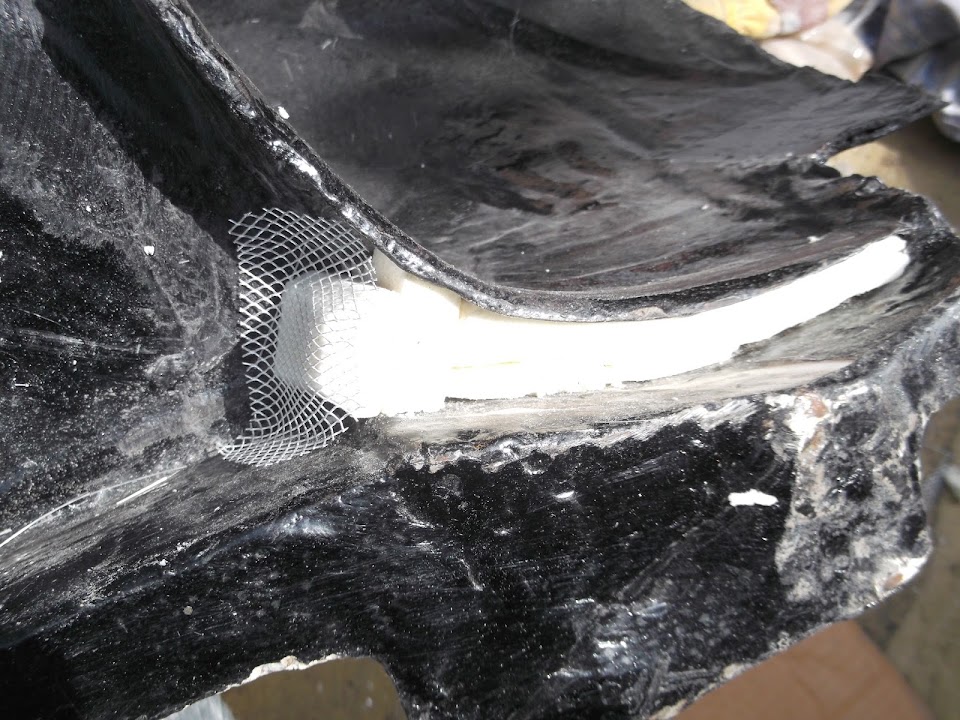
Rust Trap:
This section of the arches seems to have been designed with trapping dirt & moisture in mind. :icon_sad:


So I dug out a section of my recycled insulating foam and cut that up so that it would fill the gap.


Then I covered the whole lot in fibreglass matting.


As before, this is really an excuse for me to practise different ways of working with fibreglass.

End of Part 1.
1 Jun 2014, 8:19pm
Sunday - Part 2:
After leaving this first batch of fibre glass work to dry for a bit, I came back and turned the arches over.

This allowed me to prepare the next round of patching the factory, and small rust, holes.

Before:


During:


After:


I was a little bit braver this time around and each patch actually has two layers of matting over the mesh.

I just made sure the second layer was bigger than the first to ensure a good overlap.

In addition, a short session with the "screwdriver of truth" discovered another hole under some seam sealer. :rolleyes:


But this was fixed at the same time as the patches above.


Although, because of the curves involved, I only added a second layer to one edge of the first layer this time around.

- - - - - - - - - - - - - - - - - - - - - - - - - - - - - - -

While I left that lot to set, I carried on with a few odd jobs.

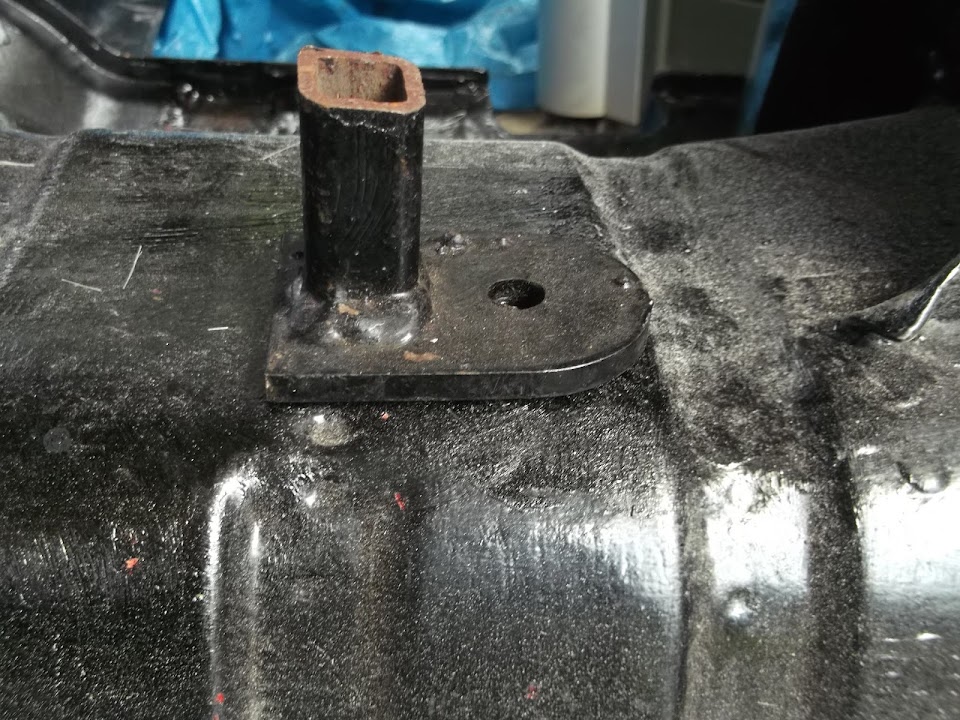
The first was to cut a couple of mini crush tubes.


Because when I fit the rear arches, the rear frame will sit on top of this section.


So the tubes will sit in here like so.


Then the "feet" for the rear frame can sit on top of the arches.


Well, that is my theory anyway.

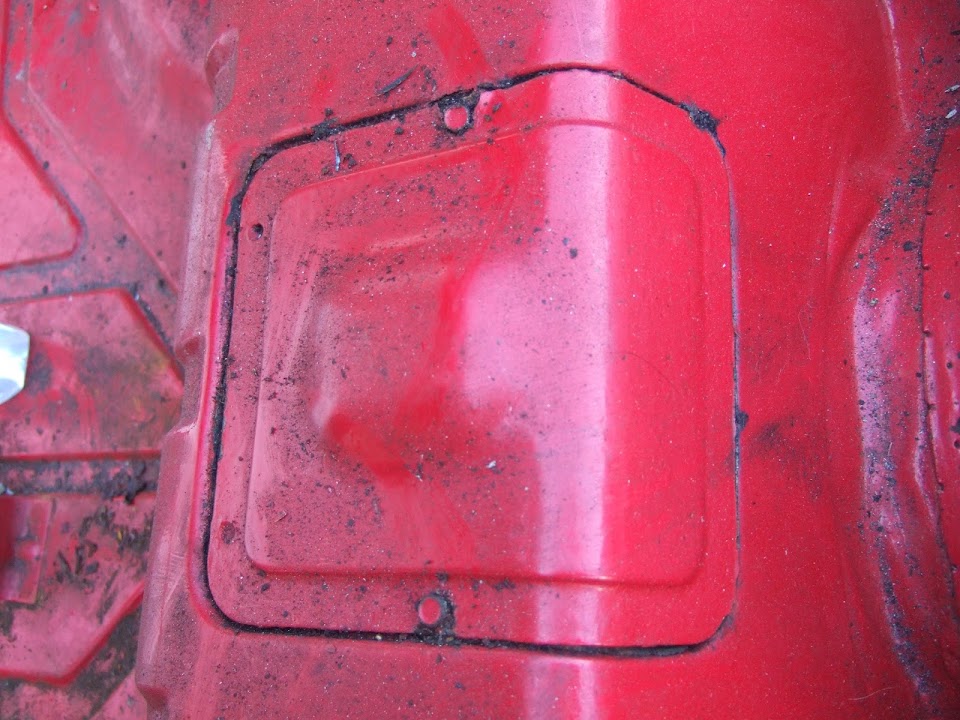
I also bent the edges of the modified access panel to give me a tight fit.


All I need to do now is find the original fittings, which are in one of my many boxes.

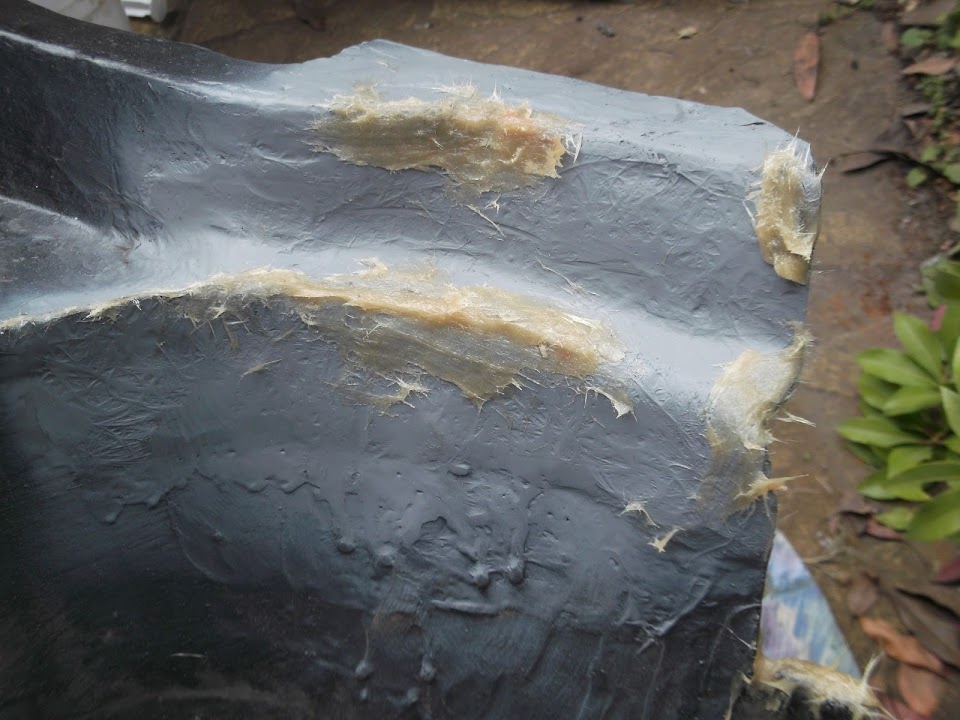
Then I had a major grinding / sanding session on the fibreglass that had set previously on the "sunny side".

But I didn't get a photo as I turned the arches over to continue on the "under side".

Where I also cleaned up around the areas that I had patched earlier.


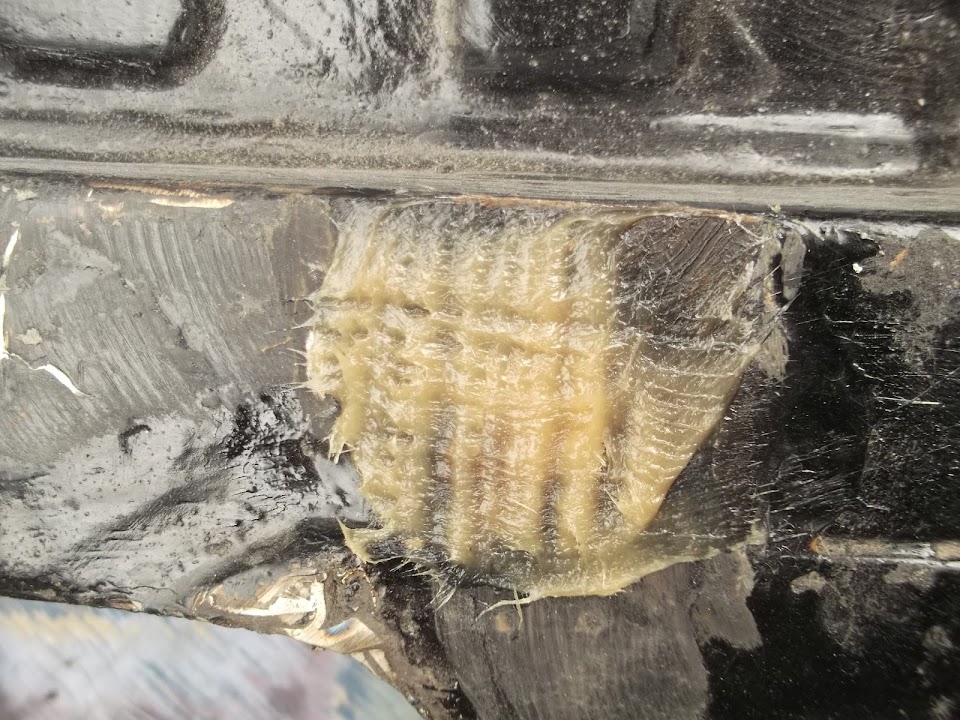
Then I mixed up some fibreglass filler and covered all the holes.


Then I did my final round of fibreglass work for the day to add a second layer of matting to the patches on this side.

This included the extension of the boot floor.


And the corner that I had used the insulating foam in.


All in all, a very productive day.

Take care, Paul. :)
1 Jun 2014, 8:30pm
Quick question that sprung to mind based on my experiences with SWMBO's VW campervan-o-rust.

Are you treating any bare metal with Krust or something similar before you glass over it?

The reason i ask is that I've been finding and cutting out areas on the VW where previous Hippies had simply glassed over bare metal and over time the original metal had carried on rusting under the glass?
1 Jun 2014, 8:50pm
I have tried that one Dave, and found that the paste does not adhere to the metal, but sticks to the Kurust layer, then comes off with a thin layer of Kurust stuck to it.
I have had much better results roughing the metal up to a pure un-rusty clean state, then putting the paste straight on, that way I have found it works a lot better for me, and I have never had the paste come off yet.

Don't know if this will help you Paul? Works for me though.
2 Jun 2014, 2:29pm
I know on the camper I'm replacing the old glass/filler/rust with actual real metal, but i didn't know if the Krust or similar created a coat layer or actually impregnated the metal.

Based on your experiences it sounds like Paul is doing it the best way :)
2 Jun 2014, 2:36pm
Dave & Scottie - Thanks for the replies, all advice & tips are most welcome. :cool:

I've tried to be pretty good at cutting out / treating / repairing the rust as I go along.
I think I'm on my 3rd (or 4th) small bottle of Kurust and the treatment started when the body shell arrived.

I've dug these photos out from Mar.13 when I first started working on the arches.
All the bare metal you can see here was treated and a few more areas since.


And I was still topping up the Kurust a couple of weeks ago.


Having said that, I'd have to admit that I may have missed the odd spot here and there. :icon_sad:

But, touch wood, I am think the vast majority of the remaining metal work is now pretty solid. :pray:

Although given my wholesale rebuilding of my bulkhead with new / recycled metal it does seem a shame to be using fibreglass.

However, I clearly need the practise before I pluck up the courage to 'glass the door skins to the body shell. :eek:

- - - - - - - - - - - - - - - - - - - - - - - - - - - - - - -

Consolidation Work:
Whilst I am working on many different areas of the arches at the moment, some sections are now complete.
( Other areas need extra fibreglass matting or some filler. )

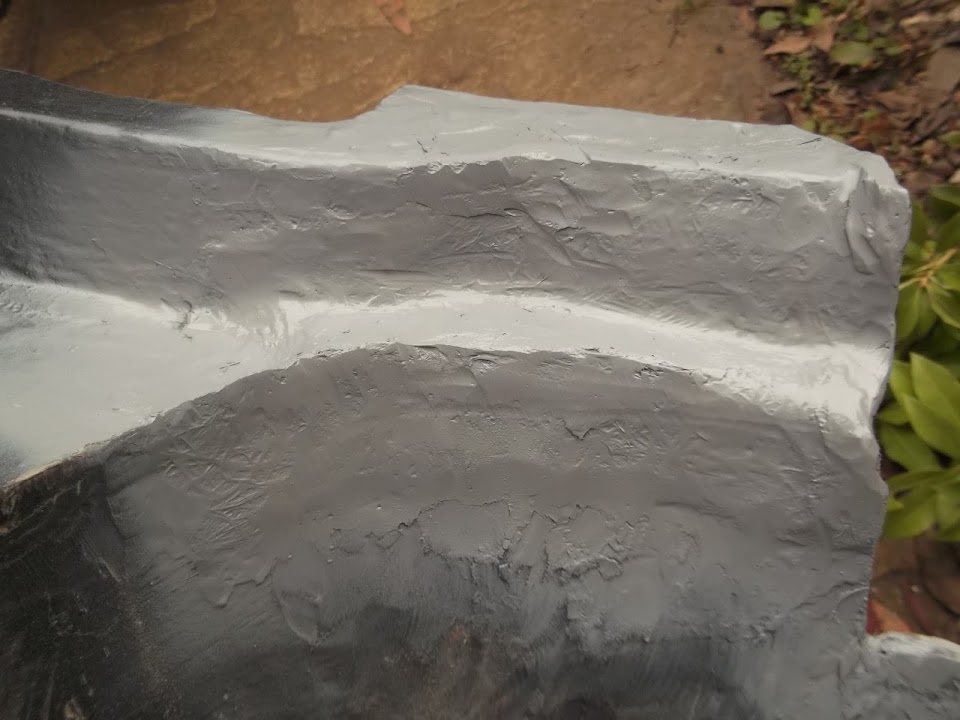
So I took some time to finish tidying up the "sunny side".


Then put some primer on.


While that was drying I turned the arches over and sorted out the underneath.


The primer does make it easier to see the two main repairs to the arches.


You will note I made no attempt to continue the "edges" along the bottom of the wheel arch & just kept a smooth (ish) join instead.

I also primed the areas where filler was added to the underside of the mesh / fibreglass patches.


The foam covered area is also easier to see with the primer on.


Note:
I will clean up the resin "dribbles" later on, as I still want to add a bit of filler to this section.

End of Part 1.
2 Jun 2014, 2:38pm
More Fibreglass Work:
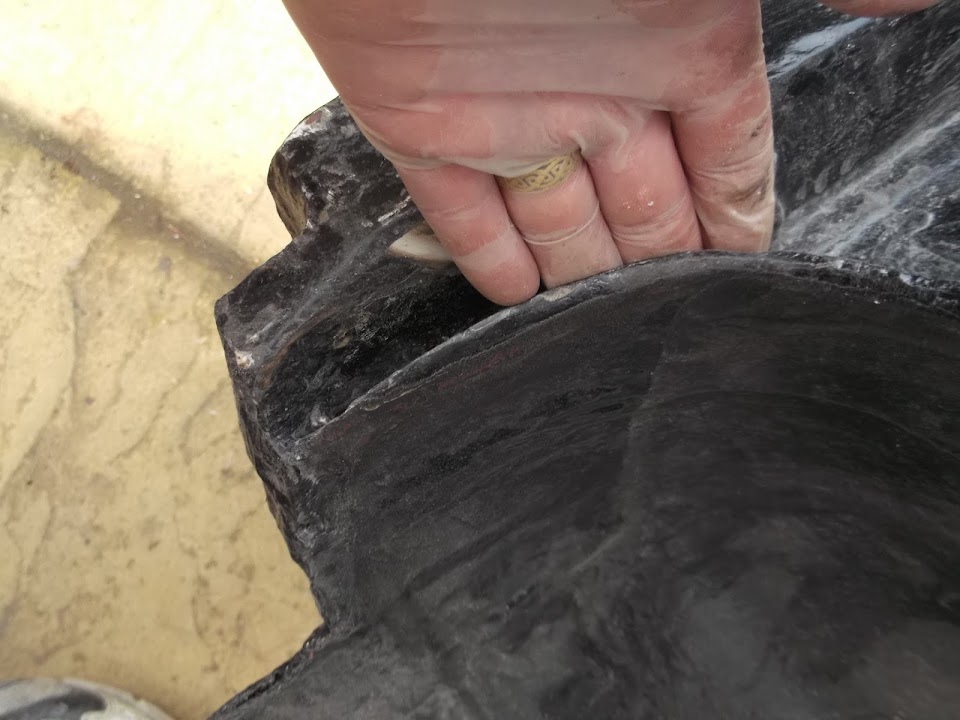
Next I turned my attention to the other "water trap" which is a bit deeper than the other side.
( Due to the amount of rusty metal I had cut away from the other side. )


But if you followed the edge beneath my fingers around you would find this.


Which I needed to add some mesh to in order to build back up a nice edge.


Note:
The arrow is just to remind me where I patched a small hole on the other side.
( It is so small I actually missed it yesterday when I was adding filler. :rolleyes: )

Then it was time to cut up some more foam and stuff it into the gap.


Before covering that in fibreglass matting.


I also started to repair the missing edge.


You will see that there is now some filler where the arrow is pointing.

I also added filler to the first foam covered area.


And the inside of one of the edges I'd repaired.


I also had to re-do one of the patches where my grinder "dug in" when I giving it a "light skim". :rolleyes:


At this point, other chores went against me, so the cover went on and I left things to dry / set.

With a bit of luck I might be able to do a bit more this evening.

Cheers, Paul. :)
2 Jun 2014, 7:18pm
Evening Session:
Managed to tidy up the filler I applied earlier and get some more etch primer on.


Note: I am not going to lose too much sleep over the finish of something that will be underneath the car. :rolleyes:

In addition, most Sammios / Ribbles are open to the elements at the rear, so something is surely better than nothing. :icon_wink:

Then I tidied up the fibreglass I had laid over the insulating foam.


Before adding another layer of fibreglass matting over the top.


Just need to wait for that to set a bit before I can pull the cover over for the night.

Until next time, take care, Paul. :)
2 Jun 2014, 8:40pm
Hi Dave, I am sure Paul is doing things right. His build is cracking.

Kurust is supposed to penetrate the metal, but in my experience, I have at later stages had paint or filler/ paste actually come off the "metal" with a layer of whatever kurust does to the rust stuck to it.

So it was not binding to the metal, rather just coating it I think.
Still have not found any better stuff though, and have used it for donkeys years!
3 Jun 2014, 3:59pm
Scottie - I'm not always sure I am doing the right thing, but I am trying my best. :icon_wink:

- - - - - - - - - - - - - - - - - - - - - - - - - - - - - - -

Another Short Session:
Well it took a long time for my workshop "roof" to stop leaking this morning. :rolleyes:


And with a full day of "leaks" forecast for tomorrow, I opted for more consolidation work.

I tidied up the foam covered area I worked on yesterday and primed part of it.


But I left the edge / corner that I still need to add some more fibreglass matting to untouched.


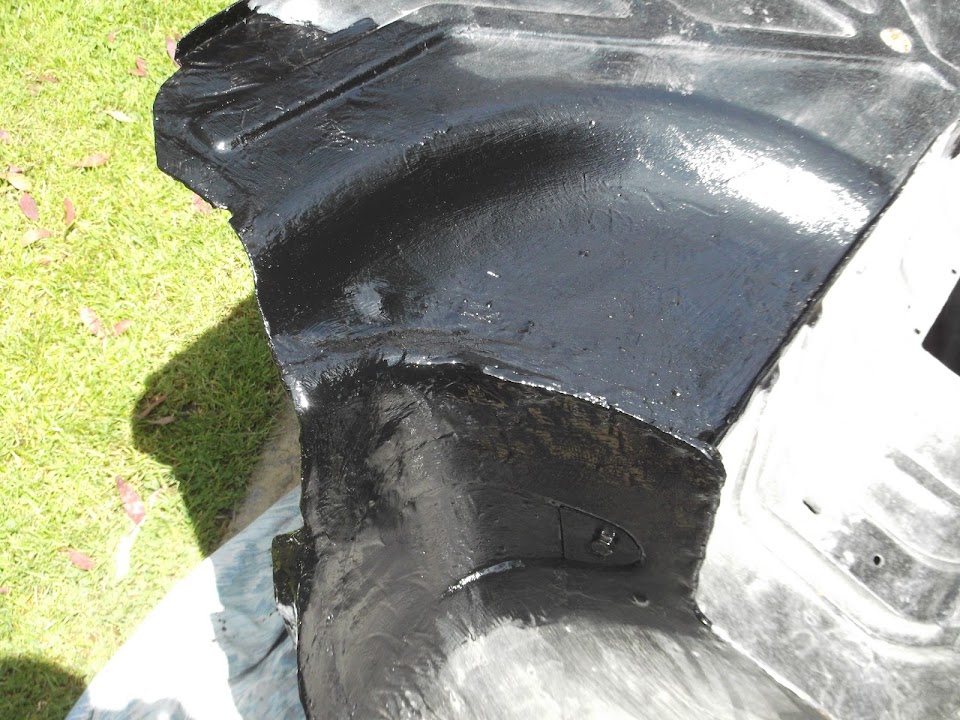
Then I put some black paint on the areas that were already primed.


Note:
In this last photo you can also see the mesh I cut out for the final edge I need to repair.

At this point is was really warm and sunny and the primer I'd applied earlier was dry.

Now normally I wait 24 hours before painting it, but it was only when I got to the raw fibreglass section I remembered the primer was fresh. :doh:

So this section is also black.


This is what the arches are looking like now.


Please excuse all the dust on the sections I that I haven't been working on and didn't waste any time cleaning properly. :rolleyes:

Then it was another round of fibre glassing, starting with the final layers of matting on this corner.


And finishing with the start of the layering process on this corner.


By now the temperature had dropped quite a bit and the sky looked like this.


So I added a couple of "spacers" to the arches.


And stuck the cover back on.


My timing was good (for a change), as the rain came hammering down shortly afterwards. :eek:

So until next time, take care, Paul. :)
3 Jun 2014, 4:39pm
It must rain a lot on Easter Island!! :-)
4 Jun 2014, 3:16pm
Scottie - Well it is certainly raining a lot here today. :icon_sad:

- - - - - - - - - - - - - - - - - - - - - - - - - - - - - - -

One of those days
The weather meant that working outside was a non starter, so I did a few other bits and pieces...

When I was painting yesterday I noticed that the hand brake pivot bracket looked like it has been pulled out of position.
( I think it has always been like that, I just hadn't picked up on the problem. )


So last night I went back through Mac's build and found this photo of his hand brake panel.


To me, it looks like this bracket should be "square" if that makes sense.

Eventually I remembered that I actually have a "spare" hand brake panel sitting in the shed which I dug out today.

Whilst the bracket itself had come away, the panel it was mounted on definitely sits "flush".


:icon_sad:

Whilst I don't want to make more work for myself, I'd rather fix this now if it is going to be a problem in the future.

I assume it would be OK just to hammer the panel back into position and weld along the edge?

As clearly sorting this out with the arches fitted to the chassis would be a complete nightmare.

- - - - - - - - - - - - - - - - - - - - - - - - - - - - - - -

I searched my pile of boxes in the Summer House looking for the fittings for my modified rear arches panel.

Whilst I couldn't find them, I did find my box of new self tapping support brackets and some new screws.

These look like they will do the job, although I'm sorry the photos are so blurred. :rolleyes:


I thought I'd better double check my photos and found one from the second hand body shell.


It looks like it was missing a couple of screws when I got it anyway.

Then I thought I'd go back and check my original body shell and found this photo.


Whilst this seems to use two screw heads and two bolt heads, I'm sure four screws will be fine.

I plan to seal around the edges too, so the panel will not be going anywhere.

However, I did notice something else in the photo above that made my heart sink...

- - - - - - - - - - - - - - - - - - - - - - - - - - - - - - -

One of the "factory" holes that I have just sealed was clearly there for the fuel hard line!!! :doh:

Thankfully another old photo has saved me from myself. :icon_wink:

This was an earlier test fitting of the wheel arches and the rear frame.


The Spitfire petrol tank is no longer in the factory position as the framework brings it forward.

So many moons ago, I bought some flexible fuel hose to run from the petrol tank to the hard line.

My original plan was to cut the fuel hard line so that it finished below the wheel arches, rather than enter into the "boot".

Clearly somewhere along the line I had forgotten all about this as I haven't finalised an exit point for the flexible hose. :rolleyes:

Thankfully, looking at the photo above, there appears to be enough space between the arches and framework at the front.

So that is another thing to add to the "To Do" list.

- - - - - - - - - - - - - - - - - - - - - - - - - - - - - - -

Do despite doing almost nothing on the car today, I've actually managed to go backwards in places.

Cheers, Paul. :)
4 Jun 2014, 5:29pm
Welcome to the club Paul! I've done that a few times!