MadaboutKitcars

This is a read-only archive of the old Madabout Kitcars forum. New posts and replies are no longer possible, but every thread is still here to browse and read.

Another Cordite Is Born ...

12 May 2014, 8:45am
Swifty Said:
"Paul it may pay to check using a straight edge from one side of the frame across to the other"

Lol that could be very a very amusing exercise!
12 May 2014, 9:32am
Viatron wrote:
Swifty Said:
"Paul it may pay to check using a straight edge from one side of the frame across to the other"

Lol that could be very a very amusing exercise!


I still have a factory Sammio straight edge for checking the trueness of the shell and frame. It's straighter at one end than the other of course...
12 May 2014, 9:36am
I walked towards mine with a straight edge and it actually cowered. I'm currently matching frame and body and I spend most of my time crouching and leaning (like the annoying bloke on Chop Shop) to find what looks pleasing to the eye. A ruler and spirit level are not much use other than to fight off the squirrels and magpies.
13 May 2014, 2:28pm
Swifty, Mac, Mr T & Oxford - Thanks for the replies chaps. :cool:
Those "straight edge" jokes really did make me laugh. :biggrin:
But they also reminded me that all old Sammio builders have alignment "issues".
So I will simply get everything as straight (ish) as I can and make the "join".
By the time the body shell and cockpit panels are in, it should all be very solid.
OK, it might be solid and a bit wonky too. :rolleyes:

- - - - - - - - - - - - - - - - - - - - - - - - - - - - - - -

Ticking Over
Whilst I haven't had much time on the car, I have still managed to get a small job done.

Before I started welding the first "join" bracket, I practised on some "off cuts".
( As the plate is significantly thicker than the box section. )


Once I was happy with the welder settings, I switched to the real thing.


I do find it much easier to weld thick metal compared to thin. :cool:

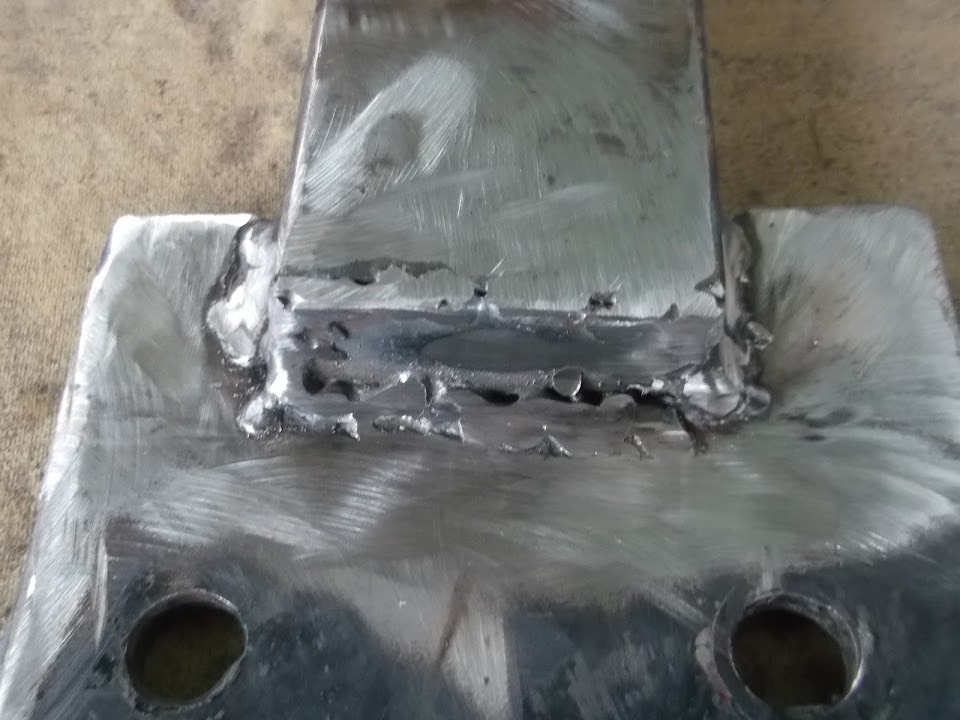
Next it was a straight forward job to "cap" the end of the box section.


I'm really pleased with how solid this bracket is.

Which gives me hope that by using 4 "joins" I will be left with a secure structure.

Until next time, take care, Paul. :)
13 May 2014, 4:09pm
Try putting your spirit level in the freezer before checking, guaranteed straight and true everytime :icon_wink:
13 May 2014, 8:28pm
Well done Paul! Keep at it.
15 May 2014, 7:29pm
Craig - I guess a frozen spirit level could work. :)

Scottie - Cheers. :cool:

- - - - - - - - - - - - - - - - - - - - - - - - - - - - - - -

An unexpected journey...
My plan for today was to simply weld up the first "join" bracket to the rear frame.

But, as usual, the day didn't actually go quite to plan...

Following the debate about finding a straight edge to work with I thought I'd quickly put the floor in to see if that would help.

First problem of the day...


Obviously the floor will not fit into place as I've bolted the frame to the chassis. :rolleyes:

Now the bolts are too long and it takes ages to unbolt them, but eventually the frame was removed.


Why did I remove it, when I was originally planning just to put the floor in?

Well by now, I had remembered that my original plan was to weld the floor in place.

In order to do this, I needed to trim the edges of the floor in a few places so I could join it to the frame below.

So I clamped the floor to the frame, using the pop rivets to ensure it was all lined up properly.


Then I could make up the floor edges ready for trimming.


Much better.


Then I cleaned up the edges of the floor ready for welding.


I also cleaned up the corresponding sections of the framework.

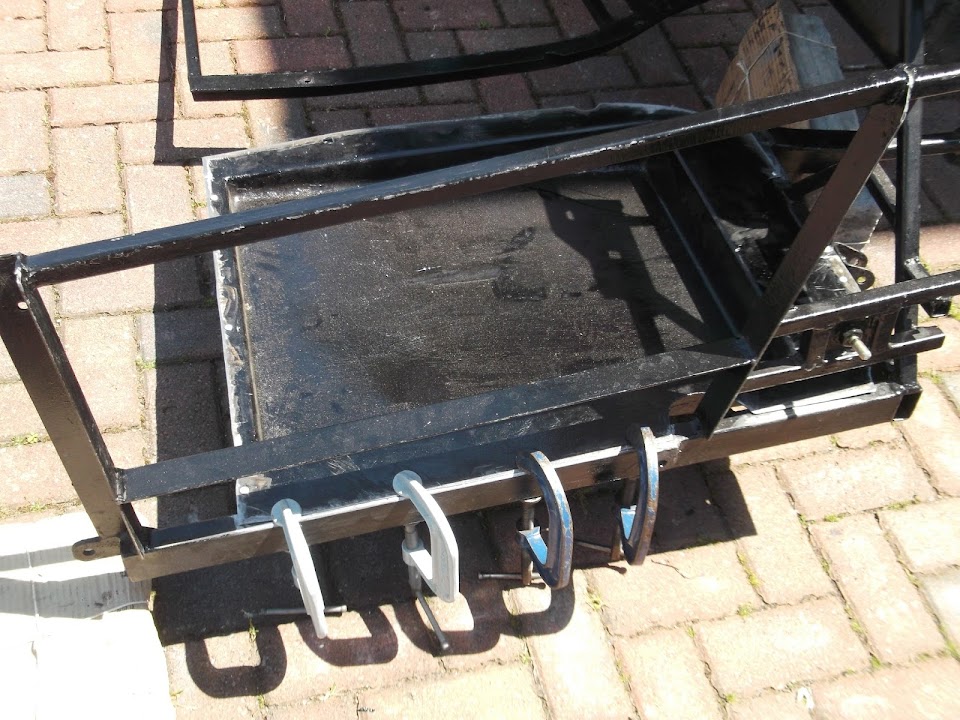
Then I used the six pop rivets to hold the floor in place & then added some clamps.


I had to move the frame around so I could get at the various edges.


This is the view from underneath and it is easy to see where the bend in the chassis gets in the way.


I can't move the floor to the right (in the photo above) because the seat would foul the edge of the cockpit.

Note: As it turns out, I might have to trim the edges of the cockpit anyway. :rolleyes:

One passenger floor welded in.


At this point I haven't joined all the welding up, but I will come back to that another day.

Then the frame went back on the chassis and was bolted back on again.


I could reach the bolts while working in the space where the driver's floor will go.

So when that is fitted, getting to the bolts will be a major pain.

Also I don't think I will be able to lift the frame off by myself when the driver's floor goes in as it is pretty heavy now.

I dug out one of my seats to see how that was looking.


To be honest, the angle of the seat back combined with the angle of the lowered floors is still a problem.


I have seen another pair of seats on ebay that might work and the (trade) seller is local.

So I might just have to bite the bullet and buy new seats. :icon_sad:

End of part 1....
15 May 2014, 7:31pm
Frankenstein's Cordite comes to life...
I have opted to fix the height of the frame at the side by eye.

Note:
You will laugh/cry later in this post when this approach turned out to be a much better idea that I initially thought. :rolleyes:

So I propped up both sides of the frame with whatever I had lying around.


The slope of the drive means I need more spacers on the driver's side as that is how the suspension has settled.

This is the view from behind and the frame is horizontal (ish) as the bulkhead is bumpy in places.


I just needed to enlarge one of the holes in the mounting plate.


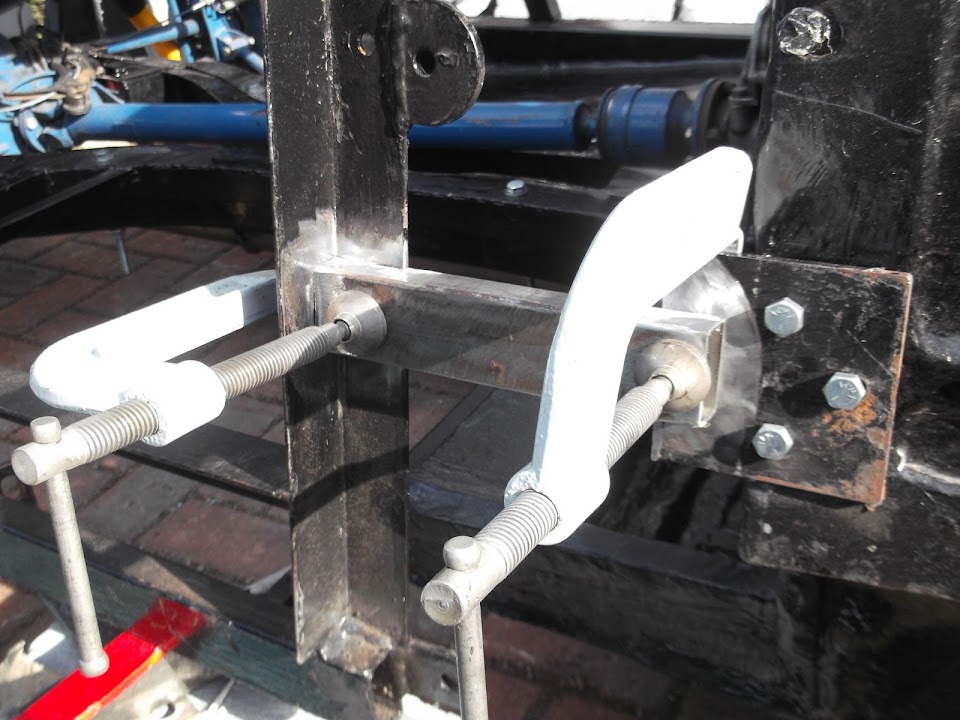
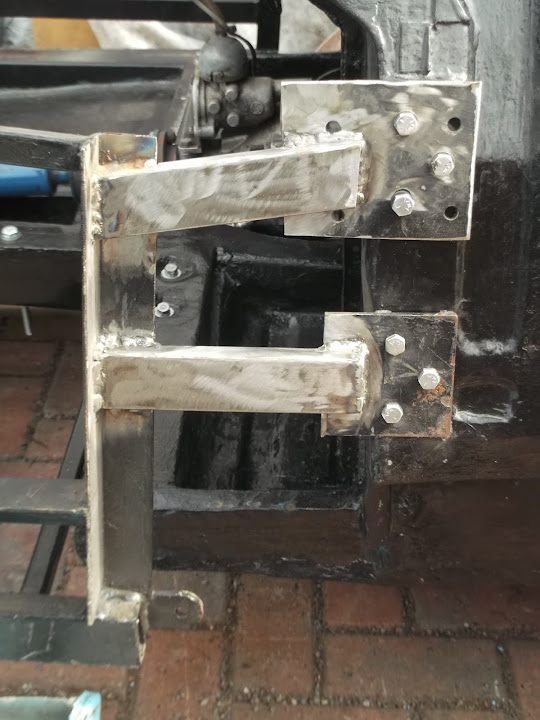
After cleaning up the frame & bolting the mounting plate into position, I could clamp the bracket in place and weld it.


So far, so good.

But when I took the same length of box section to the other side I came up short?


Because obviously the two sides of the frame work are completely different lengths!!

This is the driver's side:


Note the gap from the front cross member of the frame to the leading vertical edge is approx. the width of the box section.

And this is the passenger side:


Where the same gap is approx. twice the size of the box section.

So it is completely pointless to measure anything on this [American Slang]POS[/Cussing]!! :rant:

Following the wise words of Mister Towed to simply "Just Do It" I carried on....

I found a longer length of box section and only needed to make a cut out at one end.


With everything cleaned up I could bolt the mounting plate in and clamp everything up.


After the first round of welding the bracket was looking like this.


I then just needed to cap the box section.


With all the props removed the frame remained rock solid.


Looking at the last photo above, you can see the different lengths of the frame / box section "joins" on both sides.

By the time I add the two upper "join" brackets the whole structure will be very strong indeed.

Note:
As always, these frame problems will not be present in the Ribble Navigator.

So although the day didn't quite go to plan, I passed significant landmark in the build.

It is now clear that my Frankenstein build option will work. :cool:

There is still a lot of work to do before I can finish joining all the big "jigsaw" pieces together.

But this was a major step forward, so I will take the little victories when I can.

So until next time, take care, Paul. :)

Video Link:
I posted this on Scottie's build thread as he has an old Jag in his back garden.

But it is well worth sharing again here as it is living proof you can get things done one step at a time.

22 year Jaguar MkI restoration

Having said said, I'd like to be on the road within 4 years of starting this project, not 22! :eek:
16 May 2014, 5:33am
Paul this is looking great pal , keep up the good work mate.:smokin:
16 May 2014, 1:41pm
Seems you had a good day and most possibly a huge turning point in the build, hopefully now you should see progress with each task. Not only that but I will be able to sleep at night without worrying the adorable recycling angels who drive transit vans with many bed frames in the back and strive tirelessly to save our planets iron ore rescources have absconded with ⅔ of your car, as it was only wrapped in covers and not bolted to the ground with an armed guard sat by it so therefore it was for them. Ed.
16 May 2014, 8:19pm
Mike - Cheers, I know it has taken me a long time to get this far, but I am inching along in the right direction.

Ed - I will be very happy when all of the big pieces are fixed to the car permanently.

- - - - - - - - - - - - - - - - - - - - - - - - - - - - - - -

Close, but no cigar...
Tried to make the most of the short amount of time I had available today.

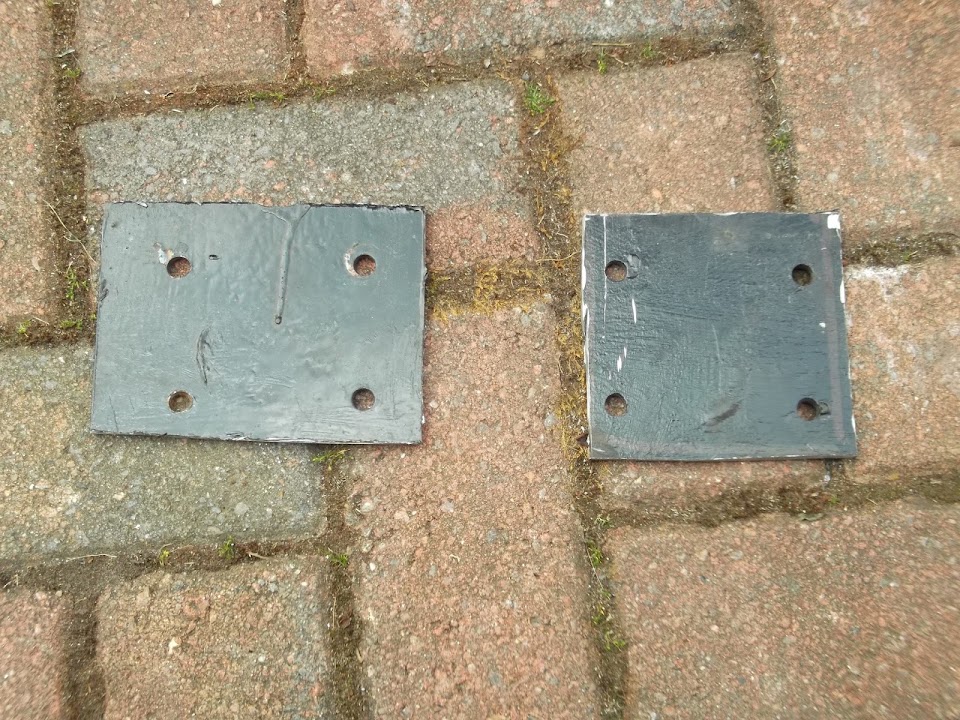
Previously I had cut these two plates from the pedal mounting section of the bulkhead framework.


Now I just needed to mark up and drill holes to match the Spitfire door hinge mounts.


Even using oil on the various drill bits, this was hard work.

But eventually the passenger side plate was bolted into place.


I used some cardboard to get the angles needed for a simple join.


Then I cut the box section to match, but the usual cut out to take account of the different angles.


After cleaning the metal it was time to clamp it in place and start welding.


I will come back and "cap" this later as I was desperately trying to finish the other side before time ran out.

Obviously the driver's side was more of the same.


Although I had to cut off and clean up the semi-circular bracket that was welded on by the factory.
( I never did find out what it was meant to do. :rolleyes: )


I didn't quite finish the welding as I managed to blow up the end of my welder. :icon_sad:


But even at this stage, the four joining brackets are going a great job. :cool:

It was time to pack up at this point anyway, so I will try to sort that out tomorrow.

My eldest daughter was going to a friend's house for a party and I'd promised to watch some DVDs with my youngest.

We'd watched a programme about Mini Coopers the other day, so she had requested The Italian Job.

So we have just finished watching both the original and the modern version. :cool:

Until next time, take care, Paul. :)
17 May 2014, 7:03pm
Saturday
An early start so I could be outside the nearest Machine Mart at 8.30am when it opened.

Despite this, I was still caught in a stationary traffic jam on the way home on the North Circular. :rolleyes:

I picked up everything thing I needed and a few spares while I was at it.


Thankfully it didn't take long to replace all the damaged bits of the welder.


I even managed to reach this point before the rest of the family had made it down the stairs to start their day!

But then it was back to family stuff as we decided to have another mini BBQ for the four of us. :cool:

In the afternoon I did get my wife's help to shift the rear arches through the house & back into the garden.
( This is just an easier place to finish the last bits of work required. )


Just a few minutes ago I remembered my modified panel cover was in the Summer House, so I dug that out.


It is a pretty good fit as it is, but it will OK take a few tweaks to get a perfect seal.

But that was it as far as the car was concerned, with a bit of luck, I might get a bit more done tomorrow.

Cheers, Paul. :)
18 May 2014, 7:18pm
Sunday
I finished off the last bit of welding on the driver's side bracket and added a cap.


I then had a slight mishap on the passenger side when I dropped the cap inside the box section. :rolleyes:


In the end I was able to fish it out using a BBQ skewer and some masking tape. :cool:


Then it was welded into place.


There was one odd job I needed to do before I went any further.

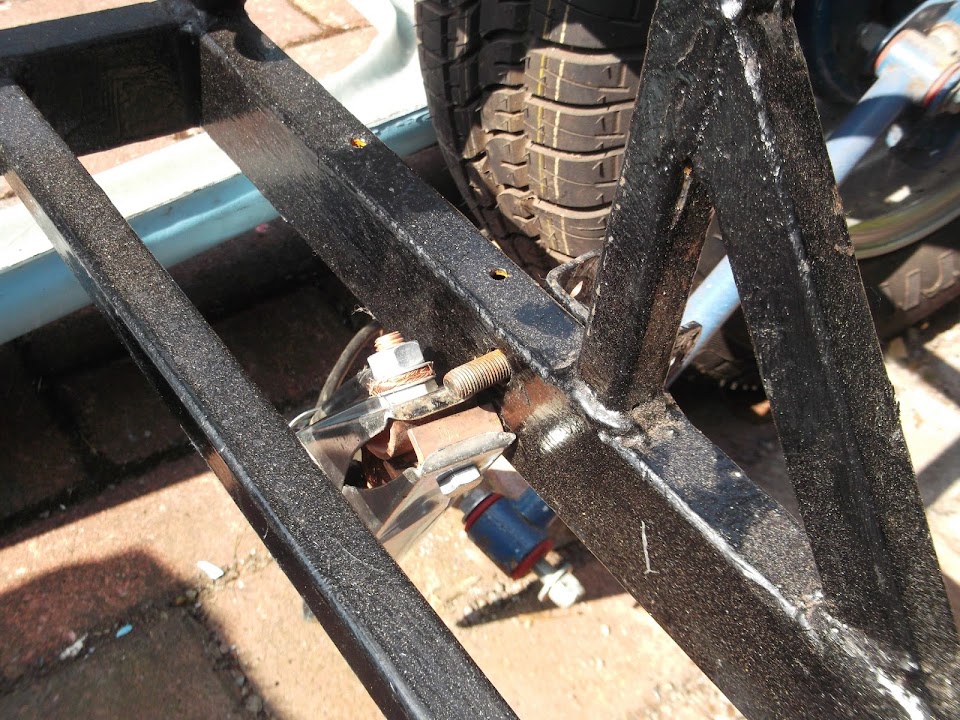
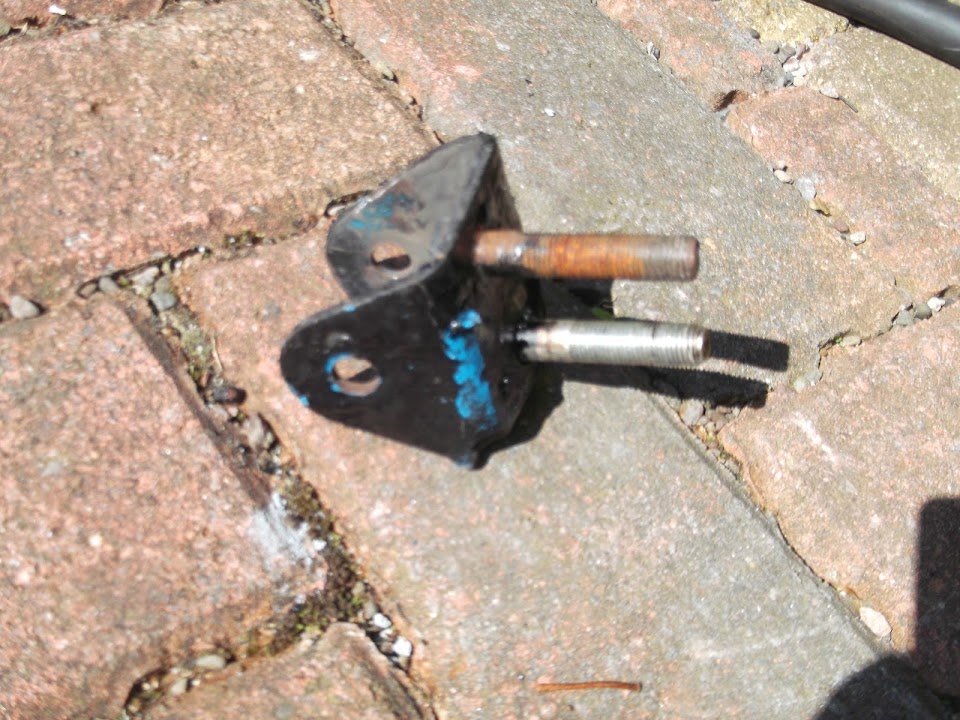
The bracket that holds the rear radius arm to the frame had a loose bolt.


This was how it had been fitted to my donor car, so I finally got around to welding the bolt into position.


Then I unbolted the driver's side of the frame from the chassis, so I could add the driver's floor.


Part of me was hoping I could weld it in place without removing the whole frame.

But deep down I knew it all had to come off again and my wife helped me lift it clear.


This allowed me to mark up where any of the edges needed to be trimmed.

I also cleaned up all the edges ready for welding.


As before, the corresponding edges of the frame work also needed to be done too.

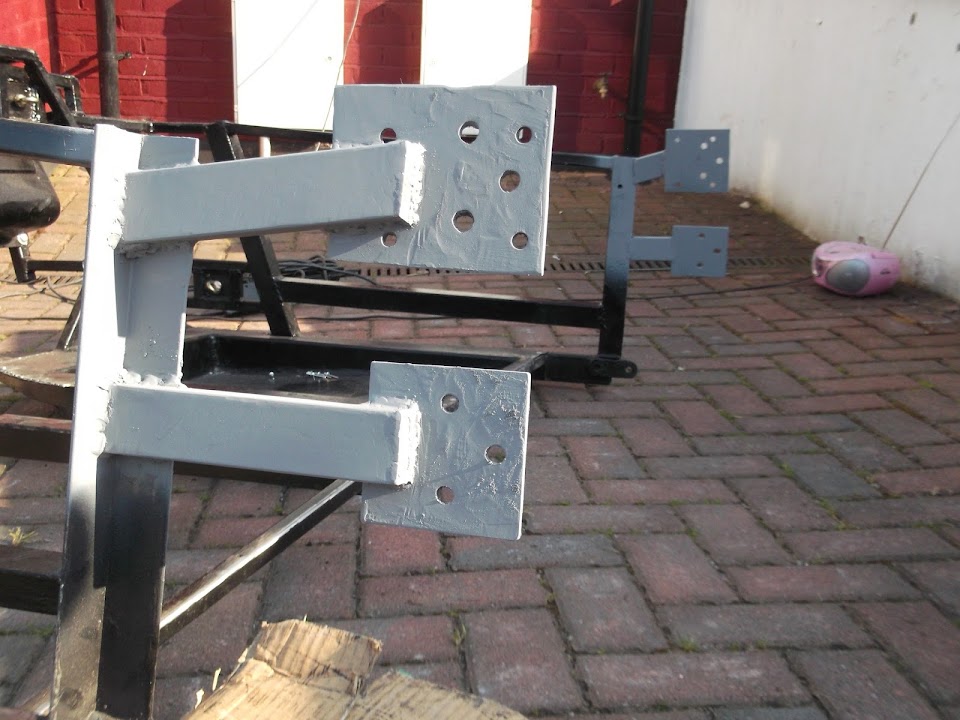
Just before I started the welding I cleaned up the "join" brackets and got some etch primer on them.


Then I used the pop rivets to locate the driver's side floor so I could start clamping and welding.

I also "squashed" the floor a bit where the frame's cross member didn't sit flush.


After the first round of welding the floor looked like this.


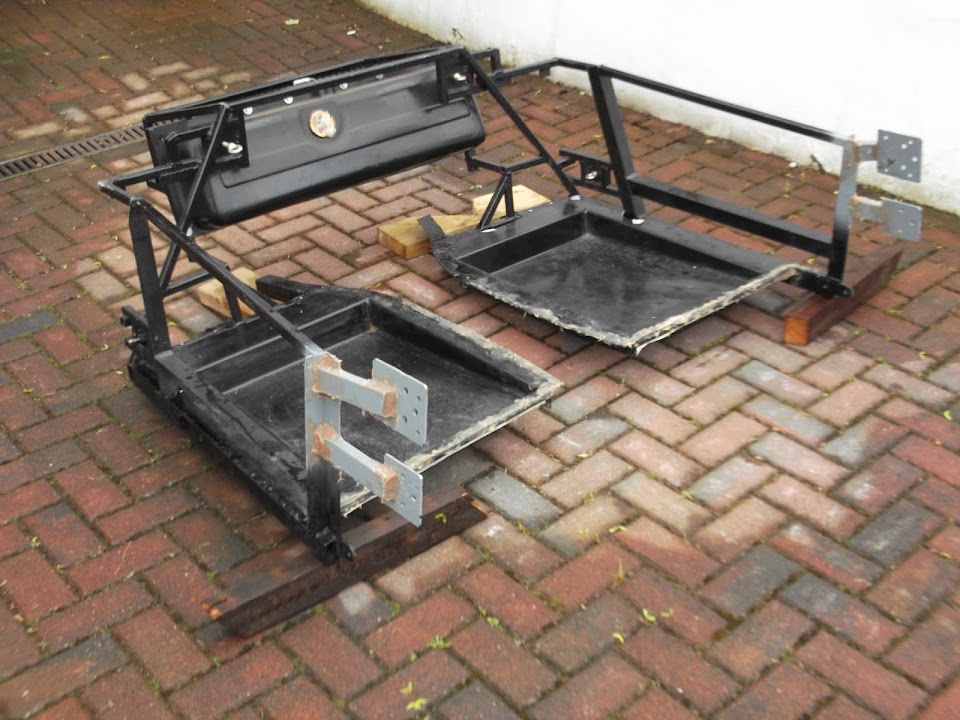
And the whole rear framework now looks like this.


There is no way I can lift this back frame onto the chassis by myself anymore. :icon_sad:
( Partly because I used to stand inside the floor framework to balance the weight. )

But the good news is that I am very slowly inching towards the point where it will be permanently bolted to the chassis. :cool:

Until next time, take care, Paul. :)
18 May 2014, 7:30pm
You're doing well, Paul... must be very solid? are you capping al of the ends?
18 May 2014, 8:49pm
Hi Paul,

Great progress, it looks very neat. I think you are half way the build now :whoo:

Michiel
19 May 2014, 8:13pm
Looking really good Paul, you must be really pleased with what you've done!

Looks the part now.
20 May 2014, 2:24pm
Gary - Thanks. I was amazed at just how solid everything felt when I bolted the frame to the bulkhead. :cool:
I have bought a load of plastic end caps to go in the rest of the rear frame work when all the welding is complete.
( As I am still thinking about welding the rear arches to the rear framework in some way. )

Michiel - Cheers. It will be a key stage of the build when I bolt these big parts to the chassis for the final time.

Scottie - Thanks. I am really pleased that my Frankenstein build approach looks like it might actually work. :pray:
It has taken a long time to get this far & there is still lots of work to do, but the "back bone" of this build is slowly coming together.

- - - - - - - - - - - - - - - - - - - - - - - - - - - - - - -

Monday
Despite the great weather, both my daughters were off school ill, so looking after them was my priority.
I did managed to move the rear frame work out of the way so my wife could park on the drive.
Also my new heavy duty tarpaulin finally arrived, so I was able to wrap it up before the rain returns.


I was meeting a friend in the evening when I came across a Jeep Cherokee on fire (driver was already safely out).
Unfortunately, by the time I'd parked my car out of the way & returned with my small extinguisher it was too late.
My fire fighting effort was really just a token gesture, as I only had a few seconds of powder available.
By then the police had arrived, with the fire brigade close behind and they took care of it with ease / a ton of water.


Many years ago, my motorcycle was on fire (long story :rolleyes:), a man got out of his car, calmly put the fire out and drove off.
I've carried a fire extinguisher ever since in the hope that one day I could "pass forward" the favour that stranger did for me.
As I didn't actually put the fire out, I guess my "debt" is still outstanding, so I've ordered a new extinguisher for my Mondeo.

When I finally sort out the cockpit interior of my Cordite, I will make sure there is somewhere to fit an extinguisher there too.

- - - - - - - - - - - - - - - - - - - - - - - - - - - - - - -

Tuesday
With everyone back to school and no fires to content with, it was back to the build (in between my other chores)...

Rear Arches:
I welded on a small patch to a section of the rear wheel arches that had been trimmed a while back.


I trimmed a a bit off the hand brake panel where thin strips of an adjoining panel remained.
( This should allow the panel to sit better on top of the floors / framework. )

Not that easy to see in the 'before' & 'after' photos.


But this was the double panel thickness of the "shavings".


I also gave the top of the wheel arches a light trim too just to ensure maximum clearance to the body shell.

Before:
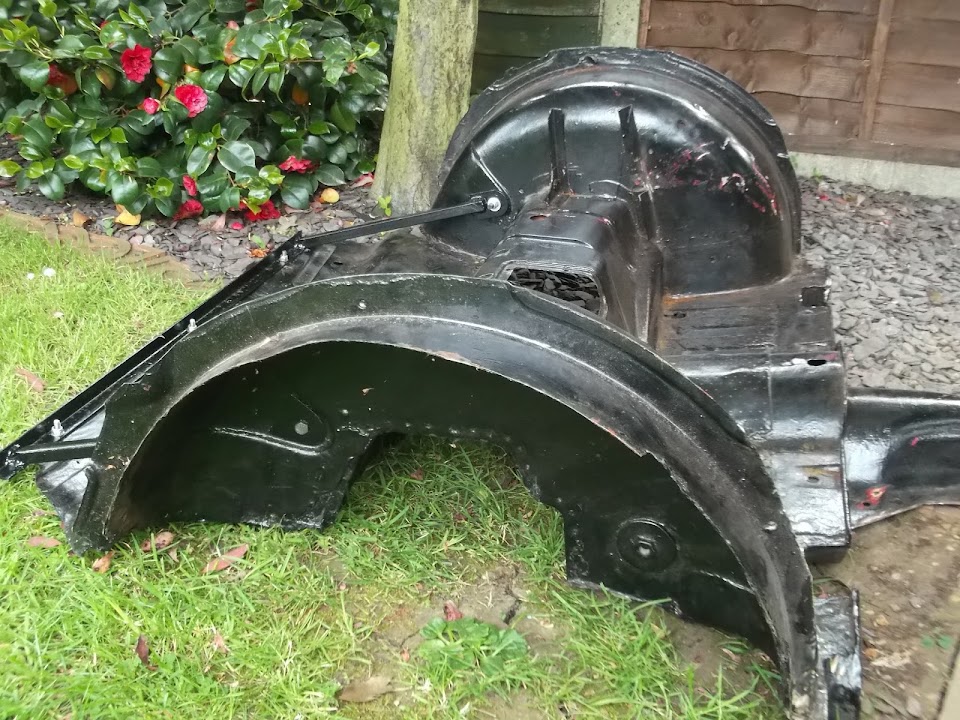


After:


Note:
I'm really pleased how "factory" the washer for the exhaust support bracket looks tucked into the wheel arch. :cool:


Then I did some general "tidying up" with the grinder including around the new chassis bolt holes before applying some Kurust.


Given the forecast was for rain, I stuck a cover over the arches just to be on the safe side.


Thankfully the rain hadn't started by the time the Kurust was dry, so I took a chance and put some black paint on.


Rear Frame:
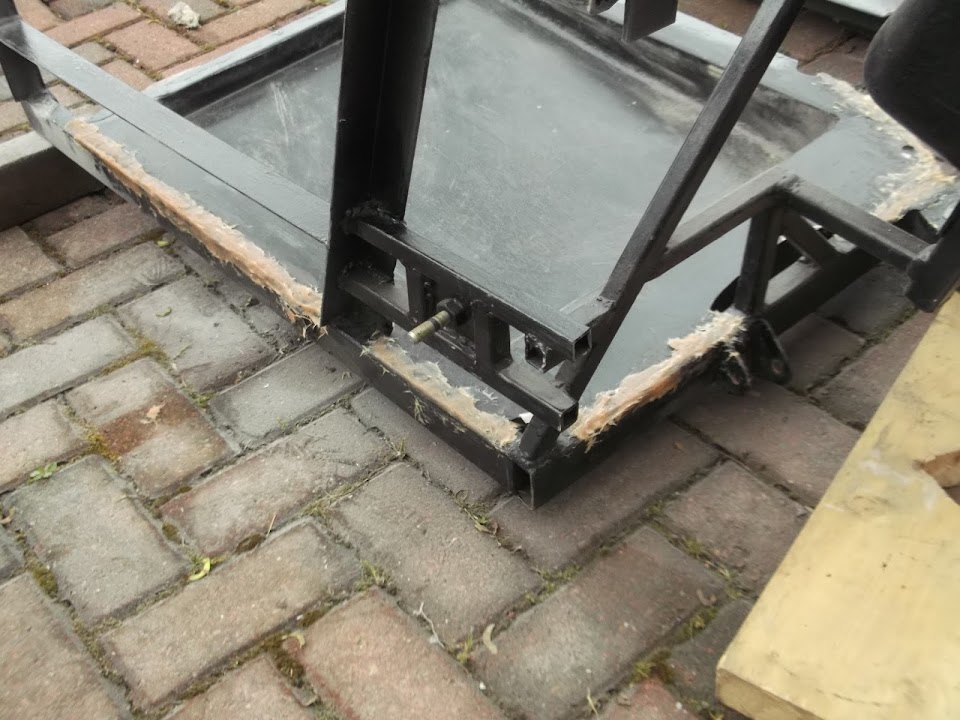
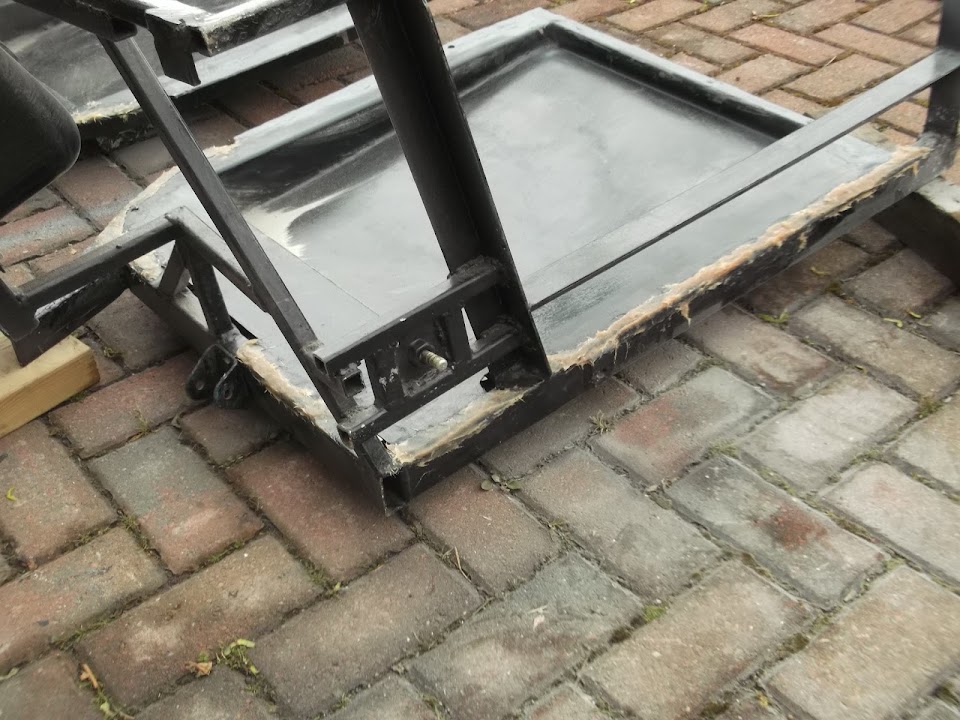
I did another round of welding the lowered floor pans to the framework.
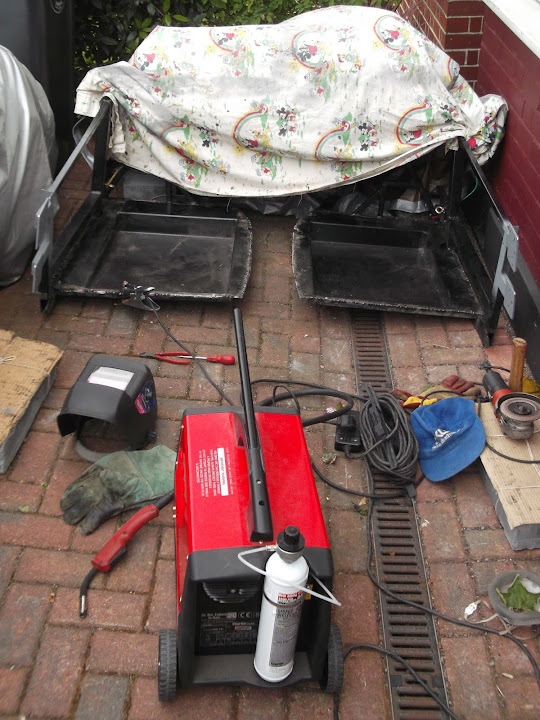


Even though there are still a few small gaps between the welds, it is more than strong enough.

So I will now cover all the edges with some fibreglass filler to seal the joins.

I also took my angle grinder to the corners of the mounting plates to "soften" them a bit.
( As I managed to catch and tear a cover on one sharp edge. :rolleyes: )


Next Steps:
I want to have my first go at working with fibreglass to seal up a few holes in the rear aches.
By now I know I could do most of this repair work in metal, but I really want to get the hang of fibre glassing at this stage.
Once the repair work is done I will try to fit / join the arches and rear framework together.

Until next time, take care, Paul. :)
20 May 2014, 7:15pm
Paul, just my experience but those cheap plastic bungs seem to have a habit of cracking or eventually working their way out, for any tube ends I don't weld shut I just pump the ends full of PU adhesive and smooth with a wet finger, it gives a much more water tight seal, just make sure you've finished any welding in the area first though.

On the floor pan edges are you sure you need to fibreglass? Maybe just seal the perimeter with seam sealer?

Was hoping to make it back up the workshop myself this weekends s my gentlemen's parts are no longer the size of melons and are now just the size of good sized lemons :-0 unfortunately the project I'm on has hit snags so I'm going to have to work the bank holiday weekend, mind you time and a half Saturday and double time Sunday and Monday at my contractor rate will ease my pain.

Keep at it I will need something to read in the evenings in Weston super mare!
Mac
21 May 2014, 10:55am
Mac - Thanks for the tips about the end caps & I keep forgetting I have a tub of seal sealer to play with.

I'll try my best to provide you with some reading material while you are away from your garage...

- - - - - - - - - - - - - - - - - - - - - - - - - - - - - - -

Rear Arches:
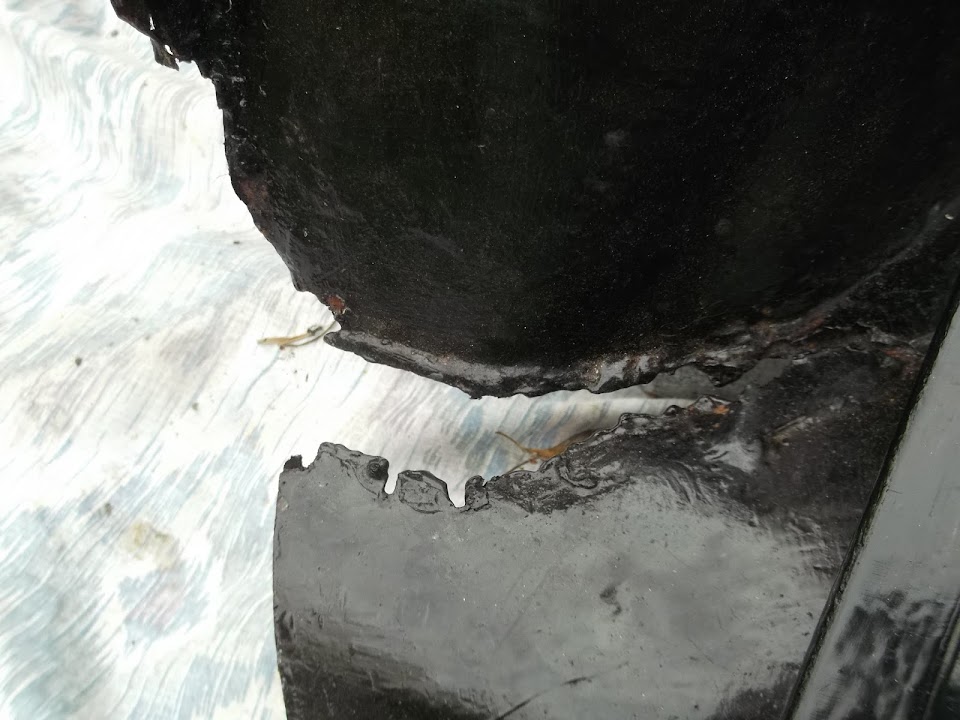
Today was my first attempt at working with fibre glass so see if I could use it for some "simple" repairs.

There were "gaps" on both sides where the back of the wheel arch met the floor.


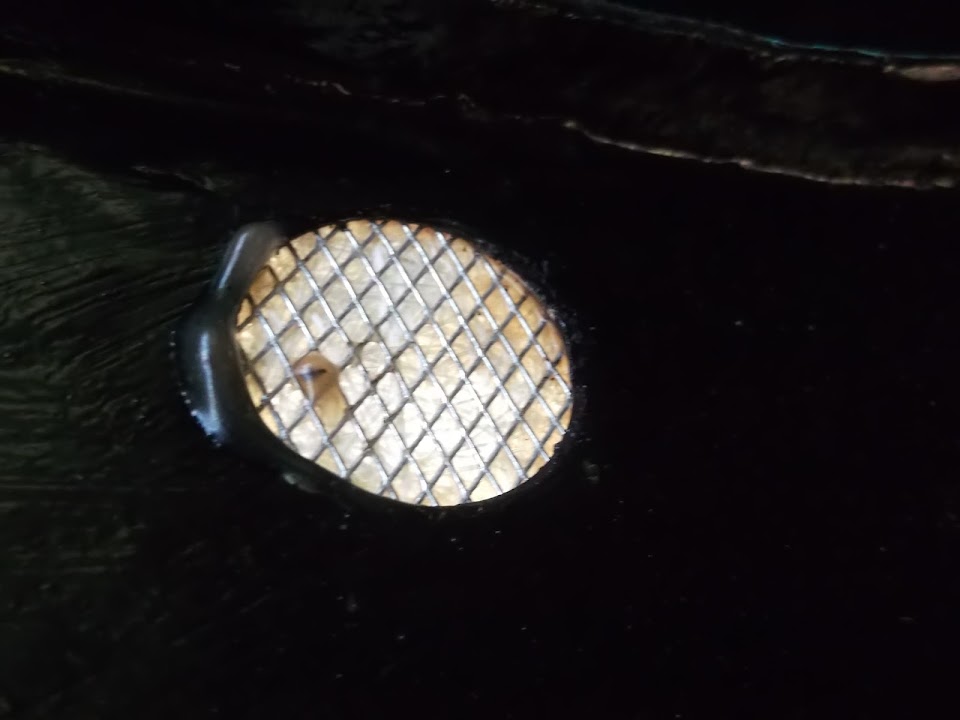
Plus one rush hole and a couple of factory holes I wanted to seal.


I followed the steps Mister Towed put in his build thread here.

So I cut out some mesh to place over the holes.


Then I cut out some fibre glass matting to go over the top of the mesh.


Given how messy this whole process was, that was the last photo I took until the work was finished.

( I can now related to Mr T's penguin reference. :icon_wink: )

Steps:
- Key the painted surfaces using a wire brush on the end of my drill.
- Mix up some resin and catalyst
- Apply resin
- Add mesh
- Then add matting and more resin
- Use roller to remove any air


It did take me a while to get the hang of what I was suppose to do.

Half of the first batch of resin had set in the mixing container before I could apply it. :rolleyes:

The simple edges around the factory holes were easier to do than the curves around the rust holes.

I guess I will just have to see how/if it all sets before I will be able to tell if I have got it right.

However, the whole point of doing the repairs this way was to get some practice using fibre glass.

Also I should mention the NCIS "look" that I was sporting while doing this work.
- Cheap white decorator's "jump suit"
- Decent breathing mask
- Disposal rubber gloves

[color="red"]Question:[/color]
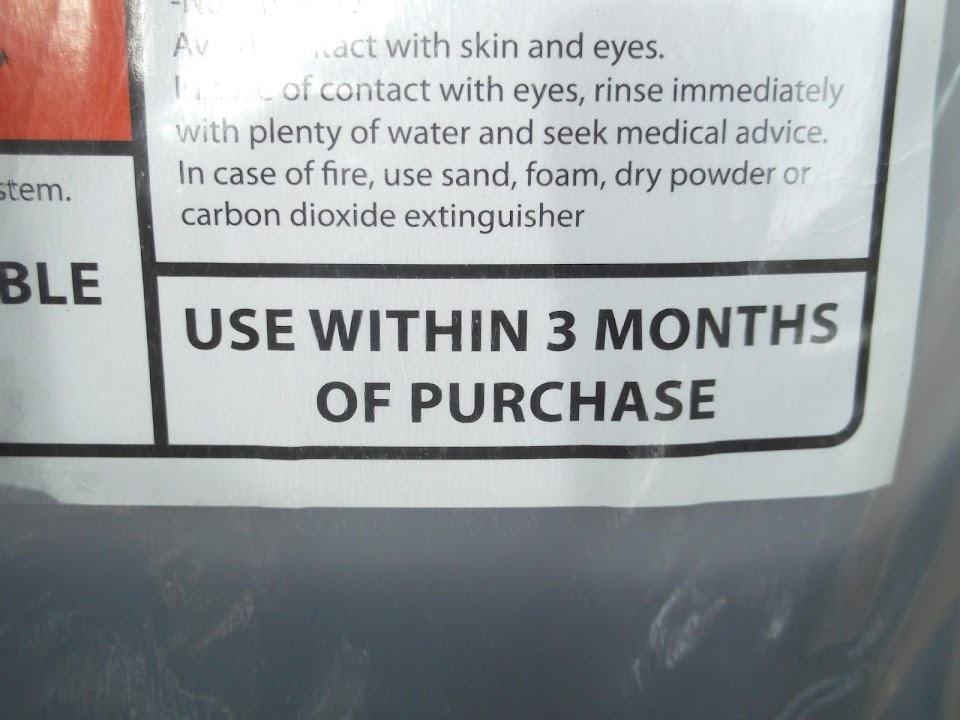
As I was packing up I noticed this label on the resin container...


This resin has actually been sitting in the garden shed for 18 months! :eek:

Does this mean that is is completely useless, or will it just set quicker than normal?

As always, your advice is most welcome.

Cheers, Paul. :)
21 May 2014, 12:50pm
you'll probably be fine, I used some recently that must have been more than 5 years old, it took a little longer to kick but other than that it was fine.
22 May 2014, 6:11pm
Mac - Thanks for the reply, I will keep using it for now and see how I get on.

- - - - - - - - - - - - - - - - - - - - - - - - - - - - - - -

I am stupid...
I only had a few minutes available for car work today, but unfortunately I discovered a stupid error I'd made. :icon_sad:

With rain forecast after I'd used the fibreglass I'd moved the rear arches back under the tree and covered them up.


Now I remember adjusting the breeze block underneath the arches after I'd got most of the cover on.


But because I was just "kicking" it into position I didn't notice I'd hit the freshly fibre glassed repair panel. :rolleyes:


So obviously this lifted the fibre glass away from the metal completely.


So forget kicking the breeze block, I could kick myself for messing up something so needlessly.

I will have a proper look at this another day and work out if anything can be saved, or if the whole lot has to come off.

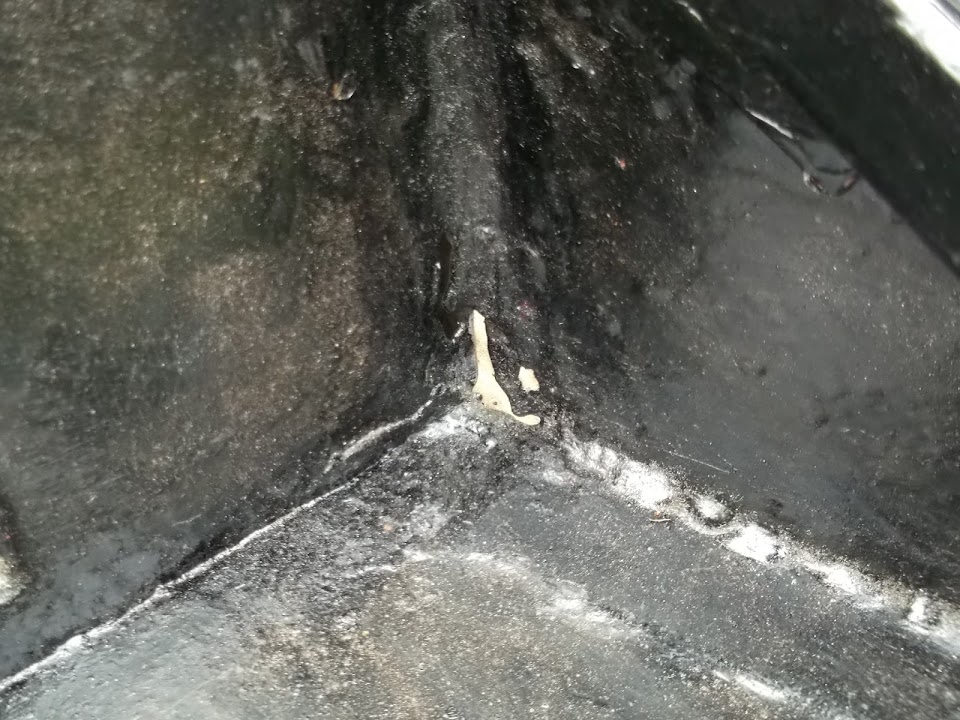
Trying to stress the positive for a minute, the factory holes are sealed up nicely when looked at from below.


I will sand down the excess resin and run a layer of filler over this when I get the chance.

I also trimmed off the excess fibreglass from the other corner section.


Initially I did try to wrap this around the edge, but without success.

So I will do the other side as a separate exercise next time around.

- - - - - - - - - - - - - - - - - - - - - - - - - - - - - - -

Mac's Reading Material:
Obviously there isn't much to report on my own build, but below is a link to another build thread.

Sammio, Ribble, Miglia & Tribute kits all start with a donor car that you can then sell off unwanted parts.

Their current kits use Heralds, Spitfires, MX5s & Z3s as the starting point for the builds.

I don't think many of us would consider a build that started with a Bentley Continental as the donor car!

However, the end result is a 3,000hp street eliminator drag racer. :cool:


Read all about it here.

Until next time, take care, Paul. :)
23 May 2014, 2:47pm
Still chipping away...
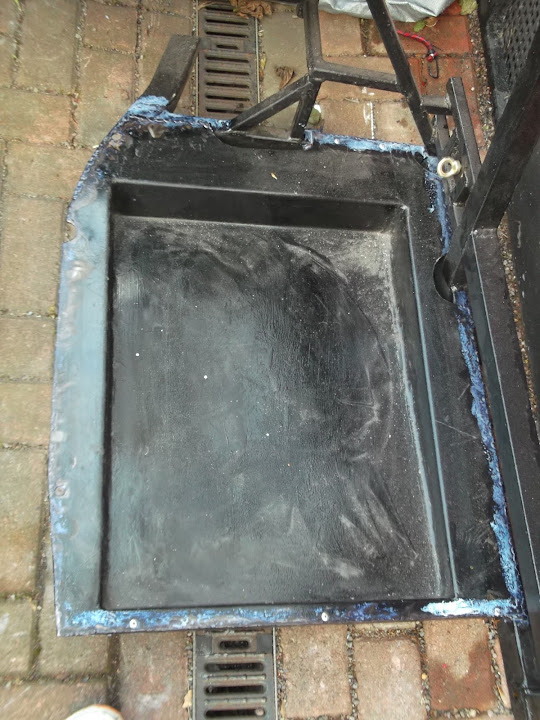
First job of the day was to apply some Kurust to the bare metal where I welded the floors to the frame.


While that was drying I turned the frame over so I could seal the joins where the floors met the frame underneath.


Although I added some masking tape before slapping on the seam sealer.


Now this seam sealer stuff is still pretty new to me, but there did seem to be some sort of reaction with the paint??

I'd applied the stuff with an old cutlery knife and then went back to smooth it over with my finger (with a surgical glove on).

But the sealer stuck to the glove and came away from the metal. :icon_sad:

So I "knifed" some more sealer on and left it to set to see it that makes any difference.

While I was waiting for the sealer to set I turned the frame back over again.
( Did I mention it was heavy? :rolleyes: )

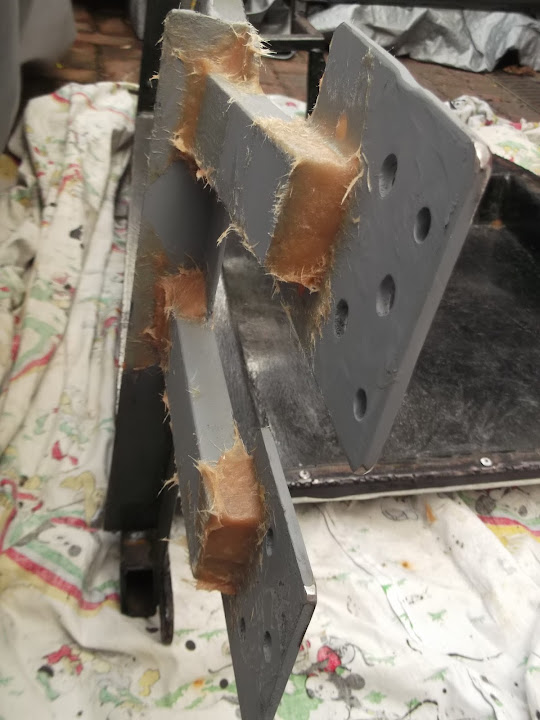
This time I put some fibreglass filler over the welding on both sides of the "join" brackets.
( And on both sides of the frame. )


I know Mac recommended using the seam sealer here too, but I am not confident I'm using it properly.

There was then a bit of a break for some domestic chores and another short, but heavy, downpour.

When it was dry enough to return outside I started applying filler around the welded edges of the floor pans.


But no sooner had I started than the rain returned. :rant:

So it was back on with the cover and as I'm driving one of my daughters to a party soon, that is me done for the day.


The only good news is that this new heavy duty tarpaulin does seem to keep the water out (touch wood).

More Recycling:
A house a few doors down from us is having a loft conversion done (we seem to have started a trend).
So with their permission I collected a selection of wood that was sitting in the skip ready to be dumped.


At some point I need to get the rolling chassis level horizontally to check the fit of the body shell.
So I will use this wood and my axle stands to prop everything up until I have a basis level to work with.

Until next time, take care, Paul. :)

PS
Some more light reading for Mac...

How about the world's fastest Postman Pat amusement ride?
( You know the sort of thing usually found outside supermarkets for small children to "drive". )


I guarantee that some of the video clips on the link below will bring a smile to your face. :)

[url=http://www.rodsnsods.co.uk/forum/showroom/worlds-fastest-postman-pat-van-pat-1-a-64715 ]Click Here.[/url]
23 May 2014, 3:16pm
Well done Paul, your volume of work is putting me to shame!

I don't so much think I'm "working" on my build, more like "fannying around" at the moment!!
23 May 2014, 4:14pm
Paul, i assumed it should go on bare metal, the spray over the top?
24 May 2014, 11:38am
Scottie - Well there has been some biblical "fannying around" on my build at times. :icon_wink:

Gary - You may be right, as the bulkhead was in primer when I first used this stuff.


But I have thought of a "Plan B", see below...

- - - - - - - - - - - - - - - - - - - - - - - - - - - - - - -

Small break in the rain...
I have learnt the hard way not to push my luck too much when the weather forecast is rubbish.

So with only a very limited dry spell available I started by sorting out the bulkhead "join" brackets.

I did have to move the frame first, as there was very little room to manoeuvre where it was.

I even remembered that I now have a pile of wooden blocks that I can use to rest it on. :cool:


Then I quickly tidied up the filler with my angle grinder, belt sander & some sand paper.

Obviously as I am tidying up one thing, I am making a mess of another. :rolleyes:


Before getting some more etch primer over the top of the brackets.


I must confess I am really happy with how these brackets have turned out. :cool:

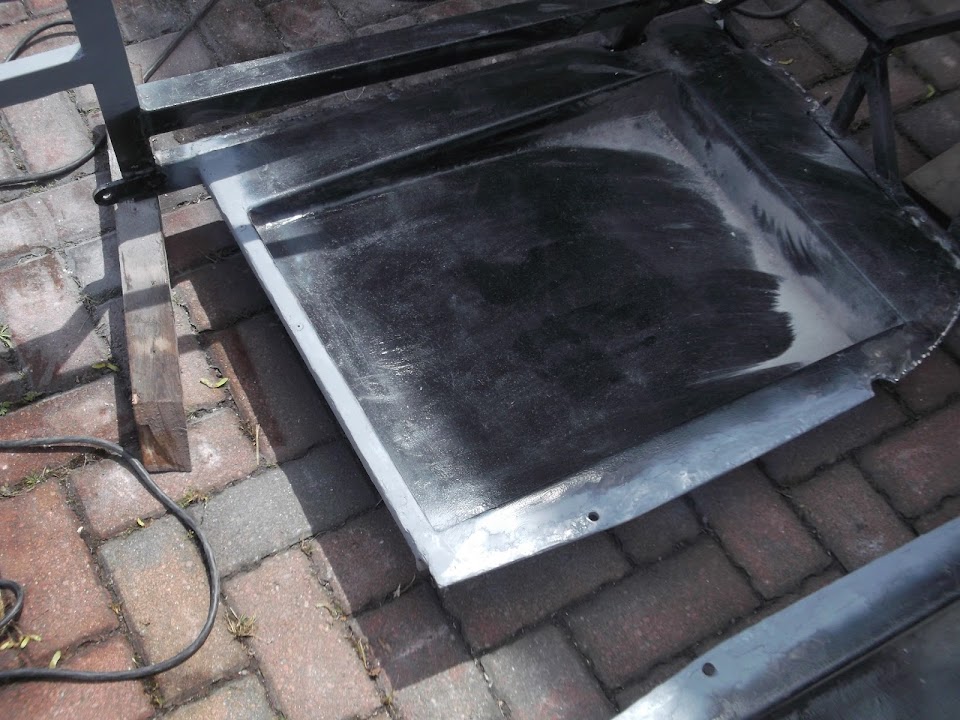
By now the sun had appeared, so I tidied up the filler on the floor edges I'd covered yesterday.

Then I gave them a quick blast of primer too.


Then I put some fibreglass filler on the remaining edges of the floor pans.


But by now my luck had run out and the first drops of rain were arriving.

So I just had time to carry the frame back out of the way and cover it all up.

Still, at least I have made another little bit of progress in the right direction.

Hope those of you with dry garages are able to have a more productive Bank Holiday weekend.

Good luck, Paul. :)

- - - - - - - - - - - - - - - - - - - - - - - - - - - - - - -

Seam Sealer vs. Fibreglass Resin
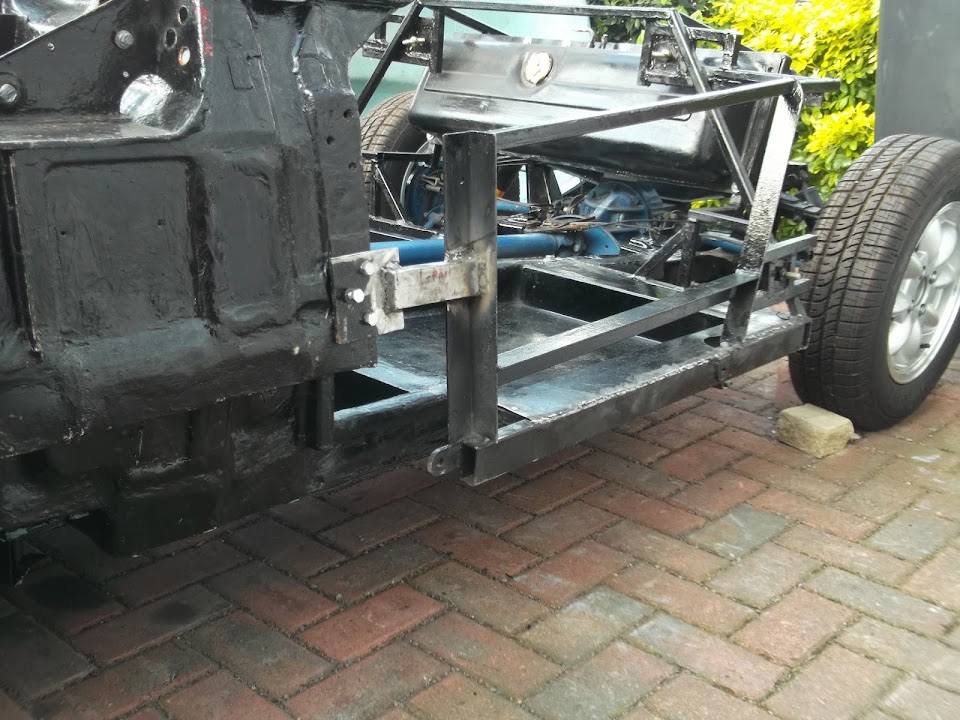
Thankfully today's work involved leaving the rear frame "sunny side" up.
As I am not looking forward to turning it over and seeing if the seam sealer has worked.
But what did occur to me was the resin mix I used on the rear aches would have done the same job.
Forget adding fibreglass, just paint on the resin and any gaps would be sealed. :cool:
At least that is my theory and it will be my "Plan B" is the seam sealer has not stuck.
( If the weather holds, I'm going to bite the bullet and check it tomorrow. :pray: )

- - - - - - - - - - - - - - - - - - - - - - - - - - - - - - -

Mac's Reading Corner:
I am always amazed at the skills other people display working on their cars.
So here is another one of my favourite build threads from Rods 'n' Sods.

From this...


To this...


Details Here.

This build is also really tempting me to attempt to paint my car by hand when the time comes.

Painting with rollers.