MadaboutKitcars

This is a read-only archive of the old Madabout Kitcars forum. New posts and replies are no longer possible, but every thread is still here to browse and read.

Another Cordite Is Born ...

13 Apr 2014, 8:19pm
Working by moonlight...
Spent most of the day having a BBQ with my wife's goddaughter and her boyfriend.
A great time had by all as it was nice and sunny all day. :cool:

I got permission to do a quick bit of grinding when they had headed home.
Although my wife did ask was it a good idea to use power tools after drinking all day.
Obviously the answer was probably not, but I did it anyway. :rolleyes:

The moon was out when I started around 8pm.



But I did manage to grind & sand down most of the filler on both sides.
I stopped at 9pm as that is too anti-social to be using power tools outside at that time of night.
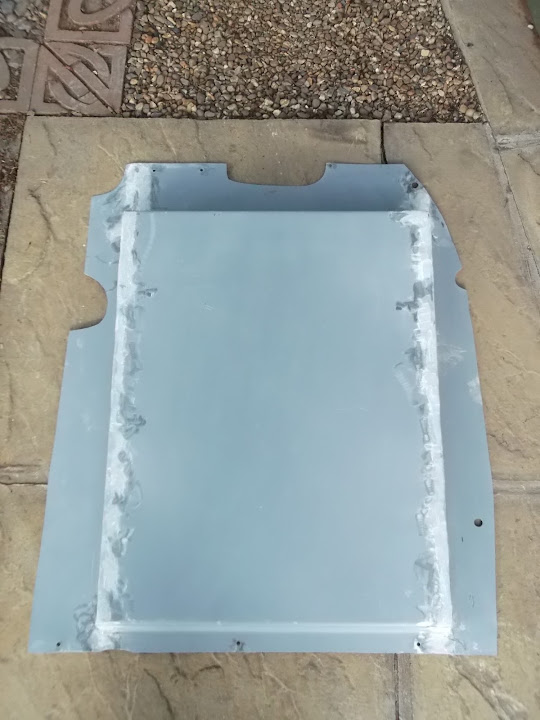
So there is a small bit of work still to do, but this is what the floors look like now.


Two years and counting...
- 13th April 2012 - I visited the Sammio factory in Poole & put my deposit down for Cordite kit No.7.
- 20th April 2012 - I bought my Spitfire 1500 donor car.

I gave up thinking about, or setting, deadlines to finish this project a long time ago.
However, passing anniversaries dates like these do make me stop and think a little bit.

My main focus at this point is still "just" getting the project to a working Moon Rover stage.
Well, it will be working when the local Triumph specialist has sorted out the engine. :rolleyes:

The good news is that both the weather and daylight should keep improving from now on.
I am also much better at welding and fabricating now, so that should come in handy too.

So let's see where another 12 months of chipping away will take me.
And if there is still work to be done in a year's time, then so be it.

Take care, Paul. :)
13 Apr 2014, 8:39pm
I take my hat off to you Paul L, that's dedication working in the moon light.... did you have toploader playing in the back ground "Dancing in The Moonlight" after a days drinking. lol
14 Apr 2014, 6:20pm
Swifty - I think I might have been humming that track on the way to the bottom of the garden.
Thankfully I also had an electric work light so I could see what I was doing in the dark.

- - - - - - - - - - - - - - - - - - - - - - - - - - - - - - -

Daylight working...
I dragged the floors to the front drive, so I could work out where I needed holes for the rivets.

But while checking the general fit it slowly dawned on me that I had missed a chassis mounting point completely. :rolleyes:

Don't ask me know this happened, I think I counted the 2 seat belt mounts as part of the 4 bolts through the chassis.

So this was something else I needed to mark the floors for.


I then discovered that the rivet gun would not fit between the floor and the outside frame work.
( It would need to fit on the other side of this section of frame. )


So the floors will be temporarily held in place on just 2 sides (front and back).

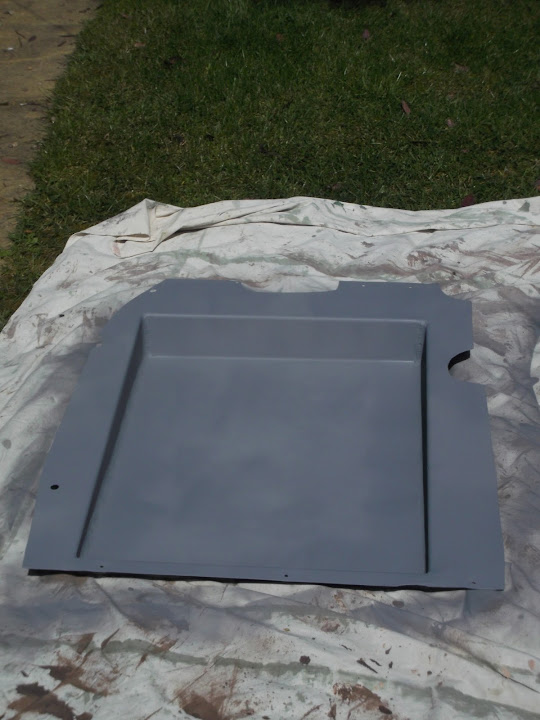
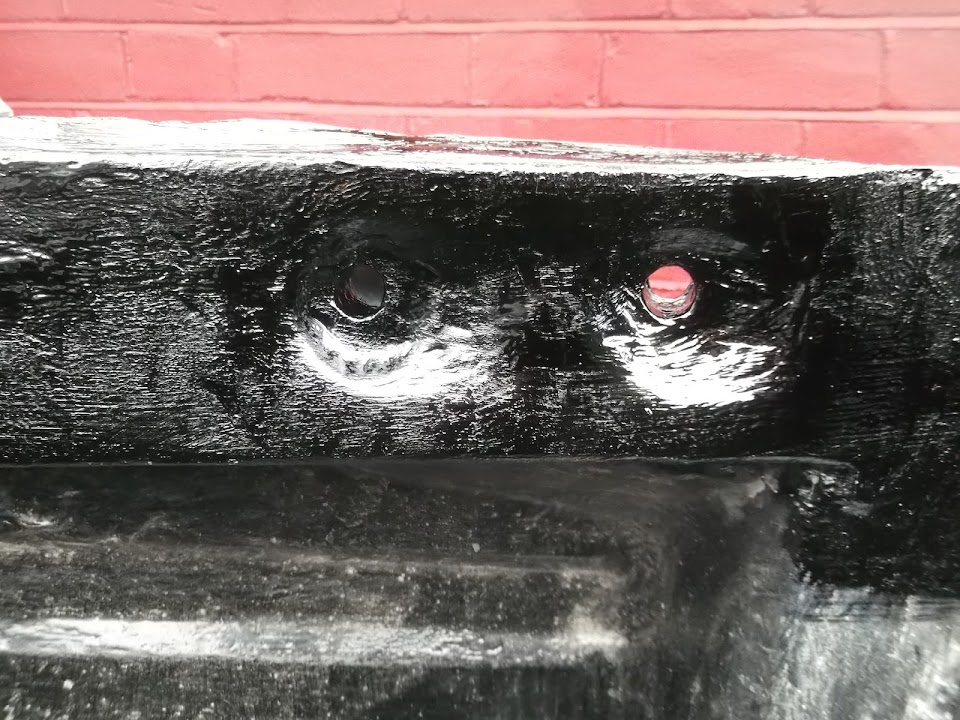
After the next round of drilling, grinding & sanding, the floors look like this.

Top:

*

Bottom:

*
They are still a bit rough & ready, but that is in keeping with the rest of the build. :icon_wink:

If my etch primer finally arrives tomorrow I will try to get the floors coated.

Until next time, take care, Paul. :)
15 Apr 2014, 12:48pm
Flying Visit...
The etch primer was delivered this morning, so I wasted no time in coating the under sides of the floors.


So by the afternoon, the primer was dry enough for me to flip the floors over and do the other side too. :cool:


Even allowing for the 24 hour recommended hardening time, I still have a fighting chance of getting some black paint on these floors tomorrow. :pray:

But, as always these days, I'm supposed to be doing something else, so I've got to go, Paul. :)
16 Apr 2014, 10:06am
Firstly - he's cheating. Since when has help been allowed?

Secondly - it's unrealistic. There is not one sequence of him jumping around his build-area with his right hand jammed firmly under his armpit with him shouting, "F*ck, f*ck, f*ck!" and then dressing the wound with some masking tape.

Thirdly - brilliant foresight and planning to capture it so methodically.

Well found, Mr T.
16 Apr 2014, 3:13pm
fully agree, he makes it look far too easy to be realistic.....
16 Apr 2014, 7:54pm
Mr T - Great video clip. :cool:
Oxford & Mac - I dread to think what a film of my build would look like!

- - - - - - - - - - - - - - - - - - - - - - - - - - - - - - -

Floors:
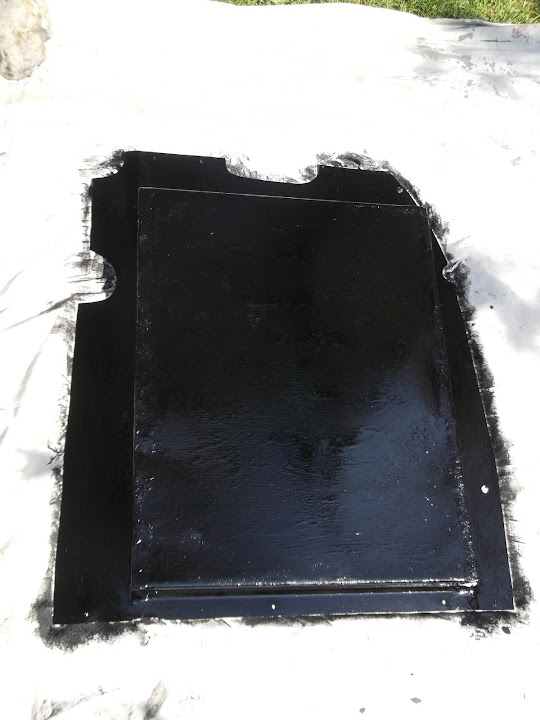
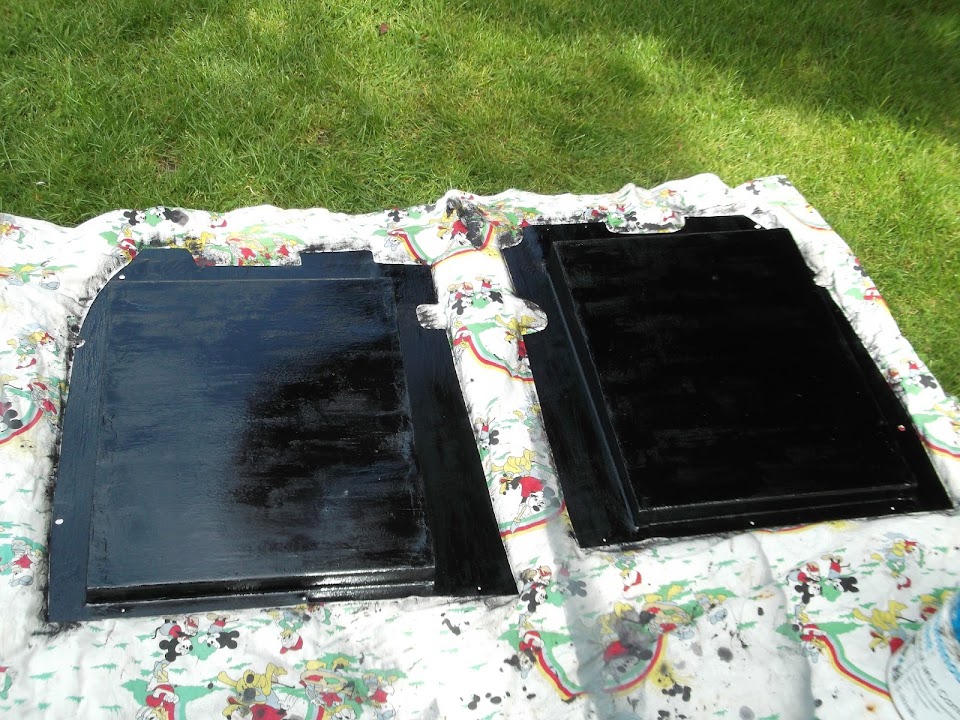
I got the first coat of black paint on the undersides of the floors first thing in the morning.
It was a bit of a rush as I was taking my daughters to the cinema & couldn't be late for that.
( This was their second trip to see Divergent, as they are big fans of the book. )


Note: I didn't "miss a spot" in that last photo, it is the sunshine reflecting on the wet paint.

By late afternoon, the paint was dry enough to turn the floors over & do the other side.


It is nice to see these floors getting closer to the stage when they can actually be fitted. :cool:
( Although the black makes it almost impossible to see anything clearly in the photos. )

I am sure this is a well known "trick", but I sealed my brush in a plastic bag after the morning session...


That way, it was still good to go in the afternoon without the hassle of cleaning the brush twice a day.

Bulkhead:
Things unexpectedly swung in my favour during the late afternoon and I had a chance to do some more work.

So I decided to quickly double check all the bulkhead mounting points lined up with the chassis.

Deep down, I knew there was no hope of anything working "right first time" and I was correct. :rolleyes:

But let's stay positive and start with the good news...

The two bolts for the back of the bulkhead on the passenger side went in OK eventually.
( I'll clean the old paint off before final fitting. )


Both of the bolts on the inside of the front of the bulkhead went in OK too.


Although I may need to trim the edge of one corner of the chassis as it just fouls the bulkhead slightly.

Not easy to see in this photo.


The bolt on the outside of the front of the bulkhead on the driver's side fits OK (no photo).

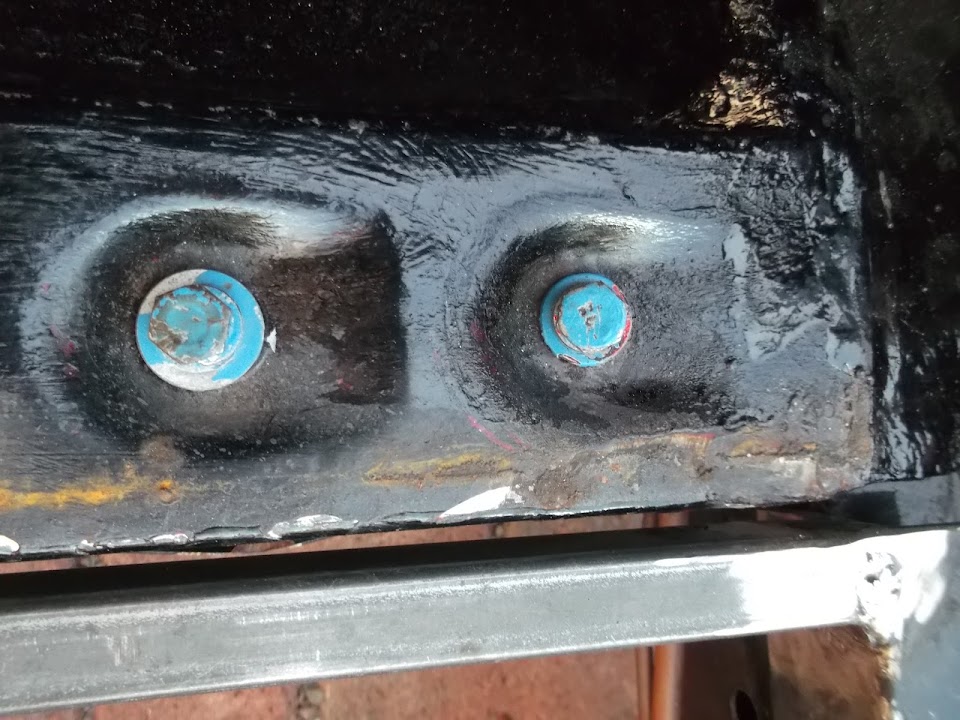
But the passenger side needs the hole enlarged slightly.

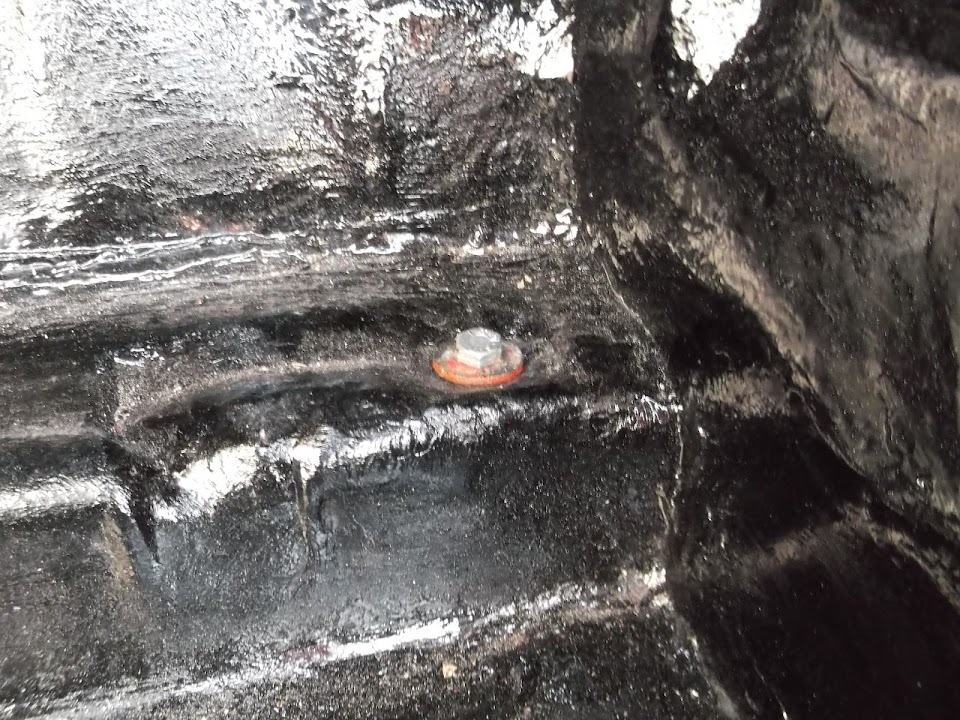
Again, not easy to see in the photo, but you can see the threads from this angle, but not from above where the bolt needs to go.


So far, two bulkhead holes just need minor tweaking, but I've left the worst 'til last.

The rear bulkhead holes on the driver's side needed two crush tubes welded back in.
( This section was a rusty mess when I started my repair work. )


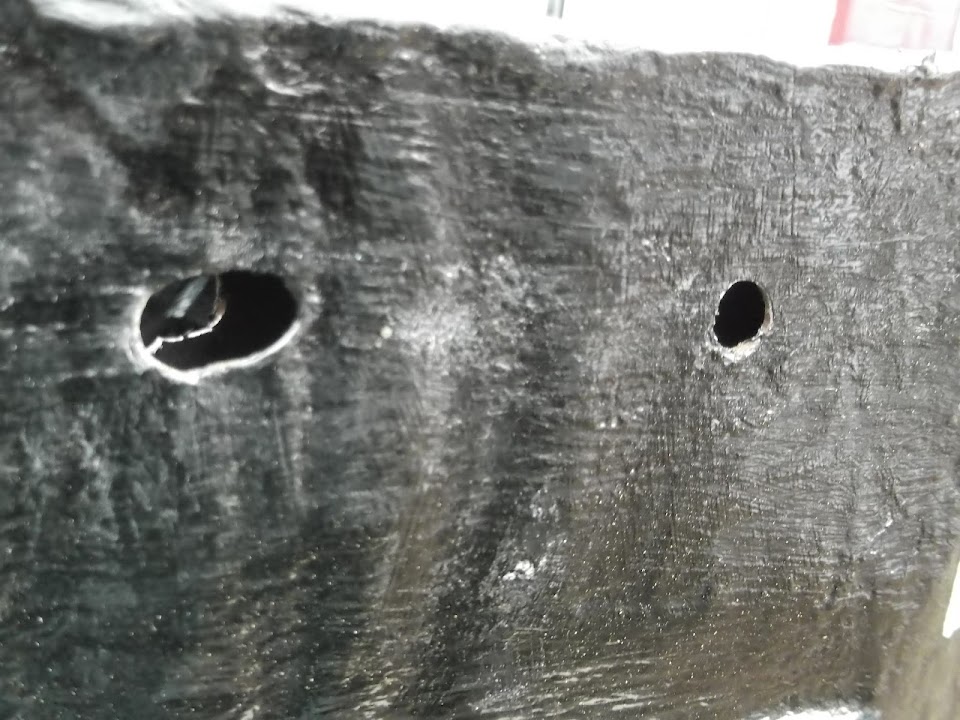
But the real problem is the holes are in the wrong place as well.

This is where the bolts should be going through for the washers to sit nicely and if they were to match the other side.


So I will need to put my thinking hat on to work out the best way of repairing this mess.

I am still considering re-fitting the Spitfire "rubber rings" that came with my donor under the bulkhead.


I might also use them under the Spitfire rear arches, but NOT where the Cordite framework sits on the chassis.

Bonnet Hinge
I noticed this when I removed the bonnet to get better access to the bulkhead...


Yes, the metal bonded into the bonnet has started to rust over the winter.

So I need to treat that, then get some primer & paint on this ASAP.

End of Part 1...
16 Apr 2014, 7:59pm
Part 2...

Bodywork:
While I am desperately trying NOT to think about all the work I need to do, I can't help myself. :rolleyes:

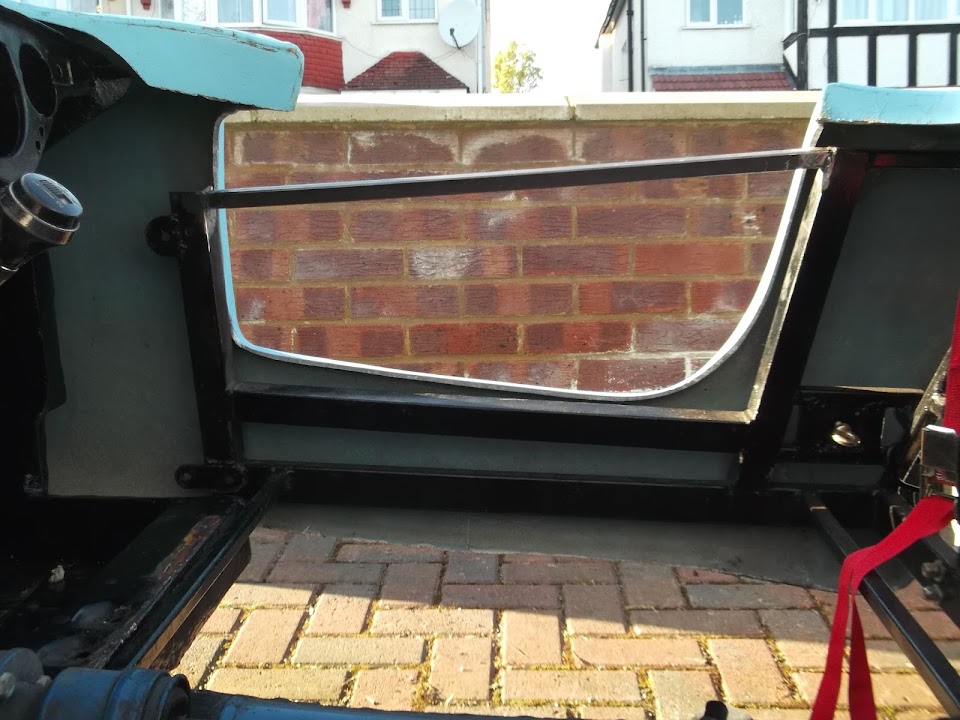
What keeps coming back to haunt me is the angle the body shell current sits at when fitted over the Spitfire bulkhead.


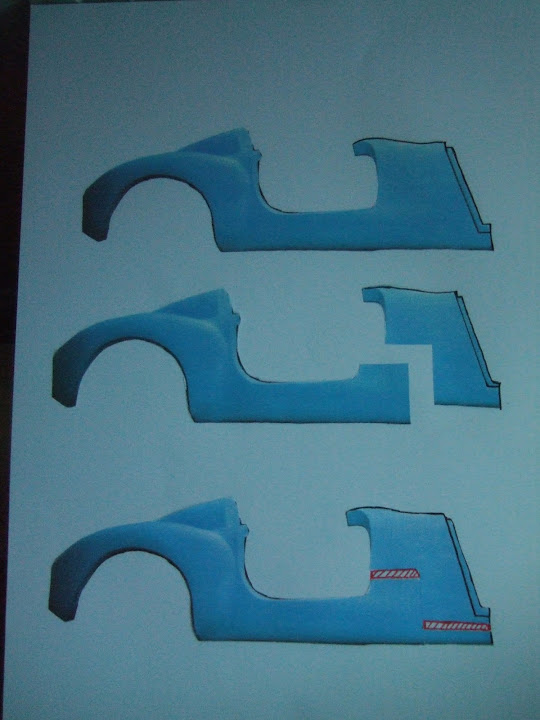
Initially, I came up with a plan to effectively lower the bottom line of the body shell to cover the bottom of the bulkhead.


But as the doors were not shown sealed shut in that paper cut out, I overlooked the impact of this work on the "top line".

So even if the bottom of the car was parallel to the ground, the sides of the car would still be pointing upwards from back to front.

Looking at the first photo again, the top of the bodywork on the left would need to be level with the top of the wall behind it.


The top of the wall effectively represents where the cockpit sides should be when the doors go back on.
( The fact the new box section across the door opening is at a different angle isn't helping. )

I've already got to do some work to extend the body shell "backwards" to cover the Spitfire dash.


But what is clear now is that I also need to radically re-shape the "corner" at the end of the dash, in the top of the photo above.

Unfortunately, there is another issue with this corner due to the way the bodywork rises to a "hump" in the middle.


The more I look at this, the more I am drawn to the radical surgery that Micky1Mo performed on his Navigator/Spitfire hybrid.

You can actually see the section of bodywork he removed (to keep the windscreen) resting on the wall in the background.


Again, he was able to modify the bulges in the bonnet to finish off with a flat surface where he bonded the edge of a Spitfire bonnet.


So it should be possible to build a shape over the Spitfire bulkhead, before modifying the Cordite bonnet to match.
( Note: I have no intention of using a section of Spitfire bonnet. )

The other thing linked to this is the new Ribble approach to the shape of the bonnet behind the front wheels vs. extending the body work.


Depending on what other mods I do in this area, I might need to do something similar, but hopefully not "sticking out" as far.

The final thing to consider with all this messing about is the wind deflector.

I knew I wasn't going to be able to use the three part Cordite screen once I lost the doors.

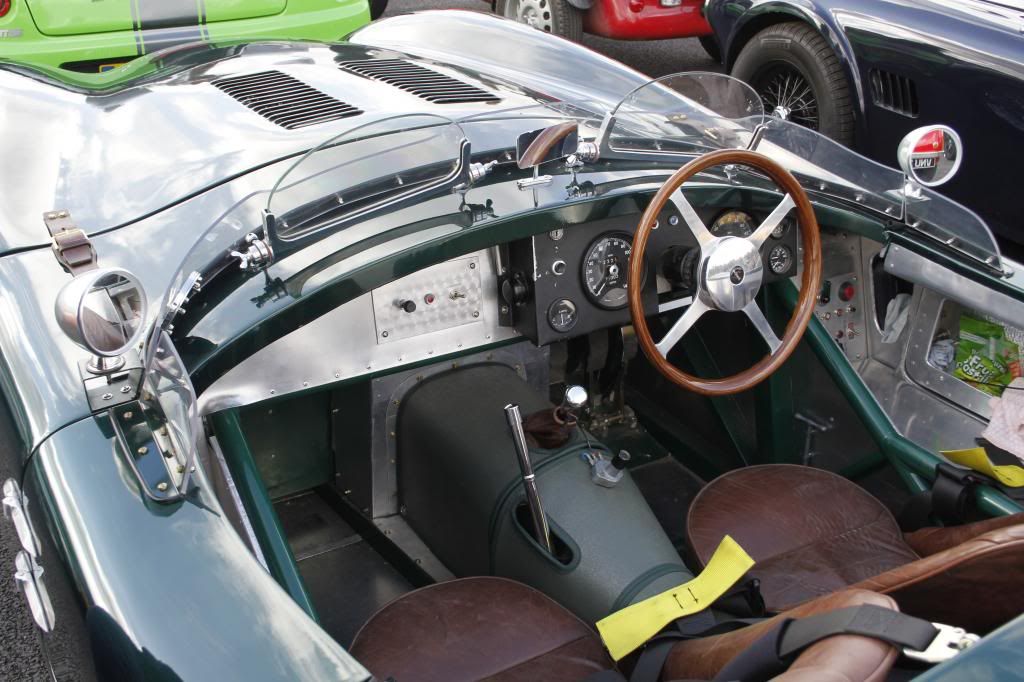
I did buy a "Brooklands" style aero screen a long time ago after Nike 55 used this photo.
( I was thinking about an extra screen just on the driver's side. )


So it may be a lot easier just to fit two aero screens and end up with something that looks a bit like Jerome's.


But with some sort of rear mirror "shield" as seen on Mr T's beloved D24 (and Patoune's Tribute).


I know I am still a long way from starting any of this work and I've never done anything like it before.

But "thinking out loud" helps me to form an idea of what needs to be done and how to approach it and I will come back to this again.

Although I think one of the first steps will be to make some small brackets to screw the doors back into place.

I have a bad feeling that the bodywork is going to make the bulkhead repairs look straight forward. :eek:

Until next time, take care, Paul. :)
17 Apr 2014, 8:03am
Hi Paul,
Keep at it. You're doing exactly the right thing in thinking a stage or three ahead of the part you are actually working on. That way, by the time you get to it, the 'Blue Sky' unfeasible ideas will have evaporated into the do-able ones and a plan will have formed. It's good to see you're gradually working your way out of 'bulkhead land' :biggrin:
17 Apr 2014, 12:31pm
I've been so busy lately I have not looked at your build as much as I usually do Paul!

At the rate you are preforming you'll be finished way before me!

You have made one small mistake though, allowing the females in your life to distract you with the gardening!

What they really require instead, is regular beating!

This should sort thing out for you!! :-)
17 Apr 2014, 6:50pm
Andy - Thanks for the kind words. :cool:
With no car building background I really need to think about things a lot more than most.
But I have decided to try and be very decisive when I start the epic bodywork challenge.

Scottie - Thanks for the women beating tip, but forgive me for not following it. :icon_wink:
As for a race to the finish, my money is still on your build.

- - - - - - - - - - - - - - - - - - - - - - - - - - - - - - -

Only had the chance to do a bit of minor tinkering today...

Bonnet
It was an easy job to sand down the bonnet hinges & get some Kurust over the whole "bonded" area.


Hopefully I will get the chance to get some etch primer on this tomorrow.

I was thinking about smoothing out some of the rougher spots with my grinder before spraying.

Although as I was looking at this area in more detail I noticed another potential issue. :rolleyes:

This hoop was bonded in at the Sammio factory as an optional extra and there isn't much room for the grille at the bottom.

On the top loop the bonding paste is level with the top of the metal ring at the back, but not the front, leaving a "lip".


But at the bottom, the ring is very close to the "mouth" opening in the bonnet, leaving very little room to locate the grille.


I don't need to solve this today, but I will have to give it some thought at some point.

- - - - - - - - - - - - - - - - - - - - - - - - - - - - - - -

Bulkhead:
On closer inspection, sorting out this mounting point is going to be a lot of work.


I think the problem is that the holes were drilled to fit a different chassis, not mine.

So I undid all the other bolts that I had previously test fitted & lifted the bulkhead off the chassis.
( After removing the bodywork first & then getting a helping hand from my wife. )

Then I could make a template for the "floating" retaining nuts.


I also reminded myself that the bolts go in perpendicular to the angle of the chassis arm.


A quick check at the bottom of the bulkhead showed that the holes here were not perfect when I got the bulkhead either.


So there will be a round of cutting, fabrication and welding required to fix this once & for all.

But I had no time left to start that today, so the bulkhead was moved next to the rear wheel arches.


That's all for now, cheers, Paul. :)
18 Apr 2014, 2:15pm
Another busy day, but squeezed some work in on the car while my wife & daughters were out clothes shopping.

I took some measurements from the bulkhead on the front drive before returning to the bottom of the garden.

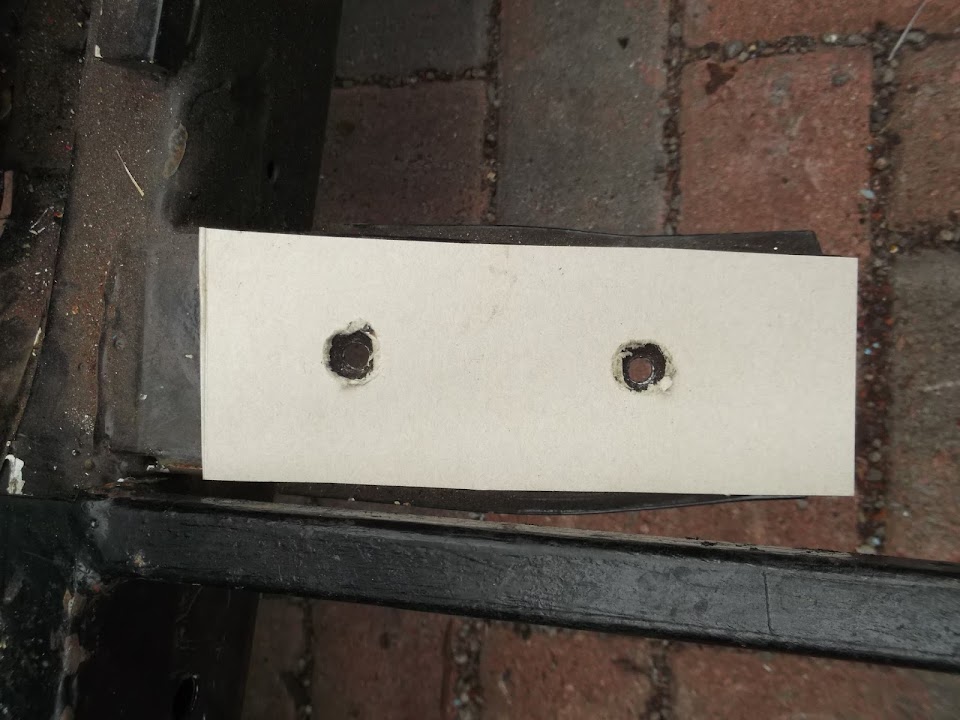
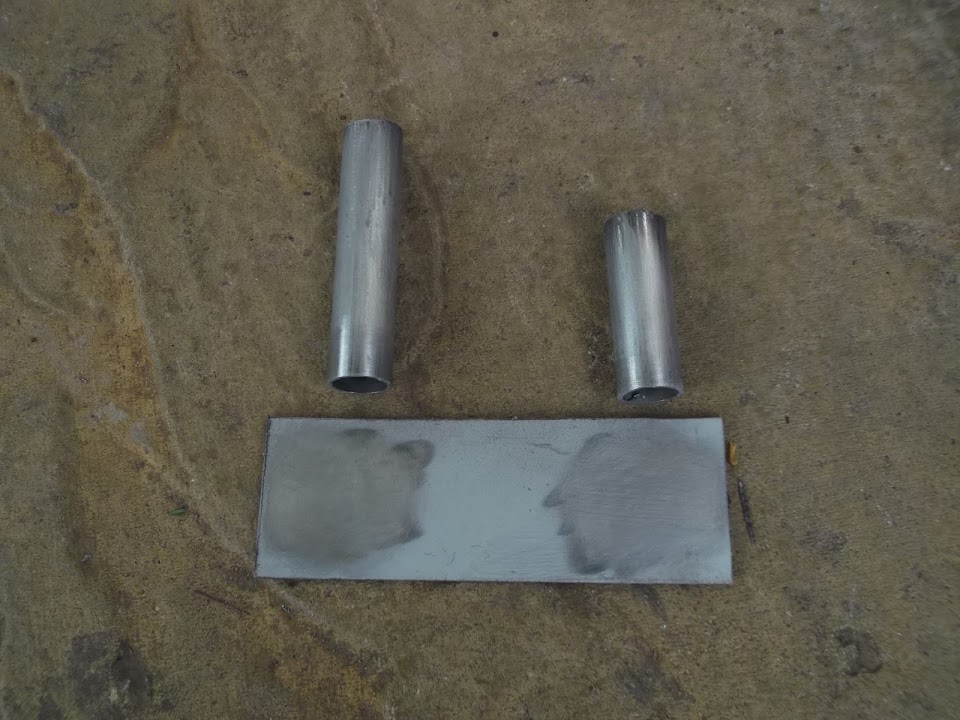
Then I marked up an off cut from the lowered floor pans and some mild steel tubing.


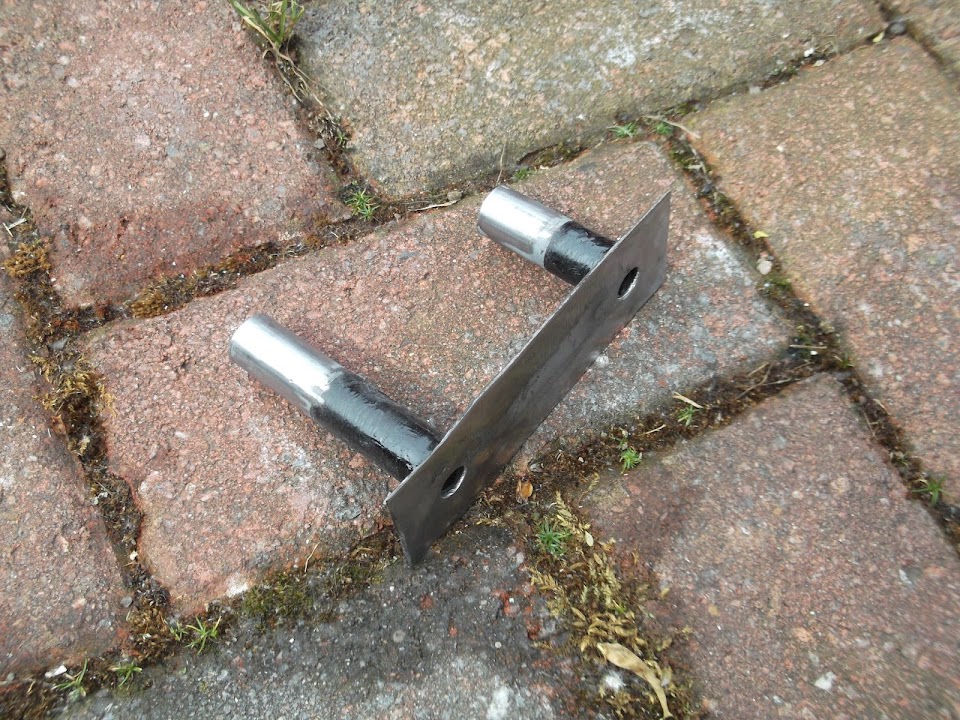
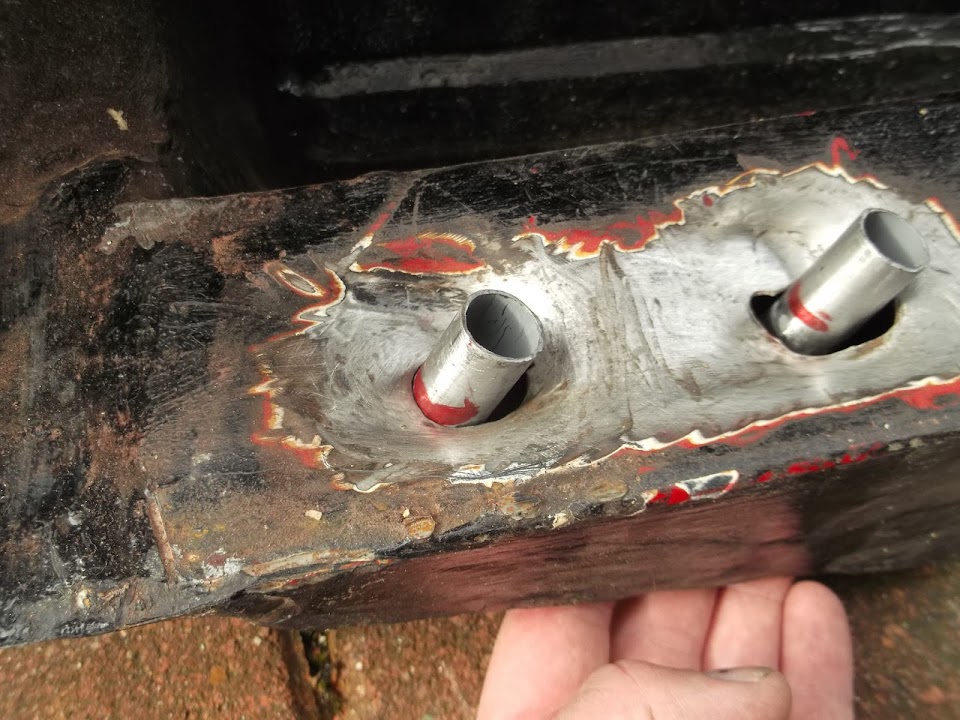
This gave me what I needed to set up the missing crush tube arrangement.


Given how badly all the holes line up at the moment I want to start again from scratch.

My plan is to make these holes on the bottom of the bulkhead bigger so the tubes will pass through.


Then I will weld the rectangular plate over the top of the existing metal.

Then I will cut the tops off to match the top edge of the bulkhead.

So once everything was cleaned up, I clamped & weld the first tube into place.


Then using the cardboard template I made yesterday I could position the 2nd tube correctly.


Which ended up looking like this.


Now those of you who know what you are doing will have already spotted yet another school boy error. :frusty:

It had occurred to me that the way I had welded the tube meant I would need to widen the holes quite a bit.

It even occurred to me that it might have been better to drill a hole in the plate and weld it from the other side.

As that would have been easier to grind flat, but there is a much better reason for doing it that way...

Which is that it would have left me with a hole for the mounting bolts to pass through. :rolleyes:

Note to self... you are stupid!!

Obviously this has only dawned on me while I type this up, so I have already put some etch primer on this mess.


At least it will be easy enough to drill a hole in the plate to match the tubes.

- - - - - - - - - - - - - - - - - - - - - - - - - - - - - - -

Anyway, while I had the primer out, I decided to do the bonnet hinge & hoop.

I did grind some of the bolding material first and turned my drive into a winter snow scene.

I will do some more work in this area when I come to fit the grille.

But for now, after I had cleaned up the mess I got the primer on.


I also noticed that the holes in the hinge mounting points are actually different sizes. :rolleyes:


At least when the time comes, that is an easy fix too.

Obviously not much progress, but progress all the same.

Happy Easter, Paul. :)
18 Apr 2014, 7:31pm
Nice work Paul, every little job completed is another step closer to having a finished car, keep at it.
19 Apr 2014, 6:39pm
Agree with Swifty, keep up the good work Paul!
21 Apr 2014, 4:22pm
Swifty & Scottie - Thanks chaps. :cool:
I try to accept that some days will not be as productive as others.

- - - - - - - - - - - - - - - - - - - - - - - - - - - - - - -

Very little to report...
The long Easter weekend has been a bit of a "social whirl", with very little time to work on the car.

But I did inch along toward the end of the bulkhead repair work this afternoon.

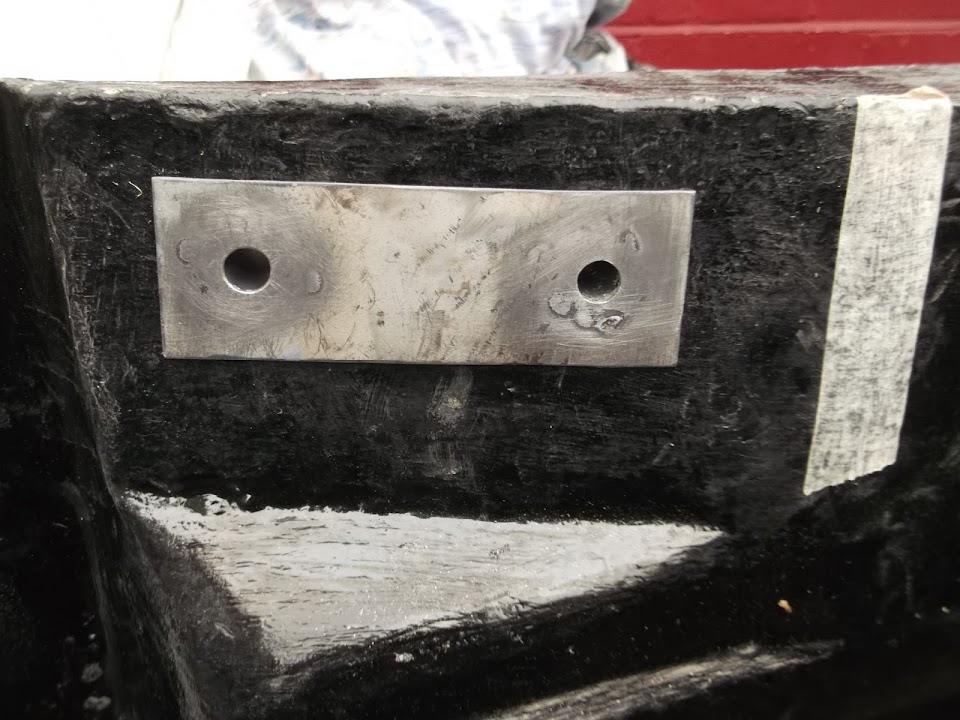
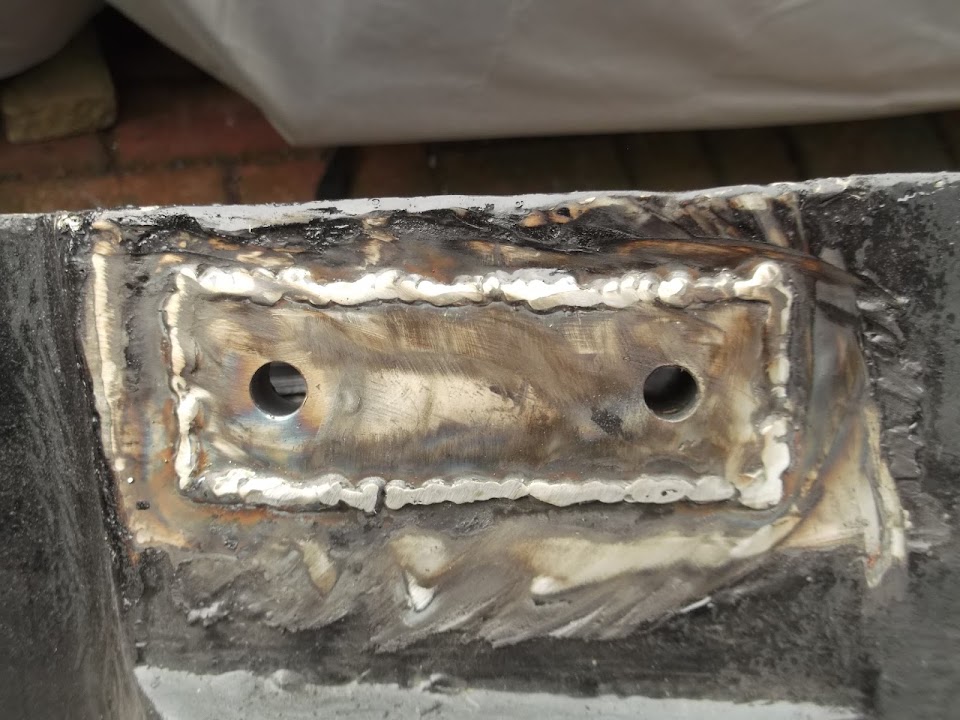
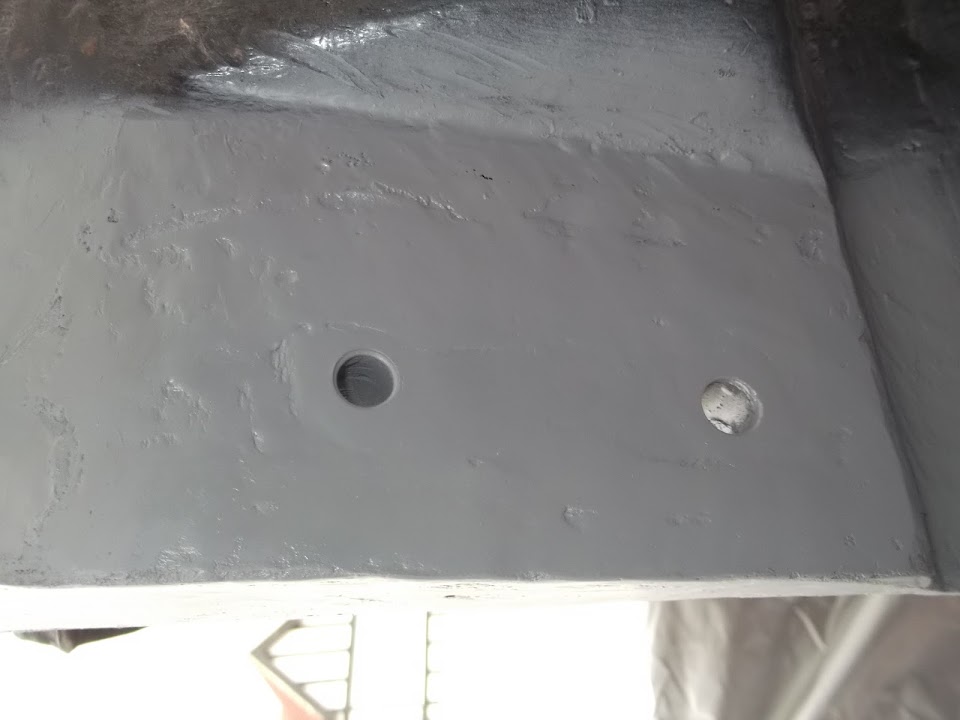
I started by drilling the holes required in my crush tube fixing plate set up.


This allowed me to check how the tubes aligned with the holes in the bulkhead itself.


Not very clear in the photo, but you can see through the retaining nuts in the chassis to the ground below. :cool:


Then I opened up the holes in the bottom & top edges of the bulkhead to accommodate the tubes.

I could get a good fit at the bottom edge, which will make it easier to weld the plate in place.


Also the crush tubes came through the bulkhead with no problems.


Unfortunately the top edge is a bit of a mess, that will require even more work to fix.


I will need to cut / shape the areas around the tubes so the washers for the bolts can sit flush.

However, I want to double check the bulkhead fits nicely on the chassis before I do anything further.

As the last thing I want to do is weld this into place and find I haven't measured properly for some reason. :rolleyes:

Hope everyone else had a more productive Bank Holiday weekend, cheers, Paul. :)
22 Apr 2014, 3:48pm
Shopping Update
My latest Ebay purchase has turned up...


Not a set of pan pipes, but some heavy duty tubing "off cuts" that I will use as crush tubes when bolting the frame to the chassis.


These are more substantial than the ones I'm currently using in the bulkhead.

Obviously they need to be cut down to size when the time comes.

Although at the current rate of progress, that task still seems a long way off. :rolleyes:

Cheers, Paul. :)
23 Apr 2014, 5:44pm
Busy Day - Part 1
Given the weather forecast for the next few days, I needed to make the most of today.

I've grouped the work together, as the real time line was back & forth all over the place. :rolleyes:

The underside of the floors got their second coat of paint.


I extended the mounting hole on the passenger side of the bulkhead.


When the bulkhead was re-fitted (see below) the bolt went into place with no problems.


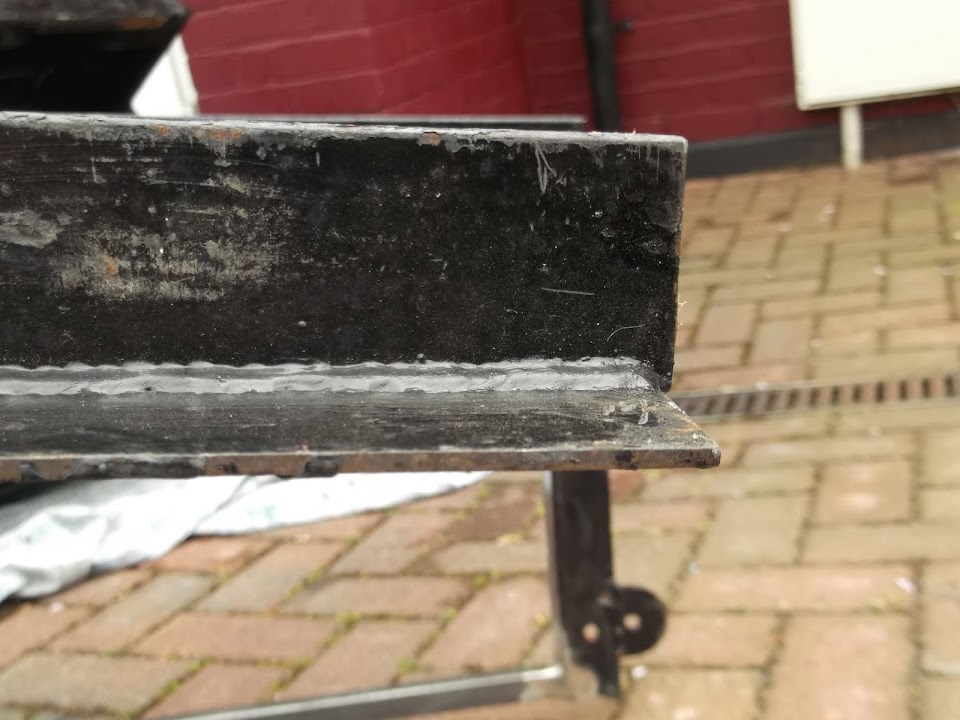
I wanted to get some primer on the box section I'd welded to rear framework the other day.

But before I removed the frame from the chassis I started to drill the four mounting holes required in the chassis.


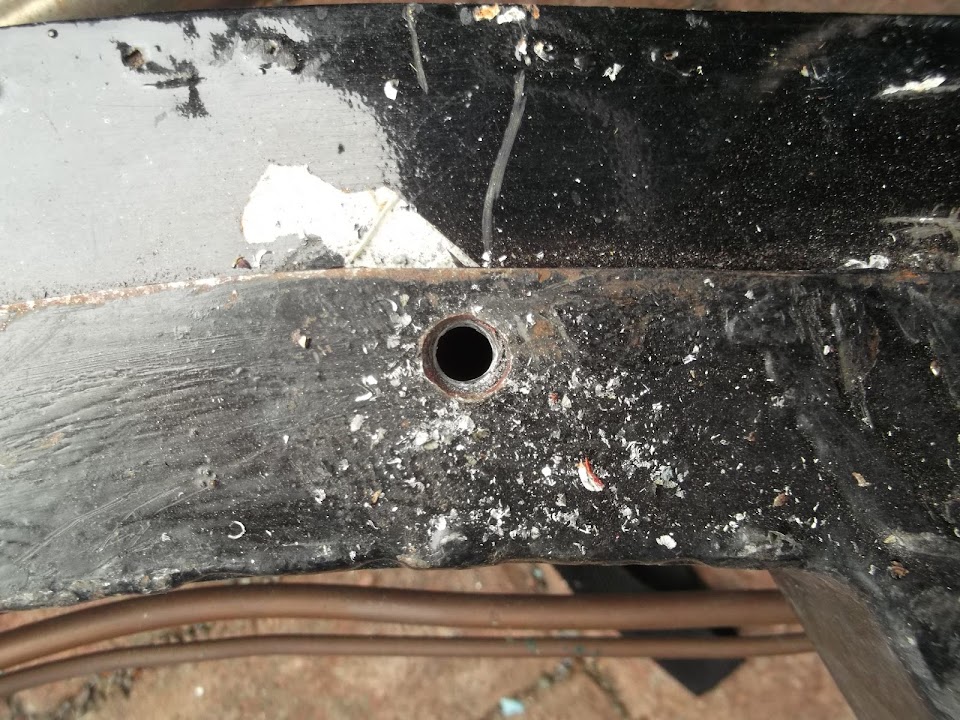
With the frame removed I was able to widen the holes so that they would take the fixing bolts.


But my step drill bit just wouldn't cut into the chassis, so I'll need to buy a new bit to match the crush tube.


There were two other small mods I needed to make to the rear frame work.

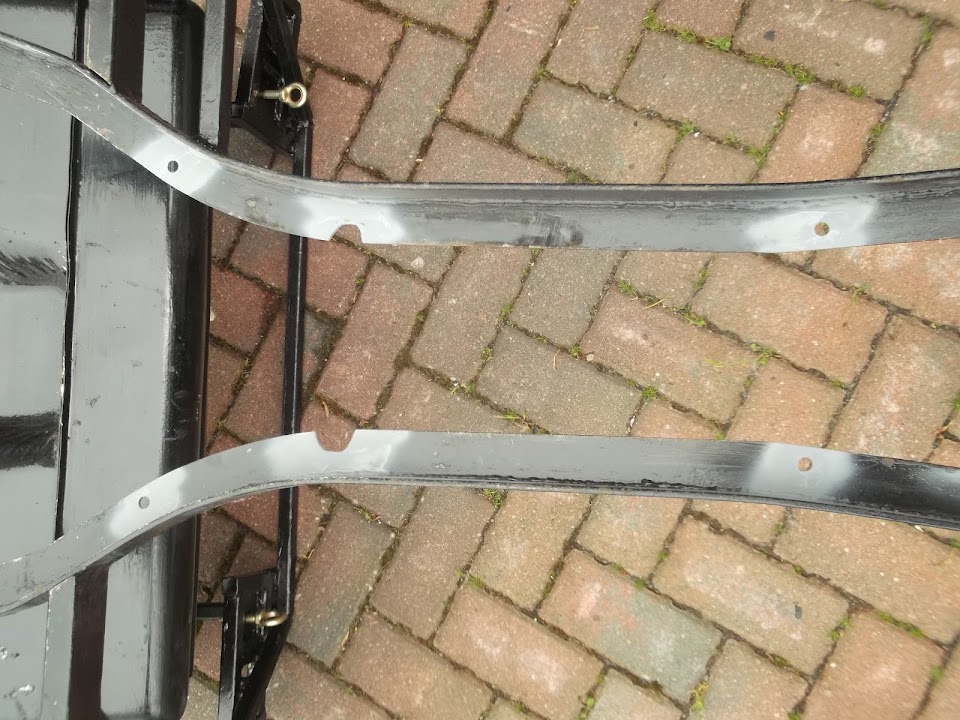
This front edge of the frame on the driver's side needed a "trim".

Before:


After:


Not much, but enough to improve the clearance to the chassis.


The cut out for the driver's side seat belt mount needed a bit of work too.


After sanding down the three new bits of box sections in the frame I could get some etch primer on.

I had to do this in stages so I could get paint on all four sides of the box.


I also did the underside of the mounting holes & cut outs.


End of Part 1...
23 Apr 2014, 5:45pm
Busy Day - Part 2
I painted the bottom half of my bulkhead crush tube set up and cleaned the top half & bottom plate back to metal for welding.


I know the welding will melt the paint, but it will provide some protection until it is waxoyled.

Then I put the bulkhead back on and loosely bolted all the other mounting points.

( Note: Getting this on & off single handed is quite hard work. )


The alignment was very close, but it was a bit tight for my liking (not easy to see in photo, I had to use a torch).


So I removed the bulkhead & extended the holes so I could move the tubes a few mm.

Then I put the rear framework, body shell & bonnet back on & covered them up.


As by now the clouds were getting darker and I knew my time was running out.

So now my work area was restricted to this.


I cleaned up the top & bottom sides of the bulkhead in preparation for welding.

But it was clear it would be very difficult to cut the tubes after they were welded in.

So I marked them up.


I also cut a couple of slots to allow me to push the metal out of the way.


With the tubes trimmed, it looked like this.


So I clamped it in place.


And welded it in.


I will tidy up the welding some more another day, as by now there were spits of rain.

Which meant my next job was to run back into the garden and take in the washing. :rolleyes:

Closely followed by putting the floors into the shed so they didn't get wet either.

I had just enough time to weld one section of one tube from the top.


But had to leave it looking like this as I have to pack up & take shelter from the rain.


I will be welding in some extra metal around the tubes to join them to the bulkhead.

Despite the weather, this was quite a productive day. :cool:

Until next time, take care, Paul. :)
24 Apr 2014, 2:34pm
More Bulkhead Work:
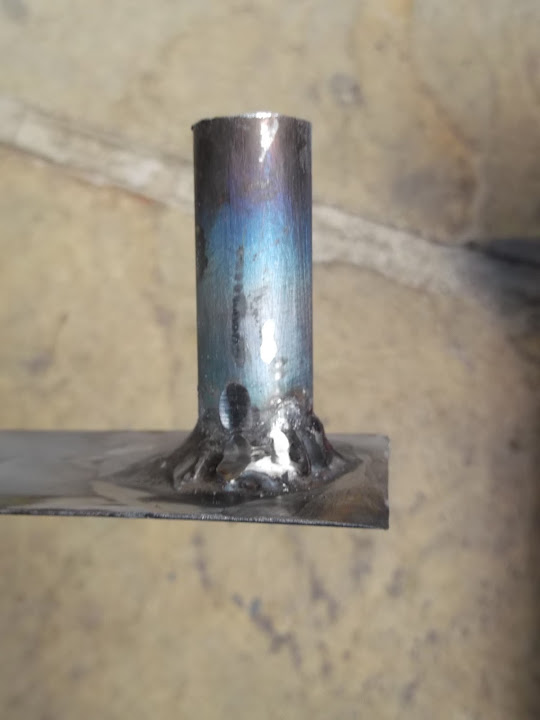
My first attempts at cutting out some metal to weld to the top side of the bulkhead failed.

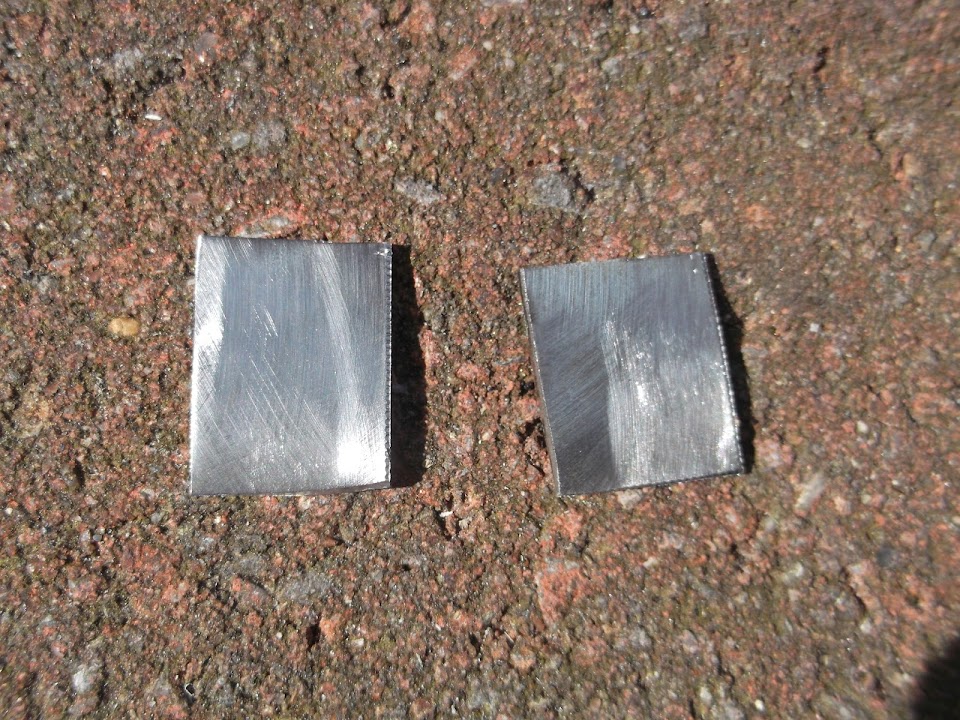
In the end I had to make the bits I needed in stages, starting with drilling two holes in some metal like so.


Most of the smaller piece was then cut away to leave me just this.


Which filled in the gap around the tube nicely.


The second one required more cutting and shaping until it looked like this.


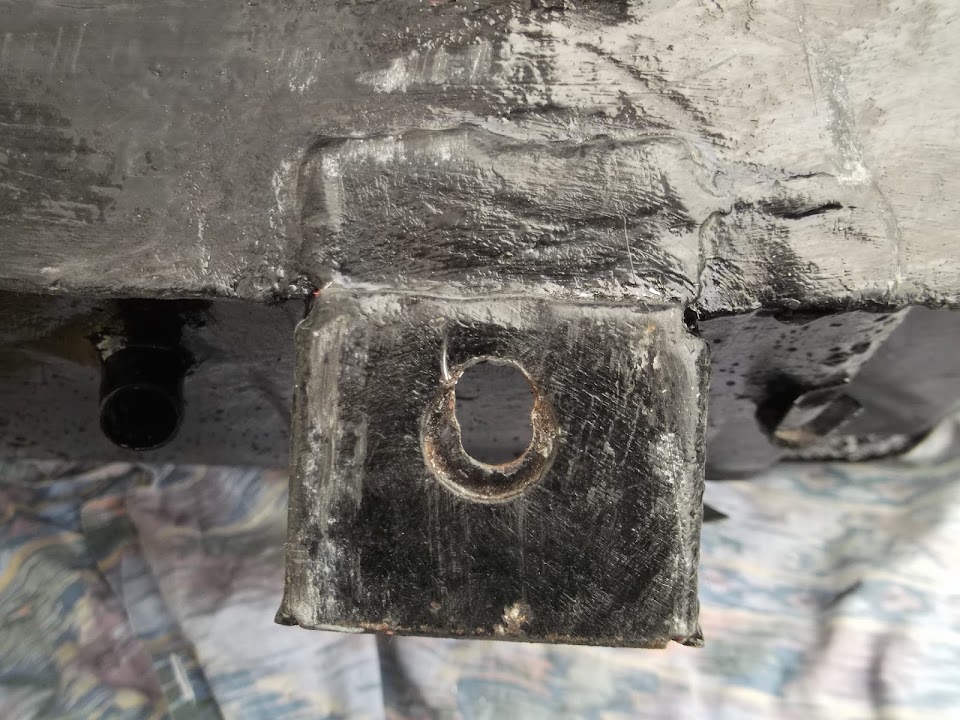
And even then, it was only going to fit if I welded & hammered as I went along.

Eventually I had sealed the tubes in from the top side like so.


This was a very awkward area to work in, but at least the mounting bolts fit.


Admittedly, not as neatly as I was hoping for, but at this stage I'm not complaining.

To be honest, even getting to this standard of finish was a bit of a challenge for me.

After a final tidy up of the welding, I applied Kurust to both sides.


I'd also cleaned up the edges on both sides where the cross brace had been & treated them too.


Waiting for that to dry allowed me to get on with some other stuff.

However, I was able to come back later to get spray some etch primer on.


I also did the edges where the cross brace used to be.


You can see the primer has run a bit, but if you look very closely you will also see the first drops of rain too. :icon_evil:

Thankfully I was able to get the cover over the bulkhead without touching the wet paint.

Next Bulkhead Steps:
- Add fibreglass filler over the crush tube welding to smooth it out a bit.
- Then cover the filler with primer and paint.

Although I think the weather will be against me for the next few days, but we'll see.

The really good news is that, after all this time, the bulkhead is very close to being finished. :cool:

Take care, Paul. :)
25 Apr 2014, 9:00am
April Showers...
Whilst I could only grab a few minutes this morning before the rain returned, I made the most of them.

I got fibre glass filler on both sides of the bulkhead crush tube welding.


And just like Scottie the other day, I made use of the left over filler while I was at it.

I covered the "inside" face of the three surplus bulkhead cable/wiring holes I'd previously welded on the engine bay side.
( These had also been treated with Kurust when I was using that the other day too. )


I used a small bit of metal to cover the extra hole I drilled for the battery cut off switch cable.

Then smothered that in the last bit of filler.


I then re-arranged the bulkhead to ensure the cover wouldn't touch the filler.
( You can just about make out the dust sheet "ball" resting on the bulkhead at the nearest end. )


The rain came within minutes of that last photo.

Have I ever mentioned that trying to build a car without a garage is a dumb idea? :rolleyes:

Anyway, given I wasn't expecting to get anything at all done today, I've got to be happy with that.

Until next time, take care, Paul. :)
26 Apr 2014, 7:49pm
A funny old day...
Weather forecast didn't look promising, so I had low expectations for getting anything done.

But when I got back from the supermarket the sun was shining so I grabbed my chance.

I sanded down the filler I'd applied to the bulkhead the other day and got some etch primer on.
( As always, the finish is rough & ready in places, but it will do the job. )


But by now the sky looked like this.


And no sooner had I got the cover back on when the rain came. :icon_sad:

So I settled down with my youngest daughter for a "rainy day" DVD.

By the time that was over the sun was back and I took another chance...

This time I cut out two small "caps" for the rear frame work.


This was to seal up the box section I had taken my angle grinder to months ago.


( The body shell was fouling the "super structure" I'd added for my rear seat belt mounting plates. :rolleyes: )

It didn't take long to get both sides sealed.


I also got some etch primer over the top on both sides.


By which point the rain had returned and I had a mad dash to get the welder & my other tools back inside.

However, by the time I'd put the body shell back on the frame, it had stopped again & the sun was shining. :rant:


I decided I couldn't risk starting a big job as I was already fed up of dragging everything in & out of the house. :rolleyes:

So as I hadn't strapped the bonnet back on, I decided to have a quick play with that instead.

I cut out a cardboard template for the grille to see how the shape of the bonded in hinge support would impact it.


I then marked up the opening from the front side of the bonnet.
( Note: I still have a bit of tidying up to do around the edges of the opening. )


As you can see, the gaps are bigger at the top, compared to the bottom, but it should be fine. :pray:


As I started clearing up after this job, the next rain shower was just starting, so I called it a day.

I really need a decent block of dry weather to get the framework off the chassis and painted.
( Well just black paint on the new additions that have been primed. )

So we will just have to see what the next few days look like.

Cheers, Paul. :)
27 Apr 2014, 2:40pm
Rain Dance...
It seems that whenever I've taken the chance to work outside recently, the storm clouds gather.

So today, I was only prepared to risk unwrapping the bulkhead to get some black paint on.

The crush tube work has now "blended in" with the general rough finish of the bulkhead.


The edges where the cross brace was welded on now look OK too.


And you have to look closely to see where the extra holes in the bulkhead were.


By the time I'd finished the painting the sky looked like this. :eek:


But the paint was too wet to put the cover on, so I just had to take a chance. :pray:

Touch wood, so far it hasn't rained, so the paint should be dry enough for the cover to go back on shortly.

U-pol Raptor Bed Liner
I know Mac sprayed this stuff on his Navigator, but it looks like it can be brushed on too.
Although clearly using a brush / roller will not give the nice even finish that he achieved.
However I really want to protect the metal work on the bulkhead, floors, rear arches, etc.
I also want to make sure the under side has been treated before I bolt everything to the chassis.
There is still a bit of work to do before everything is ready to be bolted down.
But the good news is that I am slowly inching my way towards that point. :cool:

Until next time, take care, Paul. :)
28 Apr 2014, 1:37am
Hi Paul, I hope you don't mind me posting on your build? I have been avidly reading your progress for the last year and registered on the community to post, I have just used some aerosols of black stone chip in the back of a Jeep I am heavily modifying as I rebuild and feel it would be excellent for your bulk head and probably both sides of the floors, it comes in black, grey or white , I think a couple of cans from an auto paints store should do a good few light coats to your bulk head, this way it drys satin/matt Is textured and blends away many sins I will try upload some pics and my preferred make tomorrow, or pm your email I will send a pic straight off my phone, its about £7 a can and will transform the look.
Keep on Building and posting, you will be driving your one of a kind hand built dream car before you know it.
Regards Ed.
28 Apr 2014, 5:45am
Paul, you can apparently get a decent finish with the raptor using a rollers the other option would be to hire a trailer and bring it up to me for the day and ill spray it up for you as I think I probably have enough left to do it from my pack. The nice thing about the raptor is that it dries pretty quickly so should be no problem to do it and get here and back in a day.
Mc