This is a read-only archive of the old Madabout Kitcars forum. New posts and replies are no longer possible, but every thread is still here to browse and read.
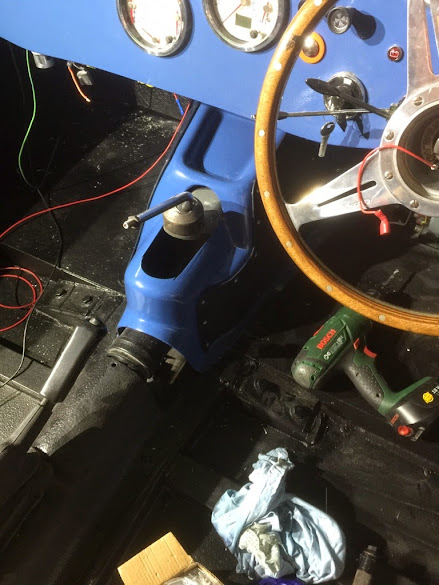
Soooooo have decided to spray over the stone chip with body colour. Popped in to my local paint place on the way in this morning with a scrap of painted body and they matched it and made me 2 cans of celly. First dust coat has just gone on hopefully I'll have enough coats on by days end to let it dry overnight and fit in the AM. Another delay to finally fitting the seats but im concious that rushing at this stage could be fatal...
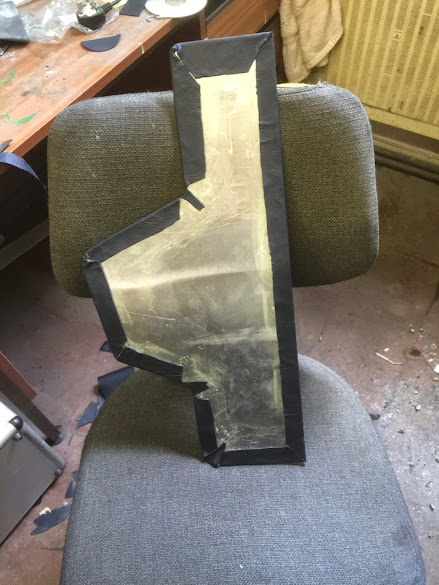
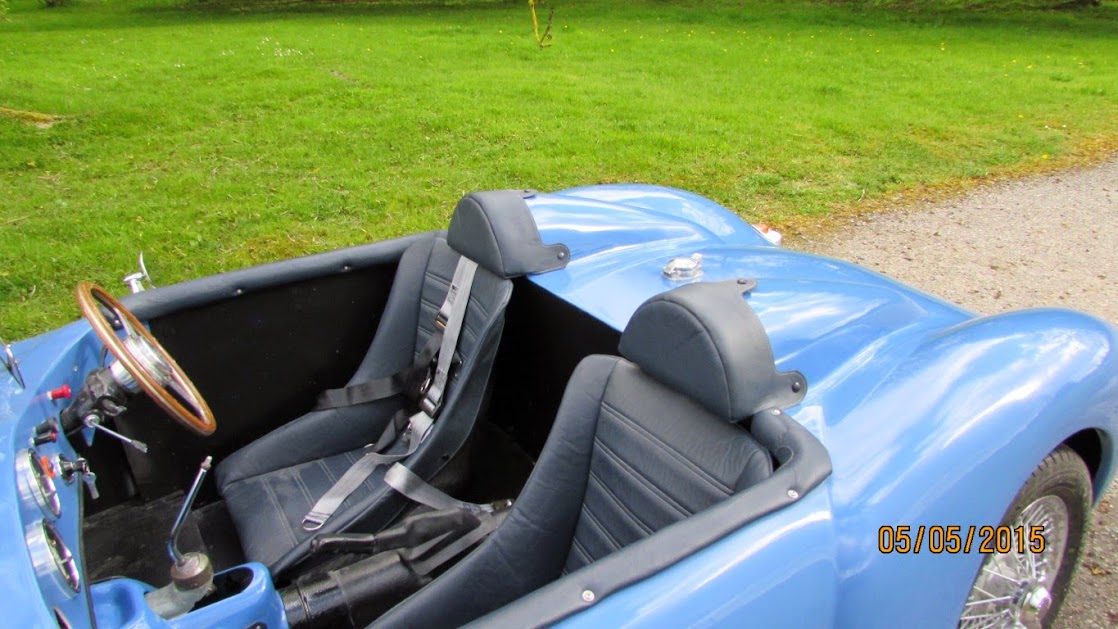
Found a few blemishes on the cover this morning that I wont be able to remove, one of the disadvantages of using stone chip is sanding it back and trying to blend it in is a nightmare. Needed to think a little out of the box so came up with this. Not only will it serve to hide a few marks but will also give the passenger and drivers knees something to rub against rather than the paint.
Its Ali sheets faced with leather.
Back in a bit with pics of it fitted but need to pop out to the fastener shop to get some suitable stainless screws.
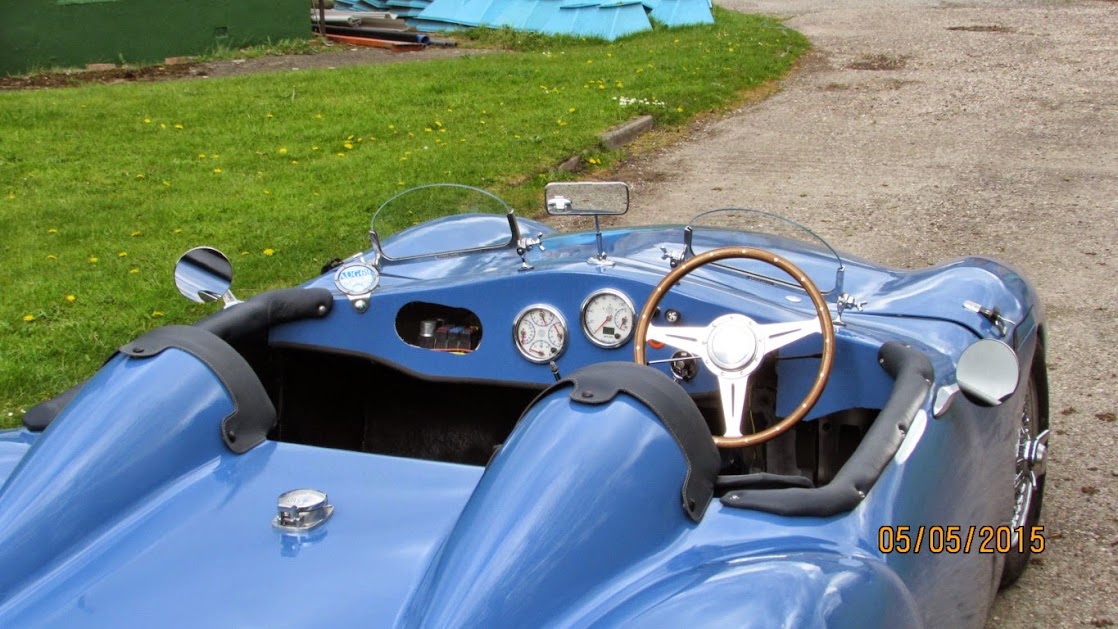
Couldn't find any screws i liked so have gone with rivets. Very happy with it though. The body colour on the tunnel will add a splash of colour to the otherwise black cockpit and the blue leather panels will tie in with the matching seats and headrests tying it all together.
just put the car in the air to drain the gearbox and OD unit as I would rather fill with oil now before the cover goes on even though it is possible to do from under the car you need to break your wrist in 3 places to do it!. Spotted that I hadn't yet covered the bare ali floors:
A new can of stone chip later:
Really glad I remembered to scuff the panels up before fitting as the thought of doing it on the lift made my neck and back tweak just thinking about it!
Also realised (after I had stone chipped!!!) that I hadn't yet used "Big Boy" rivets in the floor from underneath that in conjunction with the PU I used will keep the Ali box section risers I ended up putting in to raise the front of the seats in place. Thank god for a 90 degree drill attachment as without it I wouldn't have managed.
Just seen your finished gearbox cover mac! I really like that, it looks the part, very smart.
That gearbox cover they sent you was not a GT6, as they are identical to the Spit. I've never seen one like you had sent, but you've certainly got round that one in a good way
Just finished a few more jobs before putting the seats in.
1. Moved the fuse box as it was hanging down too far.
2. Cut an access hole in the dash to allow access to the fuse box
3. Touched up the bed liner in the foot wells.
4. Made a bracket to mount the fog lamp on the rear. its in primer just drying in the sunshine outside and will get a few coats of body colour in a minute.
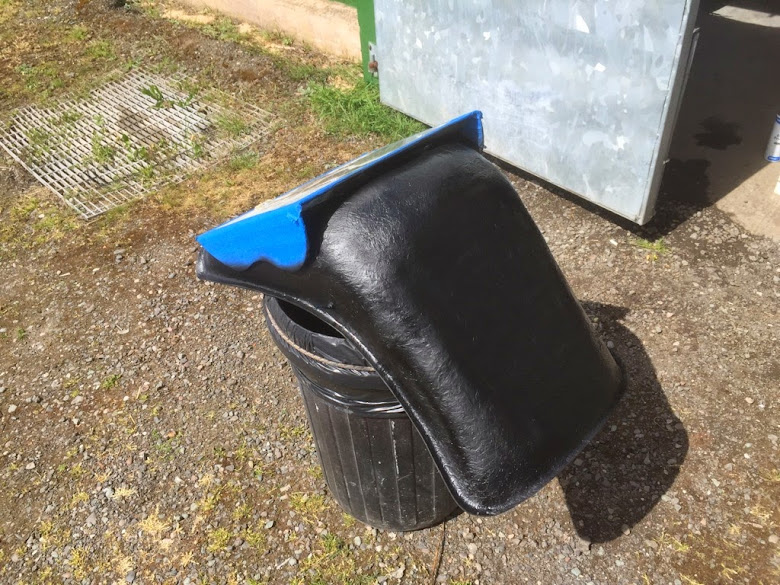
5. Decided I didn't want to leave the rear of the seats in bare fibreglass so have just stone shipped the back of the first one.
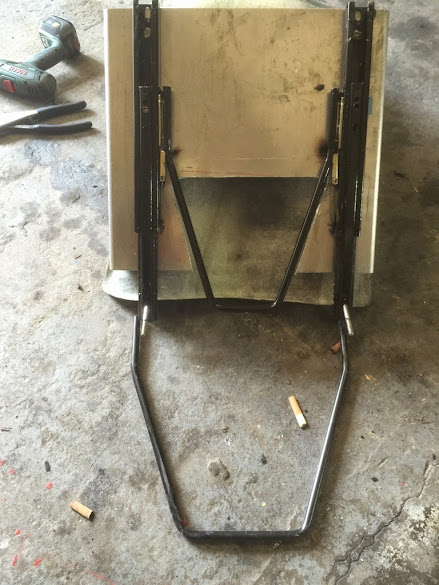
6. Final fixed the runners to the drivers seats and cleaned and greased them. Had to modify the operating hand quite a bit as they are a lot closer together than they are designed to be.
Pics:
Seat before and after stone chip.
Think it looks much more "finished" now. Daft really as you will very rarely see the backs!
Pics of the runners on the drivers seat. you can see the other operating handle on the floor which give an idea of how much it had to be narrowed.
Nice,car looks good
You've put stone chip on the back of the seats,does'nt this get soft and sticky in the sun?
And you were right,very bad video of a steering wheel..............
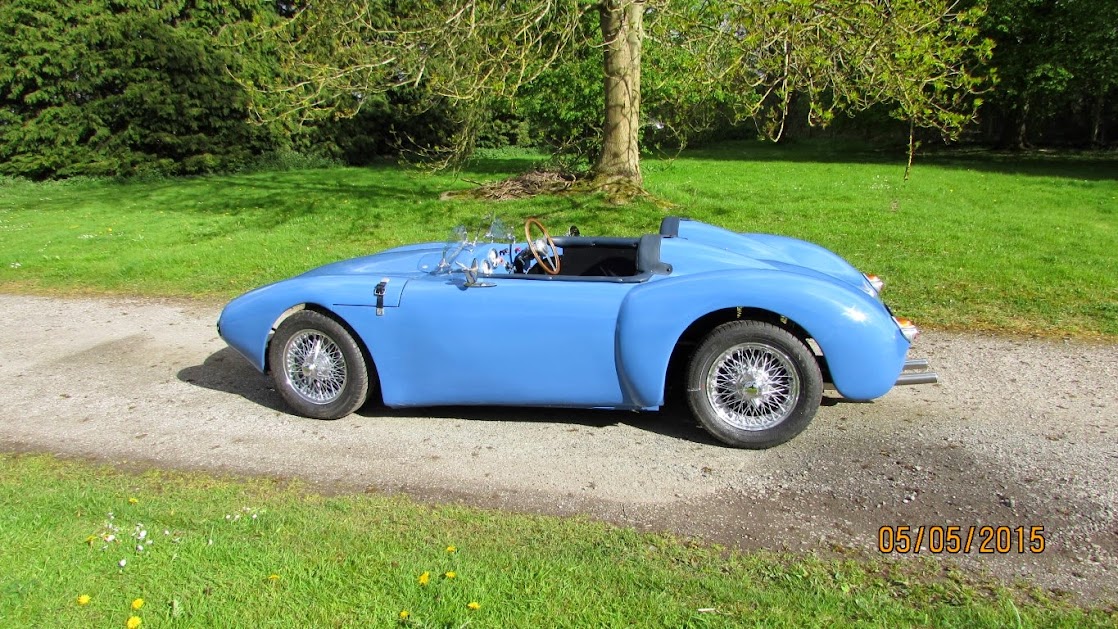
Mac - Congratulations on your first drive, the paint looks great in natural light.
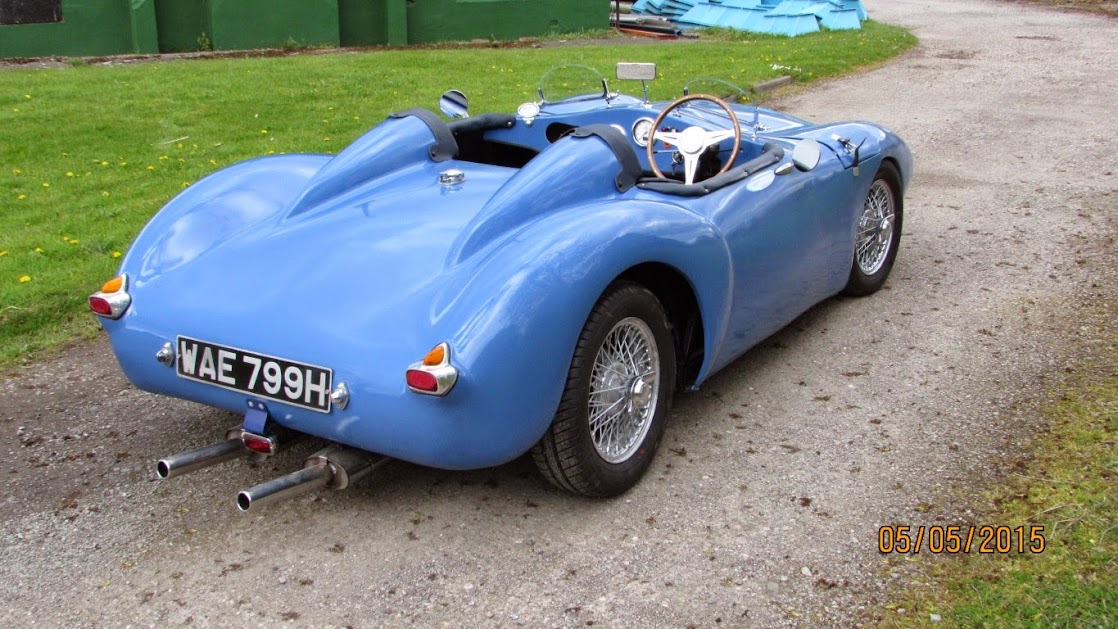
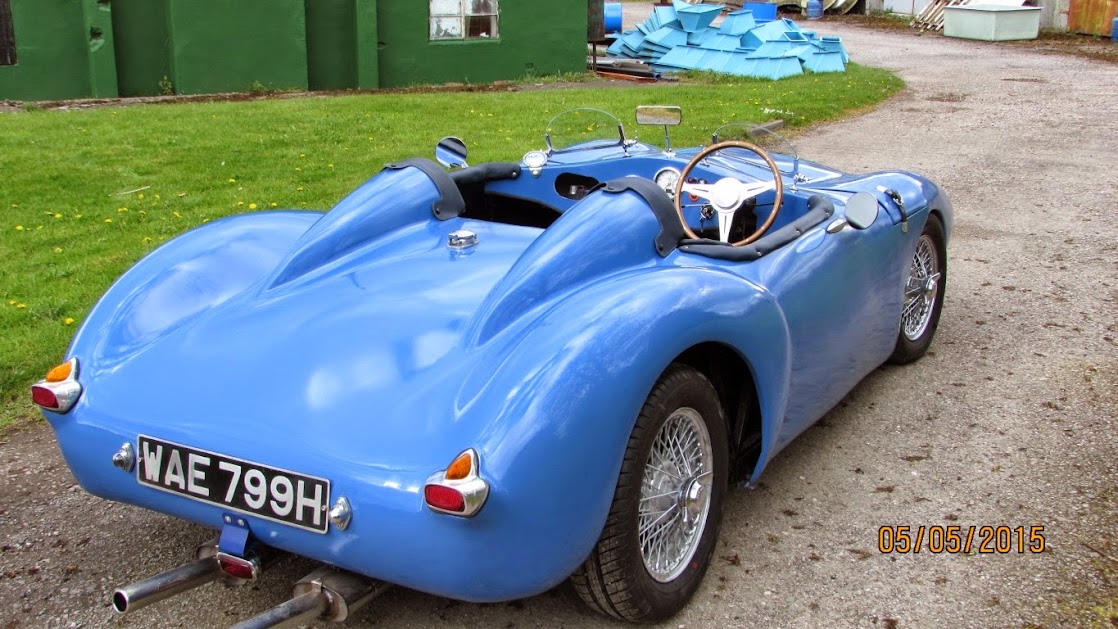
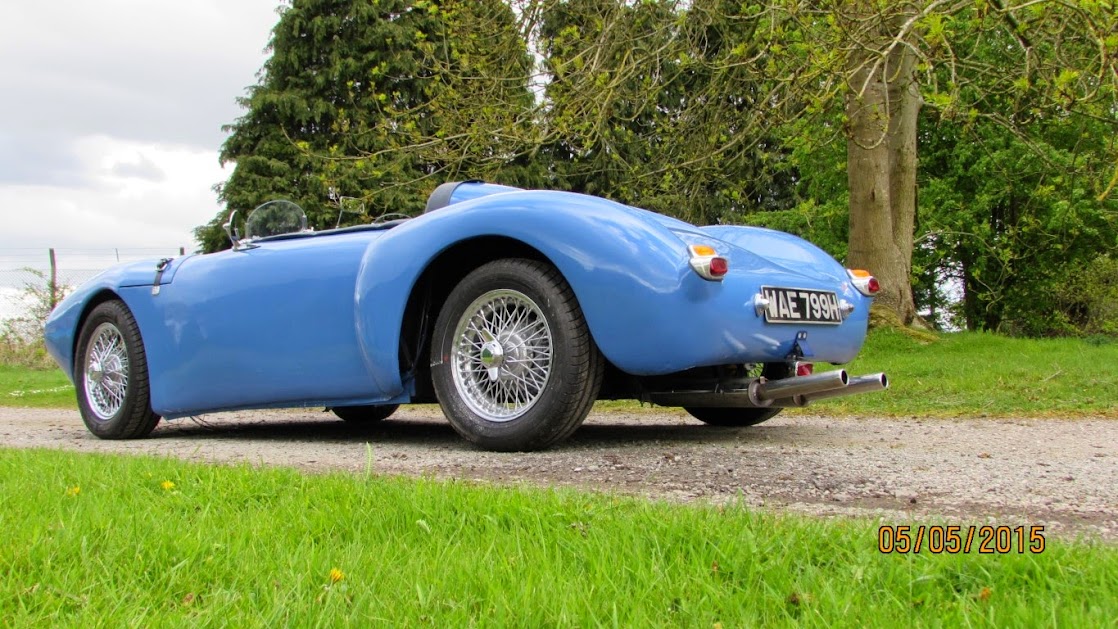
It might be the angle of the photos, but your twin tail pipe look lower than mine and seem to stick out further too.
( Don't get me wrong, I think they look good. )
What is the tape on the passenger side for?
Looking forward to seeing all the last finishing touches in place.
Rene, Thanks. The stone chip is fine its not like underseal and dries with a hard finish. Its had a coat of gloss black on top as well just to make it look a little nicer.
Paul,
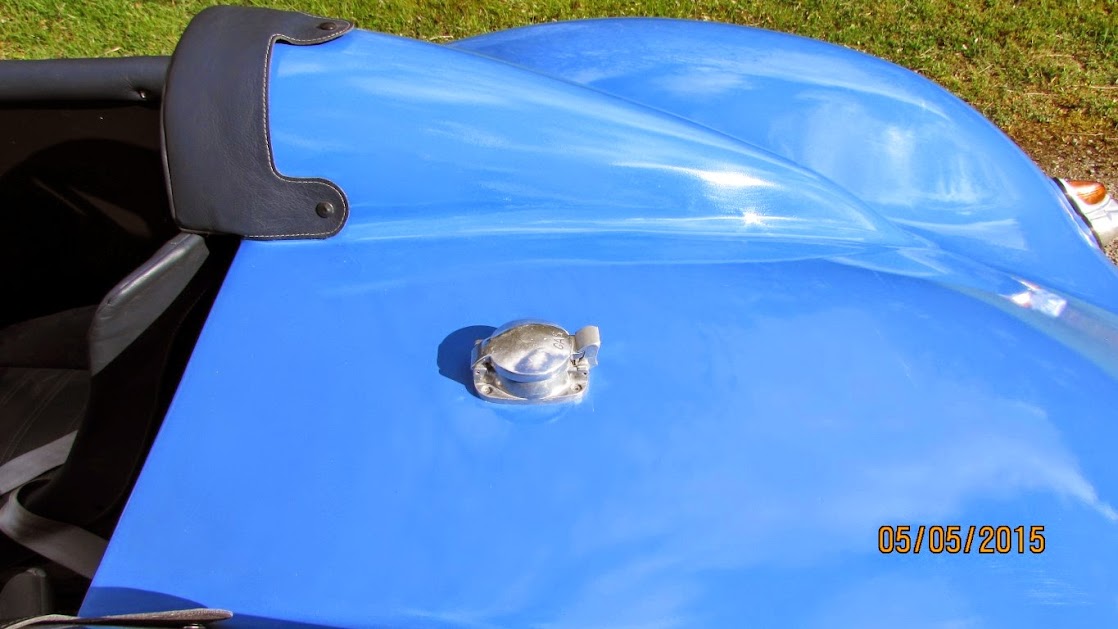
The exhausts are definitely low! I may revisit them at some stage but there staying there for now. The paint does look better in daylight. The tape is an idea i was working on as i found a couple of paint blemishes on one side that i will have to touch in or the other possibility was to turn it into a two tone paint job by doing the taped out are in something like a cream colour.....havent decided.
Failed the MOT today but no biggy, only failed on brake balance and as its fitted with a brake bias adjustable pedal box i just need to fit the remote adjustment cable then i can adjust the bias on the rollers to what it should be.
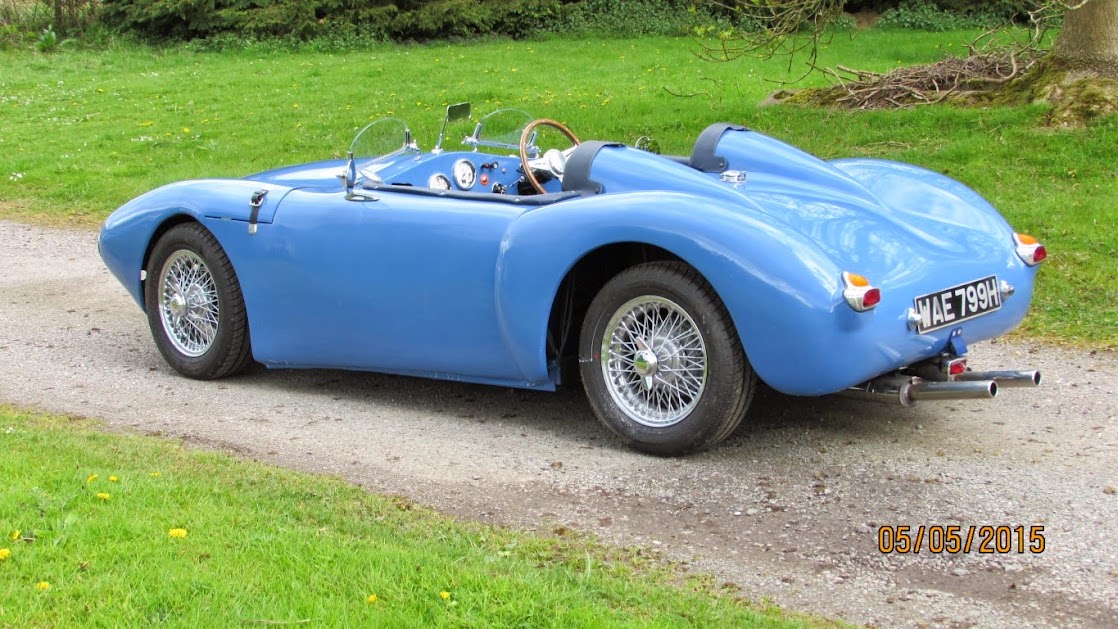
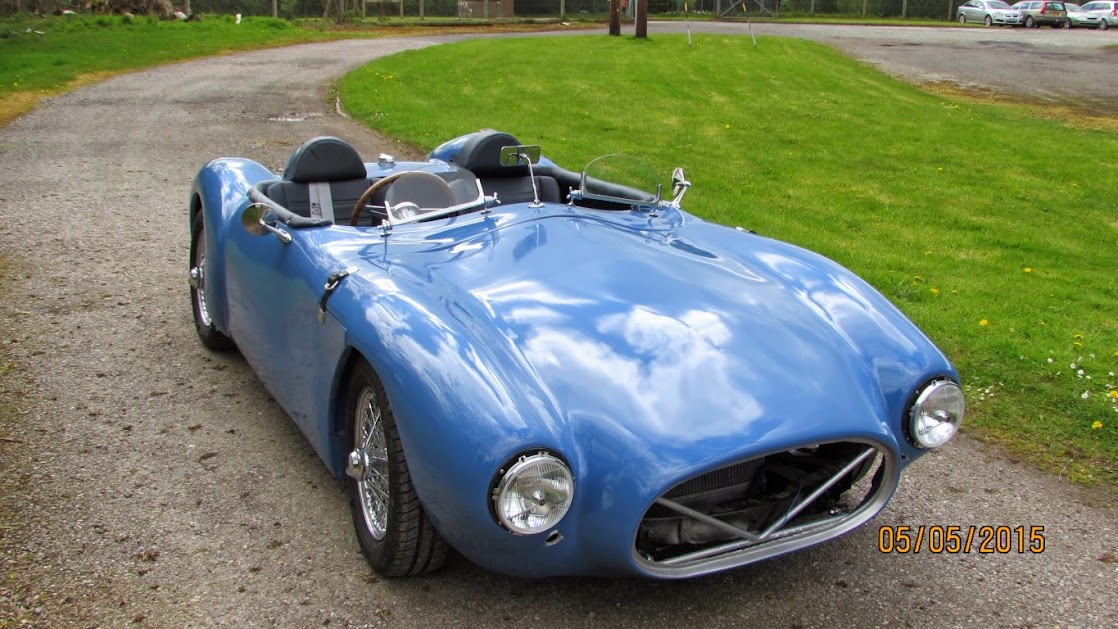
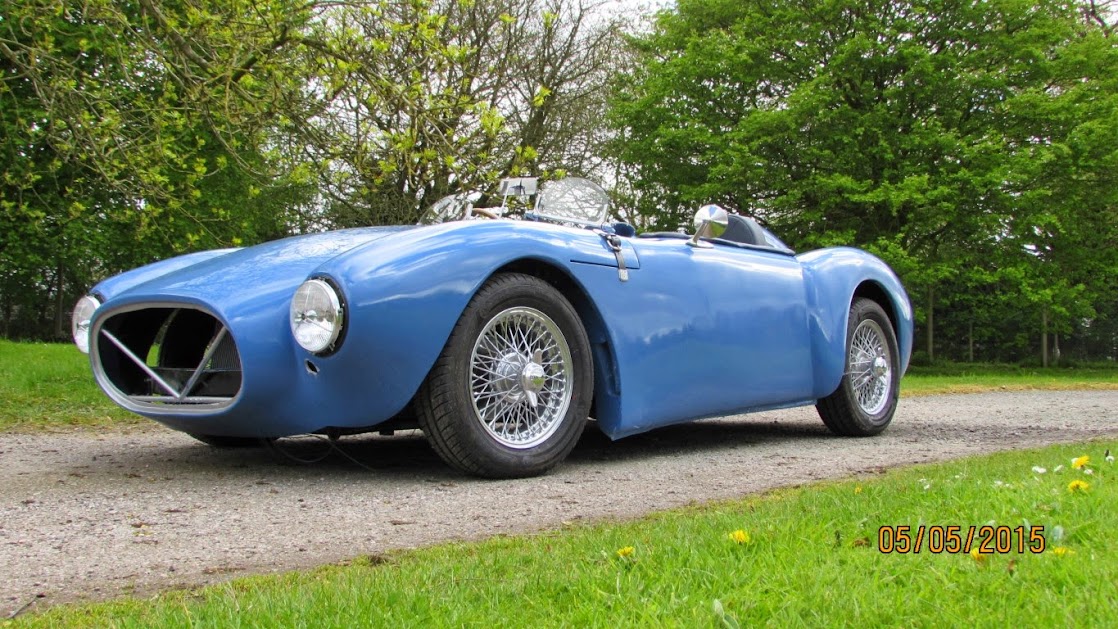
Some pics after the drive to the MoT station and back