MadaboutKitcars

This is a read-only archive of the old Madabout Kitcars forum. New posts and replies are no longer possible, but every thread is still here to browse and read.

Another Cordite Is Born ...

4 Apr 2014, 8:18am
Paul, have you tried the Austin units placed horizontally instead of vertically? Could look pretty neat...
4 Apr 2014, 11:39am
Paul, i'm going to 'french' mine into the bodywork.
4 Apr 2014, 12:48pm
Mr T - Well I have now. :icon_wink:

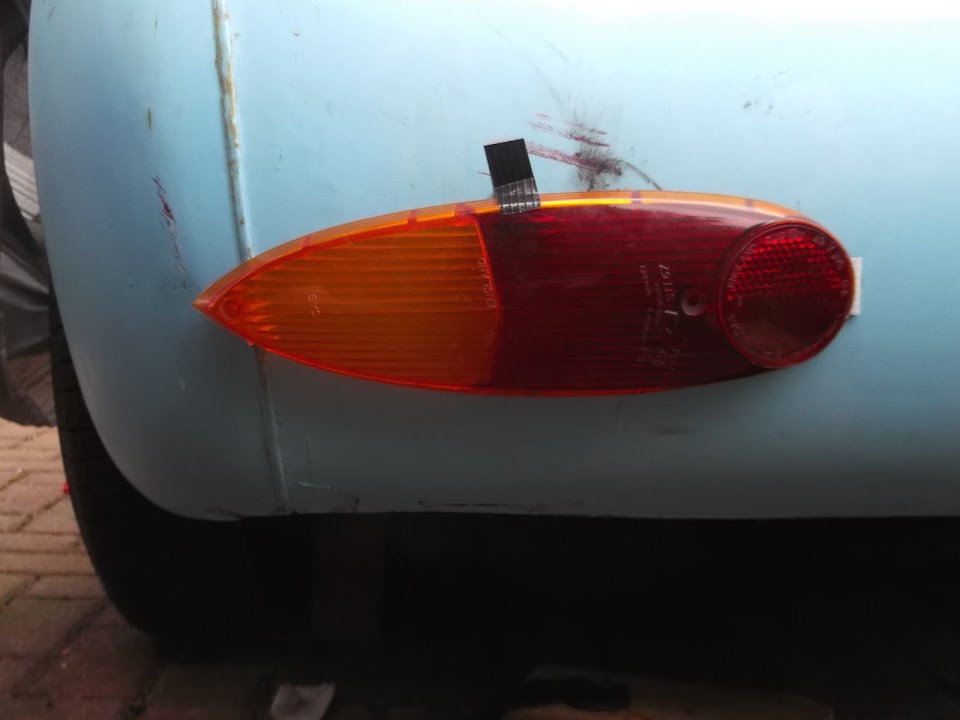
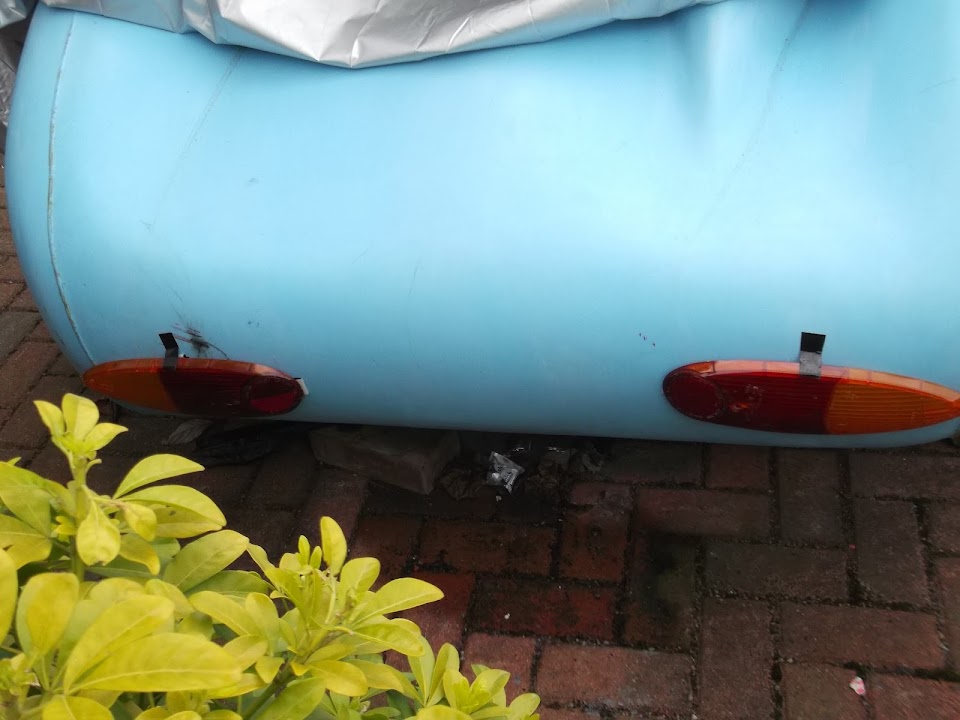
Test fitting them horizontally certainly gives a much closer (easier) fit.


Although they are so big I'm not sure that there is much room left for the number plate. :rolleyes:


Sorry I can't get any better photos, but the last one was taken with me standing in my neighbour's front garden.

The close up photos involve me holding the camera in the bushes that separate each of our "semis" & hoping for the best.

Gary - I did like the way Gaz had the rear lights "Frenched" on G-46 #1.
But, for me, that definitely falls into the lots of extra bodywork category.

With a big of luck, I hope to test fix the bulkhead to the chassis next week.
And that will be a major step in the right direction for this build.

Cheers, Paul. :)
4 Apr 2014, 1:58pm
These look silly on their sides...
4 Apr 2014, 2:18pm
garyh wrote:
These look silly on their sides...


Yes, they are a bit on the big side.

They might work a bit better turned round so the reflectors are on the outside, or you might just want to relist them on ebay at twice what you paid...
4 Apr 2014, 2:26pm
Paul, interested in taking these off your hands if you don't use them. I'll PM you

Craig
5 Apr 2014, 10:53pm
Gary & Mr T - No worries, I figured it was worth at least trying the lights.

Craig - The Austin lights will be wrapped up and on there way to you soon.

- - - - - - - - - - - - - - - - - - - - - - - - - - - - - - -

A long day - Part 1:
By swapping my planned workload around a bit, I could actually play outside earlier today.
Based on the weather forecast, I will be doing my "non car" stuff when it is raining outside over the next few days.

However, first thing in the morning I still had to do some gardening.
I finished sorting out the climbers on one side of our patio.

They looked like this a few weeks ago when I was treating the garden furniture.


And now they look like this...


I will have to replace all the trellis at some point, but today's make do & mend repairs will last at least another year.

With that job ticked off, I removed the covers from the "car" on my front drive for the first time since October.

I guess I'd forgotten just how much rain we've had since then, as this is the sight that greeted me.


Although, given the paw prints on the floors, I have a bad feeling this may not be just water damage! :eek:


These floors need some final adjustments anyway, so I'll worry about sorting this mess out later on.

Instead, I simply got on with making some adjustments to the bodywork.

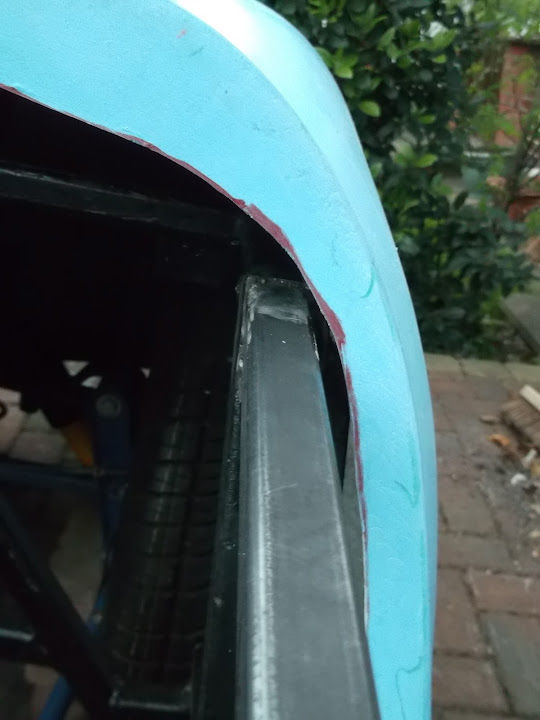
I wanted to remove a bit of the door cut out, so the metal framework couldn't touch it.


After lifting the body off the frame & a quick session with the jigsaw, I'd removed a section from both sides.


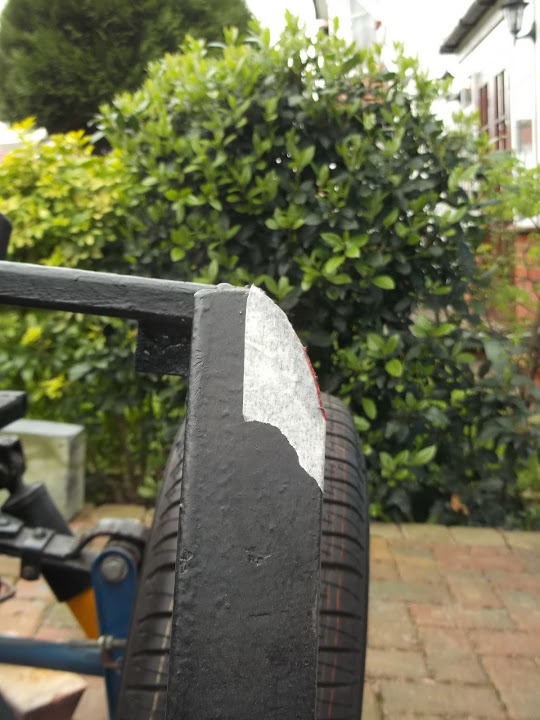
I had also noticed that if the body went much lower, it would foul at this edge of the rear frame.


So I rounded off the corners on both sides with my angle grinder.


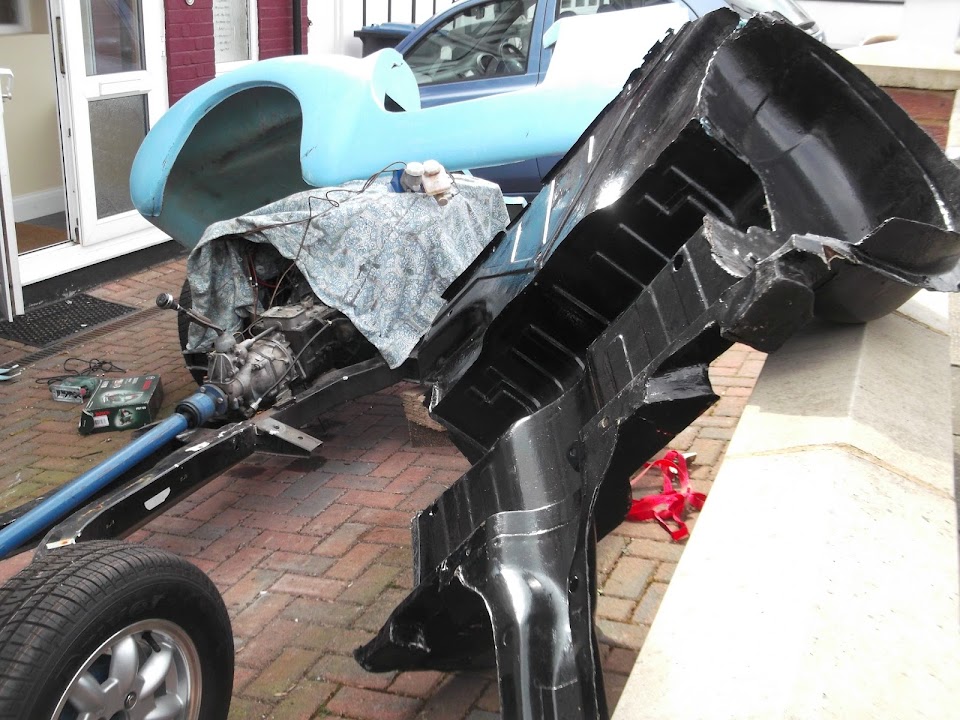
Then my wife helped me to carry the bulkhead through the house to the front drive.


My wife deserves a medal for the amount of lifting she did today.
( Bulkhead, rear wheel arches, rear frame & body shell. )

I can just about move most things, but it is seriously hard work, so she really helped me out today. :cool:

First job on the bulkhead was removing the box section cross brace.


Given all the repair work I've done, I'm really pleased with how solid it still feels without the brace.

Obviously I will be tidying up the paint work at some point.

After lifting the bulkhead into place it looked like this.


The good news is that my brake master cylinder tucks into the recess I made for it.


The bad news is that the top still seems high to me, but I am still a long way from worrying about that.


Continued...
5 Apr 2014, 10:55pm
A long day - Part 2:

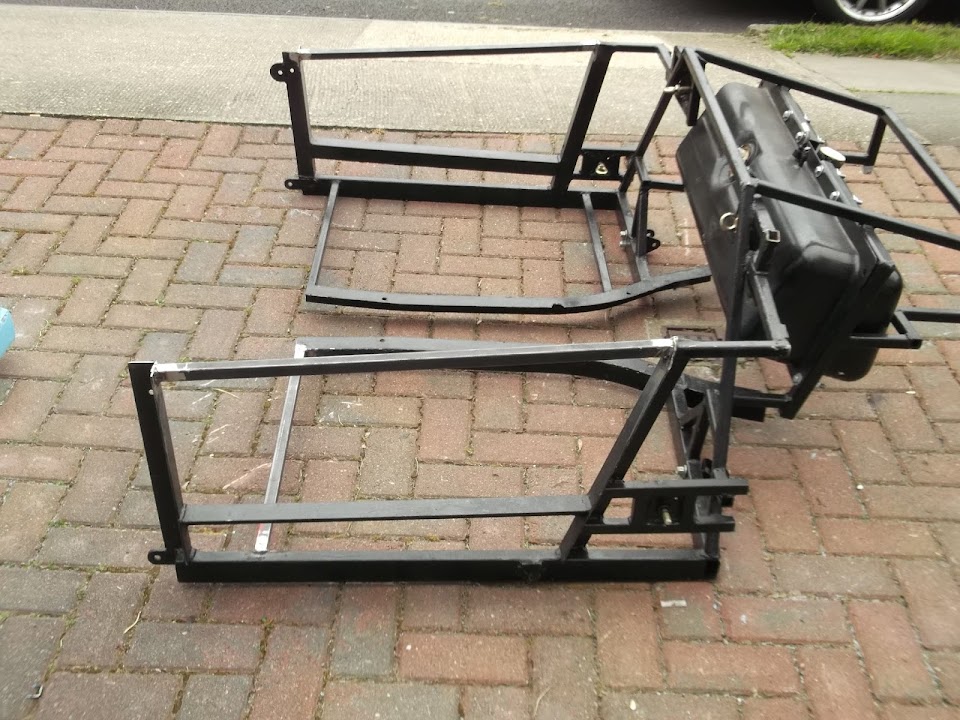
The first big job was to sort out the rear frame work.

But before I get to that, the following photos give you some idea of the madness that is building a car on your drive!


The frame had been supplied with a "wonky" cross rail on the passenger side.
( Note: From the old Sammio, not the new Ribble, days. )


Note: This is how the driver's side looks.


Initially, I had trimmed the lowered floor pan on this side to work around this problem.

Because at that stage, the thought of making a change to the "factory" frame slightly scared me. :rolleyes:

But there has been a lot of metal work under the bridge since then!

Now, I simply marked up the changes I wanted to make and got on with it.

So out with the old...


And in with the new...


Now that's much better...


With this frame rail in a new position, I could re-fit the lowered floor pan.

But first I needed to trim off some of the excess metal from the front edge.


There is still a bit of fine tuning to do with this edge once the bulkhead is bolted down.


Plus the floor will be 'glassed to the bulkhead when I get to that stage.

The really good news is that the "straight" rail allows the floor to move forward a bit.

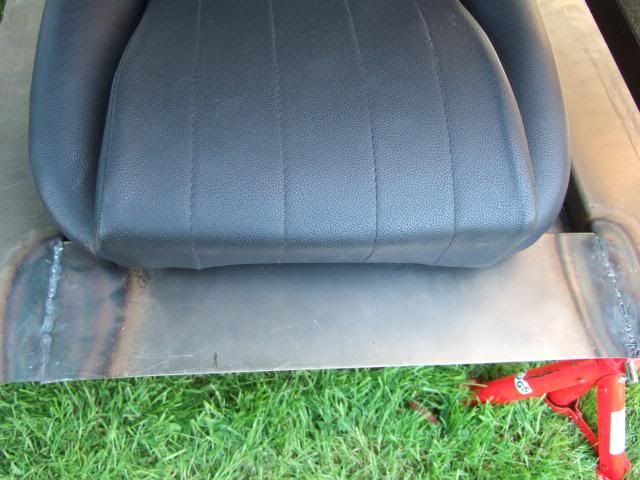
Compare where I'd marked the floor for cutting, with where the seat belt hole is now.


Due to the slope at the back of my seats, the old passenger floor / seat position was poor.


Because it meant the front of the seat had to hang over the front lip.


I didn't get a chance to test a seat in the new position, but that should have sorted it out.

Having dragged some of my tools and the welder from the bottom of the garden I wanted to make good use of them.

So I decided to weld in some box section across the door opening in the framework.

But before I started on that I needed to take some more out of the door openings in the bodywork.


Otherwise the body would not sit back on the modified frame work.

Note:
All of this door opening section will be removed when I come to seal up the doors.
But I wanted to fix the outer door skins in place first before I completely removed it.

After another blast with the jigsaw.


Continued...
5 Apr 2014, 10:59pm
A long day - Part 3:
Then I cut two lengths of box section (obviously the two openings are different sizes :rolleyes: ).


Then welded them in.


Frame back on the chassis.


Then bodywork back on the frame.


Note:
Until I cut the bodywork to fit around the bulkhead, it will still point upwards at the front.

Whilst the body work does now clear the door rail, there will be a limit on how far this can be lowered.


Mind you, there is so much bodywork to do, I'm trying not to think about it.

Although I did find myself looking at how much I might need to widen the cockpit to have plenty of room for my seats.


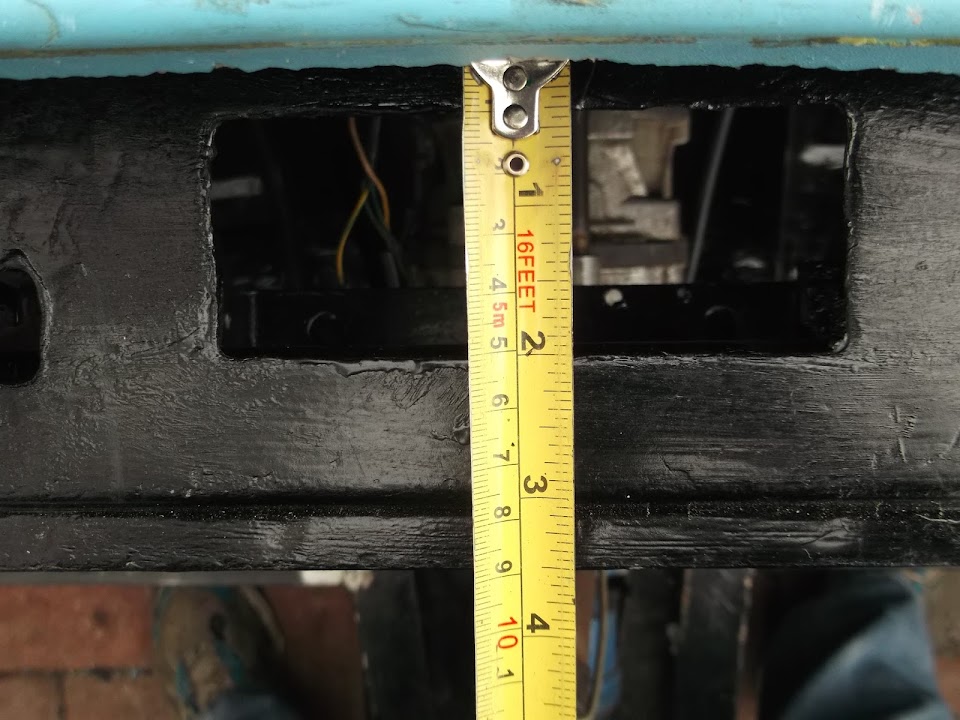
Still on the subject of bodywork, I need to bridge a gap of around 9 cms to cover the Spitfire bulkhead & dash.


I just had time to start mocking up possible options for the "join" between bulkhead & rear frame.

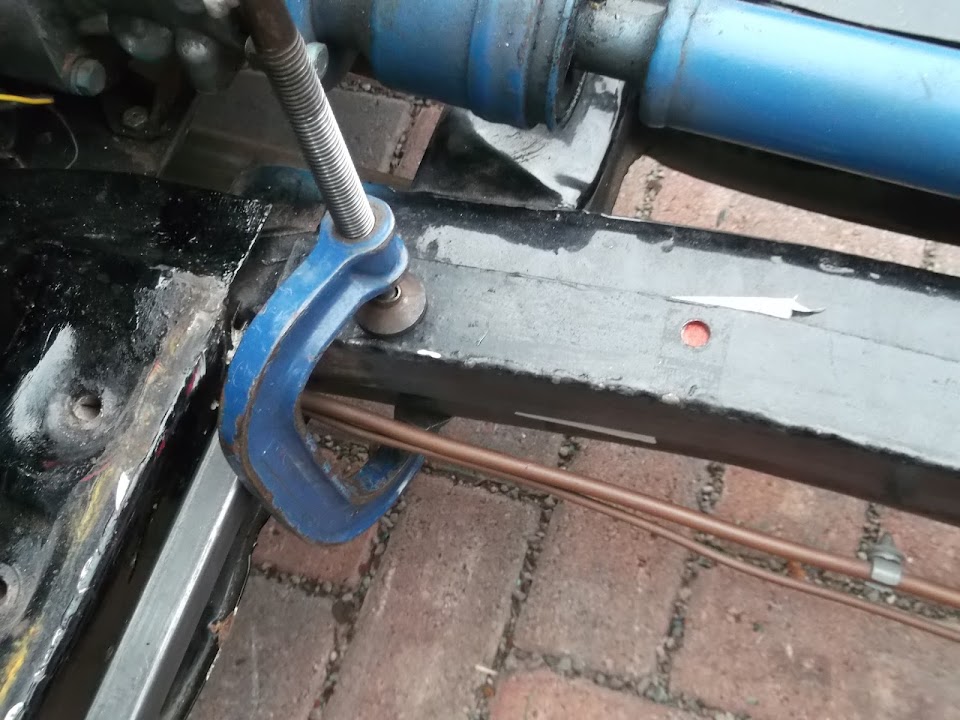
I clamped the frame to the chassis to make sure things were in the right position.


Then it was back to the cardboard again.


I'm not sure about design of the top bracket, so I will come back to this.

Due to the angles involved, the top bracket would be on the "inside" & the bottom bracket would be on the "outside" of the frame.


At this point I had to tidy up and pack everything away for the next few days.
I
've left the wheel arches off completely for now as they are just making the other jobs harder at the moment.

Finally, the new lugs for the ends of the earth leads attaching to the battery cut off switch arrived.


So I will need to remove the ends that were too small and fit these at some point.

The headlight rim retaining clips also arrived.


I am now completely knackered and in desperate need of some sleep, but it was a very productive day.

Take care & good night, Paul. :)
6 Apr 2014, 12:53am
Fab progress Paul. There are any number of processes you have mastered that seem very intimidating to someone like me that has, as yet, not had the time (nerve) to make that first decision / cut /weld / re wire / solder - great inspiration.

(Hope you clear any DIY chores over Easter to allow you time on your project build (and to post the results!)
6 Apr 2014, 6:28am
Keep up the good work Paul and you'll be surprised how fast it'll all come together now that you've broken the back of all the chassis prep. Bet you a pound you can finish this before Patoune finishes his next four cars, which gives you about two months...
6 Apr 2014, 6:50am
Paul,
this is fantastic, So much going on. You will get there, that's for sure.

Michiel
6 Apr 2014, 7:46am
Well done, Paul. There is definitely a car starting to come together. Great stuff.
7 Apr 2014, 6:51pm
Paul, if your like me, you know the look you want it's just a case of finding the right lights to match :icon_eek:

It took me weeks and many disappointments but I found it in the end, you just have to keep on trying. :eusa_wall:
8 Apr 2014, 6:44am
General Point
I'd like to say a quick thank you to everyone who takes the time to reply to my build thread. :cool:

It can be quite lonely working away on this project by myself, with just a radio for company at times.
So I like to think of the forum as the equivalent of a trip down the pub to discuss my build with some mates.
My "Visitor's Book" has over 40 people in it, plus I appear to have a number of BTRA* members.
( * [SIZE="1"]Build Thread Readers Anonymous[/SIZE] :icon_twisted: )

- - - - - - - - - - - - - - - - - - - - - - - - - - - - - - -

Nike 55 - Cheers Nigel, although I wouldn't say I've actually mastered many things yet. :icon_wink:
However, my skills (especially my welding) are definitely improving as this build continues to tick along.
I understand the fear of starting a job that you are not sure you can finish, so start small & build from there.
I think sorting out my headlights was one of the first, simple, bits of car "building" that I had a go at.
Following up from my general point above, you will get lots of support & encouragement from this forum.

Mister Towed - I know there will be a "tipping point" in the build where big leaps forward are made.
Unfortunately, I still have a lot of small, but time consuming, jobs to sort out during this next phase.
The good news is that I am still trying to follow your "just do it" advice, which does speed things up a bit.
But I'll certainly be glad when I don't have to keep lifting heavy things on & off the chassis any more. :rolleyes:

Michiel - Thanks, the more jobs I complete, the more confident I feel about the work still to do.
I'm sure seeing your car on the road will be another inspiration for me to keep chipping away at my own one. :cool:

Oxford - I must confess that it has been nice to be back working on the "car" part of the build.
As clearly the bulkhead, rear frame, lowered floors & rear wheel arches are key parts of this jigsaw.
I know how I want to fit these big pieces to fit together and am getting closer to making that happen.
Then it will be full steam ahead to complete the "moon rover" stage and have a working "naked" car. :pray:

Micky1Mo - Unfortunately, I only have a vague idea of how I want the finished car to look, which doesn't help. :rolleyes:
A key point for me is the need to remain practical over any design choices I make, so that I can realistically build them.
I'm actually dreading the bodywork stage, given how much work Mac did to straighten / fix the Navigator buck.
However, your Navigator/Spitfire "hybrid" build has also given me hope that the body can be cut up & put back together. :cool:

Cheers, Paul. :)
8 Apr 2014, 6:54pm
Wow

WOW Paul, I blinked and your build is flying. I must have mist some earlier posts as I thought you only had a dash tub you where working on:der:, I didn't realise you had a car, body and frame. You should be really proud of your achievements so far. When the car is parked on the drive and you are looking at it just come back from a long sunny days driving, with a cold beer in your hand, you will not be thinking about any little mistakes you may have made while learning all the new skills you have, you will be grinning from ear to ear thinking, I built that, I BUILT THAT. Although as some one once said " if you have never made a mistake, then you have never tried anything new". I personally think It's our duty as humans to constantly push ourselves to do things out of our comfort zones, its what all the great people in history have done before us. Will you build another when this is done as I'm concerned that the most prolific posters car will soon be done.:faint: . Top work.
Bon chance.
8 Apr 2014, 7:41pm
ufo17 - Thanks for the kind words, unfortunately my build "plan" has been through a number of key stages:

Plan A
- Use the front and rear framework supplied with the kit.
- Abandoned when it became clear the bulkhead frame on the early kits did not really work.

Plan B
- Use a cut down Spitfire body shell like the Tribute A352 & an early Ribble Navigator experiment.
- Abandoned because I was still trying to make the standard body shell fit and it wouldn't.

Plan C
- Use the bulkhead & rear arches from a Spitfire
- Plus the kit's rear framework, modified to join the Spitfire bulkhead (see update below)
- Cut & "stretch" the original bodywork so that it will fit around the Spitfire bulkhead.

Without doubt, Plan C is the most complicated way of building this kit.
So there is no danger of me finishing this build any time soon.
However, I do hope to match the grin that Mr T had on his first drive. :cool:

- - - - - - - - - - - - - - - - - - - - - - - - - - - - - - -

Another Mystery Solved...
I'd already taken the first step towards making a "join" between the frame & bulkhead.


Tonight I was able to take advantage of the daylight after 7pm and made some more progress. :cool:

I dug out what was left of the original bulkhead framework so I could recycle some more of it.


This large section of thick metal plate used to mount the pedals is bound to come in handy.


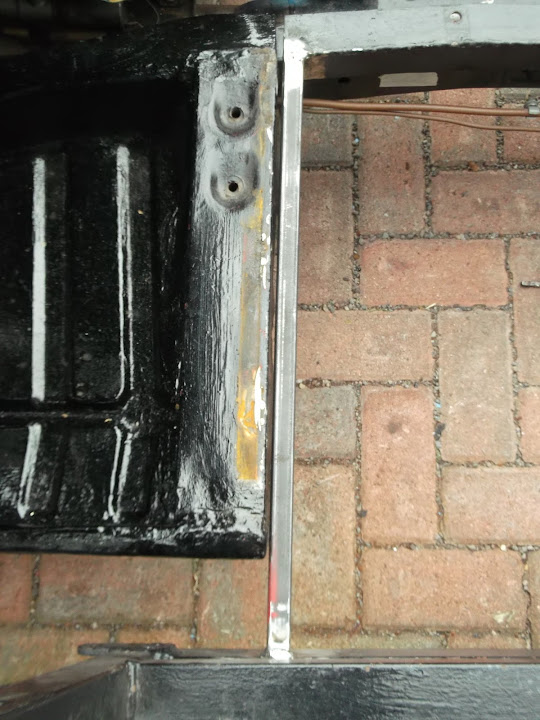
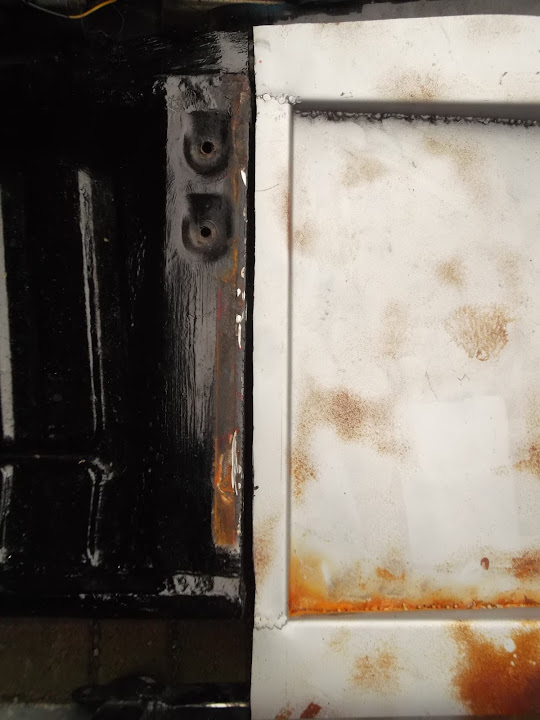
The other plates that caught my eye were used for as part of the original joining of the two frame sections.

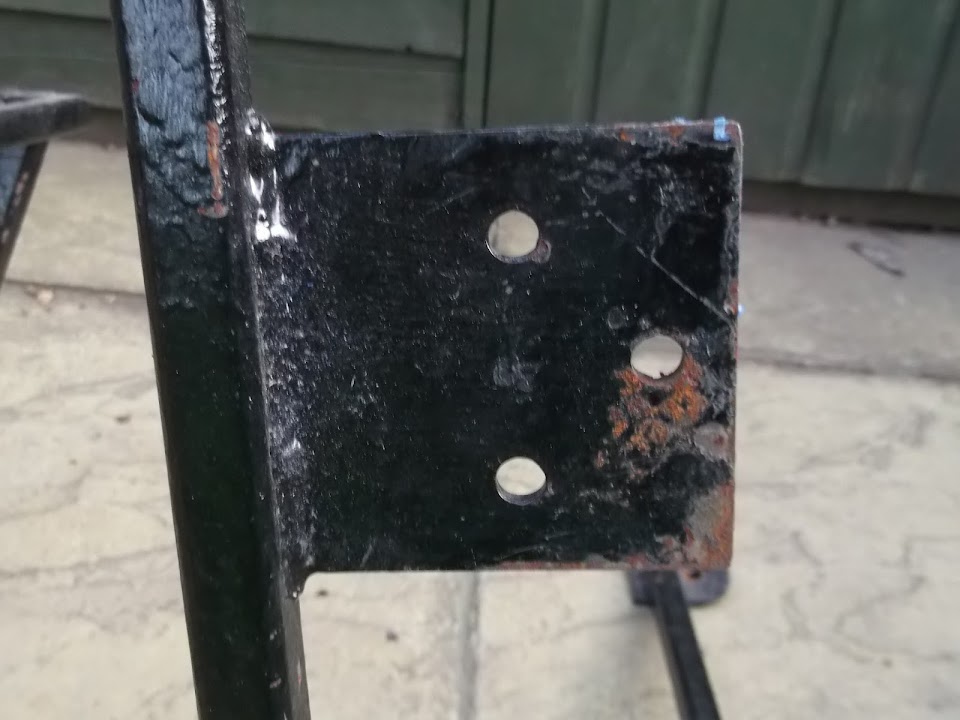
Now these two plates always puzzled me, because they were pre-drilled with holes that didn't line up with anything.

In addition, the holes on the two sides were in different places.

Driver's side:


Passenger:


While thinking about the design of the join, I'd printed off this photo from Mister Towed's build.


Then, as if by magic, I could finally see the wood from the trees. :cool:

There had obviously been a bit of recycling going on in the Sammio factory too.

As these plates are cut down versions of the ones used in the Spyder frame work.

A quick test with my cardboard template and a new door hinge gasket confirmed this.


A perfect match. :cool:

So these plates will definitely form part of the structure to extend the rear frame work.

This frame extension will then be bolted to the Spitfire bulkhead in a similar way to the Herald bulkhead above.

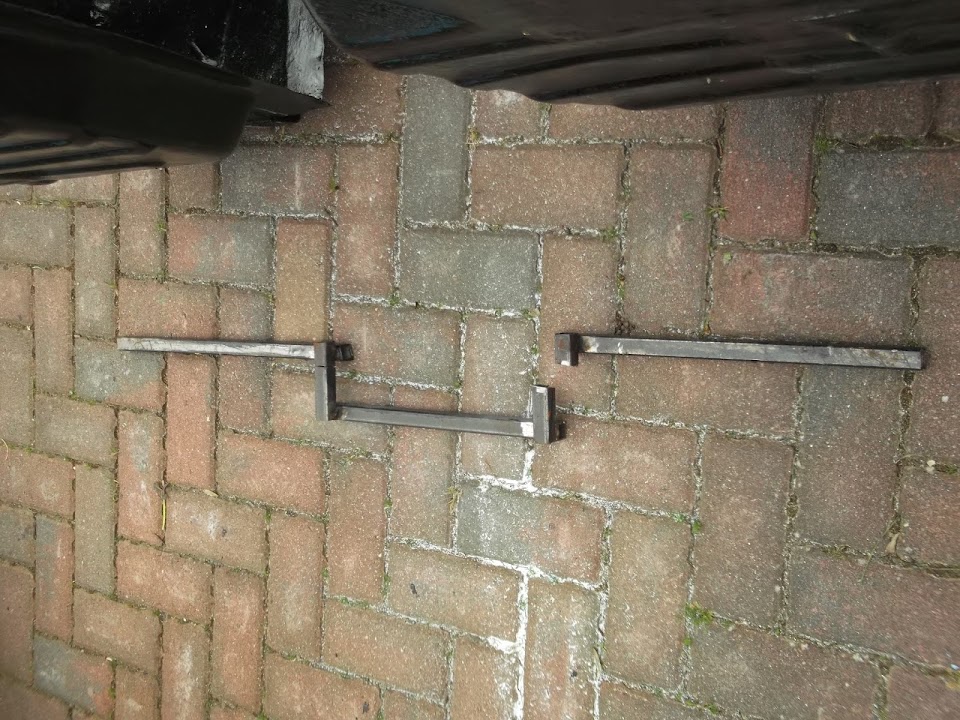
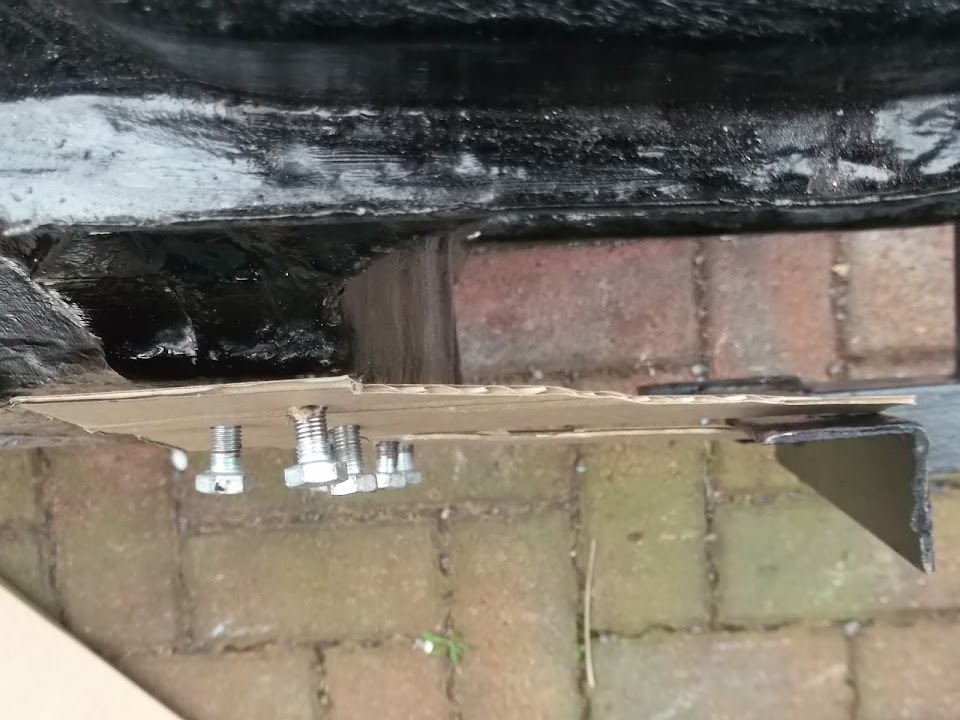
The other things I dug out of an old parts box were the rear bumper supports from my 2nd hand body tub.


These are also made of thick metal.


So I will either use these, or some normal box section to hold the plates in the correct position.

After a serious session with my angle grinder I had these bits cut out.


I also removed a couple of "feet" while I was at it.


These might be re-used at the back of the rear frame work, where it joins the rear wheel arches.

Given I wasn't expecting to do any work on the car today, a good result.

Until next time, take care, Paul. :)
9 Apr 2014, 7:32pm
Gardener's World
I've invested a lot of time over the years to ensure my garden is a "lower" maintenance one.
But my wife and daughters really wanted to try their hand at growing some vegetables.
So most of today was spend as a family activity preparing the ground & sowing seeds.

There was a corner of the garden that I needed to sort out anyway so that was sacrificed.
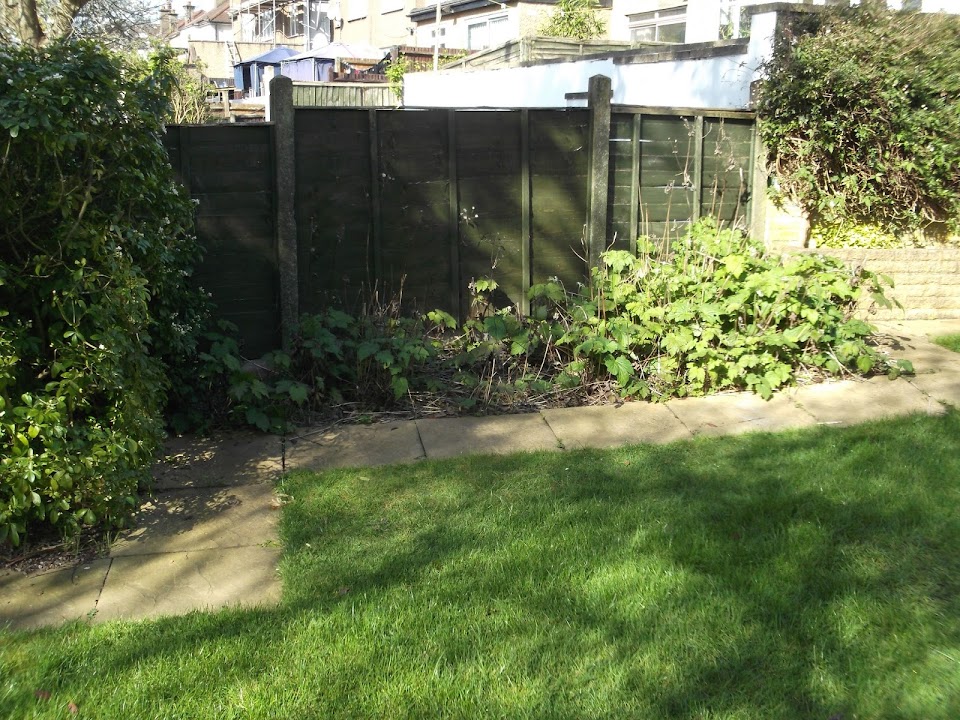


After cutting the plants down and digging out the roots it looked like this.
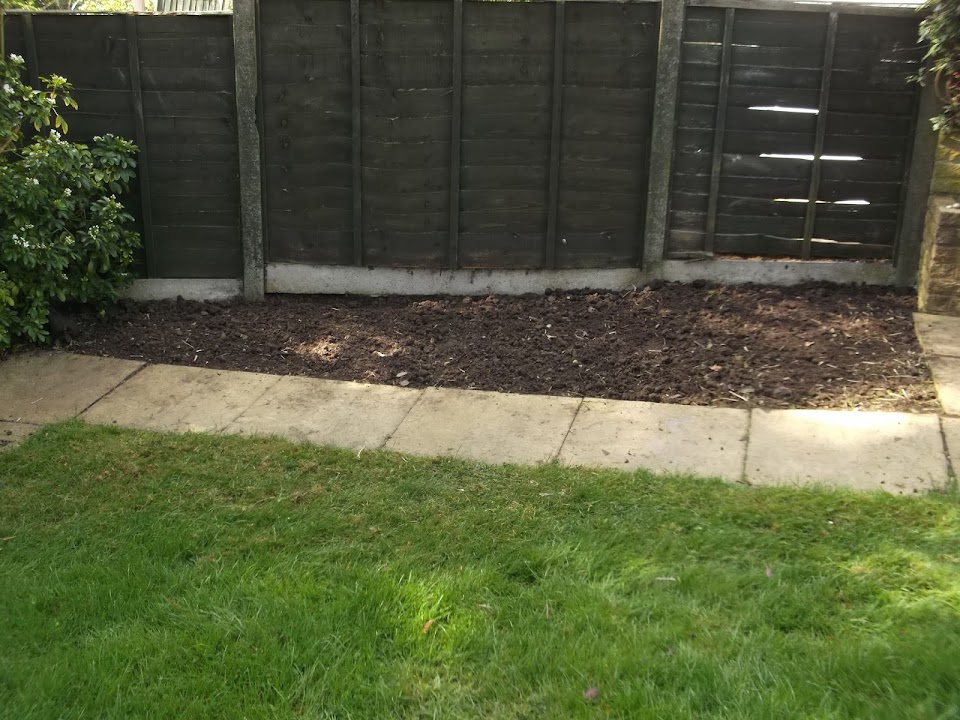


Then we had to add in some compost & sharp sand to improve our "London Clay".


You may notice that we are going to cheat & use a grow bag for the tomatoes (which initially will start indoors).

Then the area was marked out and the seeds sown (carrots, mini leeks, beetroot, peas, lettuce).


We also planted some "Flanders Poppies" as my eldest daughter has just been on a school trip to the WW1 sites.

Finally we gave the area a light covering of bark chips which we hope will throw the birds off the scent.


Overall, bloody hard work, but great to do something like this as a family. :cool:

I was then left to continue working in the garden for a few more hours.

But I did get a few more small jobs on the car under my belt at the close of play.

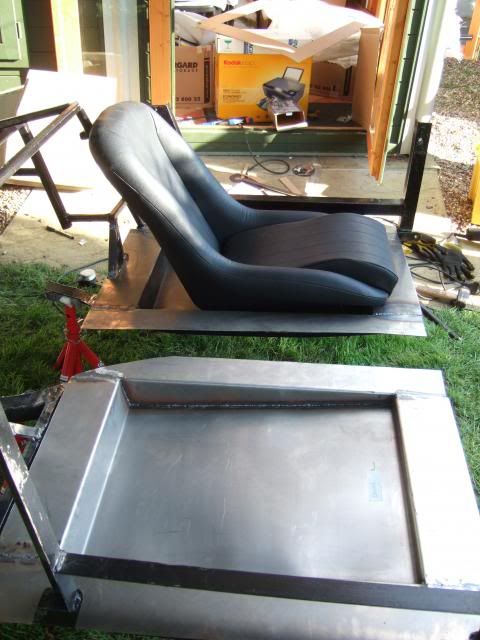
Lowered Floor Pans
Part of me wants to remove the slope in the floors, as this exaggerates the rear slope in my seats.
But sticking to KISS principals, it would be less hassle to change the seats, despite the potential extra cost.
So with no radical changes to make, I could start to finish out the floors as they were.

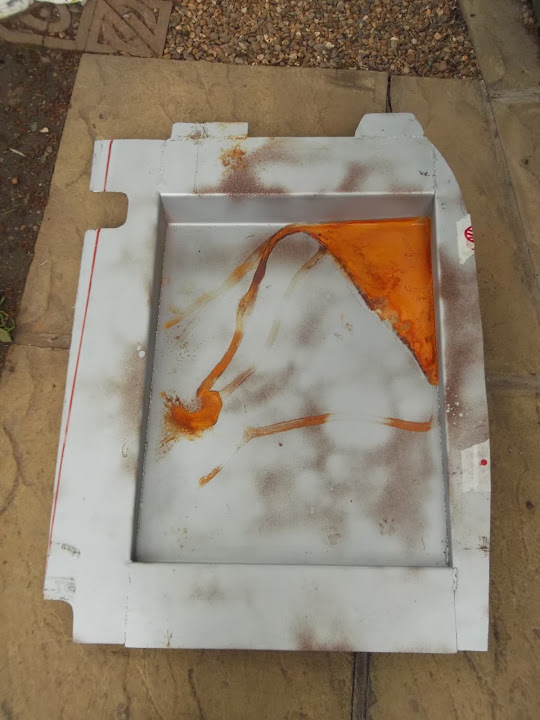
I was short of time (and energy) so I needed a way of marking up the passenger floor without removed the framework.

So I made another cardboard template to help me located the hole to bolt the frame to the chassis.


I then cut out the red dot I'd marked and with the floor back in place I could then mark that.


I also marked up the outer edge of the floor, & the front edge, for some light trimming.

This was the floor before:
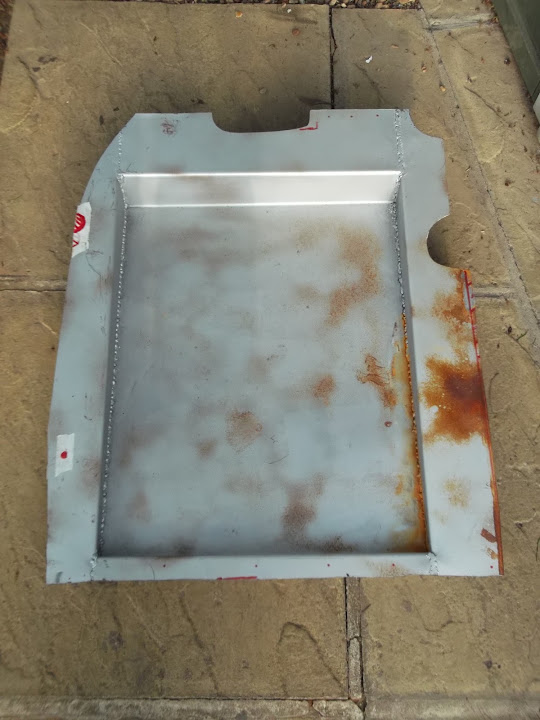


With two sides trimmed, a hole drilled, a notch cut out for the seat belt mounting point & a light sand, it looked like this.


A liberal coating of Kurust later and this was how I left it for the night.
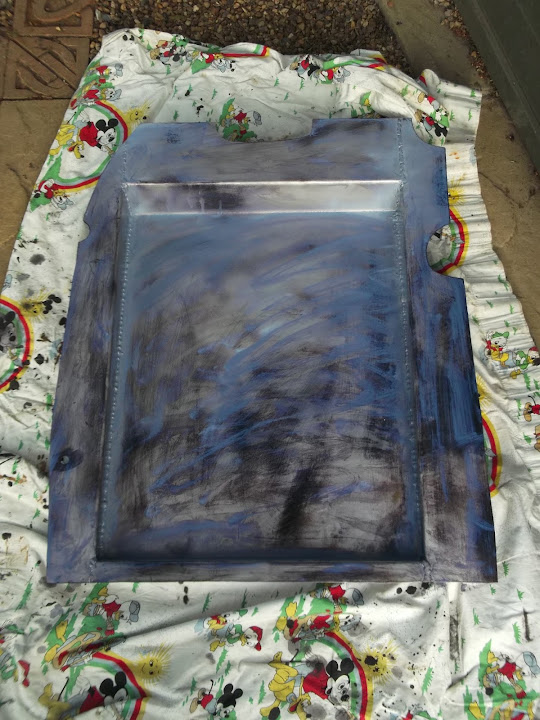


The only other thing I managed to do was to start work on the connectors for the rear lights.
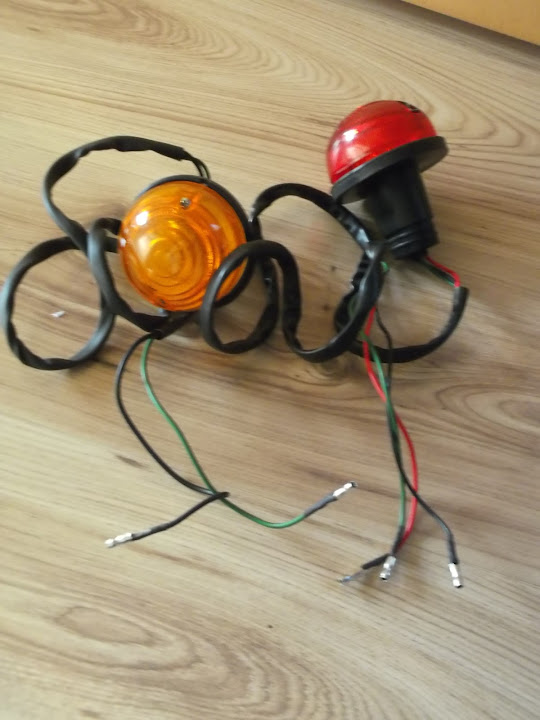


I'd made yet another school boy error when I ordered the connecting blocks. :rolleyes:

I'd been thinking about the wires required in the loom for these lights on each side:
- Stop
- Tail
- Indicator
- Common earth

That is why I ordered a 4 pin connecting block, but that would permanently join the two lights together!

So what I should have ordered was a 3 pin and a 2 pin, in the end I just orders some more "double" connectors from ebay.
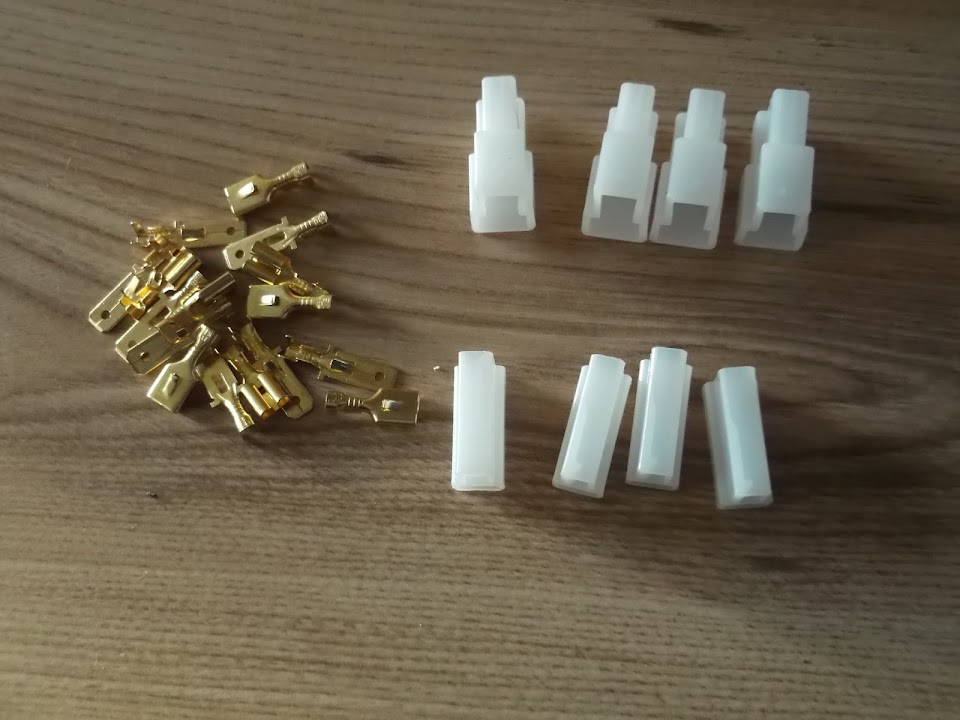


I will now use the 4 pin for the 3 stop/tail light wires.


And the new two blade connectors for the indicators.


Right, I'm off for a hard earned beer, take care, Paul. :)
10 Apr 2014, 7:33pm
Every little helps...
I've tried to fit some small car jobs around everything else I've got to do and that approach is working out OK.

Clearly it is never going to be as productive as a full day, but all this work needs to be done at some point.

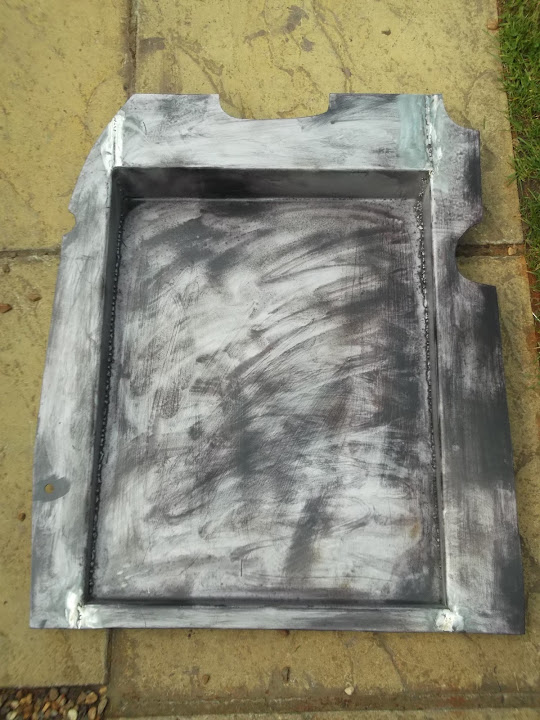
Hard to see in the photo, but I took my angle grinder to the welds on the four "corners" to smooth them out.


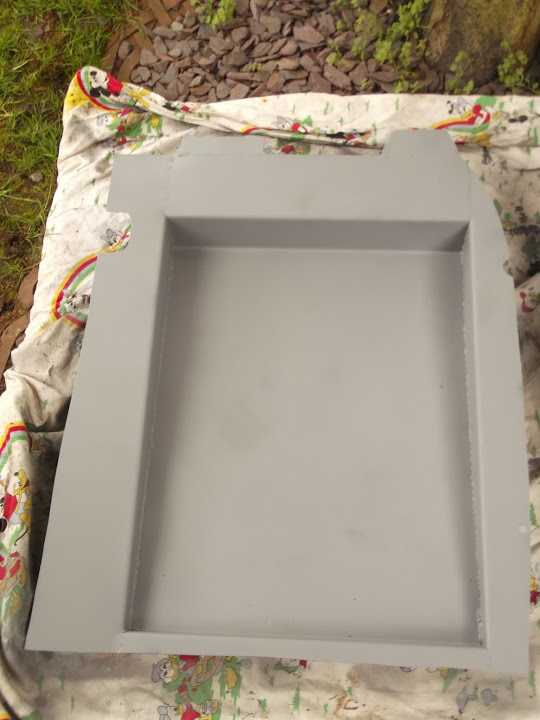
Then I sprayed on some etch primer & instantly the whole floor looked a lot better.


Later I used the same cardboard template technique as before to locate the mounting hole on the driver's side floor.


I also marked up all the other adjustments I needed to make.

Before:


After:


Then the usual layer of Kurust.


And while the bottle was open, I did the underneath of the passenger side floor I had primed earlier.


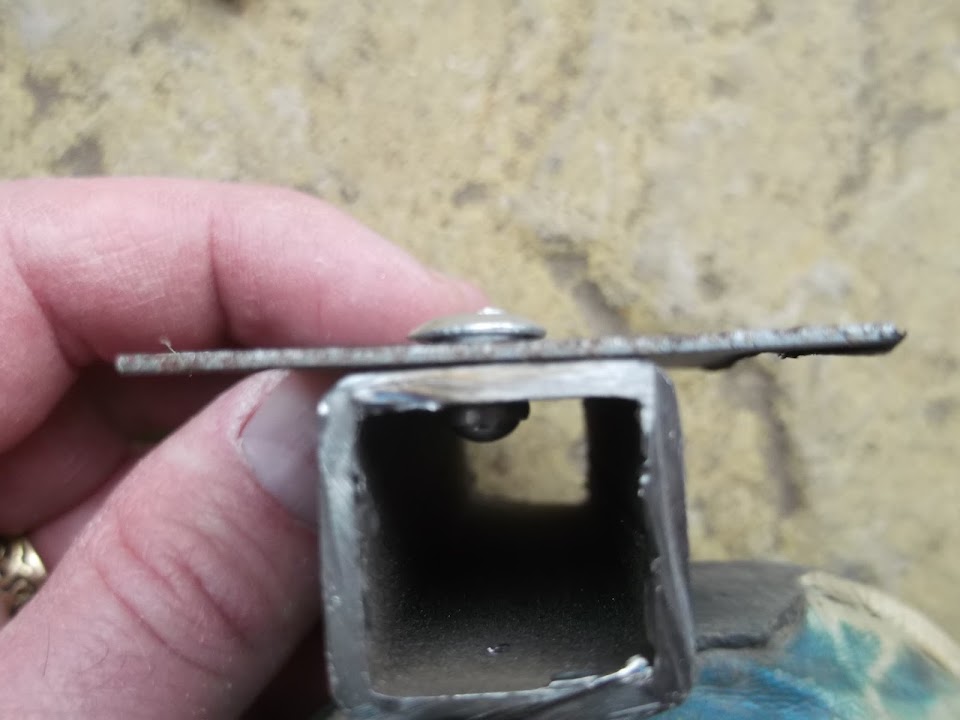
I did another pop rivet test as I want to fix the floors to the frame before the final bonding / fibre glassing session.

I used an off cut section of the floor and a short length of box to see if the biggest rivets that came with my gun would work.


It does look like this approach will do the job I need. :cool:


I also finished off the rear lights with the remaining connecting blocks & wrapped the ends of the wires.


I have deliberately left the wires from the lights as long as possible to give me more flexibility with the main loom.

This is how Scottie22 attached his rear loom on his A352 project.


I need to take a similar "high road" approach, as I can no longer run the wires along the floor as per normal in a Spitfire.
( I welded up all the cable "holes" in the bulkhead due to the rust damage in this area. )

That's all for now, take care, Paul. :)
11 Apr 2014, 3:02pm
A small step backwards...
It was pointed out to me that I had mixed up the fittings on the two pin connecting blocks. :rolleyes:

Obviously they didn't come with any instructions and I've never used these things before.

So the "male" end is not supposed to poke out of the block it is fitted to.


Similarly, "female" end is supposed to be flush with its fitting.


So out came my penknife where the tweezers, sewing needle & short blade were required.


These allowed me to push in the locating tabs to remove the wires & push the tabs back out for re-fitting.

So now the male end looks like this.


And the female end looks like this.


A bit of a pain to re-do work, but at least all the remaining blocks will be fitted correctly at the first attempt.

Some small steps forwards...
I got a coat of etch primer on the "top side" of the driver's floor pan.


I also took my angle grinder to some of the welds on the underside of the passenger floor, before it got primed too.


When the primer on the driver's floor was dry enough, I flipped it over, ground down the welds & covered the underneath in Kurust.


Later on, the Kurust was dry enough to spray a coat of etch primer over the top.

Unfortunately, I ran out of primer just as I started, so I couldn't finish the job (more is on its way).


Still, at least I covered the areas that I will be adding a skim of filler to, which will be the next job on these floors.

Right, got to go, take care, Paul. :)
11 Apr 2014, 8:35pm
Do you really want to use filler on the floors Paul? As they are steel I would just underseal them underneath and a couple of good coats of paint on the inside. Filler may crack when applied to a large flat surface that then has weight put in the middle of it and it would be a shame to have a problem once assembled.
TTFN
Mac
12 Apr 2014, 4:13am
Love the commitment matey. :)

I remember making my lowered floor pans and I just undercoated them, then chassis black on the inside and that nasty tarry anti-stone-chip stuff on the underneath and that worked a treat.

One lesson I learnt on a rainy trip back from a show that is worth sharing is, don't forget to drill some drain holes at the lowest points and make sure that the holes are fully painted/grommeted to stop that bit rusting as there you are expecting water!
12 Apr 2014, 7:32am
Mac & Dave - Thanks for the replies chaps. :cool:

Sorry I wasn't being very clear, the filler is just to skim over the welding, not to cover the whole floor.

Good point about drain holes, I'll add them when I know where the seat are going to be bolted in.

Cheers, Paul. :)
12 Apr 2014, 11:34am
Filler...
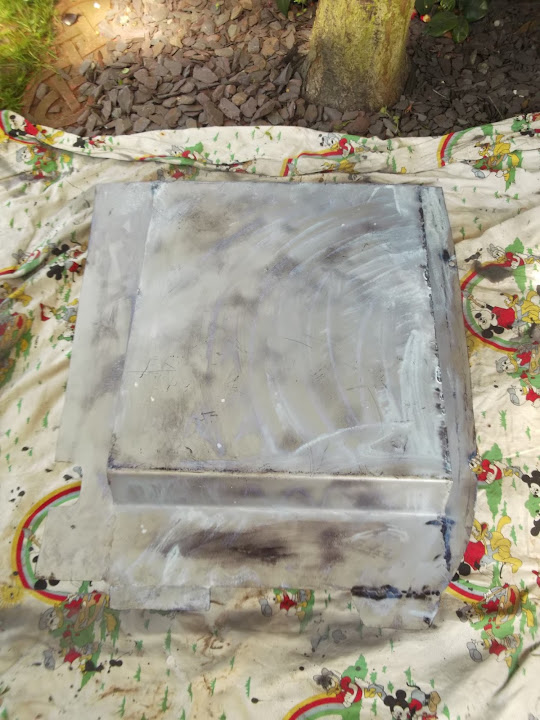
Just to quickly follow up my previous message, here is the filler on the "top" side.

12 Apr 2014, 4:25pm
More Filler...
Managed one more short session outside this afternoon & got some filler on the "under" side of the floors too. :cool:


At some point I need to rest these back in place on the car so I can measure & mark up where to drill the holes for the rivets.

I don't want to use rivets on the inside edge of the frame, as that is made from a length of angle iron that sits directly on the chassis.

Instead, the rivet will go into the lengths of box section that form the framework around the other three sides of the floor.

With the floors secure, I will then be able to work out the best way to attach the rear wheel arches to the frame/floor.

In this photo Micky1Mo extended his own frame work so it could be welded directly to the top of the arches.


Whilst Scottie made use of the seat belt mounting points in the arches for one of his support brackets.


So I will bear these two approaches in mind when I get to that stage.

Cheers, Paul. :)