This is a read-only archive of the old Madabout Kitcars forum. New posts and replies are no longer possible, but every thread is still here to browse and read.
Can't wait to see on car... need some low down 3/4's shot. There are going to be so many versions, looks like its all dependent on height of suspension/radiator.
Can't wait to see on car... need some low down 3/4's shot. There are going to be so many versions, looks like its all dependent on height of suspension/radiator.
Here's a few taster shots to start with, sorry they're a bit dark but it gives an idea of what the scoops are going to look like -
Not to everyone's taste, I'm sure, but I rather like them. I think it does show how versatile Gary's design is, it looks like short of adding a whale tail it's pretty difficult to spoil the looks.
Mr T - Are you going to put some sort of grill in the 'mouth' of the scoops?
Yes, I'll be putting matching stainless mesh in all the air intakes. I had toyed with the idea of blanking the two bonnet scoops off but I reckon it won't do any harm to have the extra ventilation.
I was a bit taken aback by how big the main scoop ended up, but that's what was necessary to clear all the bits of engine underneath. Without the scoops the bonnet would've sat at a crazy angle like it was ready for take-off. lane: I guess it's down to differences in the donors that mine needed so much bonnet cutting away.
Looking forward to getting it finished now, the light is now almost visible at the end of the tunnel.
I think when you build one yourself, you will make decision that evolve with the build... but will make them work and be happy with the outcome. I'm using the original steel wheels and Austin Wolsey lights! I will cut the body to suit.
Been working on my bonnet scoops today. It's taken about six hours of filling and sanding to get them looking a bit more presentable. As the main scoop was looking like a patchwork quilt where I'd cut a small piece out first, then, when something else fouled, another, and so on, I've given them a quick coat of etch primer.
Unfortunately my primer ran out before I'd got enough on, but it has shown up quite a few blow holes and one or two areas that need further work, like the front edge of the main scoop as it isn't an even thickness right the way across yet. I'll be sourcing some extra fine filler and some more etch primer tomorrow to try to give them an acceptable finish.
Anyway, here's some pictures of today's progress -
One thing you may want to consider when you get some more filler is to add a small curve to the bottom of the scoops where they meet the body work so that it is easier for you to paint/polish them as i know that you're planning on painting the car yourself and I've found from my experiences of painting mine that sharp edges can be a bit of a BU**ER!
But that's just my experiences and others may find them a doddle
Started tackling the bonnet shut line today. The back edge of my bonnet was as wavy as a premiership footballers perm and took quite a lot of sanding to get it anywhere near straight enough for my liking.
It was so bad that I was even able to use the angle grinder to cut about 10mm from the o/s bottom edge where it was curved. Once I'd straightened it all out I was left with a gap that ranged from 10mm at the centre to 30mm at the aforementioned o/s bottom corner.
I taped cling-film to the trailing edge of the bonnet to stop the filler from sticking to it, locked down the bonnet and filled the gap. I half-inched the idea of using the plastic spreader to create the gap once the filler was in place, and this worked really well where the gap was narrow. Unfortunately, where the gap was at its widest the spreader pulled the filler out of the gap leaving an uneven shut line. I'll address that tomorrow with some more filler.
Not looking too shabby now
While I was waiting for the filler to dry I started sanding down my wind deflector 'frame' which was moulded to a similar standard to my bonnet, ie not great. Please don't get me wrong, I think the Sammio bodies and parts are fantastic value for money, but they do take a lot of work to achieve a decent finish. Still, I suppose I could've bought a Caterham and had it finished months ago. But what the fck would I do with my spare time then?
Should be able to get a bit more done tomorrow, weather permitting...
I think Gary has given us all a great starting point. We can let our imaginations run riot and then discover the limits of our skills. We then go on Google and YouTube and this forum and increase our skills.
Wouldn't it be lovely to take a grinder to a carbon-fibre-finish Caterham bonnet. Next time I see one, I will.
Nice work Mr T, I like the scoops, and the shut line is mighty fine.
Mr T - Another great job described in the kind of detail I like/need.
The edge of my bonnet is also quite rough in places, so can I just check I have got this right?
- Cut a straight edge on the bonnet
- Fill the bulk head to match
- Sit back and admire your work
Do you need to treat the edge of the bonnet with anything?
Or it is just a thin layer of filler around the bonnet's edges?
Mr T - Another great job described in the kind of detail I like/need.
The edge of my bonnet is also quite rough in places, so can I just check I have got this right?
- Cut a straight edge on the bonnet
- Fill the bulk head to match
- Sit back and admire your work
Do you need to treat the edge of the bonnet with anything?
Or it is just a thin layer of filler around the bonnet's edges?
Cheers, Paul.
Thanks for the vote of confidence Paul.
What I've done is get the trailing edge of the bonnet as straight as possible by cutting and sanding it where necessary. It's tempting to think you can even out the shut line by building up the back edge of the bonnet with filler, but a few people, Gary J included, have advised against this as it'll just break off the moment you put any stress on it.
The generally accepted way to get an even shut line is to build the top edge of the bulkhead forwards with filler to meet the bonnet, then use a spreader or knife to cut the shut line to the desired width while the filler's still soft. I used cling-film to stop the excess filler from sticking to the foam strip I'd stuck under the bonnet to get it level, and it worked very well.
So, to answer your question, yes, it really is as simple as that - straighten out the bonnet, build up the bulkhead with filler, sand smooth, then sit back and admire your handiwork.
Then sand the bonnet a bit straighter and repeat until satisfied that it looks right...
It's tempting to think you can even out the shut line by building up the back edge of the bonnet with filler, but a few people, Gary J included, have advised against this as it'll just break off the moment you put any stress on it.
yup, i made this mistake the first time i attempted it
Although in the end i used a combination of bonding paste backed with fibreglass matting to make up the edge of the bonnet but did the bulk of the work on the bulkhead.
One interesting thing i've found is that my shut lines were never a few mm (not that, that is an issue for me!) but after a year of running and things settling, my bonnet shut line has altered slightly. It's by no means a 'biggie' but it's a development that i wasn't expecting as my bonnet hinge is quite chunky!
I must say I'm quite pleased with the bonnet shut-line myself now. I can't remember who it was that suggested using the spreader to cut the line, but thanks for the tip, it worked a treat!
There's still a lot of filling and sanding left on the bonnet to finish off the scoops and air intake. Thing is though, I'd had enough sanding this week so I went to the gym this morning then took my better half out for lunch and accompanied her while she did some clothes shopping instead. This was a way of banking 'car working time credit' with her, plus I was able to sneak into the trimmers when she wasn't looking for a chat.
My seats aren't ready yet (I didn't expect them to be) but I wanted some advice on the padded trim panel that I'm planning to put around the top edge of the cockpit. The idea is for me to make the backing panel and for them to trim them for me. The big question I had was how best to get the panel round the rear corners and they suggested using sheet aluminium riveted to the hardboard panels. So, a quick stop off at Wickes for a 1220x610 hardboard panel and I got my overalls on for a couple of hours and made a start on the trim panels late this afternoon. I've got the rear part cut and riveted it to the ally corners, just need to extend both sides forwards to meet the edge of the dashboard now. I've got a roll of flint grey carpet to go below the padded edge all the way around, and if that looks odd, which it might, I'll just use it for the rear bulkhead and get some fluted vinyl for the sides.
Oh well, back to work tomorrow but more progress next week I hope.
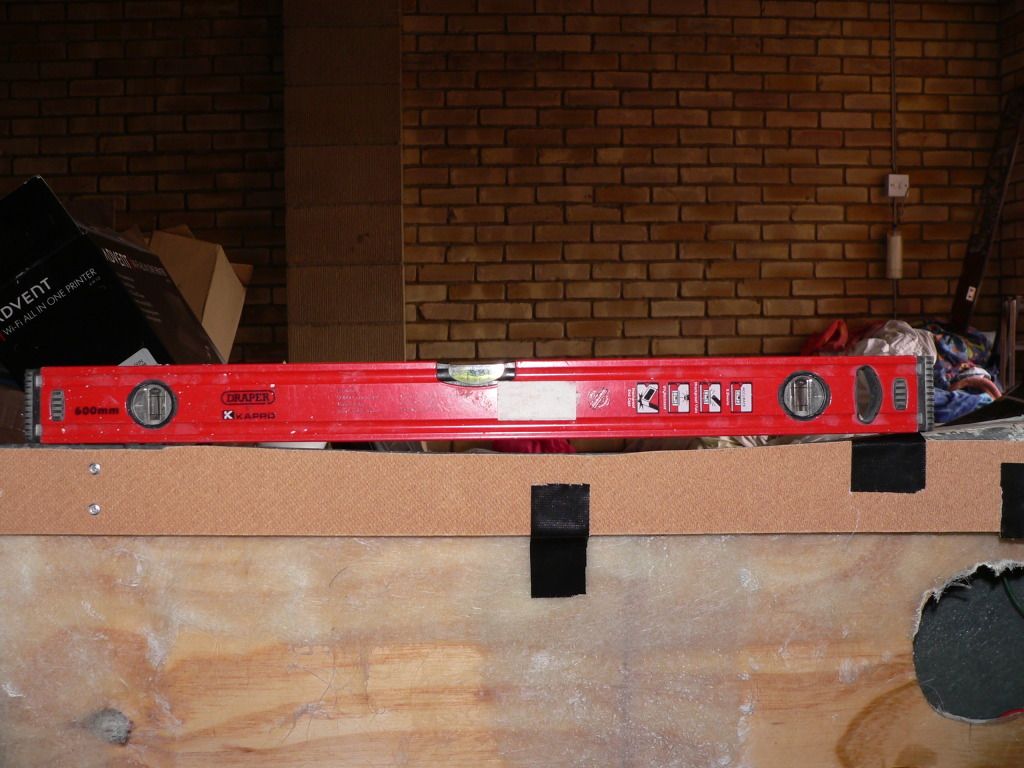
I made up the side pieces for my cockpit edge panel yesterday, making them identical, both 700mm long by 55mm high, to give some symmetry. I riveted them to the aluminium corners then taped the whole thing in place for a trial fit -
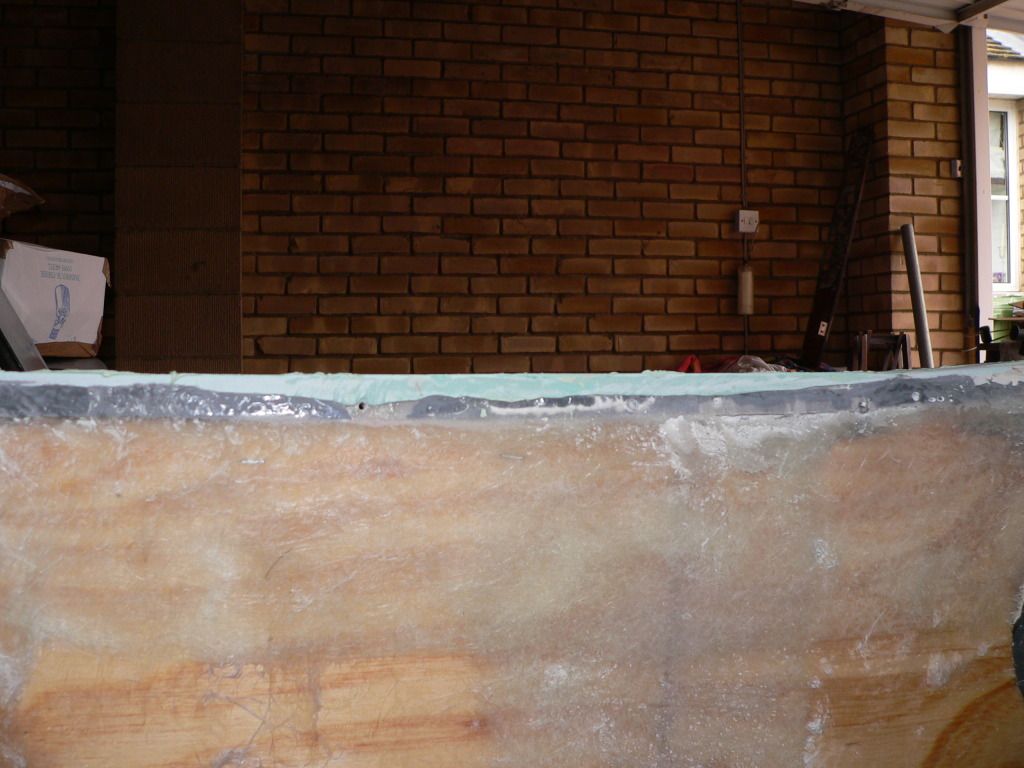
So far so good you may think, but, once again, I'd made the assumption that both sides would be the same on a Sammio body. Erm, no. The fit on the driver's side was perfect, while on the passenger side the trim panel sat proud of the cockpit edge by up to 10mm for a run of just over 30cm in the middle.
Looking at the cockpit edge on that side, there's a substantial dip in the middle. I decided that there was nothing for it but to drill out the rivets on that side and make a new panel shaped to match the cockpit edge. Once fitted up though I knew it just didn't look right -
So, drilled out the rivets again, made a new panel the same as the driver's side one, covered it in cling-film, screwed it to the cockpit side where I want it and went at the top of the body with a tub of filler -
Waiting for it to dry while I have an early lunch, then loads of sanding. I might be able to finish it today, but I'm off to work at 2pm so I might not get round to posting any pics of the finised job today.
HURRY UP AND FINISH THAT SANDWICH, T.... i want something to read when i have my lunch. Are you enjoying all these little imperfections?
Ha ha! Yes, of course I'm enjoying smoothing out the little imperfections you get while building a Sammio. I'm always up for a challenge...
I've finished my sardines on toast now, so I've had a chance to remove the cling-film and see how we're doing. Pretty good as it happens, the filler has levelled out the dip nicely. I've given it its first sanding but it's now had a second skim of filler to cover a couple of imperfections. That won't be sanded down until tomorrow now, but I've taken a picture from the inside so you can see how much filler went into the dip -
Looking at the picture of the rear cockpit above your luggage compartment it seems you have the same high spot behind the passengers seat that we had. Am I right that you have tapered the hardboard down as it crosses over towards the headrest? It looks that way.
We "had a go" at the rear deck by slicing and dicing the flange in the same way as you did to the bonnet lower sides. Then placed a big weight on that area until it had fibreglassed up good and hard. Seems to have levelled things up a bit.
Are you thinking of building up the valleys either side of the headrest hump to even things up Mr T ?
Looking at all of this and also taking into account a comment you made a while back about where people put their hands/bums when getting in/out of the car i wonder if it's worth taking this lip approach a bit further?
From what i've seen so far on mine, the drivers side edge and the tunnel top are the two places that take the hammering getting into/out of the car and i've started to get some cracking on my drivers side top edge as a result.
I suppose it doesn't help that i sit on it to start the car in the garage rather than getting in!
I'm now pondering if i can adopt what you're doing but aim for something a bit more lipped-over? i.e. something along the lines of...
damn you..... yet another thing to add to the list of "things to mess about with"!
That was one of the things that I was going to do on my Spyder and tried long and hard to make it work however it just never looked quite right because of the hump. It looked odd taking the trim over the hump and looked even worse leaving a gap for it so in the end I binned the idea. I am sure that somebody more skilled than me could make it work but I just could not, no matter how hard I tried, get it to look "right".
Am I right that you have tapered the hardboard down as it crosses over towards the headrest? It looks that way.
Are you thinking of building up the valleys either side of the headrest hump to even things up Mr T ?
Well spotted that man. In fact, the body on mine is slightly convex all the way across the back of the cockpit. It's not really an issue though as it's a constant and fairly gentle curve, and once my edge panel is padded it'll look fine (imho).
The reason for building up the passenger side is that the dip on that side is quite sudden so it'd be obvious that there's something wrong if I just shaped the panel to fit.
I like the idea of padding the whole top of the cockpit, but, as has already been pointed out, that'd be pretty difficult to get right with the head fairing in the way. Wouldn't be too difficult on a humpless body though.
I think one thing to come out of my efforts at trimming the cockpit so far is not to leave it until after you've sprayed the car. I would've been really unhappy if I'd finished the spraying then found I needed to build up the body to get the trim panels to fit, so it's worth planning what you want at this stage of the build.
Hoping to get the cockpit side sanded down fully tomorrow morning and crack on with preparing the body for paint, but these 'little' jobs sure do seem to eat up the available time...


 lane: I guess it's down to differences in the donors that mine needed so much bonnet cutting away.