This is a read-only archive of the old Madabout Kitcars forum. New posts and replies are no longer possible, but every thread is still here to browse and read.
My first post here but been keeping an eye on all things Automotive for a long time. Chris your skills are amazing and the SWB is a stunning car and IMHO you've chosen a superb base vehicle too.
If I can sort my finances I would definitely be up for one of these for sure.
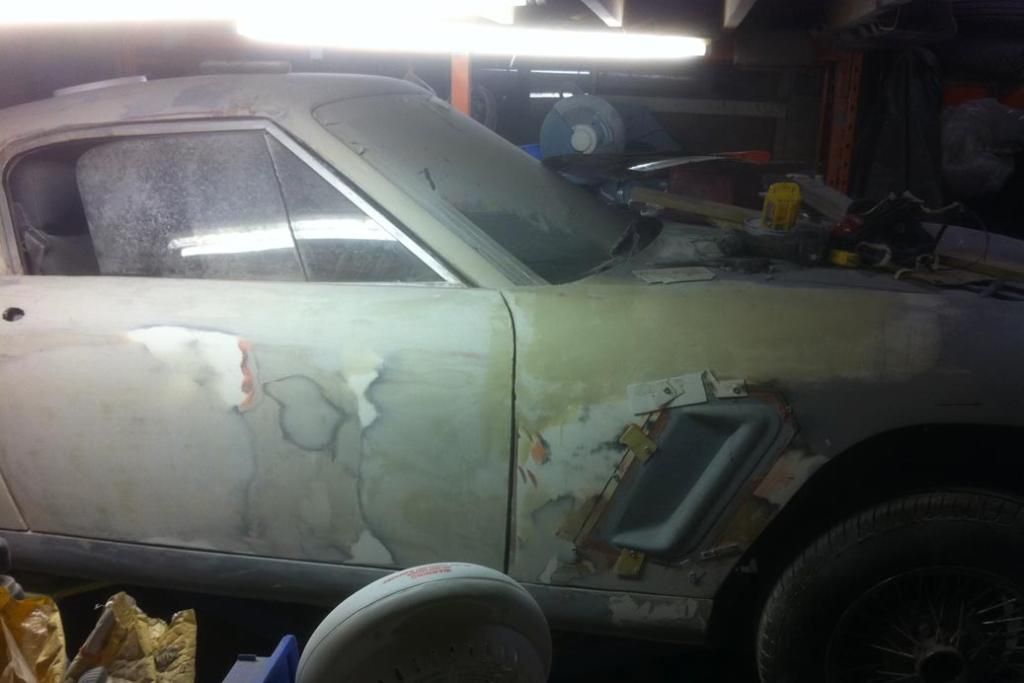
If I can add my ten pence worth re the finished styling, I'd say you have the car 99% spot on from a tribute standpoint. My only gripe is the size and positioning of the front vent, behind the front wheels.
To me it seems too big and in the wrong place. Obviously due to the BMW being shorter in the front than the Ferrari the bodywork behind the wheels is smaller, the vent therefore seems too big for the space.
Ive added some photoshopped images below(with some lovely spokies) to illustrate the point, hope you dont mind mate.
Car as is...
Original SWB
Smaller vent
I think a smaller vent would give the effect of elongating that area.
Thoughts people?
presuming that these vents aren't functional in the master mould, they could probably be a simple bond/bolt on option available in different sizes and fitted wherever you wanted?
Not sure in the vents are fixed or not. My guess is not based on these earlier pictures during the development so you could replace them with any size or shape you like - What are they like on the MX 250?.
Probably need Chris to give the definitive answer.
Hmm, I could be wrong, but from this angle it looks to me like Chris has already moved the forward vents to the middle of the panel between the wheelarch and bonnet shut-line on the production shell.
Either way, the placement of that vent wouldn't be a deal breaker for me, it's not hard to move/modify/delete such features on a fibreglass shell after all.
Now, back to the classified's to find a low mileage, FSH, silver 2 litre straight six donor with a/c, cruise control and scruffy bodywork...
Me: From talking to Chris and Dan at Donington it won't be their panels that need cutting up, but the donor Z3 needs some, ahem, adjustment with a lump hammer to squeeze it into its party frock.
Tribute: Something must have been lost in translation at the show Dave, the only modification to the Z3 base car, apart from stripping off the outer panels of course, is to cut off two small brackets from the front grille area. I will post up some pictures when I have them.
An interesting point with the taller profile tyres that are fitted to my SWB is that it corrects the over reading on the Z3 speedo, according to my GPS, almost exactly.
Tribute Automotive wrote:
Kit door skins have return edge which allows them to be bonded over the existing Z3 doors once glass and trim have been removed and an area in the centre of the door skin "pushed" in:
Since there are a few people on here who can use PhotoShop, could someone post a PhotoShop version of the red car in yellow with a black roof and minilight alloys
My first post here but been keeping an eye on all things Automotive for a long time. Chris your skills are amazing and the SWB is a stunning car and IMHO you've chosen a superb base vehicle too.
If I can sort my finances I would definitely be up for one of these for sure.
If I can add my ten pence worth re the finished styling, I'd say you have the car 99% spot on from a tribute standpoint. My only gripe is the size and positioning of the front vent, behind the front wheels.
To me it seems too big and in the wrong place. Obviously due to the BMW being shorter in the front than the Ferrari the bodywork behind the wheels is smaller, the vent therefore seems too big for the space.
Ive added some photoshopped images below(with some lovely spokies) to illustrate the point, hope you dont mind mate.
Welcome Andy.
I always welcome praise AND comments on the development of our products, but in this case the moulds are already made with the vents included in the front wing. As Mr Towed says "it's not hard to move/modify/delete such features on a fibreglass shell". This statement is true and I for one enjoy the fact that Tribute kit builders don't all build the same way meaning no two look exactly the same. Personal taste and choice of style and parts make it YOUR CAR. For example wheel/tyre choice on my own personal take on this kit/car will almost certainly not be the same as most others:
Since there are a few people on here who can use PhotoShop, could someone post a PhotoShop version of the red car in yellow with a black roof and minilight alloys
Many thanks
Black roof Bill? Where would you break the colours on the rear pillars?
Chris.........if the door panels are fitted there bwill be an air gap between the z3 door and the panel
ofcourse,is this gonna be filled to eliminate vibration sounds?...........
René
Chris.........if the door panels are fitted there bwill be an air gap between the z3 door and the panel
ofcourse,is this gonna be filled to eliminate vibration sounds?...........
René
Vibration sounds? The GRP door skin construction is a sandwich of 450gsm matt/3mm core matt/450gsm matt, very rigid. I will take some pictures for you. I personally am not going to fill the void, to allow any moisture to exit via the drain holes that will be drilled in the bottom of the new skins.
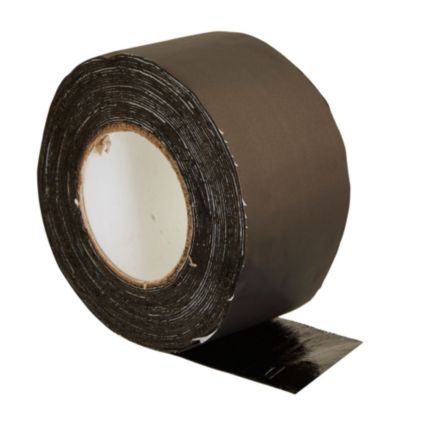
Fitted this in the boot/rearwheel arches and reduce noise by about 30% and irritating vibration almost completely. Cheaper than dynamat but I wouldn't use it inside the cabin in cvase it smells
Chris.........if the door panels are fitted there bwill be an air gap between the z3 door and the panel
ofcourse,is this gonna be filled to eliminate vibration sounds?...........
René
René
On thing you can do if you are worried about vibration between original metal panels and the new GRP skin panels is to squirt builders expanding foam into the gap between the panels to fill the void.


 [/IMG]