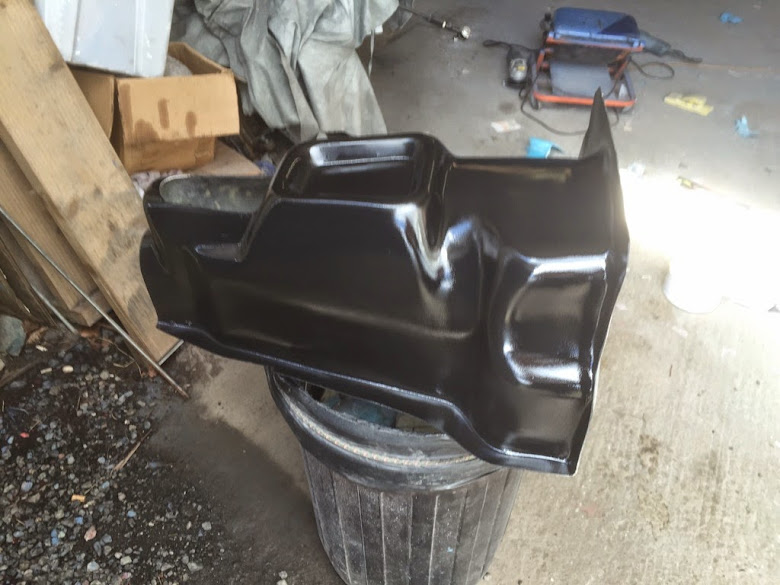
MadaboutKitcars

This is a read-only archive of the old Madabout Kitcars forum. New posts and replies are no longer possible, but every thread is still here to browse and read.

New Cordite Build, with a twist....

23 Apr 2015, 9:18am
A very frustrating day yesterday. Finally got the drivers seat mounted on the sliding rails and installed only to discover than the extra height of the raising blocks required for the sliding rails meant that leg to steering wheel clearance was now ridiculous. Too many hours later of lying upside down grinding cutting and welding upside down under the dash and the column mounts are now moved up approx 1 1/2" inches which now gives plenty of clearance. grrrrrrrr

TTFN
Mac
23 Apr 2015, 1:00pm
Finally got the cockpit lined today, so tomorrow is final seat and seatbelt fitting followed hopefully by a trundle around the yard!


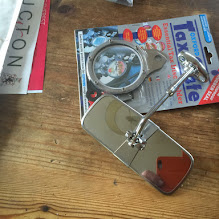
On another note the postie delivered these this morning:


Im fully aware that the wing mirrors may not be high enough but im going to try and make them work.

TTFN
Mac
23 Apr 2015, 1:03pm
In my search for reasonable reproduction mirrors i came across this site:

http://www.classic-car-accessories.co.uk

I haven't come across them before but have to say that the quality is good, the prices were right and the delivery was very prompt. might be of use to someone.

TTFN
Mac
23 Apr 2015, 1:33pm
Mac - Fixing your steering column position sounds like a bit of a nightmare. :eek:

But the cockpit interior looks great. :cool:

Great to hear you are hoping to be able to drive it around tomorrow. :madgrin:

So I hope the sun is shining and you can get a few nice photos too.

Good luck, Paul. :)
24 Apr 2015, 11:25am
Paul, Thanks I'm very happy wit the finish of the cockpit area, it looks clean and is now well sealed from the outside elements. For those who haven't been following I'm using Raptor Bed liner.

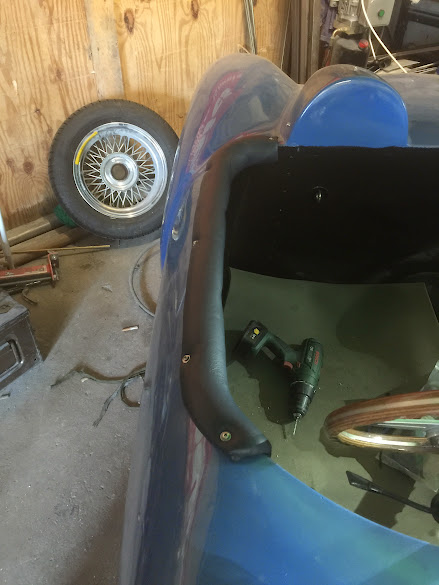
The bed liner has cured nicely but before i put the seats and belts in for the final time decided to make some cockpit trim edges in fibreglass before hand as I got the shivers thinking about the possibility of dripping FG resin on my lovely leather seat covers! Luckily i have some good and thick fibreglass cloth that does the job in 1 shot.


Shouldnt take lon for them to go off hopefully then i can crack on.

TTFN
Mac
25 Apr 2015, 6:44am
Mac - Sorry for being a bit thick, but how will those cockpit trim edges be used?
25 Apr 2015, 2:06pm
Paul, they will be foam covered then clad in leather to match the seats and the headrests, they just make the cockpit edges a little more crotch friendly! and also break the transition from exterior to interior. Hopefully the following pics will clarify?

Mac


Mac
25 Apr 2015, 2:24pm
Great progress, and I do like how you've made those edge liners! I saw a few cars with that sort of thing fitted last weekend and I do think that it's a great finishing touch. I just couldn't think how to go about making them, so idea duely stolen and stored away for future consideration :)
25 Apr 2015, 8:48pm
Mac - Looks like that is going to be another nice touch. :cool:
25 Apr 2015, 10:18pm
Mac - Thanks for the heads up on that company just ordered some "functioning" wing mirrors after the bullet style have absolutely no value other than cosmetic.

Love the finishing touch of adding the padded rail.
27 Apr 2015, 11:14am
Bit of a plug here. Even though displaying a tax disc is no longer a legal requirement i thought that a period tax disc was a nice accessory. so ordered the below last Thursday. Friday morning it was on my doorstep and was about £8 for a pair just in case one gets damaged. Fully customised as well.


TTFN
Mac
27 Apr 2015, 11:33am
quick trim with a pair of scissors later.....


TTFN
Mac
27 Apr 2015, 11:44am
Love the tax disc - think I might do something similar.

BTW - just had a knock at the door this morning and delivery of a wing mirror and washer jets just came after I place an order on Friday from http://www.classic-car-accessories.co.uk and the mirror looks like it will work so much better than the great looking bullet style ones.

Thanks again.
27 Apr 2015, 12:59pm
And fitted:


TTFN
Mac
27 Apr 2015, 4:17pm
Bit of a faf but finally got the cockpit bumpers covered in leather and fitted:


Spent most of the day upside down under the dash again. Connected the last 3 dash wires, High beam indicator and the 2 indicator tell tales then had a good tidy up, removed every cables tie I could find and then put new ones on after putting more of the foam I used for the cockpit bumpers round the wiring and the frame to make it all nice and tidy.
Going to make a start on fitting the tunnel cover in morning after changing the gearbox oil as I wouldn't want to have to try and do it after! Then the seats can go in for the final time. inching towards the finish line but all the little (ish) jobs just eat up the time.

TTFN
Mac
27 Apr 2015, 4:58pm
Mac - I'm certainly looking forward to seeing you cross the finish line.

Hope the last few jobs goes smoothly.

Good luck, Paul. :)
28 Apr 2015, 12:24pm
Started fitting the gearbox cover this morning and ran into an issue. I'm using the spitfire gearbox cover by Honeyborne Mouldings and although the cover itself is of good quality either I have ordered the wrong part or they have supplied the wrong part or something else has gone awry possibly with the frame I built?

As you can see from the picture below the gear leaver is exiting way too far forward and the size of hole I have had to cut to get the tunnel to go in is massive. Unfortunately I think I forgot to take a picture of the cover in situ which would make it much clearer but once I have the next little project finished I will post a picture which should make the issue clearer.

Anyway end result is that I have to make a cover to go on the cover! rats!

First picture shows the size of hole I'm dealing with.
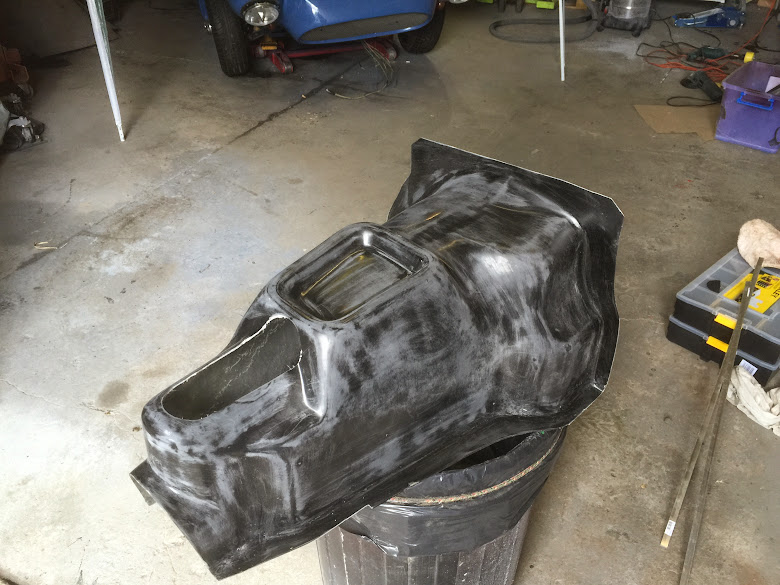

Rough fitted some foam to get the rough shape I want.
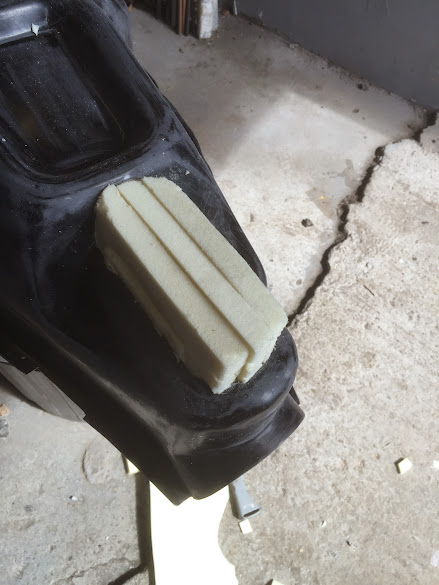


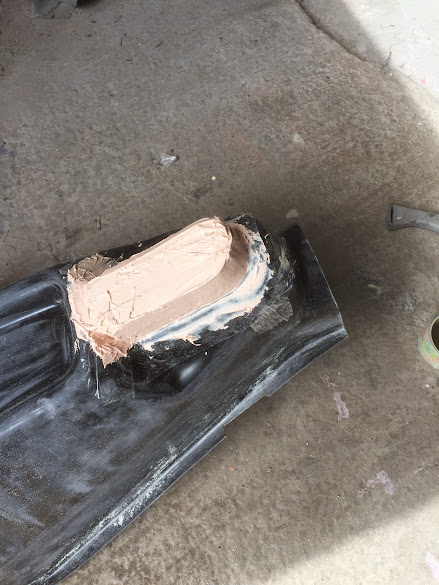
Covered the edges with clear packing tape.


Slathered the lot in fine easy sand filler to hold it in place and give a starting point for sanding.


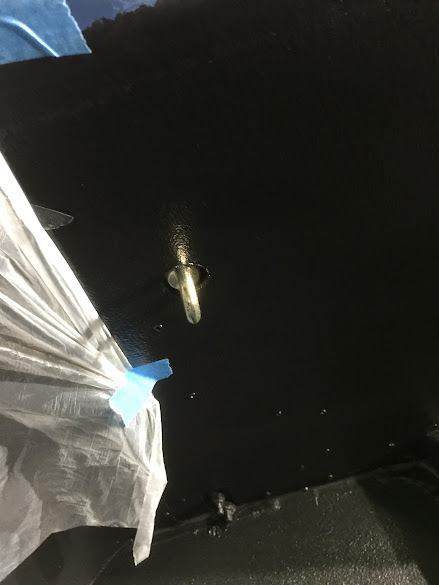
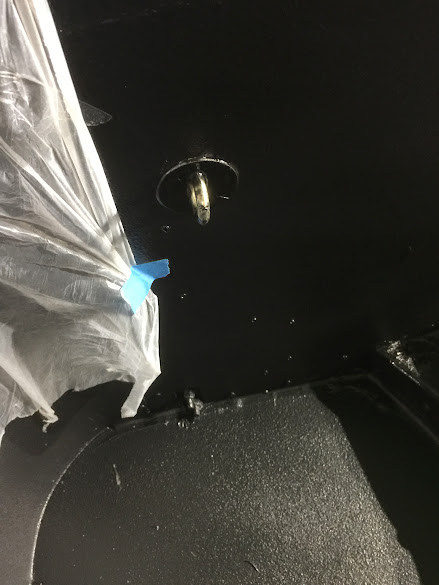
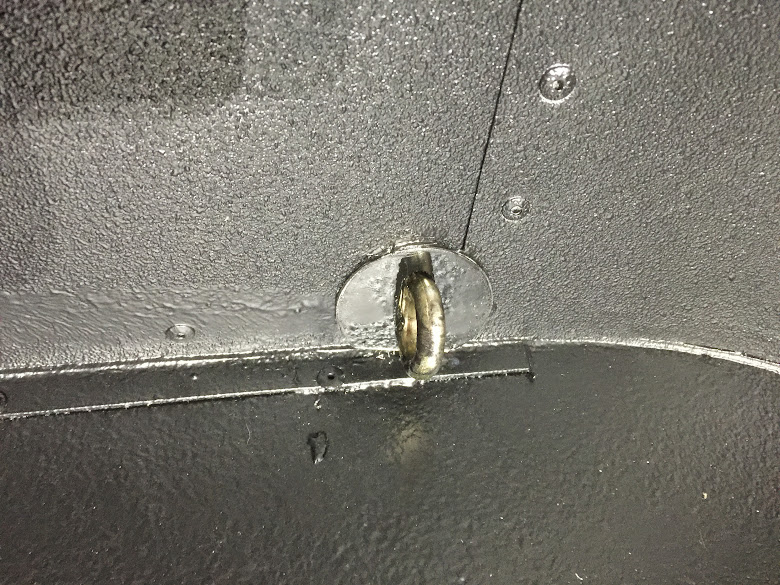
Whilst I was waiting for the first of the filler to go off I fitted the seat belt anchors and made some small cover plates to make them weather tight as the hole required in the interior to get them in was bigger than I wanted.

Just cut some Ali discs using a hole cutter them drilled 3 holes in a line then filed them into a slot.


Quick coat of gloss black paint then glued them over the anchors using some PU adhesive.


Picture of one of the rear anchors before the cover is fitted:

And with the cover fitted, used enough PU that the anchor is totally sealed.


The outer anchors required that the bottom of the cover was trimmed a bit but fitted ok after that:


Back in a bit with more progress on the gearbox cover

TTFN
Mac
28 Apr 2015, 2:42pm
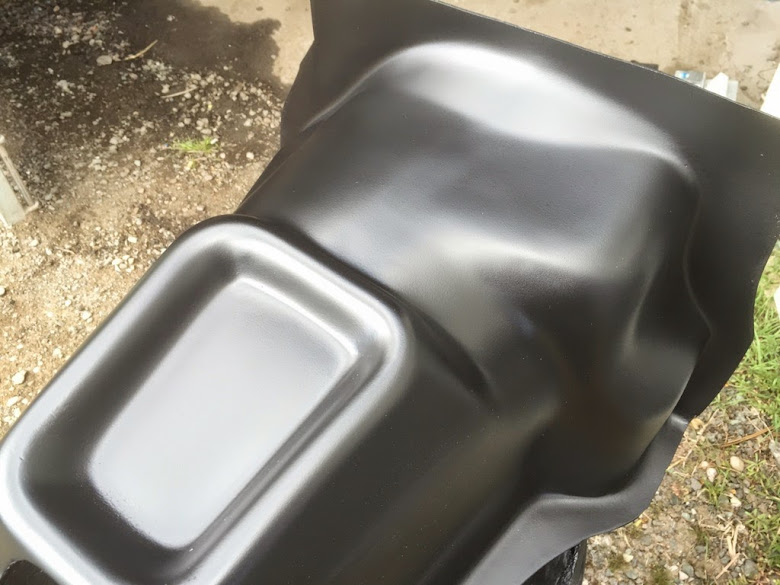
A fair bit of filler and sanding later I got a couple of coats of primer on it, still a couple of bits that aren't perfect but its good enough to take a quick and dirty mould off.


Then a couple of coats of gloss black to finish it off


Going to give it half an hour to dry off then will give it a few quick coats of release wax, I use this:


As you can see from the state of the tin its been around a while! seems to last forever :-)

TTFN
Mac
28 Apr 2015, 6:42pm
Mac - By chance, I was actually playing with my own gearbox cover today.

Whilst it is definitely different to the one you have, I think you also have an earlier model Spitfire to me.

Either way, great job on building up the shape to take a mould off. :cool:

Good luck, Paul. :)
29 Apr 2015, 8:34am
Hey Mac, that cover you have really does not look like a Spitfire one.
I am fairly familiar with the shape it should be, and yours looks all wrong. I would guess they sent the wrong one?

Good mod btw!
29 Apr 2015, 10:04am
Done a bit of googling and i think what i have is a GT6 gearbox cover, either way it covers the gearbox and will fit once the cover is made so its going in!

TTFN
Mac
29 Apr 2015, 12:07pm
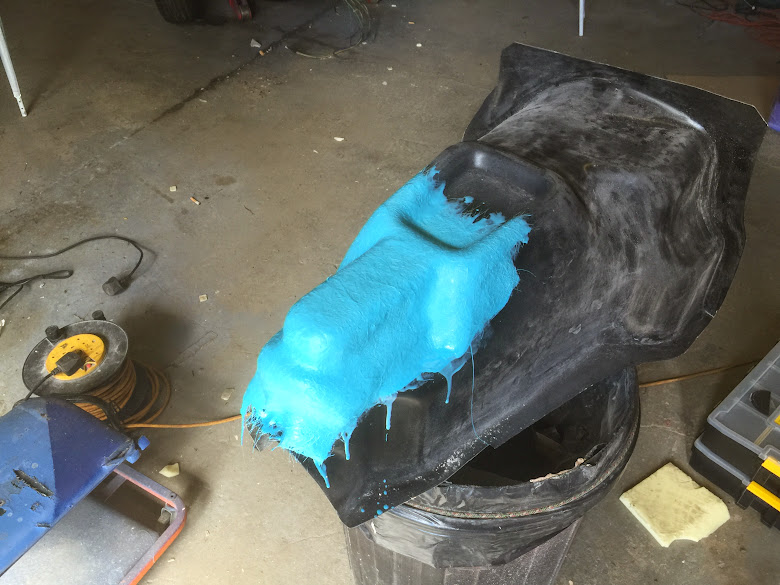
Quick pic of the mould laid up on the plug:


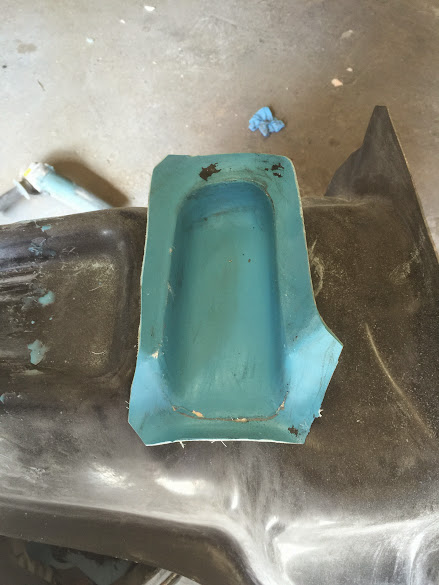
About an hour later it was still green but set enough to trim and remove


Now just touching up the few scuffs and scrapes from the moulding and removal before it gets its first coat of.......


Back in a bit

TTFN
Mac
29 Apr 2015, 12:10pm
A quick pic of why the cover is required:


TTFN
Mac
29 Apr 2015, 12:44pm
First coat of stone chip and it looks 100% better already.


A nice stippled finish similar to the bed liner used on the rest of the cockpit. Unfortunately I ran out of bed liner and didn't want to buy a 4 litre pack when I only needed about 500ml so this is the alternative....but with a twist!


TTFN
Mac
29 Apr 2015, 1:32pm
Once dry the stone chip has a nice matt finish that should be pretty hard wearing:


but still not quite what I want, too much black in the cockpit area wont be good sooooooooo

TTFN
Mac