MadaboutKitcars

This is a read-only archive of the old Madabout Kitcars forum. New posts and replies are no longer possible, but every thread is still here to browse and read.

Another Cordite Is Born ...

1 Mar 2014, 9:34pm
Whatever you do ,don't make a list of things to do Paul!!
2 Mar 2014, 9:20am
Scottie22 wrote:
Whatever you do ,don't make a list of things to do Paul!!


Sorry Scottie, have to disagree there.

I made lists of outstanding jobs as I went along, then ignored them and just got on with what I felt like doing on any particular day. Worked for me. :eyebrows:
2 Mar 2014, 10:04am
I only have to look at my XK mess, and I can see the hundreds of things that I still have to do!
I agree about the " do what you like to do" bit!
Unfortunately, it all has to be done in the end
2 Mar 2014, 1:07pm
Mikmiglia - Cheers Mike. :cool:

Scottie & Mr T - I think I will allow myself to draw up a list of outstanding bulkhead work shortly.
Obviously, I am not going to write down all the work required to finish the car, as that would be madness! :icon_wink:

- - - - - - - - - - - - - - - - - - - - - - - - - - - - - - -

Short session...
With the storm clouds gathering, I didn't want to push my luck with the weather too much.

Took a very small file & some sand paper to the filler on the inside of the battery cut off switch panel.

Then put some etch primer over the top.


Ironically, this has turned out smoother than some of the work I've done that will actually be visible. :rolleyes:

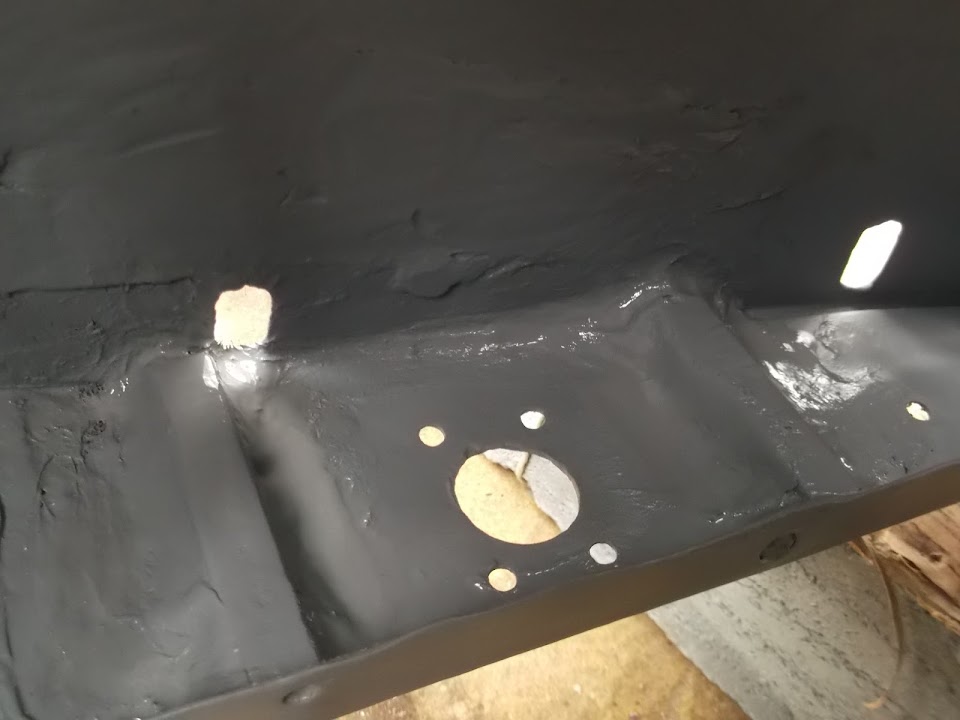
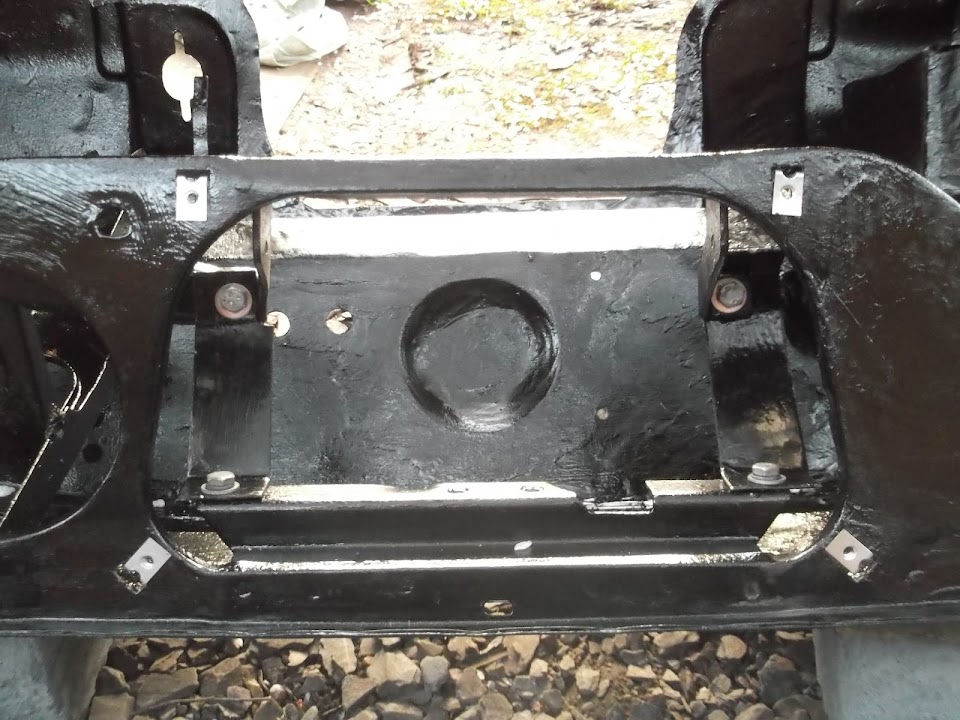
Then I mixed up some more filler and applied it to both sides of the bulkhead battery box drain pipe.


I also put filler along all edges at the front of the battery box.

This will very hard to see/reach and I had to rely on using my fingers / touch to get it all covered.

( Which was fine until the surgical glove gave way & coated my finger tips. :icon_evil: )

I couldn't get a decent photo, but hopefully this gives you the general idea.


Oil Pressure Gauge
Whilst I still haven't managed to visit the local Triumph specialists, I did buy a couple of gauges from Ebay.

One mechanical.


And one electrical.


They should be the same size, which means I can mark up and cut a hole in the wooden dash board.

Obviously at some point I will have to make a decision about which one I will be using.

Clearly I have gone for black faced dials which will match the rest of my Spitfire instruments.

However, if I hadn't won these auctions, I would have been seriously tempted by this thing of beauty. :cool:


http://www.ebay.co.uk/itm/261407677377?ssPageName=STRK:MEWAX:IT&_trksid=p3984.m1423.l2649

Until next time, take care, Paul. :)
3 Mar 2014, 11:46am
Not much to report...
Last night I started making a list of the remaining bulkhead "To Do" tasks.
It didn't take long to realise I wasn't quite as close to the finish line as I'd hoped. :rolleyes:
Obviously, some of these jobs will be more work than others.
But as we've said before, they all need to be done at some point in the build.

Bulkhead List:
- Tidy up the filler around bulkhead battery drain pipe + final side of battery box.
- Repair/seal the cracks & holes on the "inside" edges where gearbox cover fits.
- Ensure mounting points of new gearbox cover align with corresponding holes in bulkhead.
- If required, modify gearbox cover to ensure a snug fit to the bulkhead.
- Consider adding some of the gearbox tunnel mods that Michiel has on his build.
- Add final round of seam sealer to joins not previously covered.
- Attach zip tie holders to bulkhead to hold heater vent ducting in place.
- Drill holes in heater control panel to allow mounting to dash.
- Use mounting plate to checking fitting of heater control panel.
- Re-connect all the support brackets within the metal dash area.
- Work out cable routing between battery & cut off switch.
- Drill holes in bulkhead to accommodate battery cut off wires.
- Sort out wiring for micro heater to join new switch & existing wiring loom.
- Test fit all other dash instrument wiring & check dial illumination bulbs.
- Work out wiring routes & fixing points for securing wiring.
- Drill holes in wooden dash for oil pressure gauge & choke cable.
- Final coat of wood stain on the insides of the new holes.
- Decide on type of oil pressure gauge to be fitted (mechanical or electrical).
- Work out route of oil pressure gauge feed (hose or wire).
- Run all dash cables & wires through bulkhead & blank off surplus holes.
- Test fit old battery and new metal battery retaining straps.
- Modify & final test fit of heater control value & bulkhead supporting plate.
- Weld in two crush tubes to driver's side rear mounting box section.
( Although this work can't be done until bulkhead has been test fitted on chassis. )
- Use Kurust and etch primer on the few remaining untreated areas.
- Ensure all surfaces are given an initial coating of black paint.
- Confirm final protective coating to be used (e.g. bed liner stuff) & apply.

A little bit of progress...
Cleaned up the filler around the bulkhead battery box drain pipe & sprayed etch primer on it.

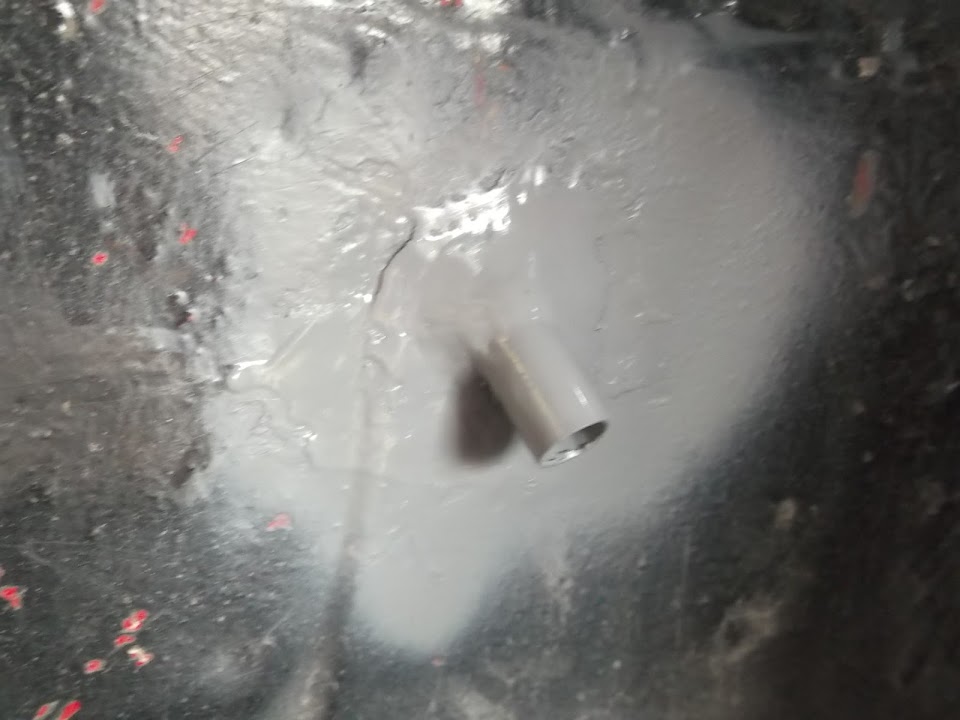


I also cleaned up the front edge of the battery box & primed that, but as before I can't get a decent photo.

Then I compared the new and old gear box covers.


Then realised that I need to remove the moulding edges of the new plastic one.
( Note: This job isn't even on my "To Do" list. :rolleyes: )


So this is a close up of "Before" & "After".


I then gave it a quick test fit and this confirmed that almost none of the existing holes line up.


Which is not surprising as both the old cover & the bulkhead are like a Swiss cheese in places.
( Sorry the first photo is rubbish. )


So I have decided to simply weld up all the holes in the edges of the bulkhead.

Then I can come back and drill fresh holes of the correct size, in the correct place.
( Not sure this approach will ever catch on. :icon_wink: )

Quick Question:
My original donor Spitfire had sealed this cover with a mixture of a rubber strip & sealant.
( To be honest, this was a pig's ear of a job by the previous owner as the rubber strip had perished. )
Have other builders used just the rubber seal, just sealant, or both, to fix their covers in place?

Cheers, Paul. :)
3 Mar 2014, 3:02pm
Paul, had to trim mine as well. Will be fitting mine permanently soon as well, think im going to go with just a good bead of silicon and nip it up, I just don't like foam as it seems to hold water and I'm not convinced a strip of rubber wont need extra sealing anyway.
HTH
Mac
4 Mar 2014, 6:16pm
Mac - Thanks, that is really helpful. :cool:

- - - - - - - - - - - - - - - - - - - - - - - - - - - - - - -

Glass Half Full...
Whilst it is easy to focus on all the work still to do, it is also worth remembering what has been achieved so far.

After cleaning up the bulkhead edges for welding (see below) I decided to do a spot of painting while it was dry.


It is not easy to see in this photo, but the "A" pillar does now look like a single section from top to bottom.


Even though it is just a first coat of paint, it really is good for morale. :cool:

The only downside was that the sky went black as I was just finishing the painting.
Thankfully it stayed dry until a few minutes after I packed up for the night.

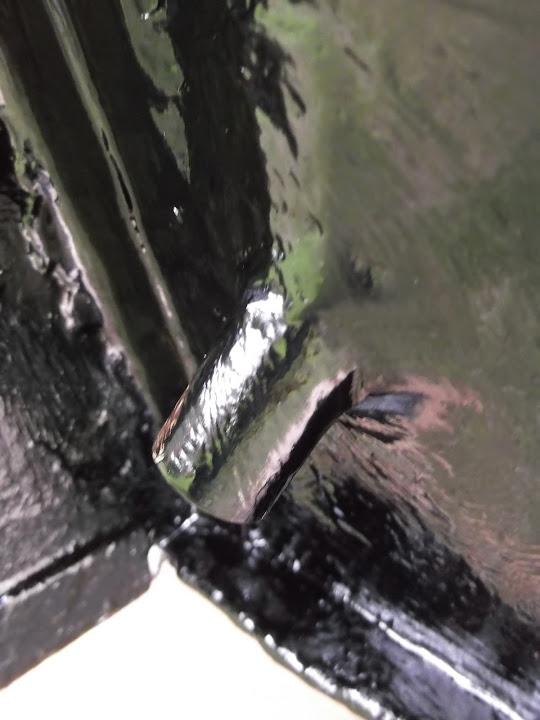
The other thing I did today was start repairing the edges of the bulkhead.

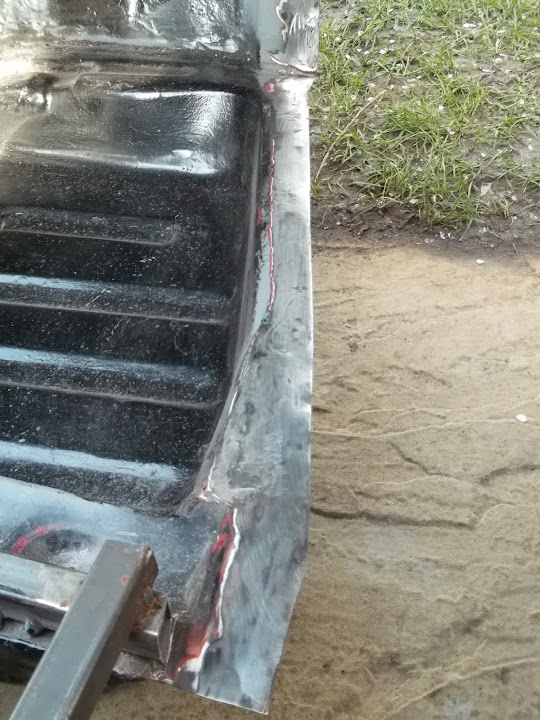
I made a cardboard template to cover some of the worst holes, which I then cut out of metal.


This was then used to mark out the section I wanted to remove.


Then the patch was clamped into place so I could the welding could start.


After a quick clean up with the grinder it looked like this.


I then repeated these steps for the other side.


There were a few small holes that could be simply welded over & ground back flush.


All that remains to do on the horizontal edges are slightly bigger holes to fill.


I couldn't start on the vertical edges because the paint wasn't fully dry yet.

Although I will have to replace this whole section.


Note: There only needs to be one mounting hole in this area, not two.

Until next time, take care, Paul. :)
4 Mar 2014, 10:20pm
Paul, you'll soon be able to give up bean counting and take up welding for a living..... :-)
5 Mar 2014, 6:36pm
Mac - Cheers, but I think you are being too kind.

- - - - - - - - - - - - - - - - - - - - - - - - - - - - - - -

Grinding in the dark...
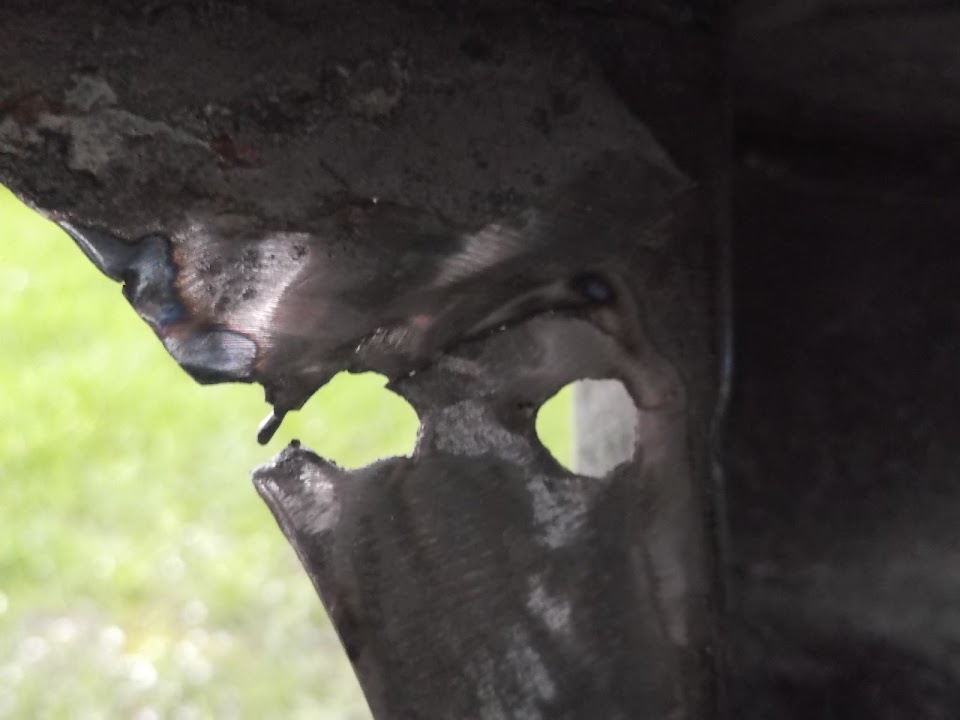
It was late when I finally got outside and having just looked at the photos I took, most are rubbish. :rolleyes:

So here is the before and even this photo isn't great:


I will re-take the "after" photos tomorrow.

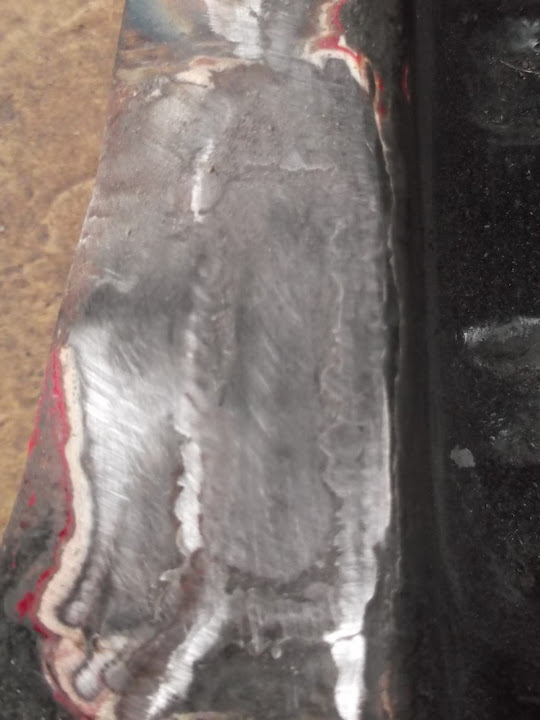
Basically I have now welded up the vertical edges on the inside of the bulkhead.
The worst section (above) was cut out and a new panel welded into place.
The other three sections had a repair plated welded on to the engine bay facing side.
This was then puddle welded on the cockpit side which will leave me a smooth surface to seal the gearbox cover to.
( I couldn't use this approach on the horizontal edges as they rest on the chassis in places. )
This just leaves a couple of small holes to fill on the horizontal edges. :cool:

Cheers, Paul. :)
6 Mar 2014, 2:43pm
Yesterday:
I'll start with some photos from yesterday's work, which started with the "before" shot above.

The "after" looks like this when viewed from the cockpit side.


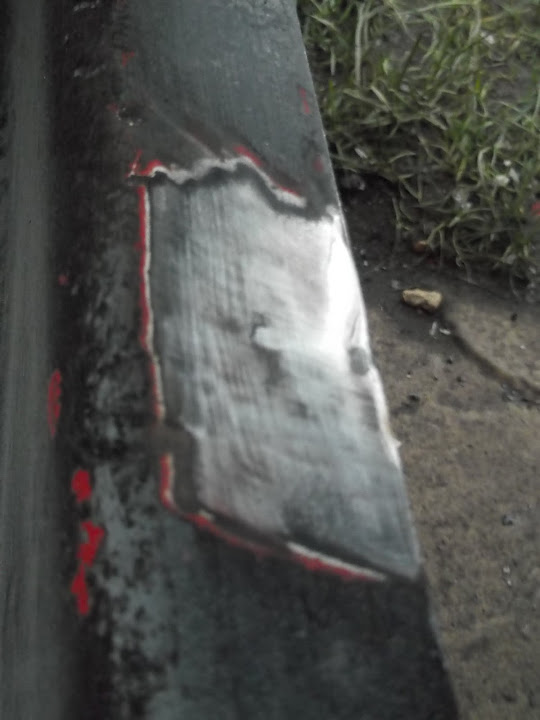
The opposite side was repaired using puddle welds to a patch welded to the engine bay side of the bulkhead edge.


The other two holes on this vertical edge were repaired in the same way.

This is the view of one of the repair patches from the engine bay side.


Today:
Two holes were fixed with a small bit of metal welded into the hole.

Sorry the photo is a bit blurred, but the metal is held in place by tape below.


Note: Obviously the tape will burst into flames when you start welding, but it still does the job.


The final hole needed to be cut out completely & a new section welded in.


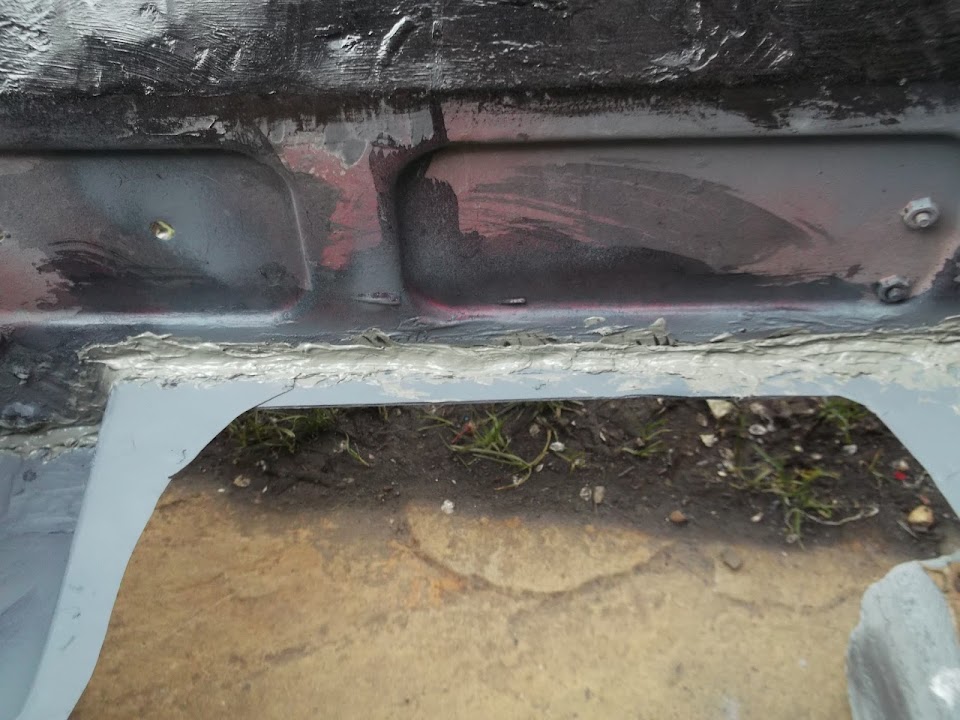
With everything cleaned up nicely, the bulkhead inside edges were looking like this.


I have hammered all the edges to straighten them out a bit.

But I will wait until the bulkhead is bolted to the chassis before fitting the gearbox cover.

That way I will know everything is straight before drilling the new mounting holes for the cover.

Then I applied some Kurust to both sides of these edges and left it to dry.


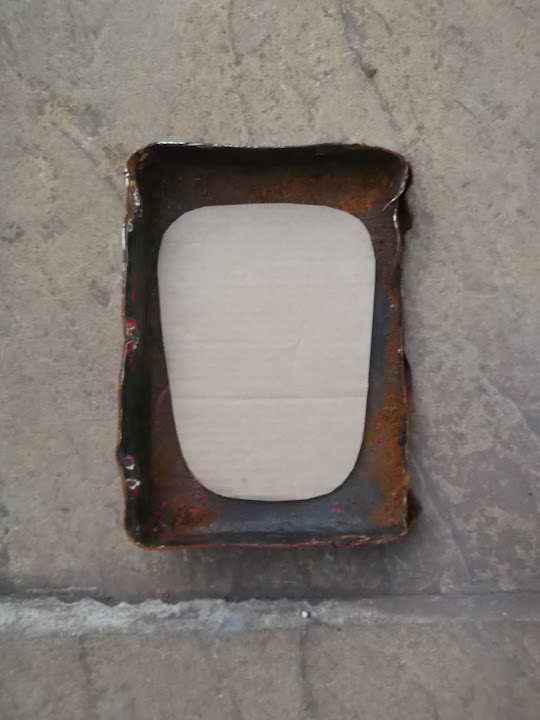
At this point I had to switch back to other domestic chores, but I just had time to cut out some cardboard.

I wanted to see how easy it would be to copy Michiel's great idea of making the coin tray look like an access panel.


Looking at his build photos again, I think he used thicker steel than I have available.

But I will still give it a go with some thin steel and see how that looks.

With a bit of luck I will get some etch primer on both sides of the bulkhead edges before the day is out.

Take care, Paul. :)
6 Mar 2014, 5:58pm
Hi Paul,
Great work.
For the panel I didn't use (thick) metal sheet, but a piece of GRP. (They seem to build rain gutters of GRP these days. My neighbour brought me pieces from a construction site which were waste).
My car has rain gutter all over.

Michiel
6 Mar 2014, 6:50pm
Michiel - Thanks for info about the panel you made, as I do have some GRP I could use. :cool:
Although while you were replying, I was actually outside cutting some metal. :rolleyes:

- - - - - - - - - - - - - - - - - - - - - - - - - - - - - - -

Today - Part 2:
After returning from our daughter's parents' evening, I just had time to quickly change & spray on some etch primer.


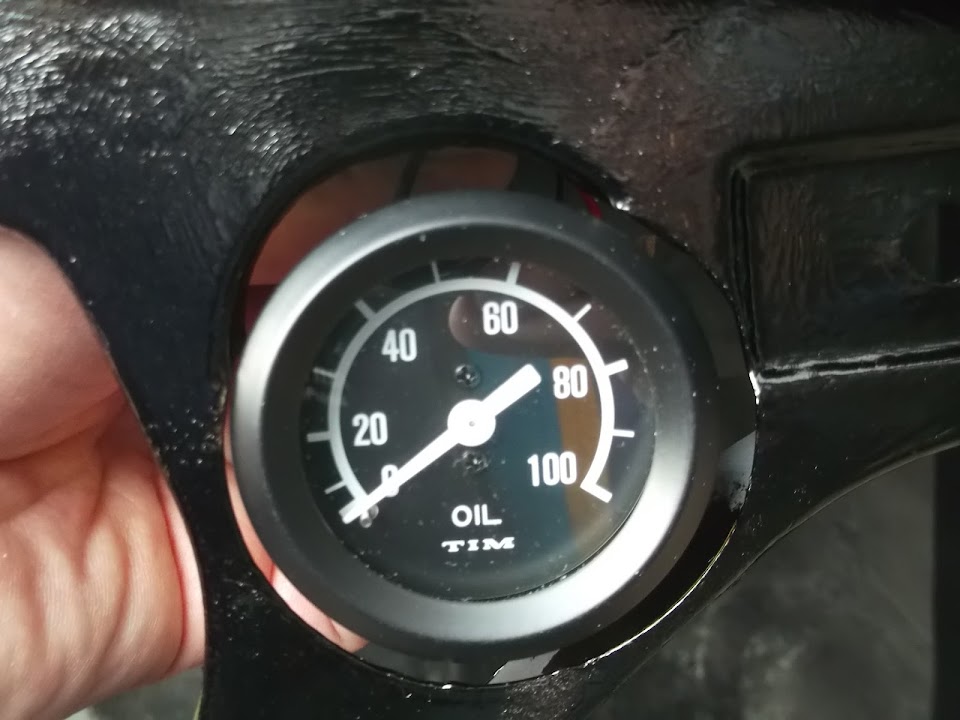
Also, my second oil pressure gauge arrived today and it is in the same mint condition as the other one. :cool:

Here they are side by side.


There is more than enough room for the back of these gauge to go inside the "factory" hole in the metal dash.


So I can now mark up and drill the required hole in the wooden dash.

Although I am not sure I can replicate the "sunken" dials look of the rest of the dash.

Then I recycled the bottom of the old battery box as a possible false panel for my gearbox cover.
( Obviously this before Michiel explained he had used a sheet of fibreglass, see above. )


This still needs some final shaping, but by now it was getting dark (& cold).

Thankfully, the primer was touch dry, so I was able to relocate the bulkhead and cover it up for the night.

Cheers, Paul. :)
6 Mar 2014, 6:53pm
Hmm, Smiths says classic Tim says kit car...
6 Mar 2014, 7:06pm
Mr T - Thanks for the feedback. :cool:

I also like the fact that the rest of my Triumph dials are Smiths.


But I'll drill the hole first and worry about the final choice later.
7 Mar 2014, 6:47pm
Slowly getting there...
Couldn't make full use of the fine weather today, but I did get a bit done.

Started by applying some seal sealer around the repaired inside edges of the bulkhead.


This effectively joins up with the sealer that was applied a while back.

Similarly, I could also finish off the lines of sealer around the new battery box.


While this was drying I started painting other areas of the bulkhead in black, which took a while.

So by the time I was almost done painting, the sealer had set enough for me to paint over it too. :cool:

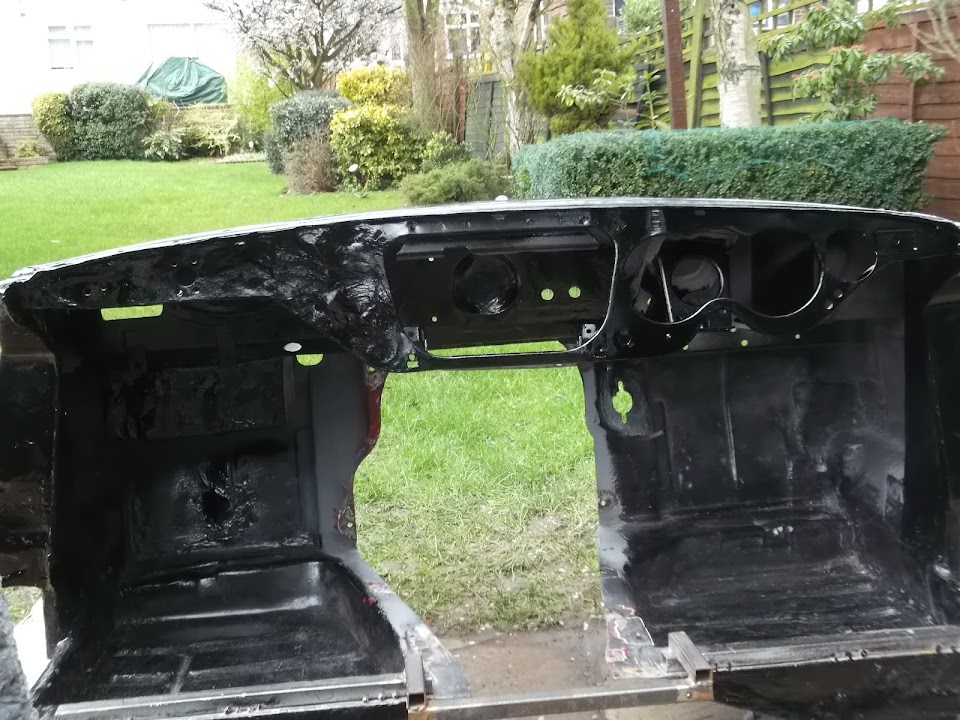
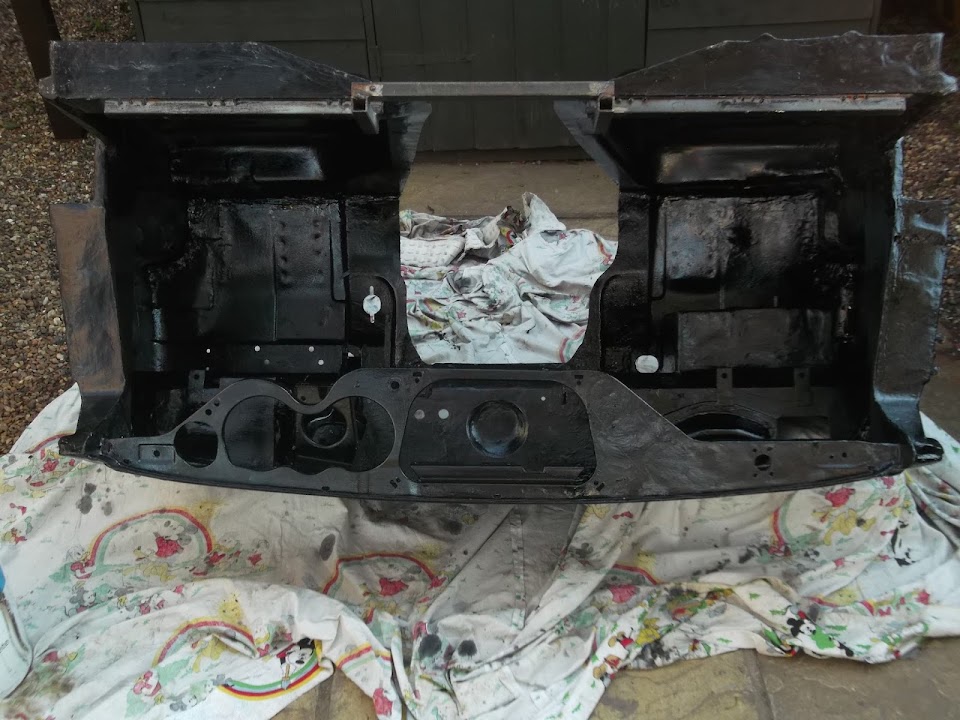
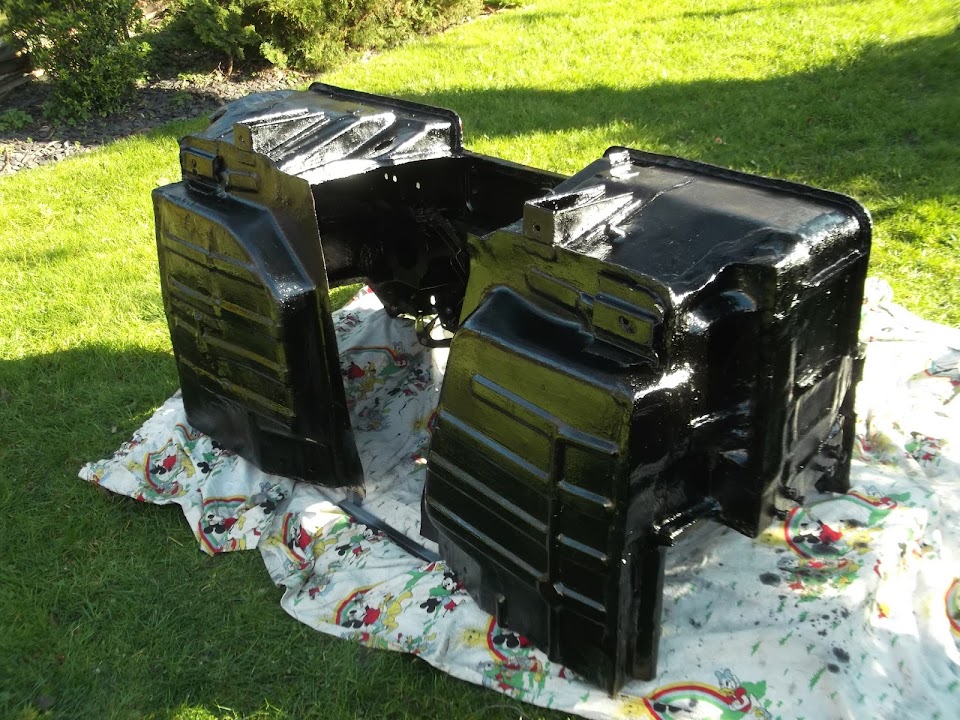
This is what the bulkhead is looking like at the moment.


I really do like the difference having most of it all in one colour makes. :cool:

As I still need to paint behind parts of the dash and the battery box.

But I can only reach these areas by rotating the bulkhead to a different angle & crawling inside it. :rolleyes:

Hopefully I will get a chance to play on Sunday, as we have some friends coming over tomorrow.
( Which is why I've just finished mowing the lawn using our garden lights to see where I was going! )

So until next time, take care, Paul. :)
8 Mar 2014, 7:01pm
Tinkering around the edges...
It was good to see our friends from Oxford today and have a nice lunch out. :cool:

There was still a bit of daylight to play with when I got home, so I grabbed my chance.

I bolted all the supporting brackets for the metal dash back into place.

This involved double checking old photos so I fitted everything correctly.

I also had to clean out some excess paint from the holes so the bolts would slide through.


Note:
The black paint hasn't got white spots, these are cherry blossom flowers.

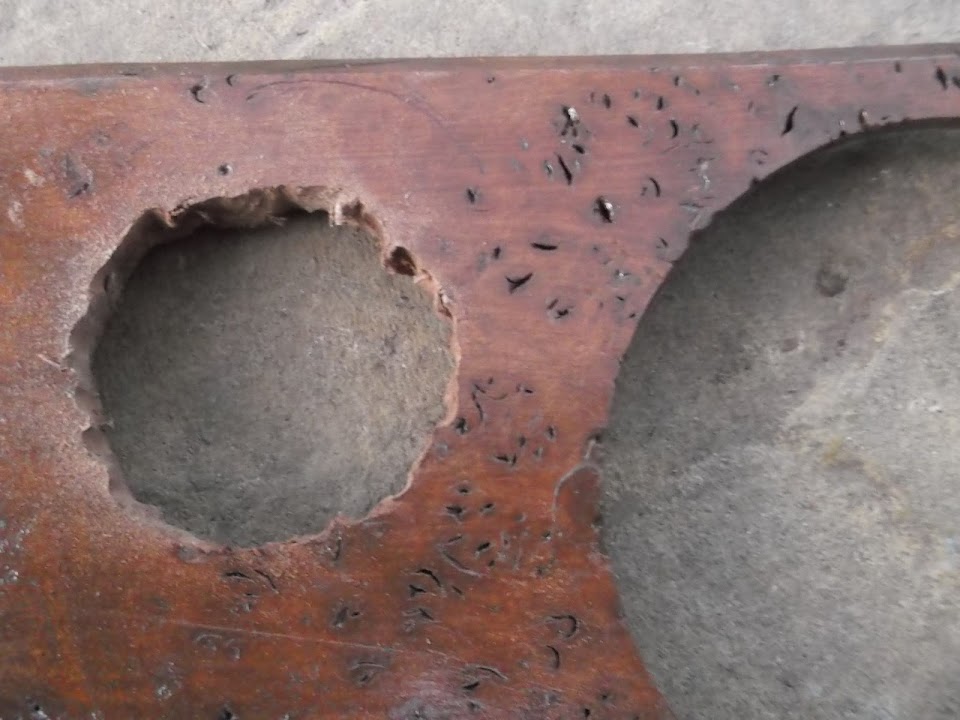
Next I marked up the back of the wooden dash where the oil pressure gauge was going.

The big red circle was my cutting guide & the smaller red circle was the existing hole in the dash.

( The thin black lines are where the holes in the metal dash are. )


I wanted to be extra careful, so I knew the holes I was drilling were inside the circle I needed.


Once these holes were "joined up" I had my rough hole to slowly enlarge to the correct size.


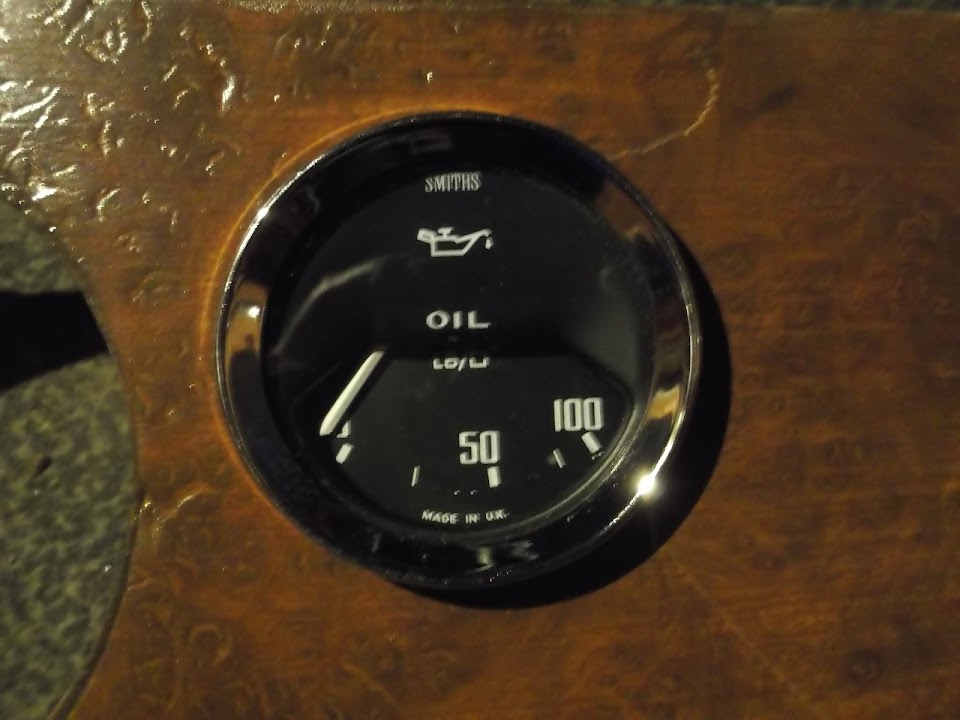
I took my time, double checking the hole size with the gauge as I went along with some hand files.

It was actually dark by the time I finished, so the photos are indoors and not great. :rolleyes:


But the good news is that the dial fits nice and snuggly. :cool:


Given how much work this was, I will not be attempting to "sink" the dial in as per the factory holes.

The next job on the dash will be to drill a hole for the choke lever.
( Which I had planned to put in the hole I have just enlarged for the oil pressure gauge. )

Until next time, take care, Paul. :)
8 Mar 2014, 7:37pm
Fabricator, Master Carpenter......is there no end?

:-)
9 Mar 2014, 7:41pm
Mac - "Master Carpenter" my a**e!

:icon_wink:

- - - - - - - - - - - - - - - - - - - - - - - - - - - - - - -

Spring is in the air...
Well the sunshine has arrived and my wife is very happy that I had already sorted out the clothes lines.


Unfortunately, these sheets did reduce the size of my workshop quite a bit. :rolleyes:

Although my first job of the day was to get some oil on the garden furniture.
( I still have to prune the climbers on the wall. )


After that I could mark up where the edge of the metal dash crosses the wooden dash one.

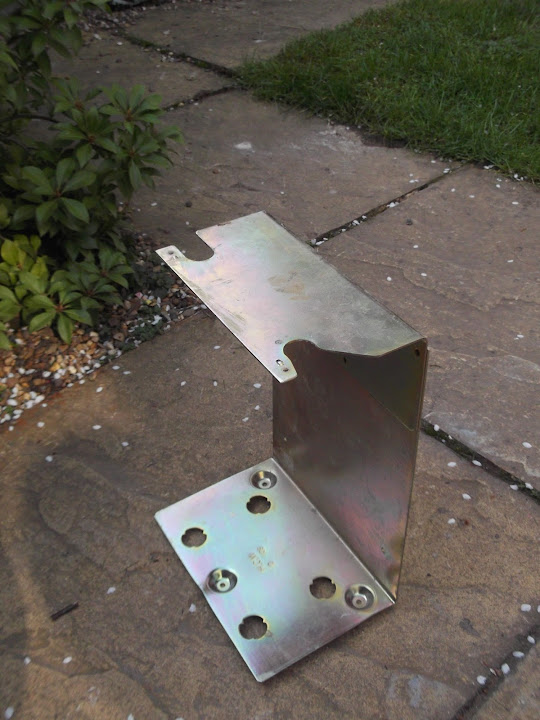
I am going to use the metal bracket I made earlier, even though I don't really need it.


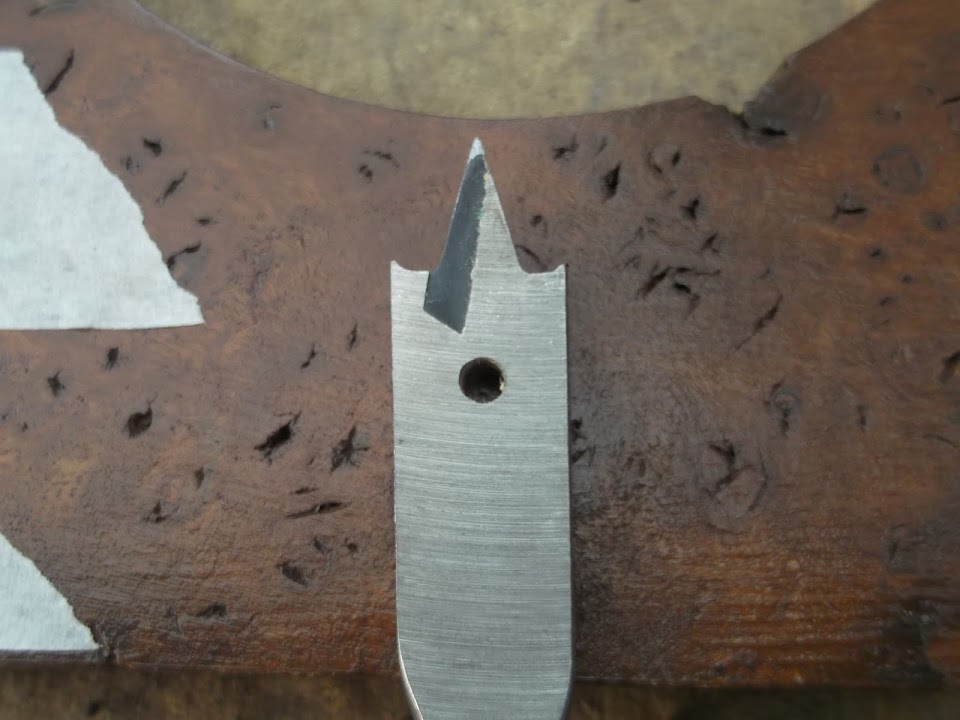
For a nice change, I actually had a drill bit just the right size, so no extra filing by hand required.


So it didn't take long for a new hole to appear in the dash.


However, as I started playing with the cable routing I quickly spotted yet another school boy error. :rolleyes:

I was so busy making sure that the choke wouldn't foul this edge of the dash...


That I completely forgot about the heater vent panel behind it! :(


So after some beard scratching, more checking and test fitting with the vent & ducting in place I had a plan.

First I needed to drill a grommet sized hole in the panel.


Then I cut a choke cable sized hole in the grommet.


The choke cable just clears the the ducting, but there is still work to do.


- I will need to wrap the cable (or ducting) with some of the heat wrap I have for the exhaust.

- I will also need to drill a new hole in the bulkhead to let the cable out with a nice gentle bend.
( The cable was just pushed through the nearest hole in the bulkhead to see how it looked. )

- I may actually need a longer cable, but will have to wait until the bulkhead is back on the chassis to check.

Whilst I had the drill out, I put two holes in the top of the new heater control panel.


This can now be bolted to the dash when the time comes.

Finally I moved the bulkhead out of the way of the washing and finished painting behind the dash.
I also got another edge of the battery box painted, sorry couldn't get any decent photos of either of these areas.

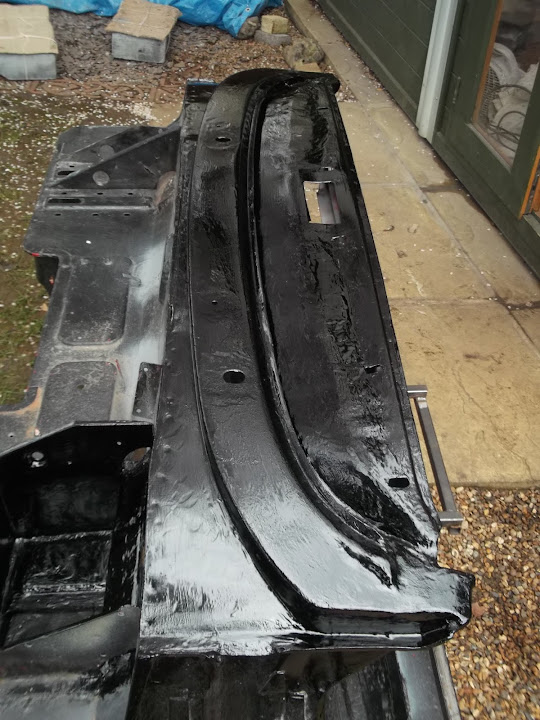
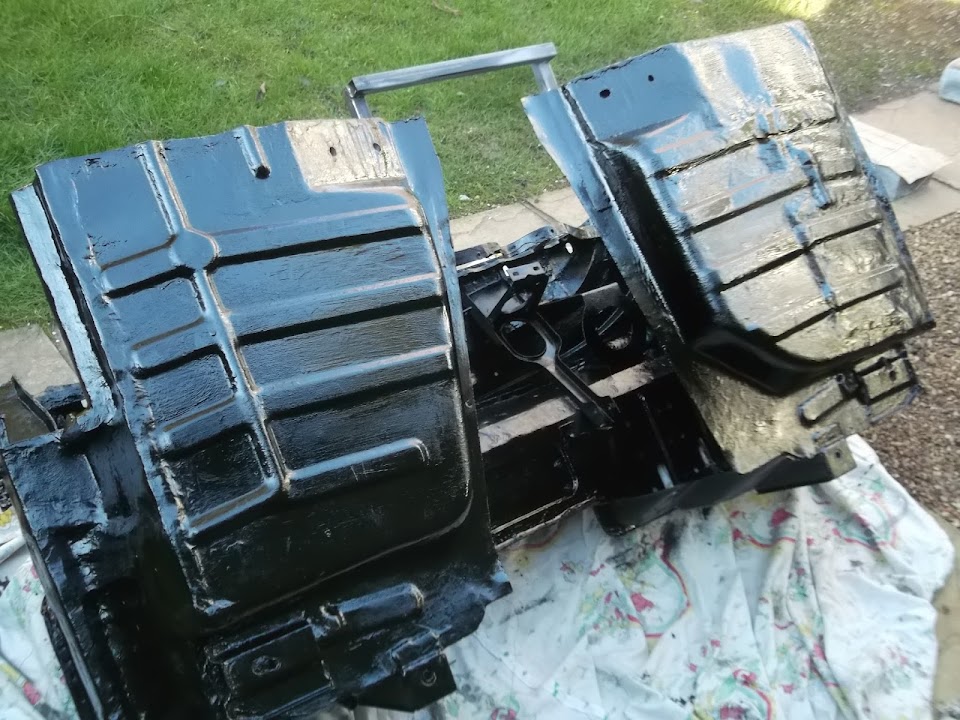
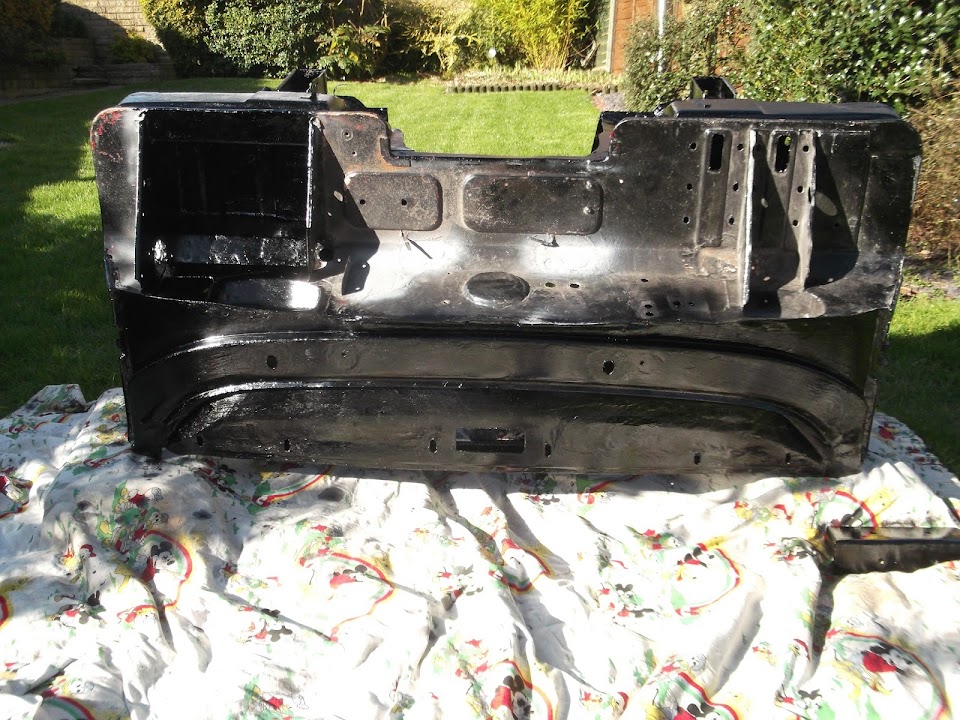
But this is what the outside of the bulkhead was looking like in the sunshine.


In order to do the final edge of the battery box I need to rest the whole bulkhead on its side.
( So that will have to wait for another day. )

This photo clearly shows the last section of the bulkhead that I need to tackle.


This will involve mounting the heating control value & mocking up all the other cables & wires I need.

Then I can add any new holes required & seal up any surplus ones before prepping and painting this section.

Until next time, take care, Paul. :)
9 Mar 2014, 9:43pm
Hi Paul,

Looks like you are allmost finished with the bulkhead and dash. Although you made a fairly long kist the other day.
What is your next step after this is done?

Michiel
10 Mar 2014, 4:21pm
Michiel - It does feel like I am finally getting to the end of all this bulkhead work. :cool:

I haven't got a detailed plan of what happens next, but I can give you the general idea...

I need to modify the rear Cordite framework on the front passenger side.
I will cut a few mm off the inside frame and cut & re-weld the cross rail parallel to the bulkhead.


This should give provide enough room for the bulkhead to fit in the factory position without fouling the frame.
It will also allow me to move the passenger floor pan forward a bit, which will also help.

I then need to finalise where the rear of the frame work needs to mount to the chassis.
I have already cut off the original mounting points & need to weld them back on in the correct position.


This will then allow me to join together the separate sections of my rear end "sandwich".
- Cordite rear frame work
- Spitfire rear wheel arches & hand brake tunnel
- Lowered floor pans


So there is quite a bit of work to do before the rear end is sorted out.
But once that is done the next step will be to get the whole rear end bolted to the Spitfire chassis.
At which point I will be able to build the "join" between the bulkhead and rear frame.

I am sure that all of this work I have just described will take me some time to complete.
But it will be a major milestone reached and set me up for my next target, a working "moon rover".

- - - - - - - - - - - - - - - - - - - - - - - - - - - - - - -

Under the weather...
The sun may be shining outdoors, but I've been feeling really rough all day, so I just managed a few minutes painting.
I did the hard to reach places behind the battery box that you can't see, plus the two floors that you can.


The only good news is that I did have to go back a bit to find the photos used in my reply above.
I find that it is only when I stop and look back that I realised just how much work I have put into this project.
I know there is still a very long way to go, but I am happy with what I have achieved to date. :cool:

Take care, Paul. :)
12 Mar 2014, 8:11pm
One of those days...
I decided to start putting all the bits of the dash back together so I could sort out / check the wiring.

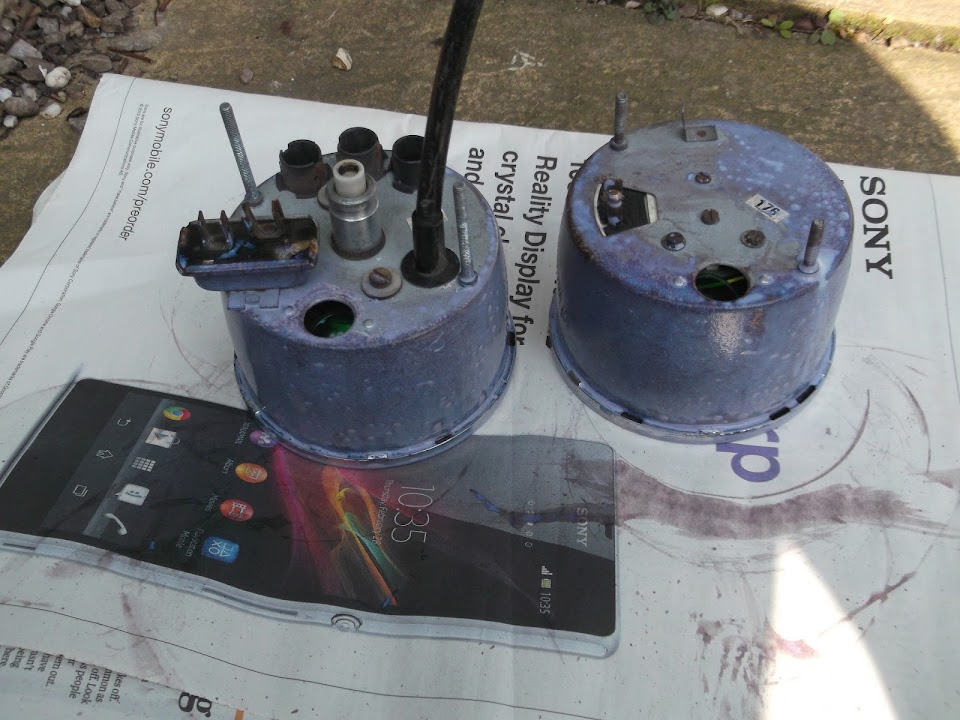
I dug out my donor's speedo & rev. counter, but had forgotten the surface rust on them.


So they got a coat of Kurust and were left to dry.


I also knew I needed some extra earth connections, so dug out the section of wiring loom that came with my 2nd hand body shell.

It was a very messy job stripping the old insulation off the wires, but eventually I had some earth cable, some spare wire & some rubbish.


At this point it all went horribly wrong as I tried to find the other parts for the dash.

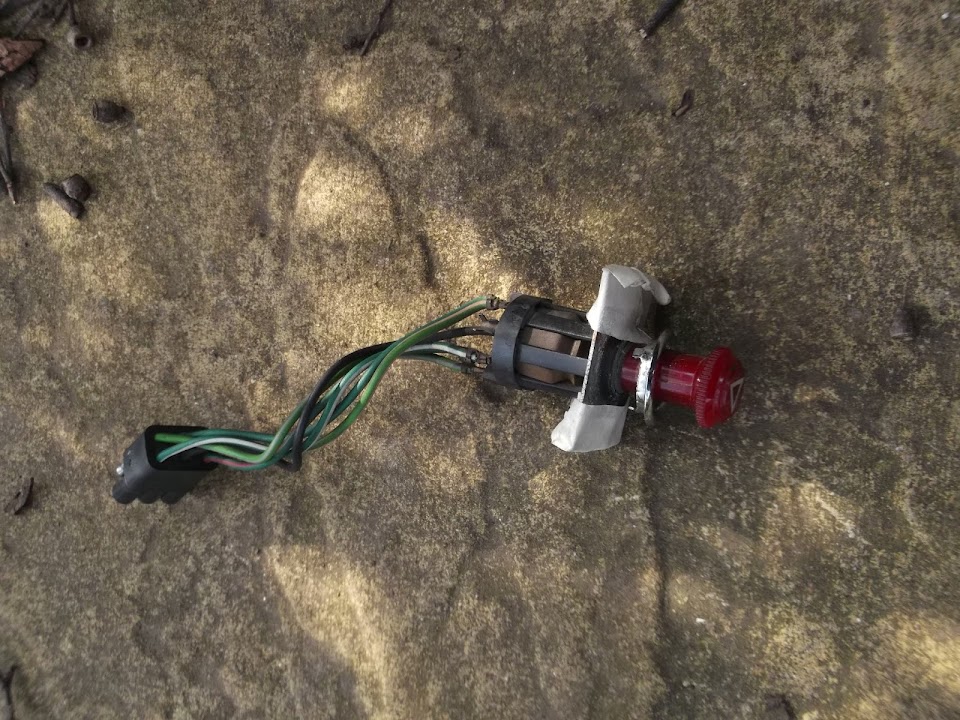
In particular the hazard warning switch which I was sure I'd "put somewhere safe" quite recently.

I was convinced I had put it in the box with the heater stuff, but couldn't find it.

I then when through all the boxes in the summerhouse, but still no joy, I did find lots of other things I needed, but not that switch.

In the end, I took all the boxes outside and searched them again, by which time my frustration levels were rising steadily.


At this point I took a break and even looked for a replacement on Ebay.

As I returned for one final check I could see the indicator switch which I'd found & which had been wrapped in newspaper.

At this point I was convinced I had wrapped the hazard switch in exactly the same way.

Then I saw a section of the same paper at the top of the heater box...

I'd pulled the contents out so many times, that bubble wrap & newspaper "padding" were everywhere.

Yes, you've guessed it, one section of padding actually had this sitting inside it.


Don't ask me how I missed it having looked in the box more than once, but boy did I turn the air blue. :rant:

By the time I'd finished putting all the boxes back in the summerhouse I had wasted 2 hours on my wild goose chase. :rolleyes:

At least I found some of the things I would be using for the dash board project.


Plus the headlight switch, indicator warning light, a spare bulb to use with the oil pressure gauge & a small modern fuse connector.


I also came across a section of fibreglass cut out of the bonnet which could be used for the fake access panel.


Thankfully I had to switch back to domestic chores at this point which gave me a chance to calm down a bit.

I did get another chance to go back outside and turned my attention to this bit of scrap.
( Which I'd also dug out during the earlier search.)


I'd found it in the street one day and though that might come in handy.

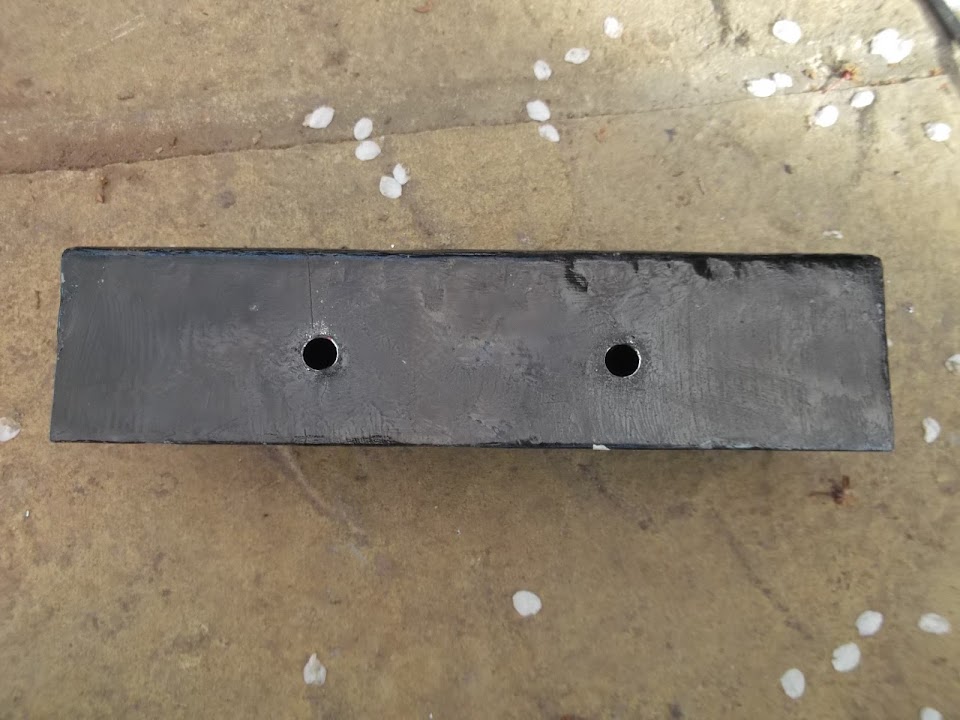
I cut a section off to make a retaining bracket for the oil pressure gauge, similar to the one on the right.


After drilling a hole, hitting it with a hammer & cutting the ends to size I had this.


Note: In reality, the bracket will push against the metal dash section around where the dial is fitted.

So after wasting so much time today it was nice to finish on a (very) small success. :cool:

Until next time, take care, Paul. :)
13 Mar 2014, 9:44am
Could've saved yourself two hours searching for that hazard switch Paul - if you can't find a component just order another one and thirty seconds later you'll stumble upon the missing original.

You must then fit it immediately, or thirty seconds after the unnecessary second component is delivered you won't be able to find either of them...
13 Mar 2014, 10:13am
Well done Paul!

Take note of the words of wisdom from the venerable Towed!
13 Mar 2014, 8:34pm
Sounds like a 'man-look' to me! Got a garage full of stuff I can't find - every sympathy! Guess the positive is the more stuff you put back on, then the less there is to lose...
15 Mar 2014, 8:45pm
Mr T & Scottie - Cheers chaps & it did turn up just after I had priced it's replacement on Ebay. :rolleyes:

DerbyDreamer - Welcome to my build thread.
I can't wait for the day when the contents of these boxes are fitted to the car.

- - - - - - - - - - - - - - - - - - - - - - - - - - - - - - -

Inching Forward...
I've not been able to do much on the car recently, apart from separating & tidying up some of my spare wires.


I've also been looking at my wiring diagrams for the things I need to include in my loom.

Today was very frustrating in places, but I did manage to get a few things done (eventually).
( I need to do this update in two parts & it does not follow the true time line. )

Easy jobs were some etch primer on the sides of the speedo & rev. counter.


Note: There is marking tape around the chrome trim.

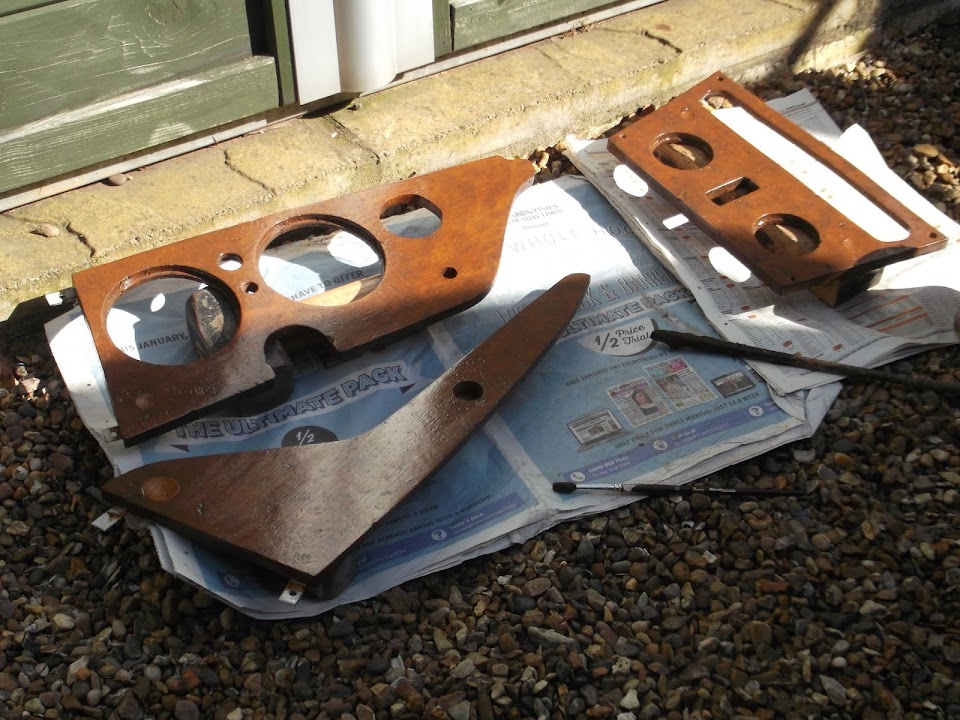
I stained the insides of the two new holes I'd cut in the dash for the oil pressure gauge & choke lever.
I also touched up a few places and put a final coat on the filler in the cigarette lighter hole.
So, hopefully, the wooden dash is now done. :cool:


Next up I tested the micro heater fan by directly connecting it to the battery & it burst into life.


Then I temporarily wired up the fan speed switch and thankfully that was all working properly too.


Then I bolted the heater control panel into place so I could work out wiring and cable routes.


Then I bolted the heater into position and connected up the vents and ducting.

This allowed me to mark up where I need to mount the zip tie holders to hold everything in place.

It also let me see possible routes for the heater wires.

I have found a good earthing point on the bracket that I previously bent back through 90 degrees.

You can just about make out the earthing point that I need to crimp to the black wire.


I could have followed Mister Towed & earthed the heater to one of it's mounting bolts.

But this way, I can wrap both cables and zip tie them to the bracket, out of the way.

Although I need to extend the red wire to reach the fan speed switch.

I have already fitted the connector on the end of the new section of wire.
( Excuse the poor photo, but I was back indoors by this point. )


But I will wait until I have removed the heater before I join the two wires properly.

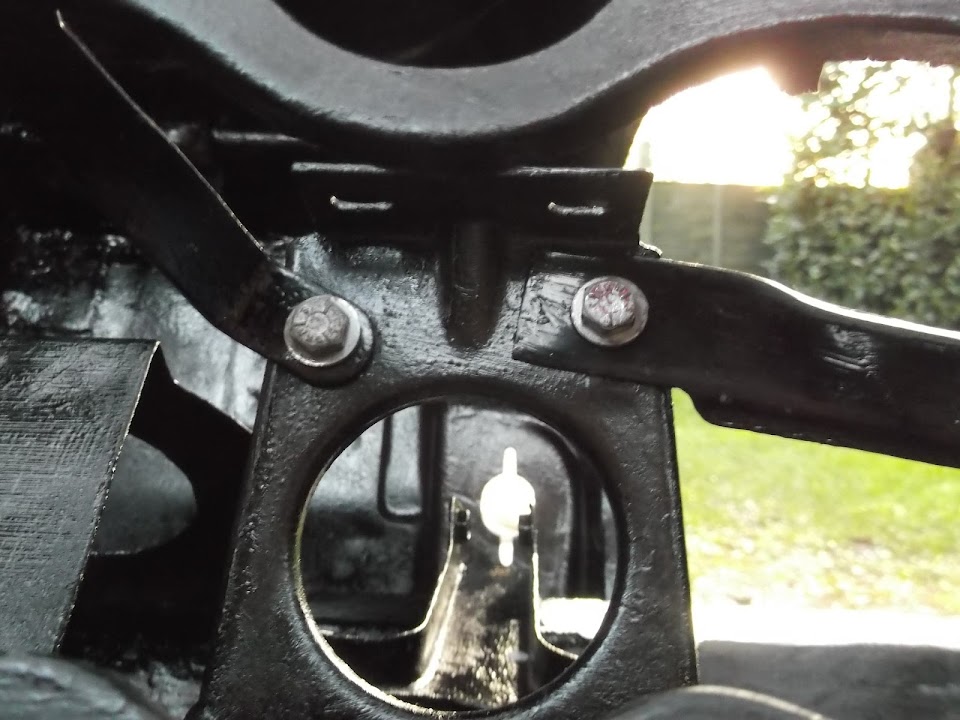
With the heating ducting back in I could also find a nice route for the choke cable & heater control value cable.

As expected, I needed to drill a new hole in the bulkhead for the choke, but could use an existing one for the heater.


Notes:
- The choke cable is bottom right
- The heater value cable is top right
- I can now seal the other four holes in the photo, subject to the final route of my wiring loom
- I will enlarge the cable holes to take a suitable rubber grommet

I picked two "spare" wires that would be long enough to go from the dash to the engine bay.


These wires will either be wrapped up with the existing loom and exit the bulkhead using the original Spitfire route.
Or, I will feed just these two wires out of one of the bulkhead holes mentioned above.

Either way, I fitted connectors to the ends of the wires and wrapped up the first section.


Once I have test fitted the wiring loom I will know the best way to wrap the rest of the wires.

I'll cover the rest of my day in another post in just a second...