This is a read-only archive of the old Madabout Kitcars forum. New posts and replies are no longer possible, but every thread is still here to browse and read.
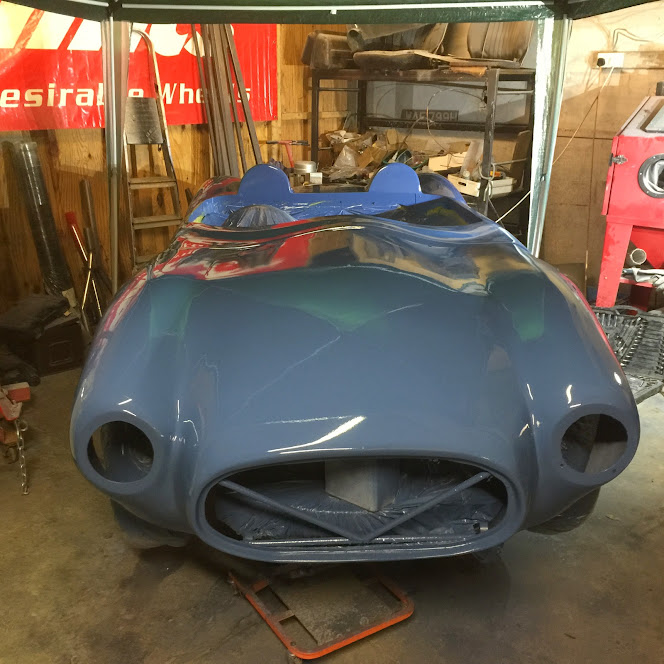
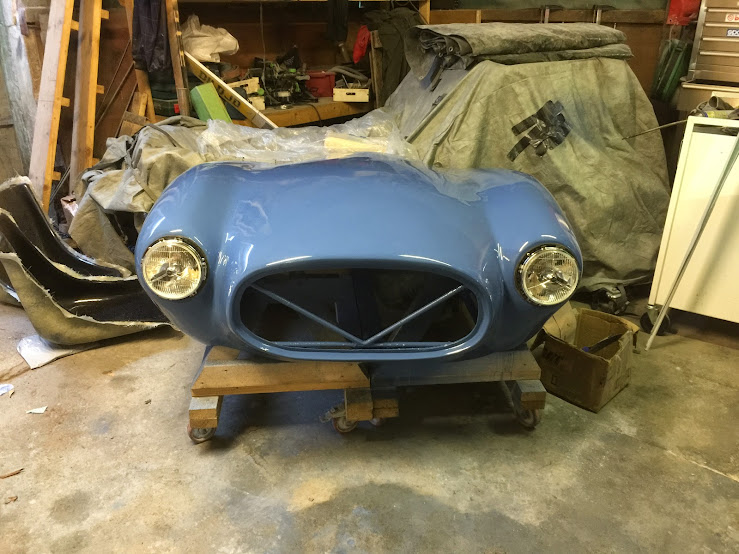
I did a quick walk around video which I will try uploading in a bit and post a link. I cannot tell you how relieved I am it went ok. I haven't done any serious bodywork for years and now am painfully aware of why that is!
Very very nice! Seeing as I'm damn close to that stage myself it's good motivation to see how quickly you've done this and to such a good level!
As far as values are concerned....
Towed echoed what my dad always said: "something is only worth what someone is willing to pay for it".
I would add my 2p as to what I think it'll go for, and why, but as this thread is going to play a large part in the sale, I'll just say that I think based on evidence of Sammio/Ribble sales from recent years there is going to be a _big_ difference between how much you will get for this in the UK compared to how much you could get from a sale to mainland Europe!
Get your Ad translated into German and the world is ur lobster!
Very nice finish on the paint job Mac well done , it's taken a lot of hard graft but the result speaks for it self, i hope i can get as good a finish.
It will be very interesting to see how much interest the car fetches and the final price as this is the standard that the kit manufacture should of been selling the turn keys for if they had they may of had a good business model.
I look forward to seeing it in daylight, maybe a video of it running along with the induction ROAR.......
But as the BBC would say, other brands of stopper are available..
Its a single pack formula so no hardener it air dries. Because it air dries it should only be used for very small imperfections as if applied too thickly the base will never dry out properly.
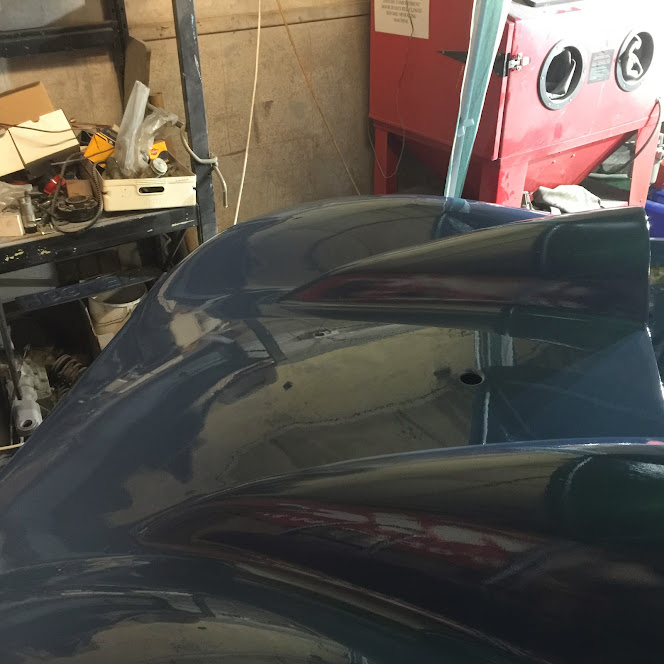
Some shiny stuff going on:
On to the rear next then going to start on the dash.
Cheers Nike and Scottie your comments are very much appreciated.
Have decided that the blue hoses are too bling so am picking up some black silicon superflex hose tomorrow so will hopefully have the water system water tight tomorrow night.
Oil catch tank has arrived, last piece of bling for the bulkhead. I hadn't planned to fit one but the original and the cast Ali rocker cover have an outlet that using the original setup goes into the inlet for fumes etc to be burnt off. Unfortunately on both the original and cast cover the outlet is about half way down the side and my first idea that was to fit a mini filter direct to the stub will probably end up in a dribble of oil down the side of the engine....so catch tank it is! Pics of it in a bit.
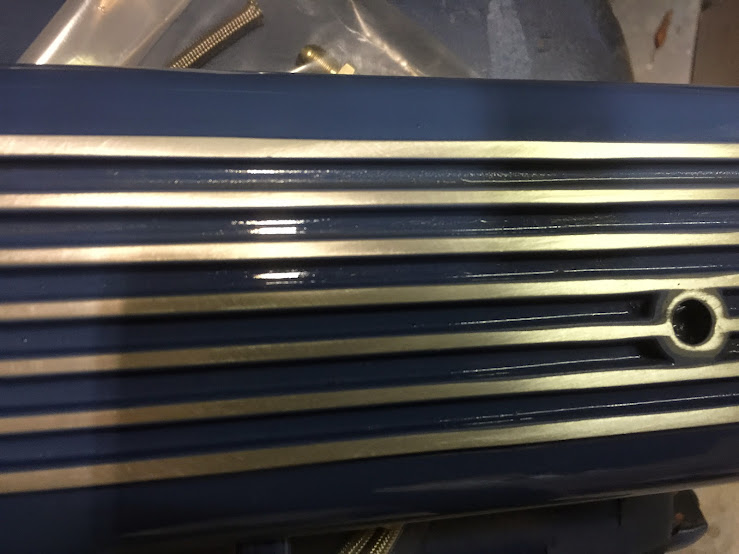
Before I left last night I managed to have a go at the Ali Rocker Cover and am happy with the result.
think I'm going to leave the Ali satin rather than polish it any more. maybe just a wipe over with some wax past to protect it.
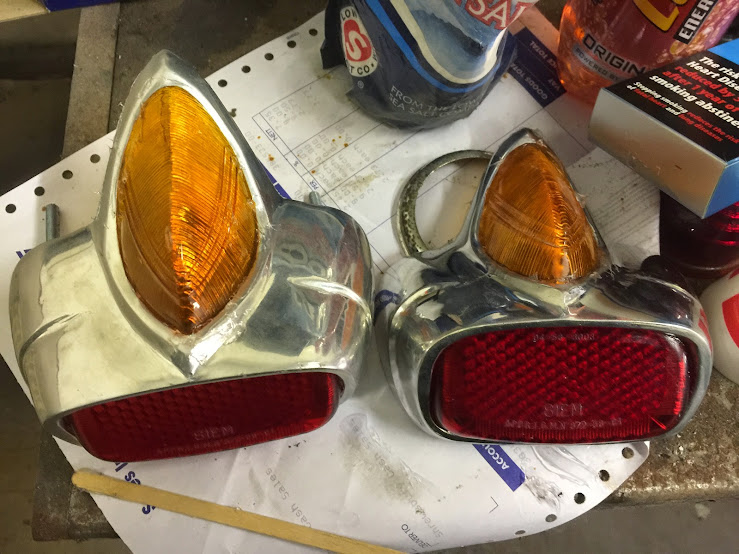
Also forgot to mention last night that I had fitted the lenses to my rear lights. On the Lambretta they originally came from the gasket behind the lamp holds the lenses in place, not so in this application so I have fitted them using clear silicon sealant so that they are both weatherproof and should it be necessary removable.
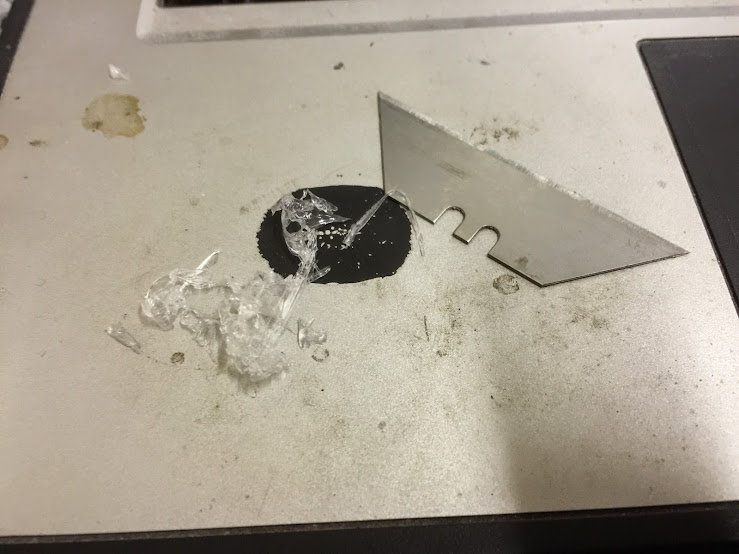
You can see some of the excess silicone, I left it so that hopefully it will just rub off.... hang on a mo...
Yep just run a sharp blade around the join and the excess peels off.
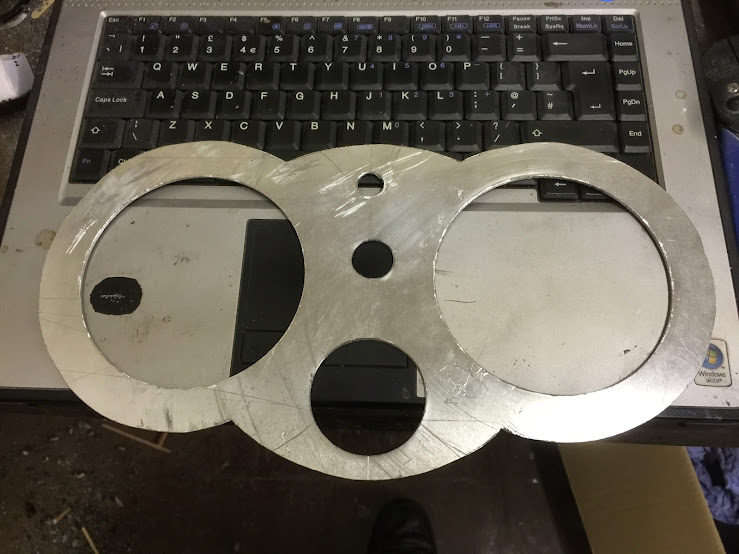
The trim on the ali gauge surround is now dry so later I will have a go at covering with leather.
Next up is the seat bases. I have been lucky enough to find a trimmer to look at them on Saturday with a view to doing them before Christmas. I was going to have a go myself but have decided that I'm just not up to it and I'm so happy with how its now going together I couldn't live with myself if it was let down by shoddy upholstery.
So Martin at Shropshire Stainless bent me up some 5mm Ali seat base blanks.
So started with this:
Which became this:
Which turned into this:
Which then morphed into this:
Couple of spacers to set the height of the seat in the base:
A goodly application of PU Adhesive (yep that stuff again!)
And the seat is gently pushed into position, its a tight fit but with enough spring that the adhesive get spread around. Also then piped some in around the joint of the curve in the plate to the seat
Once its set overnight I will drill and rivet using approx. 10 good long rivets per side from the inside of the seat outwards. This combination will be plenty strong enough, I have seen race seats held in cars with 4 bolts straight through the fibreglass into the floor! this beats that hands down and then some :-)
Hi,
Where did you buy that seat? It looks just perfect for my project!
Edit: I just went through practically all pages and found out you made it yourself.... My hat's off for you sir!
Could you make me one? If so, how much £?!?! (You can answer through PM)
the final few jobs seem to be taking ages but progress is being made.
The big news is that I dropped the seats off at the trimmers today and they should be done before the new year along with 2 headrests.
Before the seats went I riveted them to the bases.
The rivet heads on the inside will get a light skim of fibreglass filler to smooth over them and the projecting bits on the outside will be touched with the grinder but not removed totally.
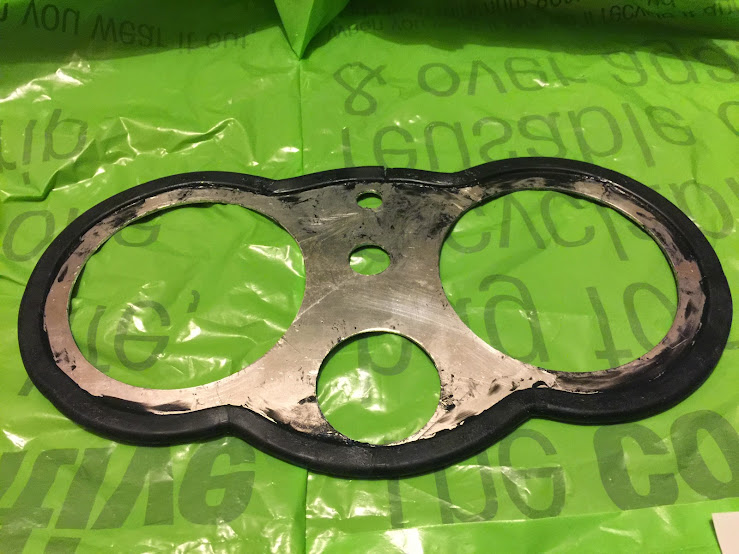
Moving on with the instrument surround. Pic of the rubber edge trim glued in place:
PU adhesive applied to the front face but not on the rubber trim:
First bit of edge glued to the rear, by not gluing to the rubber trim and using a high grip adhesive the rubber edge shows up which is what I was after.
Better shot here:
Have started replacing the neon blue silicon hoses with black as the blue was a bit too much.
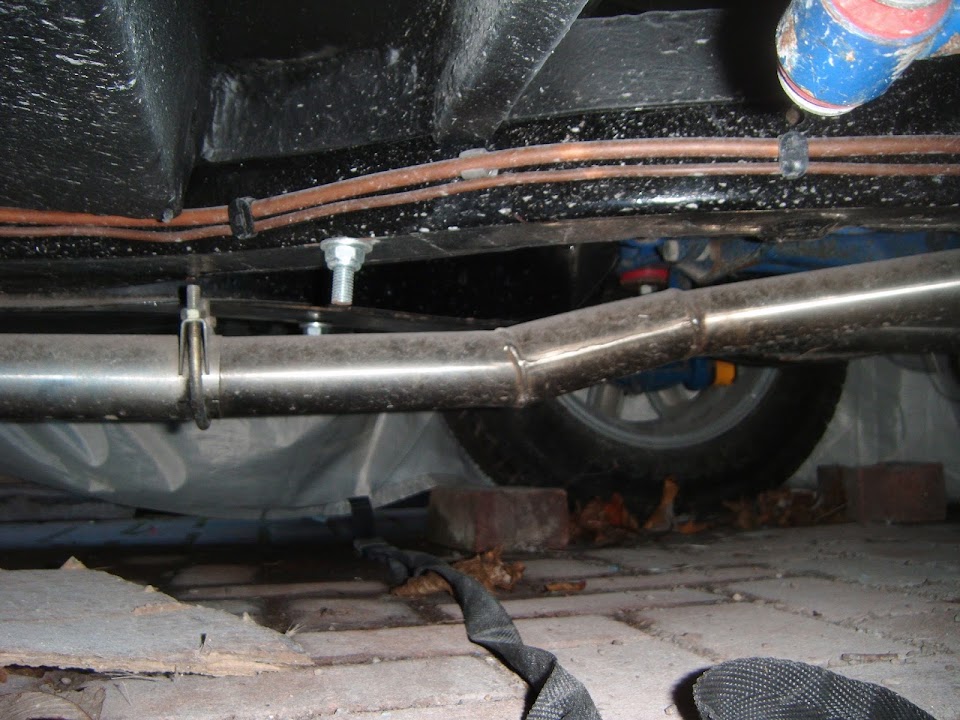
Fitted the stainless exhaust today:
Hard to see from the pics but the exhaust hangs way too low at the rear, I think the rear y pipe needs flipping?
Maybe more tomorrow if I get a pass to go to the man cave.
Fitted the exhaust but the rear y section wouldn't fit either way without issues so nothing more for it.
that's more like it.
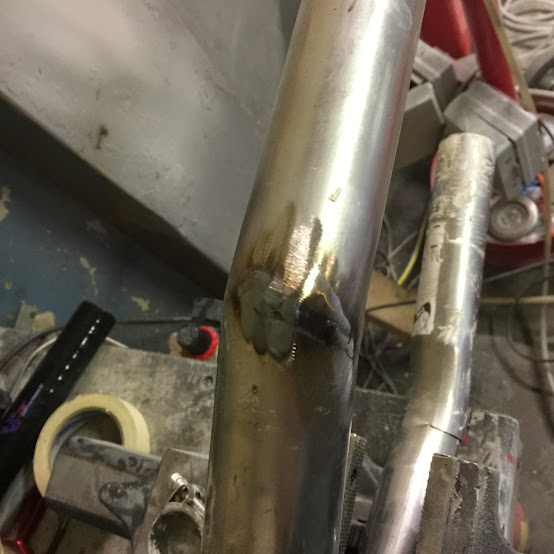
Weld weld weld
That's better! they still need to come up a bit but will do so once I have picked up a couple of bobbins, I'm also going to support the rear of the silencers with a strap.
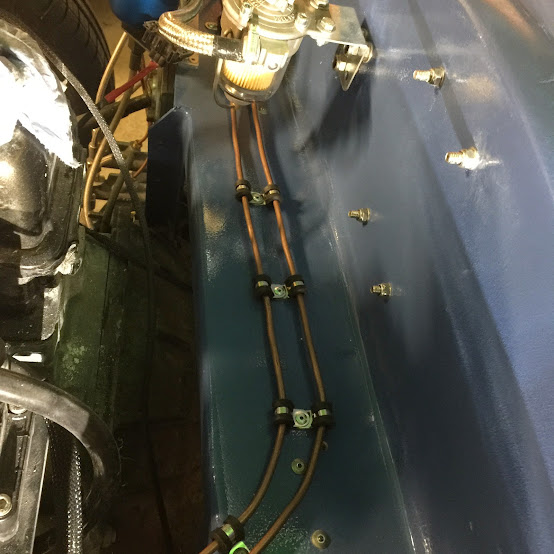
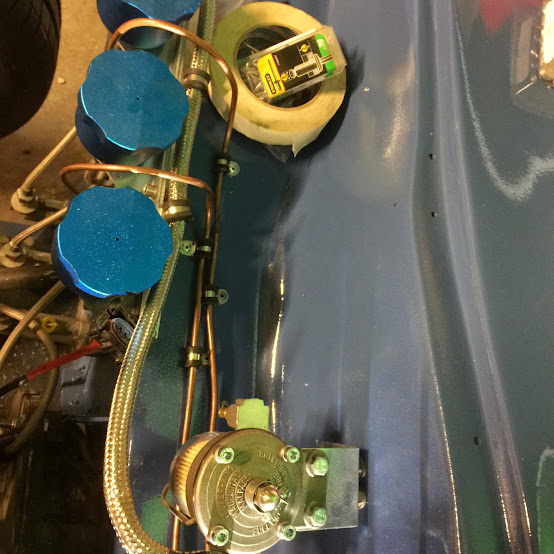
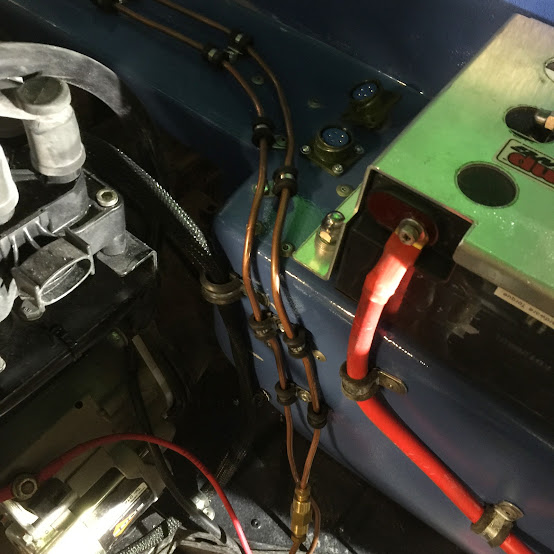
Wasn't happy with the plastic brake pipe clips so its all come off and I have nearly finished replacing with rubber lined stainless steel p-clips, its a pain but I must try and resist the urge to rush at the end ...
I am moving on with the instrument surround but its slow going as I can only do a small section at a time in order to get the edge tight enough and the PU adhesive takes a while to go off :-(
First section done:
The opposite edge is currently drying.
Unfortunately I'm off on a job tomorrow in Exmouth that starts tomorrow ends on the 23rd / 24th including next weekend so that's pretty much it until after crimble:-)