MadaboutKitcars

This is a read-only archive of the old Madabout Kitcars forum. New posts and replies are no longer possible, but every thread is still here to browse and read.

Another Cordite Is Born ...

19 Jan 2014, 5:40pm
Chasing the light...
Only had the chance to get a brief session outside, but at least I chipped away a bit more.

I cut out and cleaned up the panel to blank off the old heater controls "hole".


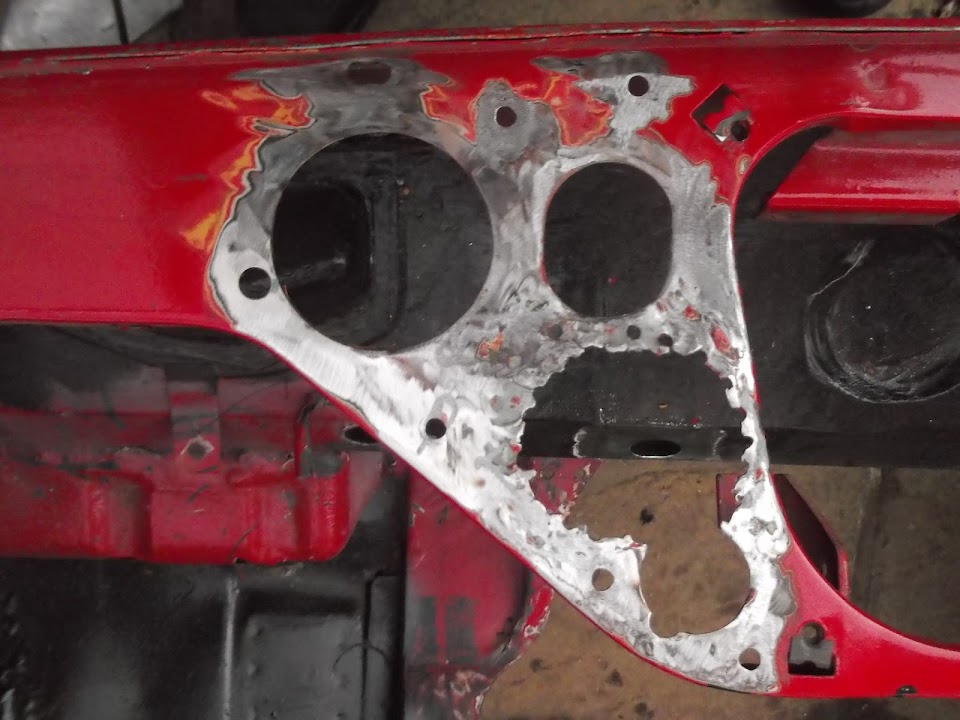
I then cut out the repair panel for the left hand side of the dash board.
( Although it will be welded in behind the existing dash metal work. )


I just need to tidy up this mess first, including the return lip of one of the holes.


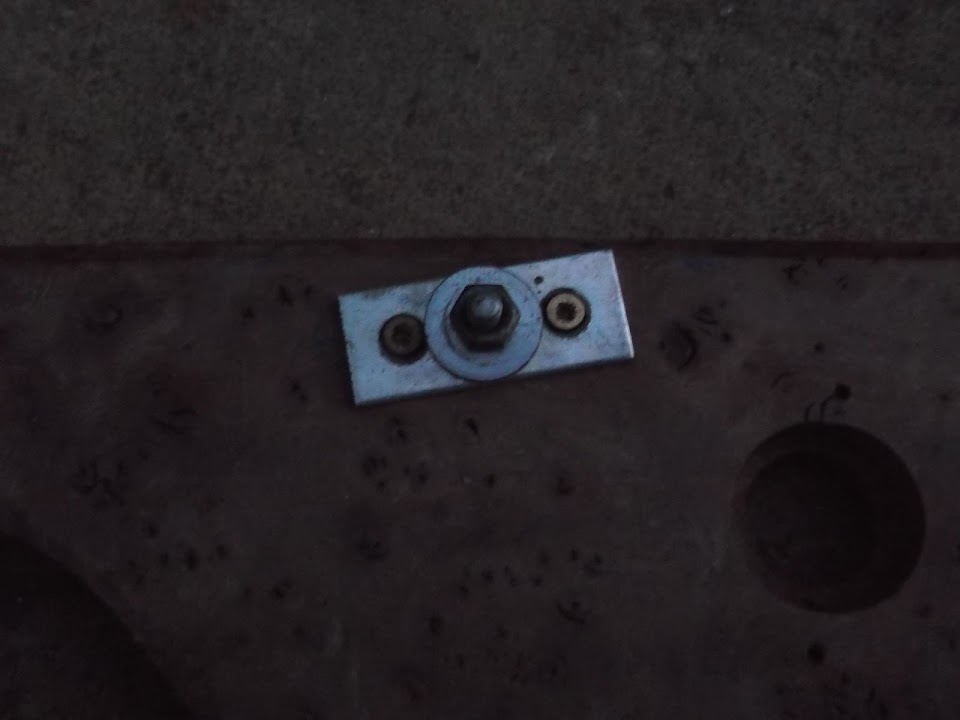
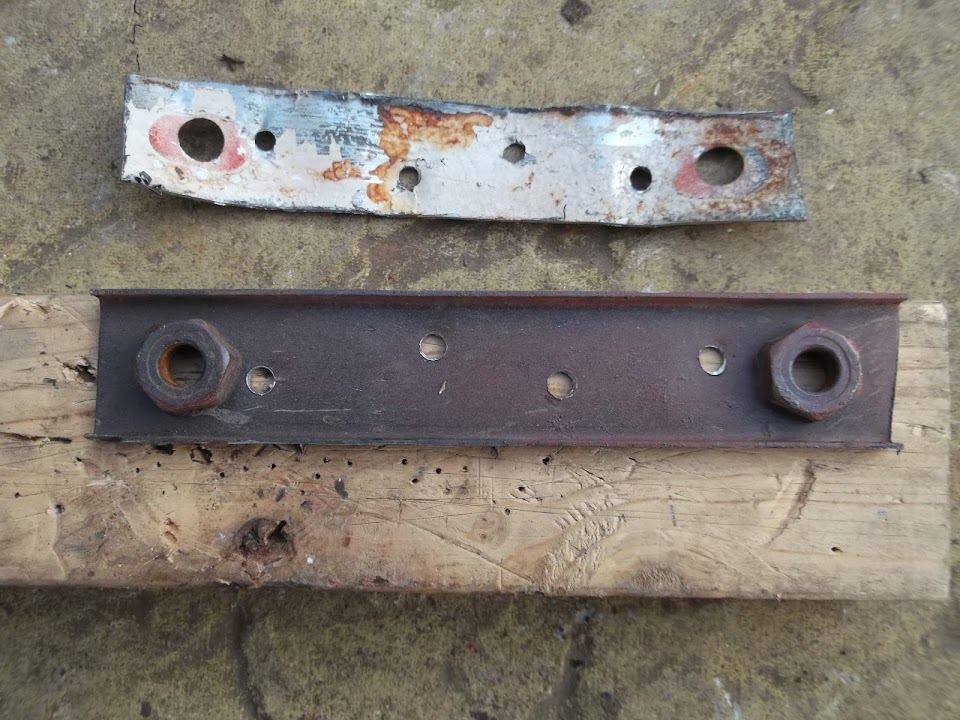
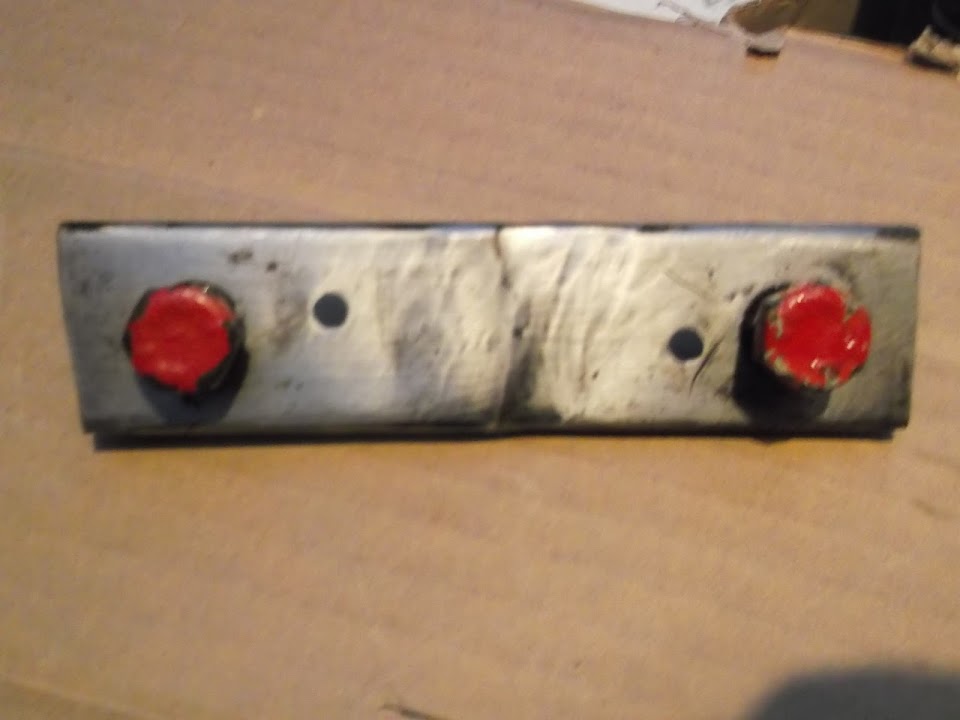
I saw this piece in my scrap pile and though I could use the "nuts".


So I cut them out and compared it to the holes in the dash I planned to bolt the heater control panel to.
( Sorry the light was fading fast and messing up the photos. )


I will just need to open the holes a bit and they should work a treat.


I then cut out another piece from the same section as I had another idea.


After a bit more cutting and shaping this could be used to join the dash to the steering column.


OK, by now it was getting both dark and cold, so I had to be quick.
Currently the wooden dash comes in 3 sections and only has one small bracket linking two sections.


I plan to join all three sections together to form a single piece.
This will be mounted by the existing 4 screws used for the centre section.
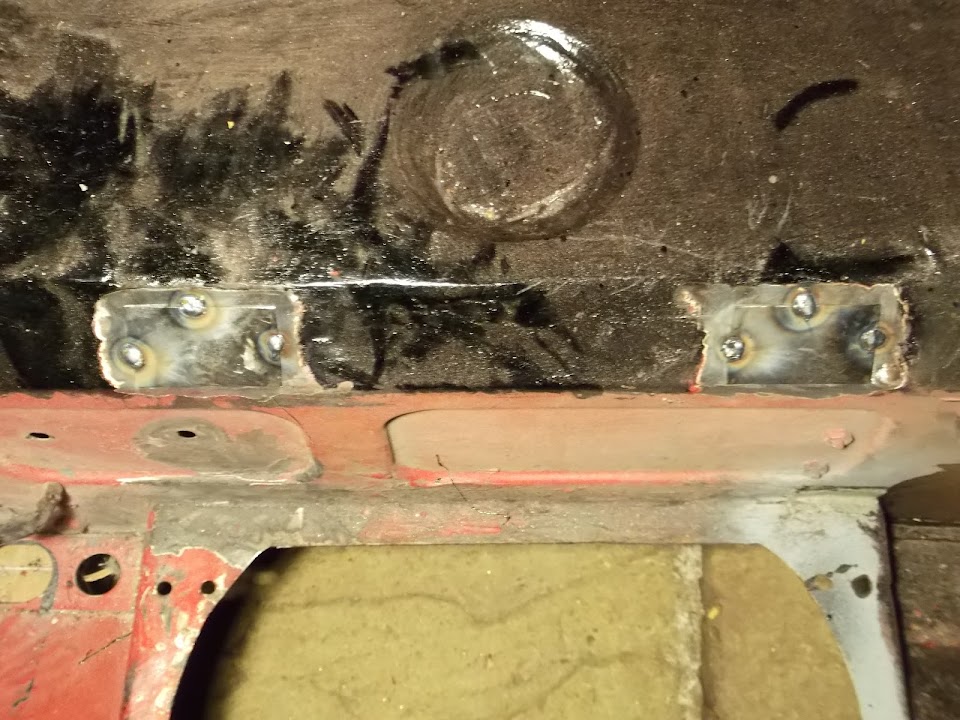
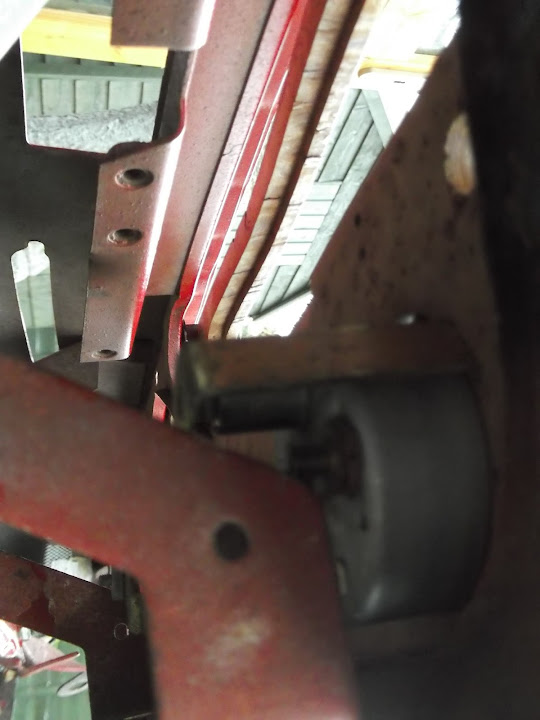
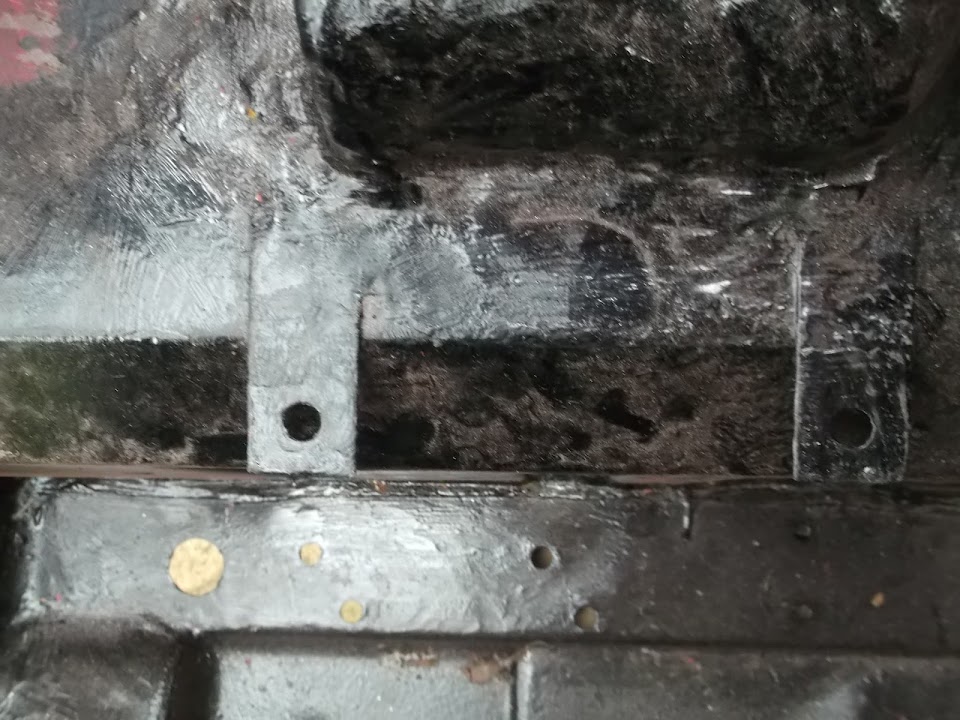
Plus the existing mounting points at each end that look like this.


I will then use some glue and brackets to join the three sections together from behind.
I had these "L" brackets lying around, but I will have another think about the best way to do this.


As long as the whole dash can be still be removed I cant see the problem with it being a singe piece.
The existing join already prevents you removing the speedo section unless you remove the centre section first anyway.

That's all for now, take care, Paul. :)
19 Jan 2014, 5:48pm
Hi Paul, my advise would be to keep the 3 sections as they are.
The centre section is removed with ease and does allow you to access the heater controls and most of the wiring behind the clock section with-out having to remove anything else :eusa_think:
19 Jan 2014, 7:52pm
Bloody hell Paul! I've missed so much! Starting to look good now.
20 Jan 2014, 6:29pm
Micky1mo - Thanks for the feedback, I'll keep the dash as three separate sections.

Scottie - Cheers, it does look like I will be able to make this bulkhead work for my build. :cool:

- - - - - - - - - - - - - - - - - - - - - - - - - - - - - - -

Another short session...
Too many other things going on at the moment, but I did spend a bit of time outside today.

Started by cleaning up the holes in the bulkhead where the original heater pipes went.


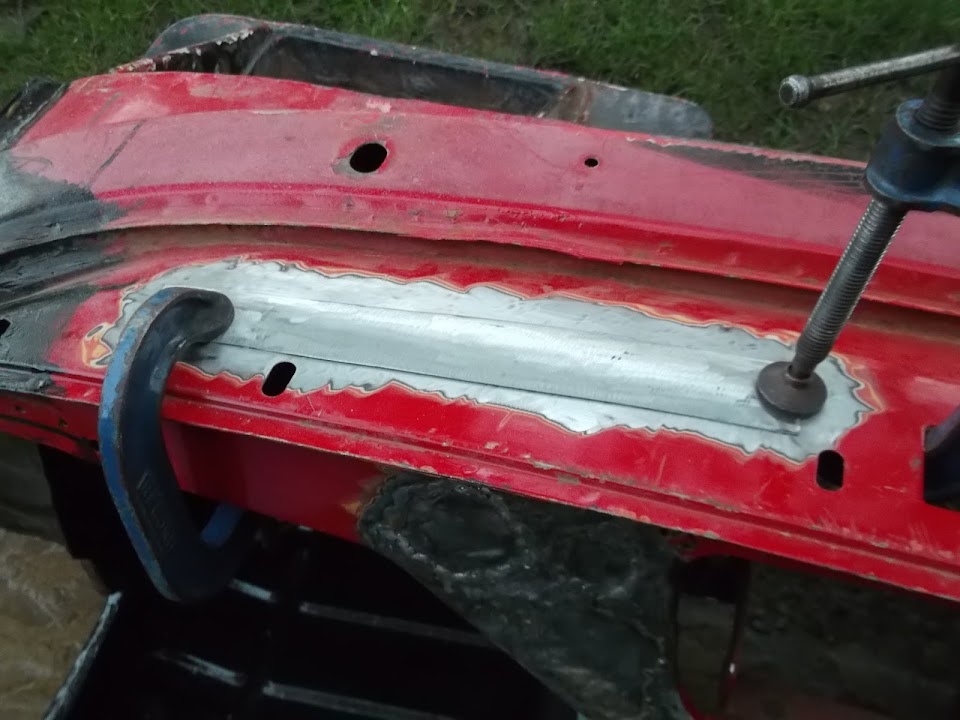
I also cleaned up the left hand section of the dash mounting and added a few extra holes for welding.


Then it was simply a case of clamping, welding, moving the clamps & repeat.


As it got dark, I had to admit defeat as I couldn't see what I was doing.
I've tried using a spot light to help me weld, but it seems to trigger the mask meaning I still can't see. :rolleyes:

Just to give you an idea, this was "knocking off time" without using the camera flash...


And this is with the flash...
( Note the "fog" in the top right of the picture is my breath, as it was now pretty cold out. )


Obviously I can use my work lights to help me tidy the mess up and not leave any tools outside over night.

I also used the light to help take these last two photos.


Plenty of work to do in both areas, but at least it is a start.

Until next time, take care, Paul. :)
20 Jan 2014, 10:10pm
Thank goodness for that Paul!
I should hope so after all that hard work!

Crack on mate. :-)
21 Jan 2014, 5:31pm
Scottie - Sorry, I don't think I worded my previous reply very well. :rolleyes:
I was always going to use the bulkhead once I'd committed to repairing it.
But it is only now that I finally believe I will be able to make the heater, vents, etc. work too.
After today's work, it is clear to me that the vent panels will stiffen the whole dash area nicely. :cool:

- - - - - - - - - - - - - - - - - - - - - - - - - - - - - - -

Odds & Ends...
Managed to time my availability with proper day light for a change.

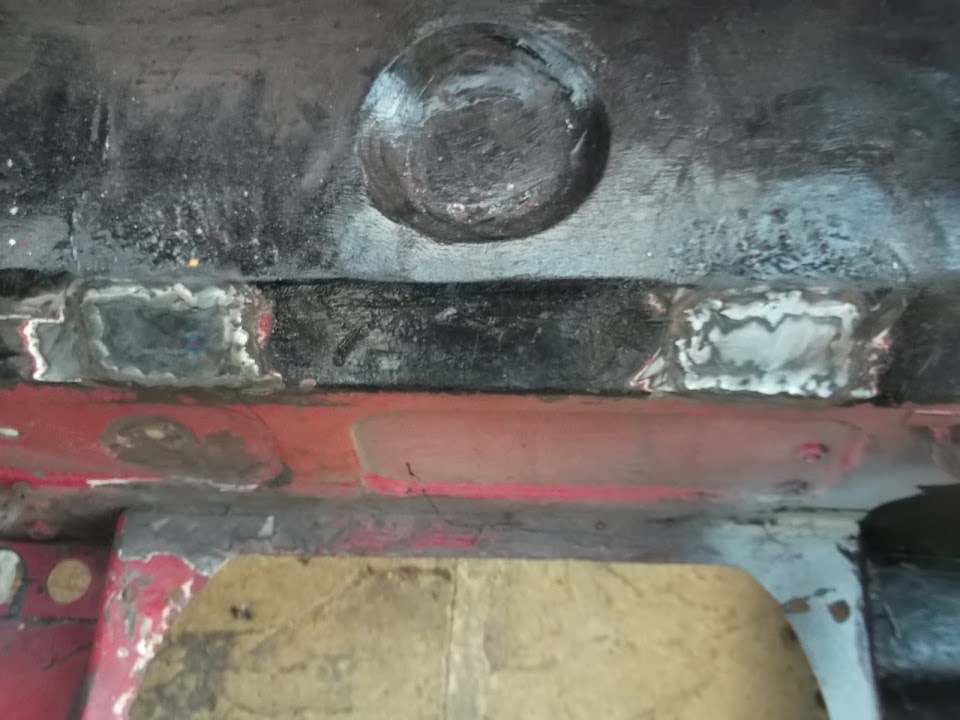
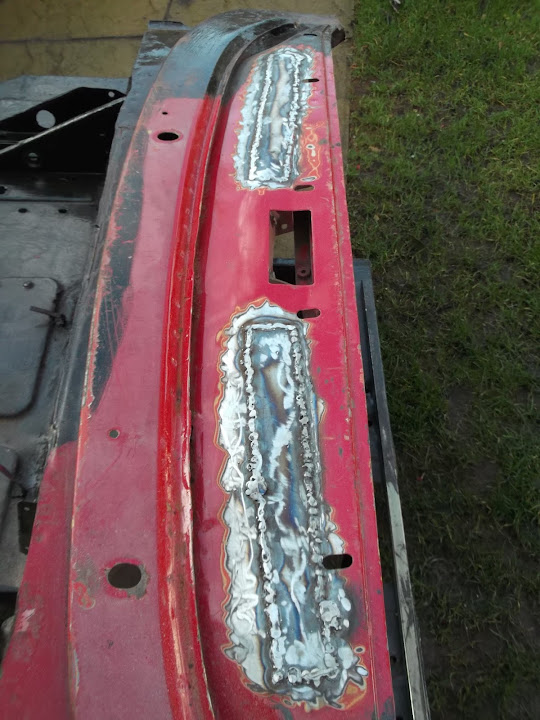
Finished welding up the small panels covering the original heater pipe work holes.


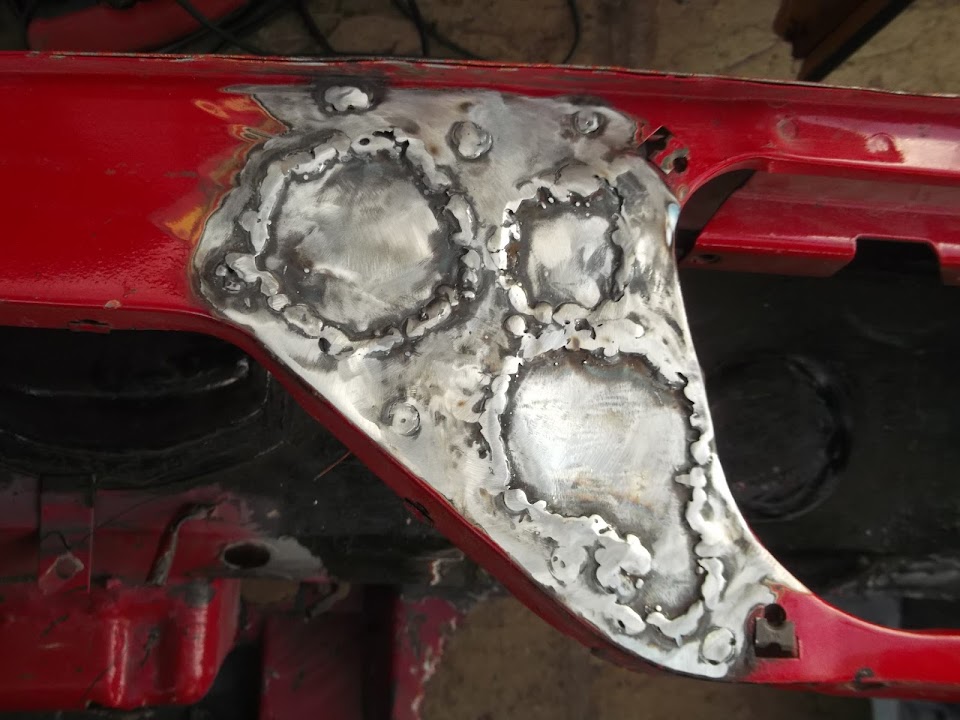
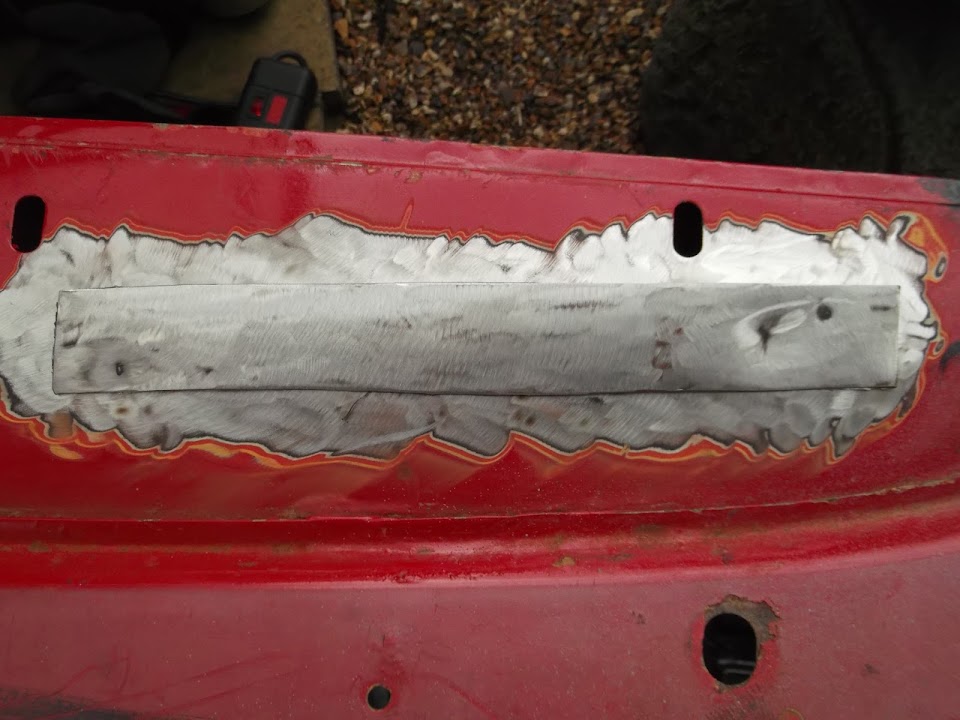
Also finished welding up my dash repair panel.


I've had another thought about the battery cut off switch and I will not use the cigarette lighter hole.
Instead I will used some wood filler to seal up the hole & fit the cut out switch somewhere around here...


This recess would be a handy place for the wiring on the other side as it is close to the battery.
I'll have a look at the best place and best way to mount the switch another day.

I also had another thought about how to mount the heater control panel to the dash.

But first I drilled out the four spot welds that held the nuts to the main panel.


This will now line up with the lip in the dash.


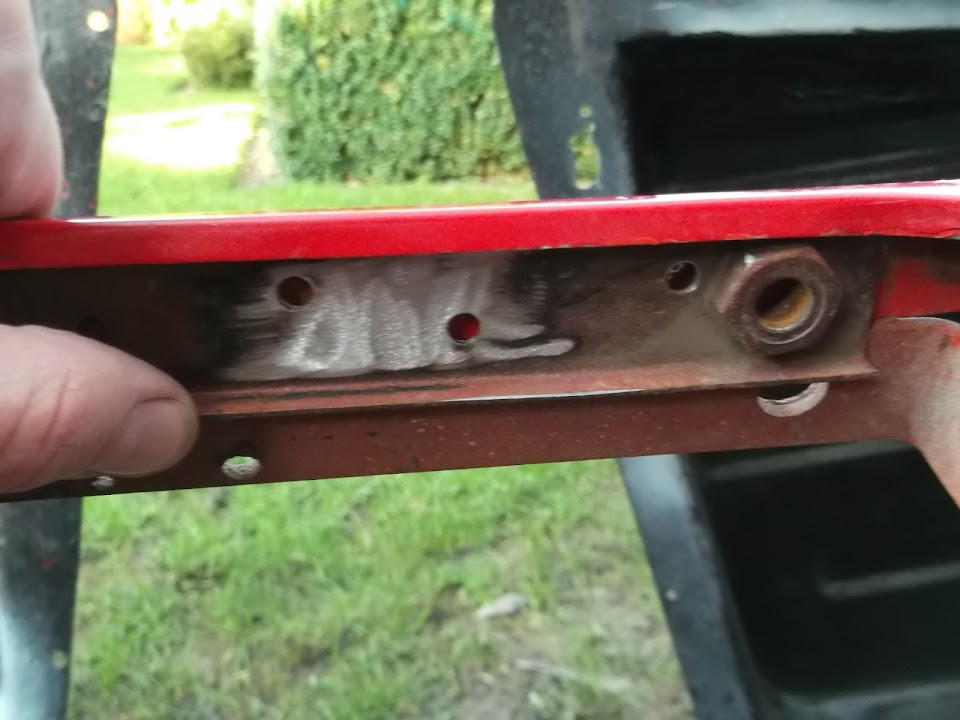
However, to avoid having too many holes close together, I needed to bring the nuts nearer to each other.

So I just cleaned this up, marked it, cut it & welded it back together.


This is what the bracket looks like now when held in position.


I still need to drill the corresponding holes in the dash & panel.

Next job was to finish the bracket linking the dash to the steering column mounts.
Thankfully the width of the bracket was the same size as this box section off cut.


This allowed me to hammer the edges of the connecting bracket around the box section, before I drilled holes at each end.


Which in turn meant the bracket was a much better fit.


This holds the section of dash I'd previously bent back in the right position.


Now I just need to find a suitable off cut to make a bracket for the other side.


Then once everything is held in position, I will take final measurements for the two vent panels.
Once these have been welded into position the whole dash area will be very solid. :cool:

Until next time, take care, Paul. :)
22 Jan 2014, 4:53pm
Smoke gets in my eyes...
Well I can now add bonfires to the long list of things that has prevented me doing work on this project. :rolleyes:


I did wait until it had completely died down before going outside and whilst some smoke still lingered, it wasn't too bad.
It was only after I had set everything up and started working that they stoked the fire up again, blanketing the area (& me) in smoke. :icon_evil:
So this is another short update and I still have a sore throat from it as I sit indoors typing this.

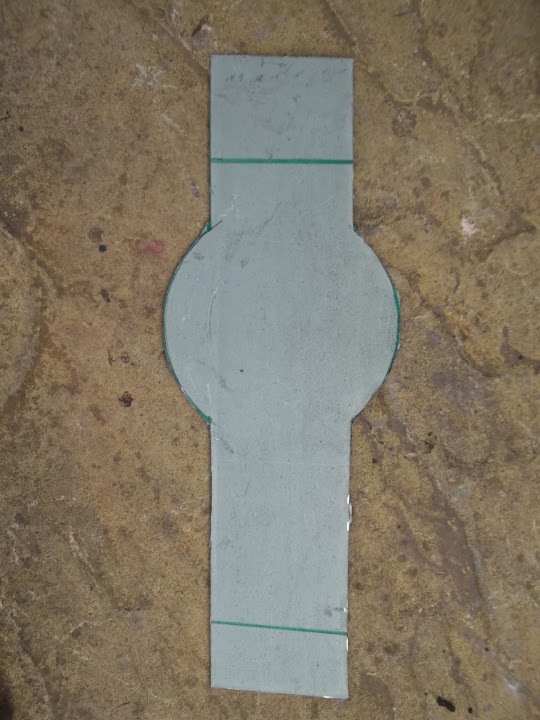
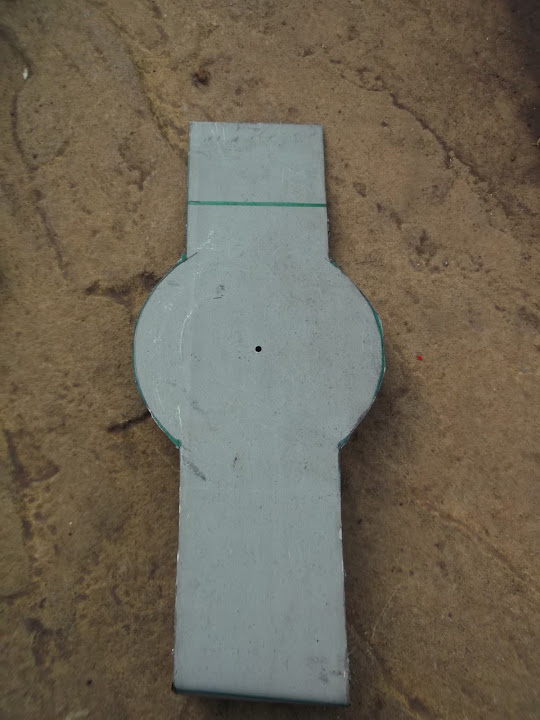
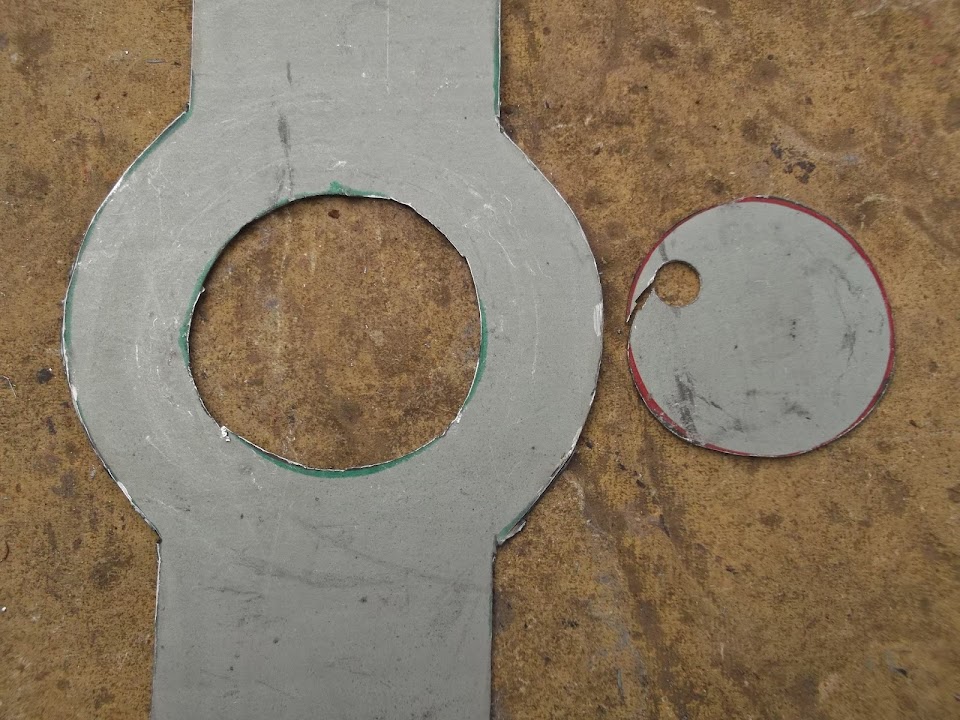
I was playing with the cardboard template for the passenger side vent panel and needed a bigger circle.
( I'd forgotten to borrow a drawing compass from the children before they went to school. )

In my best Goldilocks tradition, the tape was too small, the bowl was too big, but the cutting disc lid was just right.


I then marked up the panel & cut it out.


Note: I still need to tidy up the edges a bit.

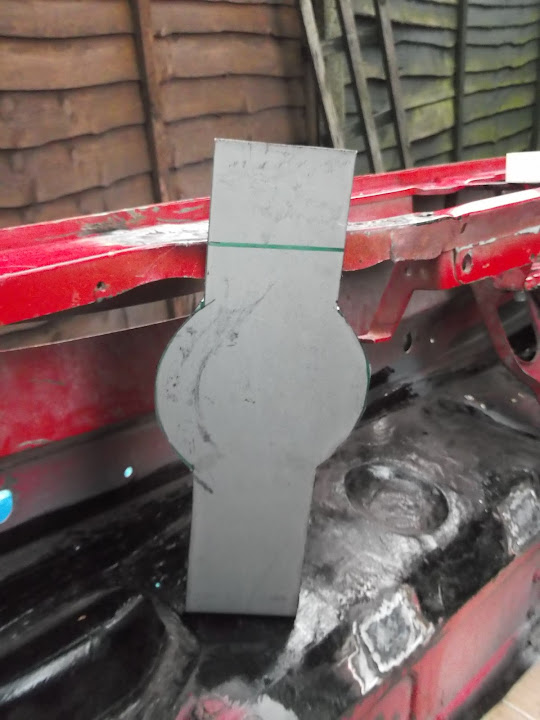
I then hammered the bottom edge to match the angle of the bulkhead where it will be mounted.


Thankfully I have learnt that it is always worth double checking metal rather than relying on a cardboard template.
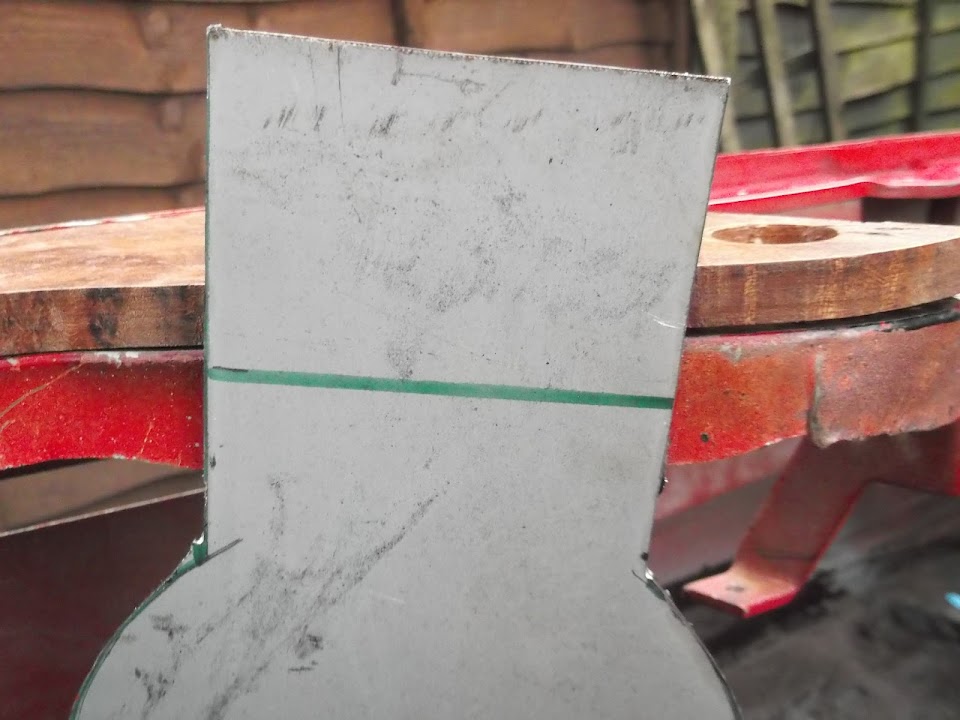
Sure enough, the line I'd marked for the top bend appears to be in the wrong place.


But before I re-draw the line and hammer the panel into shape I want to double check the whole dash area.
However, by this point I was coughing due to the smoke and decided to call it a day.

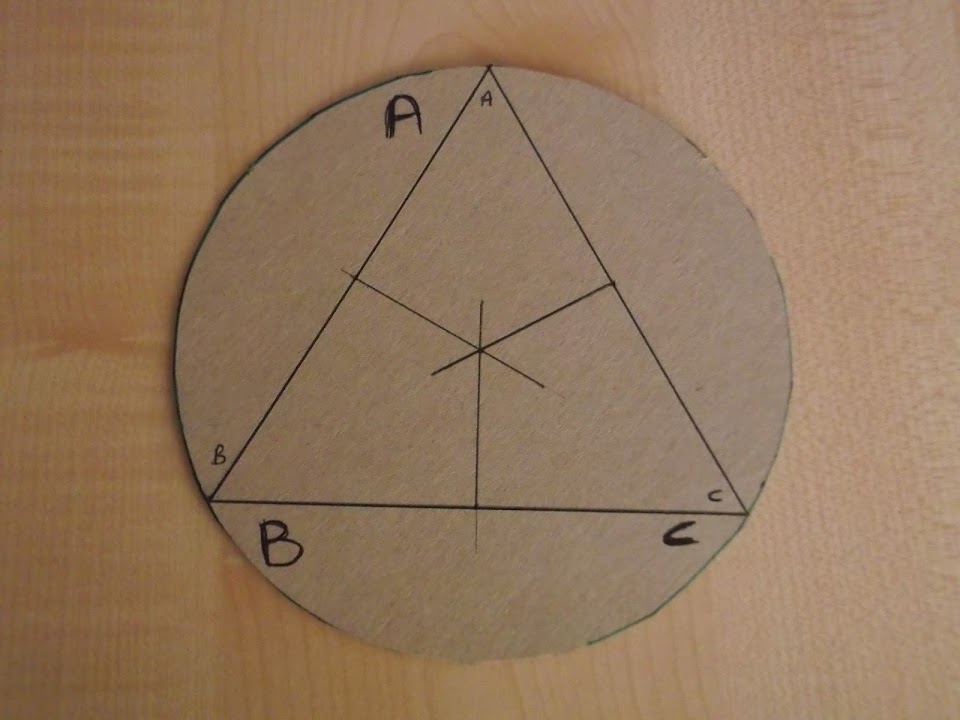
My final job was to copy a trick I learnt from Mark Evan on "A Racing Car Is Born"...

I have the cardboard circle I used to mark up the steel and need to find the centre point.
As this will be used to drill out the hole for the vent itself.

The steps are:
- Starting at 'Point A' draw a line to 'Point B'
- Draw a line from A to C that is the same length A to B.
- Finally draw a line between B & C.
- Next mark the mid-points of all three lines.
- Then draw 3 lines perpendicular to each of these mid points.
- Where these lines meet is the centre of the circle. :cool:


So all I need to do now is put a hole in the card & mark up the metal.

And finally, a bit of fun based on WorldClassAccident's painting post yesterday...

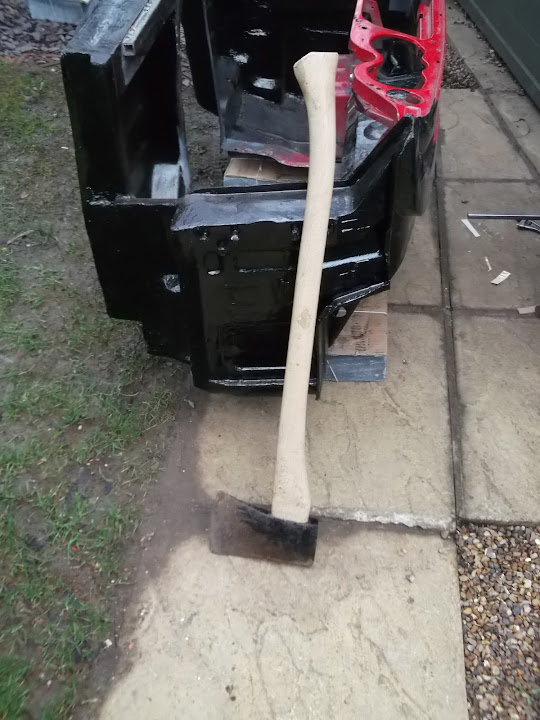
[Crocodile Dundee] "That's not an axe... this is an axe!" [/Paul Hogan]


:icon_wink:

Until next time, take care, Paul. :)
22 Jan 2014, 5:22pm
As ever, nice one Paul.
22 Jan 2014, 10:04pm
I wonder what's burried next door...
23 Jan 2014, 5:29pm
Scottie - Cheers. I know I just have to keep chipping away.
Plus I have to accept that some days are more productive than others. :rolleyes:

GaryH - I think that is where the last person to have a big bonfire ended up! :icon_twisted:

- - - - - - - - - - - - - - - - - - - - - - - - - - - - - - -

Small Progress on Vent Panel...
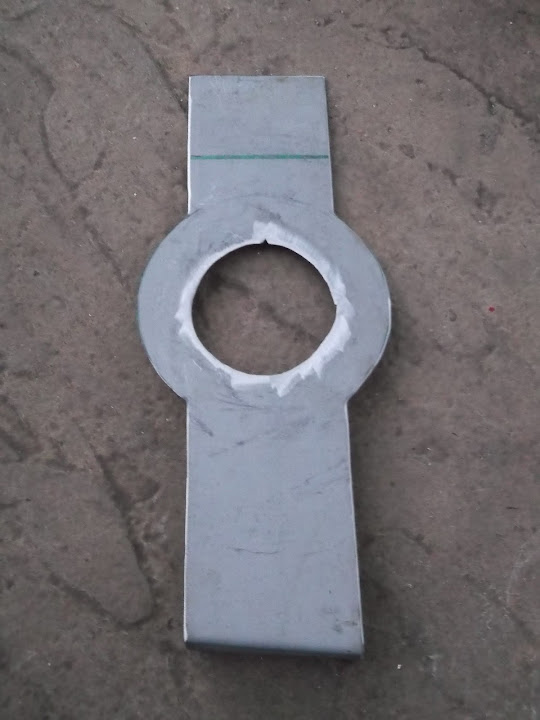
I used my centre guide to mark the passenger side vent panel and then drill a pilot hole.


Unfortunately my new hole saw set is absolutely pants and simply tried to rub its way through. :rant:


Clearly the supplier's definition of thin steel differs from mine. :icon_evil:

So I switched to my step drill bit and opened up the pilot hole so I could get a jigsaw blade in.

This gave me a slightly rougher hole than I was originally hoping for, but it will do.

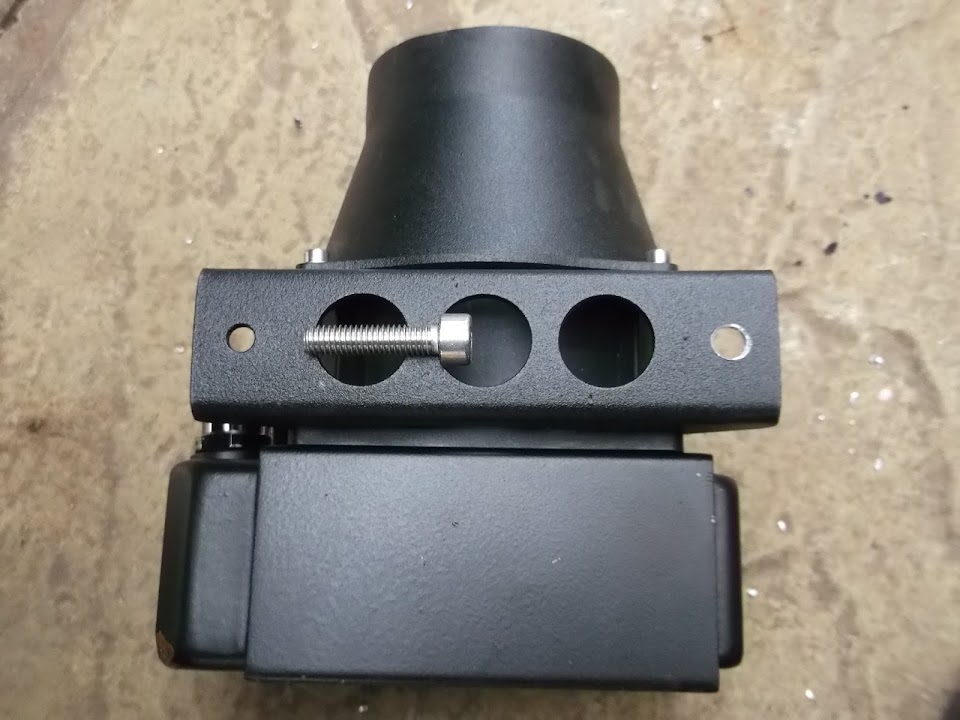
But before I tidied up the hole in the vent panel I needed to take a file to the "official" vent mount.


I intend to use this as a big washer behind the panel to help lock the vent into place.

It only needed a bit of work on the inside edge to go from this...


To this...


Then I filed away the inside edges of the vent panel until the vent fitted neatly there too.


Then I gave all the edges of the panel a quick clean / tidy up / final shaping.


Notice I needed to file a "V" at the top to match a locating lug on the vent itself.


This is the view of the panel from the front, which I think looks pretty good. :cool:


Until next time, take care, Paul. :)
24 Jan 2014, 7:14am
Nice work Paul, cheap hole saw sets are a waste of money on anything except maybe plastic or fibreglass. Buy yourself a decent Starrett Arbor from any decent engineering supplies place then just buy the sizes you need. Starrett stuff isn't as expensive as you would expect and last much longer and give much better results. Also when cutting holes its best to use a variable speed drill and cut slowly whilst using oil as a lubricant.
HTH
Back to the beach...
Mac
24 Jan 2014, 7:58am
Viatron wrote:
Nice work Paul, cheap hole saw sets are a waste of money on anything except maybe plastic or fibreglass. Buy yourself a decent Starrett Arbor from any decent engineering supplies place then just buy the sizes you need. Starrett stuff isn't as expensive as you would expect and last much longer and give much better results. Also when cutting holes its best to use a variable speed drill and cut slowly whilst using oil as a lubricant.
HTH
Back to the beach...
Mac


Sage advice V. My cheap hole saw set coped adequately with fibreglass but the teeth all rounded off in seconds trying to cut thin steel sheet. Aluminium was a bit better but they still struggled. Cheap tools have their uses but also their limitations. :ohwell:
24 Jan 2014, 5:27pm
Mac & Mr T - Thanks chaps, I'm always grateful for your feedback and advice. :cool:

- - - - - - - - - - - - - - - - - - - - - - - - - - - - - - -

Odd Jobs...
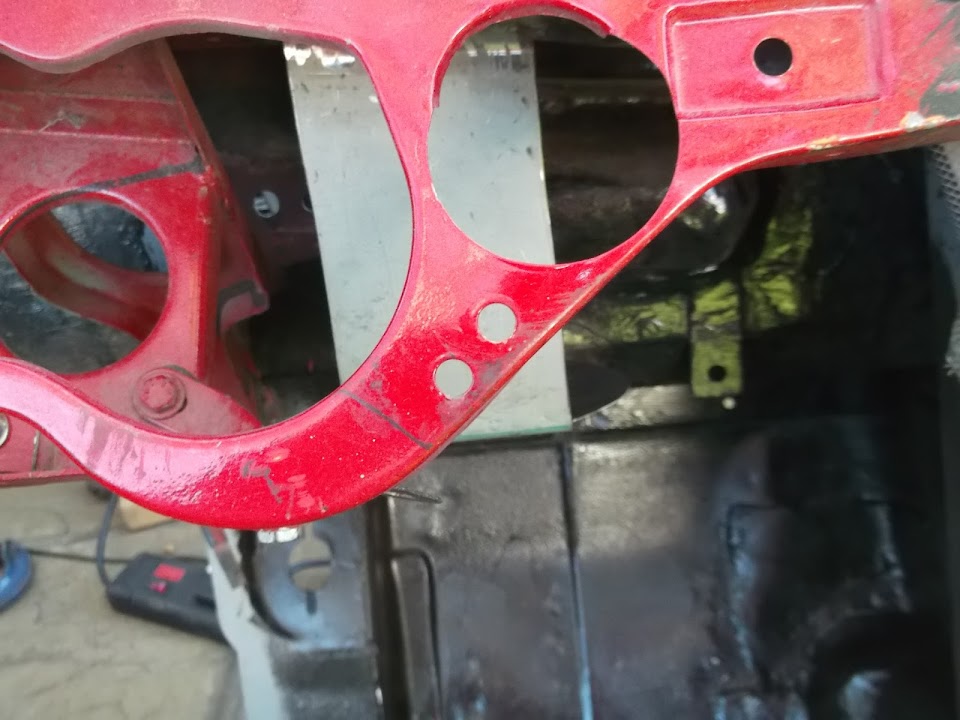
I marked up the bulkhead & drilled the two holes I need to mount the heater.


But I had enlarge the holes in the heater mount slightly to take the mounting bolts supplied.
( In the photo, the right hole has been done, but the left hole is next. )


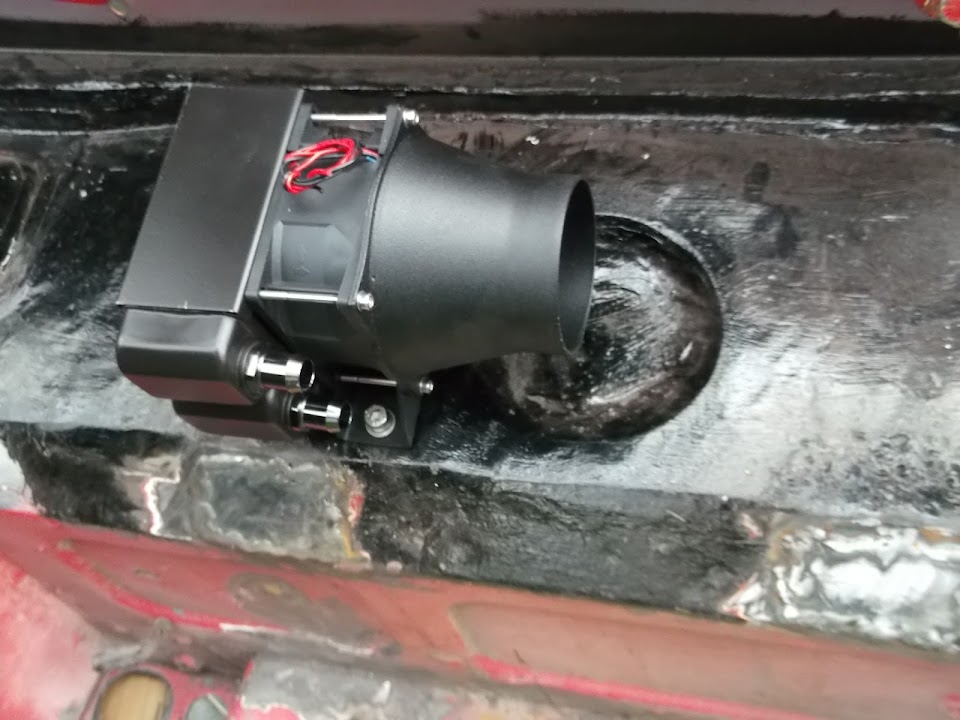
So the heater will mounted like this.


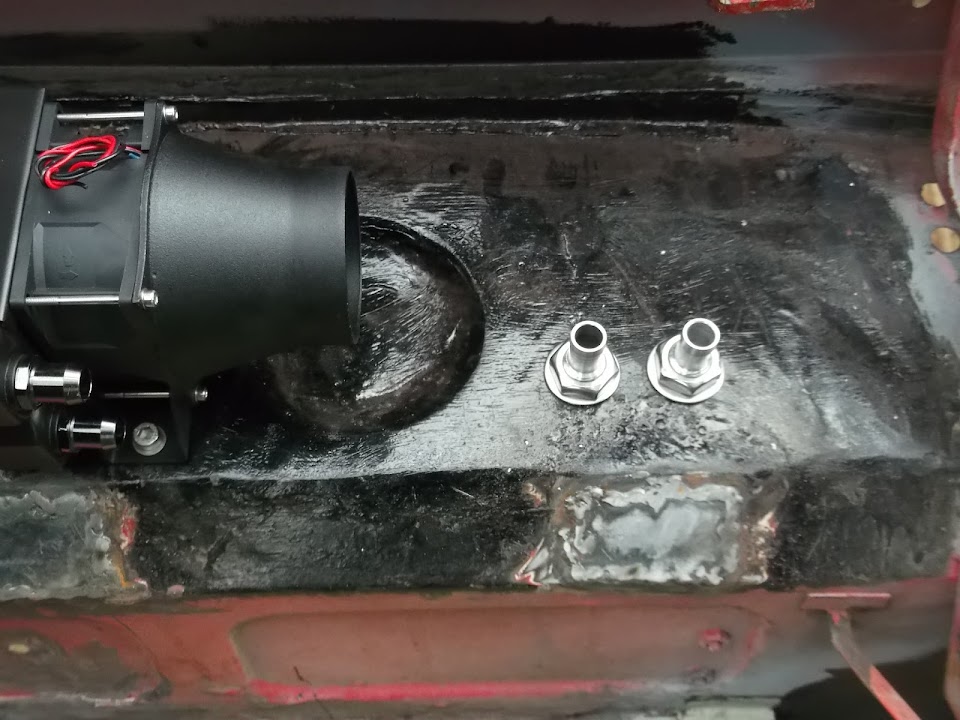
Next I marked up the bulkhead for connector for the heater hoses.


After drilling the holes the fittings could be pushed through like this.


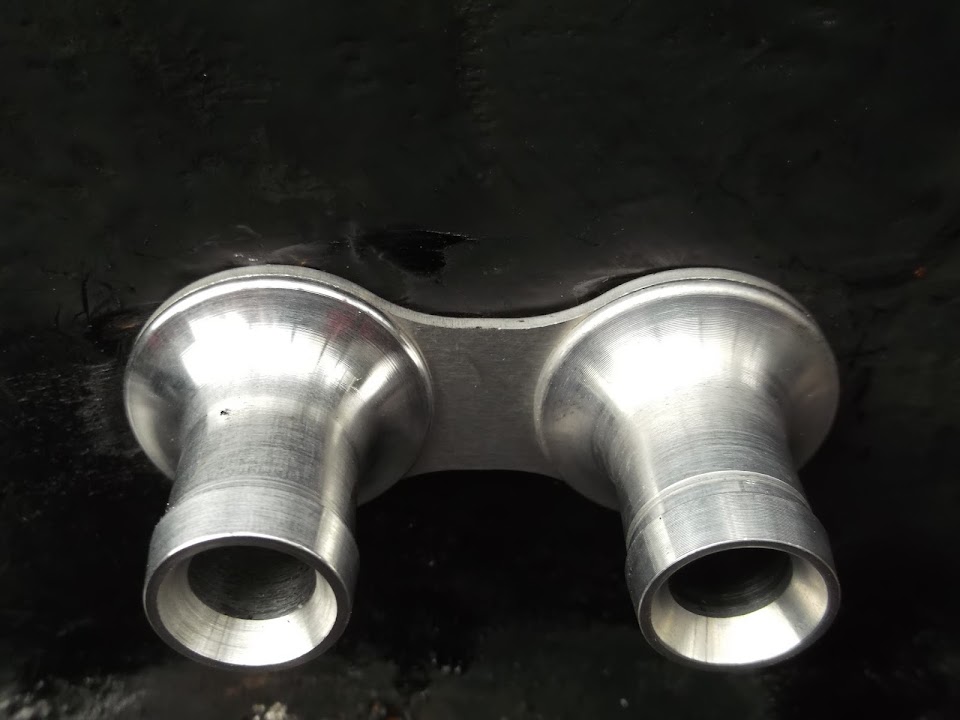
And this is what they look like on the engine bay side of the bulkhead.


I finished making the second bracket to support the dash, where I had bend the bracket back through 90 degrees.


It connected the bottom of the dash to one of the original heater switch mounting points.


After tightening up all the nuts and bolts on both brackets the dash felt pretty solid.

I then double checked the wooden dash board on top of the metal.
( It would look a lot neater / straighter if I could find the box with the screws for the dash centre section in!! )


I just needed to adjust the angle of the brackets that hold the dials in place to avoid the bracket.
( Sorry not a great photo. )


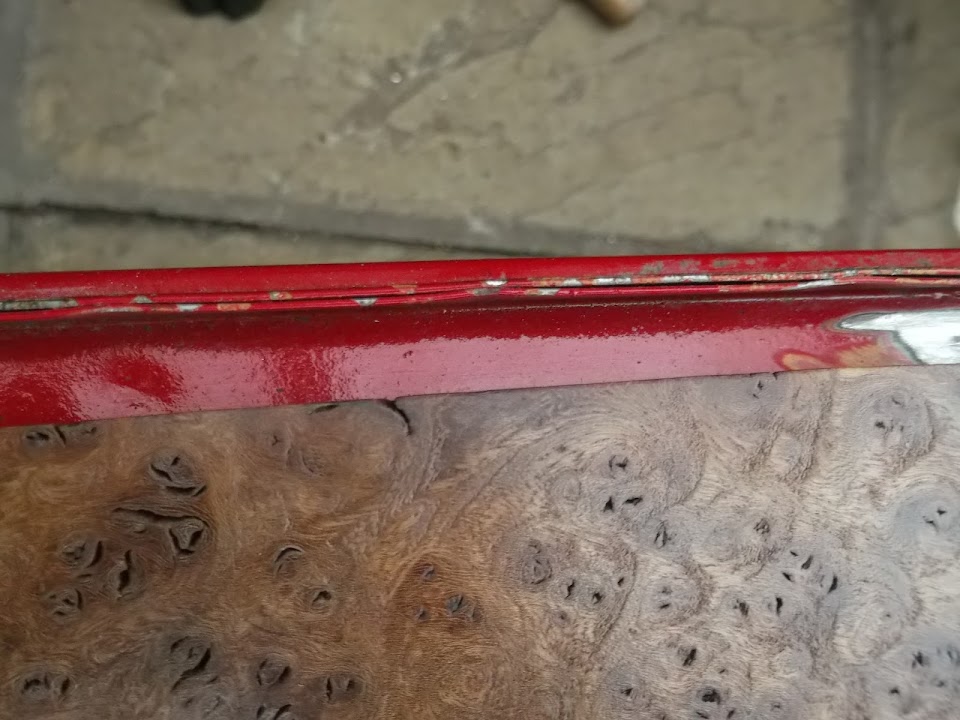
There is also a gap above the whole length of the wooden dash where a piece of Spitfire trim would have fitted.


But I'll worry about what I'm going to do with that another day.

I then marked and bent the passenger side vent panel to the correct angle to sit underneath the front of the dash.


This now sits neatly in position like this.


I just need to drill a few holes and clean the metal up before I weld it into position.

I then spent a while beard scratching about how the driver's side vent panel would work.
My original plan was to have a panel that joined the dash to the bulkhead as per the passenger side.
But when I tried to finalise the cardboard template I kept running into "fouling" problems.

Eventually I came up with this design:


This effectively mounts the vent panel on two sections of the bulkhead and ignores the dash all together.

This means the dash will not fully cover the bracket when you look straight at the dash.


However, once the panel is painted black it will not be very easy to spot.

So the next steps are to cut this out of metal and make sure it feels solid after I put the bends in.
( Note: The bends will be a lot neater / straighter in metal than they appear in the cardboard template. :rolleyes: )

Until next time, take care, Paul. :)
25 Jan 2014, 5:24pm
More Odd Jobs...
First job was to mark up and cut out the metal for the driver's side heater vent panel.


I didn't need to mark the centre of the circle, as I used my jigsaw to cut out the hole.
( Without a doubt a decent hole saw would make a much neater job. )


I then needed to fine tune the hole in the panel and the "official" vent mount with hand files as before.
Then it just needed a quick tidy up of the edges with the grinder and it was looking like this.


I removed the left hand bracket, dropping below the bulkhead, as the bottom of the panel will be welded on here.


Then make a low tech "angle guide" for the first bend in the panel.


After putting two more bends in the panel, it now looked like this.


Which allows it to fit into place like so.


But before I start welding it in, I need to remove the flex in the dash caused by the de-mister vent holes.


I cleaned up the vent holes on both sides of the bulkhead.


Then cut out two strips of metal to weld over the top of the holes.


However, by this time the wind was howling a bit and the skies were darkening quickly.


My spider senses told me that my luck with the weather was about to rapidly run out.
So I put the bulkhead back under its tarpaulin & dumped everything else into the summer house.

And I do mean "dumped". :rolleyes:


I just managed to squeeze myself in here too, before an epic thunder & lighting storm hit. :shock:

The only good news was that I found two old bolts that will fit my retaining nuts panel.


I then spend some time tidying up.


By which point the rain had died down quite a bit, so I headed back to the house.
( As there was no hope of doing anything more outside today. )

Until next time, take care, Paul. :)
27 Jan 2014, 4:53pm
A gap in the weather...
Well Sunday was a complete wash out, and it looked like this afternoon would match it.
So I rearranged my chores to see if I could get some things done this morning while is was dry.

First job was to clamp & weld the panels to cover the original Spitfire de-mister vents.


Then I cleaned up the metal on both the new heater vent panel and the bulkhead.
After drilling a few holes to allow me to "puddle" weld, in went the passenger side panel.


As it lies up with the edge of the dash it is "invisible" when viewed from the front.
( Even though this area will be covered by the wooden dash, I will tidy it up a bit first. )


Unfortunately, the driver's side did not go in quite as easily.
It started off well enough when I put a few welds on to holds the bottom section in place.


But it was clear that the bend in the top did not lie up properly with the bulkhead.


So I had to start at one end, weld a bit, hammer a bit, weld a bit, etc.
But eventually I got more than enough of the panel welded on for it to be properly supported.


The edge of this panel does stick out a little bit under the dash when viewed from the front.


But as it will be painted black, it should not be easy to spot when finished.

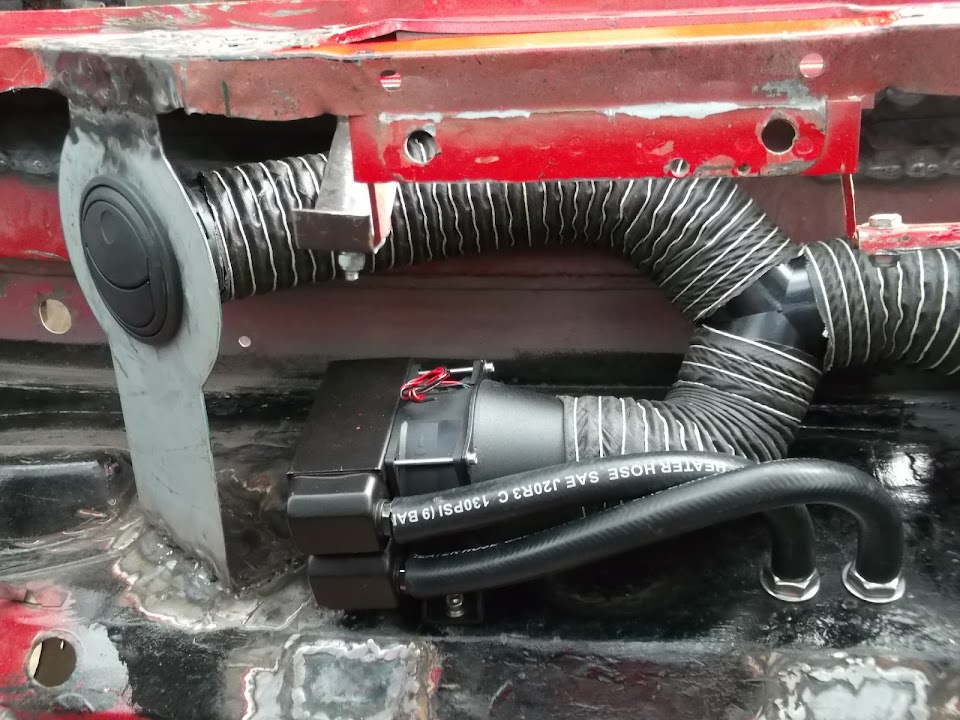
Next I bolted the heater and bulkhead connecting pipes back on for some more mock up work.
I wanted to check if I needed to build something to support/guide the heater hoses.
As it turned out, the hoses look fine as they are.
( Although it took a while to get the right lengths to avoid any kinks in the curves.


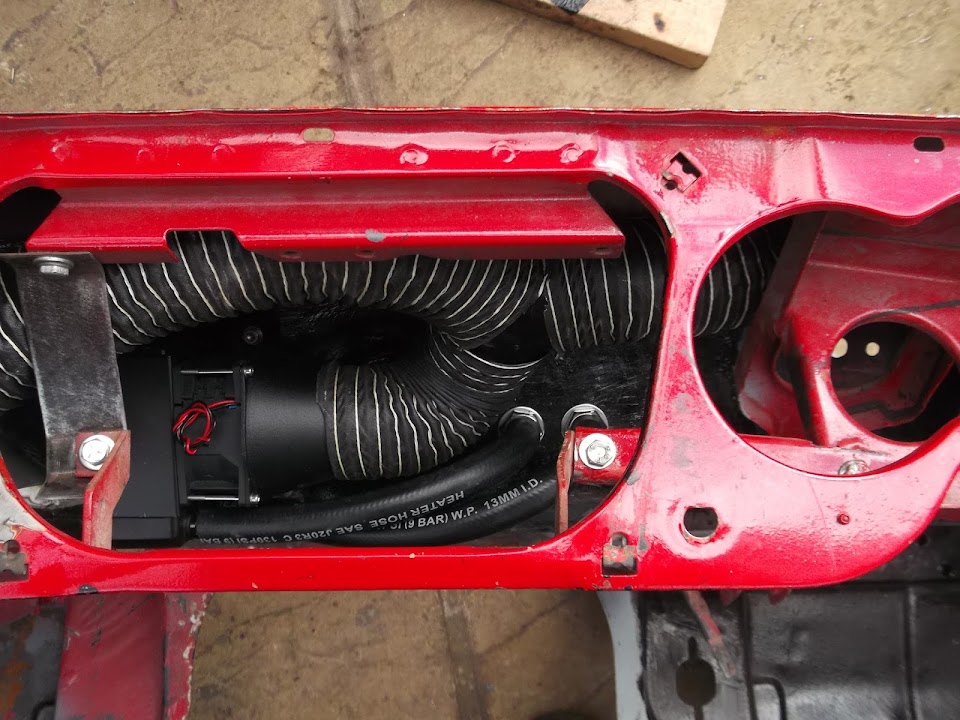
There was still plenty of room for the heater ducting above these hoses.


I just needed to work out the best location for this "Y" joint.


I took my time double checking the ducting routes and lengths required before finally making my cuts.


This is the final duct routing from heater to vents.


And is the view from the front showing plenty of room for the instruments.


I know it seems odd to be finalising the heater when I still haven't bolted the frame to the chassis.
But it has been much easier to get the welding done when I can rotate the bulkhead with relative ease.
Attempting to do anything like this with the bulkhead fixed in position would be a major pain.

There are still a few other jobs to do on the bulkhead before it will be ready to fit.
So I will keep chipping away at them and see how I get on.

Until next time, take care, Paul. :)
27 Jan 2014, 5:26pm
Good job Paul!
When we have so much left to do it really matters not what we work on, but that we work on something!

It's all got to be done in the end!

Scottie
27 Jan 2014, 7:12pm
If your builds go anything like mine did it'll seem like there's no light at the end of the tunnel for ages, and then it'll suddenly dawn on you that all the little jobs are done and it's a short sprint to the MOT.

Keep on plugging away. :)
27 Jan 2014, 7:28pm
Good job Paul. You are getting a hang of it.

Michiel
28 Jan 2014, 4:29pm
Scottie, Mr T & Michiel - Cheers gentlemen. :cool:
I don't mind small progress, as long as there is some progress.
Seeing Michiel's 'moon rover' video does convince me this is the right thing to do.
If I just stick to the jobs required for that for now, I'll worry about the rest later.

- - - - - - - - - - - - - - - - - - - - - - - - - - - - - - -

More Little Jobs...

Gearbox tunnel cover
I mentioned before that the brace I welded to the back of the bulkhead is in the way of the gearbox tunnel cover.


I need this to sit flush so I can see what repair work is required on the inside edges of the bulkhead.

So I cut & welded three sections of box section like so.


I then welded this to the existing cross brace.


With allowed me to cut out the middle section.


Which in turn allowed the gearbox cover to sit flush against the bulkhead.


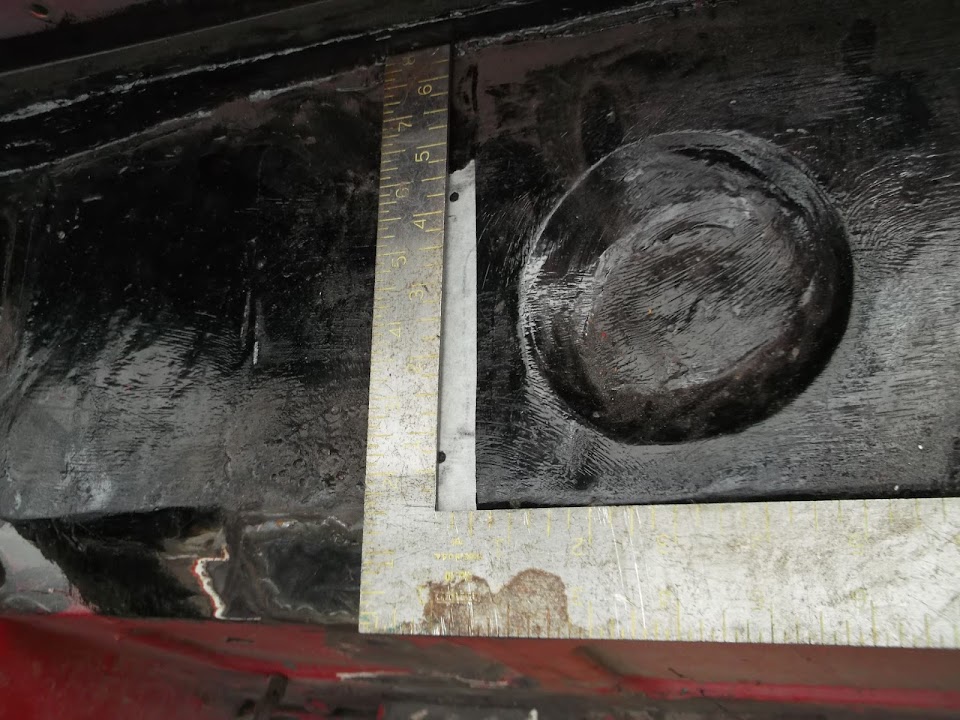
Now I can make a list of repairs which will include things like this.
( I just held a bit of wood behind the holes to make it easier to see in the photo. )


I am currently considering getting a new tunnel cover as the one that came with my donor was not in great condition.
There is a plastic cover available that comes in black which would also save me the hassle of painting this white one.
I guess there comes a point when I need to pick my battles if I am ever going to get this finished.

Battery Box
Unfortunately this is another one of those things where I am actively making more work for myself.
I don't mind buying something new to save me some time, but I can't ignore a previous bodge and hope for the best.

There had been a half hearted attempt to repair the battery box by simply welding something over the top.

You can see the new metal through this hole in the original battery box.
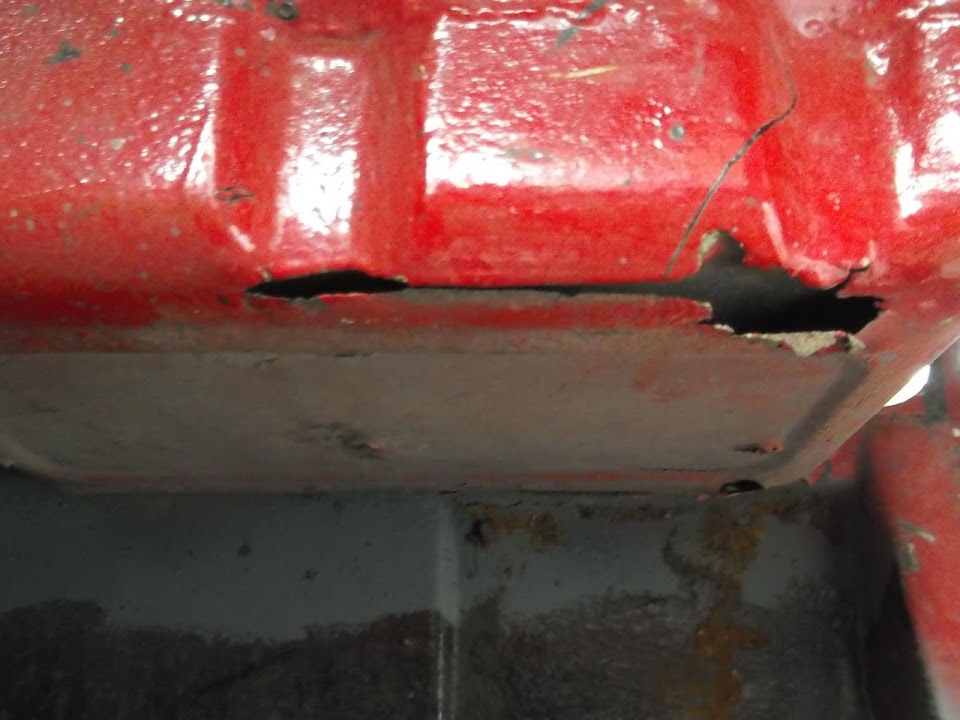


Also the engine bay edge of the box looked very "bumpy" on the inside.


Now I have already seen repair panels welded over rust on this bulkhead.
I've also spent a long time removing and repairing / treating every bit of rust I've found so far.
Which meant that if I was going to do this job properly, I had no choice...


Whilst I know this will be a pretty big job to sort out, I'm pleased that I cut it all out.
Because, sure enough, there was a rusty mess where the repair was made.


So now I have a gaping hole in the bulkhead where the battery box used to be.
( There is some white plastic in the bulkhead to make the hole easier to see. )


I will take my time making a cardboard template and then build the new box in metal.
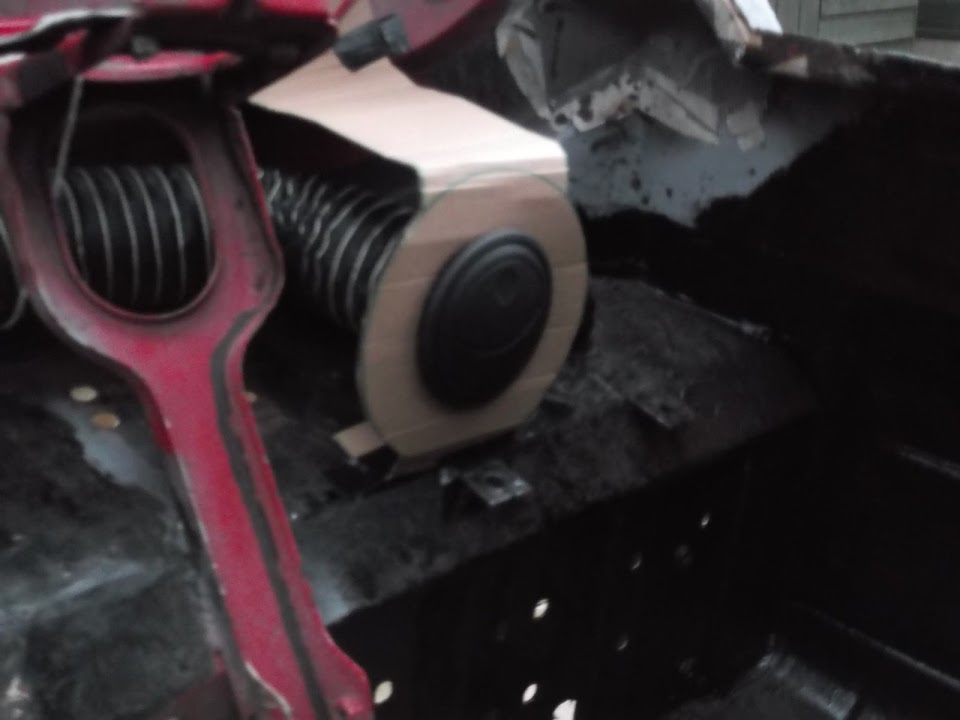
However, I did spot something in my recycling pile that might come in handy.


Dash Support
I made another bracket to hold the driver's side of the dash in place.


This fits in the same way as the one I made for the passenger side.


The only difference is that the driver's side is also connected to the steering column supports.


After all the work I have done so far on this dash section, it is now really solid, miles better than I expected.

Heater Control Panel
I drilled two holes in the dash so I can bolt the new panel for the heater controls in place.


There is a "step" in this area after I bent a section backwards.

For now I made a quick fix by clamping and angle grinding some washers.


They then fitted in here.


And the plate with the nuts could be held like so.
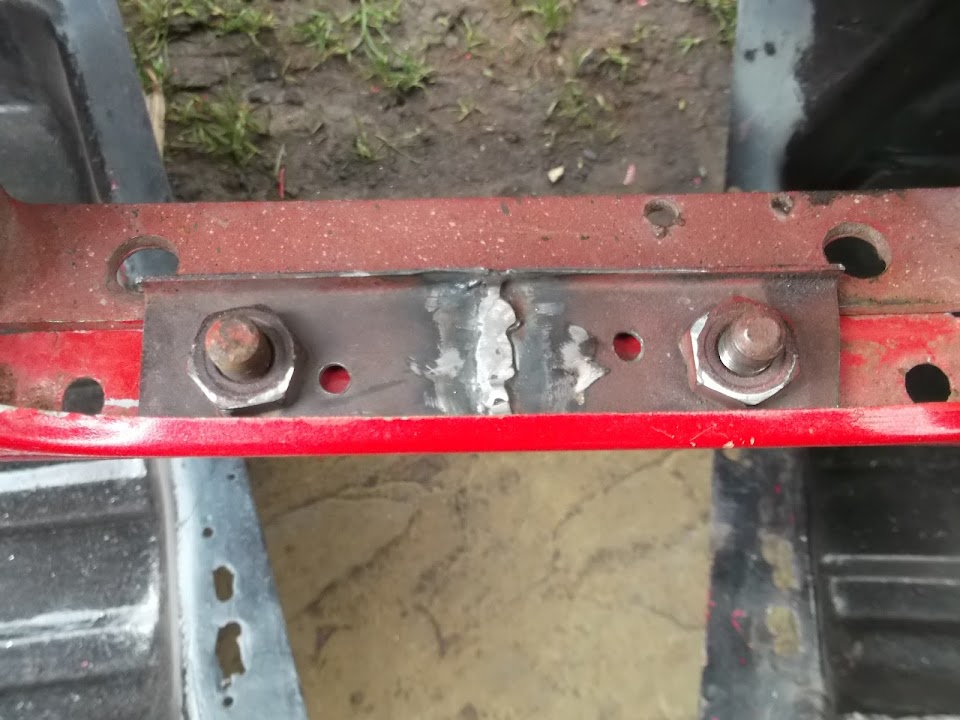


There is still a bit of fine tuning to do here, but you get the general idea & I might weld the whole thing in place.
However, I can't put any holes in the new panel until I have the wooden dash fitted so I can line it all up properly.

Until next time, take care, Paul.
28 Jan 2014, 5:25pm
Nice work marra. At the rate that you are welding you may need to visit a weigh bridge in case the car is now an HGV. :icon_mrgreen:
28 Jan 2014, 10:54pm
Awesome build thread fella.
Top job , it makes great reading.
I tip my hat to your perserverance and look forward to seeing you achieve your goal.
29 Jan 2014, 6:59am
I agree, lot's of passion resembles out of this thread.

Michiel
30 Jan 2014, 6:15pm
Ringo Grumio & PJ Grabowski - Welcome to my build thread gentlemen.
Just remember that any current Ribble, Miglia, or Tribute kit will all be easier to build than this!

Ringo - If you get the chance, could you edit your reply to remove the quote of my post? Cheers.
( This build thread is already pretty long without posts being repeated in full. :icon_wink: )

Michiel - Thanks, I just try to do the best job I can and hope that will be good enough.

- - - - - - - - - - - - - - - - - - - - - - - - - - - - - - -

Bring me sunshine...
My garden really has seen enough rain for a while and now keeps flooding my "workshop".


That photo was taken yesterday, another complete wash out.
Today wasn't much better but I did start on the battery box...

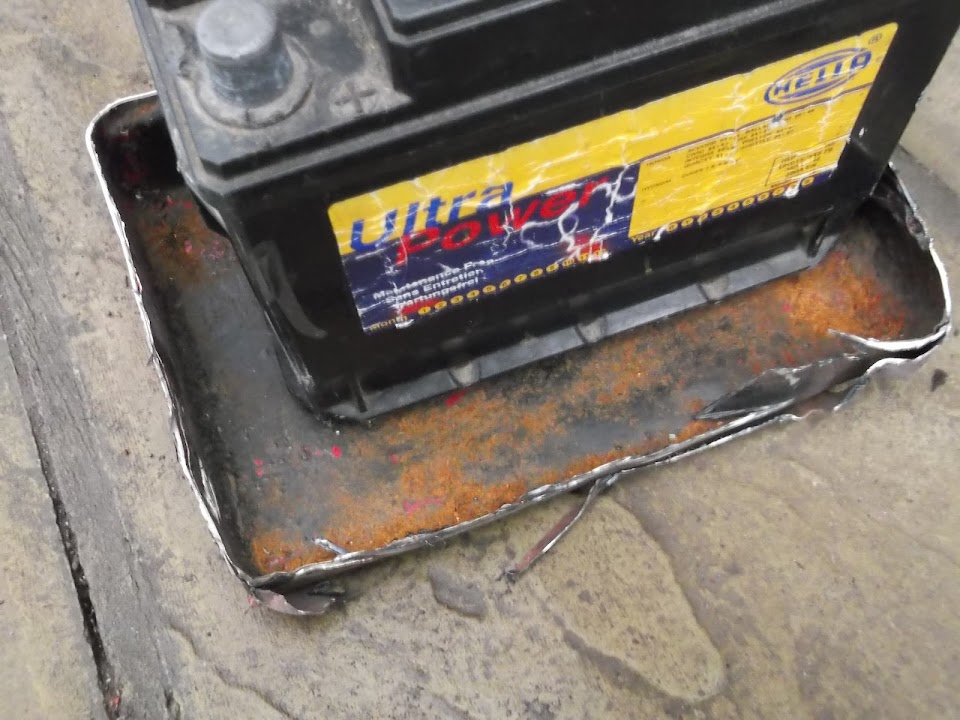
I checked the old battery in the bottom of the tray and there is a lot of extra room.


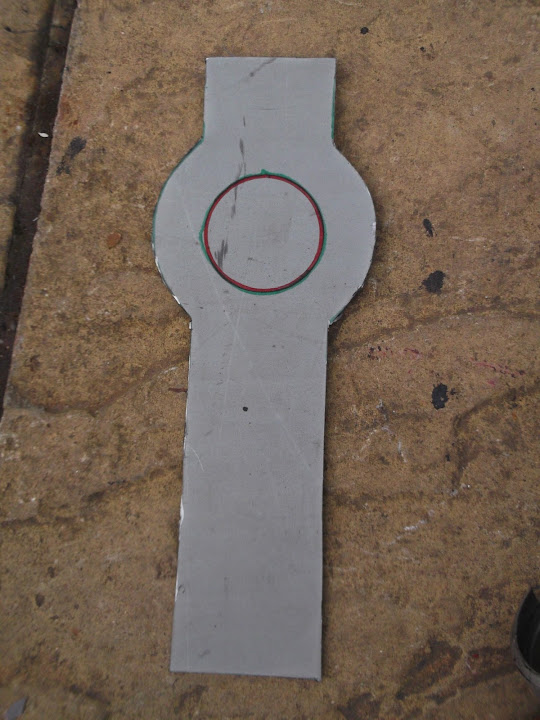
I then got the dimensions from a number of new replacement battery options & drew that to scale.


( This sheet includes a 1cm margin around the maximum dimensions.)

Sorry the next two photos are blurred, the light was fading and they looked OK when I took them. :rolleyes:

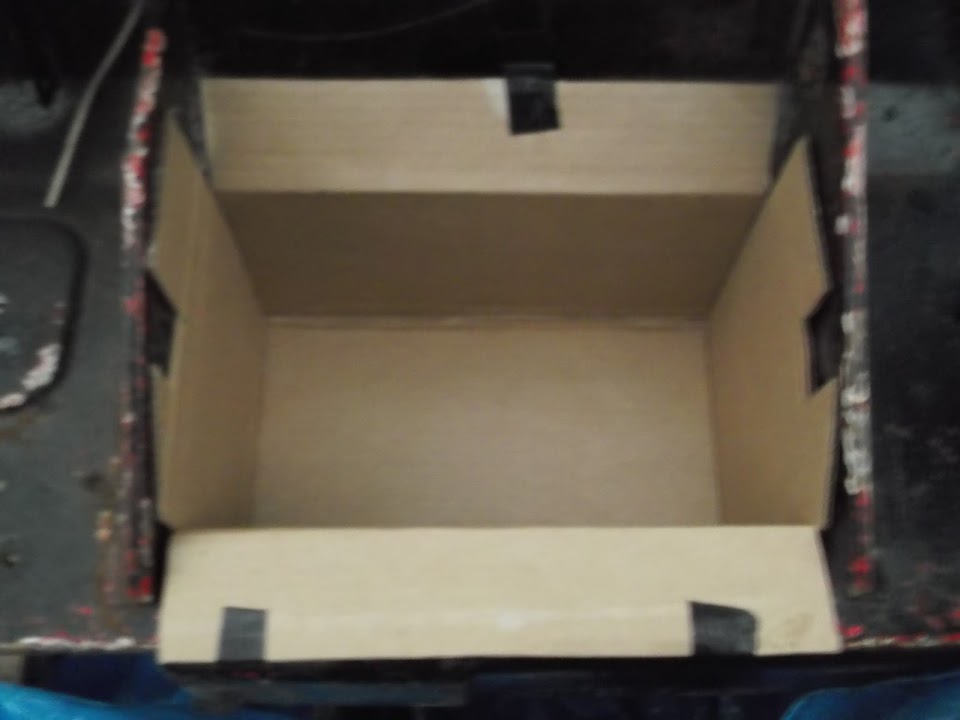
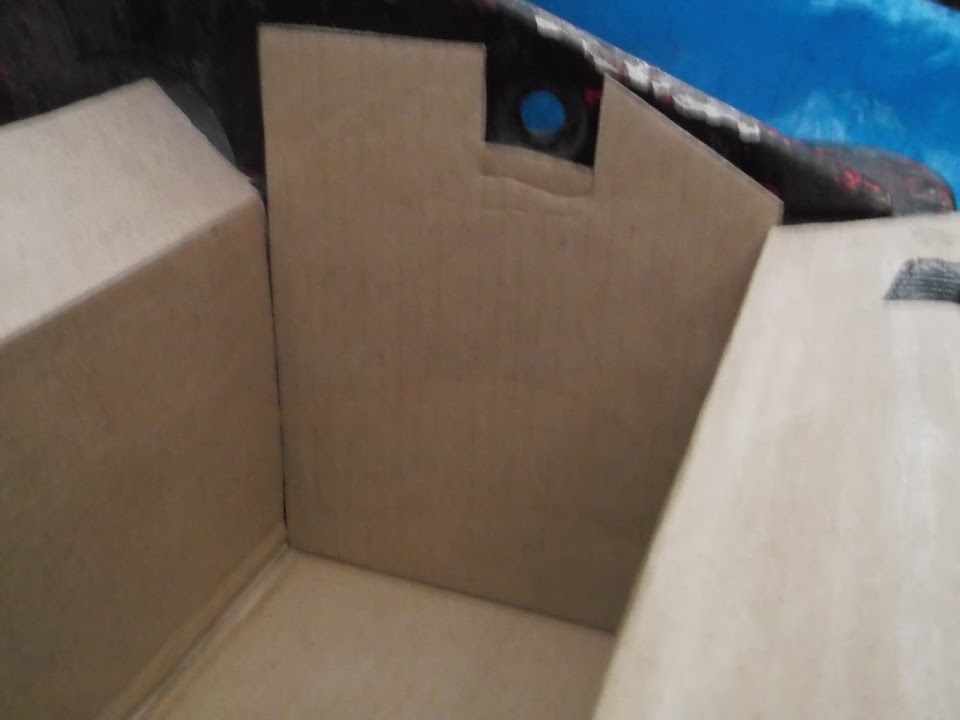
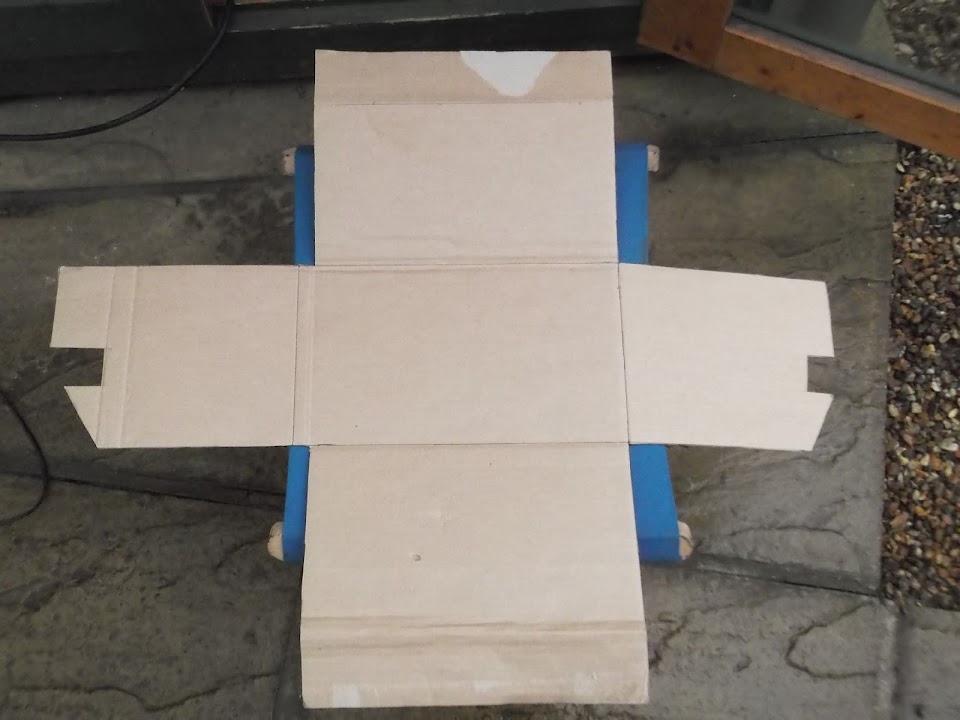
This is a cardboard template for the battery box.


The main fixing points will be the front and rear "tabs" at the top of the box.
So I may trim down the tabs on the two sides in the final design.


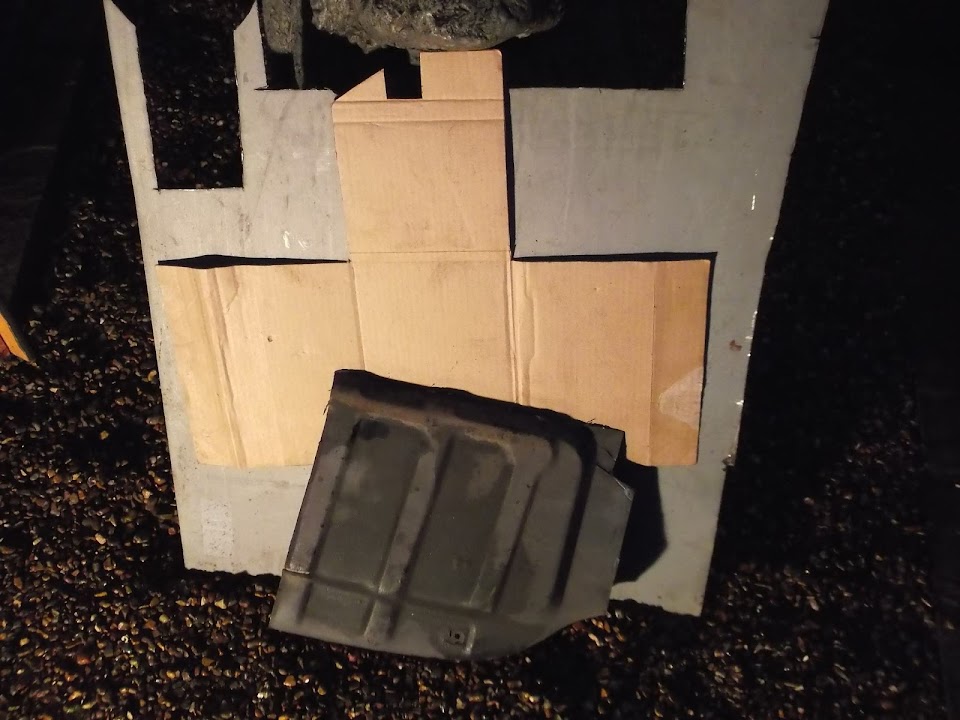
This is the basic pattern, but I will not be cutting out this shape from a single piece of metal.


I just had time to cut out a section of Spitfire floor for the base of the box.
As this will provide some drainage channels at the bottom.

My next job will be to cut out the sides from the sheet of steel I have to play with.


But by now it was dark & it had started raining again, so I called it a night.

Until next time, take care, Paul. :)
1 Feb 2014, 5:07pm
Brrrrr...
Managed to get a few hours outside today, but with the wind howling it was so cold my nose was running!

Still, I got some work done, and it all helps me to continue to inch my way toward the finish line.

I bought a new battery clamp, as my original donor didn't have one.


As I now have a Spitfire bulkhead to play with, I won't use my previous plan of "handles & velcro strap" set up.

I trimmed the battery box template as I realised I had originally made it a bit deeper than required.


Then it was time to tidy up the section of floor I was going to use for the base.
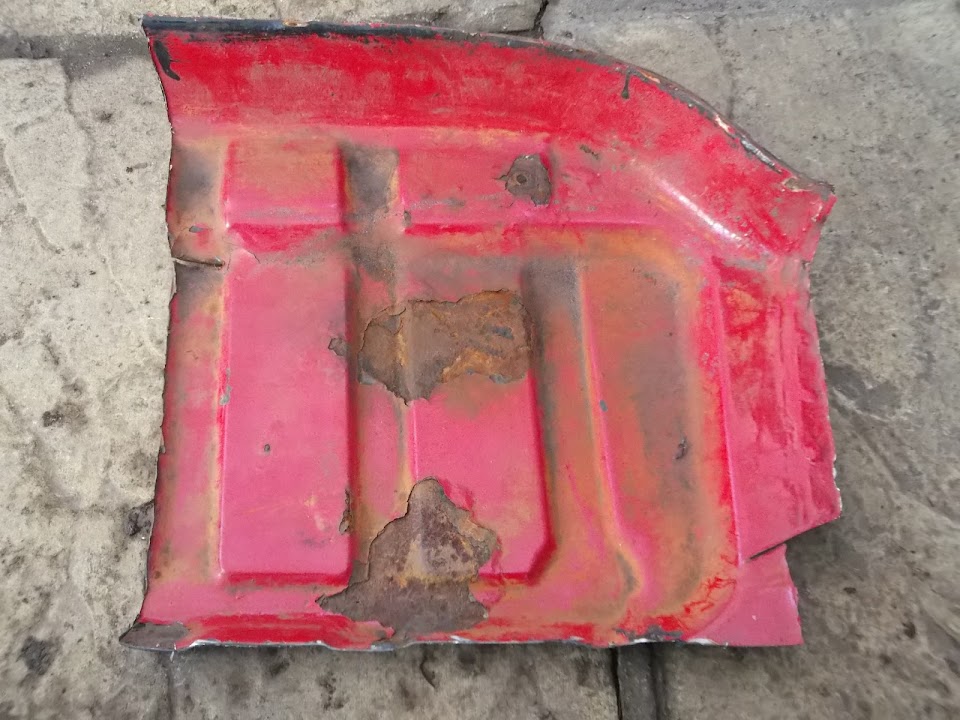
( There is just no escaping rust on this project! )


After an initial clean up it was looking a bit better.


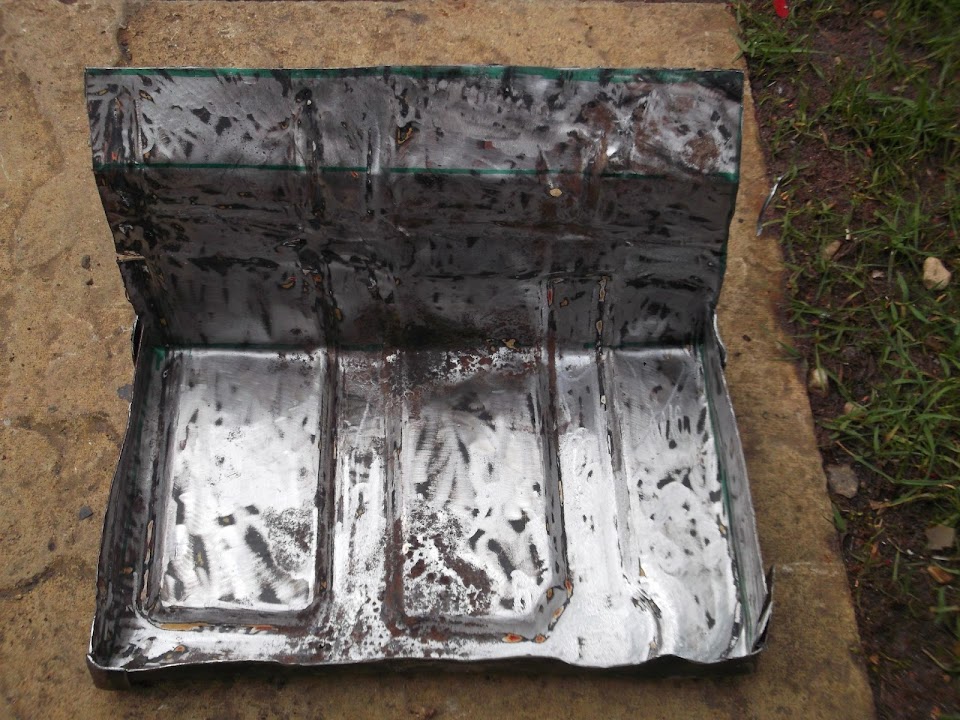
I then proceeded to attack the panel with my lump hammers & angle grinder to straighten & bend it.

I trimmed a small section off my wooden block so it sat inside the battery box.


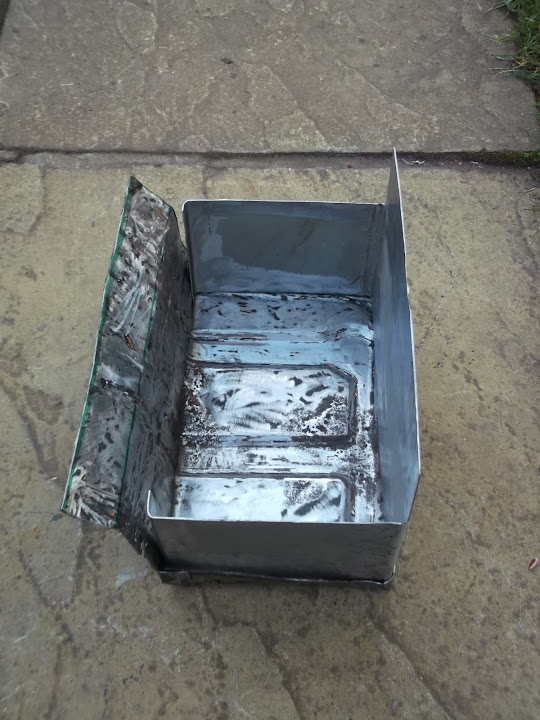
In the end I was left with a floor and the rear panel of the battery box.


There is plenty of room for the old battery, or a slightly larger replacement.


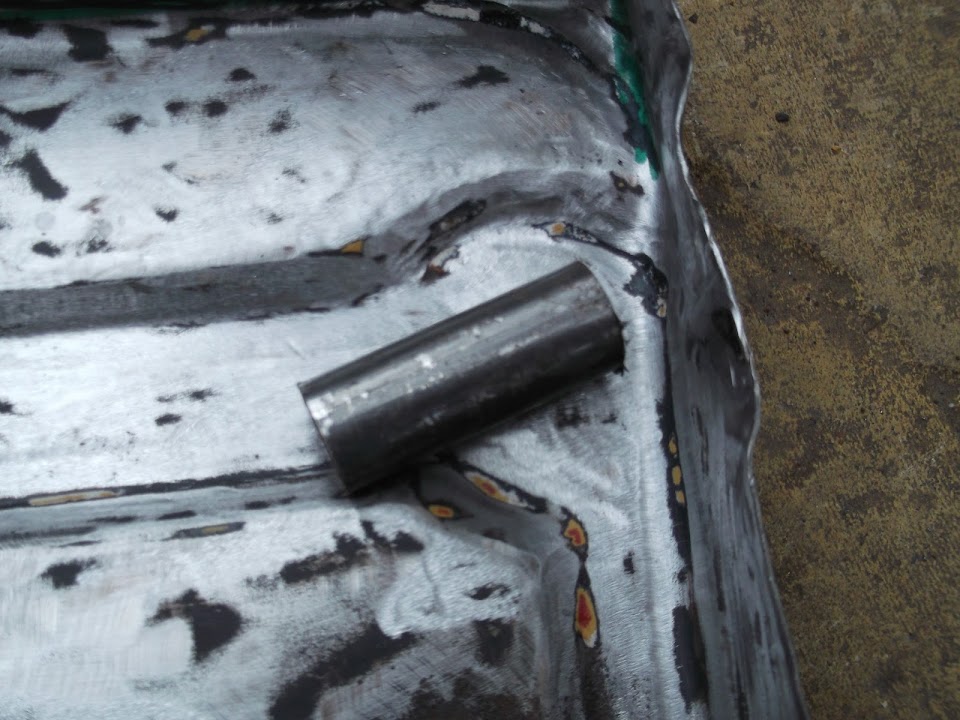
I cut off a small section of metal tubing that will be form part of the drain.


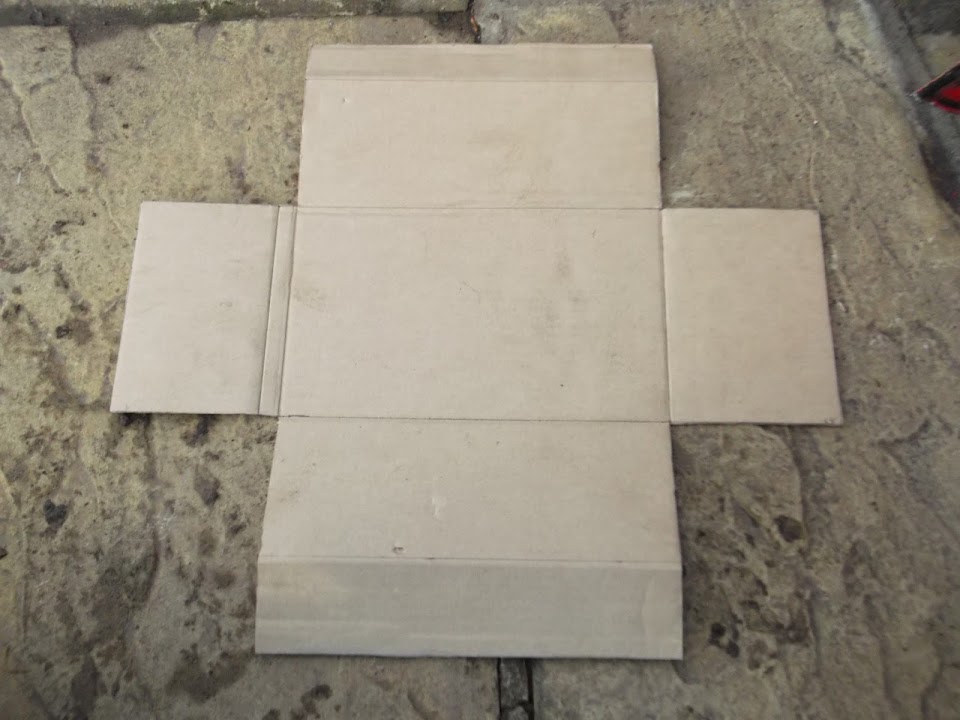
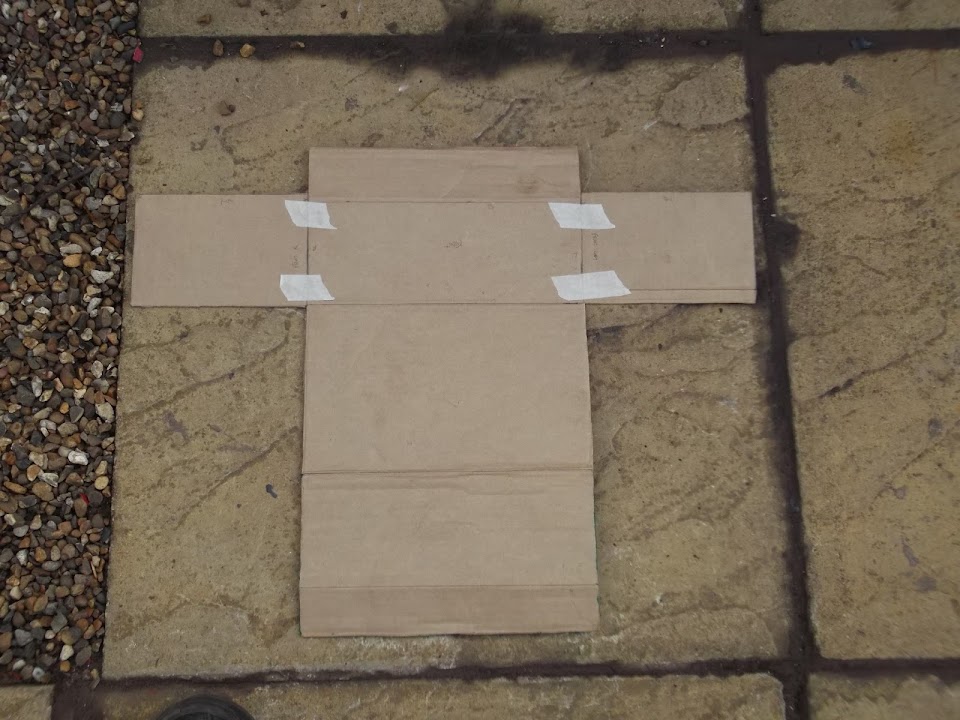
I then re-arranged the remaining sides of the cardboard template.


Which allowed me to mark up the metal & add a bit extra (in red) for tabs on the edges.


I took the time to clean up the edges for welding while the panel was still flat.


However, I then proceeded to hammer the first bend in the wrong direction. :rolleyes:

Thankfully I spotted it at this point and cleaned up the other side before finishing the other bends.


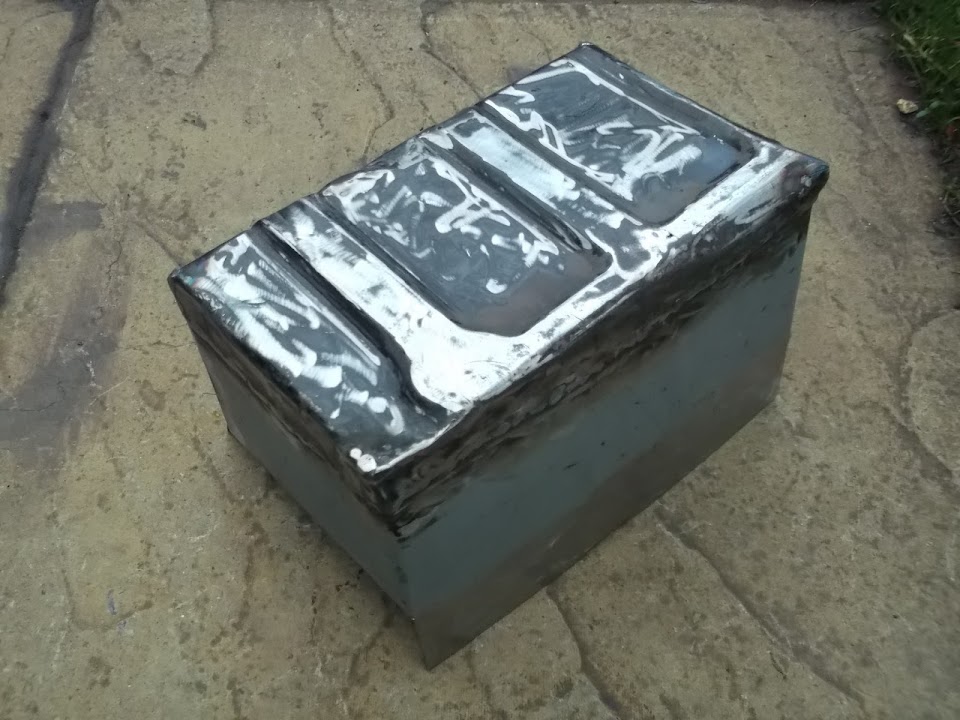
This is the two halves of my battery box resting together.


My initial plan was to have these tabs on the inside.


Which would let me weld the "folds" in the floor on the outside.


But it was going to be much easier to weld if I put the tabs on the back of the rear panel.

So a couple of quick cuts later and the tabs could fit like so.


After cleaning the metal some more, I welded the outside edges of the box together before I had to call it a day.


There is still a little bit of work to do on this box, but it is nearly there.

Although I need to do some more preparation work on the bulkhead before I can finally fit it.

Until next time, take care, Paul. :)