MadaboutKitcars

This is a read-only archive of the old Madabout Kitcars forum. New posts and replies are no longer possible, but every thread is still here to browse and read.

New Sammio Alpha build

2 Jul 2018, 11:07am
Thanks for the support Guys and Paul L more to follow on the arches and wheel size set up.

I am now happy with the body so its time now to connect the petrol tank back up. After marking up the hole for the filler cap and cutting out I used an extension pipe to give me the extra height needed.


I also had a little time left to trial fit my mga light plinths which arrived from USA that afternoon and position the number plate to give me an idea if this set up works or not.
2 Jul 2018, 3:46pm
You'll have to send me details of these light plinths!!
They look the dogs-do-das :smile:
4 Jul 2018, 7:49am
Hello Mickey 1 Mo

I put in the seach engine mga racing rear lightsthis came up with lots of different light options. I found the spare parts expensive in the uk. I since found out from an American that most of mga production went to USA and that results in lots of spare parts. I managed to get mine delivered and taxes for less than buying one light plinth in uk. Also this light plinth style is handed.
5 Jul 2018, 5:43pm
So with body in postion its time to sort the hanging of the door. I already did some work before finally fitting the body, photos show how i did it.


With the old door and hinge arrangement removed. I cut a piece of 18mm thick marine ply and marked out the original holes for the hinges and drilled them clear to suit the bolts.


the next three phots show both the wooden suports fastened to the body of the bulkhead.


The next job was fitting body.
5 Jul 2018, 8:14pm
my intention with this body conversion has always been to try and use as many of the doners parts as possible. So this is the idea I came up with. I am hope the photos explain the process. The first door took a whole day to hang but with all things the second door was 20 minutes. Most of the time was due to been cautious, lots of nibbling at parts rather than cutting correct size first time.


first two photos show the cut in the body to fit in the hinges this will be filled in at a later date one the doors are hung. It also shows the first modification to the spitfire hinge.

The lower blue pen mark was for positioning outside hinges, however because of the curves and rolls of the design of the door skin i didn't think i could get this method to work and it would have ment buying new hinges.


These photos show how the hinges were attached to the body of the car this wooden arrangement give s me adjust ment up and down forward and back wards and a slight rotate should i need it. The finishing position will be marked and then held in position with strong wood screws.


These three photos show the doors hung. Further modification of the original hinge and two more countersunk set screws will be added to each hinge. one hing is more than substantial for the weight of the door. However even new spitfire hinges have quite a lot of play in them with no adjustment so I will come up with some latch plate that lifts the doors into the correct position when shut on the door latch /look mechanism. Something I will look into back at work, so I can achieve a nice shut line around the doors and fill in the gaps around the hinges.

On refection I am sure this arrangement could be done with steel box section, perhaps, but not this time maybe another build :smile:
6 Jul 2018, 8:14pm
So the next was task on the car was going to be fitting the bonnet. While I was admiring the doors on the car my fiance came to the garage to see what I was up to and what progress I had made. Asking me why I had pumped the tire up more on the drivers side than the passenger?

My reply was I hadn't. Ok she said its just that the back of the car looks higher on the drivers side not to worry I will get you a beer.


The above photos show the tire was not over inflated and that the boot opening was not square to the yellow mould grease it measured 11mm higher at the drivers side. Which was sort of a relief as after much measuring of wheel centers and various body to floor measurements confirmed I hadn't put the body on at an angle.:shock:

So with that information I pushed the car in the garage and sought another beer and contacted my extra pair of hands aka Les my brother in law for lessons in fiberglass for beginners :help:
6 Jul 2018, 9:35pm
So an early start today and marking out the boot opening to be cut.


No turning back now angle grinder out and boot hole removed.


The black line shows the amount of body to be removed to make the opening square. so this was removed along with some of the top and sides to make it all a square opening.


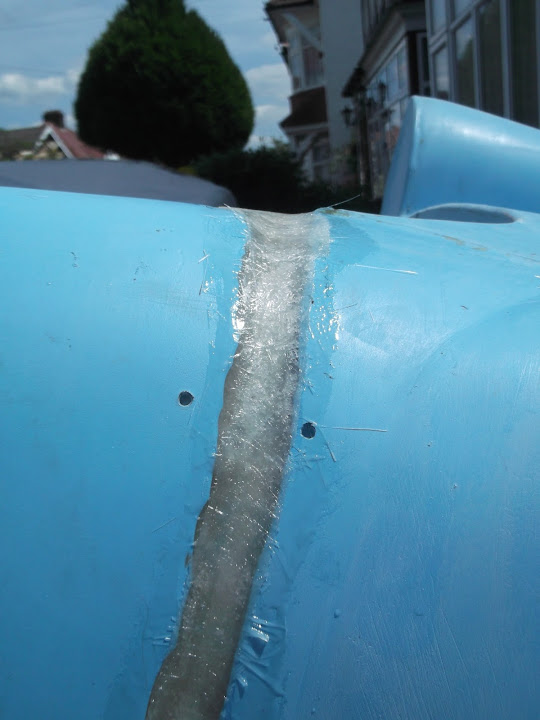
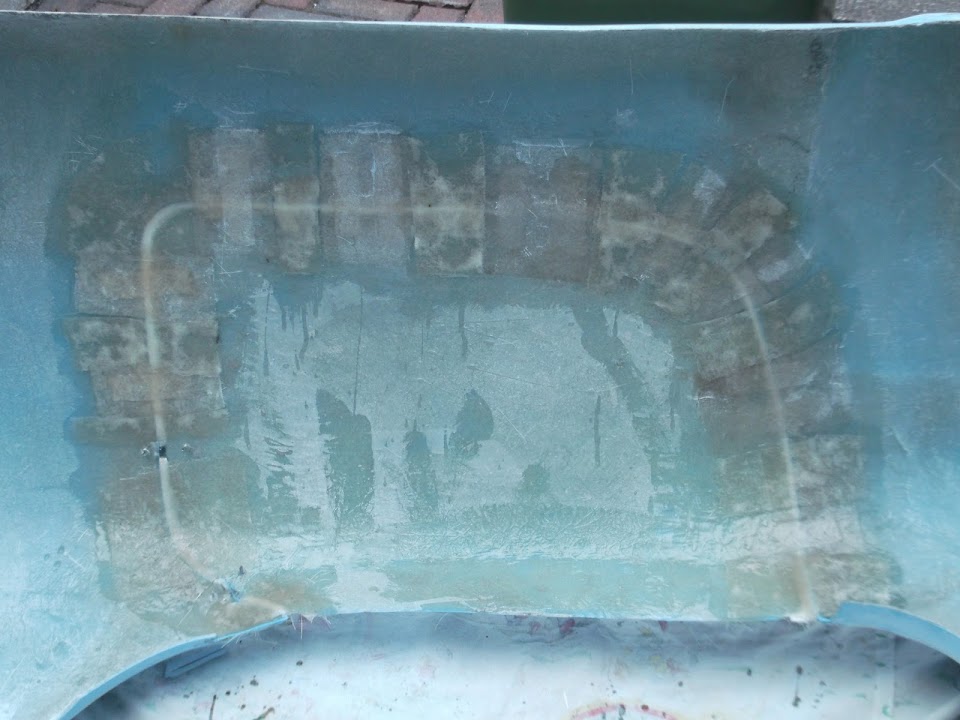
the boot opening is now square and now requires fiberglassing in place. To hold the boot opening in position I fitted marine ply wood and srcewed it to the main body to hold it secure while it was fiberglassed.


So a quick lesson in fiberglassing.


I ended up with the boot opening joined back onto the main body and square


The whole process took about four hours and I learnt a valuable lesson in fiberglass which I am great full for been shown. Maybe it was a bit over the top but I now know there shouldn't be any problems with alignment or with the boot opening on an angle. It just means i have a bit more prepwork filling in before paint.

When said Fiance came home from work I got an is the red stuff staying on the car but approval that the car was correct height.:ohwell:
7 Jul 2018, 9:52pm
So as the fiberglass went so well and dries really fast, I had the afternoon left and the sunny weather.

The post man arrived with a parcel for me and some comment that was I sure the car would be ready for the end of the month:icon_surprised:

The parcel was 2 triumph tr4 herald vitesse hinges. All through this project I was determined to use as much of the doner spitfire as possible. But the spitfire mark4 1500 boot lid hingeswere the wrong shape lift angle mounting. So I admitted defeat last time home and ordered these while at work.


So after the rest of the afternoon measuring drilling and fettling the bootlid with sand paper I ended up with an open and closing boot.:dance:


Another sucessful day. I am happy with the progress of the kit but I am not sure I need the extra 4 hours moving the boot opening and the extra work i still need to do filling and sanding for paint. If i had been fitting a speed hump I think it was not nessacary to do all the mods.

However my fiance or project manager:eusa_whistle: said the design didnt need a hump. Her quote was as follows when I drive the car you will have all the hump you need therefore the car doesnt need one:icon_eek::scared::faint:
8 Jul 2018, 5:52am
Looking good. A bold step to fettle the back.
8 Jul 2018, 8:30am
YorkshireMan – Great progress Dave. :cool:

I know it is a bit late now, but the advice I got on here about fibreglassing joins was…

Carve out a ‘V’ shape between the two sections to be joined together.


Then build up the join with strips of fibreglass matting.
(Thinnest at the bottom of the V and thickest at the top.)


Also re-enforce the join from the underside (as no one will see that).


That way, when you sand back the ‘sunny side’ there is still strength in the join below.

Also, by the time you have finished with the filler and primer, no one will know. :cool:


I know it is messy working with fibreglass ‘upside down’…

But I’d suggest you add some matting from inside the boot opening onto the underside of your join.

Good luck, Paul. :)
8 Jul 2018, 3:08pm
Triumph hinges work well, look good and are easy to fit. :roll:

8 Jul 2018, 8:28pm
Thank you Paul L all help and advice is welcome and never too late. I do plan to fiberglass the underneath of the boot adjustment along with tidying and fiber glassing the body to the old light panel I cut down. More to follow on that as I still have the rear lights to finally position and if truth be told I am still using the boot as storage :eusa_whistle:

Mike I am definable agree with you on the hinges I am sure it will be the alpha standard on the boot lids.

Barber Thanks for you kind words I think not brave but naive but I am really enjoying the build even if i am over thinking or over experimenting.

The next part of the build is the bonnet which has three elements to the build. the inner wheel arches, top bonnet and front section.
9 Jul 2018, 7:33pm


First two photos are badly taken:eusa_wall: and I cant take them again so I will try my best to explain.

Basically I fitted the original bonnet back on to the chassis. Removed enough of the bonnet with the grinder so it would take up the new shape on the sides of the bulkhead and sills. In fact when I had finished trial fitting the new bonnet in place I found I was left with the inner arches and frame and the only part of the outer bonnet was the wheel aches and small amount of the top wing.


I also cut back on the fronts of the wings revoming the head light suports


The above photo sort of shows the cut back at the front of the wings, they had to be cut back to give enough clearance for the light bowls.

Now I know I am always trying to use as much of the doner as possible. But if my original bonnet had been perfect I think I would have found difficult to cut it up with the prospect of a good profit on ebay. However mine was rotten at the front lip and around the headlamp bowls.

Another reason I have kept this design is from reading other builds about possible stone chip damage to the underside of the bonnet causing possible paint damage to the top side of the bonnet.

I t also saved a lot of time designing and making up a hinge arrangement using the original.

So thats the first part of the front end part two and three to follow.
10 Jul 2018, 6:56pm
Part two fitting the Alpha fiber glass bonnet to the original.

This was fairly easy but I did need assistance lifting and bonding the body in place.

The body was located into postion and measured up to the main body to find the middle.


Also at this time I sanded back the lip to allow the bonnet to rest in the correct postion on the bulkhead. I did worry to much about shut lines at this time.

So next was to lift off grind back the paint on old wings of old bonnet,apply bonding agent and re fit bonnet alinging up with my marks. I then added lots of weight to the bonnet and left the bonding agent 24 hours to set.

So with that I was planning a relaxing time with the dog(beer garden as it was sunny) as I didn't want to disturb the car. However my afternoon was disturbed by Son having car that wont start and could I look at it for him. His youngest sister also passed her test that morning and insisted driving me to her brothers house to Help me out.:doh: That Also required Fiance to assit.


So the Fiat 500 nicknamed the toaster by all except the daughter, jump started her brothers big x5 to her delight. So with two of the offspring happy Said fiance took me and the dog for a pint.:smile:
12 Jul 2018, 9:47am
So bonnet part three. So with 24 hours passing for the bonding agent it was time to open the bonnet. I was met with this challange.


The bonnet was fowling on the chassis in a few places.


So to gain access and for me to try out the bonnet arrangement I opted to cut out part of the opening of the mouth on the bonnet.


This did seem a bit extrem but I want the bonnet to operate freely and I would adjust the mouth to suit at later time when the bonnet is finally adjusted in to place. Also on an original spitfire the top of the bonnet only flips forward, the lower part below the bumper line stays in place.

The next eight photos show the bonnet and inner bonnet. As well as using the bonding agent I also counter sunk in some pop rivits to act as belt and braces as the whole bonnet arrangement was quite heavy. At this point the bonnet stut was added back on to the car so I now had a bonnet I could open and close.


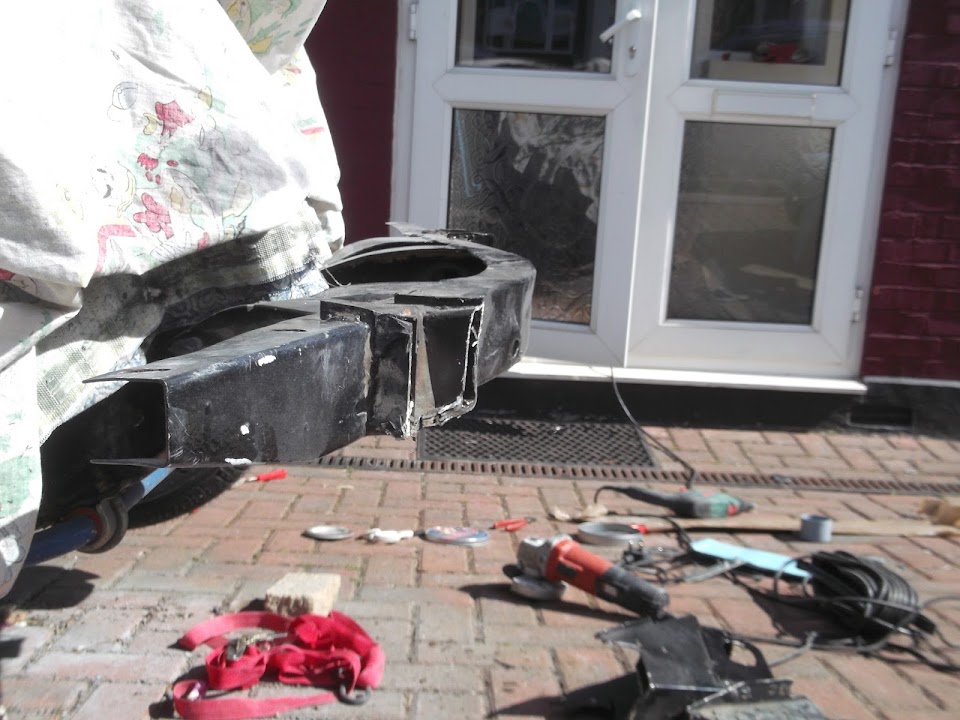
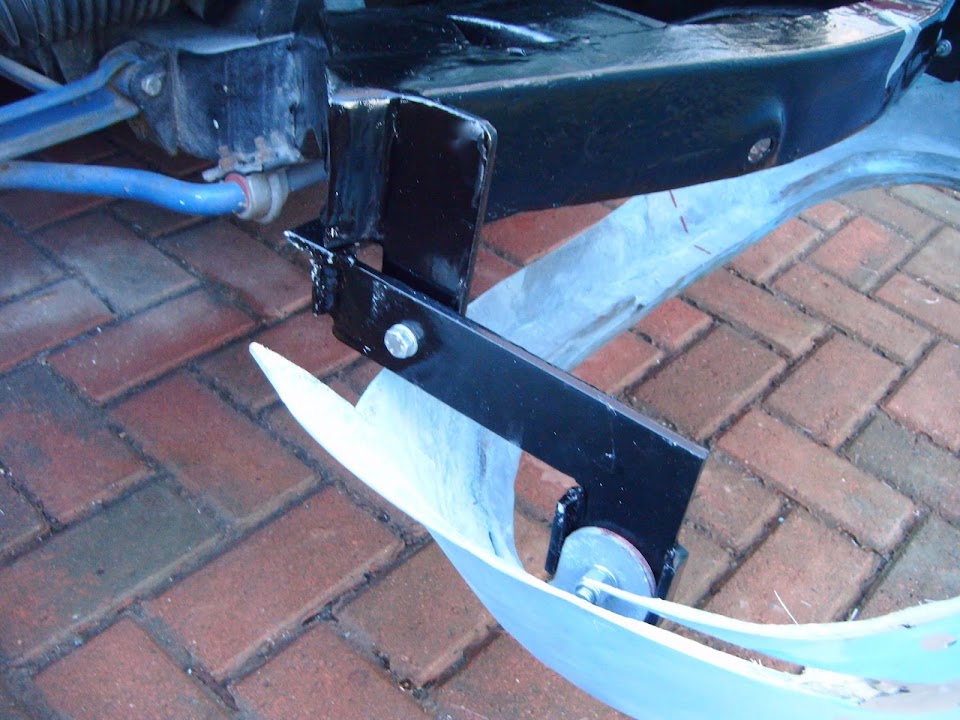
So I do have an opening and closing bonnet but it was still a bit flappy. So I added two bracing bits to the top bar going across the car and used the same process i used at the back of the car to hold the main body on, only this time much longer but smaller diameter countersunk set screws.


After carrying out this, the bonnet was now firm. The bracing plates were also countersunk and pop riveted and the whole bonnet adjustment was tightened up and overrider covers fitted.


As I still had some time and good weather I carried on and tried to finish the bonnet.

The work now was to address the gap for the shut lines.
12 Jul 2018, 10:22am
Back to the Bonnet. I used up too much photos on the last post so I will continue here.

Addressing the shut lines gap.


I measured the gap and followed the profile. I then cut and fiber glassed the join. I also used Paul L info of using an angled groove but I havent any photos.

I then used body filler on the gap and did the same for both sides.


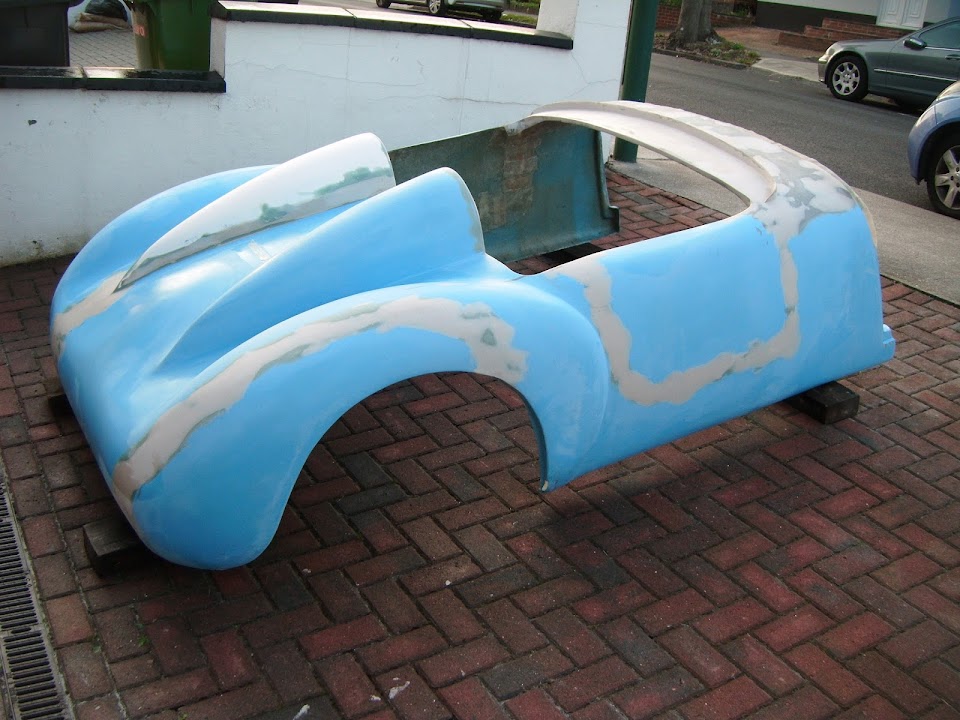
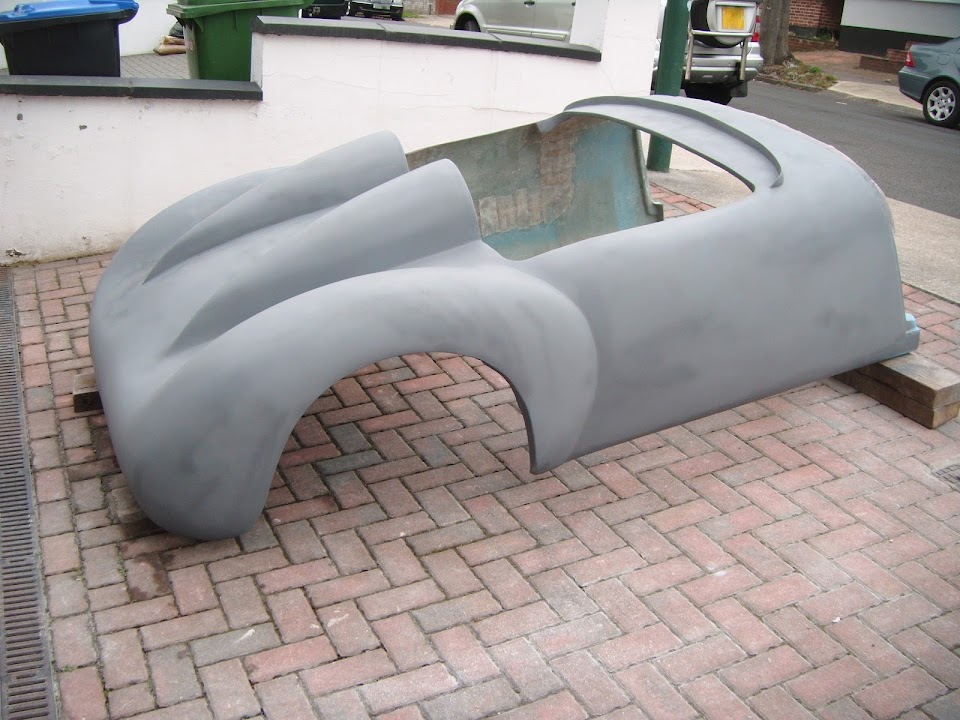
My bonnet now sits like this.


On the righthand side of the bonnet I have a slight raise compared with the left.


This was quite easy to fix. I cant take the credit for it though as i was told how to do it. I also didnt take any photos so i will try to expain what was done.


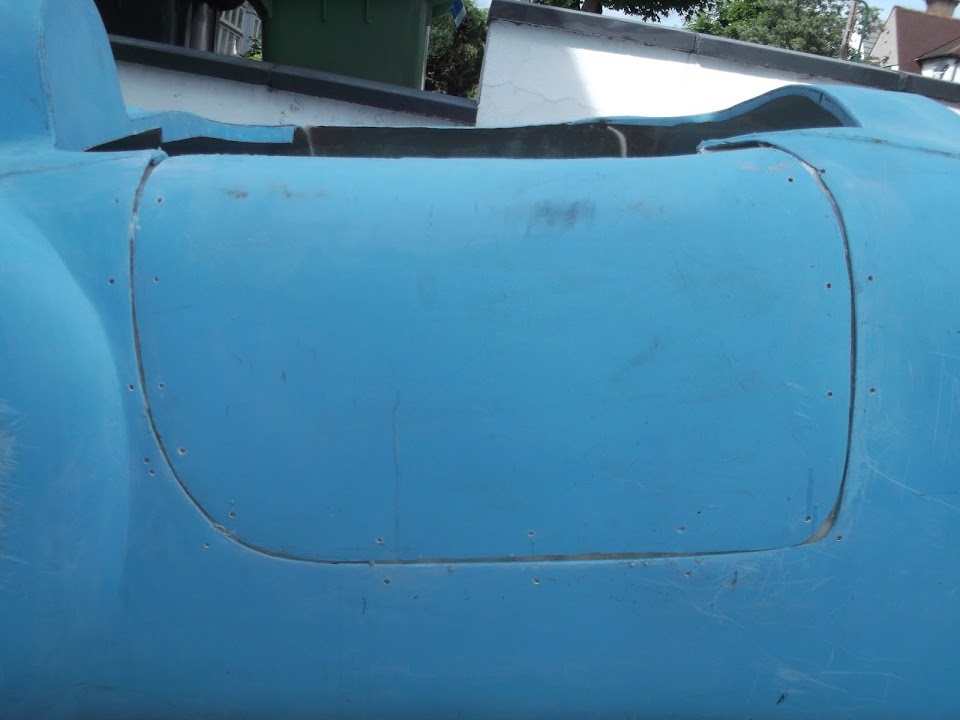
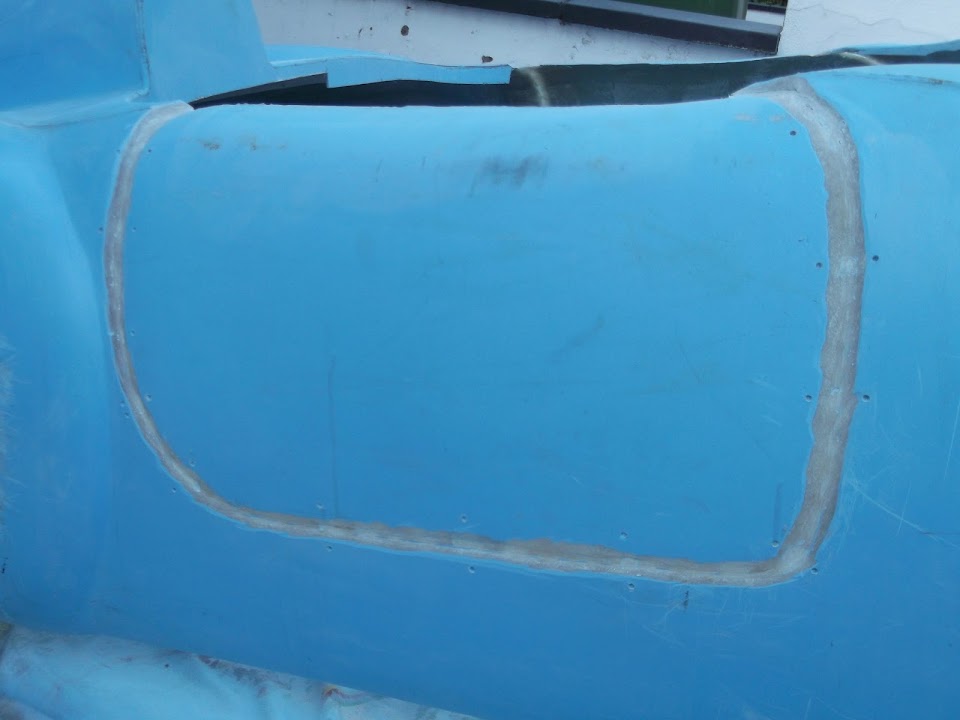
The photo shows a blue line that is where i cut and removed a small sliver of the bonnet and kept nibbling at it include cutting the line longer. So that when i pulled the gap together it reduced the bulge.

Once I was happy with the alignment I joined the gap together with some plate and pop rivits and then fiber glassed from underneath the bonnet and grooved and body fillered the top of the bonnet. More preparation will be needed before painting, but for now it is fine and it will also show if I have any stresses still left in the join.

So That was a days work I haven't sorted the front lower mouth of the car out yet, but I am happy with the progress even if I am slowing it down by adding more work LOL:doh: The last two photos show the front lines of the Alpha. So more to follow as there will be part four of the Alpha bonnet.

12 Jul 2018, 4:10pm
Looks like you have the bonnet a little high at the front.

This is the original fit near side.


You are right about the off side needing some effort. .


I sorted it by sanding the top shut line and adjusting the bonnet hinges, thus allowing the bonnet to move back and close the gap. :icon_cool:
12 Jul 2018, 5:53pm
I can't see where your pivot point for the front is , but as a general , very general , rule of thumb ...the lower you pivot it , the less likely to hit the floor or chassis ...it's not set in stone , the Spitfire front bumper bar complicates things I think , on the Herald based cars , the tube at the front is trimmed back a bit ...

I pivot the Formosa literally on it's lowest point and the opening arc doesn't go any lower than its shut height and everything goes forward , so no chassis issues ...but not knowing how this body was designed , I don't know what the idea was for these ...
12 Jul 2018, 5:59pm
micky1mo wrote:


I sorted it by sanding the top shut line and adjusting the bonnet hinges, thus allowing the bonnet to move back and close the gap. :icon_cool:


Agree , bonnet height in relation to rear edge is crucial ..a little bit too high and it can really play tricks on you ...The original S*mmio was/is guilty of that.

When you trim the rear edge and slide it backwards , does it retain decent wheel arch centreing ? Again , my version of a S*mmio failed in that dept. if you trimmed back too much ...

It does look like you are making very good progress though ...keep the updates coming as and when you can ...
13 Jul 2018, 7:13pm
I think you are correct Micky1mo about the bonnet been higher than you inteneded.

Lancelot link you are correct about the pivot point.

I have been checking through my photos and I havent taken any of the relivent points you both bring up:eusa_wall::sorry:

I will get that re addressed in bonnet part 4, Along with details of why I endup at this point. Possible with bonnet part 5 the rebuild lol.

This Alpha been my first build is a big learning curve. I have completed a Triumph spitfire which was more straight forward on moving pannels, however none of them where the same as the ones I replaced them with.

I supose I am so deep into the project and putting a time constrat on it that I am guilty of building the project too fast and making desicions similar to those I do at work to progress the job, but to my satisfaction and what my customer thinks they need.

Where as I am really enjoying the build of the project I love the shape and quality of the Alpha It does seem to be going together fast for a build maybe a bit too fast. Again down to me, I feel I spend time at work planning the next months jobs I carry out when home when maybe I should step back possible with a beer and take time out to ensure the next move is the correct one and not create further jobs later down the project.

So with that I have decided to remove the 30.07.2018 for completion to later on this year. Sometime in november.

So with that I will source another method of transport for 30.07.2018

I will continue on with my build to get to up to date stage, so more to follow later:icon_biggrin:

I enjoy look forward to and welcome all advice and ideas after all I was a lucker that started a build.
13 Jul 2018, 7:44pm
You have to remember I originally designed the ALPHA to be built over a long weekend so your not going "to fast".

As I keep saying to you it's "your car" and "your build" so keep doing-as-your-doing. :nod:

This is a good honest build and I'm loving it!!. :hug:
14 Jul 2018, 6:35am
Dave – First things first, even though you may be having a few set backs at the moment…

You are still progressing at a great pace and are on schedule to complete your build years faster than most of us on here. :cool:

But the fact our initial deadline for finishing is always missed is something we all have in common. :rolleyes:

One thing I did learn during my build is that both metal and fibreglass can be cut and fixed.

However, before you read any of the following, check my posts on DVLA Registration & VHI rules here:

http://www.madabout-kitcars.com/forum/showpost.php?p=95856&postcount=8

I am 100% positive that everything I did to my chassis is within the “original unmodified” rules/definitions.

But you need to convince yourself before you follow my lead.

I’ve struggled to find any decent photos of the Alpha bonnet hinge arrangement.

This photo suggests that the bonnet is located much closer to the chassis.
( And it doesn’t look like the Spitfire brackets are in place. )


I also had those extra-large bonnet brackets on my Spitfire 1500 donor.


But they had to go in order to get my bonnet anywhere near fitting.
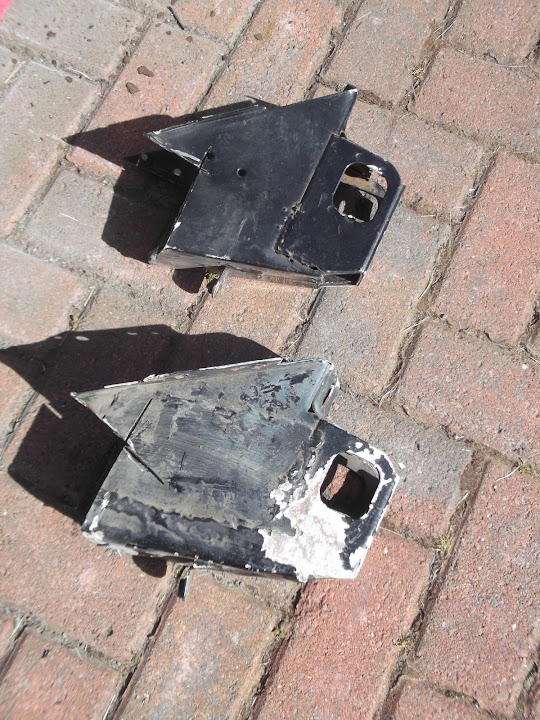


They also revealed rust damage that I cut out and then a repair panel was welded into place.


Finally, I committed to my understanding of the DVLA chassis rules and did this.


I made a set of very simple ‘scissor’ hinges which lowered the pivot point based on Mister Towed's build.
( Excuse the work-in-progress photos with the wrong bolts in. )


Which gives the bonnet the full tilt it has today.


I also chopped off the lower valance section of my bonnet, reshaped it & refitted it.
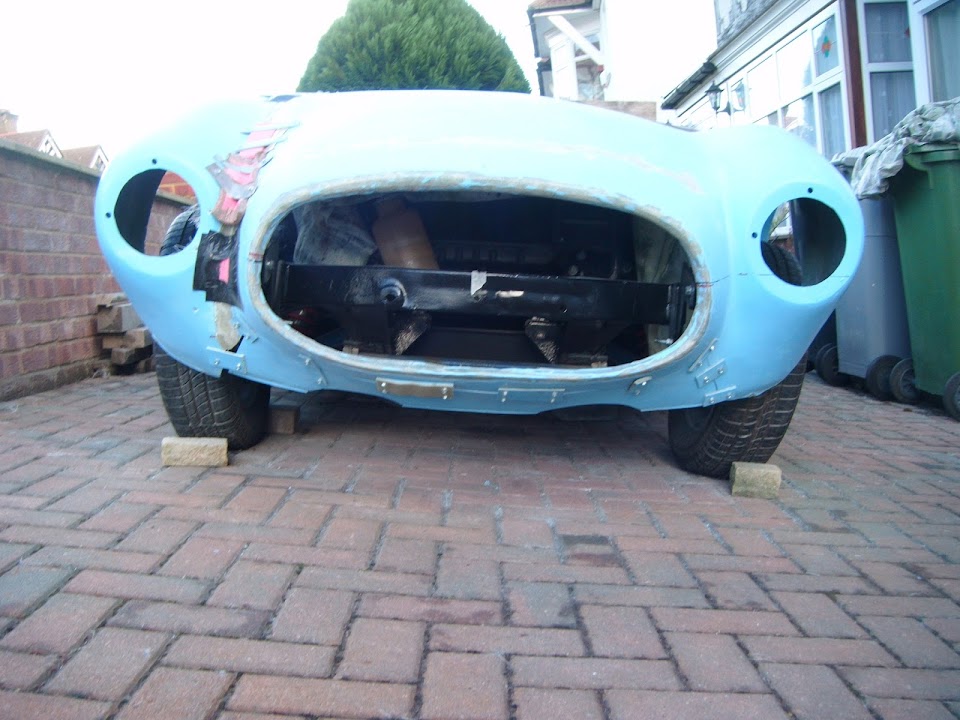


This was the final piece of my bonnet jigsaw that allowed the bottom edge to sit in between the chassis rails.


As before, by the time you’ve finished, no one will know the changes you made.


Hope that helps and good luck, Paul. :)
14 Jul 2018, 1:58pm
Thanks Mike and Paul These ideas and info on DVLA have given more help for sorting the bonnet. I enjoy that there is may ways to sort something and your correct at the end of the build nobody knows.:icon_smile: I am back at work now so I will have to wait on further bonnet developments.

I explained last night to my fiance that Harry would not be attend the Wedding on the 30.07.2018. To which she wasn't surprised and sent a couple of photos she had taken earlier this month that I missed.


So with the soppy bit over with Its back to the build.:eusa_dance:
15 Jul 2018, 8:28pm
So I am back on with the build. The wheel arches. This part has troubled me for some time and I have been putting off doing anything about it.


I knew right from the start that Mike intend the design of the Alpha to use 14" wheels with 80 profile tires.

I personal felt that this seemed to big for the Spitfire wheel base. I also thought about lowering the suspension. But in Pudsey we have many potholes along with traffic calming which is similar to sleeping policemen but I would describe as high pillows of tarmac in the middle of the road that has no mercy on any lowered car.

So I spent the whole month at work doing research and designs looking at every Spitfire and wheel combination I could find on the internet and driving my Norwegian colleague mad.

I then decided to look at the forum The sammio spyders and then the Sammio Cordite. I decided that the 14 and 15 suited the sammio spyder well but Whardales and Paul L car looked good on the 13".

But how was I going to change my arches to suit 13" wheels.

Thats when Jan said I have had enough and went to great detain in showing me how to do mockups of wings arches and bonnet scoups. In his earlier days he was into hot rods in Norway but now builds and reburish boats wooden and fiberglass. So I was on to a new project the arches.


I needed to make sure if I was going to do any changes they had to be as good as what I started out with:shock:. The rear arches on the Alpha where perfectly round and evenly gaped all the way around