This is a read-only archive of the old Madabout Kitcars forum. New posts and replies are no longer possible, but every thread is still here to browse and read.
ready for a break, back at work next week need the rest, wife dose not like the rust look so may need to come up with a comprise ,what ever I do it will be rustic not shiny
zombie green that would be different, I was thinking more chock brown. also thinking of a sign of some sort on the doors old school american barn find type
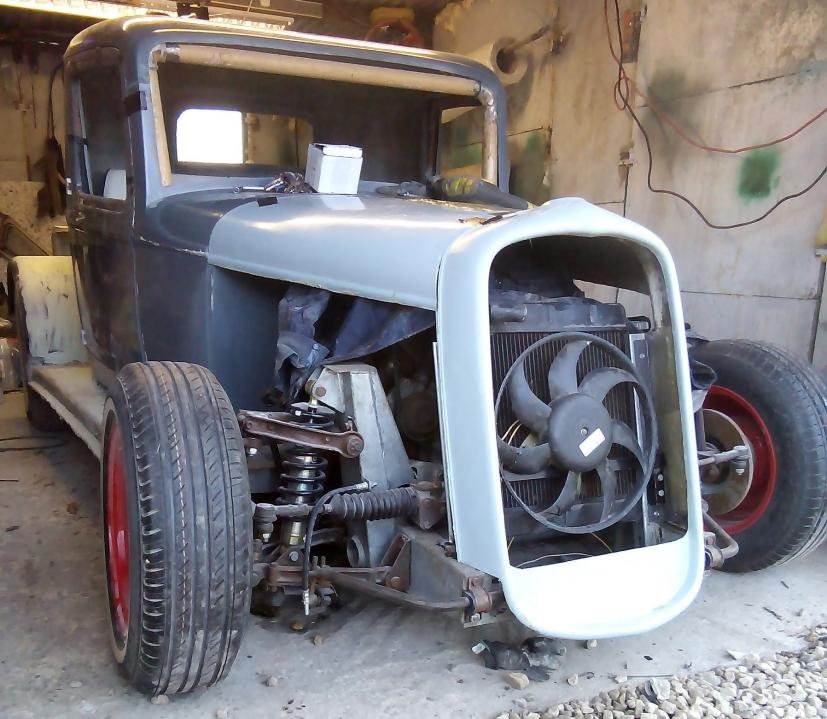
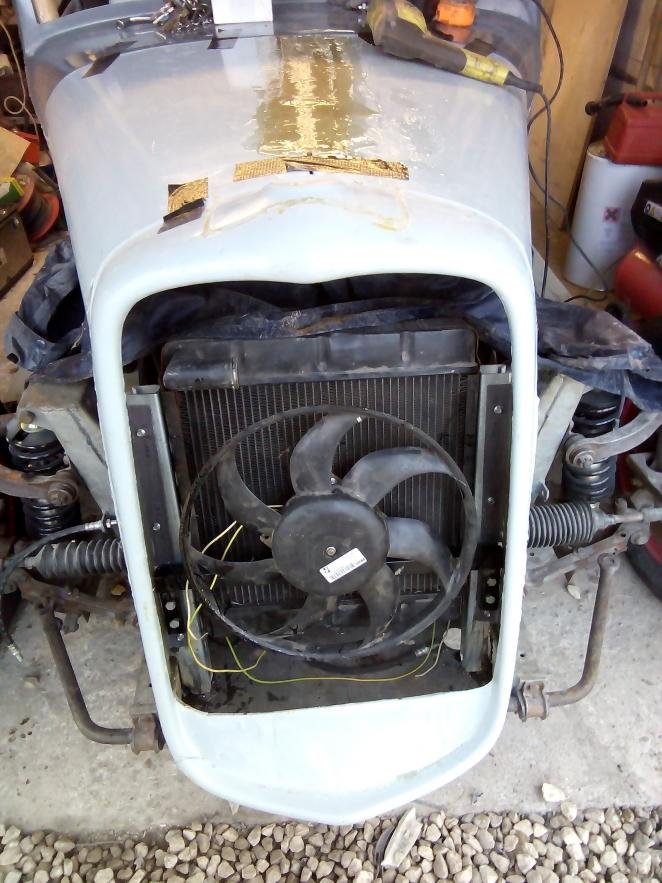
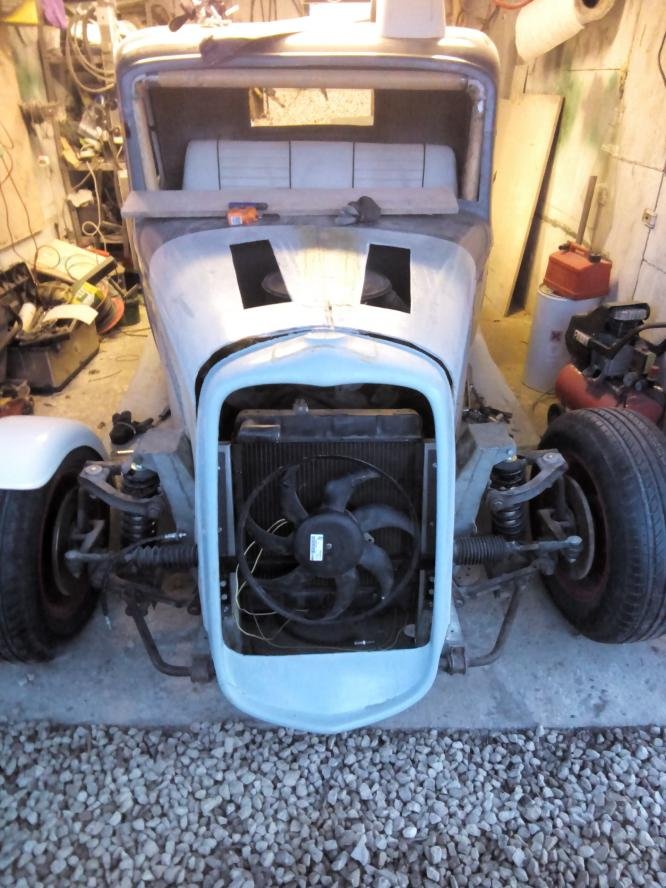
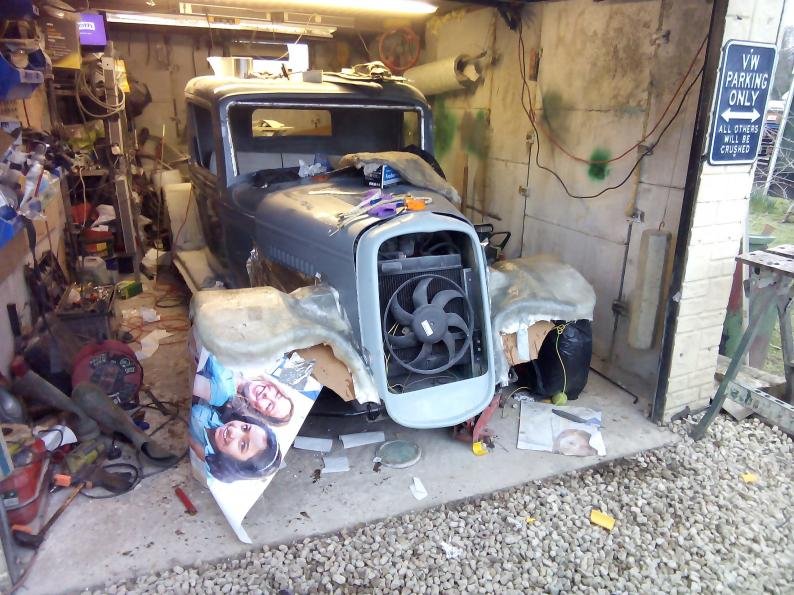
started to build the front up, rad fitted water works just need plumbing in a visit to the scrap yard coming up . The front grill frame just fell nice with the rad up stands I bonded some thick plastic step edging to the back of it so it could be bolted in place.
The fan is off a vauxhall corsa spare from are build I did a while ago lot better than the dinky ford one that was on originally.
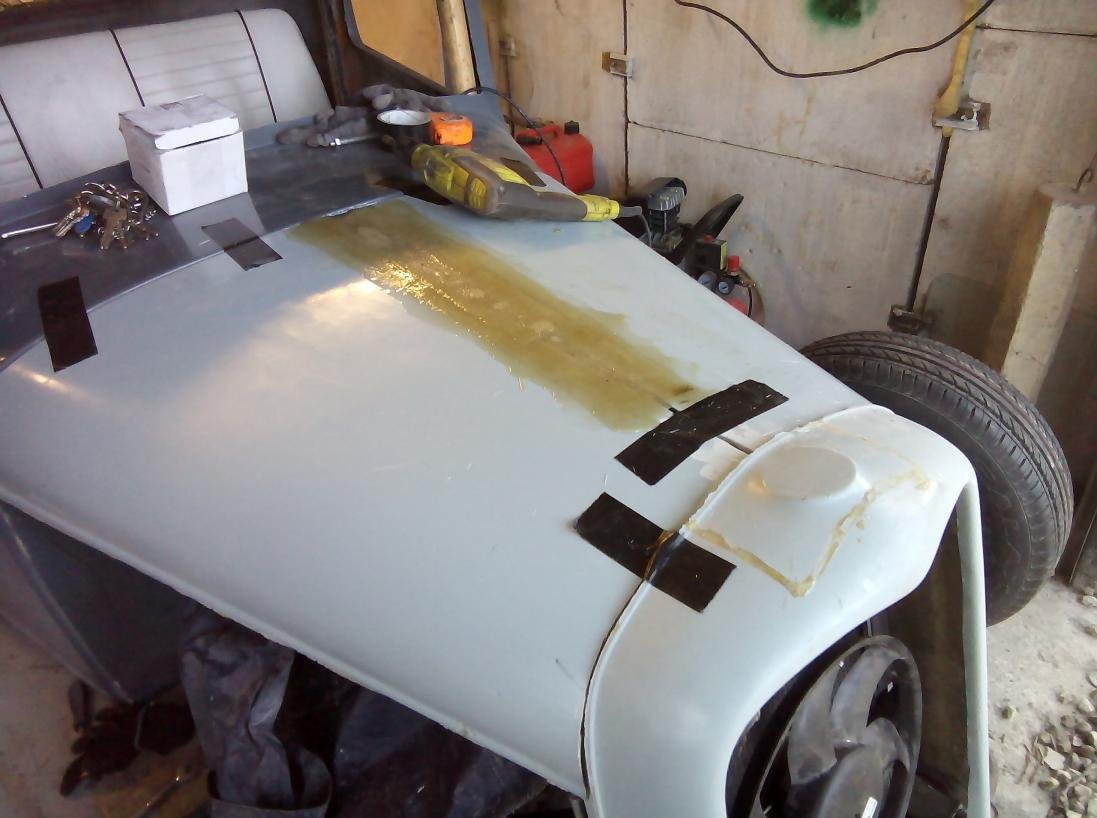
I pulled the grill back so much noway would the bonnet fit so I split it down the middle to reshape it.
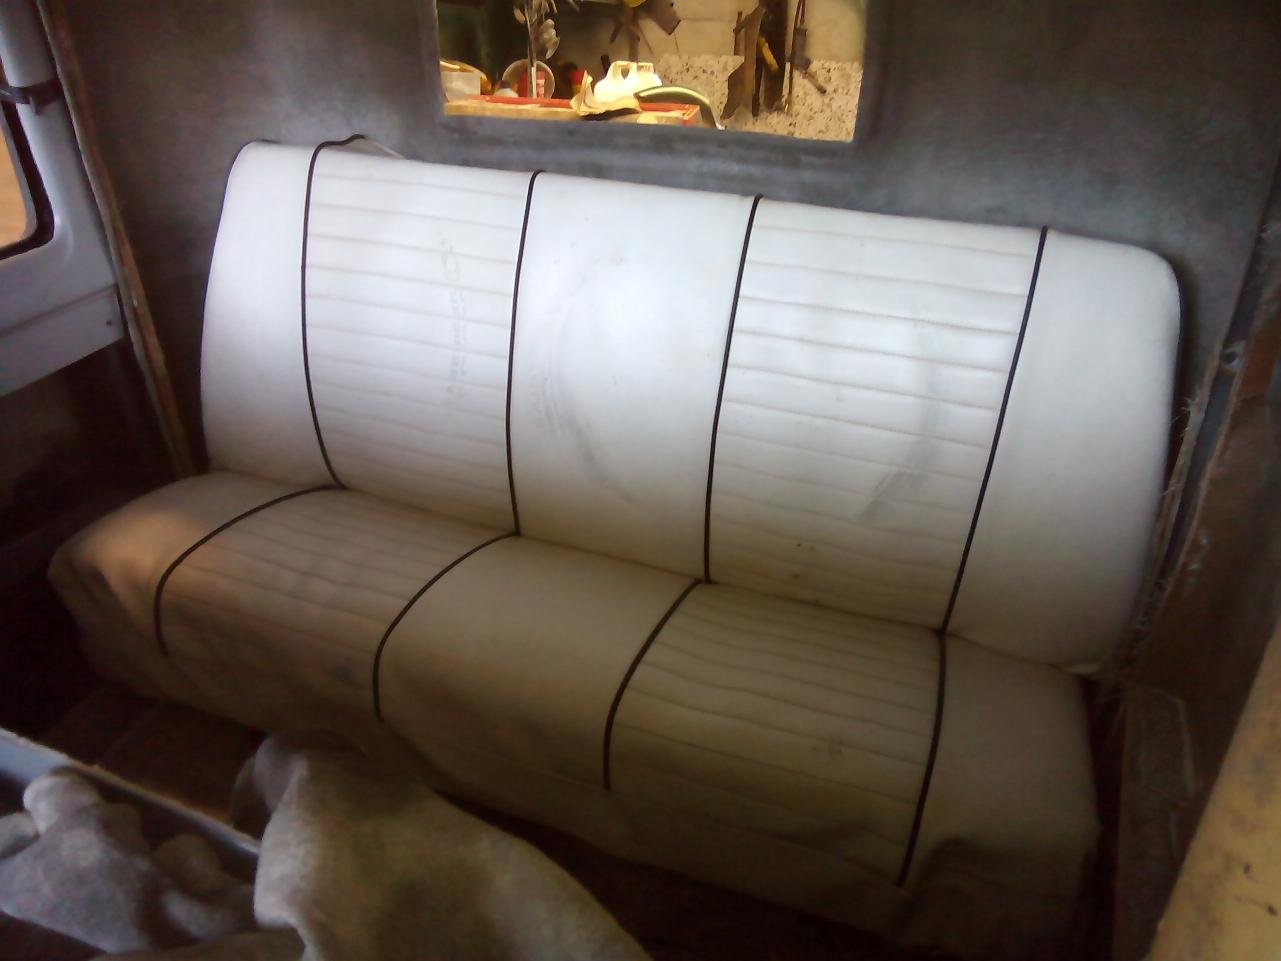
The seat is VW beetle back fits nice but the base I had to trim down 4 inch planning a wicked recover just way down the to do list. need to build a steel frame to hold an other job for the to do list.
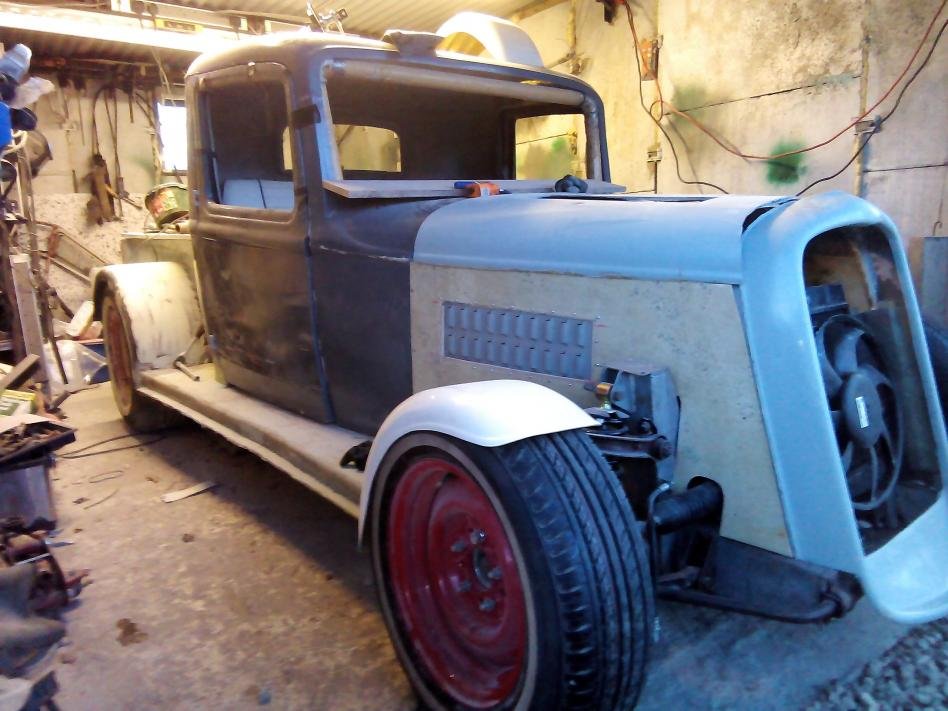
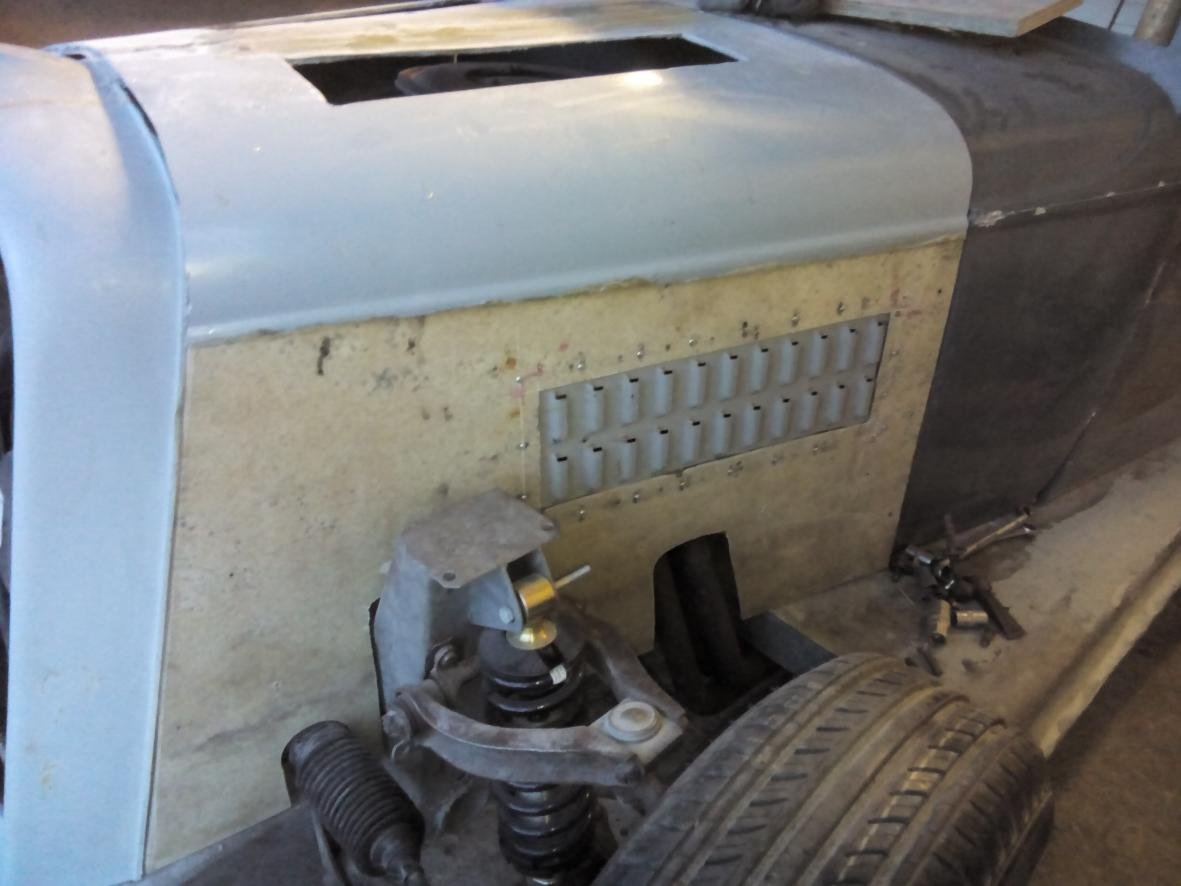
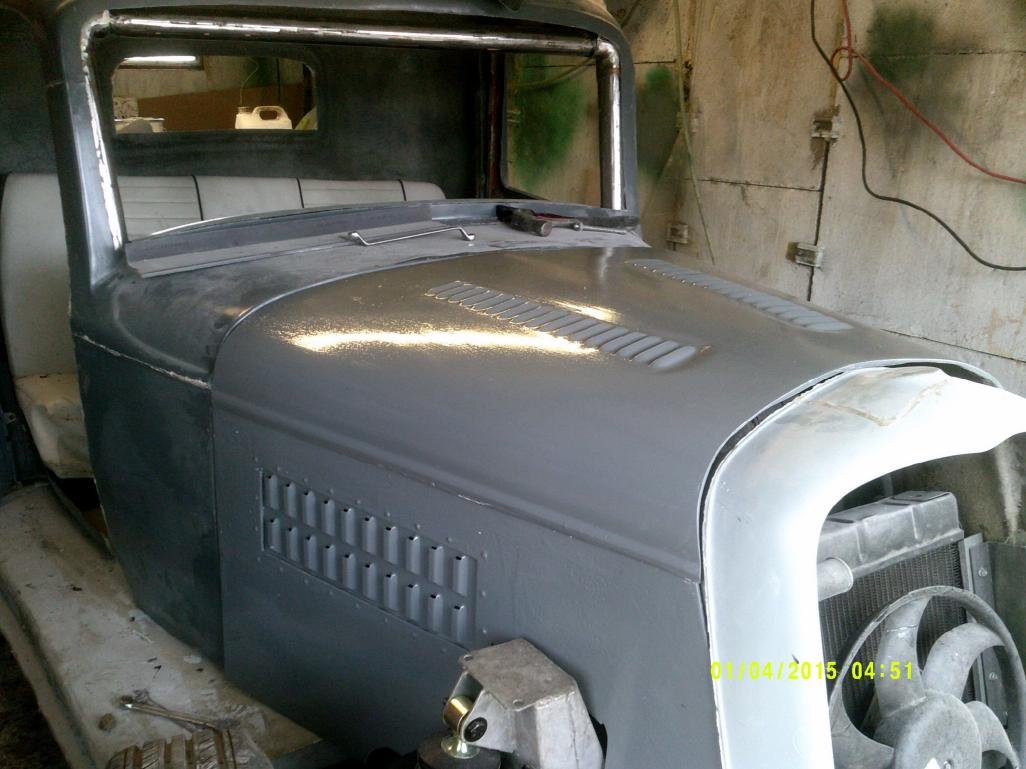
I decided not to use the bonnet sides that came with the kit and made my own should look good when they are finished.
I have used screws that should show through the gel coat as a bump to make it look riveted on, its glassed on from the rear so its not going anywhere.
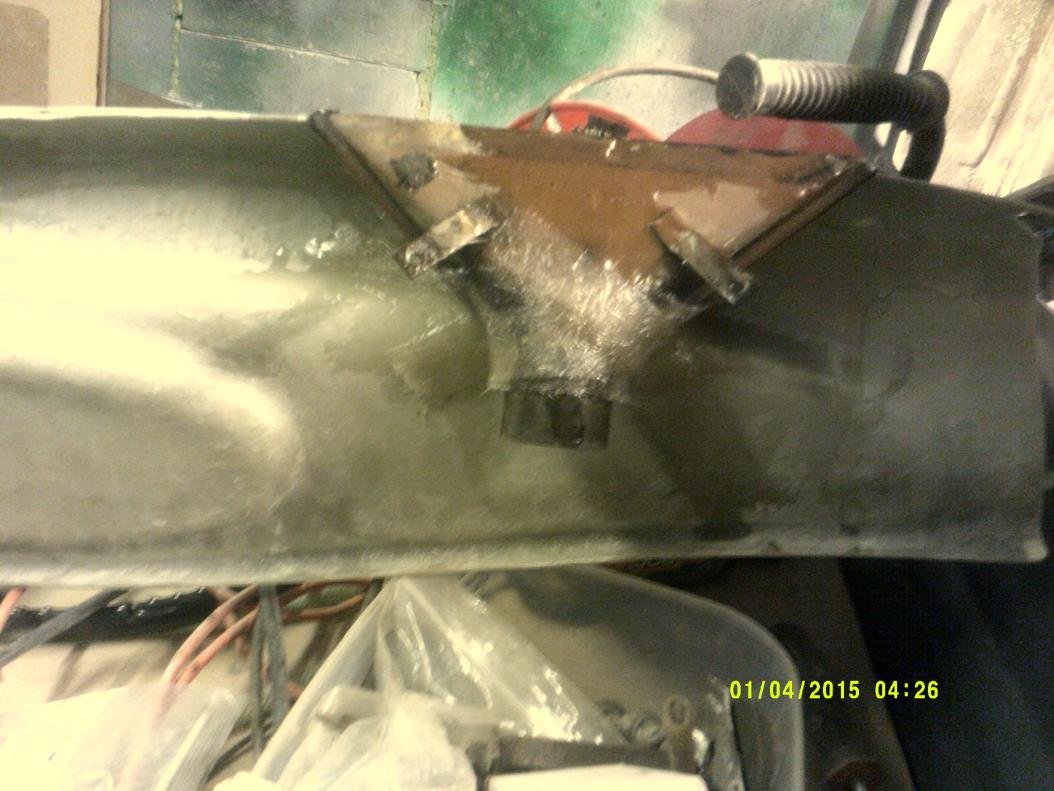
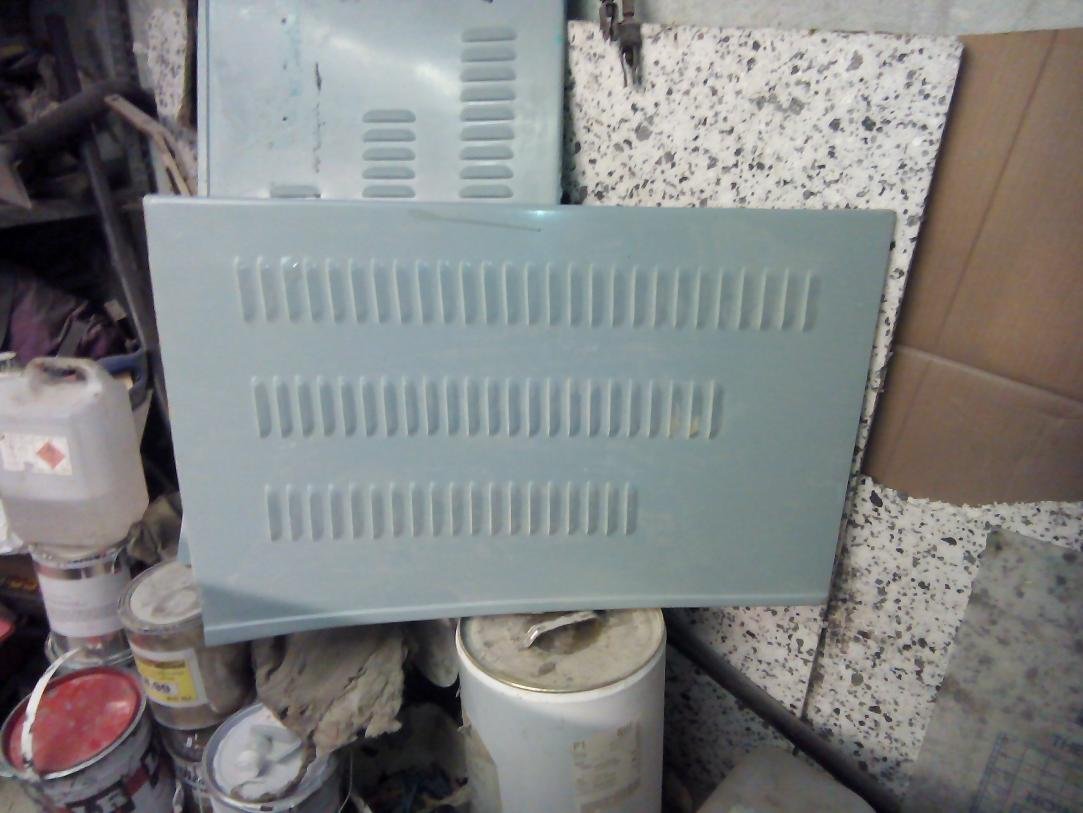
bonnet was a bit plane so I have cut slots out and made up some fake vents by taking a template off the bonnet sides just need to glass them in.
Attachment “DSCF0011.jpg” from the original forum could not be reliably recovered.
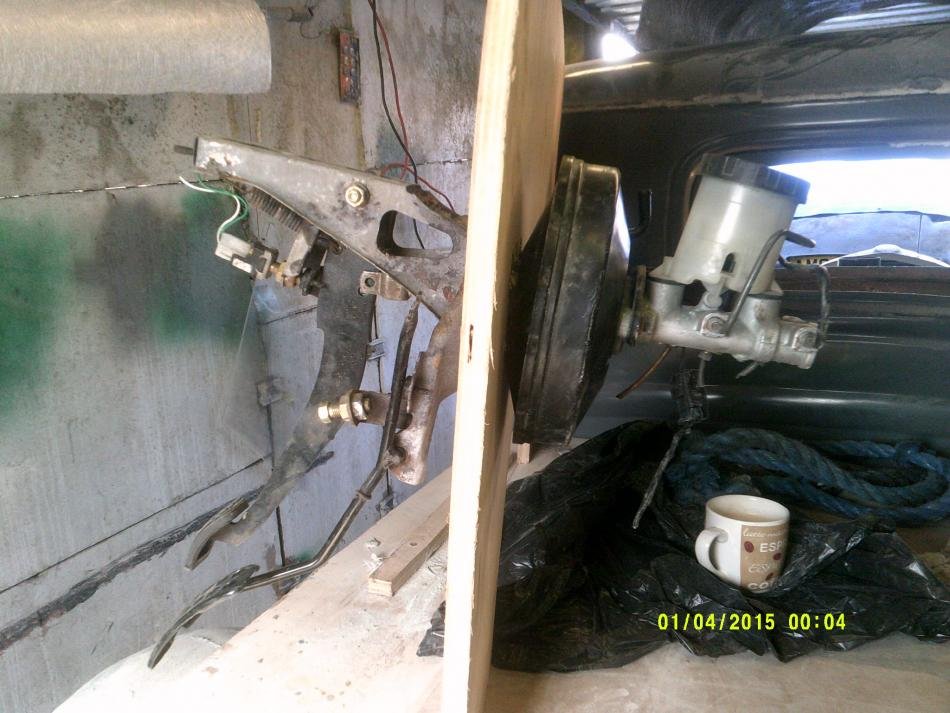
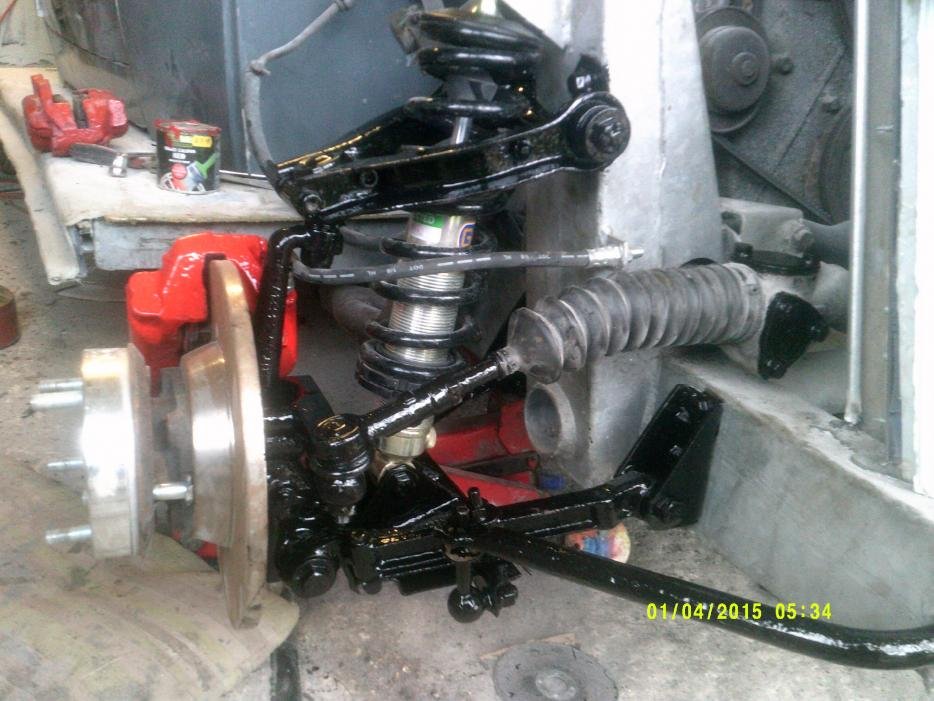
nothing is drying so I have started working on the brakes
and the dash
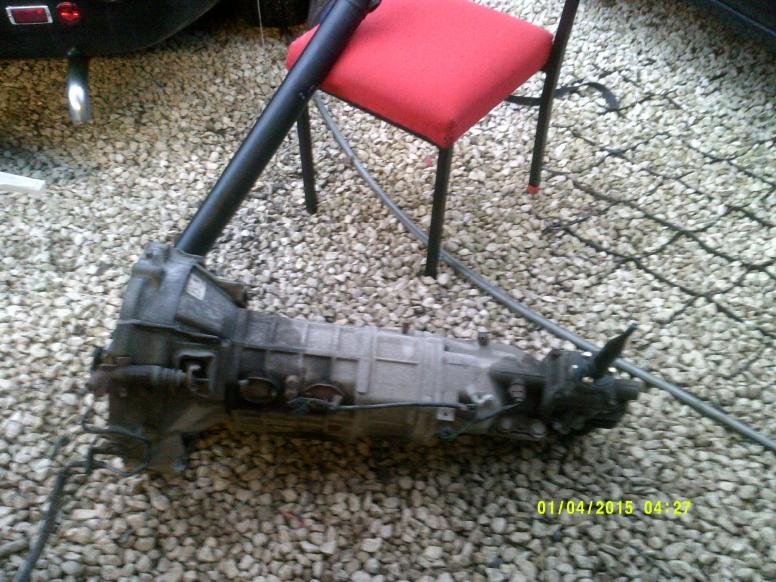
I have sold the gearbox and picked up a RX8 5 speed box just waiting on the adapter plate to arrive, new prop on order so need to spend some time on the sterring
I used Propshaft Technology Limited in Rotherham they are local to me so it makes things easier. I just walked in with both shafts on Thursday ready for Monday.
I used Propshaft Technology Limited in Rotherham they are local to me so it makes things easier. I just walked in with both shafts on Thursday ready for Monday.
thats good service ,i like the way the trucks coming along
Andy, can you explain how you did the top bonnet louvres?
Are they stainless and glassed in?
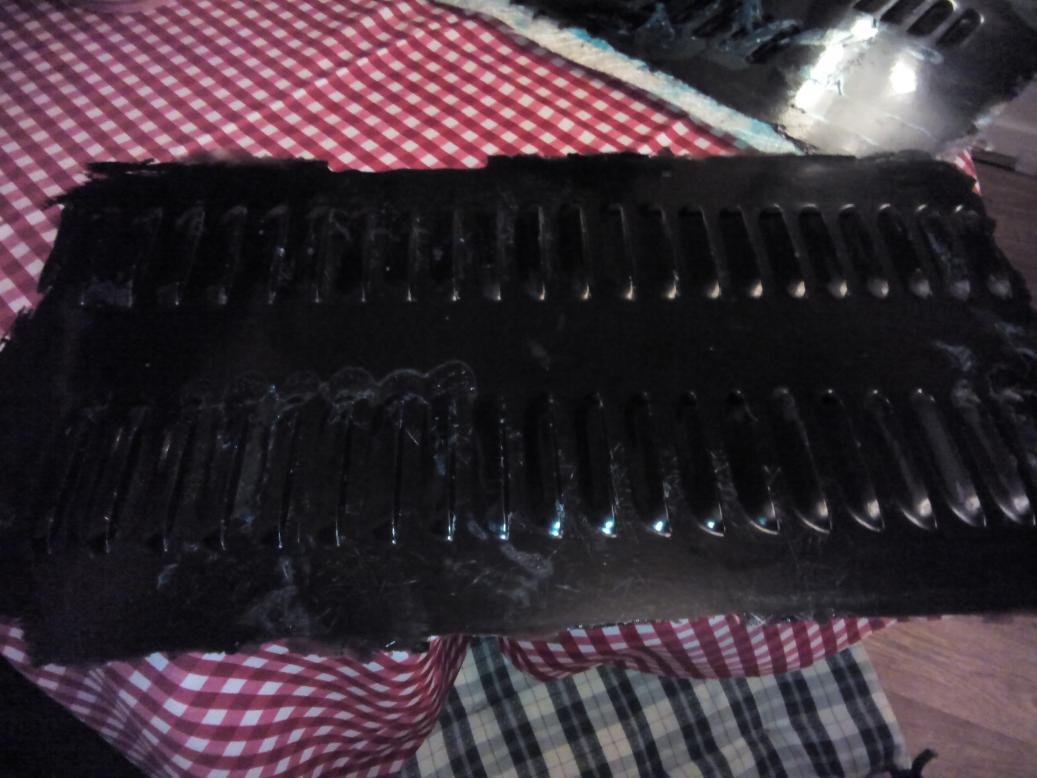
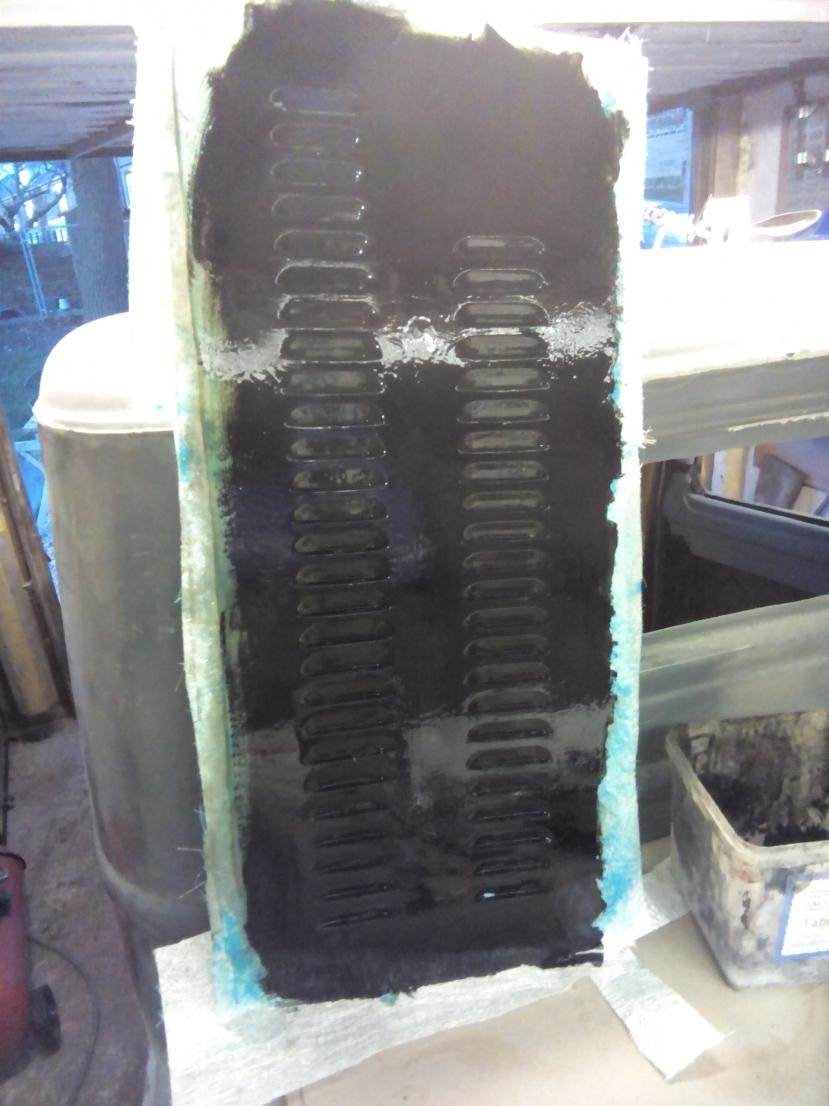
I used the engine side panels to make a mould to reproduce the louvre.
for anyone that has not made fibreglass moulds they are very easy providing they are not to intricate.
step 1,
your part needs to be as clean and smooth a possible find a good release agent and apply over the part. I use a PVA one looks a bit like washing up liquid drys pritty quick. use a form paint brush to get a good smooth Finnish anything you can see now you will see when its finished so do it right no runs.
step2,
your PVA is now dry so cut your fibre glass matting to size so your ready , I used CSM 650g 3 layers will give you around 5mm thick when finished. you can use a surface matting if you need to get into detailed parts.
step3,
now apply a gel coat give it a good covering on top of the pva it dose not need to look good a but try for a even thickness. I find thicker is better if you need to sand it latter you will not cut through the gel coat. but it will chip easy
step4, wait 10 min your gel coat should now be tacky to the touch mix your resin and apply on top of the gel coat first then start to layer matting resin matting it should be almost translucent when you have finished.
step5, your mould will dry to a mat Finnish when its ready to remove the more intricate the mould the harder it will be to release it. make some wooden wedges and work your way around it knock them in around the edge between the joint it will pop. wash off the PVA with clean water and away you go.
Attachment could not be found in the archived database.
Attachment could not be found in the archived database.
I am no pro at this its mostly been trail and error and utube so feel free to chip in if I am saying something wrong
Always fancied a rod but never had the bottle to buy one - looking forward to see the finished product. Jon Golding is not far up the road from me - every so often I see one of his creations about!
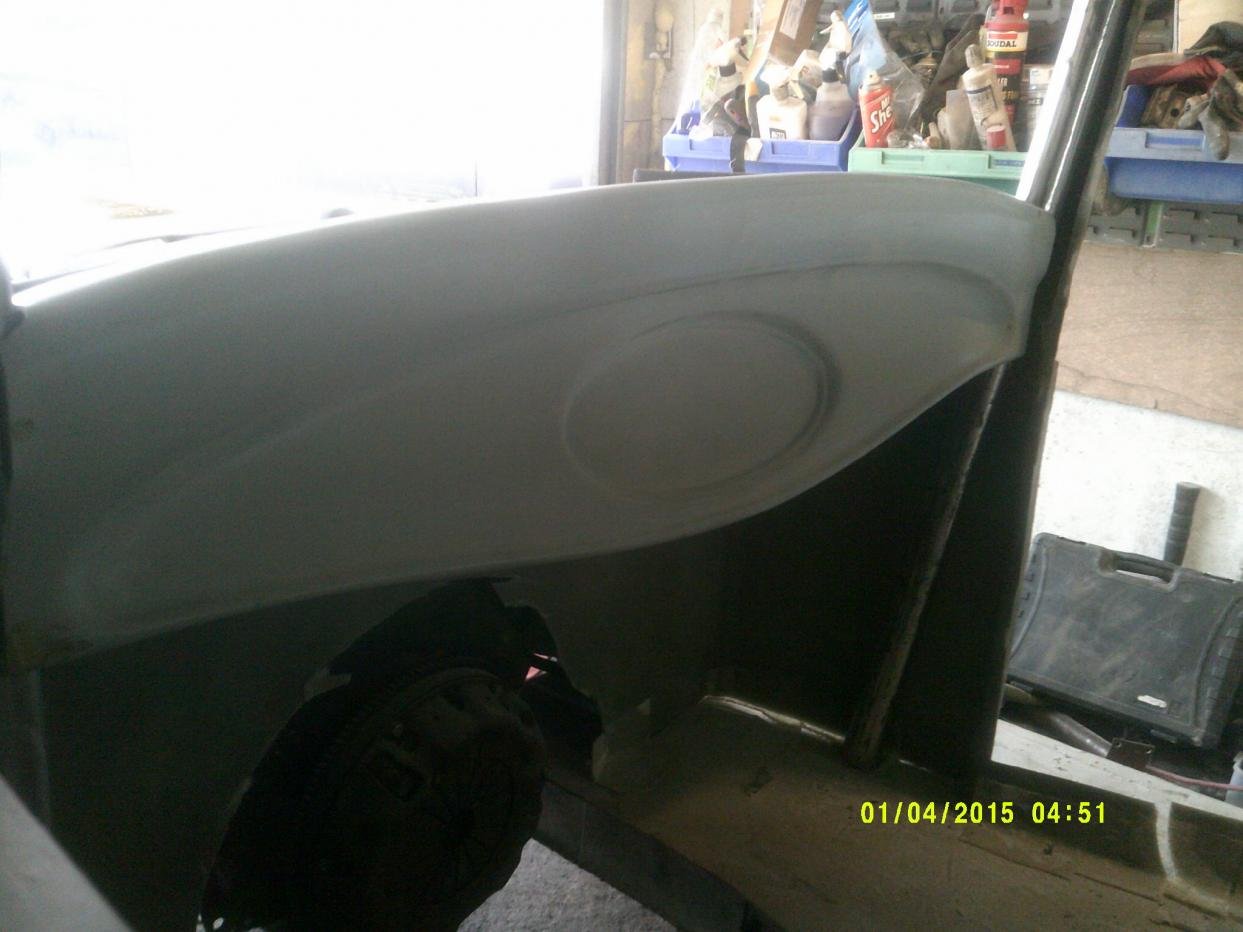
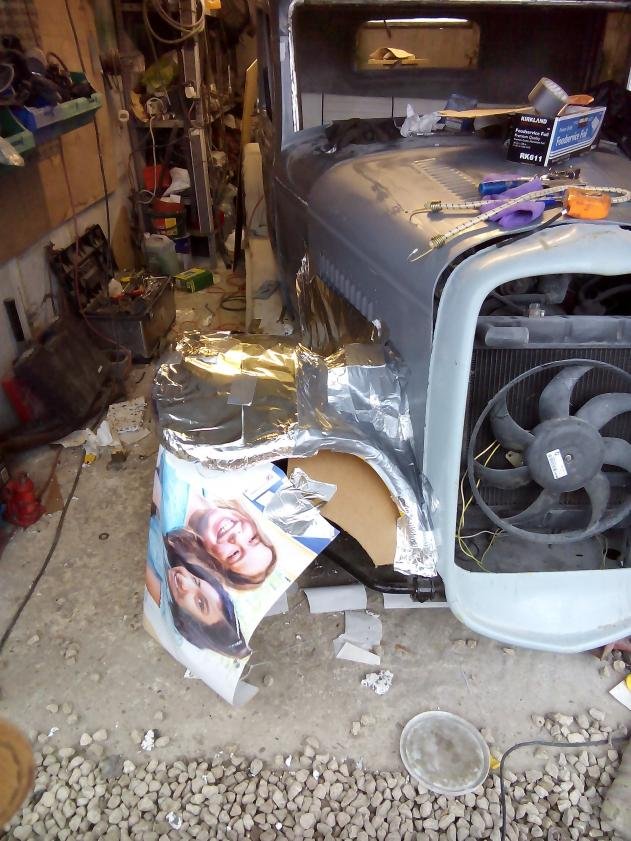
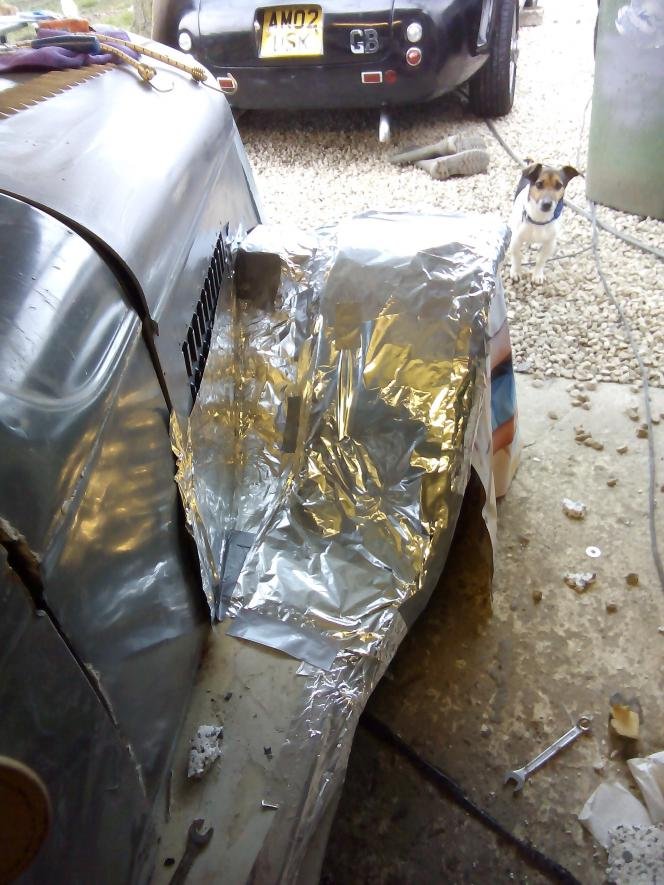
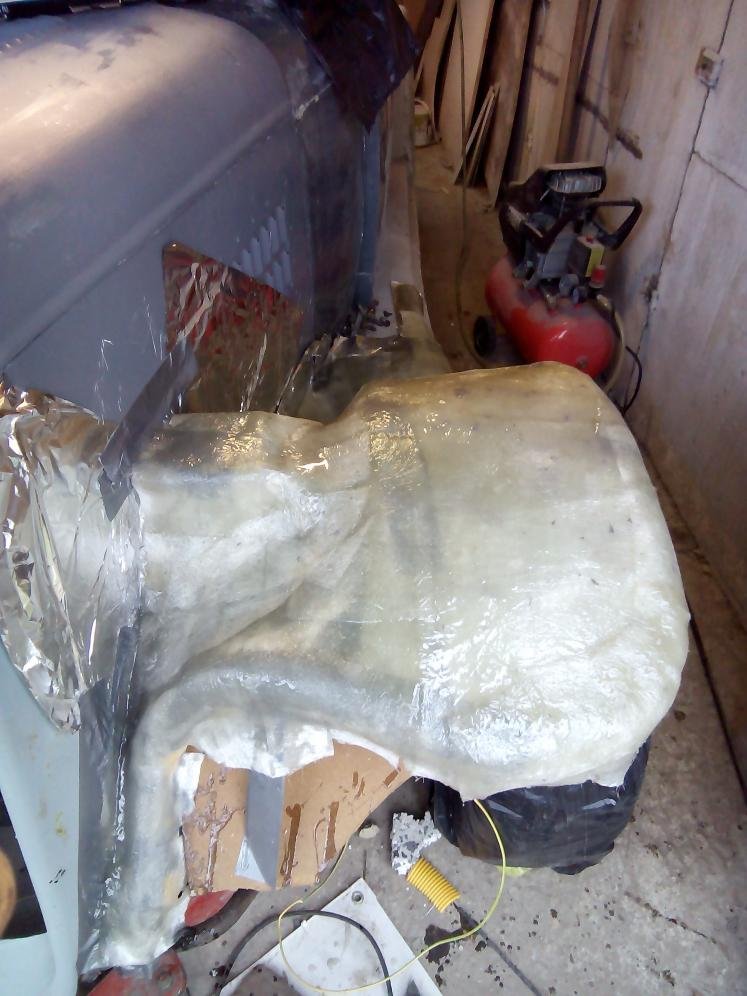
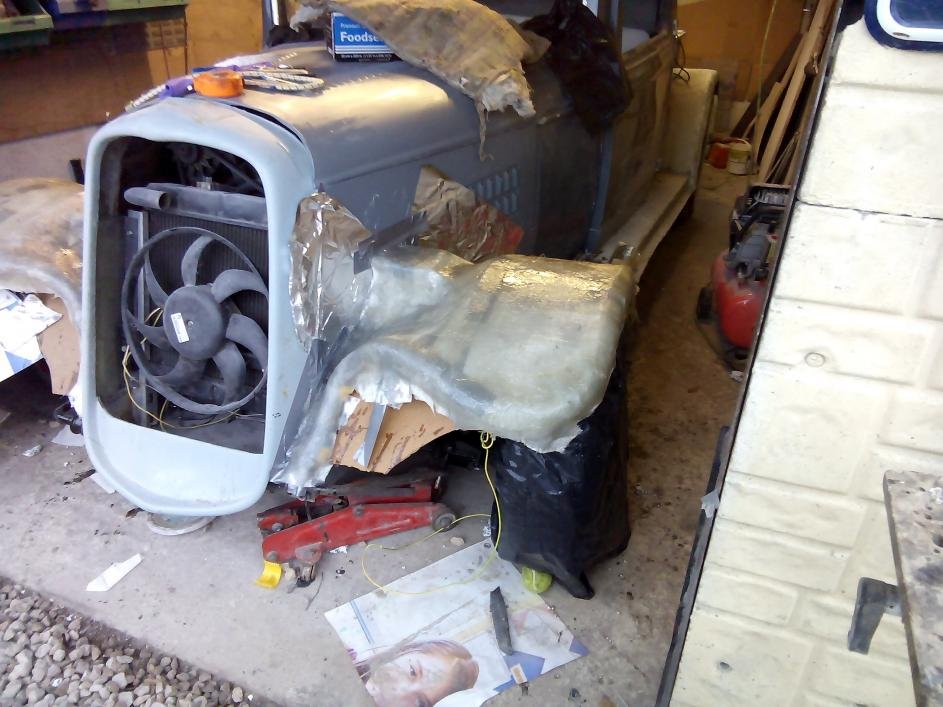
bit more work started,I did look at cycle wings but the did not look right with the ruining boards so I came up with this. bit of a blue peter moment some hardboard tin foil flexible tube and gaffa tape.
the tin foil will stop it sticking so in the morning they will pull off
should look the part with some trimming and a other days work
Quite the innovative method. Love it when someone is not afraid
to try something. Prepare for more sanding than you may have anticipated. May be worthwhile to make quickie light molds for the fenders to get a nice part. Good job!
it may not be everyone's cup of tea but that floats my boat, can you not give me any more ideas I am already in the dog house for going rat look
you could spend a hour looking at the rat spotting all the little tweeks not so with a high polish trailer queen.
I have just extended the rear fenders to the bottom of the tub now thinking I should cut them back get some rubber showing layball:
my garage is calling me thick with snow going to be a cold one
I do rather like the Volksrods with the front beam mounted further forward ..loads of examples on the 'net ..chopped saloons , coupes , pickups etc. Very innovative.
my first car was a bug, vw dubs get under your skin I have owned two beetles and currently have a splitscreen and a T5. The remaped T5 has to be one of the best drives I have had in a van. I have bolted the same engine in the back of my splitty I will Finnish it one day
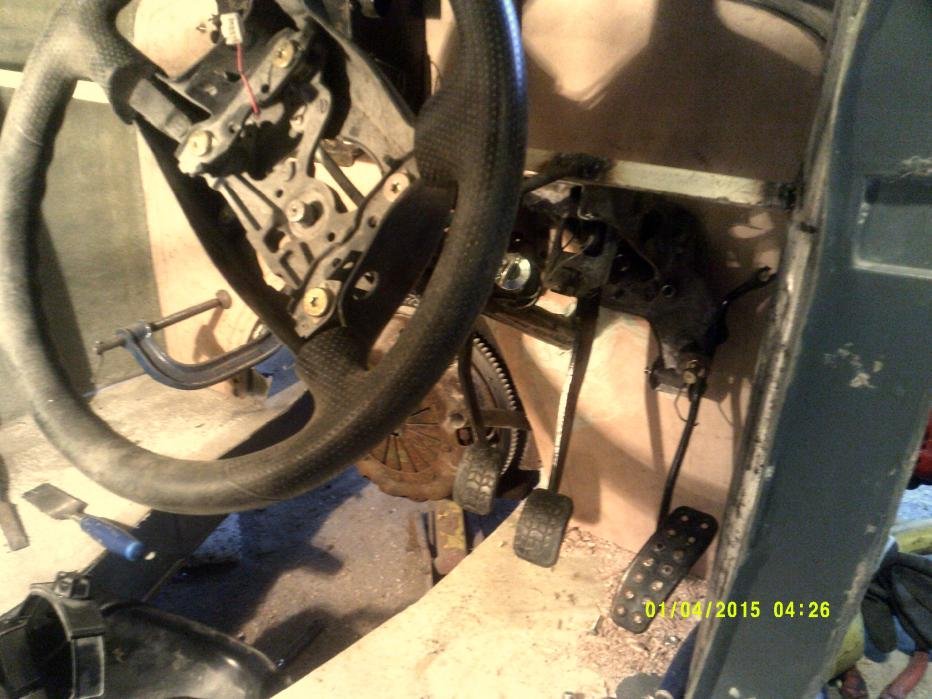
its been a busy weekend I now have a full pedal box with breaks and steering and a heater getting posh now,lol
I ply lined the inside of the fire wall with 18mm wpb to give it some strength I figured as I will be bolting things to it it made sense to bond it on.
the steering was a pain in the backside to get right but I got there in the end.
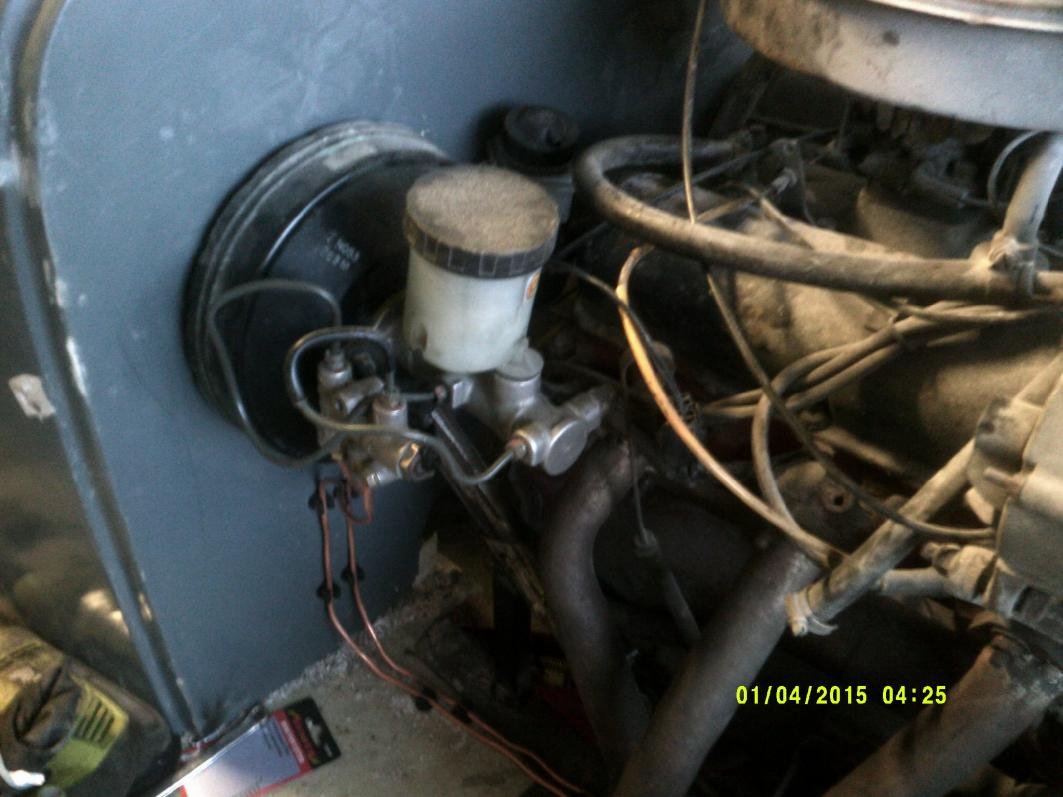
the pedal box and servos are all mx5 it was a squeeze to get them in but I figure when the new gear box is fitted with the adapter plate the engine will move forward 2" that will give me the clearance.
the servo was originally piped up on the right but I flipped the bracket and re-piped it on the left to give more room and make life easier
the new to me RX8 gearbox and freshly made prop shaft waiting to be fitted
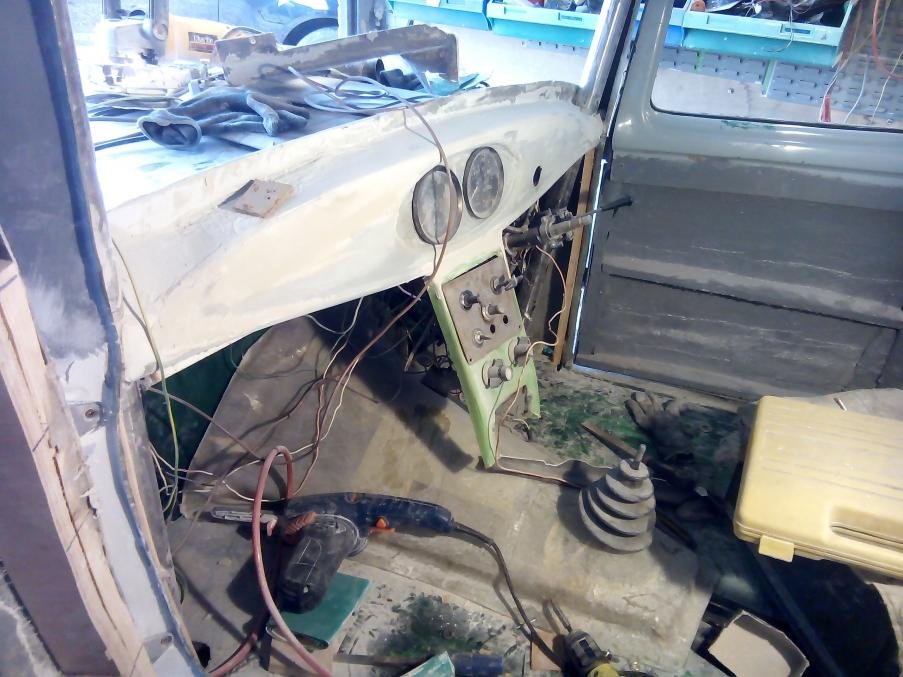
last job for the day I have glassed the air vents onto the back of the dashboard,the heater unit is Austin mini just happen to have one easy to fit and pipe up makes a change
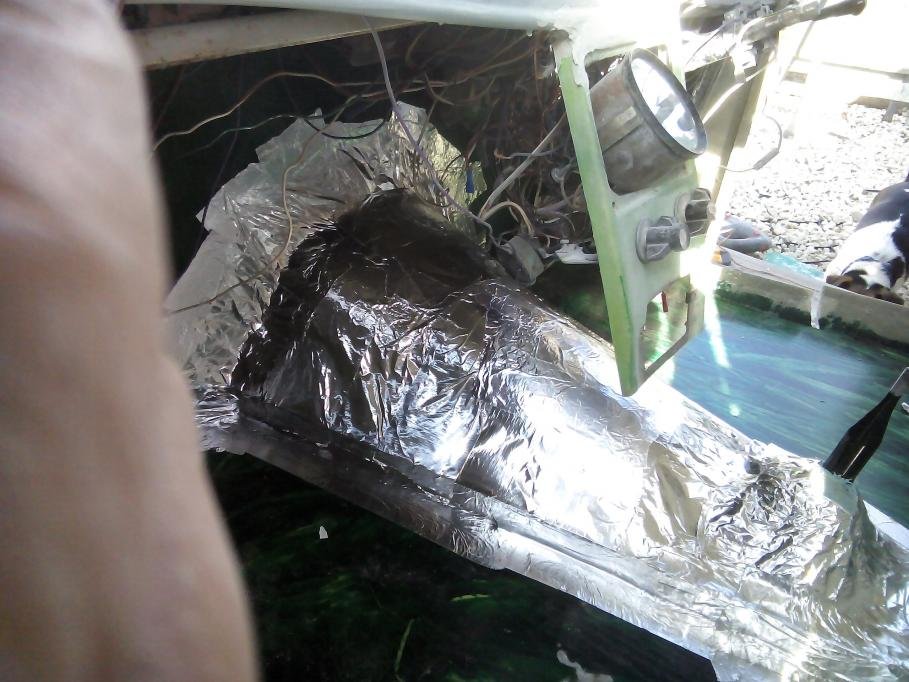
well I have been beavering away it dose not look like I have done anything but most of the wiring is now back in and the car starts off the key now. I got fed up with things falling through the floor so I made up the the gear box tunnel and boarded over the floor with 18mm ply
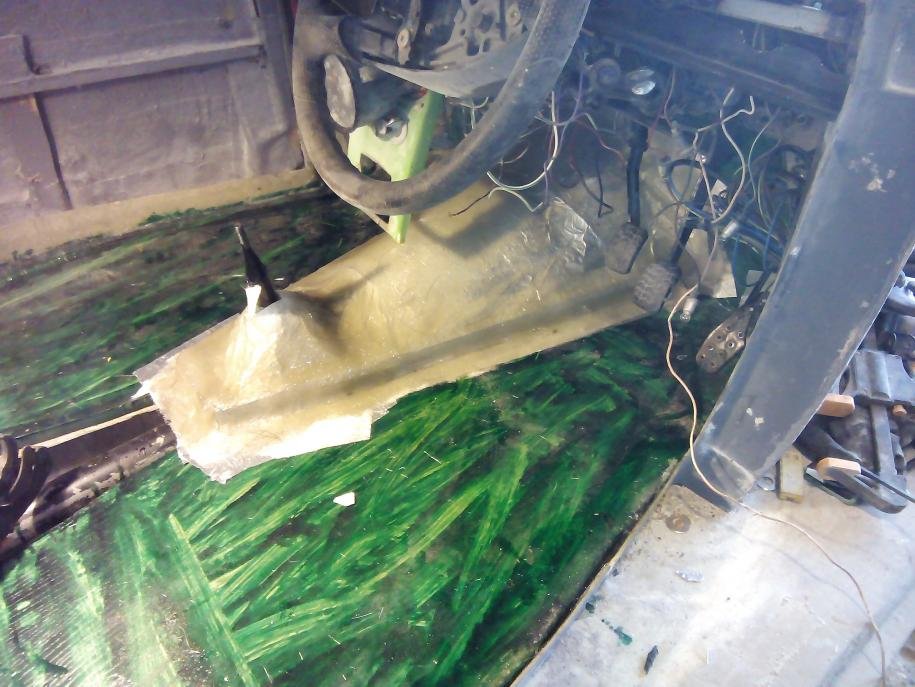
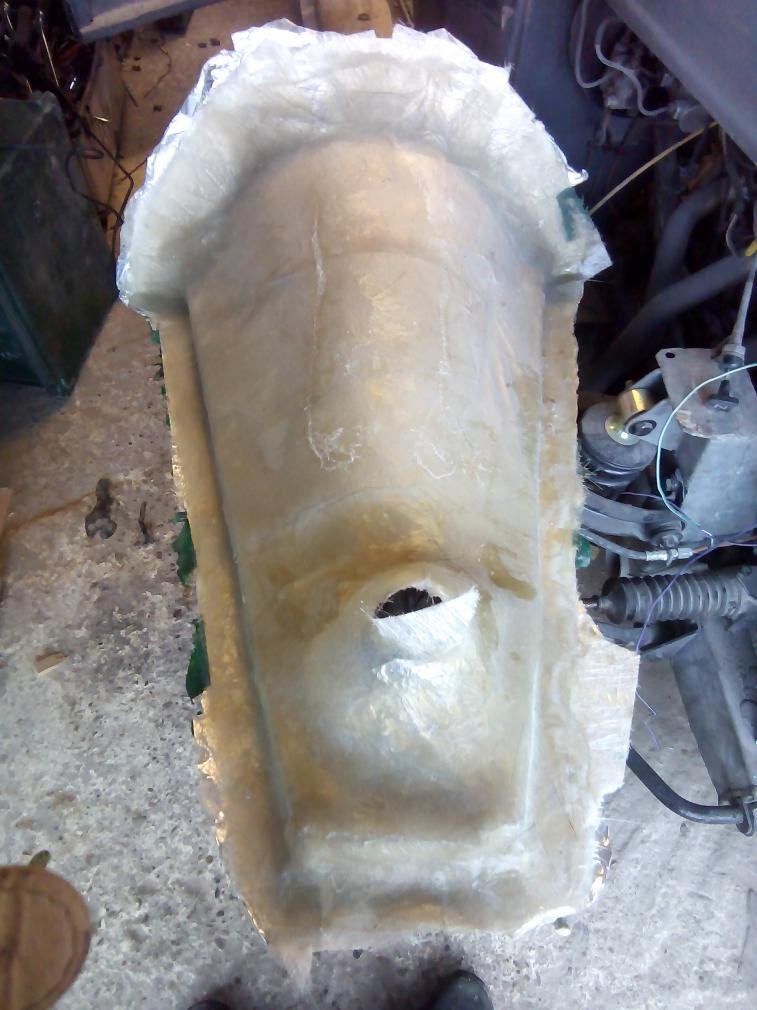
I love this stuff aluminium foil tape self adhesive covers anything and the fibre glass dose not stick to it.
after a coat of glass
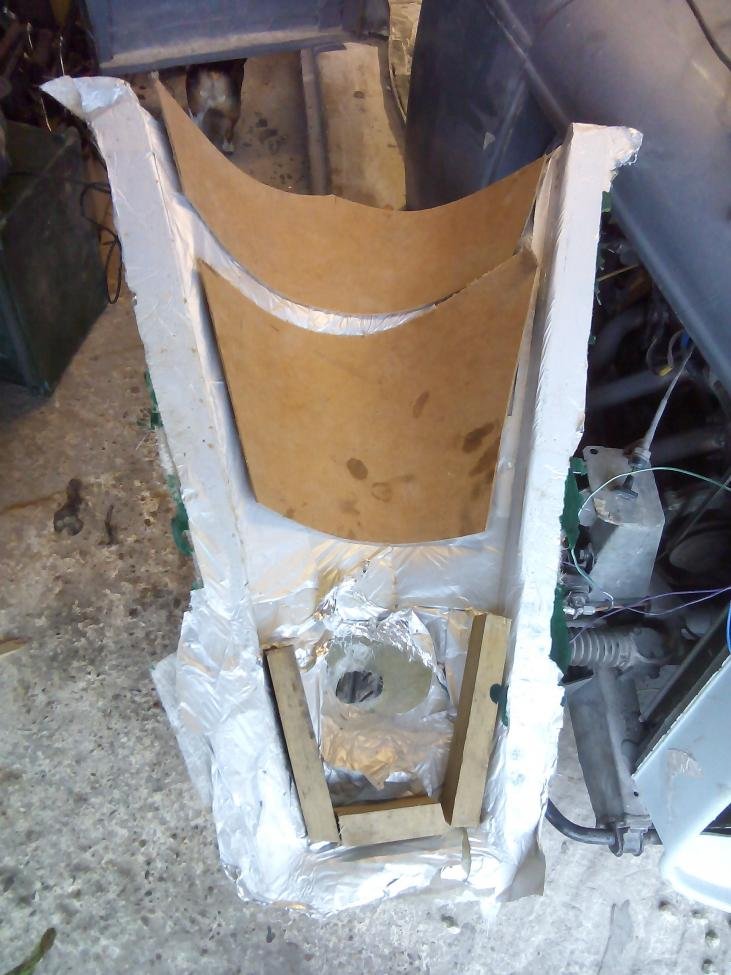
the day after you can see all I use was a bit of hard board sprung between to battens
trim and edge and ready for fitting
gear box is now fitted the dash is bonded in after some serious trimming down the dials were hitting the cross bar at the rear so it all had to be moved up
what a bugger.
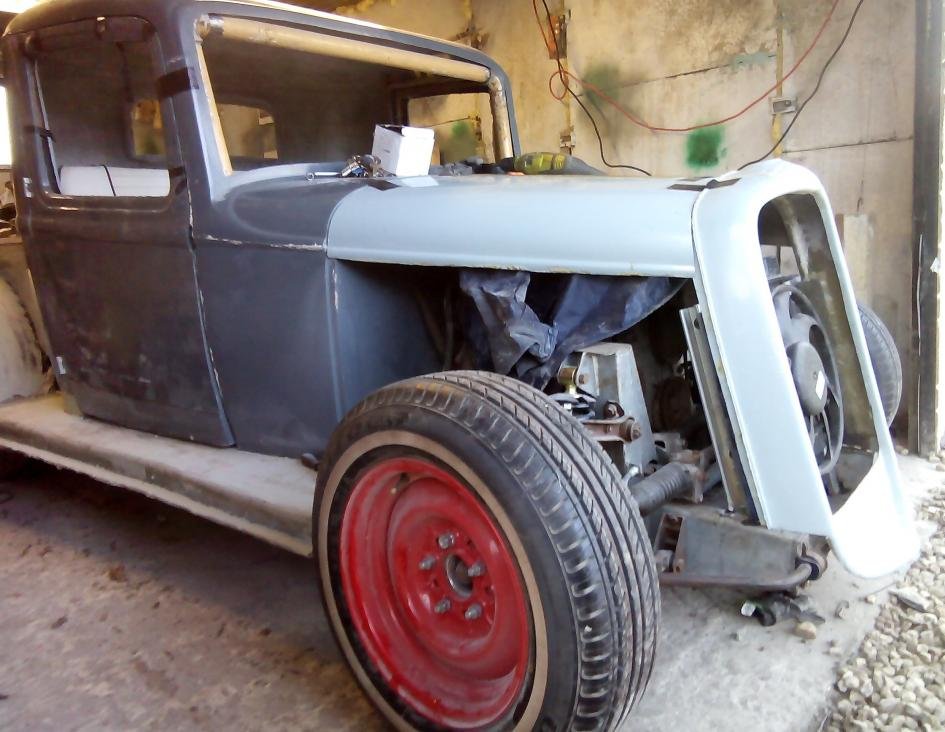
other jobs done the wings are now bonded to the rest of the body and the doors have been rehung the correct way around . taking shape slowly


 layball: