This is a read-only archive of the old Madabout Kitcars forum. New posts and replies are no longer possible, but every thread is still here to browse and read.
Andy - yeah - already seen that - nice gain in offset but at the rear only although currently theoretical.
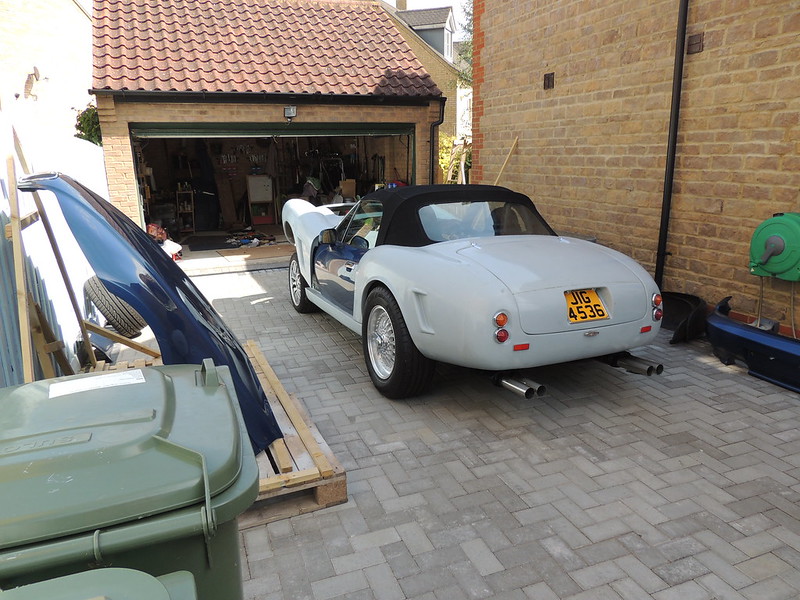
At the front we're talking about 8.5 wheels and shifting them even further into whatever backspace is available. You'd end up having to put stops on the rack to prevent rubbing assuming there's actually enough space to get the bulk of an 18" (minimum) 8.5 inches of wheel all the way back into the arch probably talking needing something like ET70!
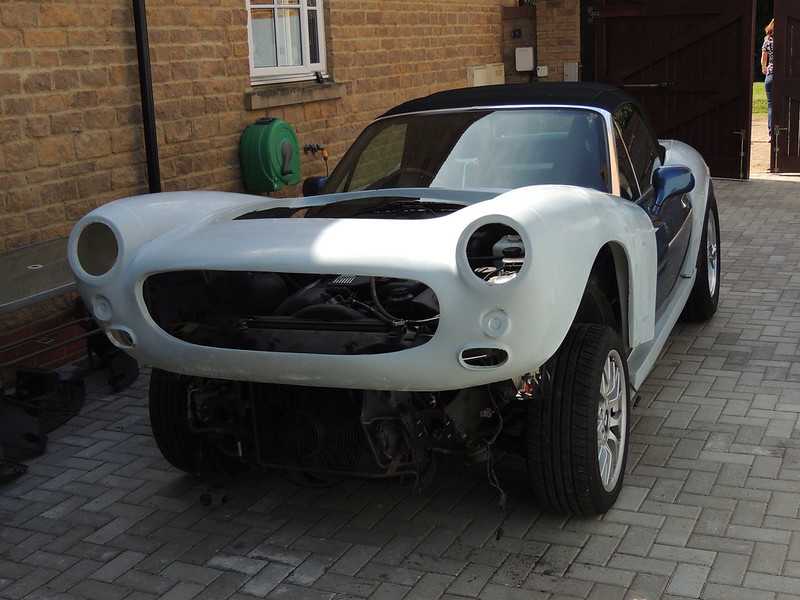
Bottom line - you cannot get front and back tyres to sit up inside the arch without either custom made wheels or body mods. I just can't afford to throw the extra cash at it as I'd be relying on someone else to do it.
The offset was always the hurdle for me from the git go - I just can't get over it that's all. I'm sure someone will find a way further down the line.
How does it drive with those wheels on, Id imagine that its very long legged if you know what I mean. Great for cruising.
Loving the thread by the way.
Andy
Not sure how it drives as only put one tyre on one wheel so far, also cannot fit to fronts due to large overhang on front spring, have to change to coilovers to take that out of equation, but this will lower the car 20mm grrrrrrr. So really want coilovers that raise the car not lower it
Not sure how it drives as only put one tyre on one wheel so far, also cannot fit to fronts due to large overhang on front spring, have to change to coilovers to take that out of equation, but this will lower the car 20mm grrrrrrr. So really want coilovers that raise the car not lower it
Its fun isn't it!
most coilovers have adjustable spring seats just wind them down and it should raise the height
You can raise the ride height by putting thicker pads under the rear springs, BMW sell them or you can buy discs on eBay - 9mm pad will increase height by about 15mm due to suspension set up
You could gain some space by trimming the arch lip back, the top of the wheel will move inboard when the suspension compresses, z3's run excessive camber at the rear when lowered so the wheel might not rub on a trimmed arch
Alternatively using z4 hubs and e46 solid rear discs bring the rear in by 23mm each side, Chris took a photo its in the wheel thread on the forum
The fronts should fit in the arches with the coilovers but your turning circle might be limited
Personally I liked the picture of the 205 70 tyres on the wires you took in italy
You can raise the ride height by putting thicker pads under the rear springs, BMW sell them or you can buy discs on eBay - 9mm pad will increase height by about 15mm due to suspension set up
You could gain some space by trimming the arch lip back, the top of the wheel will move inboard when the suspension compresses, z3's run excessive camber at the rear when lowered so the wheel might not rub on a trimmed arch
Alternatively using z4 hubs and e46 solid rear discs bring the rear in by 23mm each side, Chris took a photo its in the wheel thread on the forum
The fronts should fit in the arches with the coilovers but your turning circle might be limited
Personally I liked the picture of the 205 70 tyres on the wires you took in italy
Yep, I like the idea of thicker pads, just not the idea of fitting them as they were a right pain in the butt to replace those springs, it might be a good reason to invest in some spring compression tools....
Z4 hubs and discs, are beyond my skill set, I leave that to the pro's
I have a pair of spring compressors if you are passing Southampton or they are fairly cheap in machinemart
Many thanks for the offer, I see the machinemart ones will do the trick, and also I'm heading to Newark auto jumble tomorrow, you'll never know what I can pick up there.
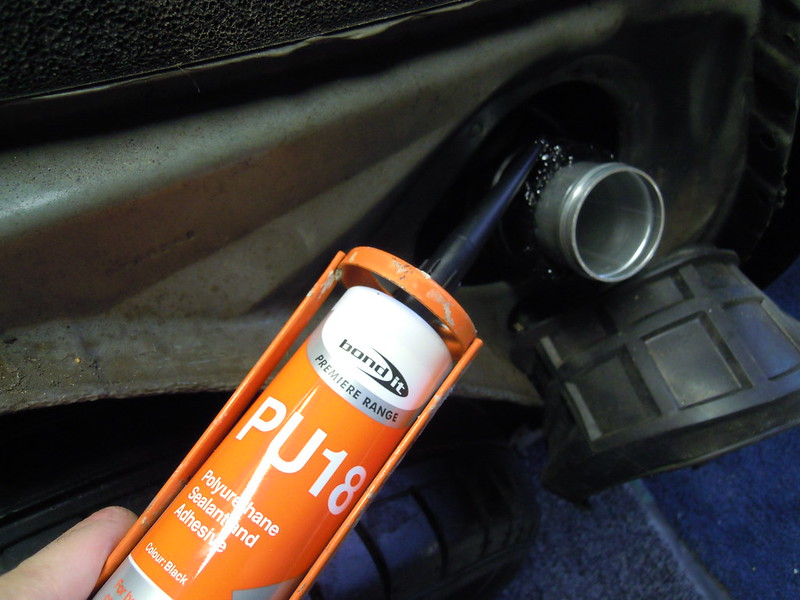
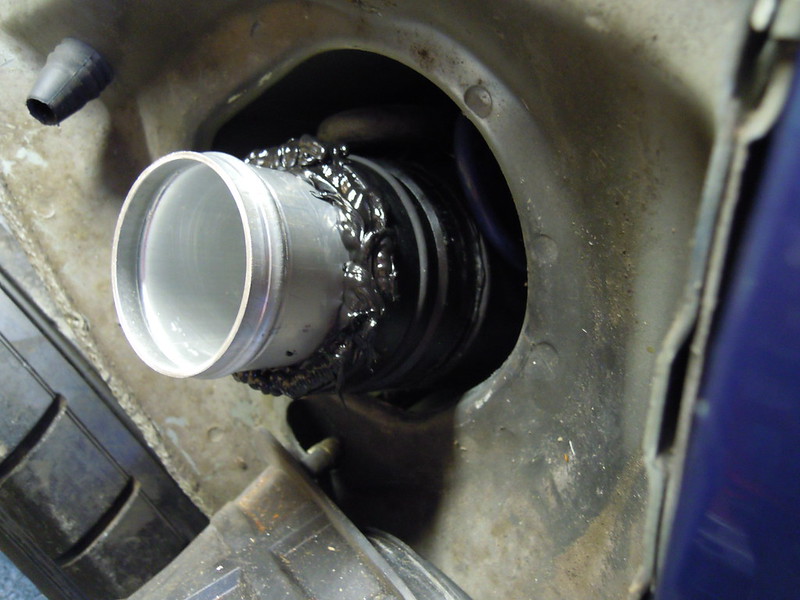
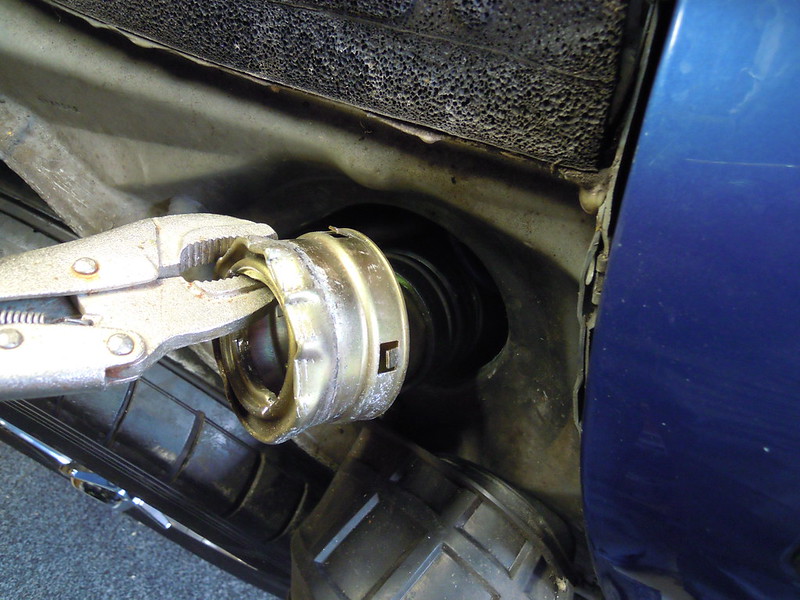
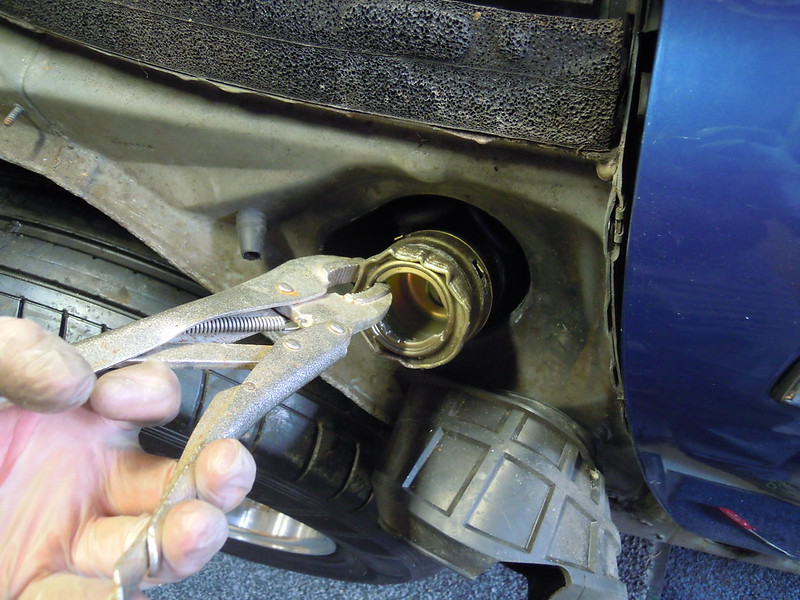
I was looking through your photos and noticed you have used sealant on the fuel filler. I hope this doesn't react like SikaFlex when in contact with petrol. Sikaflex partly dissolves and turns into runny slime and blocks up everything in the fuel system. I found out the hard way on my Robin Hood 7 many years ago. Had to replace the fuel lines , flush out the tank and rebuild the carb , nightmare !
Please check with the sealant manufacturer before its too late!
For me the tech specs don't really tell me much other than its probably alright...any other views?
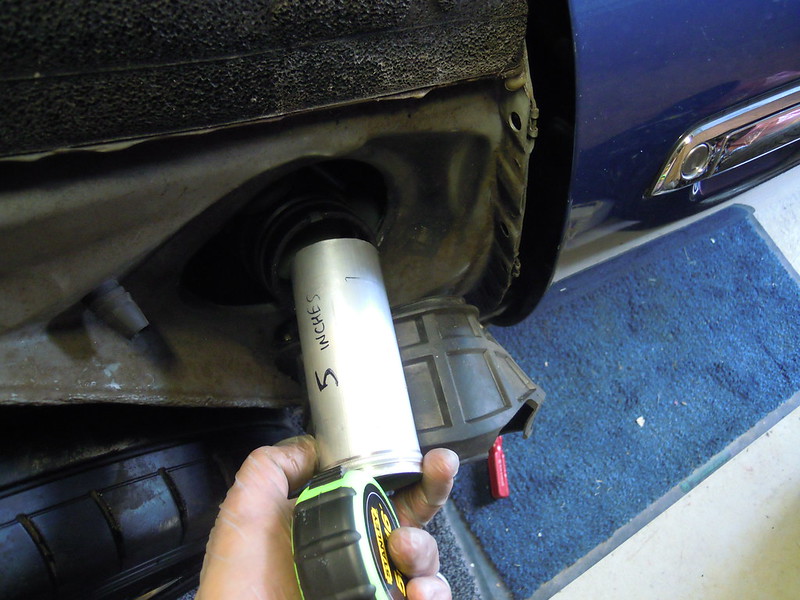
Looks like this isn't good enough for areas that touch fuel, however as the aluminum pipe is a push fit and the sealant is around the outside edges, the amount of liquid petrol that touch it will be absolutely minimal if any at all, also the tight fit of the pipe wont allow it to go into the tank either, so looks like it should be ok all things considered, I am sad to hear of the trouble you had, can you (Lucky@Lemans) confirm that the issue you had was where the petrol liquid came in contact with the PU18 or equivalent, or did you just use it to seal the pipes so no gas vapour came out like me.
Thanks to all of those following my build, I am trying to put as many pictures up as possible and use Flickr for this it says I have over 1000 photos loaded there. Heres the link again: https://www.flickr.com/photos/134265488@N05
Feel free to comment/ask questions etc. This is my first ever build so happy to hear all thoughts, etc.
For me the tech specs don't really tell me much other than its probably alright...any other views?
Looks like this isn't good enough for areas that touch fuel, however as the aluminum pipe is a push fit and the sealant is around the outside edges, the amount of liquid petrol that touch it will be absolutely minimal if any at all, also the tight fit of the pipe wont allow it to go into the tank either, so looks like it should be ok all things considered, I am sad to hear of the trouble you had, can you (Lucky@Lemans) confirm that the issue you had was where the petrol liquid came in contact with the PU18 or equivalent, or did you just use it to seal the pipes so no gas vapour came out like me.
Thanks.
On the robin Hood I had to make a seal between the filler neck ( plastic tube) and the rough edge of the stainless fuel tank. I was quite generous when applying the Sikaflex to make a bead about 1/2" thick around the joint. On that tank there were no baffles so the petrol could slop around . I could only assume that is when petrol would come into contact with it. I replaced the Sikaflex with a proper fuel resistant doughnut type O ring seal in the end.


 it might be a good reason to invest in some spring compression tools....