MadaboutKitcars

This is a read-only archive of the old Madabout Kitcars forum. New posts and replies are no longer possible, but every thread is still here to browse and read.

1st kit car Fiorano

4 Sep 2015, 7:27pm
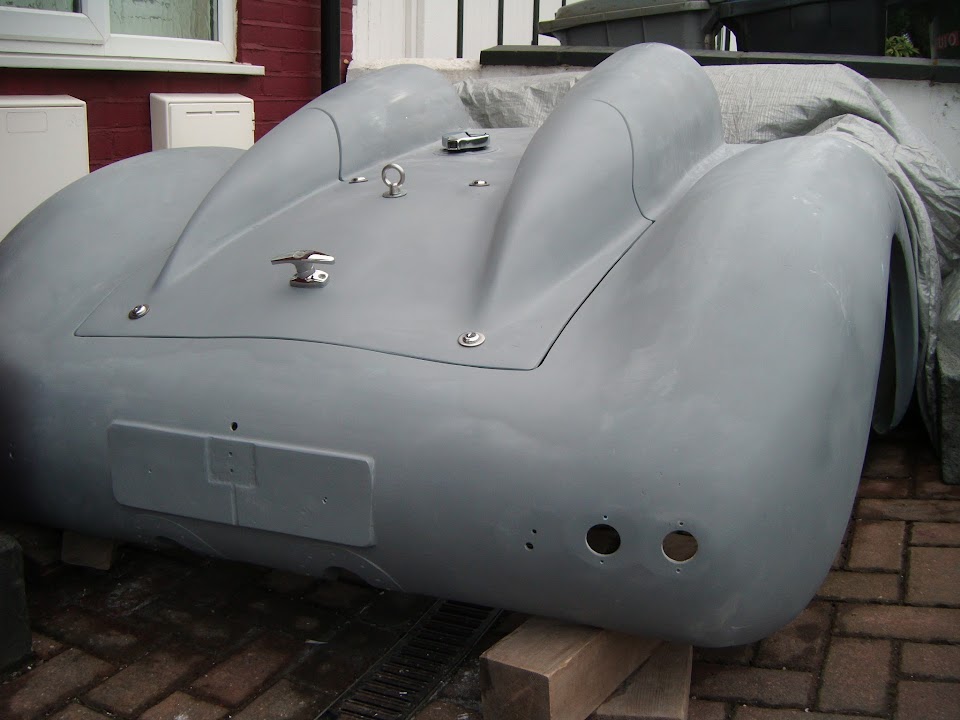
Stop the hump with a vertical edge like the wheel arch light bump and put a high level 3rd brake light on. 2 reasons 1 people are so used to seeing 3 lights they seem to forget to see just 2 and secondly it will twist peoples minds when trying to work out what the car is and if its original old or a replica. With a flip down pad the bump could be good quick storage or a home for a tonneu cover. I like the mesh too.
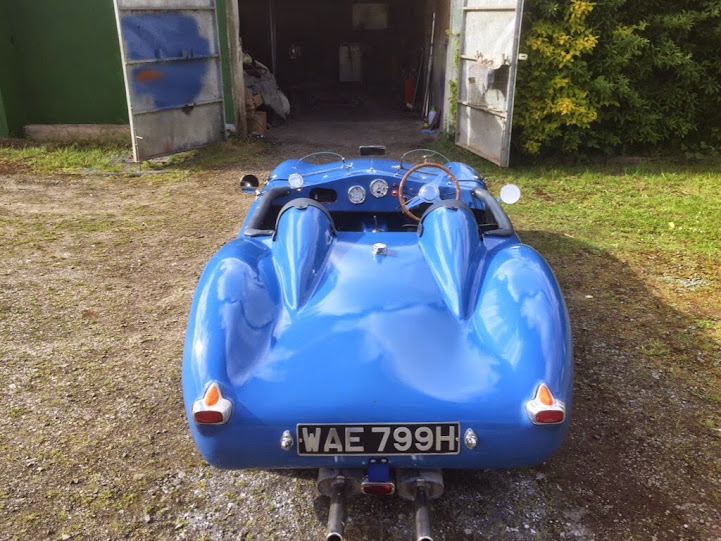
4 Sep 2015, 9:53pm
Cool - glad you guys think it looks ok,
I'm thinking of attaching it to the bottled so that I could swap the lid for a regular one if needed
5 Sep 2015, 4:43pm
Car Photographer - I think a slightly smaller hump might work better, stopping short of the end of the boot lid.

I think that would show off the rear curves of the body shell better, a bit like Mac's Navigator/Cordite MkII.


I have longer aero humps on my Cordite MkI.


Notes:
- I absolutely love the way my boot lid cuts through the humps. :cool:
- But it was, without doubt, one of the hardest jobs I've done on my build. :icon_sad:

If you didn't want to have two boot lids (one with a hump and one without), I'd be tempted to hinge the front of the hump.

That way it could be flipped up out of the way when required.

This 2CV Sammio extended that idea a little further and the whole boot lid hinges up too.


Actually, that idea might have been stolen from this design.


Although I could only find a photo of a toy car with the boot open. :rolleyes:


Good luck with whatever option you choice, Paul. :)
5 Sep 2015, 11:53pm
Impressive bit of sculpting Paul!
Unfortunately I don't think my skills will stretch to going that far though ( unless someone wants to give me a hand) ;)
11 Sep 2015, 12:15am
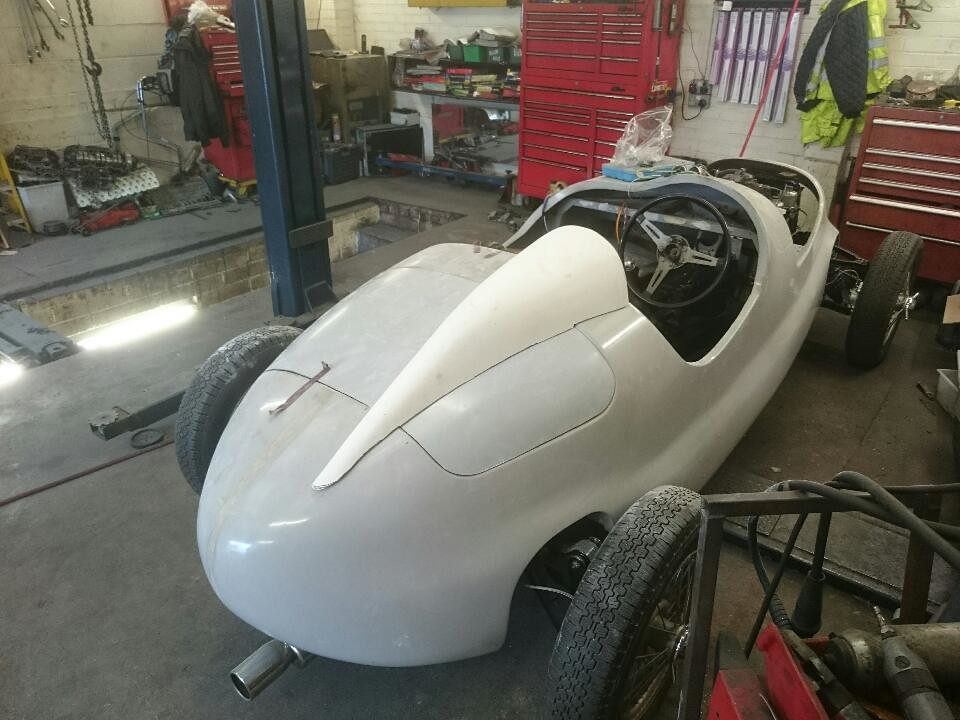
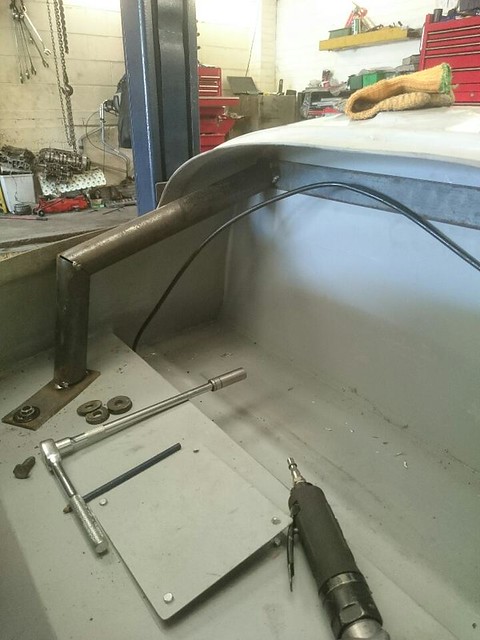
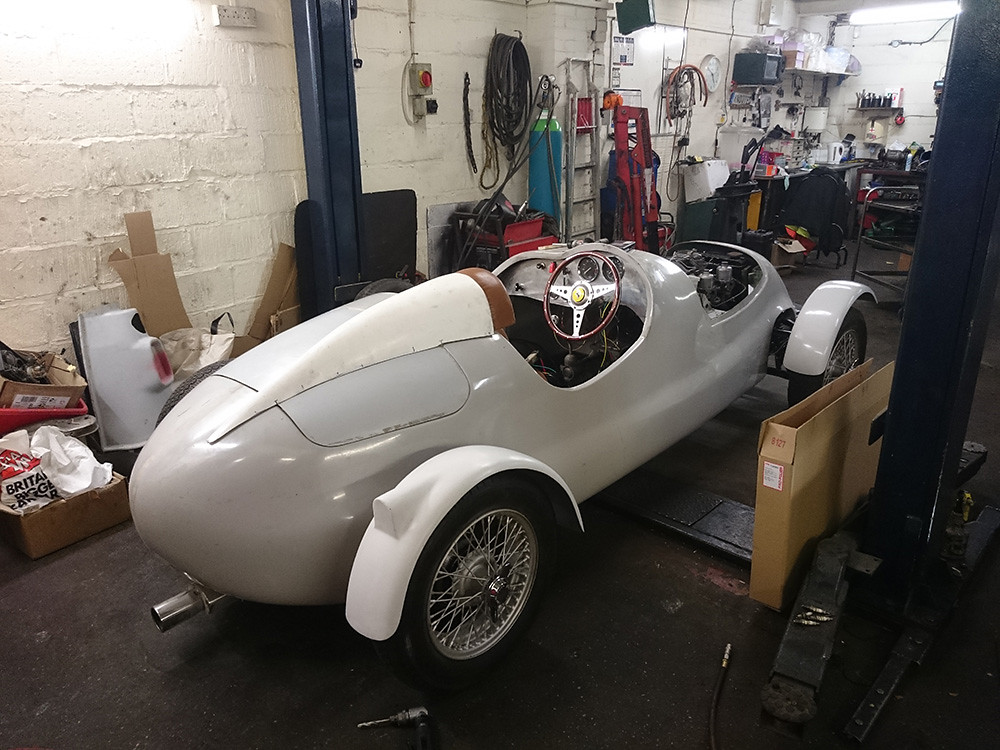
More updates - been cutting into the fiberglass hump to get the shape right -
11 Sep 2015, 12:16am
[IMG]<a data-flickr-embed="true" href="https://www.flickr.com/photos/22569142@N06/20685579324/in/album-72157656127930223/" title="DSC_0720"><img src="https://farm1.staticflickr.com/657/20685579324_42dd7ebe3b_b.jpg" width="960" height="720" alt="DSC_0720"></a><script async src="//embedr.flickr.com/assets/client-code.js" charset="utf-8"></script>[/IMG]
11 Sep 2015, 12:20am
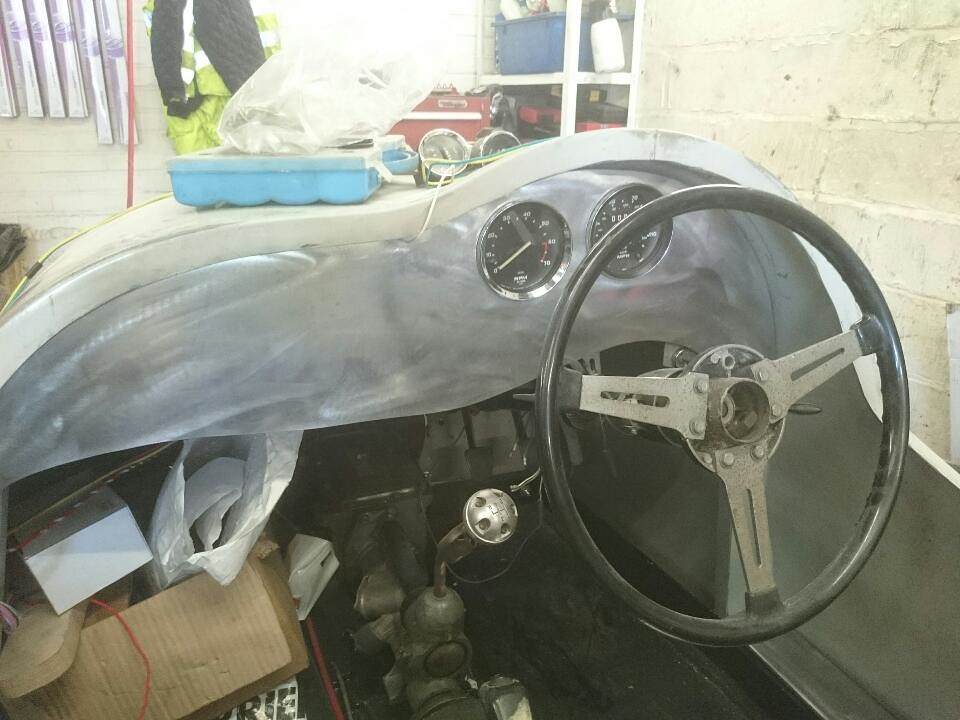
then got my laser cut aluminium dashboard back today too - still needs some more holes cutting but looks ok DSC_0722 by paul ward, on Flickr
17 Oct 2015, 11:52am
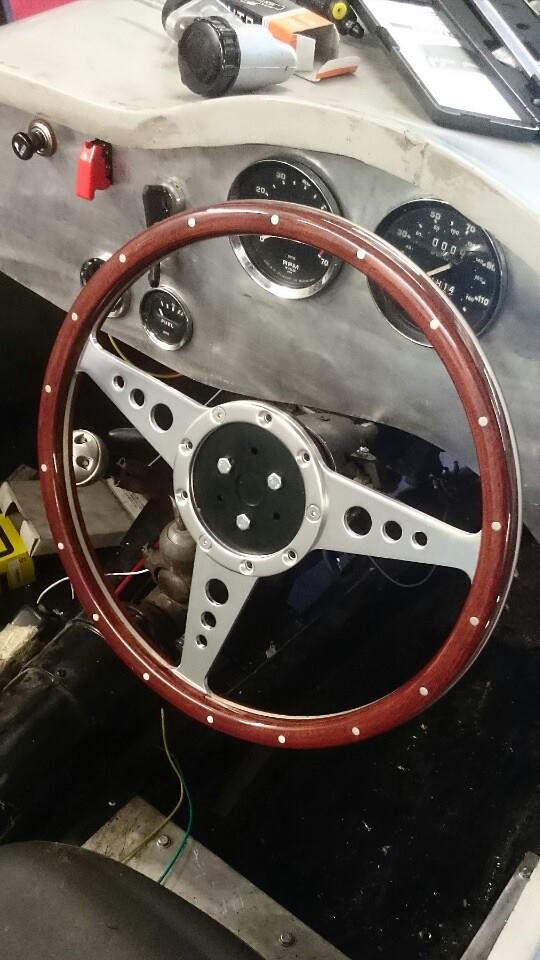
So, now got the petrol tank in, and seatbelts mounted, also got myself a quick release steering wheel for ease of access.

Currently trying to work out seats to fit - bought some from Europa spares, but it now looks like I'll have to make a custom set :(

anyone want to buy some apollo style bucket seats??
3 Nov 2015, 7:16pm
steering wheel sorted

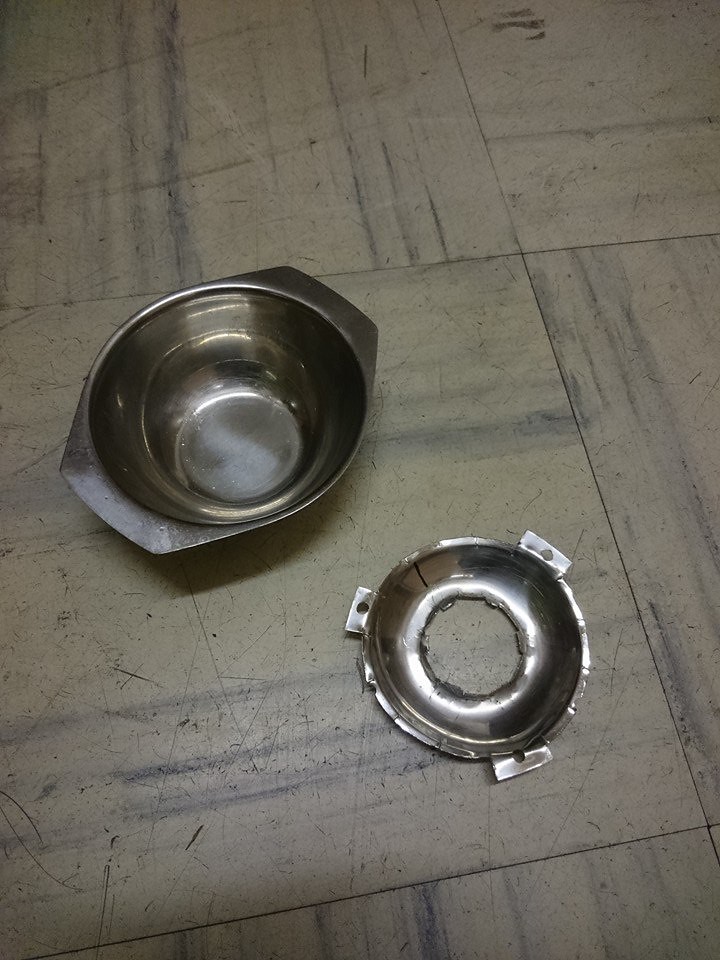
So a few things have been happening this week - firstly I got my quick release steering wheel fitted and then used an old balti dish to make a billet to fit the badge into :)
so here's the wheel without the insert -
steering wheel 1 by paul ward, on Flickr

then I hack up the balti dish -
steering-wheel-2 by paul ward, on Flickr
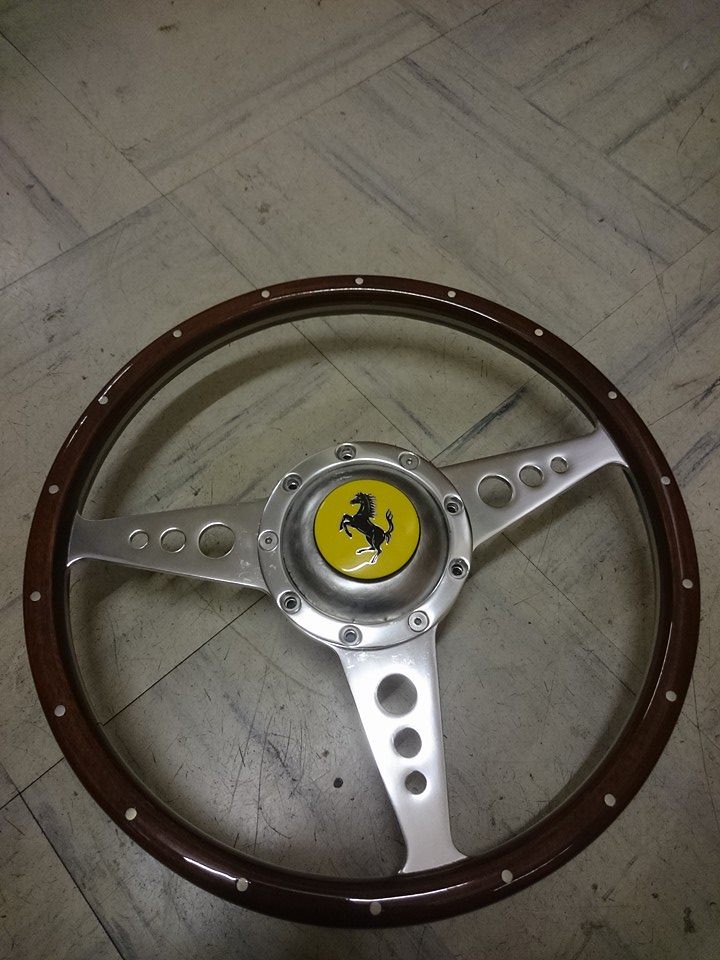
then - hey presto - vintage Ferrari steering wheel ;)
steering wheel 3 by paul ward, on Flickr
3 Nov 2015, 7:23pm
seats

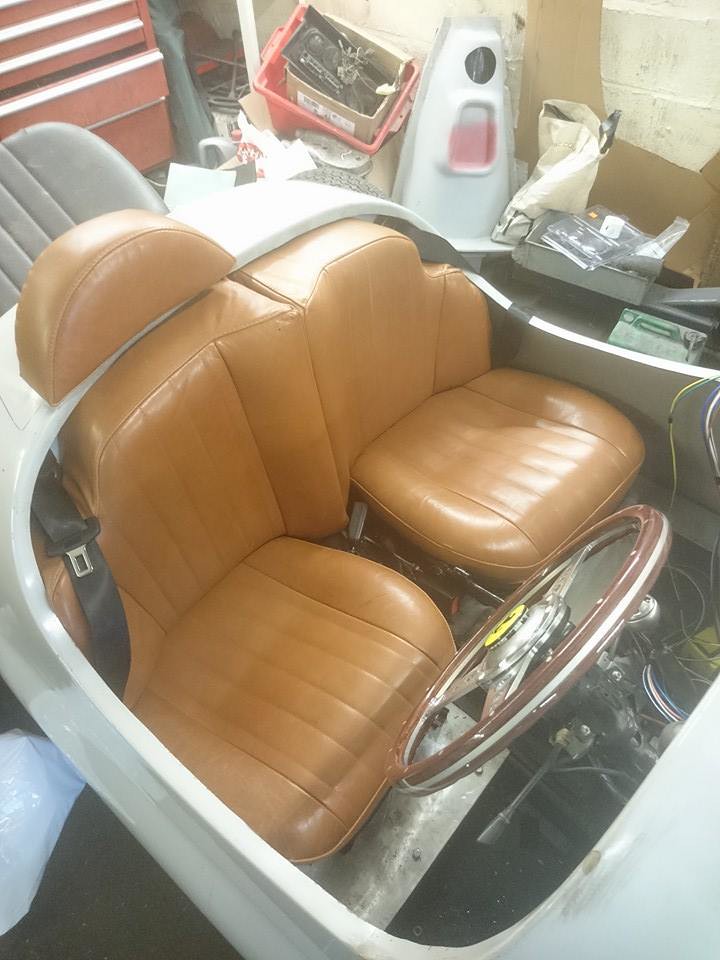
So today I finally got my seats sorted out - after the fiasco of my old spitfire seats not really fitting, and then forking out for the Apollo seats from Europa spares (who were very gracious and gave me a refund) - I finally decided to design my own to fit the space - So I made the templates and then got a company called 'Inta Trim' near Telford to make them up for me. - not cheap, but I think they look great considering the circumstances. :)
seats1 by paul ward, on Flickr
unfortunatly as I couldn't get the car there he had to match the base and back without knowing that in the cockpit the bases are slightly offcentre - so they don't match up perfectly, but I think they look pretty cool.
4 Nov 2015, 6:49pm
Not sure if it is just me, but I can not see the photos in the last two posts. :icon_sad:
4 Nov 2015, 7:56pm
Paul L wrote:
Not sure if it is just me, but I can not see the photos in the last two posts. :icon_sad:


me neither......
4 Nov 2015, 9:26pm
Drat - I could see them fine when I posted them :(
6 Nov 2015, 8:07am
Great use of a balti dish for the steering wheel. :cool:

My donor Spitfire came with a pair of brand new leather seat covers in a similar colour to yours.
( I was gutted when I found out they wouldn't fit. )

If you want to draw the eye away from the off set seats, I'd suggest a matching leather "in fill" panel between the seat bases.
( With cut outs for the seat belt straps & handbrake. )

You would then be left with something that looked like a bench seat across both the top & bottom.

Just a thought, Paul. :)
6 Nov 2015, 10:03am
Yeah good idea - I was thinking something like that might work :)
30 Nov 2015, 1:58am
Yeah, I actually went to have a look at it to see what it was like - I think he's definitely overcharging for it - the paint has cracks and a couple of worn areas on it and the rear wing is not fitted very straight.
And it really put me off painting mine rosso corsa red! ;)
12 Feb 2016, 4:10am
How is the build coming on? Any updates?