MadaboutKitcars

This is a read-only archive of the old Madabout Kitcars forum. New posts and replies are no longer possible, but every thread is still here to browse and read.

Dino 206P

16 Mar 2014, 12:27am
that last one is the Pininfarina 206 show car not the Drogo one
16 Mar 2014, 10:23am
rossnzwpi wrote:
Hey Axel, don't know if you have this blueprint - its 4 pounds from:

http://www.autosports-gallery.co.uk/blue-prints/ferrari-206s-dino-sport-le-mans-1966.html

I'll try and attach an image

cheers
Ross in NZ


Woow, Ross
I was looking for a technical drawing like this one for weeks and did not find any, I gotta buy this one! It is A3, big enough to get all the measurements I need!
Since now I was only working with photos!
Thanks very much Ross!
19 Mar 2014, 11:43am
rossnzwpi wrote:
Hi, there is also this expensive and rare French book on the Dino 206S. It has drawings - in fact I think the inside of the cover is made of blueprints.

http://www.amazon.com/Ferrari-Dino-206-Berlinetta-Spider/dp/3905268108/ref=sr_1_1?s=books&ie=UTF8&qid=1395074436&sr=1-1&keywords=ferrari+dino+206s


Under the ISBN number ending ...108 this book is also on amazon.de, but without a price or a way of ordering. It appears also on amazon.fr, again without a price, but there is a button to click on to receive an email when it comes back into stock.
19 Mar 2014, 5:15pm
Yeah, the book seems to be sold out, but thanks anyway!
27 Mar 2014, 8:28am
Some updates:

I finished the bonnet and put it on the car again, and this really looks like a step forward:


27 Mar 2014, 8:32am
Then I started working at the lower rear panel with the 29 slots, I wheeled two pieces of sheet metal to threedimensional curvature and welded them together, and started to cut out the slots...what a pain in the a...!


but at the end I felt it was worth the work:


I was afraid that the panel will loose its stiffness with cutting that many slots in it, but amazingly it remained stiff, I guess due to the threedimensional curvature I gave it before!

.
27 Mar 2014, 8:36am
After that I was working at the panels for the taillights:

I cut two pieces of wood with identical circular holes in them, and put the metal between them like a sandwich.
And than I was hammering by hand inside the circular top hole to give the metal a deflection for the integration of taillights and I was surprised it was really working out!


looks good outside:

27 Mar 2014, 8:40am
The last thing I did was the panels around the taillight panel, and this is really a step forward...with the almost finished metalwork of the bonnet and tail I feel like I have done the most difficult and significant parts of the Dino:


27 Mar 2014, 11:22am
Hi Axel, how did you get the slots that neat?
27 Mar 2014, 11:51am
garyh wrote:
Hi Axel, how did you get the slots that neat?


Hi Gary, with an angle grinder, a very thin disc for cutting (1mm thick, for stainless steel), a thick disc for rounding off and a lot of patience ;-)
29 Mar 2014, 11:44pm
Alex - You car is a great reflection of the huge amount of effort you are putting into building it. :cool:

Good luck, Paul. :)
30 Mar 2014, 6:04am
Just amazing how refined those slots make the whole thing look!
30 Mar 2014, 7:16pm
Thanks for the kind words, guys!
5 May 2014, 12:15pm
Some updates...
now come the bigger panels with moving further to the front :-)
Found out that the bigger panels are more fun, it is just the question how much you dome them!
It takes a long time to do the small ones because of my lack of experience, they all had reverse curvature...I need to do some courses...well, it is the first time I am doing this...


.
5 May 2014, 3:23pm
Looking good Axel, will this body come apart in sections? What do you do to the inside of panels to make it rigid?
5 May 2014, 6:45pm
Thanks Gary
I will keep fragments of the fiberglassbody as a supporting structure, it worked fine with the bonnet and will hopefully work with the body as well...
6 May 2014, 7:45am
So,do you bond the li to the fibreglass?
6 May 2014, 9:07am
Yes, I use Sikaflex, a very strong glue for automotive purpose, and the metal body is also partially screwed to the fiberglass substructure!
7 May 2014, 6:26am
Axel wrote:
... it is the first time I am doing this ...

Axel - The panels you are making are stunning. :cool:

But the fact you've never done this sort of work before is really amazing.

Good luck, Paul. :)
24 Jul 2014, 11:57am
Whats happening Axel, on holiday?
25 Jul 2014, 6:28am
Hi Gary, thanks for asking, my time is more for gardenwork now and my 8 months old son of course, such a cute little boy who makes me happy every day.
But I have some updates:
I managed to do the rear fenders and I was playing around with the airintakes, and I am still not happy with their shape, but I am getting to it.
Here are some pics:


[URL=http://s28.photobucket.com/user/axelkloehn/media/IMG_4453_zps2b0d159c.jpg.html]
[/URL]


I still have a little bump in the red circle, it needs some shrinking in that area to fix it, and then I need to transfer it to the left side. The intake was to big at my first attempt, and it did touch the cutline of the door, I made it smaller now and its getting better, but judge yourself!
25 Jul 2014, 8:05am
Great work Axel, when your shaping those rear wings do you change the size of the anvil or have you just used the same one?
I can see the scoops take a lot of work, what bit are you not happy with/ is the return lip.
25 Jul 2014, 9:34am
garyh wrote:
Great work Axel, when your shaping those rear wings do you change the size of the anvil or have you just used the same one?
I can see the scoops take a lot of work, what bit are you not happy with/ is the return lip.


Thanks Gary, the wings were done with the english wheel, no hammering at all. I used the anvil with the most curvature at the beginning, and smoothed it out with lower anvils and used the most straight one at the end. I added the most curvature at the cutout for the wheel, the cutout was smaller at the beginning, and I cut it to tire size at the end after the most wheeling was done with the EW. Then I used the shrinker to bend it more in over the wheel, and smoothed it with the EW again. This process I did several times.
The upper flange was done with the shrinker/stretcher, and wheeled afterwards to smooth it.
Yes, the return lip was a pain in the a....still not smooth enough, the double curvature of the panel at all turned out pretty nice in fact...after some panels went in the bin ;-)
21 Aug 2014, 6:38am
Ok, wife and kid are on vacation til tomorrow, so I had some time to continue with my car.
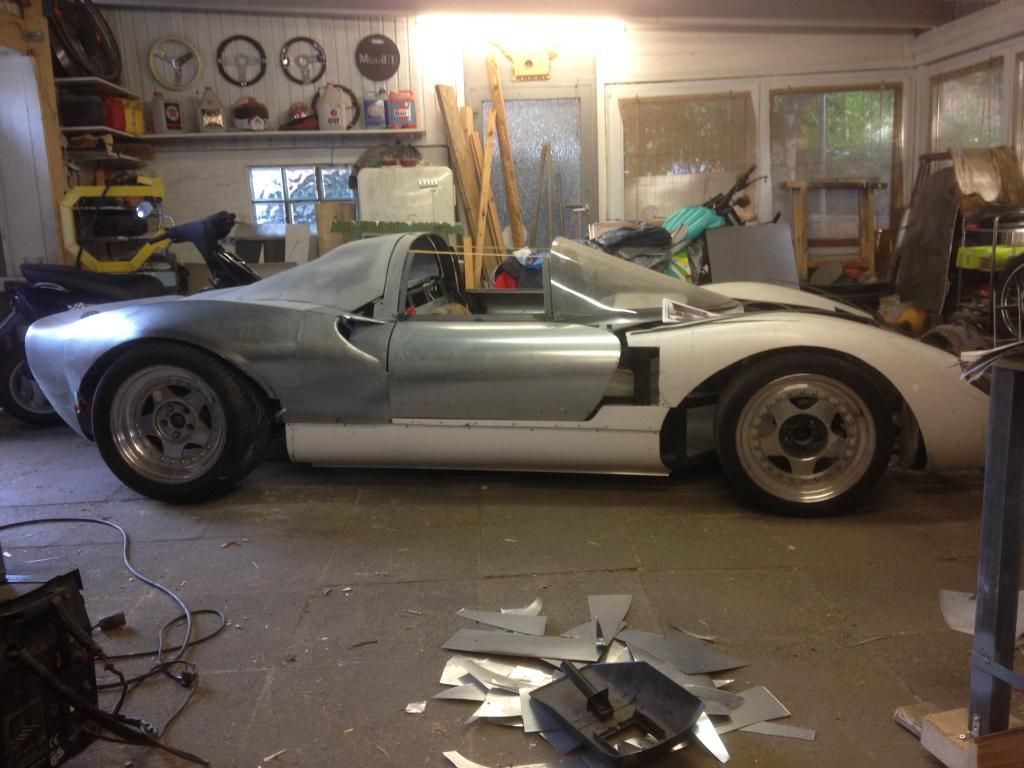
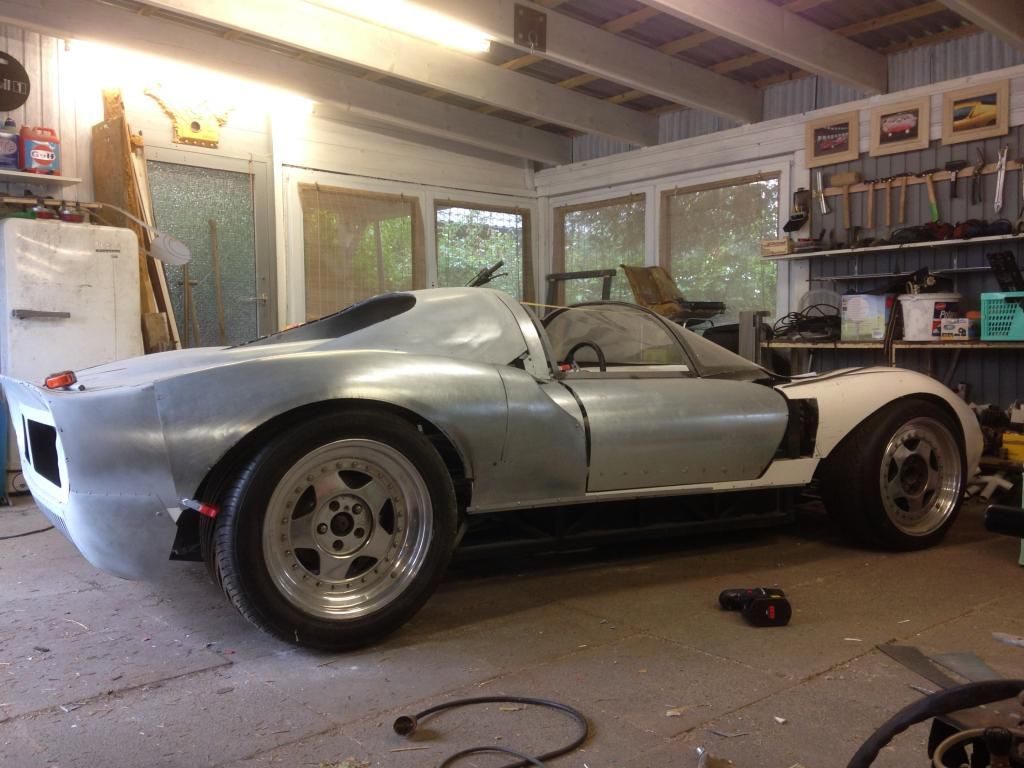
(You might notice I changed the airintakes panel again)

I removed the plastic sills first


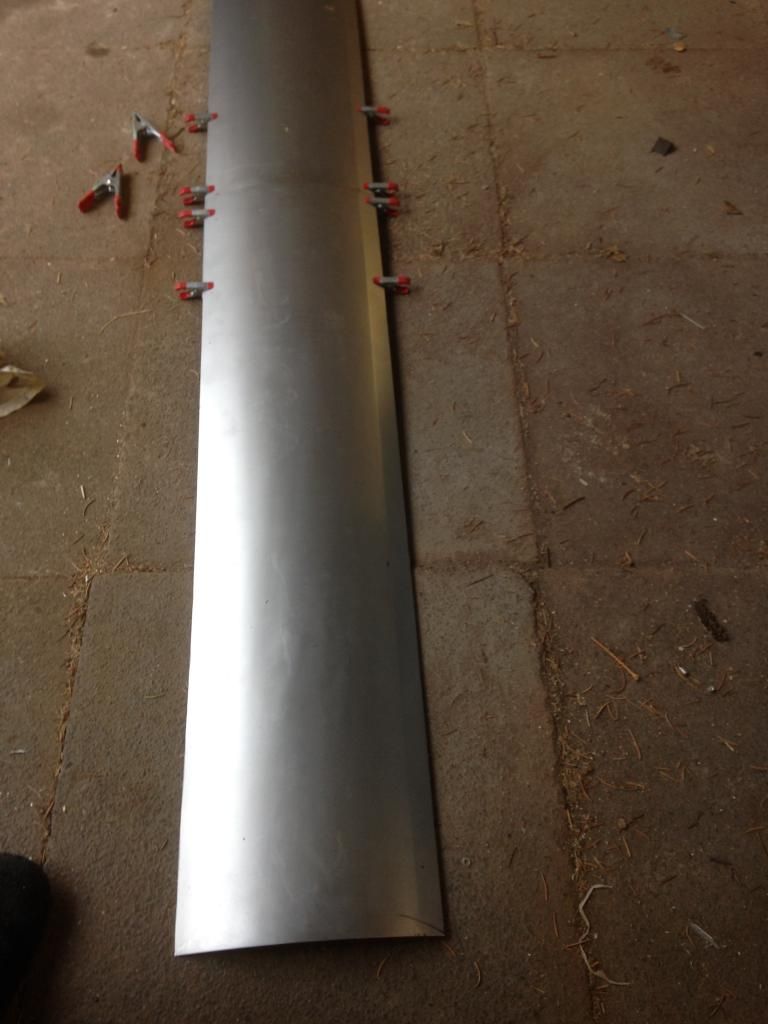
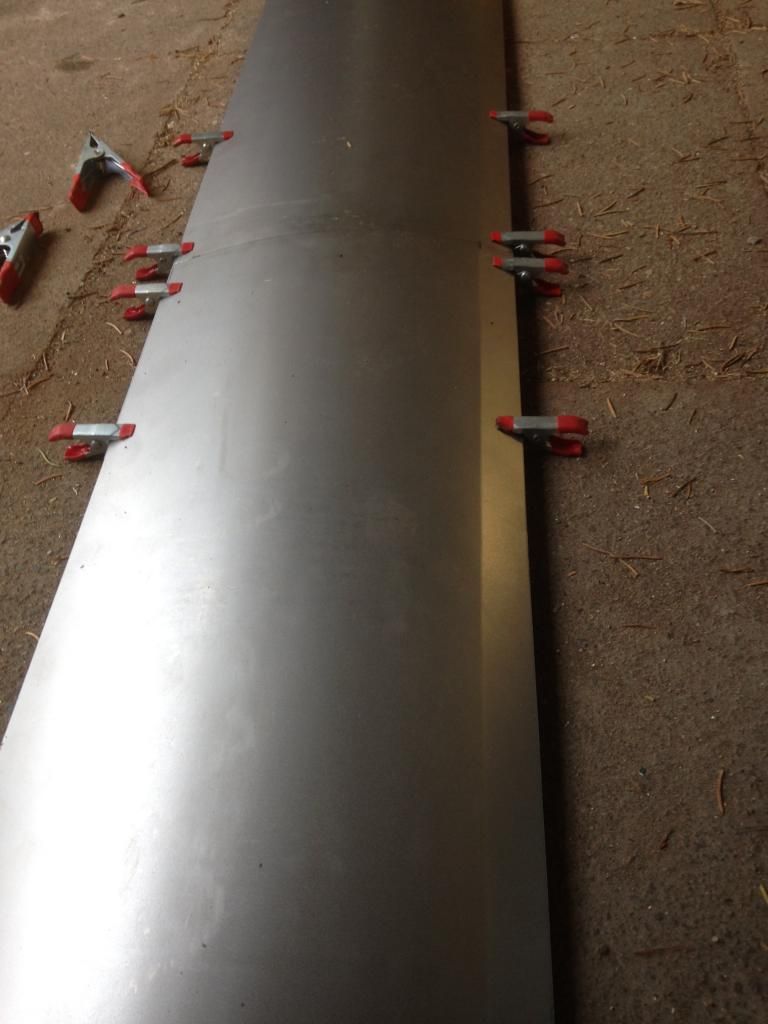
the Dino sills have a 25mm flange, so I took some sheet metal, fixed a 25mm flat bar under the sheet, and rolled it with a soft upper with my EW, result is a pretty nice flange.
The sills are made in two pieces and welded together to get the needed length and the radius is rolled with a soft upper.


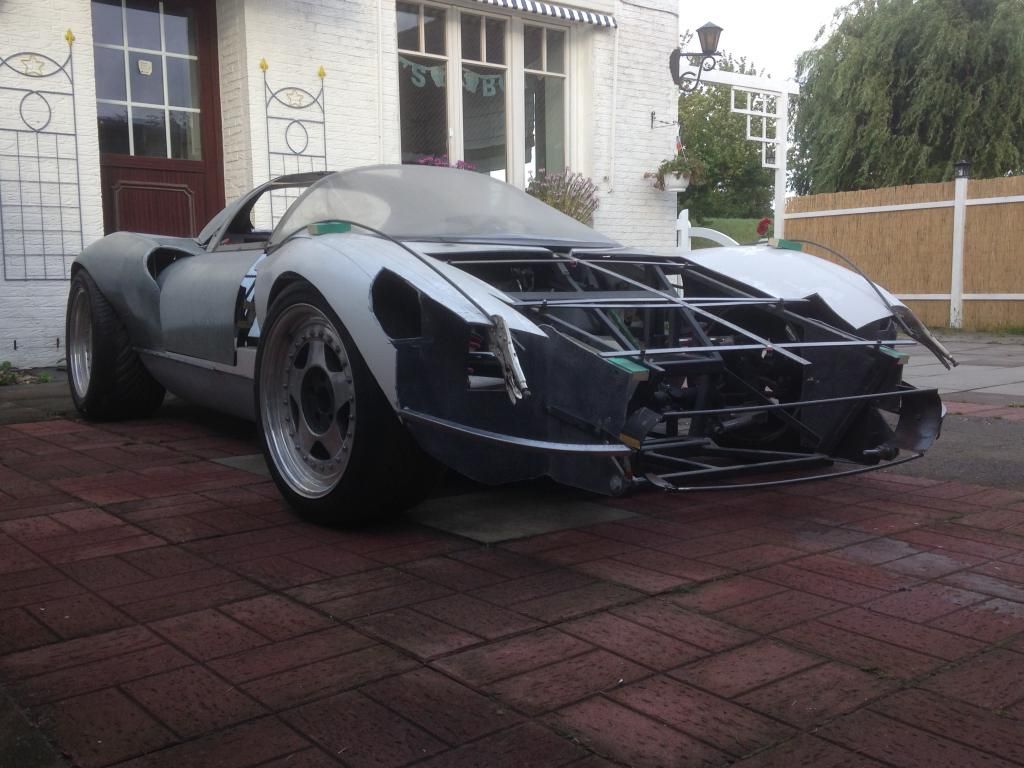
Then I started the front end with a metal "subframe". It was pretty difficult to find the right proportions, but it is getting closer and closer.
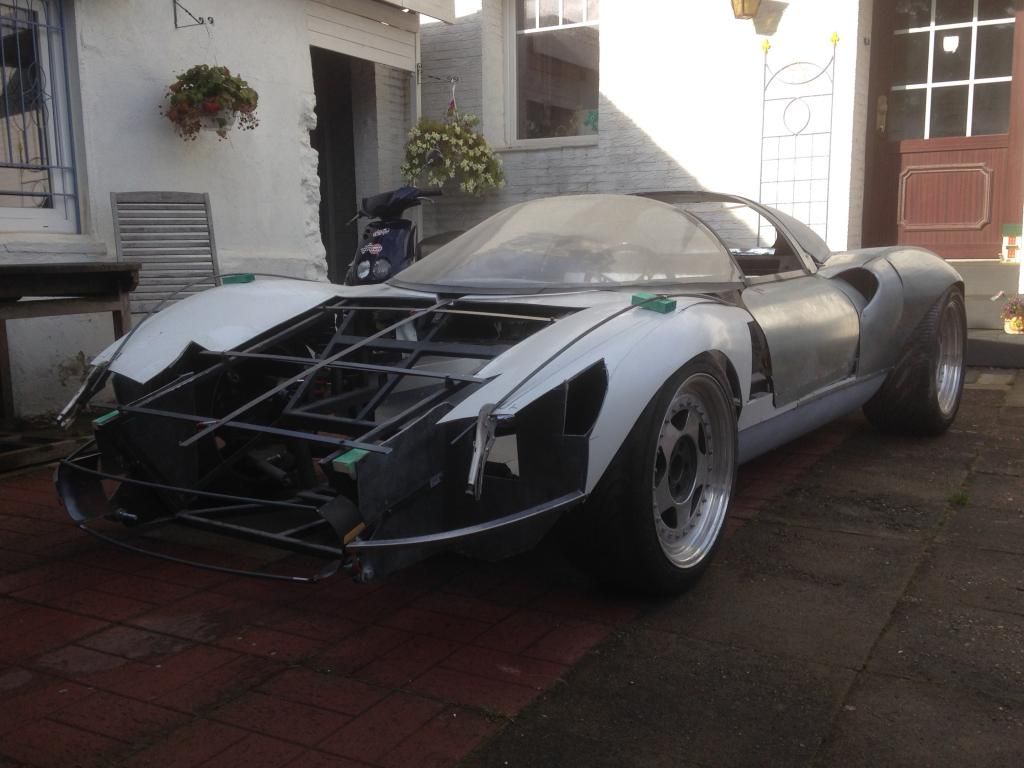
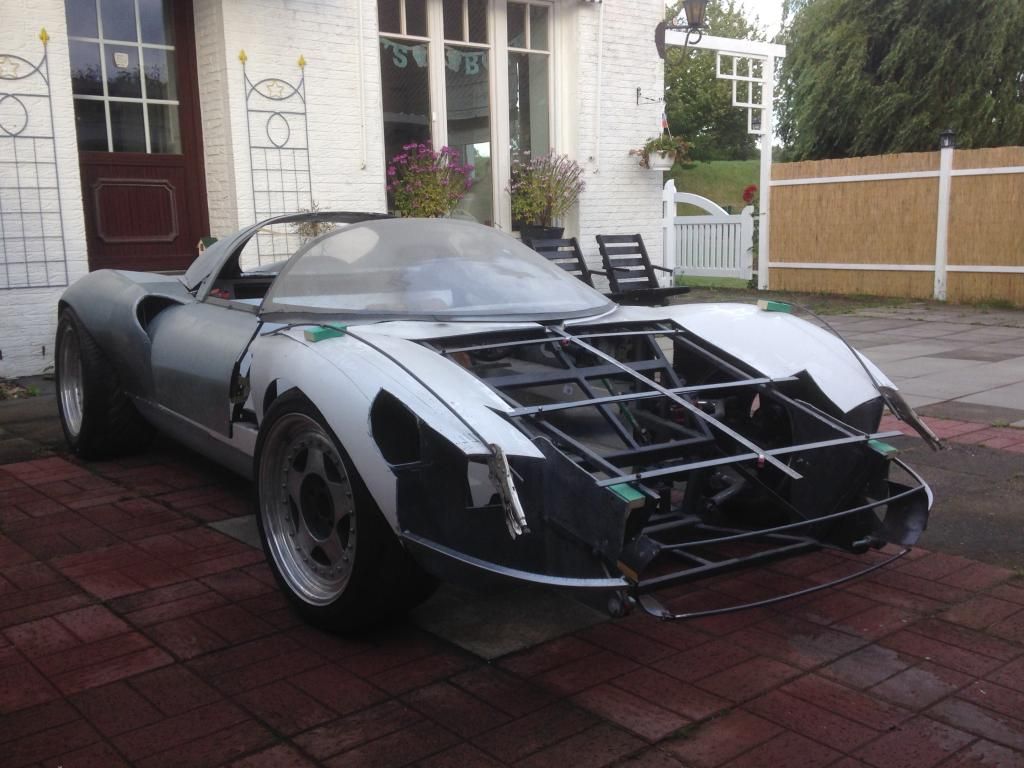
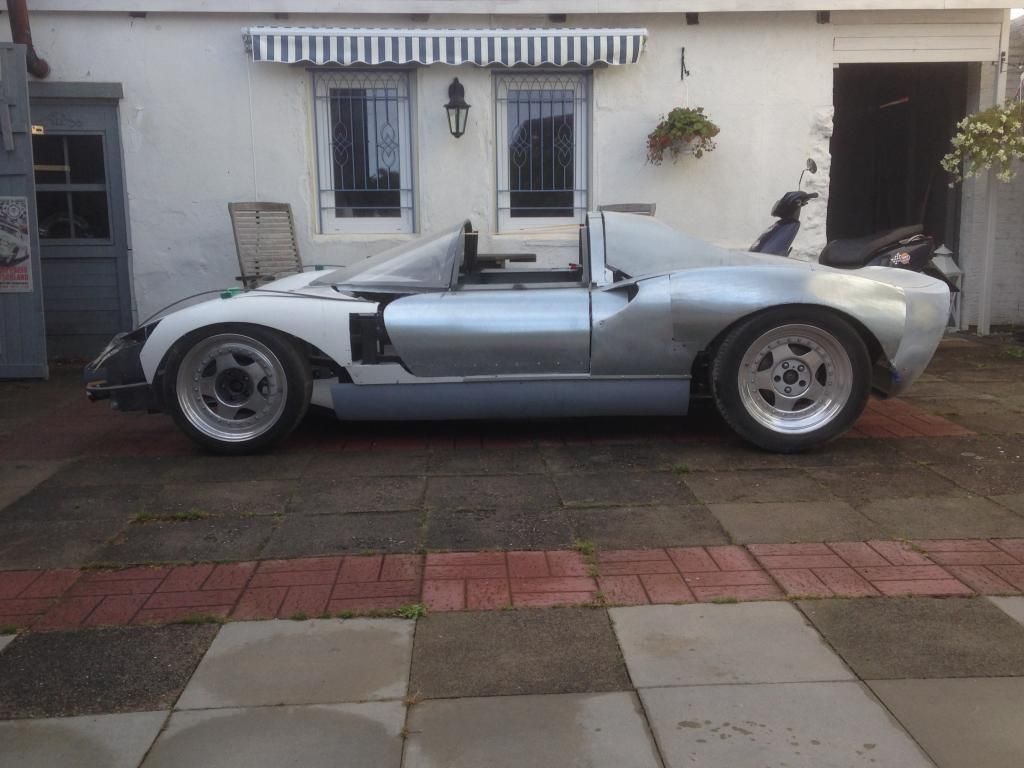


Because I don't have any measurements of the original car I had to do photo comparisons with photoshop...pretty helpful:
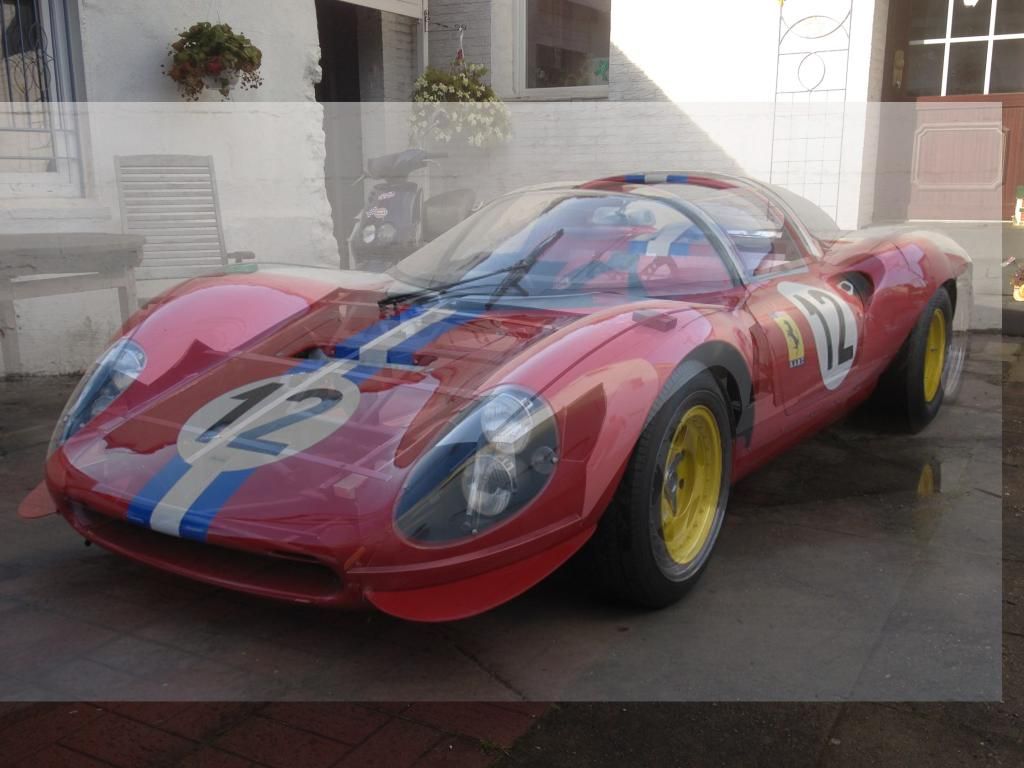
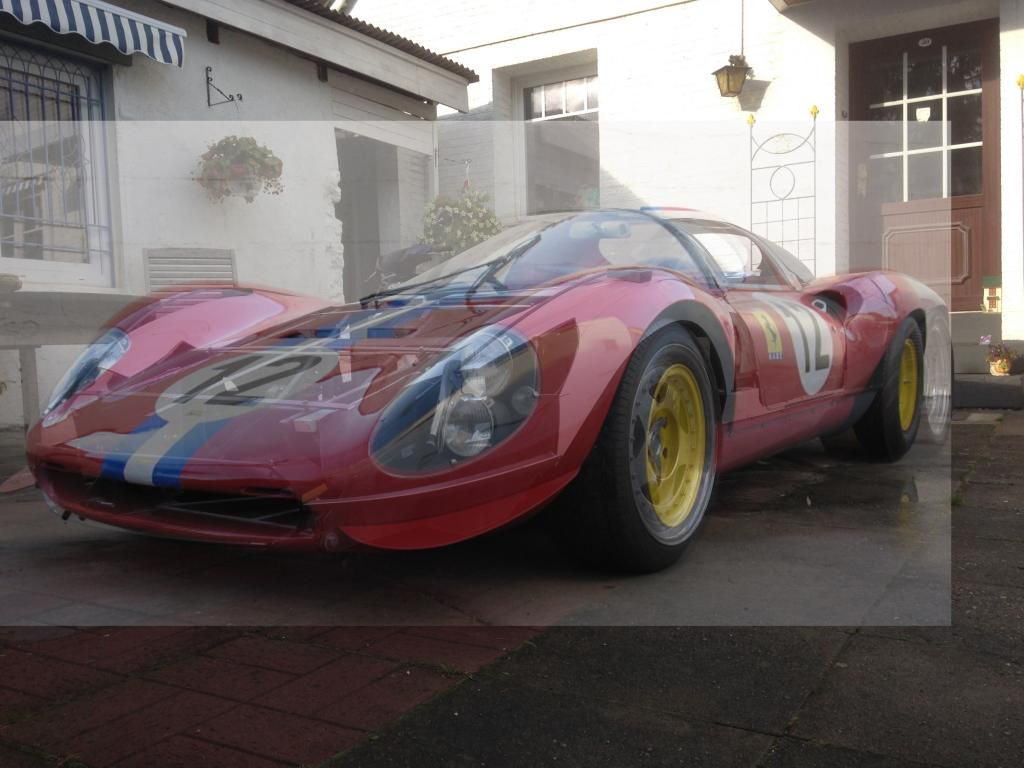
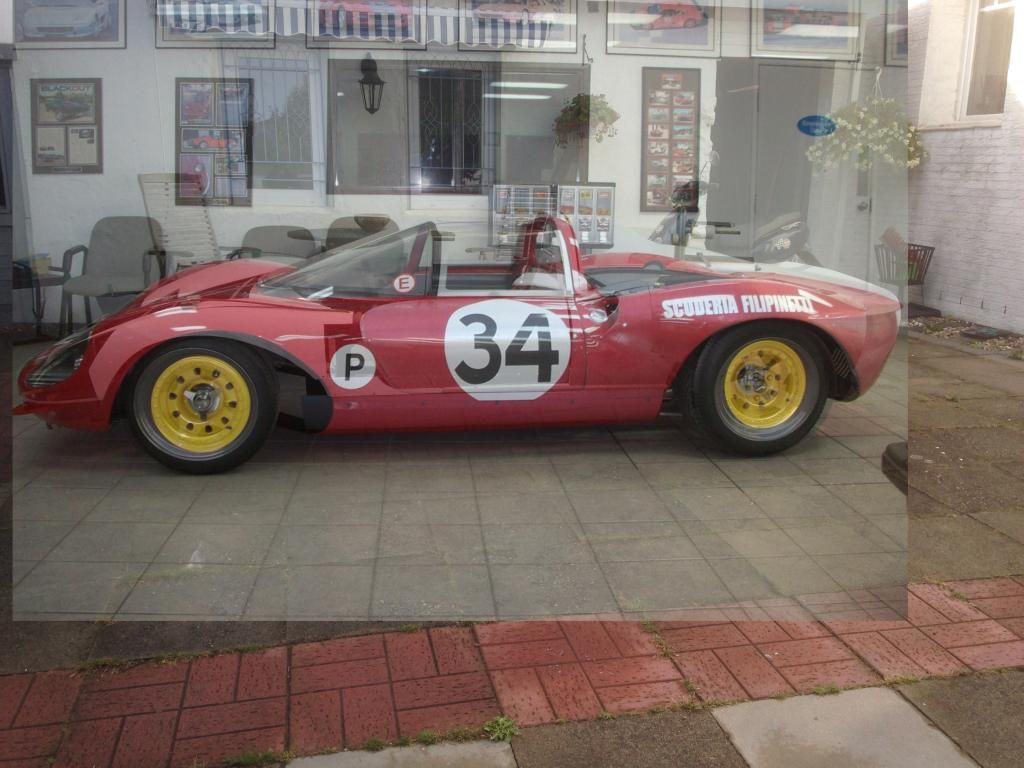
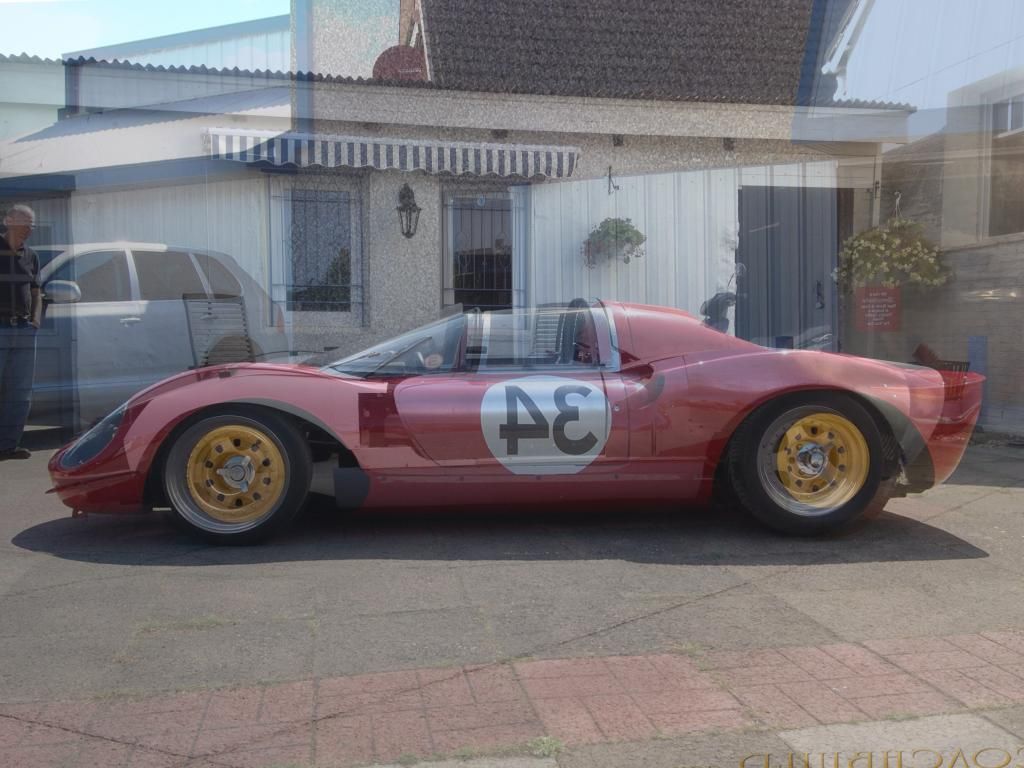


You can see it is getting pretty close. Unfortunately I have to modify the spaceframe at the upper front, it is too high, but I did it yesterday evening.

I would like to weld a 40mm half circle tube around the front airintake, but I have no bead roller, so I took a tube from an old party tent, cut it quickly in half, and modified it with the shrinker, pretty good result!
I have to do it again with an exact cut, and I think I have a good base for the rounded front air intake (I am pretty sure it is done a different way, and you experts have many other ideas ;-)).

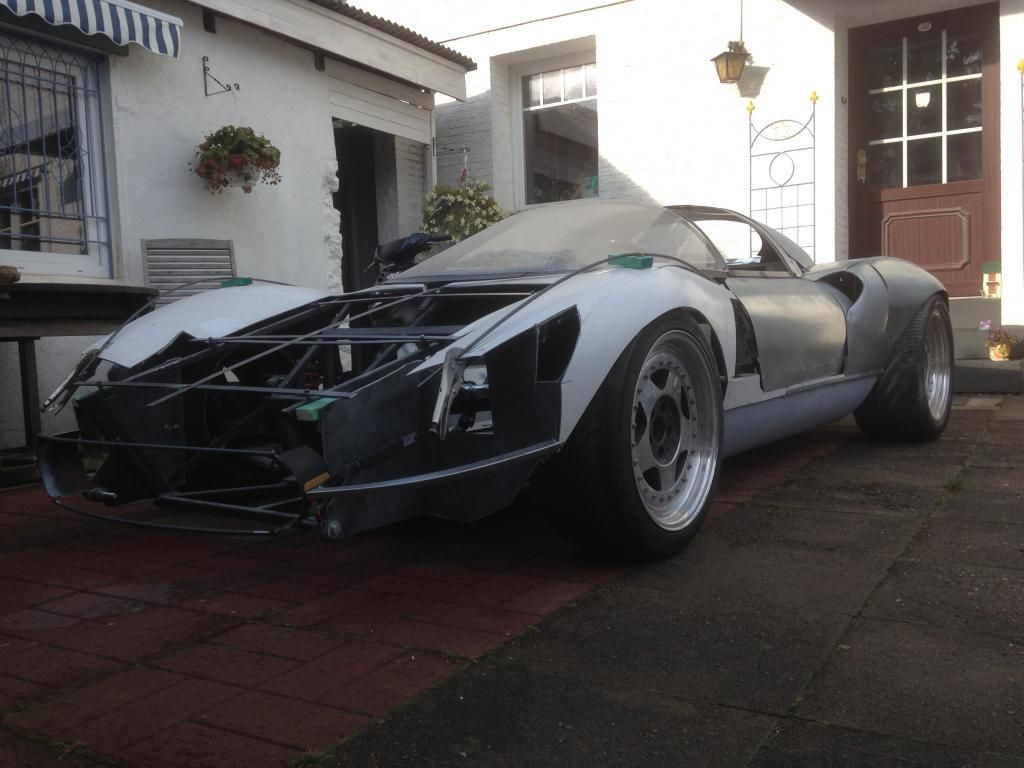
I really like this very low perspective:


...thanks for watching! Any comments or help is much appreciated!