This is a read-only archive of the old Madabout Kitcars forum. New posts and replies are no longer possible, but every thread is still here to browse and read.
The pre made stuff I either snipped bits off the window surrounds to make the small triangles that hold the vents in position, or I just made a bit on some flat plastic stuff.
For good GRP work use a consolodating roller for a better finish and avoiding a resin rich material. Either a paddle wheel or washer type roller.
If you want Chopped Strand Mat, there must be somewhere local to you. Just Google Fibreglass supplies. 2oz is a nice weight.
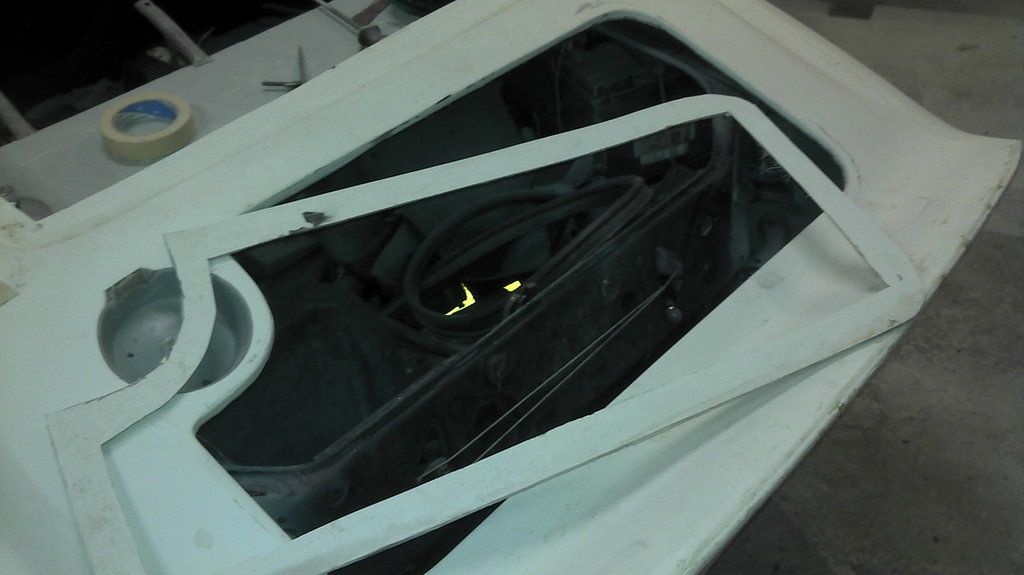
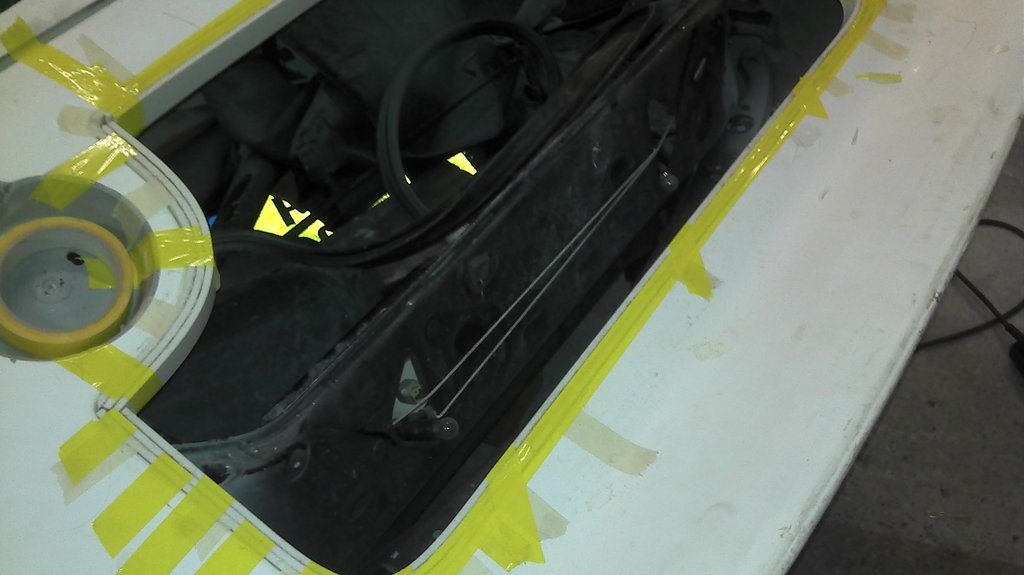
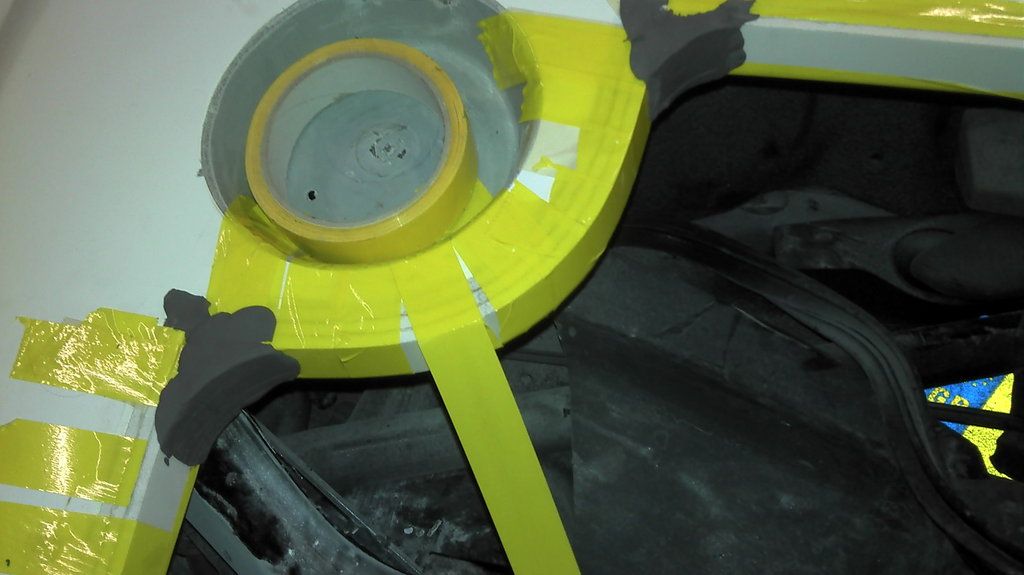
ah no, those are just bits of white plastic people use for 'For Sale' signs etc. The are just a temporary former. Gel goes on top, when its dried lay up the GRP. When its gone off they are removed to leave a smooth section of GRP.
Any thing thin and bendy can be used, eg perspex, Formica, even thin ply, but you have to cover that with brown parcel tape to stop the gel sticking to it.
No I don't do it for a living...I specialize in Wooden boat restoration and repair, but GRP was part of the course back in '86..........
There is a link to my site via my username if you are interested!
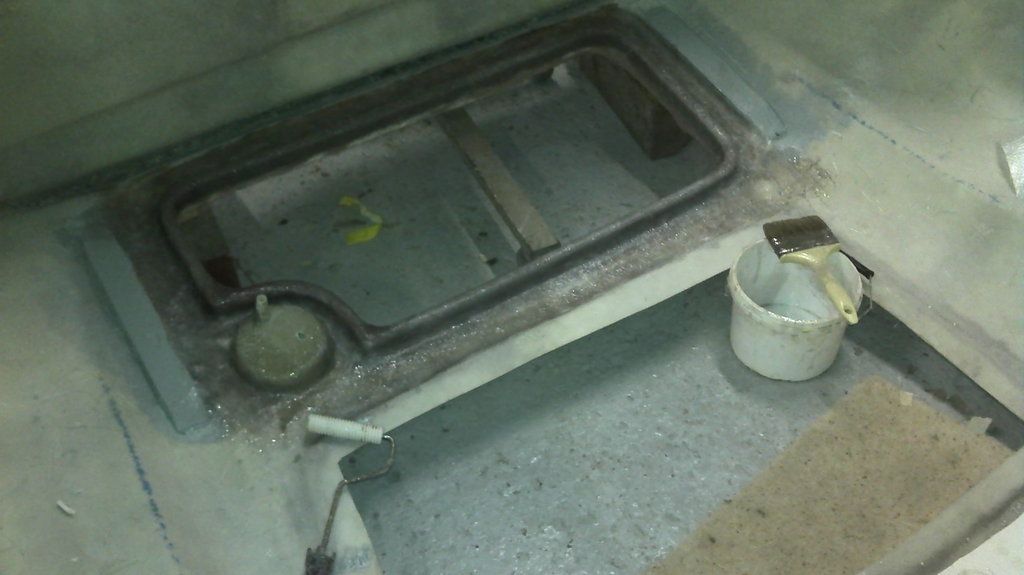
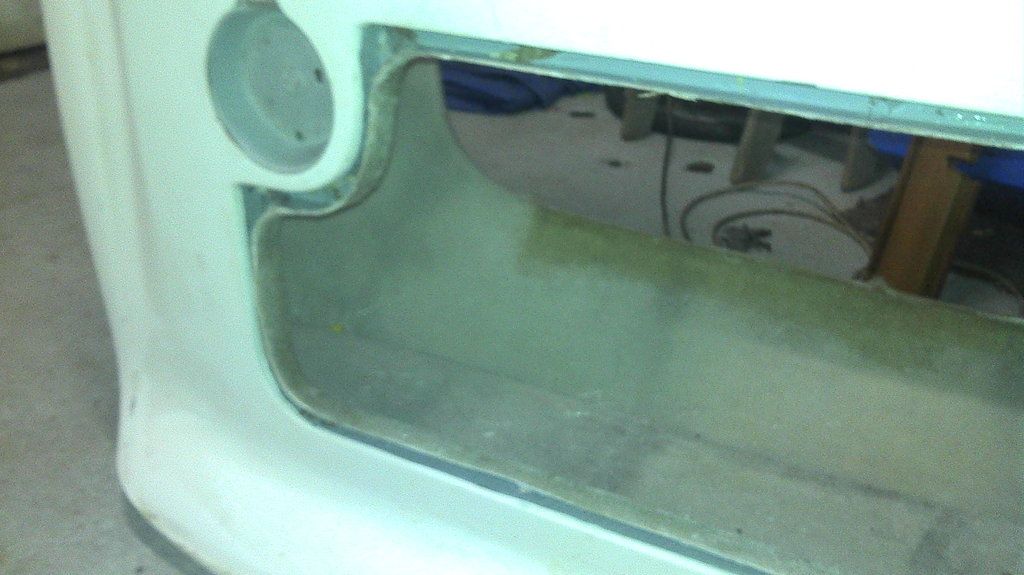
I've done a bit more this eve, hopefully making the former to mould the boot gutter around, so I can use the MX boot seal.
Pics coming via phone.......
Put a coat of gell on this morning, and another at lunch today. Glassed over the lot this eve. Only had time for two layers. Hope to put a couple more on tomorrow. Also glassed over the inside of the vents after a clean up.
[IMG][/IMG]
Oh xxxxxxxxx and xxxxx it!
The grp I did on fri eve still hasn't gone off. Silly me, I used a mixing pot and brush left overfrom epoxying a deck on a boat. Although I rinsed it well in acetone it has upset the polyester and its all still soft. I will havevto pull it off, clean it and start again!
A sort of Mr Toad moment !
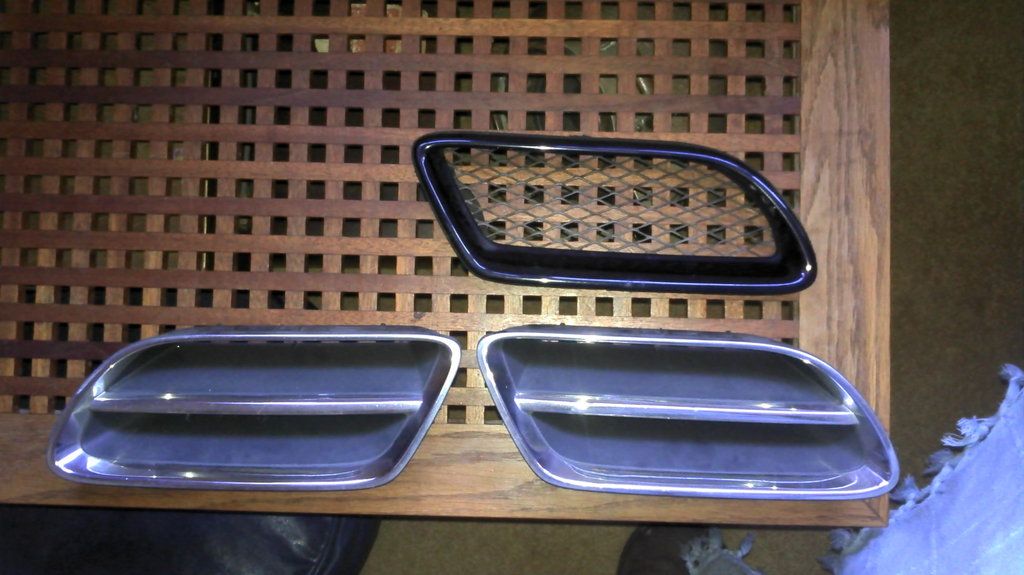
On a brighter note an afternoon trip to the local scrappy yielded a new 'baby', spotted by my 3 year old daughter, and two vents from a Nissan primera, plus one from another nussan. Which was just too good to leave. Both went home muddy, but happy.
Oh xxxxxxxxx and xxxxx it!
The grp I did on fri eve still hasn't gone off. Silly me, I used a mixing pot and brush left overfrom epoxying a deck on a boat. Although I rinsed it well in acetone it has upset the polyester and its all still soft. I will havevto pull it off, clean it and start again!
I hate it when that happens Did you forget the catalyst? It can happen to the best of us when you are in a hurry, if in doubt I put another lot in and work twice as fast!!!
I think it was a combo of epoxy contaminated brush and pot, and a bare minimum of cat. Nipped out after lunch and got it off. It was like plucking a chicken, and went on for ever. Loads of rag and acetone and its as good as its going to get. Re gelled and then came home. Kids now asleep, time to get down there and re-do it. Its put me ba ck three days .
I think it was a combo of epoxy contaminated brush and pot, and a bare minimum of cat. Nipped out after lunch and got it off. It was like plucking a chicken, and went on for ever. Loads of rag and acetone and its as good as its going to get. Re gelled and then came home. Kids now asleep, time to get down there and re-do it. Its put me ba ck three days .
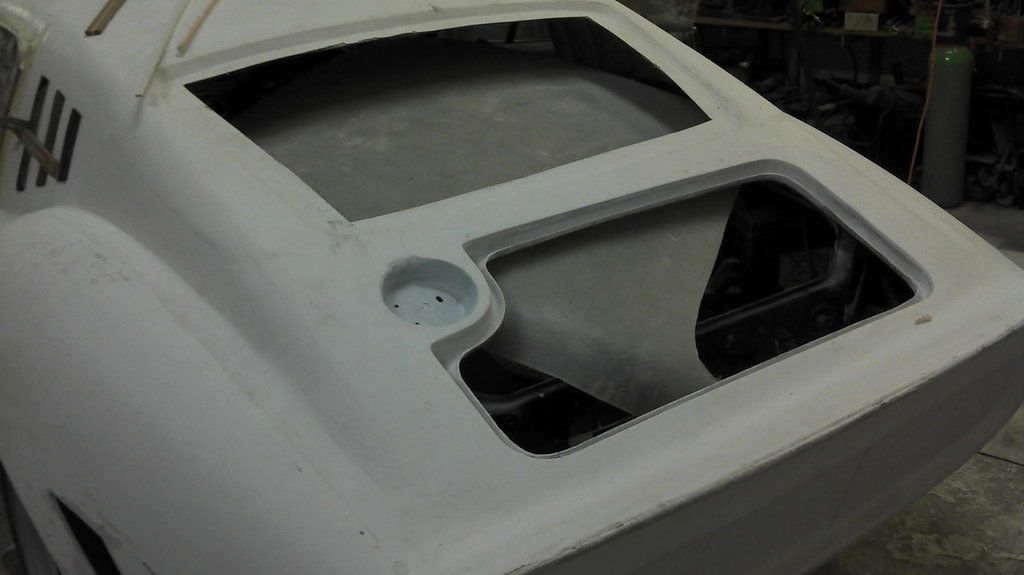
Made reasonable progress this eve. Cut the new boot lip down to size, and filled and faired it. Trial fitted the old seal, then trimmed up the boot lid and inner moulding. Put them ib position the added a couple of self tappers through the two so I can glass them together in exactly the right place.
As the body was off filled and faired the vents behind the door pillar. They will be seen from the inside so have filled over the grp and faired it in.
A bit mire work to the rear vents, doubling the thickness of the cut edge ti make look mire substantial.
Finally did a bit of tweaking to the l.h. door shut so it will match my chosen seal.
Good sticky session this eve.
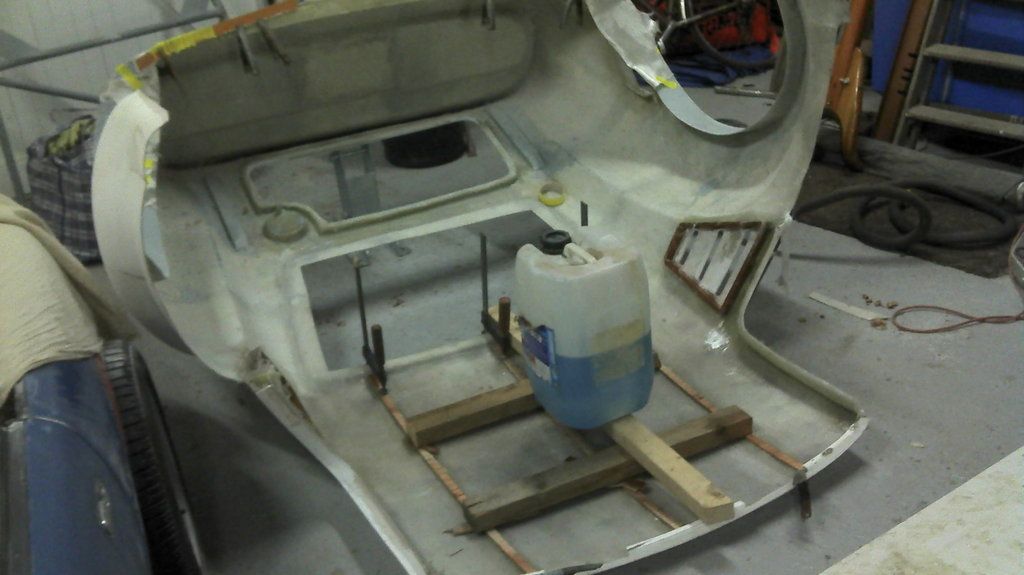
Put a border of timber around the vents and glassed around them. Put a few mire layers around the door shuts, added some woven rovings to the arch so when one looks through the rear vents it will have the carbon look (will paint black!).
Chopped of the rear flange left over from moulding and glassed in a small one up the otherway to stiffen the rear valance a bit.
Finally glassed in three strips of 6mm ply to the underside of the roof to space off the headlining and give an air gap.
With your boot gutter are you going to fit any drain holes? The only reason I ask is that while I was in the garage last night getting used to my new toy I spotted some random tubes in the engine bay and when I followed them back they were connected to drain holes on the boot and engine cover seal shuts exactly like what you've just added. So I thought it worth mentioning, just in case as its quite spooky timing!
Really interesting thread to follow with lots of info. A truly professional build with lots of thought and ingenuity. An inspiration to many I am sure.
With your boot gutter are you going to fit any drain holes? The only reason I ask is that while I was in the garage last night getting used to my new toy I spotted some random tubes in the engine bay and when I followed them back they were connected to drain holes on the boot and engine cover seal shuts exactly like what you've just added. So I thought it worth mentioning, just in case as its quite spooky timing!
Thanks Lambo-dave, I will drill some holes, but want to fit the exhaust first so it misses it. Thought it was too tricky to mould a hose tail to into the gutter, but its not to late to add them so I may. To knackered this eve though!
@ Froggyman, thanks, I thought no-one was watching!!
Sort of aiming to get the rear upholstered then shell fitted early next week.....
Nick, just look at the "viewed" figure against your tread! I think a lot of people are watching! Great work, it's clear that you have wealth of experience from you boat building day job
I know something in mechanics stuff(I've done few engine swaps etc) but I had never done nothing in fiberglass.
Love how mx250 looks like, but I'm a little bit scared, that I won't be able do it on my own. Can someone PM me some tips or webs where I can learn more about it before I will order kit...
@ Chris, thanks Chris, praise from the Messiah! Have you managed to piece your A352 jigsaw back together yet?
@ Andy, do bear in mind that I have done far more GRP work than is actually nessercery. There is no need to do any major work to the standard Tribute kit, it just fits perfectly and once its bonded and riveted on there is no real need for more GRP work. The only reason I am tweaking the kit is because I have my own idea of how I want it to look. There are penny of ways to skin a cat (apparently, I have never tried!!), and just like most kits, they all end up a bit different.
There are quite a few grp laminating guides on YouTube.


 [/IMG]
 [/IMG]
 [/IMG]
 [/IMG]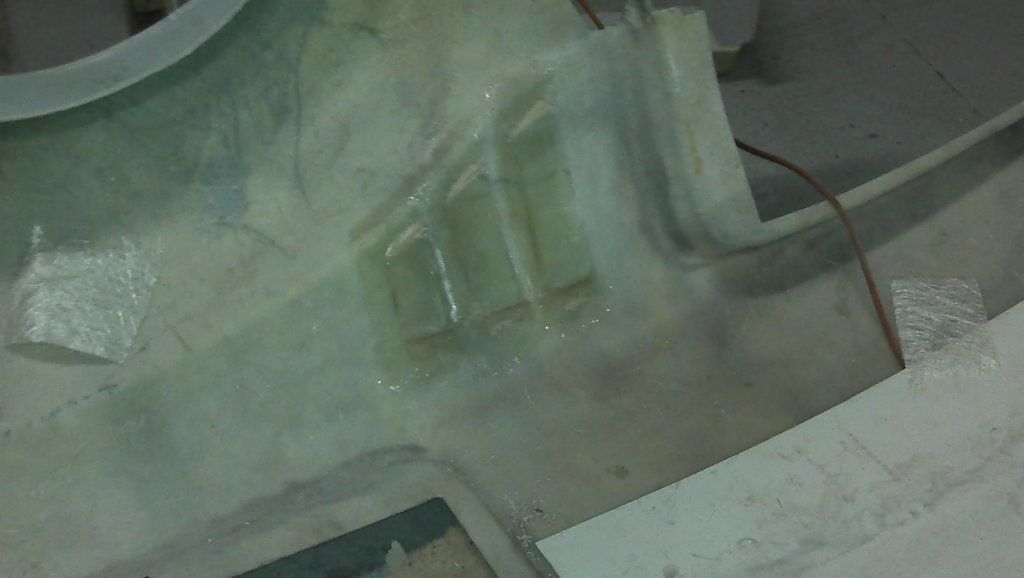
 start again!
 !
! but happy.
 [/IMG]
  Did you forget the catalyst? It can happen to the best of us when you are in a hurry, if in doubt I put another lot in and work twice as fast!!!
 ck three days .
 [/IMG]
 [/IMG]
  [/IMG]


 Have you managed to piece your A352 jigsaw back together yet?