This is a read-only archive of the old Madabout Kitcars forum. New posts and replies are no longer possible, but every thread is still here to browse and read.
3rd design set for the clutch bracket. As we ran out of ColorFabb HT filament it gave me a few more days to consider the design so I’ve revised some angles:
Mid print:
All 3 versions, note the middle one didnt finish printing:
Extra support structures
The first layer is a bit loose here due to gravity & the supports not quote hold it up - not an issue I'll trim those off as there's a lot more layers anyway.
Clearance for the fluid fill. You can see the layers don't look very smooth - that's by design as it makes the print stronger by having thicker layers. For a display piece we'd print with much finer layers that which would look a lot smoother. As this is a functional piece you can't see it doesn't matter.
Turned a suitable bushing on the lathe for the clutch to pivot around on to the pedal:
Assemebled and in place, the 3d printed part feels very solid. First time I bolted up the pipe to the front the banjo joint didnt’ seal up enough – lots of fluid everywhere… added an extra washer and it’s all good now:
The clutch is now quite similar to how it was originally, but without lots of movement of the master cylinder. It’s now much nicer to drive again.
Engine service has made a big difference, it’s a lot smoother and quieter again now. Setting the valve clearances as reduced the M2o rattle by quite a lot.
I can also recommend the ATE pads, they bite much better than the jurid ones that were on there.
It was also a good opportunity to re-glue a lot of carpet in the footwell where the spray mount glue had failed over the years.
A few minor things need doing before the MOT – one ball joints rubber cover is rotting away and the upper control arms need some extra large washers adding on the inside – there’s a bit of movement on the drivers side.
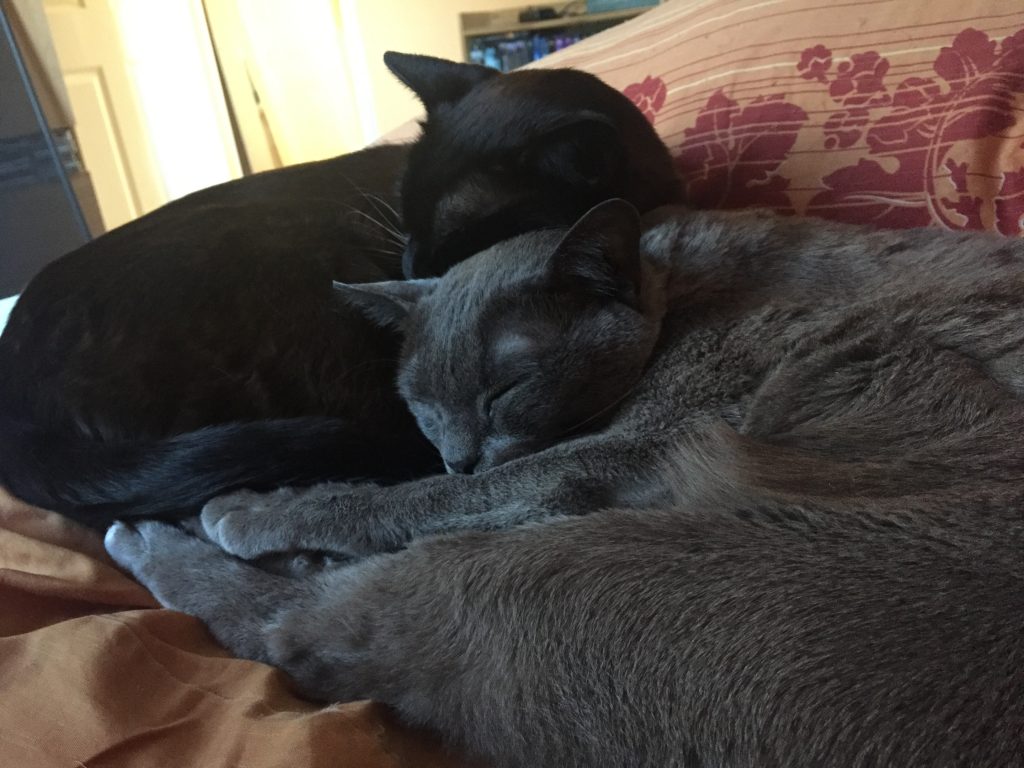
I had help today – nothing like being upside down with your feet in the air in the foot well with a cat wandering over you:
If you know about annealing then you know it makes the copper softer and it seals better.
Those cats look like civets, and!, they have their OWN garage.
Someone gave me a book once called a hundred and one uses for a dead cat, they forgot about weighing them in at the scrap yard, 102.
Phil
The issue I had was spacing - the copper never got compressed - you could move the banjo around with it done all the way up. If it leaks again I'll soften the copper.
Sounds like the banjo bolt is bottoming out in the fitting or there is a discrepancy in the thread length and the banjo thickness, time to get out the measuring sticks or a Vernier gauge .
Yeah that's exactly what happened the thread doesn't go in as deep in the BMW master cylinder as it did in the willwood one. The extra washer did the trick.
Oh well at least you are aware of the problem should it pop up again, one less thing to worry about, and you can always file a bit off the bottom of the thread if it starts to weep.
Clutch is still fine, took it for another drive today. Engine is so much quieter / smoother since the tune up - it was really worth it.
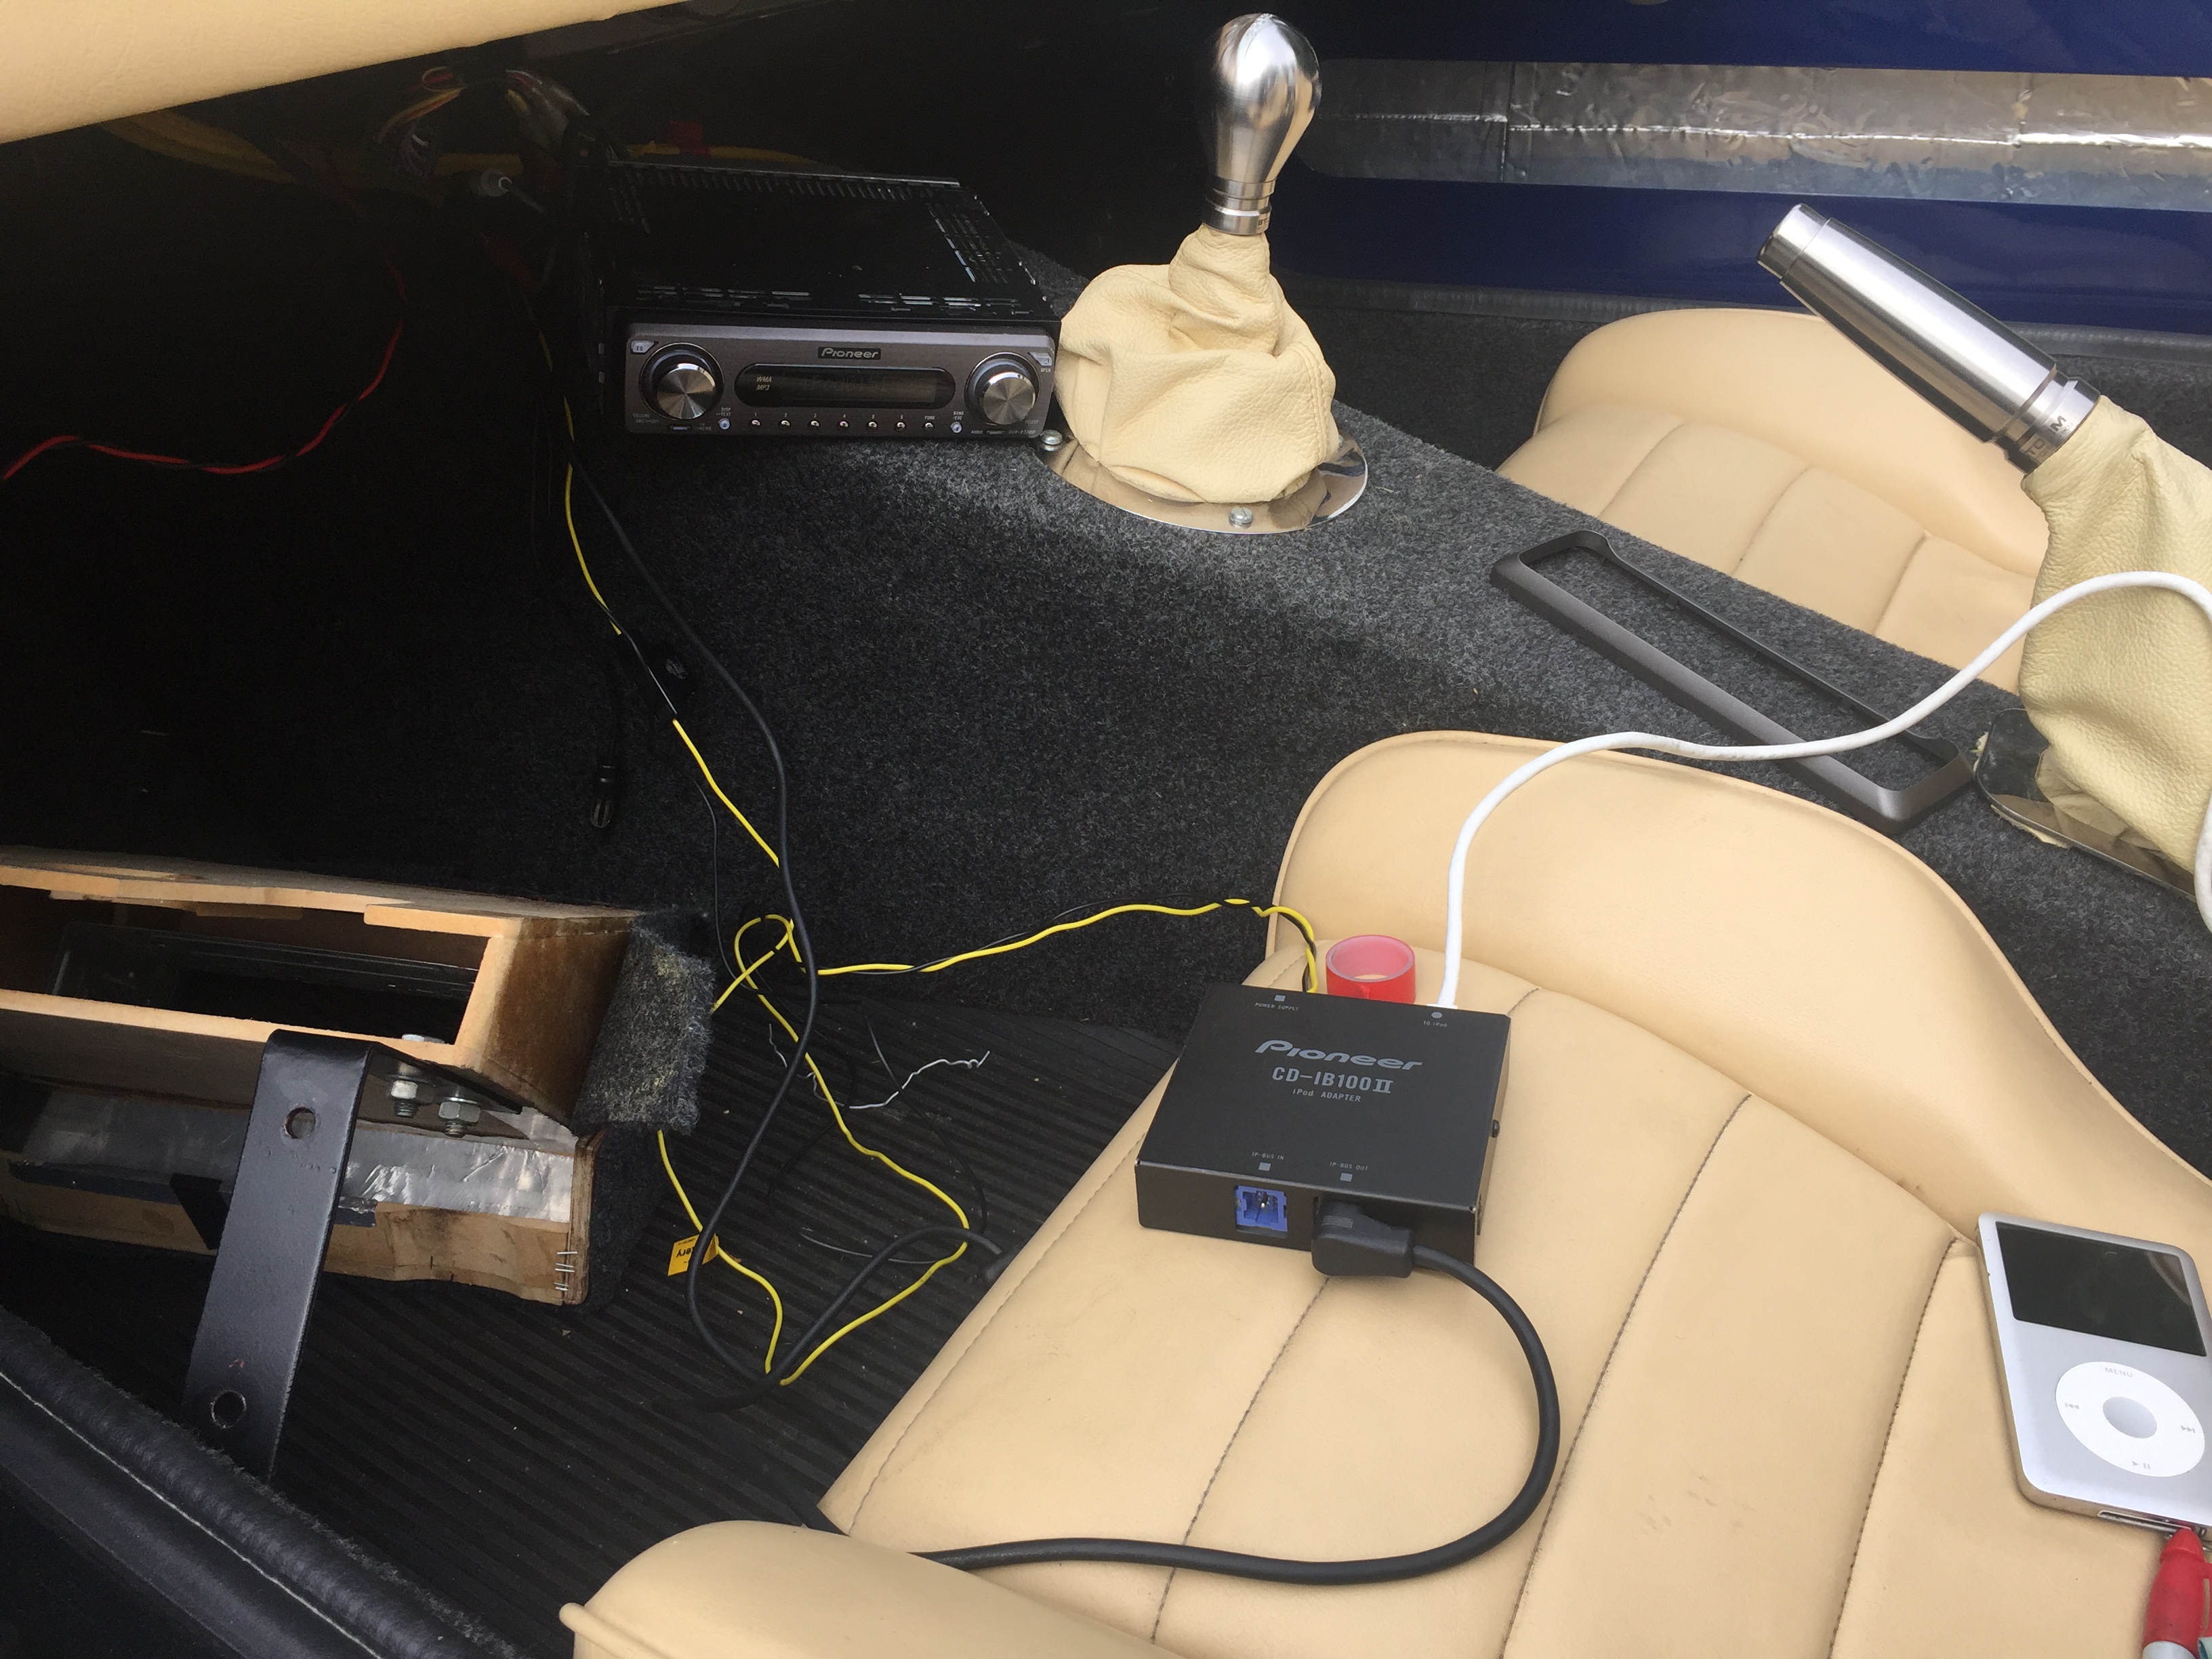
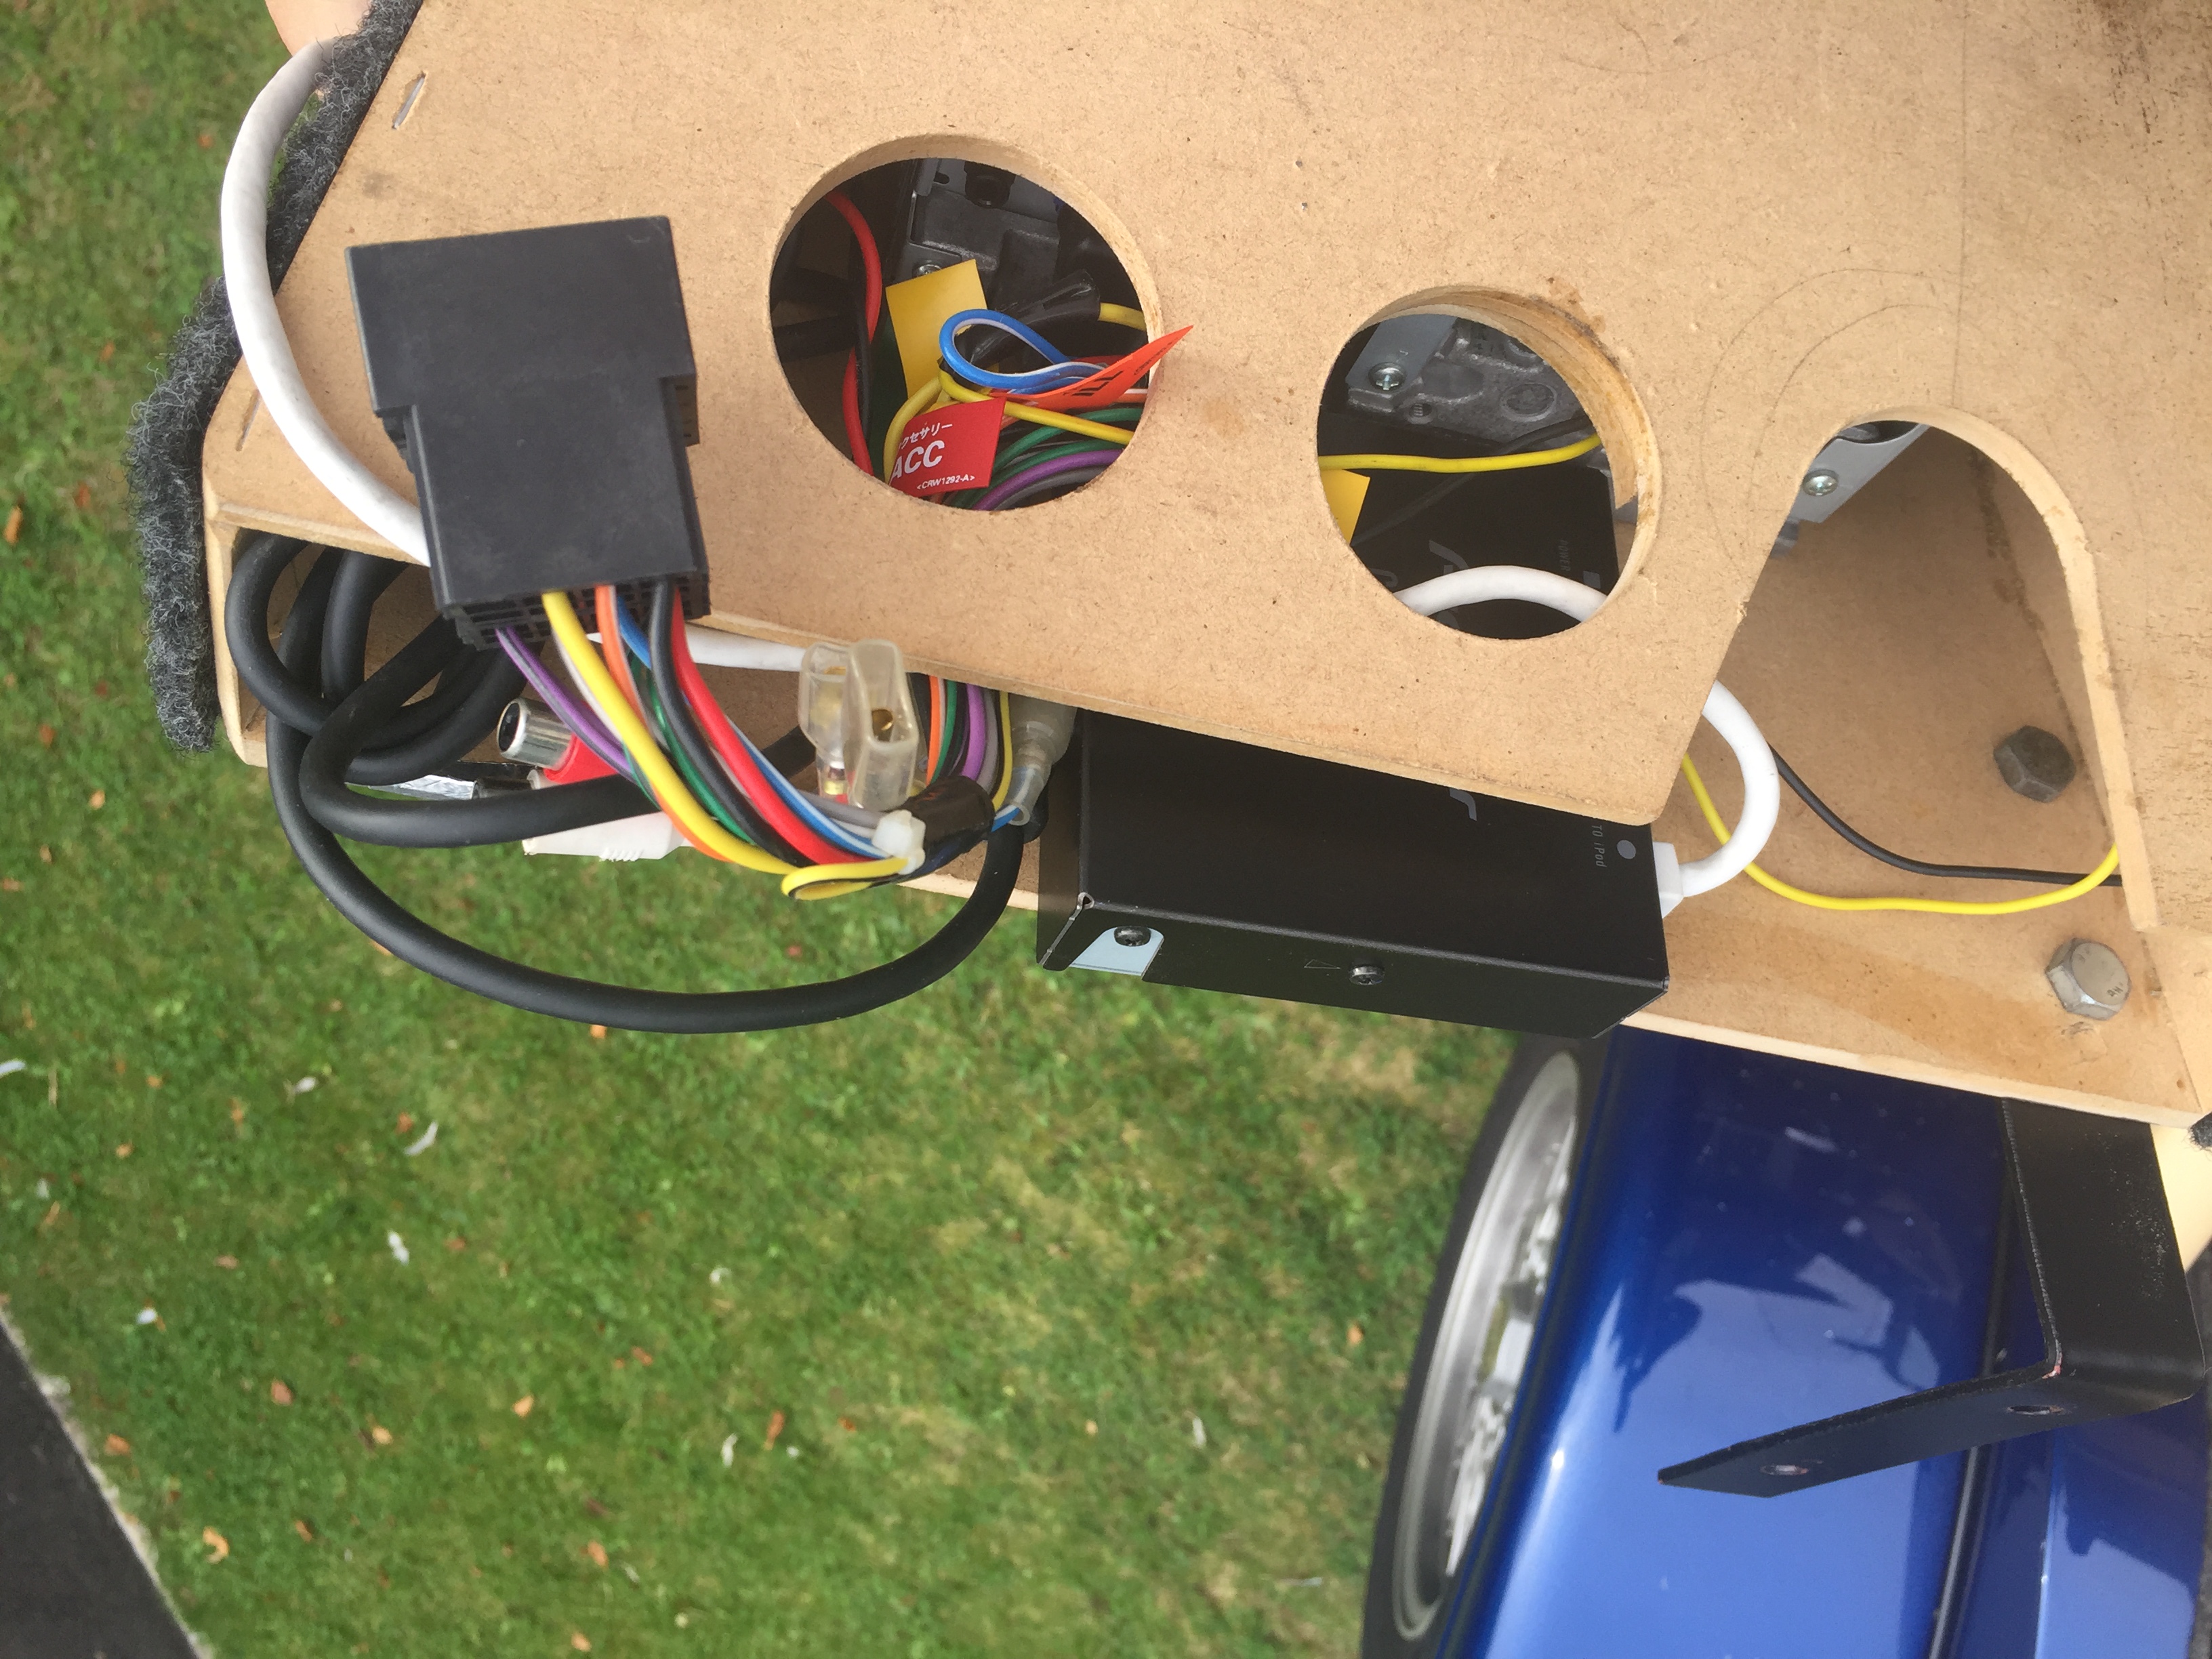
eBayed and old Pioneer CD-IB100ii – now I can hook and iPod or phone up to the headunit. This is pretty old tech now as it comes with a 30 pin iPod connector. With a lighting adapter I can get sat nav instructions over the speakers along with music, however it needs an extra adapter to make charging work – that’s on it’s way. It hooks in between the 30pin input and the lighting adapter with a micro USB input to supply extra power.
All tucked away. The carpet was coming off the whole unit here so it was a good opportunity to re-do the glue and add staples.
MOT tomorrow - had to change 3 ball joints because the rubber had rotted through again. Luckily these things are cheap, but still it seems crazy needing to change the whole thing each time.
MOT tomorrow - had to change 3 ball joints because the rubber had rotted through again. Luckily these things are cheap, but still it seems crazy needing to change the whole thing each time.
Ha yes, I have inertia reel seat belts sitting to be installed
The adapter I got works so the phone charges as well now.
*
CableJive dockStubz Charge Converter and 30-pin Pass Through Adapter https://www.amazon.co.uk/gp/product/B003TJR2HS/ref=oh_aui_detailpage_o01_s00?ie=UTF8&psc=1
*
It hooks in between the 30pin input and the lighting adapter with a micro USB input to supply extra power. As it turns out however it didn't need the extra power hooked in to make it work.
*
So if you've got an old Pioneer setup this is how to get your new iPhone working with it The silly thing is the adapter cables are more than the iPod interface!
There's a heat shield between the engine and master cylinder which is covered in high temp heat shielding material. I've not had any issues to date. It is a ford master cylinder.