MadaboutKitcars

This is a read-only archive of the old Madabout Kitcars forum. New posts and replies are no longer possible, but every thread is still here to browse and read.

Another Cordite Is Born ...

12 Jan 2014, 5:10pm
Paul, just a quick point about your kill switch, if your using it as a security measure then it will be fine, if you actually want it to kill the power in the event of an "incident" then really you need an FIA style kill switch which is a bit more complicated to fit but does mean that when its operated the engine will die.
13 Jan 2014, 10:59am
Paul, bulkhead hose joiners look to be fine where they are, just make sure the return pipe bleed valve is at the highest point in the heater system.

The problem I had with the heater circuit wasn't getting the air out, it was getting the coolant to go in in the first place. The bleed valve I fitted allowed me to fill the heater circuit by slowly pouring coolant in through the bleed valve with the top removed.

Good luck with it, it does make a difference to cabin comfort when you're driving in the winter.
13 Jan 2014, 10:49pm
Good Morning. I am new on here, so sorry for the lack of knowledge, eh. What is the difference between your CORDITE, the NAVIGATER and the shorter MIGLIA, eh? Thank you for your help.
14 Jan 2014, 12:48am
Good morning Dougie and welcome. No apologies necessary. We are here to help.

Essentially, the story started with the Sammio Spyder which was developed to fit the Herald/Vitesse chassis. As a result of customers asking if it could be made to fit the shorter wheelbase of the Spitfire, the Cordite was developed from this body shape by the original owner of the brand, Gary Janes, a couple of years ago. Shortly after this was launched, I took over the company and carried on production of the Spyder and Cordite from the new location in the North West.

Last year we rebranded both cars to the Ribble name, the Spyder becoming the Pilot and Cordite became the Navigator. During the year, a major fault occurred to the original Cordite moulds. This prompted a full remould of that car, including straightening it out, improving symmetry and removing the headrest hump which are now supplied as separate Left and Right handed items. This rebuild is documented elsewhere on the Forum.

So, to answer the first part of your question, the Navigator is the much improved replacement for the Cordite.

Manners prevents me saying too much about the Miglia but the full story is available on this forum should you search for it.
14 Jan 2014, 7:44am
Good piece of history on your build, i too had wondered what the difference is in the various models. Can you pm me as i require a shipping cost to DH2 in the northeast of England.
14 Jan 2014, 8:33am
Mac - Thanks for the info, as I've now looked up the FIA switch.
I guess I should really call mine a "cut off", not a "kill" switch.
I was hoping this would help prevent the battery draining when not in use.
Although I haven't got as far as working out if it should be on the +ve or -ve wire yet. :rolleyes:

Mr T - Another great reply, cheers.

dougie.doo & swifty - Welcome to my build thread.
Looks like AndyP57 has covered the answer before I read the question. :icon_wink:
But have a look at the "Useful Info" threads on the top of this forum (& Tribute "next door").
These threads cover most of the information you are looking for.

Based on my experience of the Cordite, the Ribble Navigator and Miglia Speedster are in a different league.
Building either of these kits will take a lot less time and effort compared to what I am doing here.
I try to make this clear as I am going along, that I am dealing with problems the other kits don't have.
Again, this is no reflection on AndyP57 who bought the company in good faith and has done his best to fix problems he didn't create.

Andy - I've just added a link to the Navigator MkII thread to the sticky.
At some point I will have a go at adding a few more useful links.

Cheers, Paul. :)
14 Jan 2014, 5:26pm
Light Tinkering...
Just a few minutes to spare today, but at least the evenings are getting a little brighter. :cool:

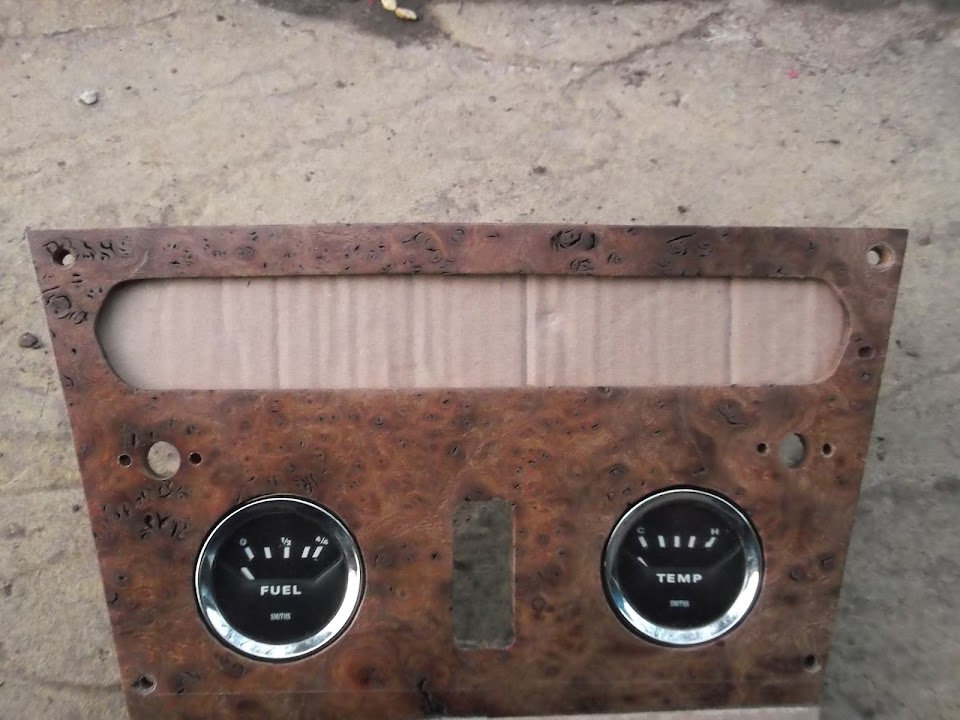
Made a simple cardboard template for a piece of metal to block up the dash where the old Spitfire heater controls lived.


This will be bonded in from behind which should keep it in place.


Note:
Other beer brands are available.

:icon_wink:

This will be the view from the front and I will paint the metal black.


I am still thinking about how to fill the smaller holes below this.
( Where the seat belt and hand brake warning lights used to be. )

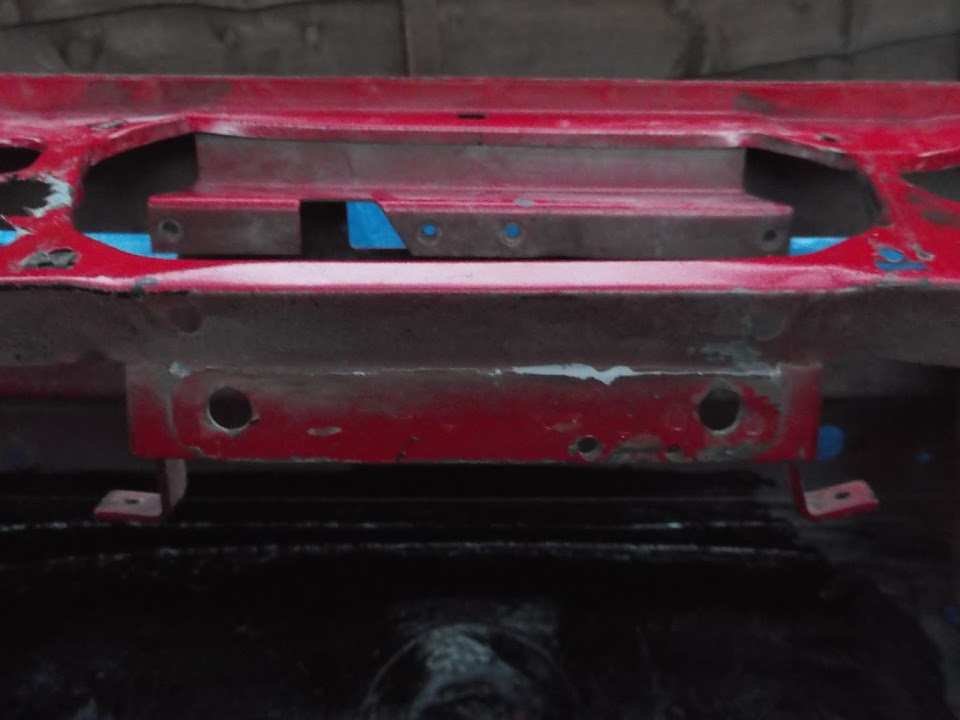
Next, I turned my attention to the bracket below the centre section of the dash.


But before I started on that, I removed the cross brace from the steering column.


Then I used two clamps to slowly bend this bracket back through 90 degrees.


So now the view from the front looks like this.


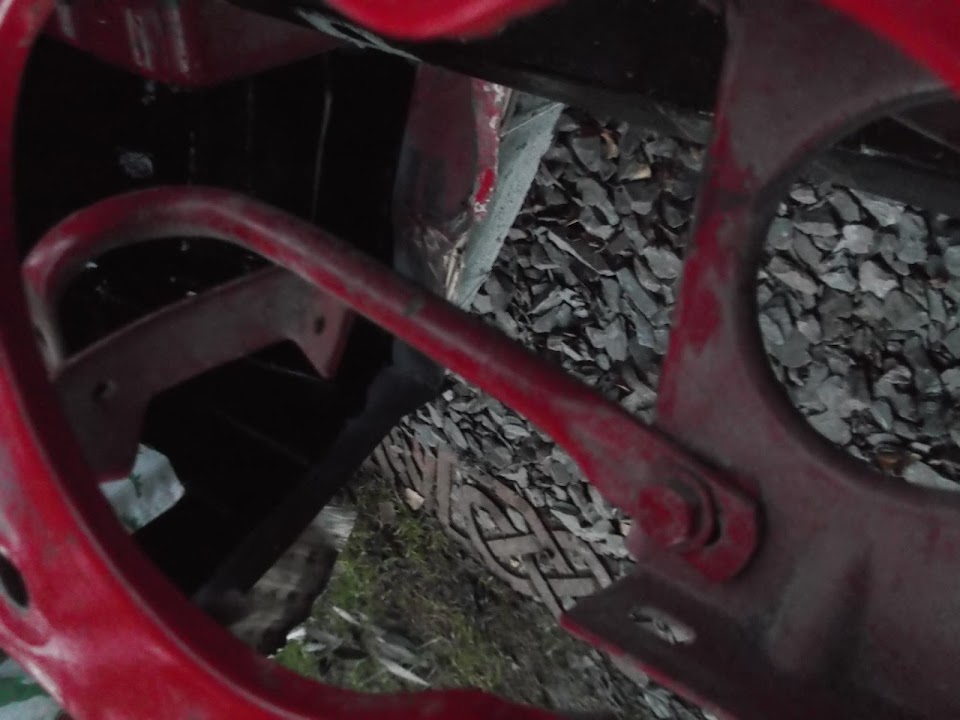
And the view from below looks like this.


I think I will use the two holes to bolt my panel for the heater controls into position.
I might also run a section of metal from here straight back to the bulkhead.
That, together with the heater vent panels, should make the dash very solid.

Finally, I will shorten and reuse the original cross brace to the steering column too.


This has left a lot of room behind the heater controls.
( Sorry the photo is a bit dark, the light was fading fast. )


So now I can make a final cardboard template for this panel.

Every little helps, Paul. :)
14 Jan 2014, 8:49pm
That's neat Paul, l will consider doing that perhaps when I get round to doing my dash. The bending bit I mean!

You are not a shelf stacker at Tescoes by any chance are you? :-)
14 Jan 2014, 10:07pm
AndyP57 wrote:
Good morning Dougie and welcome. No apologies necessary. We are here to help.

Essentially, the story started with the Sammio Spyder which was developed to fit the Herald/Vitesse chassis. As a result of customers asking if it could be made to fit the shorter wheelbase of the Spitfire, the Cordite was developed from this body shape by the original owner of the brand, Gary Janes, a couple of years ago. Shortly after this was launched, I took over the company and carried on production of the Spyder and Cordite from the new location in the North West.

Last year we rebranded both cars to the Ribble name, the Spyder becoming the Pilot and Cordite became the Navigator. During the year, a major fault occurred to the original Cordite moulds. This prompted a full remould of that car, including straightening it out, improving symmetry and removing the headrest hump which are now supplied as separate Left and Right handed items. This rebuild is documented elsewhere on the Forum.

So, to answer the first part of your question, the Navigator is the much improved replacement for the Cordite.

Manners prevents me saying too much about the Miglia but the full story is available on this forum should you search for it.


Thanks for the history lesson Andy. You are the man to talk to then, eh? I see the NAVIGATOR is much cheaper than the Miglia, is there less to this kit? Can you give me a quote for delivery to this address:

CMH Association
1110-151 Slater Street
Ottawa, ON K1P 5H3

How long for you to make a kit, eh?

Couldnt find the "full story" on the Miglia, eh?

Righto, off to Timmy Ho's for a Double-Double.
15 Jan 2014, 8:57am
dougie.doo2 wrote:


Couldnt find the "full story" on the Miglia, eh?

Righto, off to Timmy Ho's for a Double-Double.


Mike worked for Gary Janes, the owner of the original Sammio business.

When Andy and his son bought the Sammio company, Mike branched off and set up his own company, Miglia Sports Cars (great name btw).

So far so no problem.

The slightly contentious issue is that there's a tiny bit of suspicion that Mike modified a Sammio Cordite body to make the moulds for his own version.

This is mainly because that's what he said he did on his build thread, which accidentally got deleted shortly after Andy cried foul!

I believe the matter was settled 'out of court' and as rivals in the same market I'm sure that they now enjoy a relationship of mutual trust and respect... :argue:

I'm sorry Dougie but I couldn't get google translate to recognise your final phrase, is it Quebec French?
15 Jan 2014, 9:11am
I think he's off to the local for a Jar :biggrin:
15 Jan 2014, 10:00am
Timmy's or Tim's or Timmy Ho's or Up the Horton's - Slang for Tim Horton's, a chain of doughnut and coffee shops named after a famous hockey player.

I am guessing the Double-Double is coffee not beer
15 Jan 2014, 10:07am
WCA. This phrase you used. I'm unaware of it's meaning.... 'Not Beer'? :biggrin:
15 Jan 2014, 10:07am
WorldClassAccident wrote:
Timmy's or Tim's or Timmy Ho's or Up the Horton's


I thought the "Horton's" were in the VICAR OF DIBBLY :focus:
15 Jan 2014, 10:20am
So he doesn't mean pie&mash...
15 Jan 2014, 12:27pm
Think you'll find Tim Hortons is a cafe chain in Canada so I'm guessing the double double is a strong coffee..

Mac
15 Jan 2014, 3:55pm
[COLOR="Red"][SIZE="5"]"Holy Thread Hi-Jack Batman!"[/SIZE][/COLOR]


:icon_wink:

[COLOR="Blue"][SIZE="3"]Meanwhile, back in Gotham City...[/SIZE][/COLOR]

As I said before, I want to put thoughts about the body shell to one side for now and focus on the "moon rover" stage.
However, I do need to make a final decision on one part of the bodywork before I go much further.
The design of the "join" between the bulkhead & rear frame will depend on my doors. <<Shudder>>

I really liked the way Michiel (christinedmc) has recycled Spitfire boot hinges for his build.
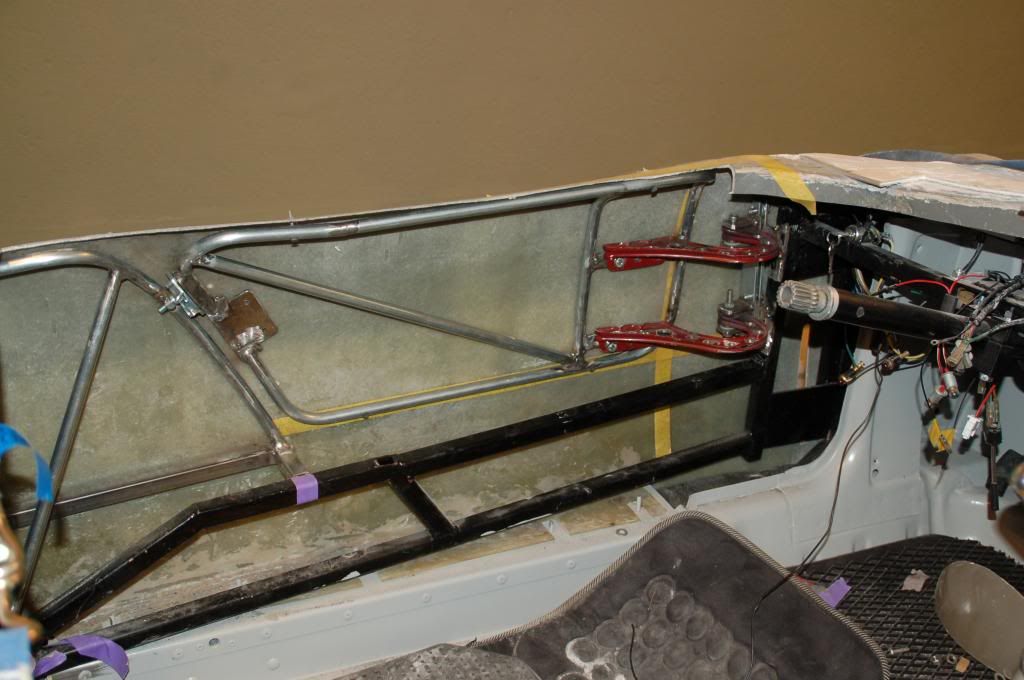


My 2nd hand body tub came with a pair of these hinges and I picked up another pair cheaply on Ebay.
So it would be possible to ensure the "join" was built in such away to allow something similar on my car.

I also have Classic Mini external hinges, which were used on the original Cordite demonstrator & some Milgia Speedsters.


I even had a very kind offer to sort out the "barely held together" doors that were supplied by Gary.

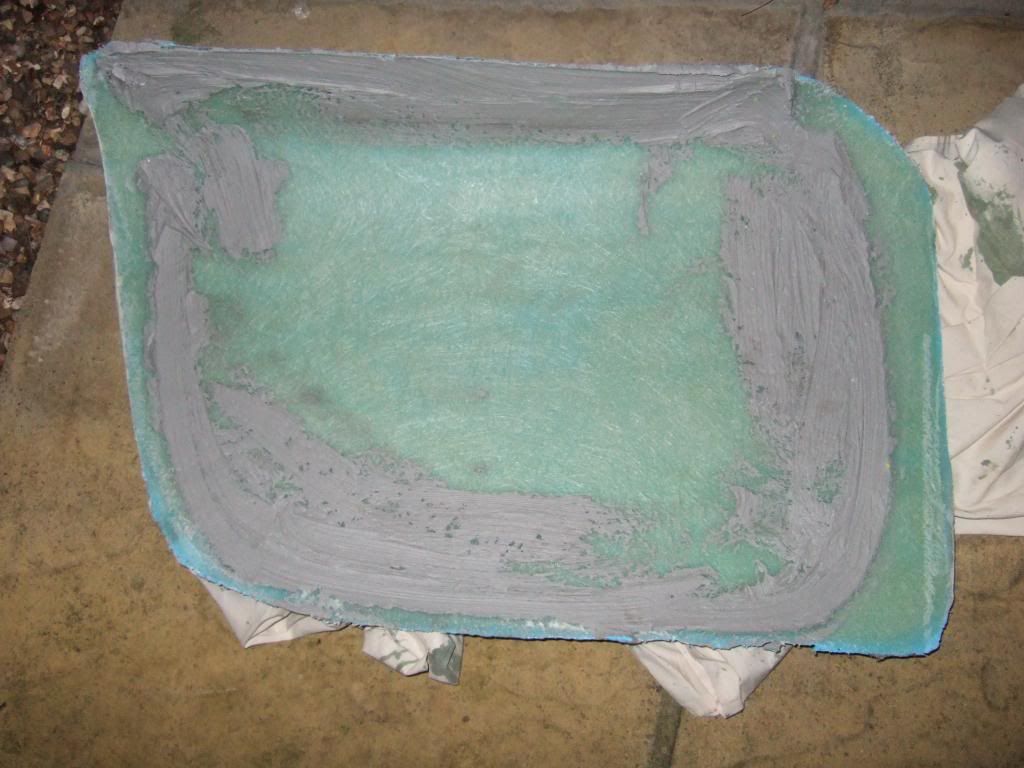
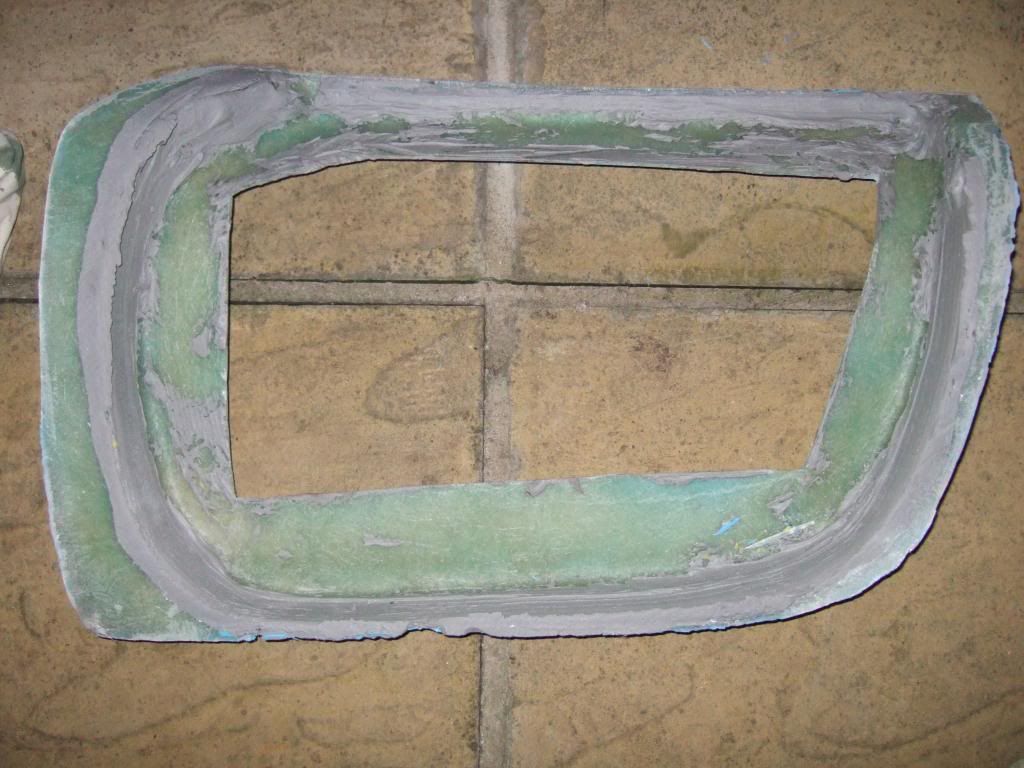
Remember these photos? :rant:


Deep down I like the idea of having doors, plus the 3 piece fly screen they allow looks great. :cool:

But I keep coming back to this great quote from SeaNick about an unfinished project on Ebay...

"He should have lowered his sights and got it finished to a lower level, then enjoyed it.
He has failed to finish it due to an unrealistic idea of (for him) unobtainable perfection."


So my decision is finally made, there will be no doors on this Cordite.

This will make the "join" very straight forward to design / make.

One end will have a plate to be bolted to the Spitfire bulkhead.
( Using the original Spitfire door hinge mounting plates. )

The other will then be welded to the rear frame work, to permanently extend it.

This will be enough to get me to the "moon rover" stage and I will worry about the bodywork another day.

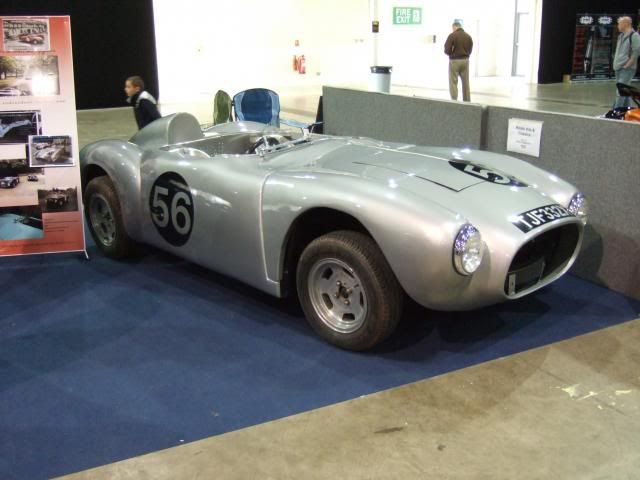
At least I have seen the first Ribble Cordite/Navigator with doors sealed into place.
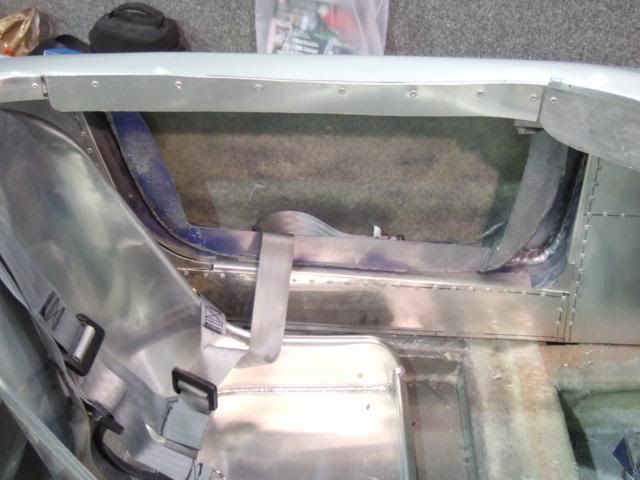


As I said at the time, if you were looking from the outside you'd never know...


Note:
Obviously the join would be covered by the internal cockpit panelling.

Until next time, take care, Paul. :)
15 Jan 2014, 4:08pm
Oops sorry for contributing to the highjack mate, heatstroke and an overdose of sun and snorkelling are to blame....:-)
How do you intend to make good the door apertures? I would have thought glassing it all up in one fell swoop would be best? Don't think just joining the outer door skin at the edges would work that well my guess is they would crack eventually.

Mac
15 Jan 2014, 10:05pm
how about fitting a substantial bar between the A post and B post (hinge point and lock point) as side impact protection (like the XKSS)?
16 Jan 2014, 9:42am
I can speak from experiance as I have had the sheer joy of fitting a pair of doors to a G-46 :rant: :faint: :help:

I had to settle for a near-enought is good-enougt fit otherwise I was looking at a getting a cement mixer and a shovel to apply the filler.:loco:
16 Jan 2014, 9:59am
A good move Paul.

The decision to remove the doors in the Navigator redesign was made for two reasons. The first was that the original door design was an abomination, was asymmetric and couldn't be made to fit with a bucket of filler and also that, once fitted, actually made entrance and egress to and from the cockpit harder as there wasn't a structural part you could hold on to whilst lowering yourself in to the seat. I'm not saying doors couldn't be made to work, just that in my opinion, they shouldn't :biggrin:

Being at the stage you are at, rather than with '56' that already had the door shut fabricated, it would be an easy job to remove (If they haven't already dropped off) the inner door structure, tack the skins in place on the outside in a few places with strips of ally / wood or whatever and self tappers to retain the position then lay a couple of layers of glass mat overlapping the join by a few inches on the back to regain the structural integrity of the cockpit side. From there, after removing the strips, it's a filler job to suit.

You have the right idea about the frame side of it. Steel bars from front to rear door shut members should do the trick.
16 Jan 2014, 5:46pm
Mac - My initial thoughts were along the lines that Andy suggested above (more detail below).
Jim - I will be adding some box section (see below).
Mike - I feel your pain. :icon_wink:
Andy - That is the basic plan and I'll also touch on the support element below...

- - - - - - - - - - - - - - - - - - - - - - - - - - - - - - -

Frame Work:
In theory the Cordite frame has extra strength built in at the bottom, to take account of the door opening.


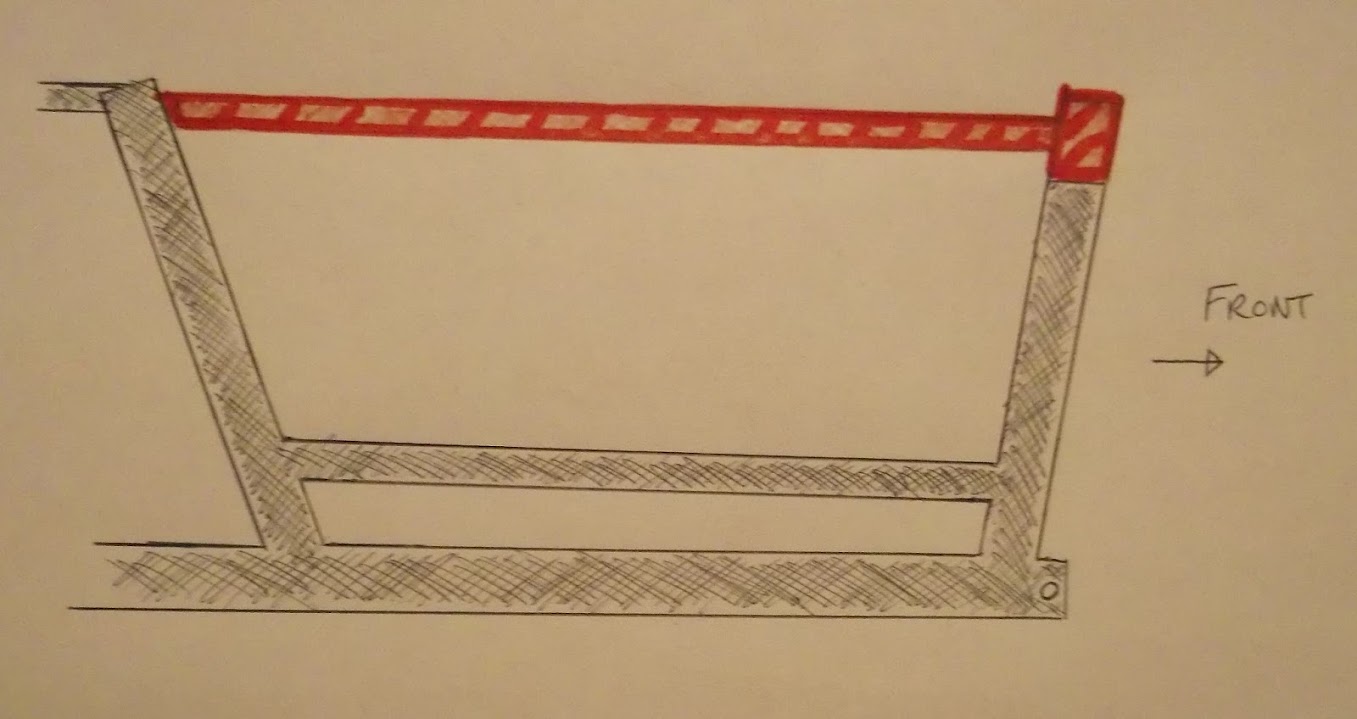
But I will still run some extra box section across the top of the door opening like so...


I may also add another length of box section vertically, or diagonally, between the top and bottom.
Although in reply to Jim's point about side impact protection, a safety cage this isn't.

I'll work out the best design for the "join" when the bulkhead has been fitted.

I went back and double checked Mister Towed's build about the height of the frame rail.


It is clear that there is a gap above the frame before you reach the body shell.

So I guess it is the plywood cockpit panels that support the side of the body when people climb in.

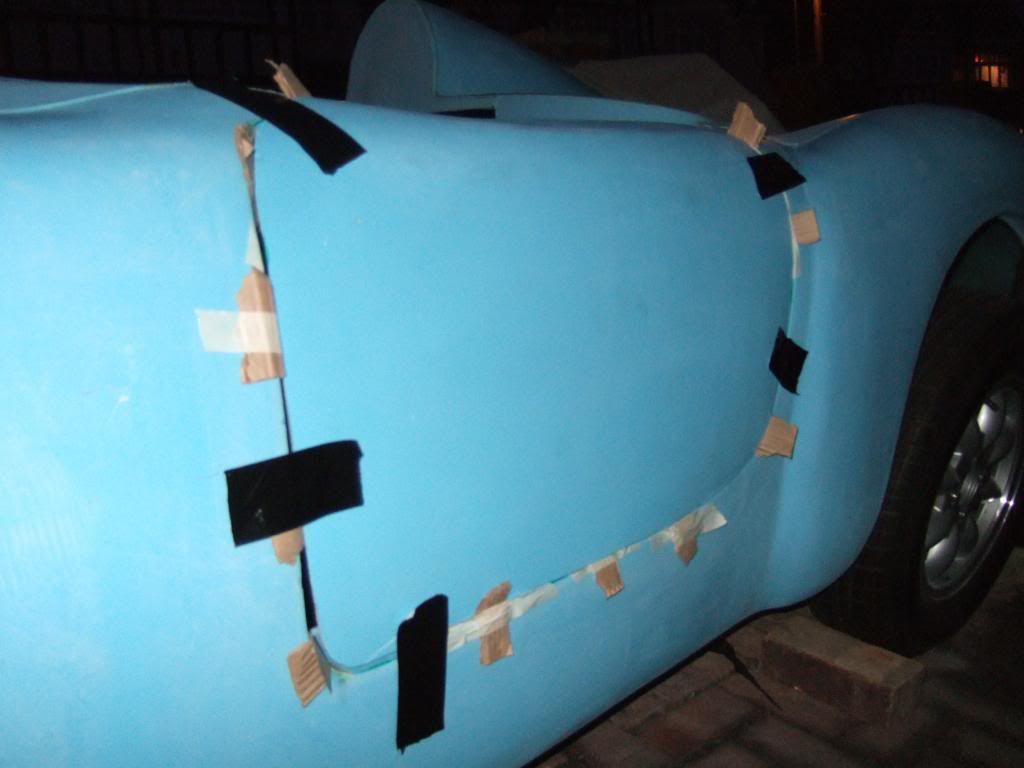
As for the sealing the doors up, I was planning a proper "temporary" fix of the outer door skins.
( This was just an earlier test fit. )


After they were fixed, I would cut out the door opening "return edge".
( If that is what it is called. :rolleyes: )

This should allow me to make a wide fibre glass join from inside the body shell.

I'd then add an extra layer (or two) of fibreglass across the whole area.

( A bit like the way Mac re-enforced the side of his Navigator body shell. )

My free time is disappearing fast these days.
But I hope to start working on the panel for the heater controls next.

Cheers, Paul. :)
17 Jan 2014, 4:22am
WorldClassAccident wrote:
Timmy's or Tim's or Timmy Ho's or Up the Horton's - Slang for Tim Horton's, a chain of doughnut and coffee shops named after a famous hockey player.

I am guessing the Double-Double is coffee not beer


You are correct,eh. Two milk, two sugars.

Sorry aboot high jacking your tread, I will start one of my own and put my townie's worth there, if I can figure it, eh?
17 Jan 2014, 4:43pm
Dougie - No worries, there was a :icon_wink: after the Batman photo.
If you want start your own build thread, just hit the "New Thread" button on the top left of the forum.
Also if you have a look at the "Sticky" there is a guide to loading photos too (from your "Which kit?" post).

- - - - - - - - - - - - - - - - - - - - - - - - - - - - - - -

Heater Controls Panel:
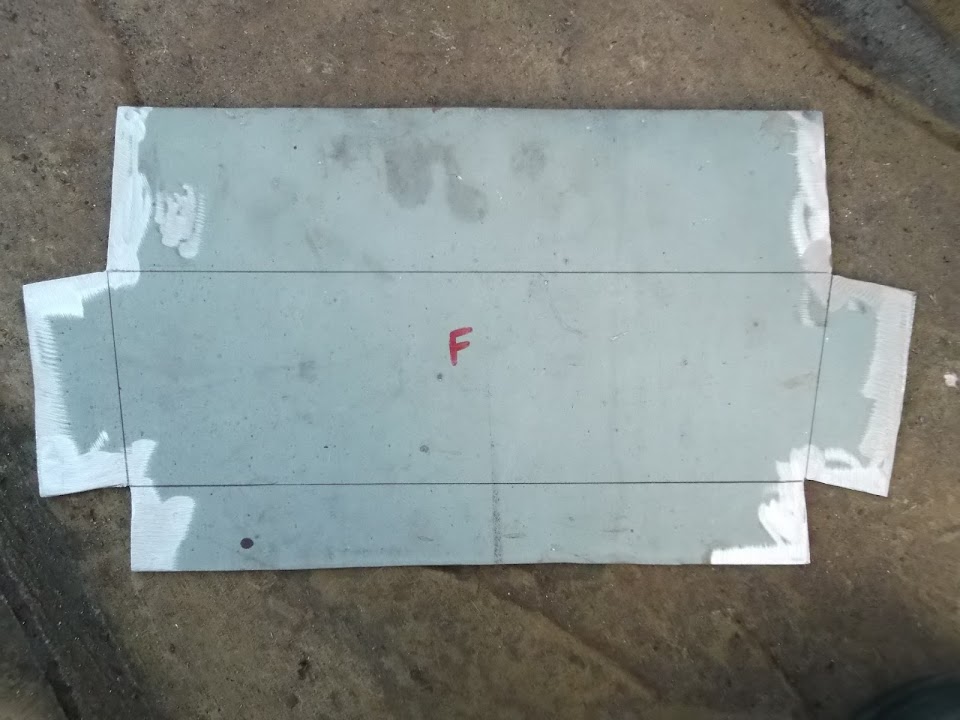
I added some "tabs" to my original cardboard template.


Three sides will have an edge around an inch deep as a bit of protection for the "workings" behind the control dials.
The top edge is over two inches deep as this is where I will be bolting it to the existing dash.


When my mate leant me his welder he also donated a sheet of steel to the project.
So rather than recycle some of the Spitfire, I had nice clean metal to play with. :cool:


Once the template was cut out, edges cleaned for welding and the fold lines drawn on, I was good to go.


I hadn't quite finished all my hammering when it started to rain. :rolleyes:

So whilst there is still a bit of fine tuning to do on the edges, you can still get the idea.


Similarly, I need to measure and mark up the holes for the controls properly.
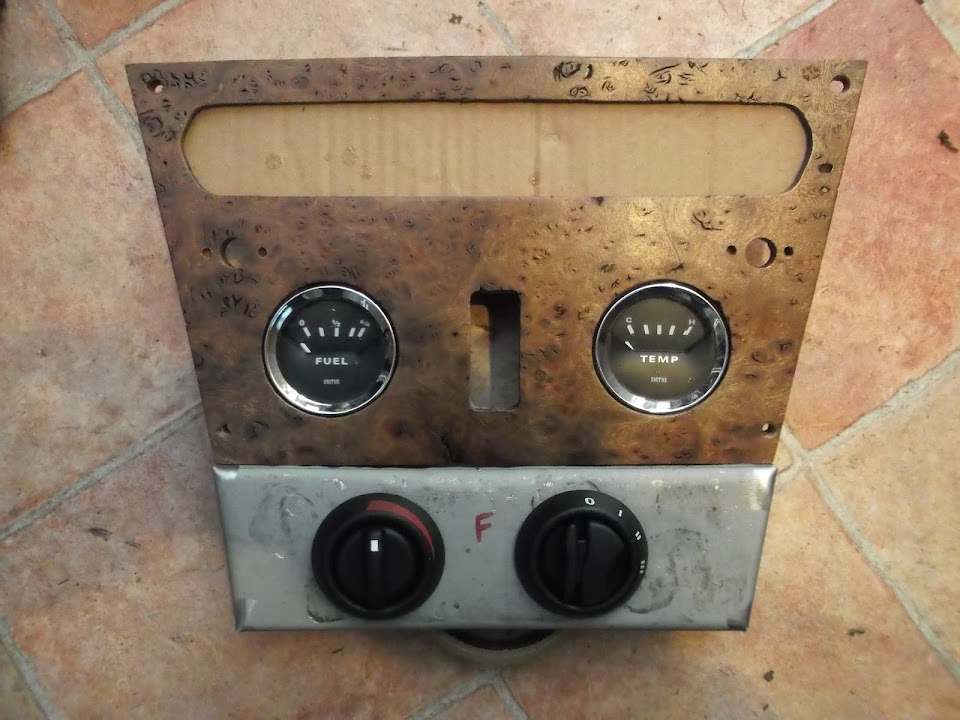
But it will end up looking something like this, but painted black.


Once I've finished straightening it all out, I will then weld the edges of the tabs together.

Until then, take care, Paul. :)
18 Jan 2014, 5:07pm
More Panel Work...
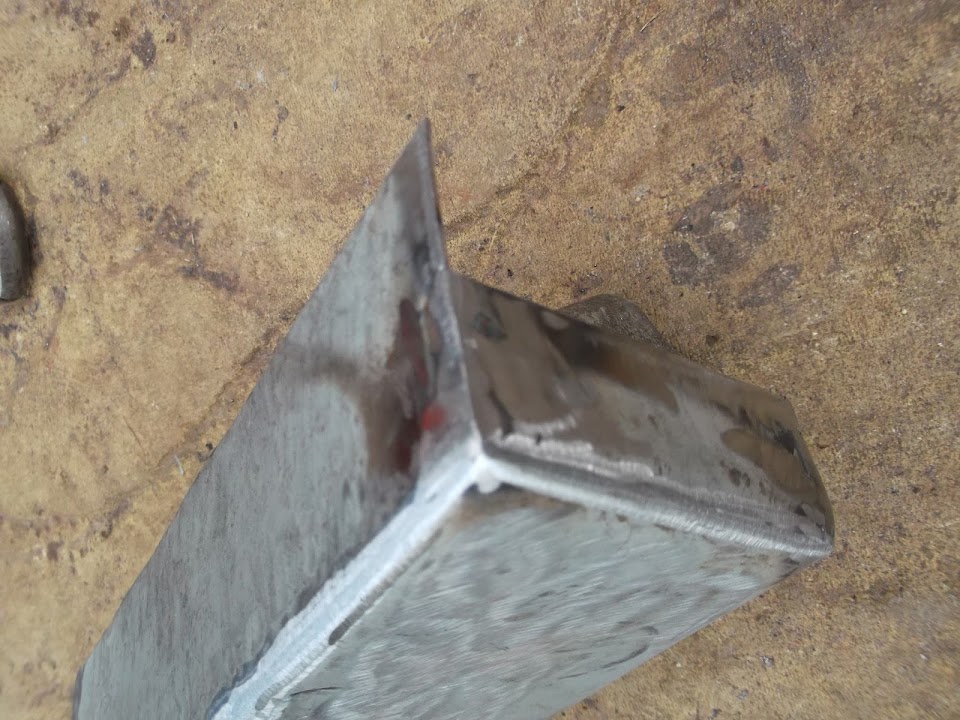
After some more hammering and cursing, the panel was as straight as I could make it with my limited skills/tools.
Then it was time to get the welder out and test/adjust the settings on some of the off cuts from the panel.


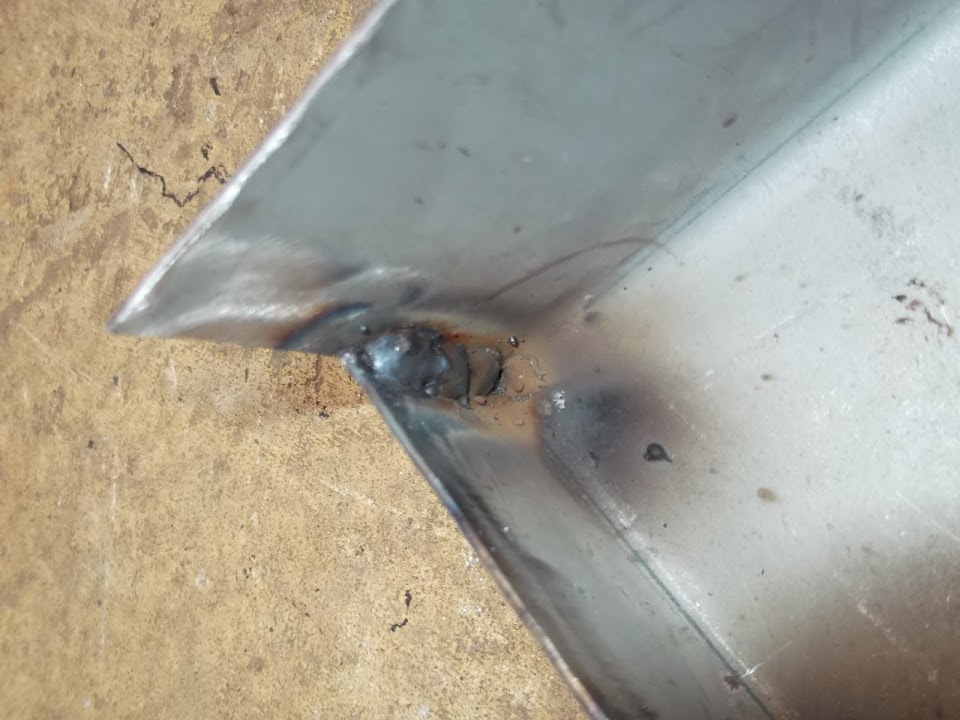
Then I welded up the all the inside edges of the panel.


Before adding a thin line of weld on the outside edges, which I then ground back flush.


I then marked up where I needed to drill the holes for the control dials.
This is the first time I've used one of my new step drill bits, what a great piece of kit. :cool:


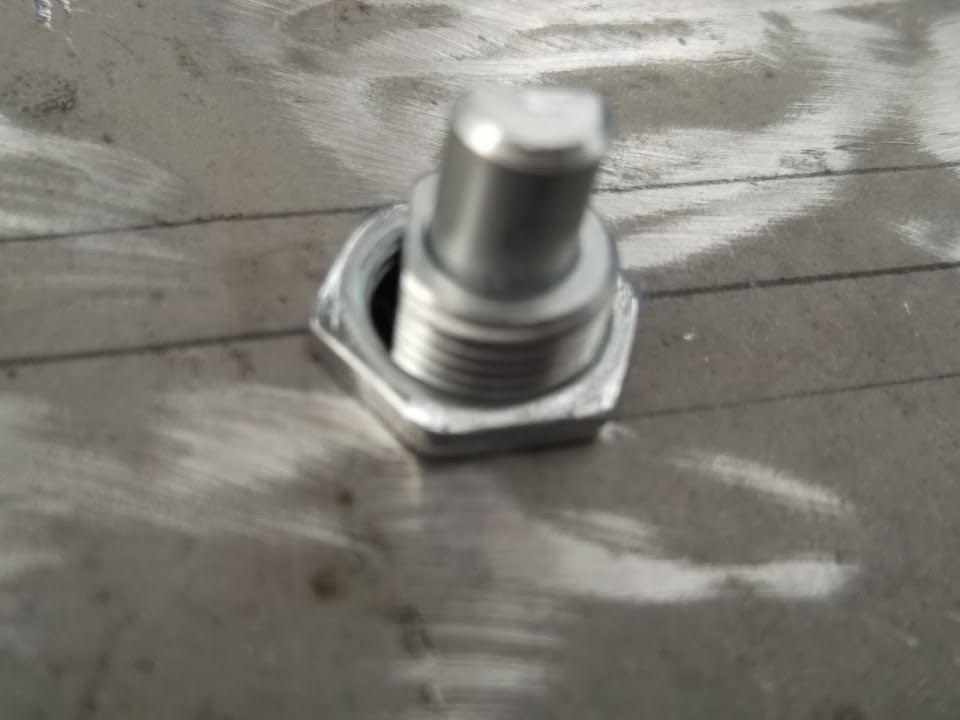
So now the back of the dials can fit through (sorry the photo is blurred).


But the dials themselves have two small locating lugs.


After making another template to make sure the dials were facing the correct way, I marked & drilled the holes.


Now the dials fit flush against the panel.


And this is what the panel now looks like under the dash.


I quite like this "metal" finish, so next time I will replace the cardboard with metal and see what it looks like.
(Although I'm not sure how you would protect the bare metal, so will probably still paint it black.)

Also I am quite pleased that I am now capable of making something like this in the first place. :cool:

All that remains to do now is sort out mounting this to the dash.

Vent Panels:
I've had another idea for the panels to hold the vents in place and they will now look more like the one on the right.


Note:
I will make the circle of metal around the vent a bit bigger when I cut it out in metal.
( The only thing I had to hand to draw around when I was playing around with this was a roll of tape. :rolleyes: )

Until next time, take care, Paul. :)