MadaboutKitcars

This is a read-only archive of the old Madabout Kitcars forum. New posts and replies are no longer possible, but every thread is still here to browse and read.

New Cordite Build, with a twist....

24 Oct 2014, 8:25am
Paul, unfortunately my victory is short lived as I'm off to Devon this afternoon to start a job on Saturday morning that will last until next Monday including both weekends so workshop time until then will be nil :-(

My plan is to use 2 different methods to keep the bonnet closed securely.
The first is to use these to keep the sides strapped down.


But I suspect that the rear edge of the bonnet may "flap" a little if not secured so have bought a pair of these


I will fit one either side of the hump but to do so I will need a couple of brackets to fit the pins to. So raided the "bits o steel" pile and knocked a couple up.


Note the use of some lovely vintage tools from my recent haul :-)
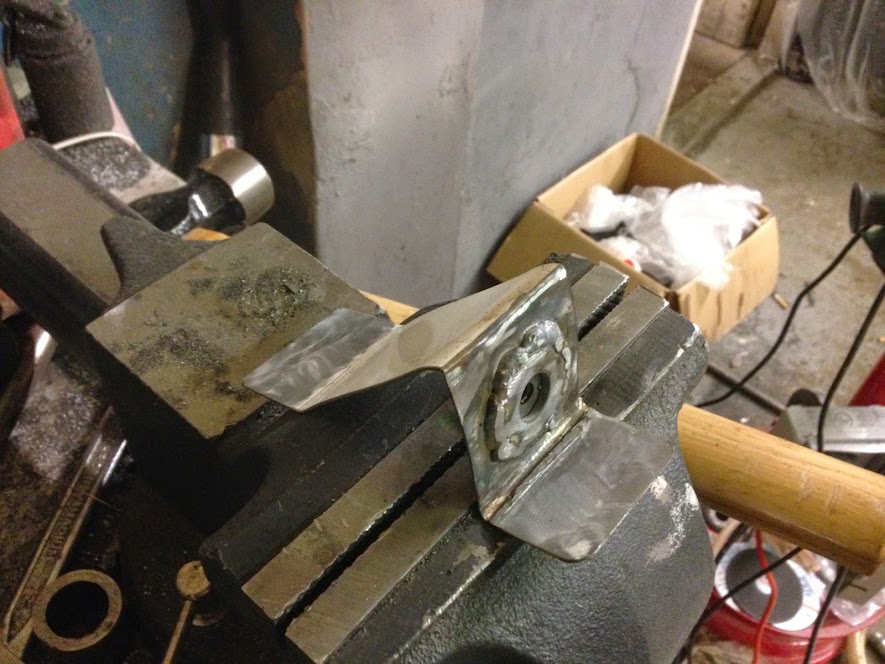


The plate was a little thinner than I would have liked so welded a thick washer on the top to beef it up.
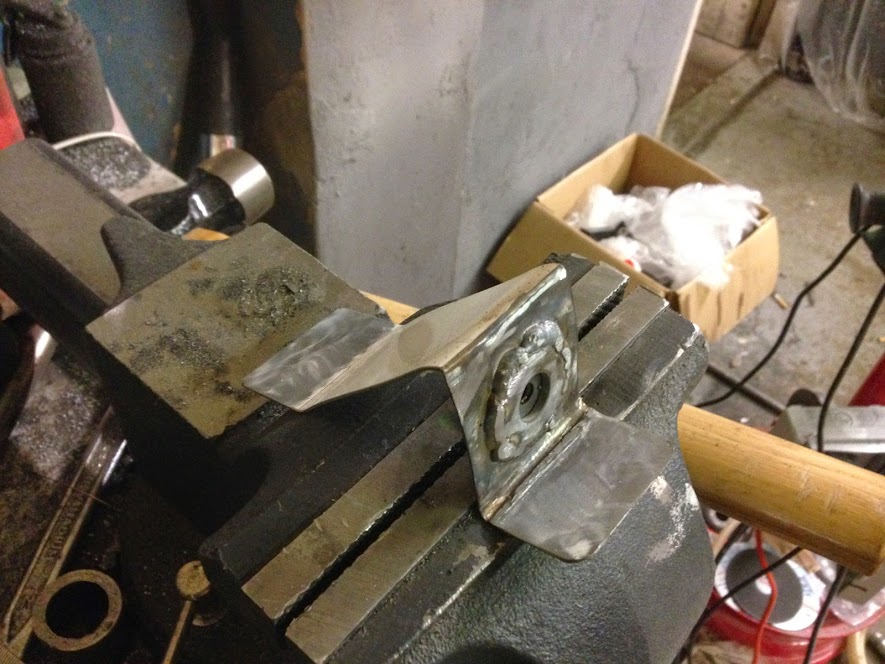


And then also added some side braces.


these will be riveted to the bulk head for the pins to screw into, you cant really see but a nut is welded to the underneath of the washer surface so I can wind the pins in and out for fine adjustment then lock the position off with another nut nipped up to the washer surface.

Well that's it for now

TTFN

Mac
24 Oct 2014, 2:16pm
A neat idea Mac, should work a treat!

Do you have a link to those round headed pins?

May be useful for me too.
1 Nov 2014, 6:32pm
Got the quick Latches fitted today


Then spent the rest of the day still sorting through the workshop clearance piles! but ended well as I sold 2 old Smiths Tachos for £375!!!

TTFN

Mac
3 Nov 2014, 4:48pm
Mac - Nice job on the bonnet pins. :cool:

Good luck, Paul. :)
4 Nov 2014, 8:01pm
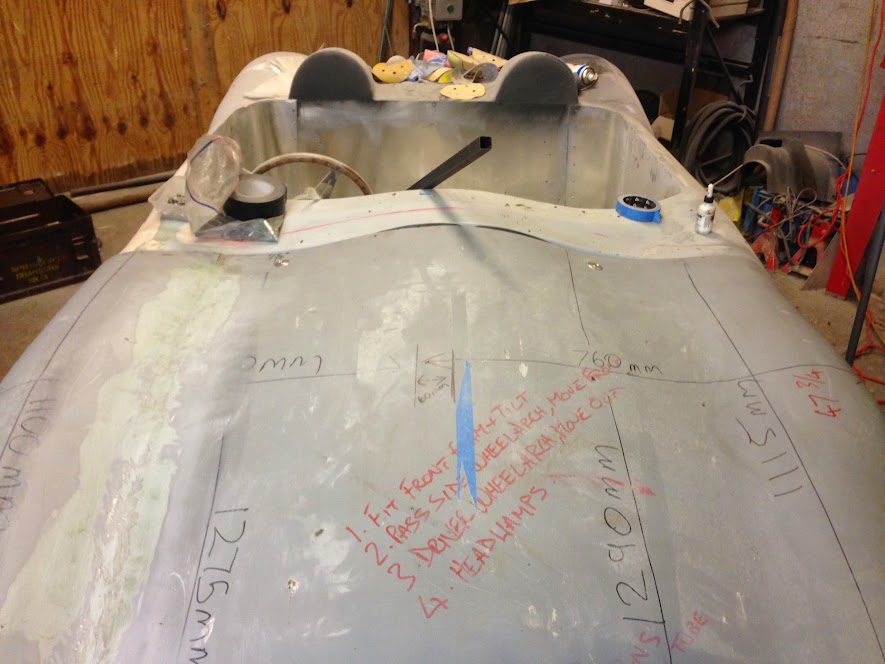
Tonight's job is to sort the front of the nearside front wheel arch. it needs moving forward about 3/4" to clear the tyre and look similar to the offside one. Quick marking session followed by some action with the angry grinder:


Only needed one small plate riveting on to hold it in position. Then hit the inside with about 3 layers of 350 gsm glass matting


And another very exciting shot of some curing fibreglass, don't get too excited.....


TTFN

Mac
15 Nov 2014, 5:41pm
Been a bit tom and dick again but have managed to make progress. am planning a full day up the cave tomorrow so am sort of hoping I may be laying down a first full coat of primer!

Blew the bonnet over with some old rattle cans of primer just to highlight any imperfections


And found plenty, typically the one below, its not the black blob but the wrinkle is just north of it.


First skim of the moved front wheel arch


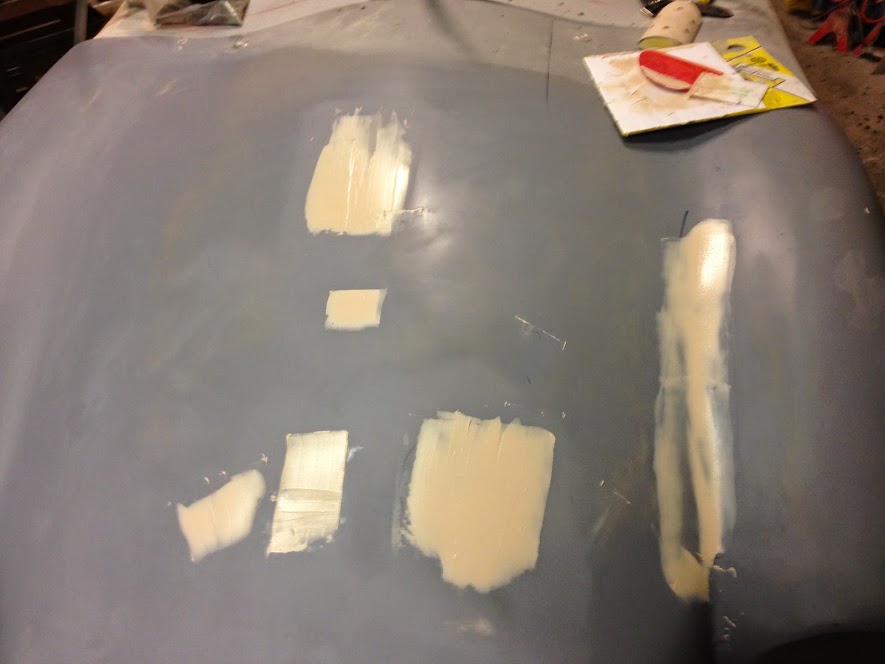
Patch filling of fine filler to address the flaws the primer showed up.


And final fill of the wheel arch


And a bit of a momentous moment,


First shaping session for the return where the bonnet meets the winglets.


Looks a real mess but one thing that all this bodywork has taught me is that it always looks worse before it looks better.


Hardware going on!


Final layer of filler on the drivers side win return.


And the dip in the drivers side gets its last coat of fine filler.


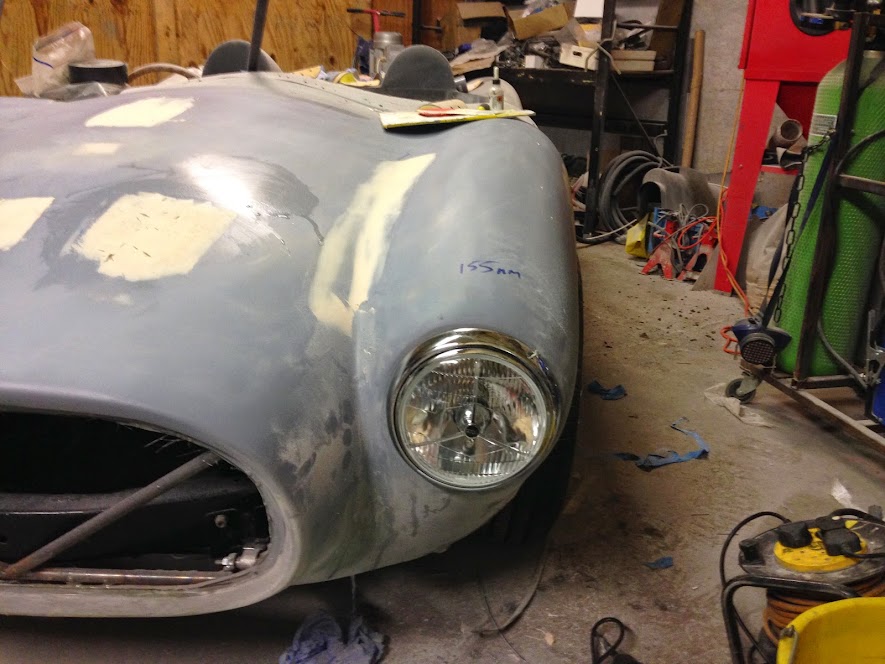
So the plan for tomorrow is to finish the drivers side front quarter and fit the drivers side headlight then remove the bonnet and give the inside a coat of truck bed liner. whilst that is drying I will make a start on masking up the cockpit area and maybe just maybe get the main tub all in one coat of primer filler....hmmmmm we'll see.

TTFN

Mac
15 Nov 2014, 6:27pm
Shame you couldn't find any BIG leather bonnet straps...
15 Nov 2014, 7:10pm
Good progress Mac, it look's like the build is getting ever closer to a finished car, looking forward to see a colour go on.
15 Nov 2014, 8:24pm
Mac - Hope you are feeling better.

Looks like you are making lots of progress in a number of areas. :cool:

Seeing your 'before' & 'after' body work photos always give me hope.

Good luck, Paul. :)
16 Nov 2014, 6:41pm
Got the drivers side quarter done but forgot to take pics :-(
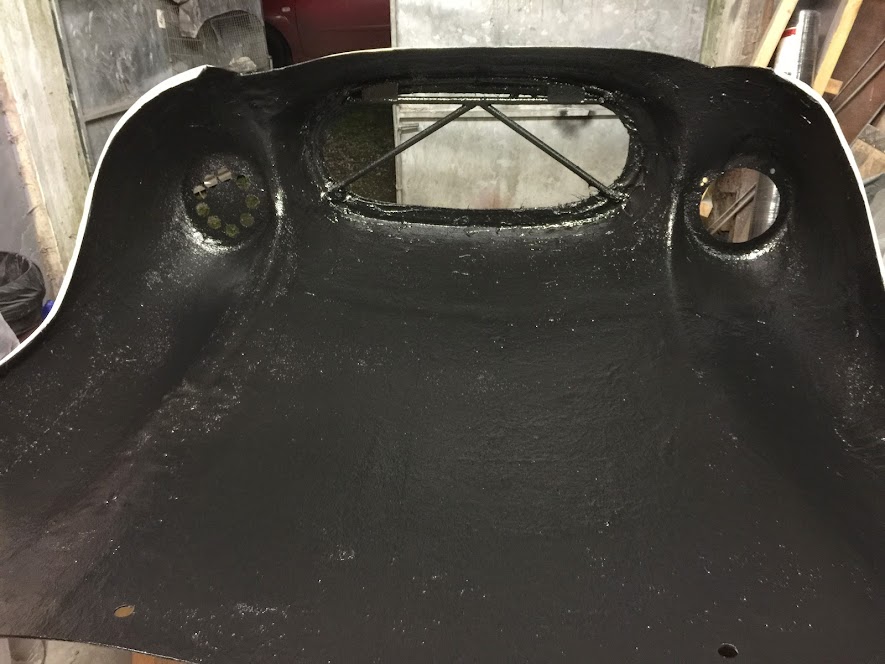
Didn't get the bonnet in primer but did get the inside lined with bed liner. Hopefully bonnet in primer tomorrow night


Got the finish I wanted all one colour and nicely stippled to cover any minor imperfections, it is the underneath after all!

TTFN
Mac
17 Nov 2014, 9:43pm
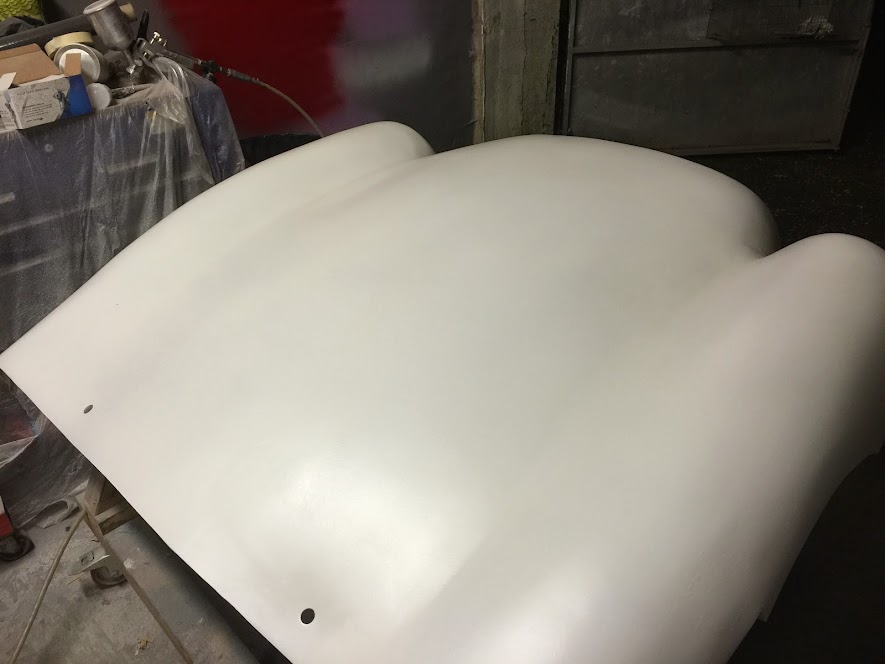
Couple of hours after work tonight and the first of the etch primer is on. The dark patches are dips in the body they are just the fibreglass filler showing through as the etch only needs to be a light coat.
hopefully tomorrow night will see the whole bonnet in high build.


TTFN
Mac
17 Nov 2014, 9:52pm
Mac - Looking good so far. :cool:
18 Nov 2014, 7:21pm
18:50.
Light coat of etch primer, looks like it will take about 30 minutes to flash off.


Back in a bit
Mac
18 Nov 2014, 7:41pm
First coat of high build, couple of annoying runs but being high build they should nib out ok. About 30 mins to flash off then 1 more coat.


Mac
18 Nov 2014, 8:32pm
Looking good Mac, I think I am a million miles from doing stuff like that right now!
18 Nov 2014, 9:39pm
Cheers Scottie, its taken me a lot longer than I thought it would but at last I can sort of see the end of the tunnel......in the far far distance!

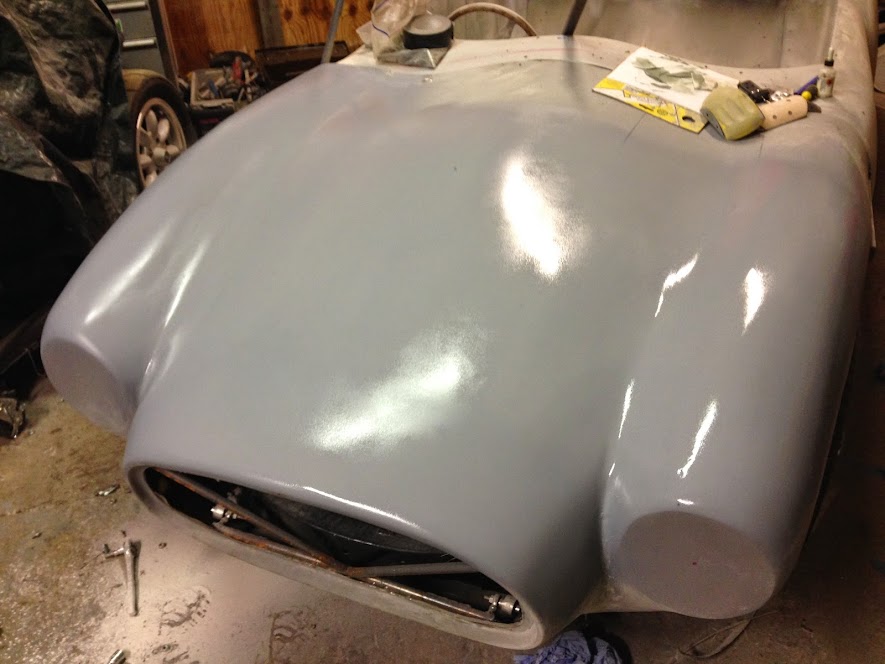
Second coat on


It really is high build!


Very very orange peely


but the good news is that I sprayed a couple of sample bits of ali when setting he gun up and before I left I had a quick go with some wet 320 grit and it sands very easily and gives a great finish with not too much hard work.

Off to see Bryan Adams with SWMBO tomorrow night so at least it will have 48 hours to go right off and Thursday ill be giving it the good news with the wet sanding. Annoyingly having it all one very light colour has also highlighted a couple of areas that need a little rework but am still hoping to have the bonnet in colour if not Friday then definitely Saturday.

For those of you dying to mention it yes I will have the drivers side headlight cut out by then, just keep forgetting to pick up some more fine jigsaw blades.

TTFN

Mac
19 Nov 2014, 4:04pm
Mac - Did you need to sand down the high build primer between coats?

Or is all the sanding down after the second coat has been applied?

As always, thanks for the step by step guide. :cool:

Good luck, Paul. :)
19 Nov 2014, 4:14pm
I was going to mention the headlight Mac, but figured that you'd more than likely twig before the Mot. :-)
20 Nov 2014, 9:08am
Viatron wrote:


For those of you dying to mention it yes I will have the drivers side headlight cut out by then, just keep forgetting to pick up some more fine jigsaw blades.


Mac


boo hiss... i was waiting to see some multi-light 'creation' to rival the Range Rover "Dame Edna" daytime running lights! :)
20 Nov 2014, 4:37pm
is Viatron really Chris Evans

Viatron wrote:


do you have a brace of Ferraris around the back!
20 Nov 2014, 5:15pm
Paul L wrote:
Mac - Did you need to sand down the high build primer between coats?

Or is all the sanding down after the second coat has been applied?

As always, thanks for the step by step guide. :cool:

Good luck, Paul. :)


Paul, went straight for 2 coats, have just finished flatting it back with 600 using my air powered DA, took about 30 minutes. Going to lay down 2 more coats tonight then flat back again tomorrow and get some colour on it.!
TTFN
Mac