MadaboutKitcars

This is a read-only archive of the old Madabout Kitcars forum. New posts and replies are no longer possible, but every thread is still here to browse and read.

Another Cordite Is Born ...

2 Dec 2013, 7:26pm
Yep, primer first then seam sealer then final colour over the lot, keep going Paul youre getting there and at this rate you can always take up welding instead of bean counting ! :eyebrows:
3 Dec 2013, 5:26pm
Michiel & Mac - Thanks for the replies chaps, that is a big help. :cool:
I will wait until all the repair work is finished & then apply the sealer in one go.

Thanks also to Scottie who sent me a few welding tips via a PM last night.

- - - - - - - - - - - - - - - - - - - - - - - - - - - - - - -

Inching Forward...
There was another simple thing I could do to improve my welding...


Yes, a stool/step which made it easier for me to reach the side of the bulkhead.

First job of the day was to weld in the panel I had tacked on (badly) last night.


I think that looks like a slightly better job even before I cleaned up the welds.


Late in the day I also put some anti-rust treatment on this.


The top of the "A" Pillar is in a much better condition than the driver's side.
So I simply cleaned it up a bit...


Treated it...


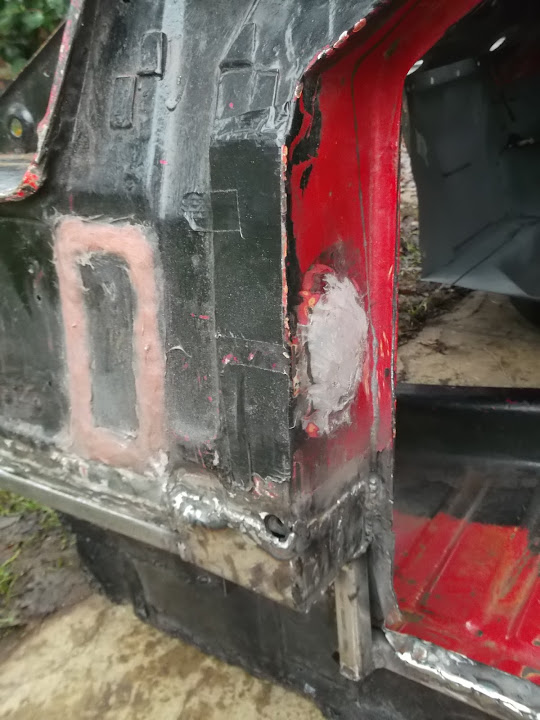
Left that for a few hours to dry, then covered it in filler, after putting a small metal circle over the hole.


There was a bit of filler left over which I use to cover one of the welded up "holes".


I also welded up two more of the factory holes in the "A" Pillar.
( These really are very difficult to get any sort of decent access to. )


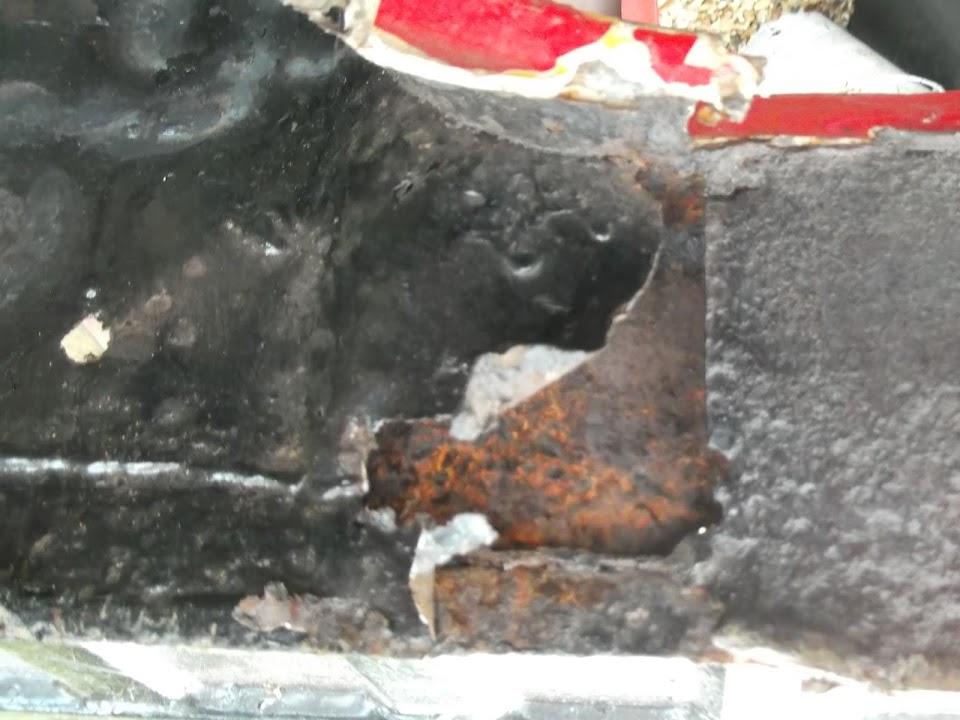
Then I cut a section of the rust / rot out.


Whilst Midas could turn everything he touched into gold...
Everything I touch on this bulkhead seems to turning into a rusty mess. :rolleyes:

In an attempt to sort this out once and for all, I need to cut even more out.
But, as before, I don't want to keep cutting without putting some strength back in first.

So I decided to make the next repair panel in two sections, rather than a single piece as originally planned.


I am very conscious this "A" Pillar will be a patchwork quilt by the time I'm finished.
Even so, welding this panel in now will support the next round of cutting.


Although I may actually sort out an external support structure similar to the driver's side first.
As once again there is wholesale rot along the bottom edge here.


Whilst I had considered a simple patch like this...


It might still be worth going back to a more over engineered solution, so I will have a think.

Until next time, take care, Paul. :)
4 Dec 2013, 8:06pm
I just cannot believe there is that much surface area on a Spit body!
You must have constructed almost a complete car out of patches and bits Paul!
It makes me realise how lucky I was to get a 42 year old rust-free Spitfire.
I needed just two or three tin lid size patches which took no time at all.
You must surely run out of welding jobs soon?
5 Dec 2013, 8:34am
I feel what you're going through with the welding, but at least it's "fun" :)
5 Dec 2013, 10:39am
Good work. Glad I splashed out a fair wedge on my 1966 Herald. So far not had to do any welding.
Slarti
5 Dec 2013, 5:09pm
Scottie, Dave & Slarti - Cheers gentlemen, I think I'm over the half way point on welding the bulkhead.
The irony of all this is that I too paid over the odds for a rust free Spitfire donor.
I sold that tub because I had nowhere to store it & I was not supposed to need it anyway.
If I knew then, what I know now, this build would have been done in a completely different way. :rolleyes:
( That is assuming I would still have touched the original Cordite kit with a barge pole. )

As always, please remember that the new Ribble Navigator does not have these problems.

- - - - - - - - - - - - - - - - - - - - - - - - - - - - - - -

Before I start my update, I want to say of thanks to Mac (Viatron) for sending me this...


It is some of the skate board grip tape that he used on his pedals, which I will use on the Spitfire accelerator pedal.
( Plus some jelly tots too. )
There is already a long list of people I need to buy a beer when this build is done. :cool:

- - - - - - - - - - - - - - - - - - - - - - - - - - - - - - -

Christmas Count Down...
My time available to play with the car is now being cut short by the requirements of Christmas.
I seriously need to get my act together in the next week to break the back of festive things to do.

So nothing at all yesterday, but a little bit of work done today (despite the high winds).

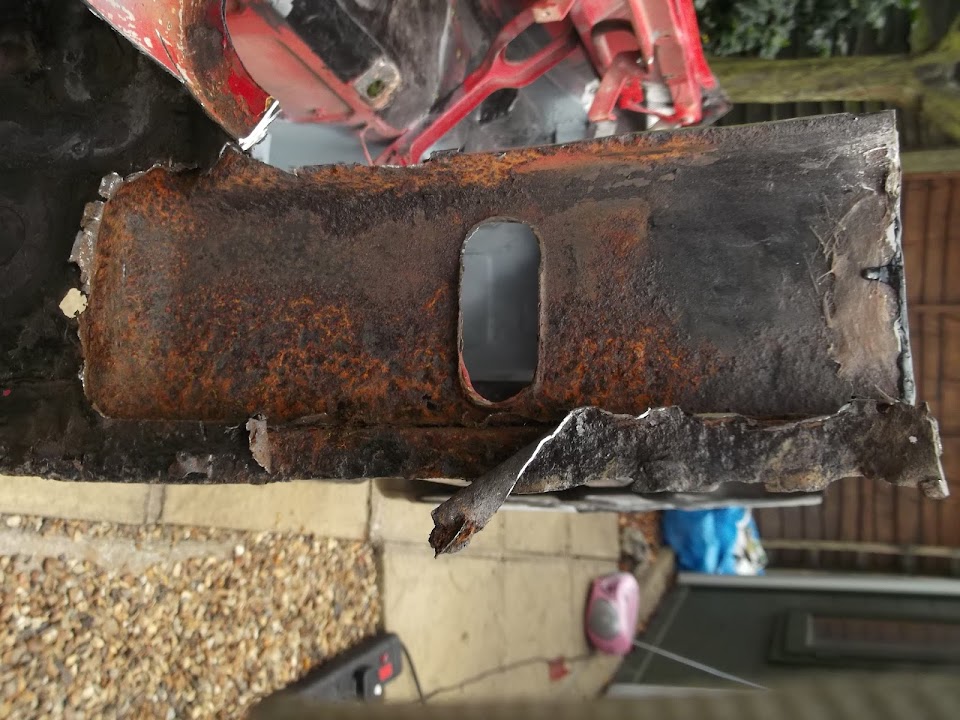
The more I look at the passenger side of the bulkhead, the worse it gets.
( Note: I've turned the photo "upside down" so the bulkhead is the right way up. )


There have been a number of previous repairs which haven't helped.


So to do the job properly, all this dodgy metal work had to go.
( Note: I will remove the bottom edge when the top edge has been sorted out / welded. )


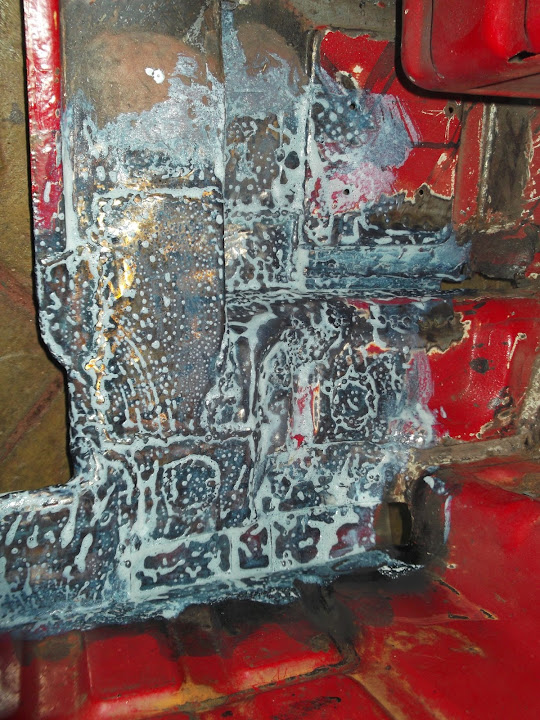
I then cleaned it up with the grinder & got some anti rust treatment on it.


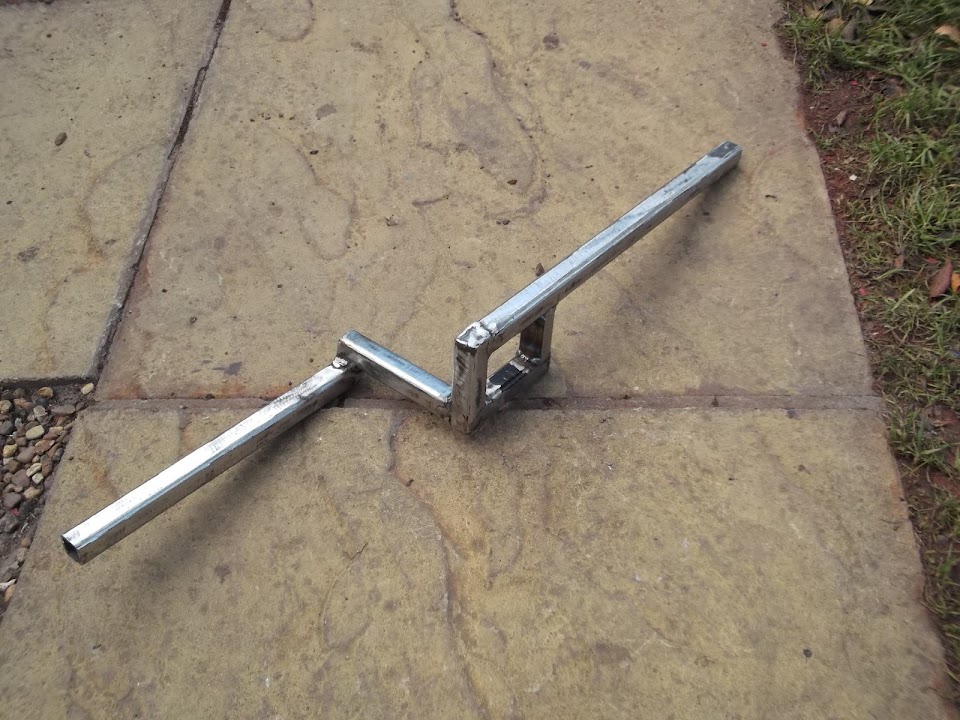
I am going to build an external support structure like the one I used on the driver's side.

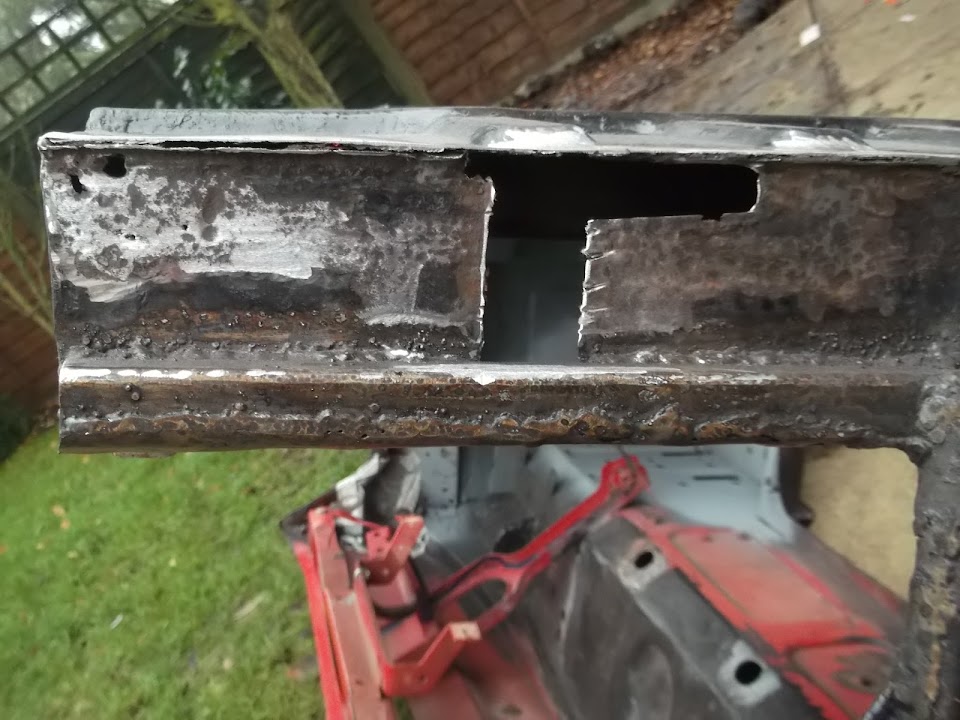
So I needed to cut a selection of box section to do the job.


Which left my Cordite bulkhead looking a little more "compact".


I hope to recycle more of this framework to build the "join" from rear frame to bulkhead.

Using the welding glove on my left hand as a wind break I got to work.
( Think how a smoker lights up on a windy day. )


Note: The box is not square, as the space it fits into isn't either.

The rain came before I could get any further on the welding, but I had finished a few other little jobs by this point.

The factory hole on this edge had a lip on the inside that would foul the external support box section.


Which just needed a little trim / grind to flatten it out at the bottom.


I will weld the "fill in" panel from the other side this time around.

I also got some filler onto the welds around the repair patch where the bonnet catch used to mount.


I used the last bit of filler I'd mixed over some of the repairs around the "A" Pillar.


Until next time, take care, Paul. :)
6 Dec 2013, 4:32pm
A bit of prep. work...
If this bulkhead had been a horse, it would have been put down by now, to save it from further suffering. :rolleyes:

I grabbed the little time I had available to continue building my external support structure.

This is the section I have already completed just resting in place.


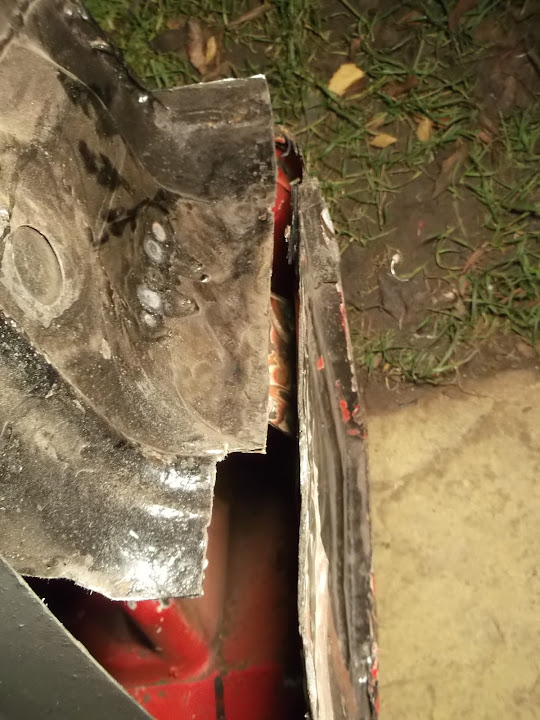
The bulkhead metal that the box section "box" is resting on is rotten and needs to be cut out.
This will let the box section "drop" a little as you look at the photo (obviously the bulkhead is upside down).
Which, in turn, will close the gap that a repair panel will need to bridge.

I then started capping some of the ends of the box section before the final welding.


Then the next section of the external support went on.


I ground out small notches on both edges of the final joint as it needs to be at a slight angle.
Then I clamped the two parts to the bulkhead and tack welded them where they joined.


Once it was joined I could remove everything and finish off the welding.


This is what it looks like in its final position.


All I need to do now is make all the repair panels I need and weld them into place.
The "A" Pillar repair work already completed is still holding the bulkhead in place.
So it should be more straightforward this time around (touch wood).

Christmas tree goes up tomorrow, so not sure if I will get a chance to play.

Cheers, Paul. :)
6 Dec 2013, 7:22pm
Christmas tree tomorrow!!1 had to persuade my Missus not to stay up until 1 minute past midnight on the 30th!
7 Dec 2013, 5:51pm
Mac - Well my children want the tree up on the 1st, but my wife would prefer it went up just a few days before.
So I get to play UN peace keeper & pick a date in the middle, but closer to the girls' wishes (well, it is Christmas).

This year they were given full, unsupervised, control of decorating the tree, rather than just help me do it.
We are firm believers in the "more is more" approach to Christmas trees and here it is...


- - - - - - - - - - - - - - - - - - - - - - - - - - - - - - -

With apologies to Irvine Welsh...

[COLOR="Blue"]Bulkheadspotting

"Choose life. Choose a job. Choose a career. Choose a family. Choose a big television, Choose washing machines, cars, compact disc players, and electrical tin can openers. Choose good health, low cholesterol and dental insurance. Choose fixed-interest mortgage repayments. Choose a starter home. Choose your friends. Choose leisure wear and matching luggage. Choose a three piece suit on hire purchase in a range of fabrics. Choose DIY. Choose sitting on that couch watching mind-numbing spirit-crushing game shows, stuffing junk food into your mouth. Choose your future. Choose life . . .

But why would I want to do a thing like that? I chose not to choose life. I chose something else. And the reasons? There are no reasons.

Who needs reasons when you've got a 40 year old rusty piece of metal to repair?"

[/COLOR]
:icon_wink:

I did get a brief spell outside and a couple of small jobs under my belt.

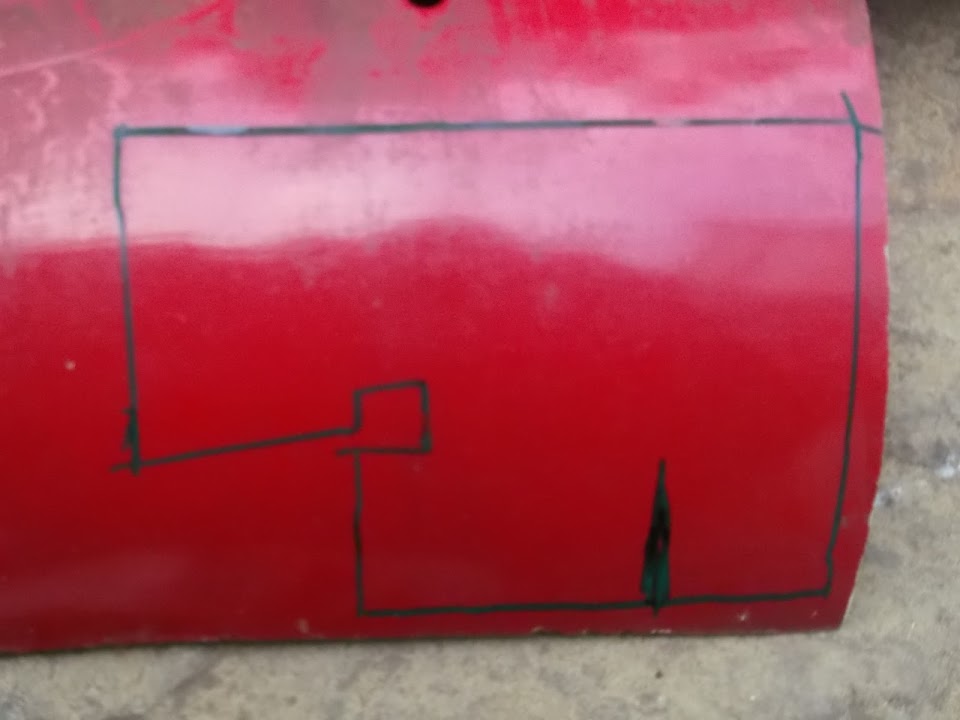
The first was making a cardboard template for a repair panel.


Which I marked up, cut out & cleaned up.


I just need to cut out a little bit more so it will fit around the box section.

I also need to make another minor adjustment before I fix it.
I had put black tape over the holes for door hinge mountings to keep the rubbish out.
But I only remembered this when I started to clean up the metal ready for welding. :rolleyes:


The "Trainspotting" quote above came to mind while I was trying to work out the other repair panels needed.
The hunt for good metal to weld the repair panels to was really starting to do my head in. :icon_evil:

But, in the end, I knew I needed to cut even more rust out and just get on with it.
I can a section of metal left over from the panel I started repairing the "A" Pillar with.
So I welded that in as a brace between two sections of the bulkhead.


This allowed me to cut the entire join between these two panels out once & for all.


The external box section support will cover this hole, so I needed to remove the rot before I welded that into position.

By now, the sun had gone down and the temperature was rapidly following it.
So I called it a night and with a bit of luck I will get to start welding it all back together tomorrow.

Well that is assuming I get a whole butch of Christmas cards written tonight. :rolleyes:

Cheers, Paul. :)

PS
Living in London, it is not unusual to have Police / Medical helicopters overhead.
I guess last week's tragic accident makes you a bit more aware of them than usual.
But while I was working on the bulkhead this one was circling particularly low.


Thankfully as it dropped below the roof lines it was just landing in the local park to collect & take someone to hospital.


So no matter now bad the bulkhead is, I don't confuse this with a real problem.

"Let's be careful out there."
7 Dec 2013, 9:18pm
That Trainspotting quote (ish) has made me dig my copy out thing i may have to watch it tonight after SWMBO have gonr to bed.
8 Dec 2013, 5:30pm
Mac - Obviously I had to make the Trainspotting quote a bit more "family friendly". :icon_wink:

I did go through my box of bits and I couldn't find a spare for that hand brake nut you were looking for. :icon_sad:

- - - - - - - - - - - - - - - - - - - - - - - - - - - - - - -

Christmas Preparation Check List:
- Bulk of Christmas cards written - Tick
- Shopping trip with family - Tick
- Festive DVD watched with family (Arthur Christmas) - Tick

Alternative Christmas Tree Chore:
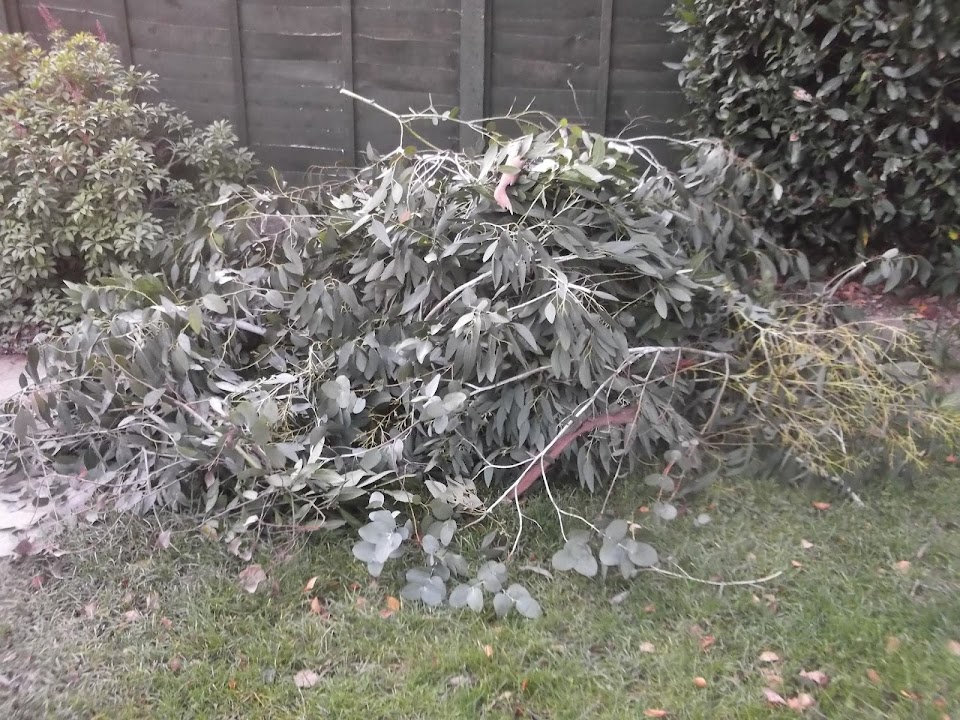
The other day I had to clear all the branches overhanging into our neighbours garden...


So somewhere along the line I need to get this mess sorted out as well.
If you look closely on the left you will see filler dust from preparing the repair panel yesterday.
( I managed to cut the panel from the same filler caked wing as before. :rolleyes: )

Car Work:
Managed to get a bit of time outside just as the sun was starting to set.

Welded the external support arm in fully along one side.


I then hammered the edge of the bulkhead over to meet the box section.


Then that too was welded to the box section.


I didn't quite finish this line of welding as I ran out of wire.
The new welder was supplied with 6mm wire, but I have a spare reel of 8mm.
It will not take long to switch it over, but it was already dark, so I did something else.

I hammered the repair panel I cut out yesterday into shape.


And this is it resting roughly in place.


It will end up a better fit when it is clamped into position and welded.

Until next time, take care, Paul. :)
8 Dec 2013, 10:22pm
Hi Paul, back on the forum after a very extended break. You've got so much on your build, I could do with a quick summary of where you are at now?

You seem to have made some mods along the way, but without reading it all I'm not sure what and why.
9 Dec 2013, 5:57am
You are becomming a hack of a welder Paul. The finish must be near as far as the bulkhead goes. Keep it up man.

Regards,

Michiel
9 Dec 2013, 9:44am
DonnySoutherner - Welcome back Simon, I often wondered what happened to you & your build.

As requested, here are my build highlights from the last 12 months...

Dec.12
- Managed to restart the engine which was great for morale

Jan.13
- Cut holes in the bonnet for the headlights & grille
- Discovered my optional seat belt mounts fouled the bodywork
- Played with front indicator & rear lighting layout options
- Started the beard scratching process about how to fit the doors

Feb.13
- Had first welding lesson
- Made and test fitted a battery box similar to your build

Mar.13
- Discovered the doors were junk as they came apart in my hands
- Bought a complete Spitfire body shell for the price I'd been quoted for just the rear arches
( I'd been on the look out for rear arches to copy that idea from your build for a while )
- Thanks to AndyP57 I took delivery of my final missing kit parts & some upgraded floors

Apr.13
- Removed a large section of the Spitfire body shell & test fitted the Cordite bodywork on top
( As Ribble had attempted to do this in a similar way to the Tribute A352 kit "next door" )

May 13
- Removed all of the Cordite framework and test fitted Spitfire shell & Cordite bodywork to the chassis
- Eventually abandoned this idea completely and opted to use the rear arches as originally planned.
- Then I came up with a Frankenstein build, which involves bolting the Spitfire bulkhead to the Cordite rear frame.
- This solved all the problems with pedals, steering column, foot wells, dual line brake master cylinder (after making a recess panel), etc.
- Started modifying the Cordite rear frame to take the new floors & rear arches
- I also made seat belt mounting brackets and welded them to the rear frame

Jun.13
- Rear framework was now complete
- Started modifying rear arches to fit around the framework so I could keep the hand brake panel intact
( This is a slight variation on the way you did it, a lot more work, but should be good )

Jul.13 & Aug.13
- Left my job and took some time off to re-group and take an epic family holiday to Florida

Sep.13
- Finished the rear arches
- Finally fitted the rear spring lowering block

Oct.13
- Test fitted the rear frame, rear arches & lowered floor pan "combo"
- Finally worked out that the original Cordite body used a Herald bulkhead, which was why stuff didn't fit properly
- Then had a "vision" that said rather than cut the bulkhead to fit the bodywork, I should cut the body to fit the bulkhead
- Started repairing the Spitfire bulkhead & found out it was a 1972 MkIV, not a 1500 as advertised

Nov.13
- Learning the hard way how to make repair panels & weld the bulkhead back together one step at a time

Dec.13
- Still working on the bulkhead, did I mention it was a rusty piece of junk?

Writing a quick summary like this makes me realise just how much work I have put in.
I know I still haven't reached the bonding the body to the framework stage yet.
But I have been down a number of blind alleys and struggled to make sense of it all at times.
The bulkhead restoration isn't really Cordite building as such, but it will be a big help in the end.
I have also learned a lot which should allow me to do all the other jobs the build needs.
Like fitting my new micro heater & modifying the dashboard which are next on my list.

- - - - - - - - - - - - - - - - - - - - - - - - - - - - - - -

Michiel - Cheers. :cool:
There is still a lot of work to do on the bulkhead, but the end is within sight.

- - - - - - - - - - - - - - - - - - - - - - - - - - - - - - -

Hopefully I will get a chance to play with the bulkhead later on, as I am on sick child duty at the moment.

Take care, Paul. :)
10 Dec 2013, 7:42pm
Monday:
Spent the day indoors as my daughter was off school, so no work on the car, but that's OK by me.
However, I was able to earn a few brownie points by doing some of the Christmas house cleaning.
I also wrapped my wife's present.

Can you guess what it is?


:icon_wink:

Obviously she told me what to buy & was happy with a second hand Ebay purchase (hence no big box).

Tuesday:
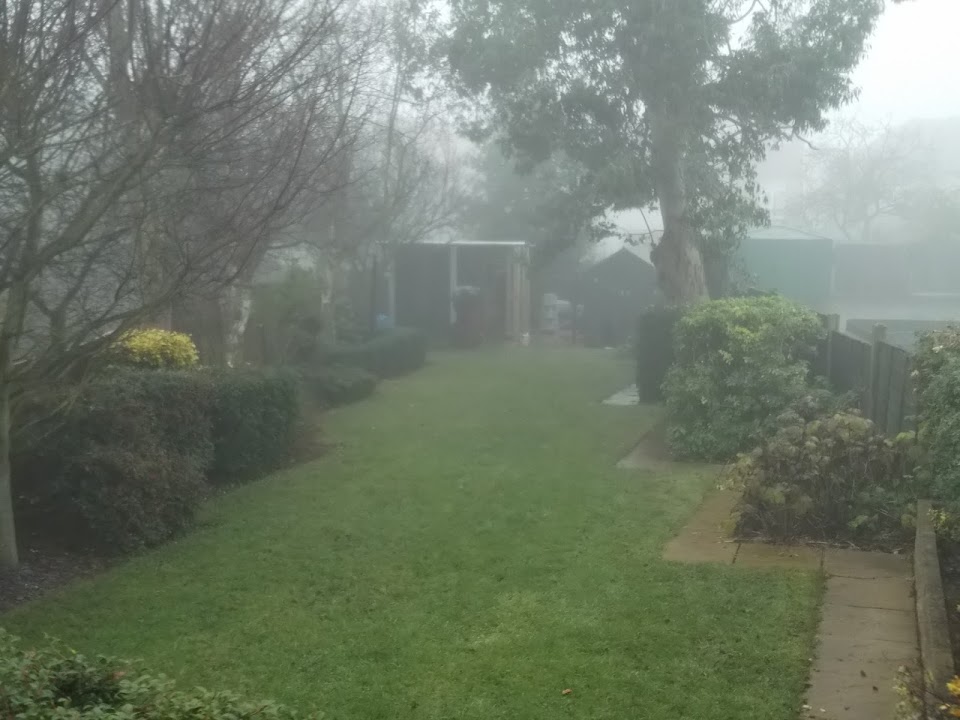
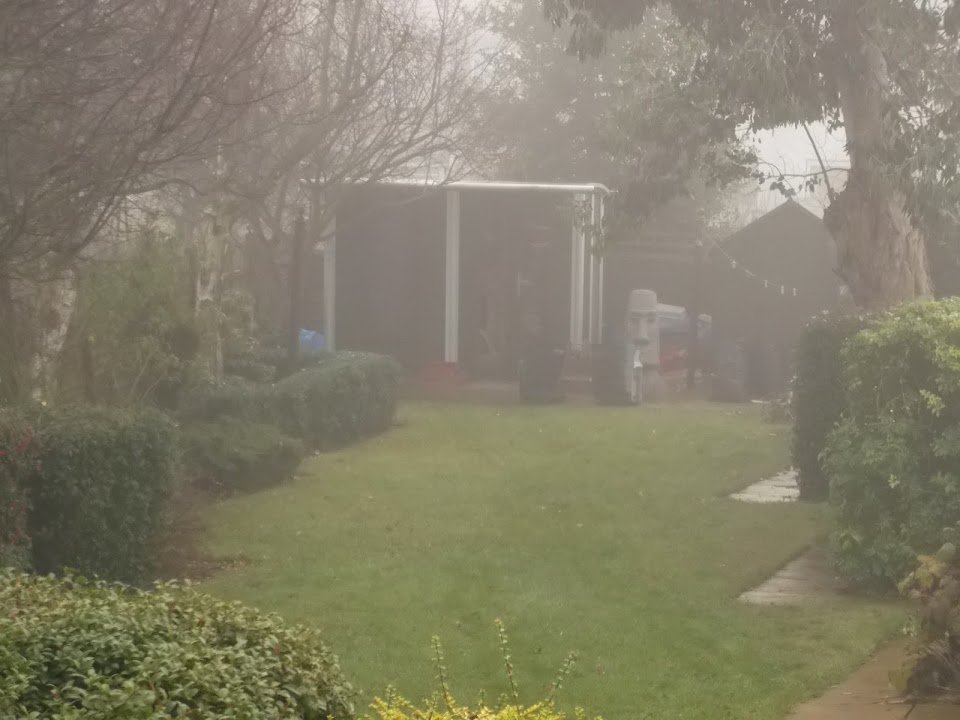
Very foggy this morning & bloody cold outside too, I could still see my breath at midday!
First job of the day was to re-set the welder for 8mm wire & get a new reel loaded.
This also meant changing some of the settings I'd just got used to with the 6mm wire.
But apart from being a bit hit and miss in places, it was all good.

First Repair Panel:
I had already prepared this panel, so it was simply a case of clamping it in & welding it on.


And this is how it looks with the bulkhead the right way up.


Second Repair Panel:
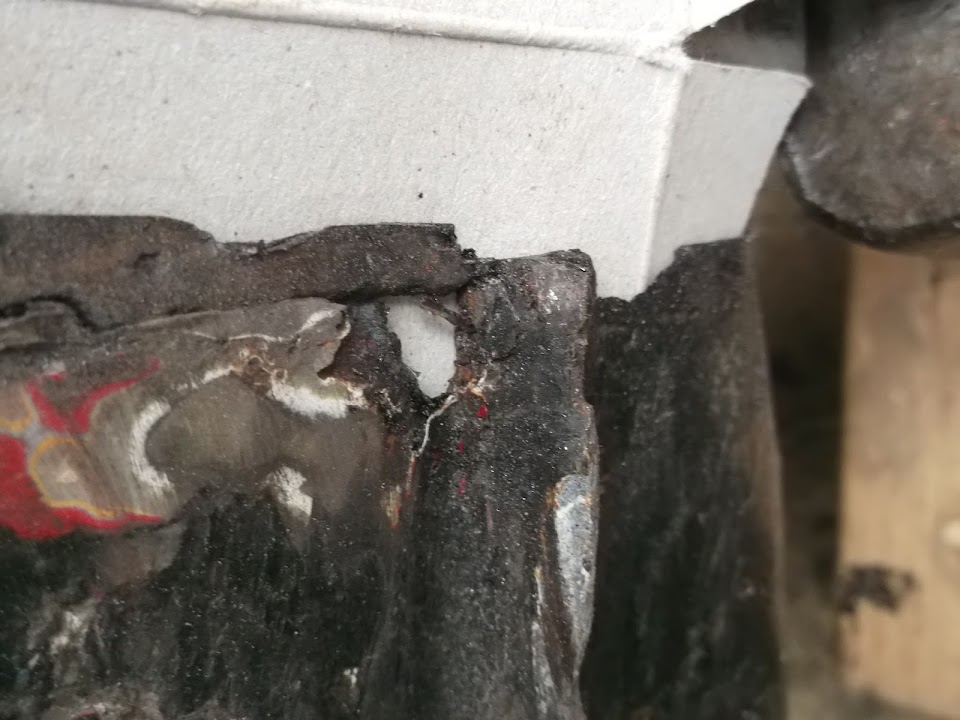
I discovered yet more rust around the front corner (I put some card behind just to help the photo).


So I will come back and sort out a separate panel for that whole area later.
In the mean time, I just made sure the next panel stopped short of this area.


As with the driver's side, I welded the bottom edge first, before hammering the top edge & welding that.


Third Repair Panel:
This was to finish off the "A" pillar, that I couldn't do in one piece as there was nothing to weld it too.
This was the "hole" (not easy to see in the photo) and the surrounding area was given some anti-rust treatment.


This was the panel & where it would be fitted.


And this was it all welded into place.


Forth Repair Panel:
There was just one hole left next to the "A" pillar that I needed to cover.


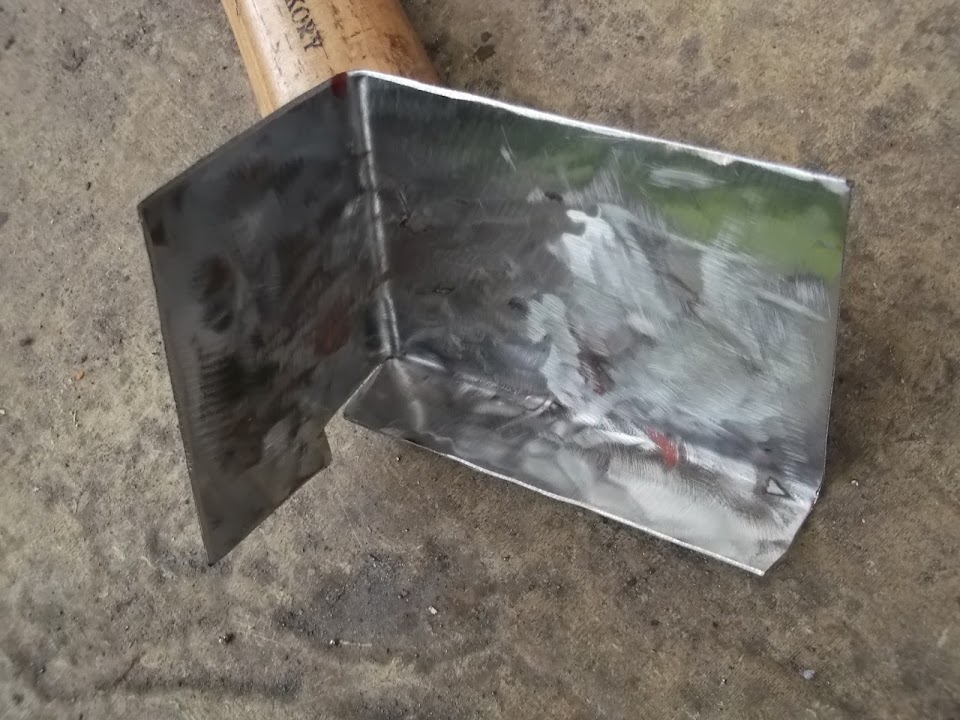
As this needed a bit of shaping, I cut slits / tabs in the panel as before.


By now it was getting dark and as I was crawling inside the bulkhead to weld I couldn't see what I was doing.
So although I have started to get the panel in place, I will come back and re-do bits / finish the welding tomorrow.
The photos aren't great either, but hopefully you can still get the general idea.

The panel started off flat.


Then with one edge welded, it got hammered into shape and welded along another corner.


There is still a bit of fine tuning to do on the final shape, but this is how I left it.


Based on the work I did on the driver's side, I know this will look OK after I have applied some filler.
As before, the key for me is that all the repair work is solid metal and has all the strength required.

Although part of me actually quite likes the whole Frankenstein effect where the panels have been "stitched" together.

Until next time, take care, Paul. :)
10 Dec 2013, 7:59pm
hi yes i can guess....i also wrapped my wifes present today/?????????
a lovely set of new wire wheels tyres and adaptors..i hope she ikes them ....
and how much i spent on her ...merry christmas ikon
10 Dec 2013, 8:08pm
More awesome stuff Paul, you surely must finish the welding soon!
11 Dec 2013, 8:58am
Paul L wrote:
Monday:
I also wrapped my wife's present.

Can you guess what it is?


:icon_wink:


Looks to me like you've bought her half a rolling road so you can test your finished car. Is she getting the other half for your present? So lucky :biggrin:
11 Dec 2013, 11:01am
A trouser press ...... :icon_razz: ... how original.
Happy Christmas
Slarti
11 Dec 2013, 5:45pm
Clive, Andy & Slarti: - Cheers chaps, thankfully I've almost finished my Christmas chores.

Scottie - Thanks. After today's effort I am finally getting closer to the home stretch on the bulkhead.

- - - - - - - - - - - - - - - - - - - - - - - - - - - - - - -

Quick Christmas Quiz:

Can you spot the difference?

9am


12.40pm


3.50pm


[COLOR="Red"]Answer:[/COLOR]

That's right, there is pretty much no difference, it has been cold and miserable all day long. :icon_sad:

Pea Soup Anyone?:
I left the welder inside the summer house while I did my welding just outside, as there was so much moisture in the air.


Despite the "less than ideal" conditions, I did manage to make a bit of progress today.

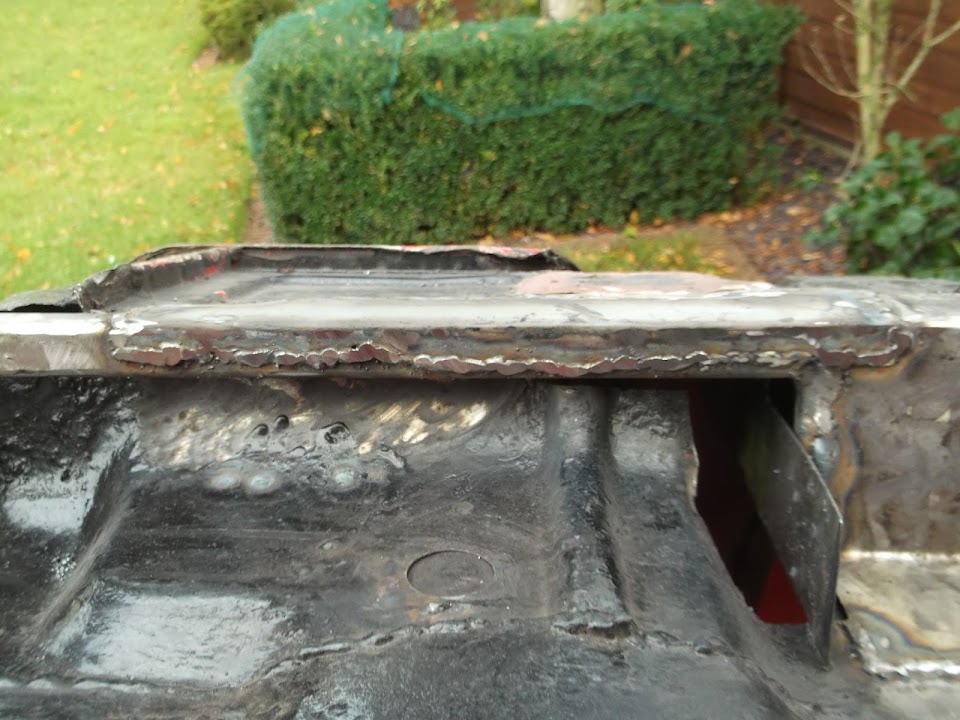
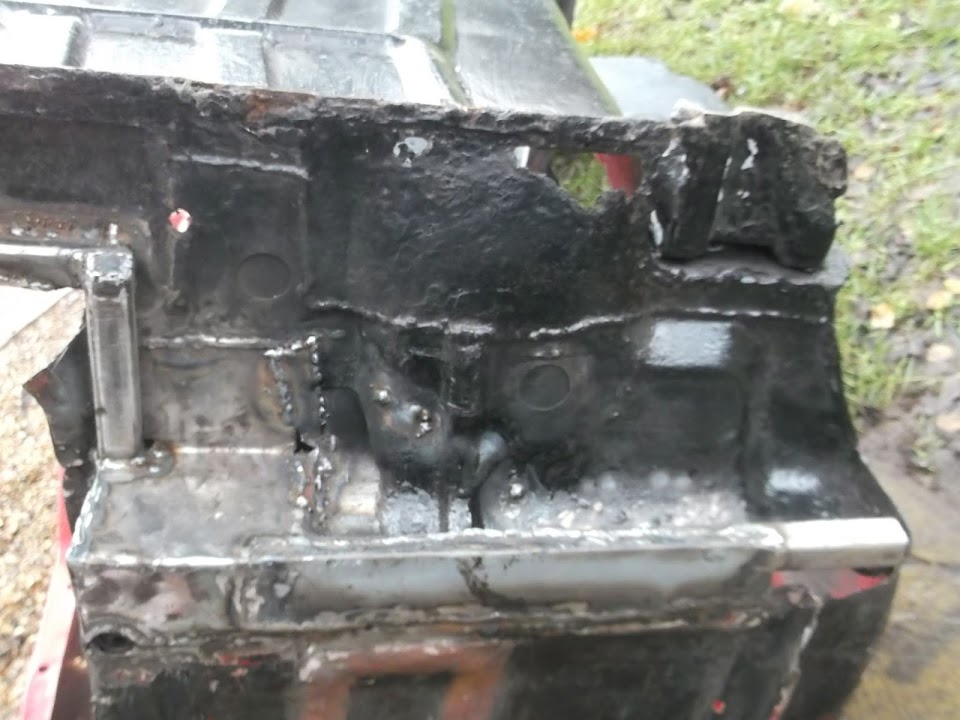
I finished off the welding on the repair panel I started yesterday so the "A" pillar is complete on the inside.


I can't wait to get some filler over this patch work quilt of repairs (mine & previous owners).

There was still a small gap on the outside between the new panel & the old metal.


But I put a small repair panel over the top of the two edges to seal the area.


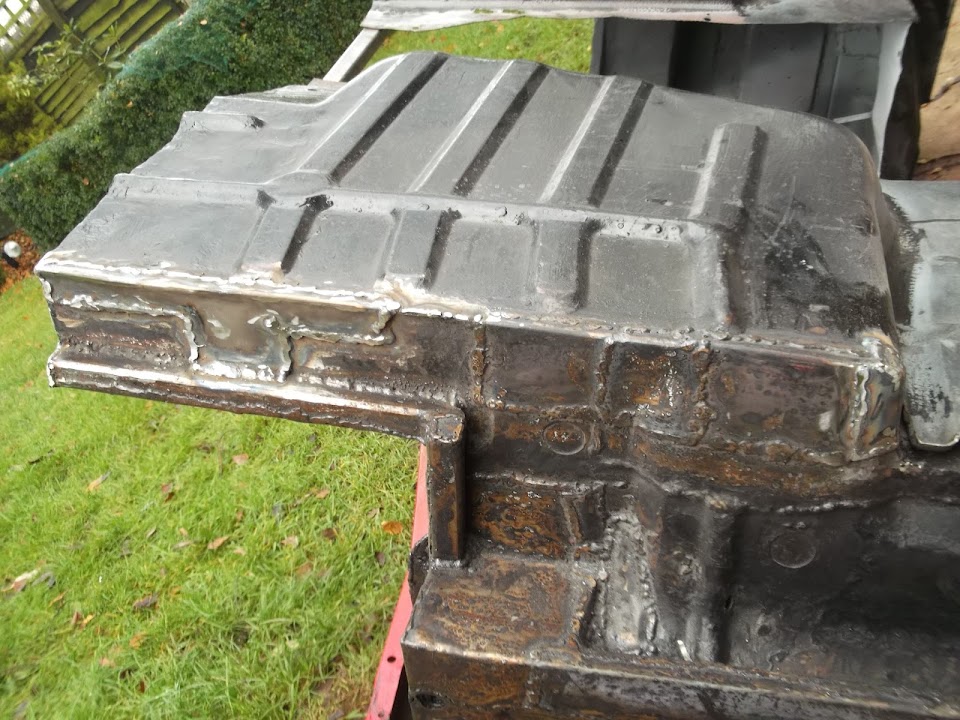
I also hammered over one remaining edge of the bulkhead to meet the box section.


I then welded those edges together and added a small patch to cover the gap.


The more I looked at this bottom edge, the worse it looked with holes and rotten metal.
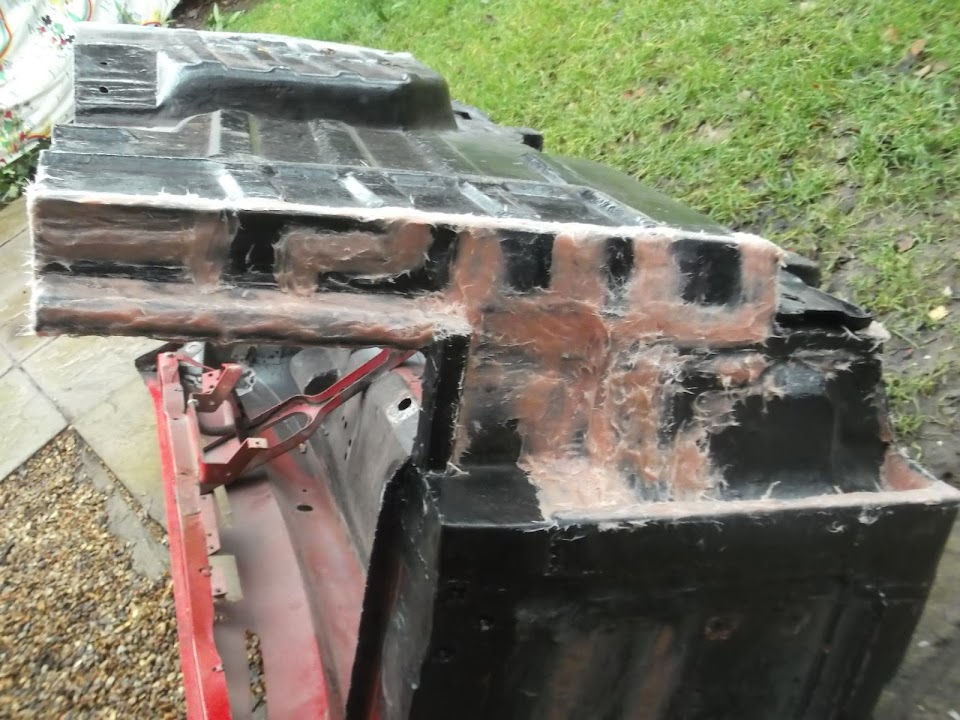
( Obviously the bulkhead is upside down for ease of access. )


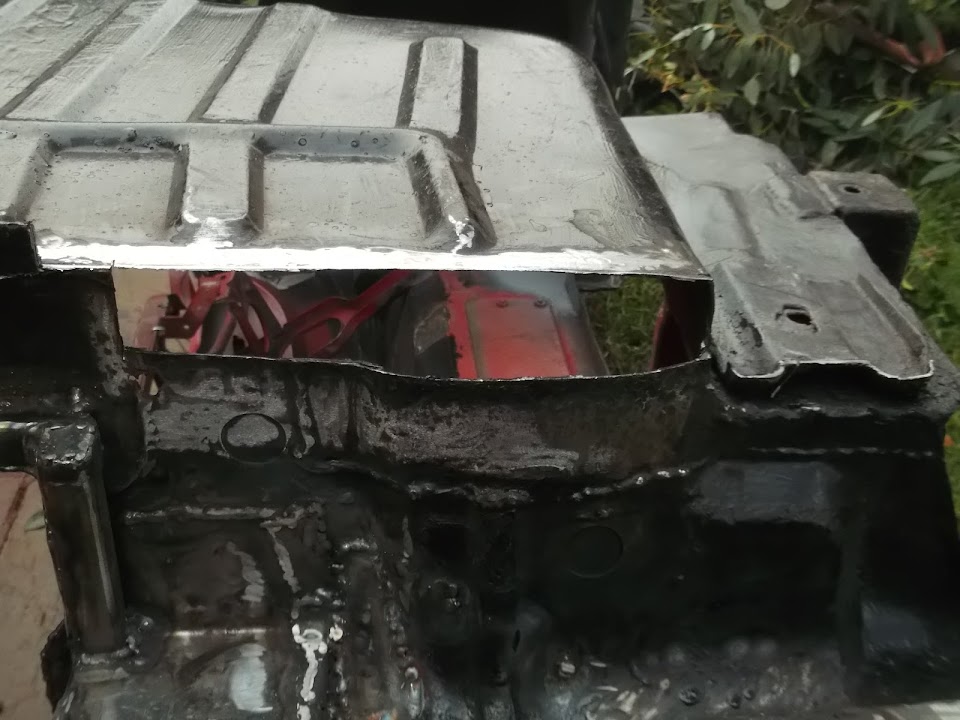
So drastic action was called for and I cut the whole lot out.


Initially I was planning to run a single repair panel across the whole length.
But then I remembered that there was a curve in the bodywork that I couldn't match.
So I cut my repair panel into sections and welded the first two pieces in.


Then I cut the next repair panel at an angle that allowed me to hammer it into shape.


This is what the outside of the bulkhead looks like now, with more work still required.


Note: There is a rock propping up the bulkhead that makes the bottom edge look odd, but it is straight.

The final job for the day was to get some anti-rust treatment over the repairs, inside & out.


Whilst I have definitely broken the back of the bulkhead welding, there is still a bit to do.
As long as I can keep chipping away at it, the passenger side should be completely finished before Christmas.
( Touch wood. )

Cheers, Paul. :)
12 Dec 2013, 5:43pm
Getting There...
Slowly, but surely, the bulkhead is returning to solid metal, one repair panel at a time.

I started with the lower edge at the rear of the bulkhead.


Then I removed the edges and some of the worst rust / rot.
( Some of the small holes were welded over. )


Before I used a repair panel to completely join the two sections together, I clamped them up.


Then ran some weld along the edge of join first (not a great photo).


Then the repair panel went in and this covered both the cut out sections and the "factory" hole.


Capping the edge of the box section at the rear of the bulkhead was straight forward.


Then I tackled the front corner section on the lowest edge of the bulkhead.


At this point the entire lower edge of the passenger side of the bulkhead was complete.


There was a little run of weld required at the back of the bulkhead.


At this point I gave the newly welded in panels a coat of Kurust & re-did the surrounding area while I was at it.


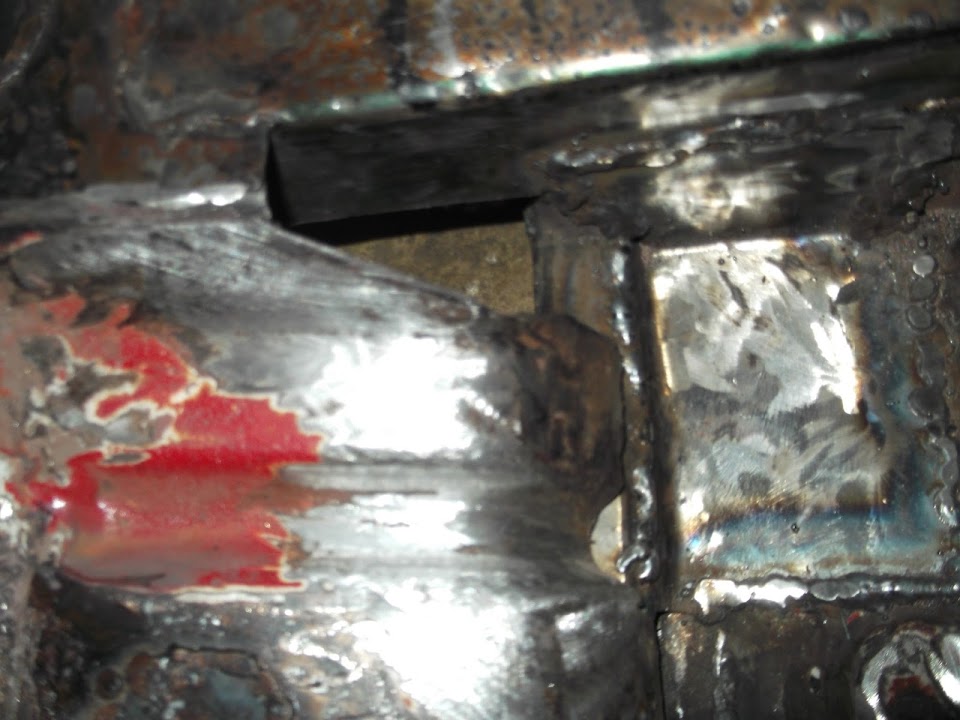
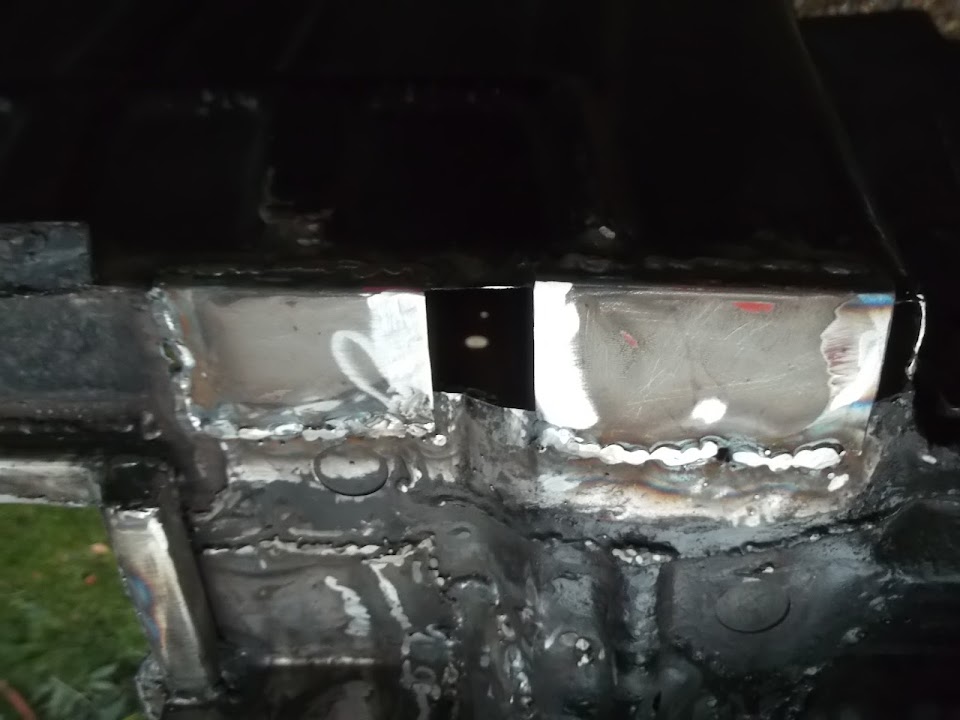
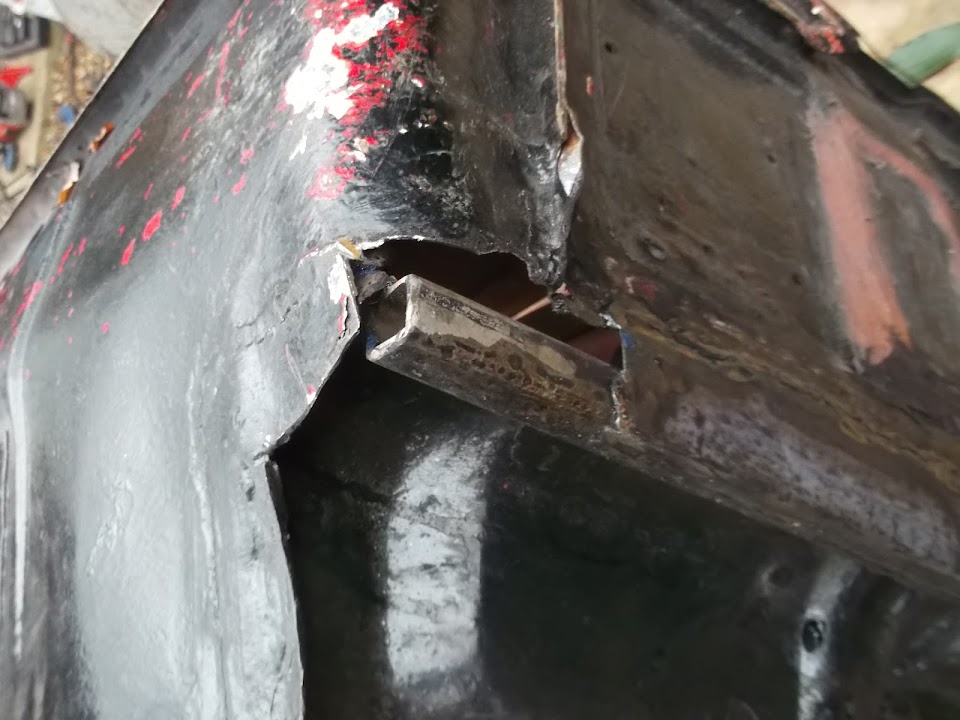
The last repair of the day was to the front corner where the external support arm ends.


Obviously the first thing I needed to do was make it worse!


However, this allowed me to weld the edge of the internal panel to the box section.


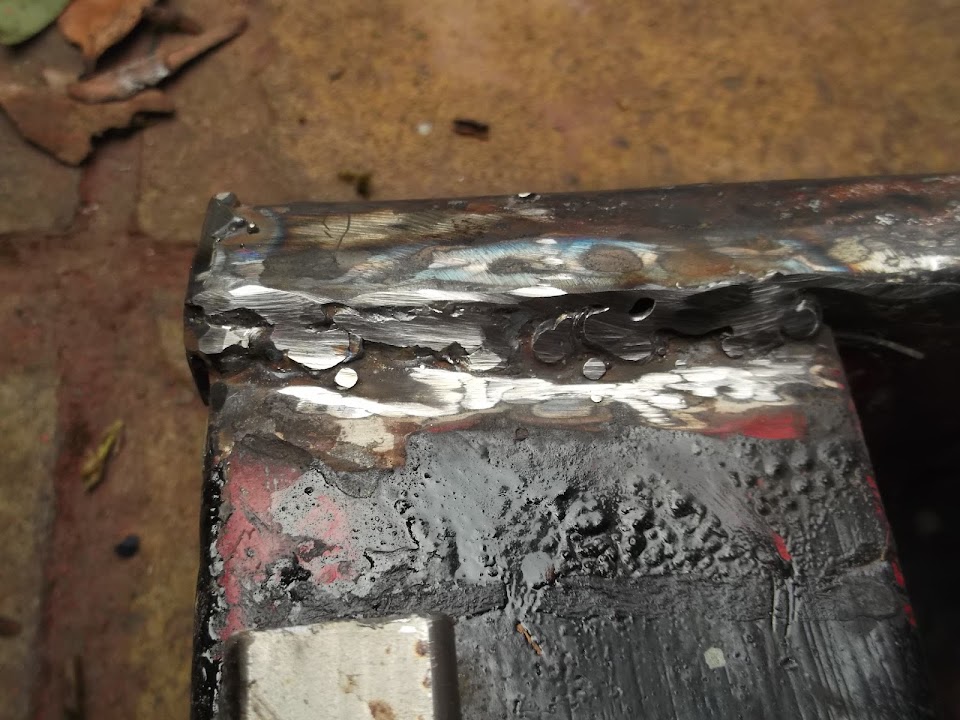
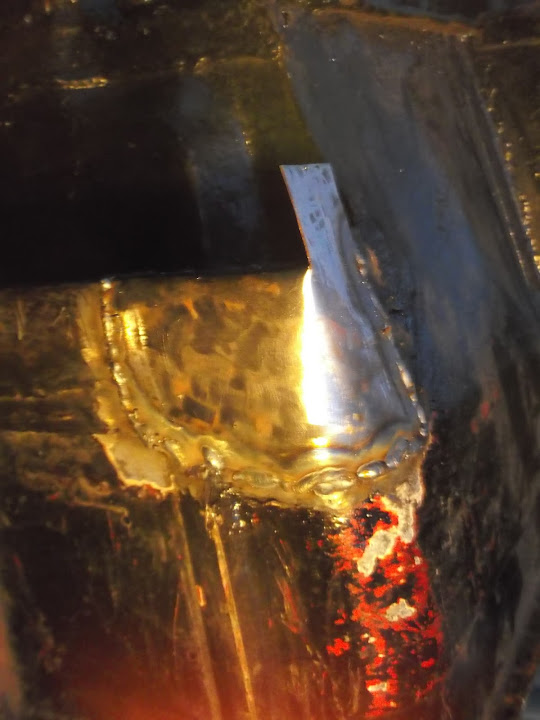
Not a great photo, as the light was fading fast, but you can see I also capped the end of the box section while I was at it.


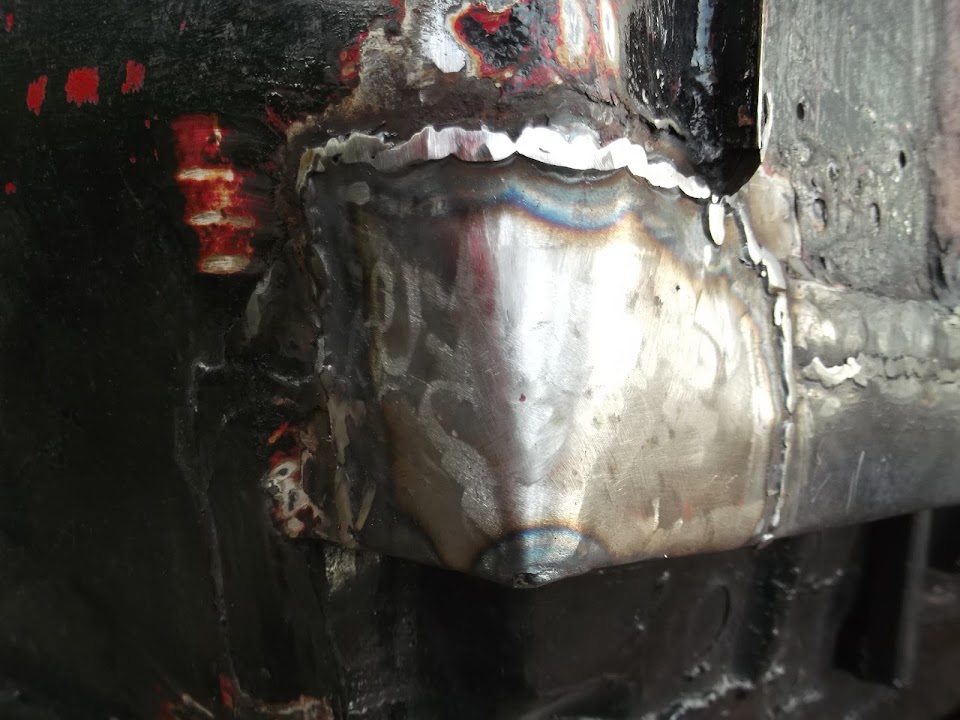
Then the repair panel was welded along the edge of the box section as a flat piece of metal.


Before being hammered around the corner and welded along the remaining edges.


By now it was too dark / cold / misty to continue, but still pretty good progress for the day.

The remaining passenger side welding jobs are:
- Finish off this corner
- Patch two small rust holes
( Well they are small now, but I have still to challenge them with the "screwdriver of truth"! )
- All the edges that overlap/meet the external repair panels on the inside of the bulkhead.

The remaining bulkhead welding jobs are:
- Inside edges of the bulkhead where the gearbox cover fits
- Support structures for the heater and dashboard

So still a bit to do, but the work can finally be counted in days, rather than weeks / months.

Until next time, take care, Paul. :)
13 Dec 2013, 7:37pm
Keep plugging away mate the end is in site! Of this episode anyway!!!
:doh:
13 Dec 2013, 8:15pm
Welding


[IMG][/IMG]
14 Dec 2013, 5:05pm
Mac - Thanks, although I'm trying not to think about all the episodes that remain. :rolleyes:

Scottie - Cheers, the fact I was welding on to the thicker box section really helps.
Unfortunately, I am still struggling when it comes to welding thin metal. :icon_sad:

Working out what I am going to do with the micro heater and dash board is next on my list.
Well, that is after I have slapped on a ton of filler to this latest batch of bulkhead repairs.

- - - - - - - - - - - - - - - - - - - - - - - - - - - - - - -

Saturday:
I had to take it easy on Friday as I felt rubbish, no doubt working outside in the cold & mist hasn't helped.
Still, I was able to get a bit more done today which all helps.

I finished off the corner section that I started welding in on Thursday.


This left me with just two rust holes to repair.

Hole #1


Hole #2
( Sorry the first photo is a bit blurred. )


I then ran a line of weld along this edge where two panels join.


Which meant that the passenger side was now looking like this.


Note:
The bolts are in the door hinge mounts in preparation for my next welding job.

In the meantime, I gave a final coat of Kurust to both the inside & outside.


There were a number of small holes in the area of the hinge mounting plates.


I will weld up the biggest one and simply cover the other little ones with filler.

In order to weld the mounting plate into position I had to use one bolt to hold it in place.


That allowed me to weld two "holes", before removing the bolt and welding the third hole.


I did the same for the bottom bracket and this is the side view now.
( I did test fit all 6 bolts and they all went back in with no problems. )


I will have to build up the area around the bottom hinge as the repair panel is higher than the surrounding metal.

Final job of the day was getting some Kurust on to the bare metal.
( Sorry, yet another blurred photo. )


[SIZE="4"][COLOR="Blue"]I herby declare that all the welding work on the passenger side of the bulkhead is now complete![/COLOR][/SIZE]

:cool:

With a bit of luck I will start the epic "fillerathon" tomorrow, subject to my Christmas chores.

Cheers, Paul. :)
15 Dec 2013, 11:55am
A Start...
Only had the chance for a quick session outside before the weather & Christmas stuff stopped play.

So the epic "fillerathon" has begun...


I just want to roughly smooth over the welds, not create completely flat surfaces.
So the overall effect will be quite "bumpy", but most of this will be covered by the Cordite bodywork anyway.

The scary thing is, that even after this short session I still have quite a bit of the repair work on the outside of the bulkhead to cover.
I want to complete all of the outside before I switch to the inside surfaces, some of which will be a lot harder to reach.
At least I will only be trying to get a bit of filler in there, rather than the welding touch, banging my welding helmet as I go. :rolleyes:

Right, got to go, Paul. :)