MadaboutKitcars

This is a read-only archive of the old Madabout Kitcars forum. New posts and replies are no longer possible, but every thread is still here to browse and read.

Ericholm 250 SWB Build thread

22 Apr 2018, 11:34am
Well I started on the CLK airbag, no problem with any of the underseat connections so had a look at the wiring running along the inside of the sill. Bloody millions of wires, quickly stuffed them all back and have arranged for my Merc indy to come out and have a look. I know when I'm defeated.
Next my daughters MX5, front calliper sticking and it won't retract far enough to be able to fit new pads. Have had to order new discs as well due to the siezed calliper scoring the disc.
Bit of a lunch break and I'll have a look at the steering rack on the Z3, but have to get he ramps out from under the Daytona first.
Doncha just love a relaxing Sunday!
28 May 2018, 3:59pm
Ready for the London to Brighton Run next weekend.

I have a confirmed start time from Greenwich park of 10:19am 3rd June car number 567.

So took the car out today on a reasonably long run and all is well.

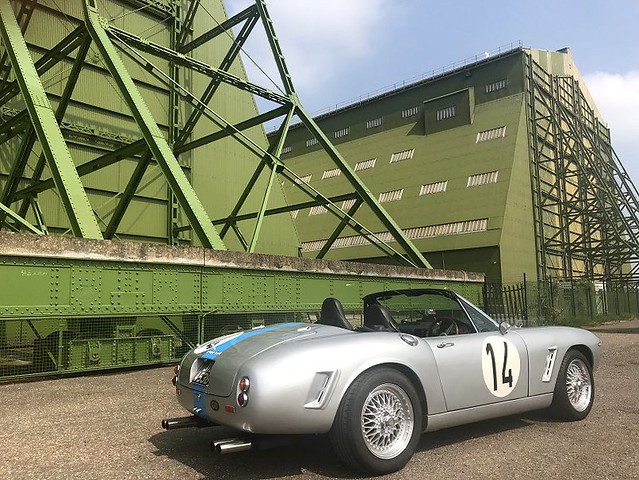
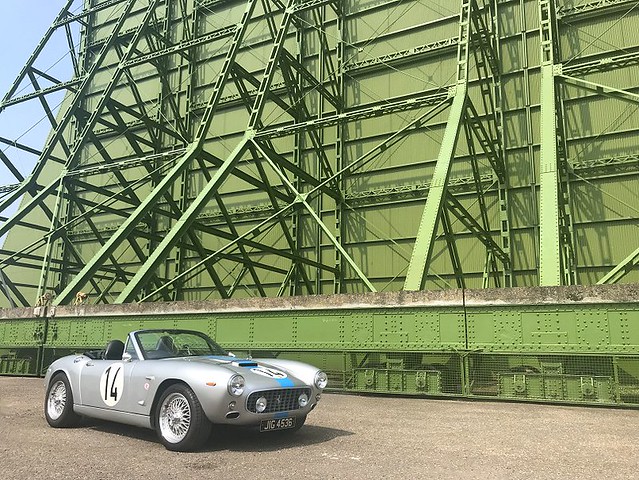
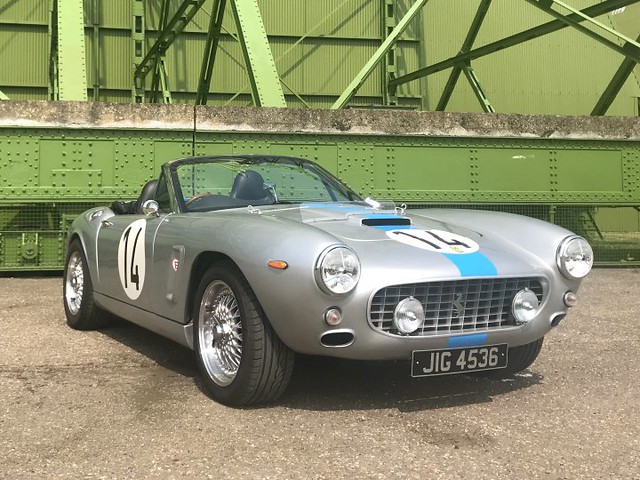
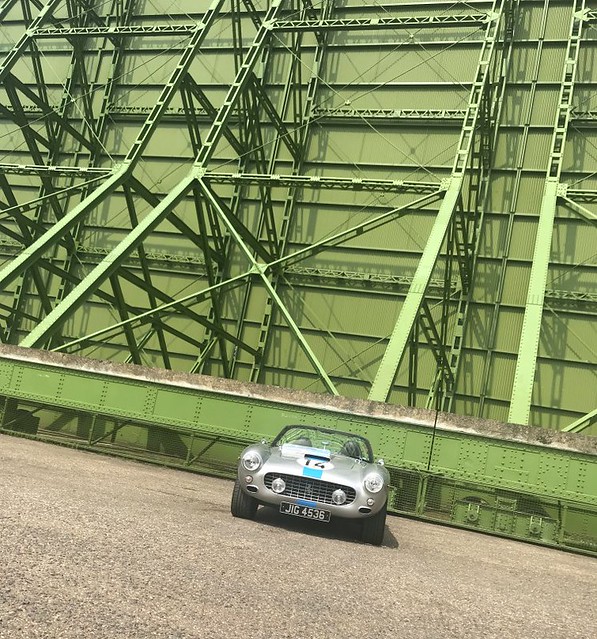
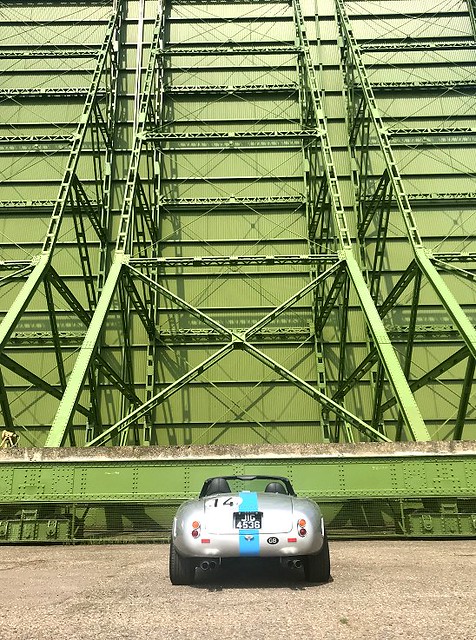
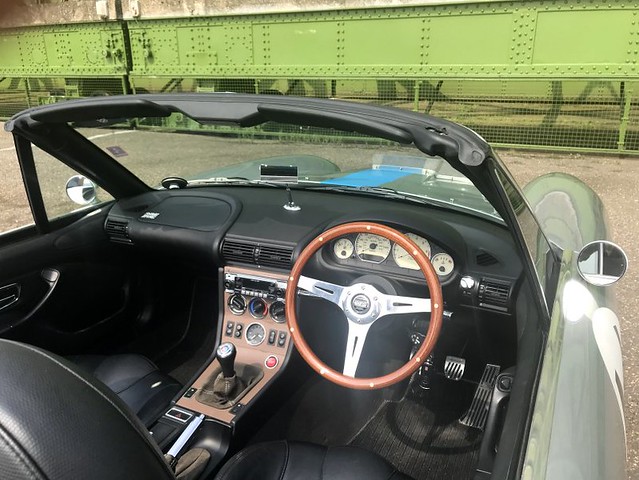
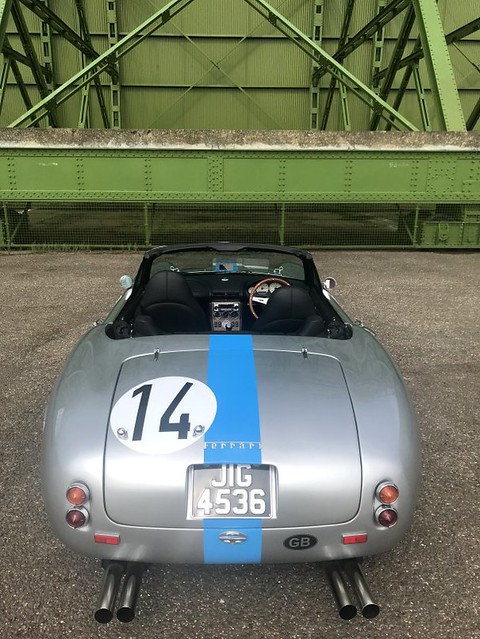
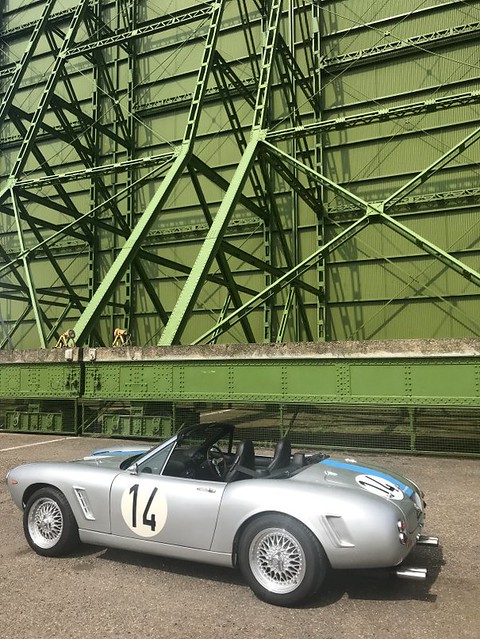
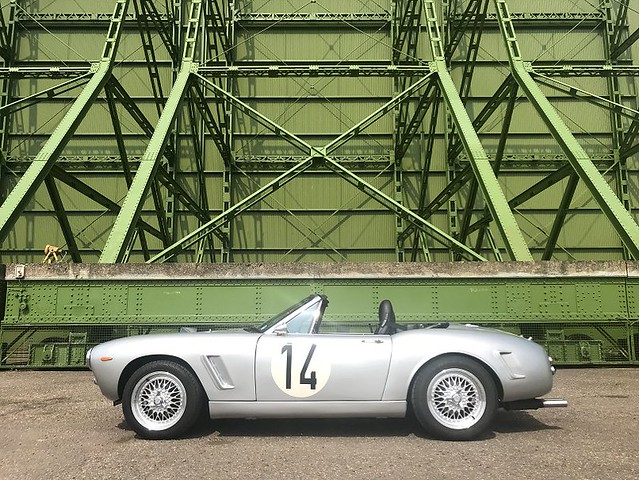
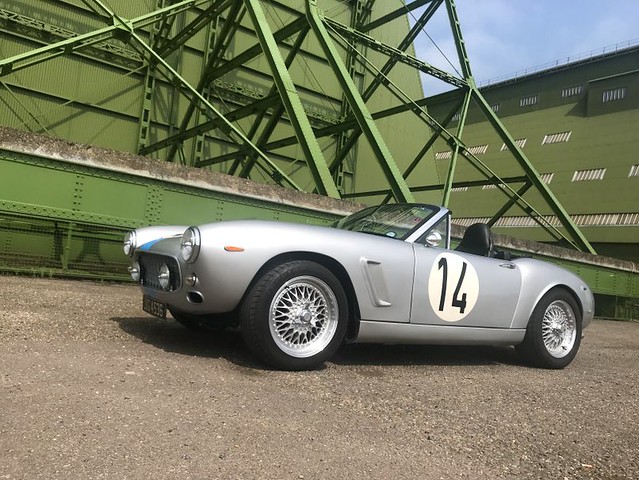
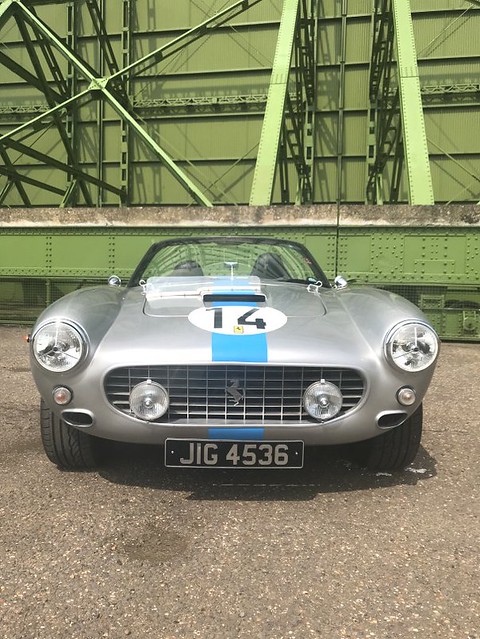
We drove past some massive hangers near Bedford to decided to take some pictures as it was deserted.....

Img_2357a by eric holm, on Flickr

Img_2354a by eric holm, on Flickr

Img_2364a by eric holm, on Flickr

Img_2360a by eric holm, on Flickr

Img_2418a by eric holm, on Flickr

Img_2407a by eric holm, on Flickr

Img_2387a by eric holm, on Flickr

Img_2381a by eric holm, on Flickr

Img_2377a by eric holm, on Flickr

Img_2375a by eric holm, on Flickr

Img_2370a by eric holm, on Flickr
28 May 2018, 8:22pm
Great pics. Bl@@dy nice car :)
28 May 2018, 10:48pm
Cheers, Dave! :hippie:

DaveP wrote:
Great pics. Bl@@dy nice car :)
31 May 2018, 5:22am
Andy – Always a pleasure to see more great photos of your car. :cool:

Enjoy the Brighton run.

Cheers, Paul. :)

PS
Can you PM me this Bedford location, as I might take a trip there when my car gets back from the garage.
25 Jul 2018, 9:39pm
More words and photos to follow tomorrow, but for now…


Goodnight, Paul. :)
26 Jul 2018, 7:35am
Last night

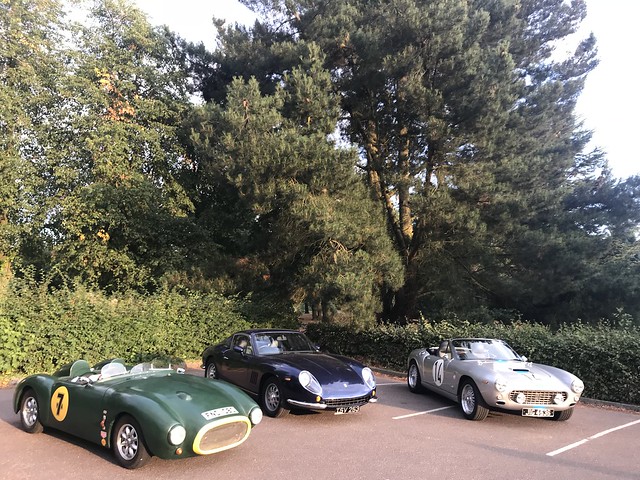
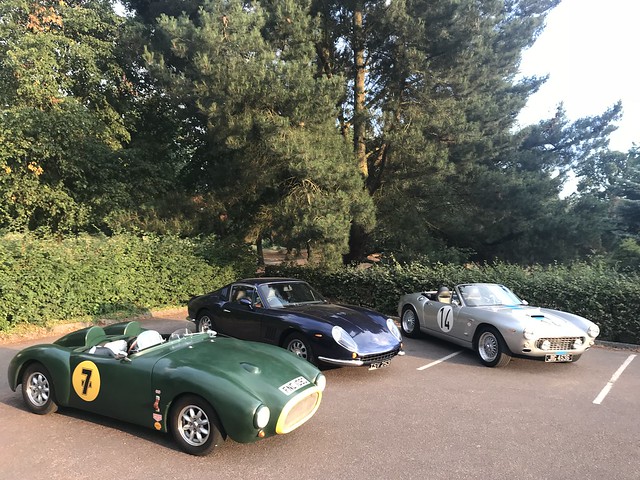
Great to meet you all last night.

Good to see the cars together and have a good look around. Some ingenious solutions to some of the challenges we face building these cars.

IMG_2729 by eric holm, on Flickr

IMG_2724 by eric holm, on Flickr

IMG_2741 by eric holm, on Flickr

Thanks for the drink Paul, next ones on me!
27 Jul 2018, 6:18am
Cheers Andy. :cool:

A few more photos from me...


18 Jan 2019, 1:15pm
Rover seats

Hi
I know you managed to wire rover 75 seats into the Z3
Would it be possible for you to tell which wires you connected to where!! I’m struggling a bit
Thanks
Hugh
20 Jan 2019, 7:34pm
Hi,

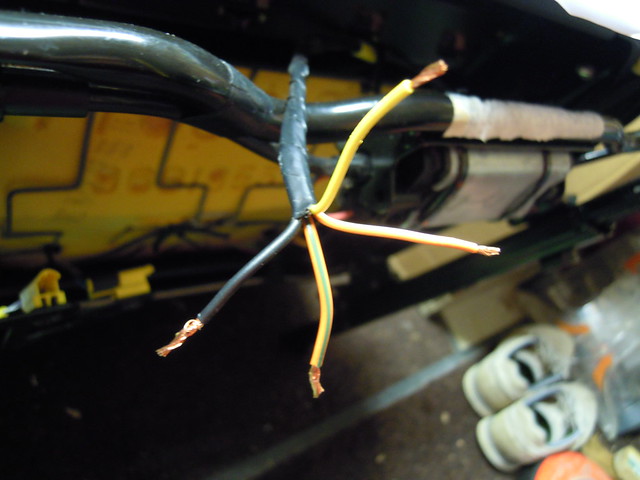
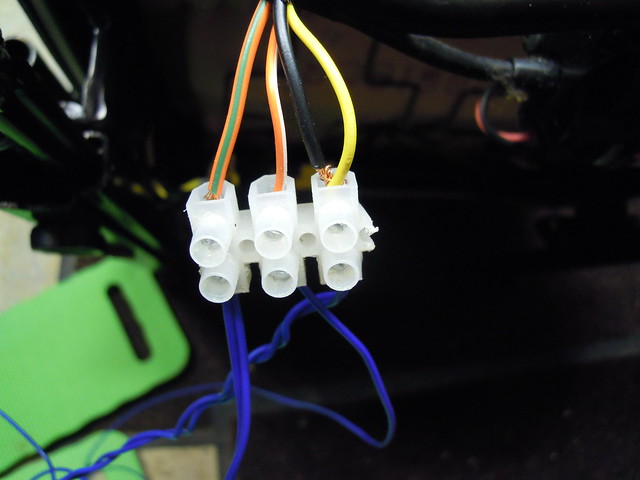
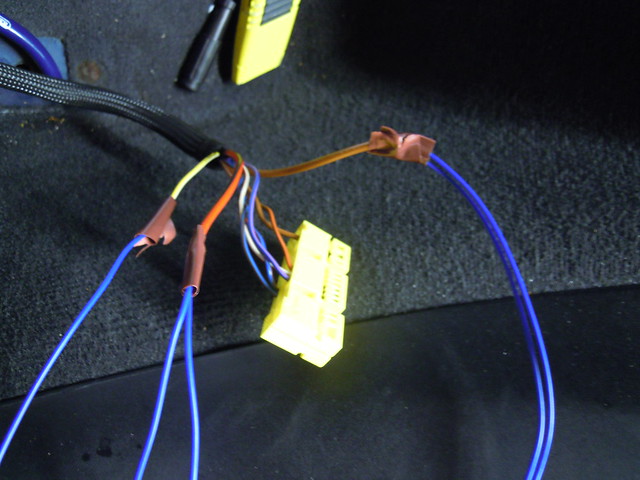
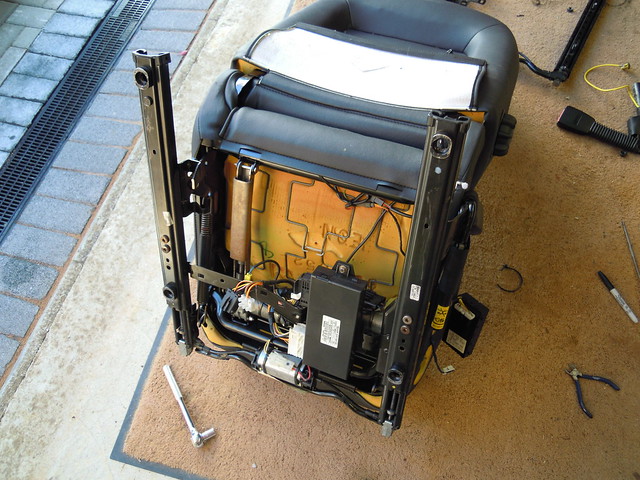
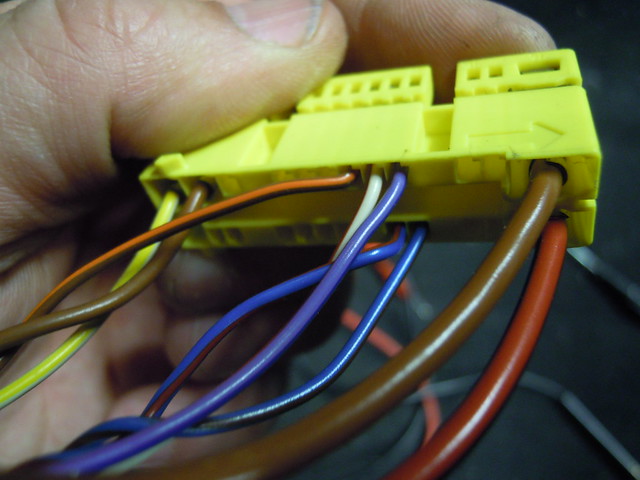
Dont have any diagram, but these photos should help you work it out (wires from seat base to wires from car)

DSCN3759 by eric holm, on Flickr

DSCN3760 by eric holm, on Flickr

DSCN3761 by eric holm, on Flickr

DSCN3762 by eric holm, on Flickr

DSCN3766 by eric holm, on Flickr

DSCN3757 by eric holm, on Flickr

I know I had to swap the seats from passenger to driver and vice versa to make them fit, so have to change seat belt fixings around, with some modification to runners on base, also had to move controls on drivers seat to front section, it was a few years ago, but they do fit and worked fine, just when I sat on them my eye line was too high as they are really comfy, with a think base section, I'm 5'10 so ideal for someone of 5'7 or below.

Cheers and good luck!
20 Jan 2019, 8:23pm
Thanks for that it really helps
20 Jan 2019, 10:47pm
BTW - The wiring in the images was just for testing, ran some really long wires out of car to seat outside of car, hence chocolate block and tape.

Seem to remember that the airbag light is triggered when you power on car with no seat connected, can be reset with ODB tool if you have one.

Thanks.

Andy
20 Jan 2019, 11:52pm
Hi Andy
Thanks. I’m doing the same, I’ve propped the seats up on the back of the car and am running wires to the harness tas a temporary solution
21 Jan 2019, 12:06am
I can see from your pictures where I am going wrong. I have missed out the yellow wire from the seat. I see it needs to be earthed and joined to the black wire
Thanks again
Hugh
21 Jan 2019, 4:21pm
Hi Andy
Quick update, the colours from my Z3 harness are different from yours but with reference to your pictures I have managed to get them working. Happy days and thank you ever so much.
Due to the size of the seats I am going to relocate the switches for the motors and the heating to the area behind the handbrake using toggle switches, but that can wait a while
Thanks again
Hugh
21 Jan 2019, 5:19pm
Great news, happy they helped! :eusa_dance:
19 Aug 2019, 10:03pm
Tribute Owners Club

Attachment could not be found in the archived database.


[SIZE="6"][SIZE="7"]Owners Meeting[/SIZE][/SIZE]


[LEFT][SIZE="6"]Saturday September 7th

Lunch at The Pelican Inn[/SIZE][/LEFT]

[SIZE="4"]Froxfield, on the A4 between Hungerford & Marlborough

[url]www.pelicaninn.co.uk[/url]

We are welcome and booked from 11am with lunch at around 12.30pm

There are two spacious car parks, where we can have a drink and talk Tribute Cars.

Afterwards you / we can drive round a bit of Hampshire to the [/SIZE]

[SIZE="7"][SIZE="6"]Silk Mill at Whitchurch[/SIZE][/SIZE]

[SIZE="4"]for tea, overlooking the river Test, last orders 3.30pm.

[url]www.whitchurchsilkmill.org.uk[/url]

If you are interested the Pelican Inn also has a room or two overnight on the Friday and or Saturday. We are staying there Friday night.

Please let me know if you will attend or at least think about it.[/SIZE]

Please excuse us putting this notice on people's threads, but it is worth trying to have a social event.
19 Aug 2019, 10:13pm
[SIZE="5"]REPLY to Kidge on his site

OR The Owners site

OR PM me

OR email [email]kidge.elder@btinternet.com[/email][/SIZE]
7 Oct 2019, 6:11pm
:help:The Ericholm 250SWB build thread is excellent, and a great source of info...… Can someone direct me towards any photos showing how the mini door handles were 'linked' to the existing handle mechanism/locks? I found the text, but couldn't access the photos (despite joining flikr). I looked at the 2,000 plus photos I could access, but it looks like the door lock bit is 'private' only. Maybe I'm doing something wrong? Thanks in anticipation
7 Oct 2019, 6:39pm
http://www.madabout-kitcars.com/forum/showthread.php?t=5892&page=5

post 96

This was with the first version of the Tribute door skin, the later versions don't have the mark on them. You will however be able to work the position out from the photo.
I would make the hole larger as it is easier. Just attach a small metal plate to the bar seen inside the hole. Use a pilot drill and then tec screws. The plunger from the door handle simply presses on the plate to open the door.
A word of warning, make sure the plunger on the Mini door handle does not touch the plate, if it does it will cause the doors to occasionally and without warning deadlock. It the plunger is too far away then the door won't open. You must be very accurate, good luck.
7 Oct 2019, 6:57pm
Mitchelkitman wrote:
:help:The Ericholm 250SWB build thread is excellent, and a great source of info...… Can someone direct me towards any photos showing how the mini door handles were 'linked' to the existing handle mechanism/locks? I found the text, but couldn't access the photos (despite joining flikr). I looked at the 2,000 plus photos I could access, but it looks like the door lock bit is 'private' only. Maybe I'm doing something wrong? Thanks in anticipation


found this.. may help. I used this as a center mark and cut a larger rectangle)

Mini door handle placement
drill a hole 45mm (1-25/32) inches up from the top of the round chrome key hole. I used a 40mm hole saw (1-9/16”) which was perfect, just gave me enough room to bolt a plate to the bar.
Page 5 of my build thread.

I did put a thick bead of silicone sealant in an arc above the newly cut hole, the idea being that water was directed away from the hole. A lot of water can get between the old and new door skins, make sure you drill plenty of drainage hole in the bottom of the new skins.
I saw on the Tribute doorskin an area that had obviously been filled. I just drilled through this at the centre point and on throgh the bmw doorskin. The drill bit actually hit the inner bar and popped open the door. This was obviously down to incredible skill and had nothing to do with luck!
I then used the drill hole in the door with a 40mm holesaw which gave enough room to fit the new striker plate.
7 Oct 2019, 7:46pm
Thanks guys. A mine of information to err..... inform my mind!:high5:
28 Nov 2021, 1:57pm
Hi,

Found these kicking around, anybody want them (message me), can use B800 to reset airbag warning light and INPA software and USB connector with laptop to get into the BMW diags, however be warned its a bit complicated to setup (follow instructions on the web) it took me a few attempts but you can check all sensors, etc.

https://www.flickr.com/photos/116885815@N07/shares/EuT9sv