This is a read-only archive of the old Madabout Kitcars forum. New posts and replies are no longer possible, but every thread is still here to browse and read.
Time in the workshop has been limited by health and work but am back in today and should be up for the day tomorrow as well so the aim is to have the bonnet fitted and tilting by COP tomorrow.
I have already identified an issue with using 2 spherical joints that to be honest I should have realised straight off. as they both have a wide range of movement the whole hinging action is very sloppy. Easily fixed though by replacing one of them each side with a solid version.
Some ali bar stock from a mates scrap bin and ten minutes of next doors lathe gave me the starting point.
Drill an 8mm hole through the middle and another 5mm hole from the side. Cut up a very long stainless M8 X 1.25 bolt and voila we have a kit of parts
And yes I realize that one of the centre holes is a little off, luckily due to the large range of adjustment this shouldn't matter at all. At this stage I realised I didn't have an M8 X 1.25 Tap only an M8 X 1.0 so have just ordered a set complete with a couple of 6.8mm drills which I will collect on the way in in the morning so a quick re drilling of the 5mm out to 6.8mm and a run through of the taps should see me able to thread the studs I cut up in with some thread lock which will give me the solid mounting point I need on the bumper side. Fingers crossed it all goes to plan!
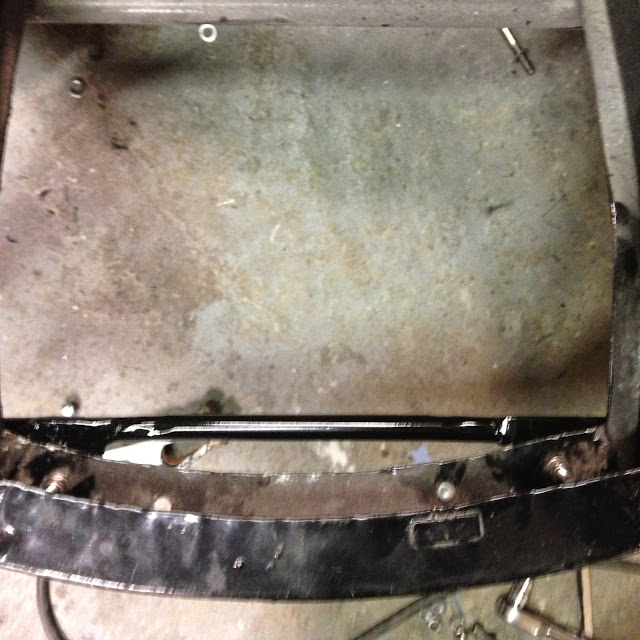
Doesn't go quite as far as I had hoped as the ends of the front chassis cross member limit the travel, not totally unexpected and easily solved once I have all the paperwork completed and sent off on Monday..... :-)
Plenty of room under the front so that once the front chassis cross member is errrr trimmed I think I can probably get it to go almost vertical :-)
One issue is that the static Ali hinge I made this morning is proving to be an issue as I cant get the thread bar to stay firm with unwinding, locktiite, superglue, staking them with a centre punch all failed. Will have to grab some similar material on Monday in steel which will allow me to remake them but will allow me to put a tack or 2 to fix the thread bar in place permanently or I may break out the silver solder. All in all though Im happy. Just going to beef it up a bit now then I can glass in the front hoop, possible more pics in a bit
Mac - Great work and thanks again for the step by step guide.
Viatron wrote:
... Doesn't go quite as far as I had hoped as the ends of the front chassis cross member limit the travel, not totally unexpected and easily solved once I have all the paperwork completed and sent off on Monday...
Good luck with your DVLA application, as part of my motivation for sorting out my own V5C at this stage seems to be very similar to yours.
Nearly finished glassing in the rest of the frame tonight:
one more session will see it done, hopefully tomorrow on the way back from work. then it just need a quick trim. its already very strong and I can pick the whole bonnet up just using the frame so am happy its strong enough
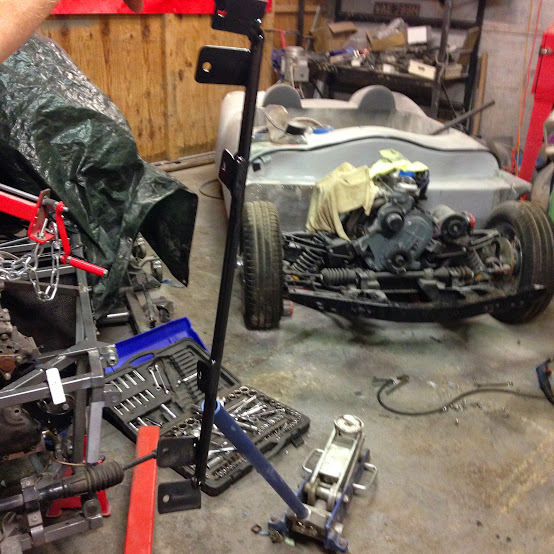
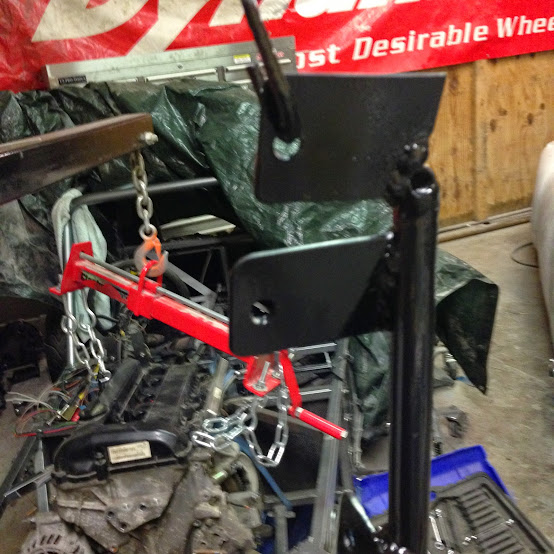
Also have finished and painted the hinge frame, note it has an extra bracket at each end which I decided to add to ensure that it could not flex in any direction at all!
Mac i am trying to figure out the position of the steering column which i would like to be central to the seating position with the steering wheel parallel to the to the driver/dash board and not angled as is the original spitfire. I can see you have one UJ which looks to be outside of the body but i can't get the wheel central to the seat with one UJ.
Is your steering wheel angled in relation to the driver/dashboard?
Swifty, I did what you are planning by butchering a couple of Herald columns and adding a few bits from carbuildersolutions plus a pillow bearing which made it easy and quite neat. See -
Oxford the way you have two UJ's is the only way i can see the steering been central on my spitfire build but i think Mac has used one UJ and the wheel looks to be square and central which mystifies me.
Bit of a lull I proceedings as I did a deal to clear out the home workshop of an old chap in Birmingham for his family, 3 transit loads later!!!
Anyway back at it tonight
Need to get the rear light plinths done as they are the last item on the body tub before its ready for paint.
I have changed my approach as it was difficult to get the shape right just using the lamp as a template. I used the rubber gasket I bought for the lamp to trace out a 1mm Ali template that was then screw to the body after liberally slathering the back of it with Fibreglass filler.
And the plate screwed in place.
The grey stuff is stopper to just fill the last pinholes around the edge.
This approach has worked very well and allowed me to sand right up to the edge of the Ali plate.
So about an hour of sanding, (stopper sucks as it clogs fine paper horribly!) and a couple of coats of primer and voila!
Will let it go right off tonight then hit it with a couple of coats of high build tomorrow followed by a final flat back with wet 320 grit and it'll be done.
In the mean while the second plinth is in place and I'm typing this as the first hit of fibreglass filler is going off. Using the Ali templates is definitely something I should have done to begin with, you live and learn. Possibly more pictures in an hour or so.
Got one of my new FOBCO drills set up tonight. Used it to tackle the problem I had with the threaded rods turning in the front hinge mechanism.
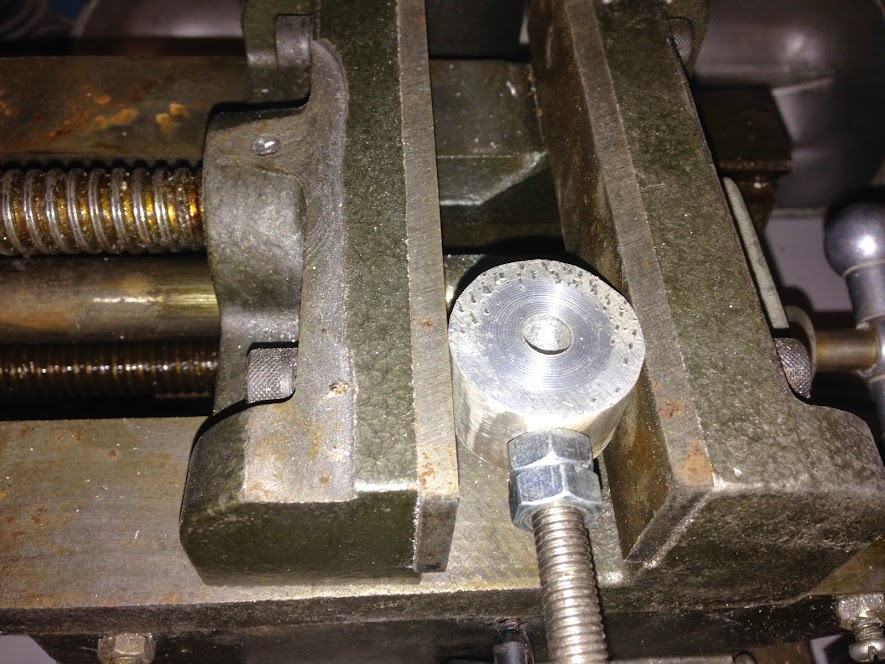
Clamped it up in the compound table that came with the drill which allowed me to dial in the positioning exactly, no more off centre holes for me :-)
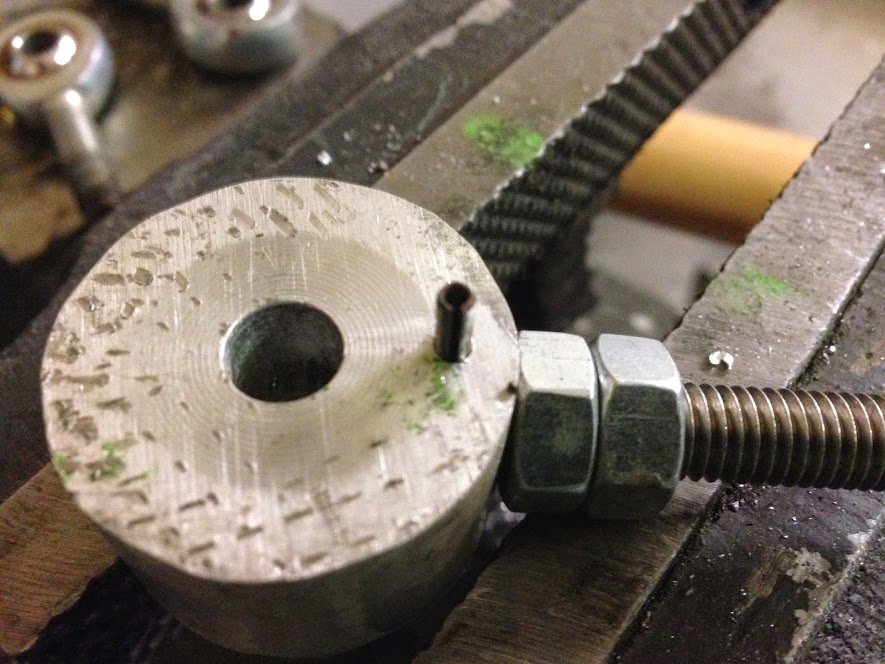
Drilled a 2mm hole through the Ali boss and through the stainless threaded portion, didn't snap the drill and it drilled where I wanted it, have I mentioned how much I love my new drill?
Drifted in a 2mm Roll Pin
Trimmed the excess off and job done, repeated for the other side and now the last hiccup on the bonnet hinge is sorted, bonnet goes on for real tomorrow!
So the bonnet is on and the hinge is adjusted up, it was a bit of a pain as it was a case of fit, remove adjust, repeat about 8 times till everything lined up, at least all the lock nits are now tight so removal and refitting should be a 10 minute job.
Close up of the passenger side hinge
Looks like the tin worms made a visit overnight and removed the outer portions of the front bumper rails.......
Although their visit did allow the bonnet to go forward a little more it still wasn't enough to allow the bonnet to tilt to 90 degrees to the floor so a built in bonnet prop of some type looks to be on the cards
Mac - Thanks for all the detail on how you got your bonnet to work.
Although I'm leaving my bonnet in the "too difficult/come back later" pile of things to do for now.
However, I did have another quick look at a bonnet photo of the red Ribble Navigator.
( Which has been sold according to Ebay. )
Now you mention it, it looks like there is a bonnet prop attached to it.
I never saw a photo of the bonnet open from a distance, so I guess it tilts about as far as yours.
I also went back and looked at Simon's (donnysoutherner) build thread and found this.
[color="blue"]Loop and hinge home made, not quite right as the bonnet does not really open far enough, but is at least adjustable for length and height....[/color]
Looking at this photo with fresh eyes, it appears the tin worm really went to town on his build.