MadaboutKitcars

This is a read-only archive of the old Madabout Kitcars forum. New posts and replies are no longer possible, but every thread is still here to browse and read.

Another Cordite Is Born ...

2 Nov 2013, 2:49pm
Mac - Where on the Spitfire chassis did you find that number?
I haven't really looked that hard, but I've not seen one yet.

- - - - - - - - - - - - - - - - - - - - - - - - - - - - - - -

Spitfire Bulkhead Repairs - Continued:
If I had put a bit more thought into this, I would have done this small patch before the big repair panel.
Basically I want to block off the "tunnel" though the box section at the back of the bulkhead.
I don't need to run any wires through it and I'm pretty sure water collecting in there caused all the rust I've just repaired.

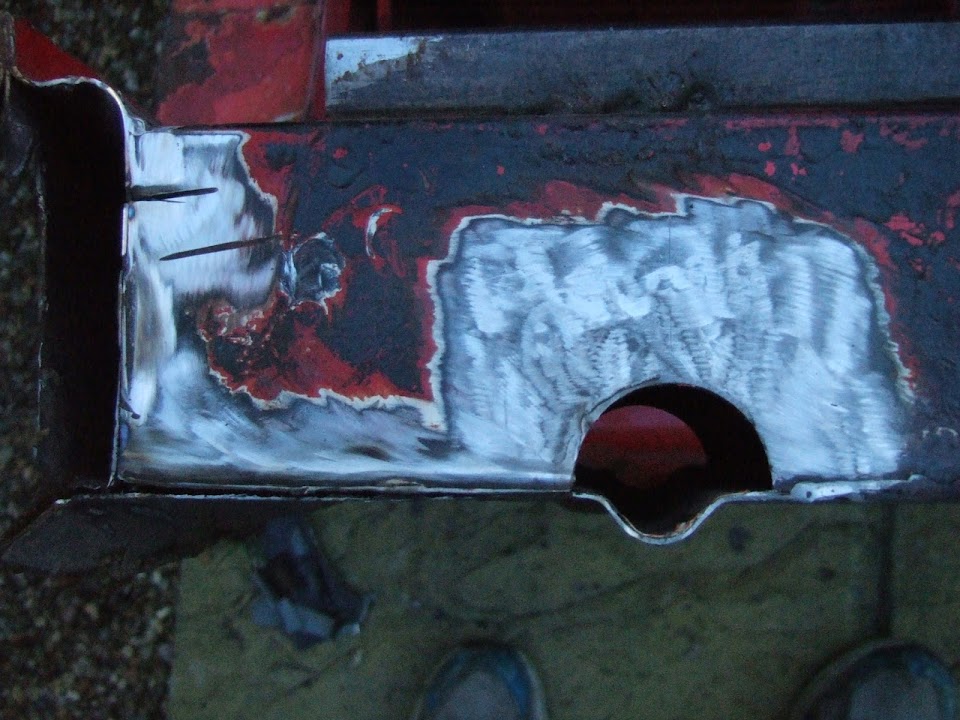
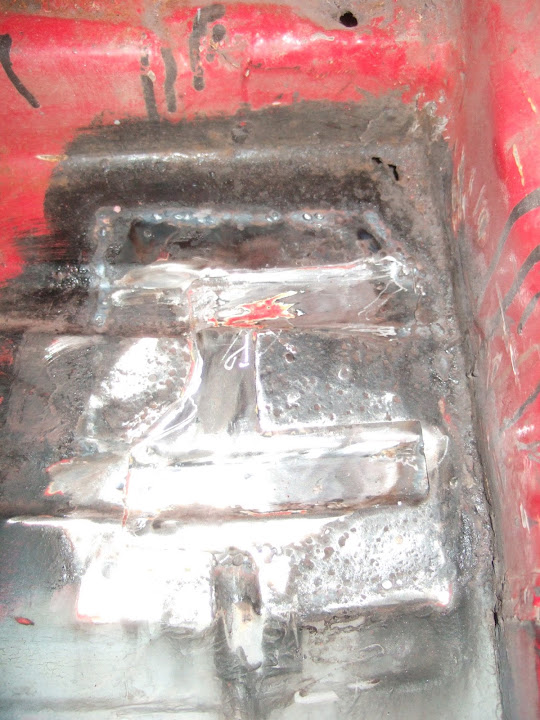
So this was the hole I wanted to cover.


Note: The black section sitting lower in the middle is the inside of the repair panel I welded in the other day.

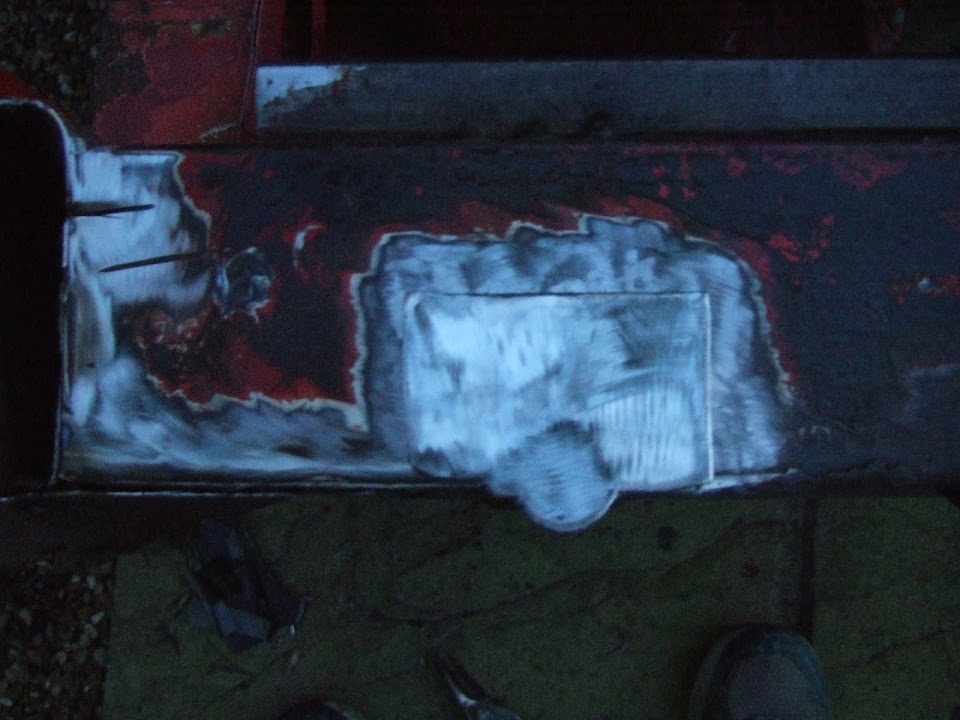
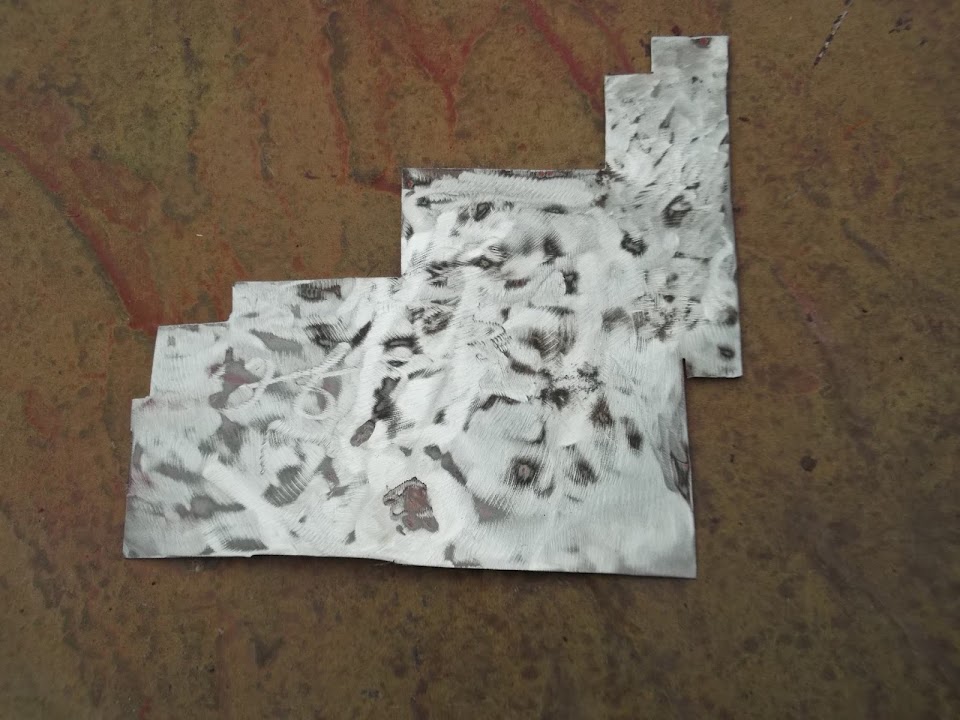
This is the section of old Spitfire that I used to cover the hole.


And this is it clamped in place.


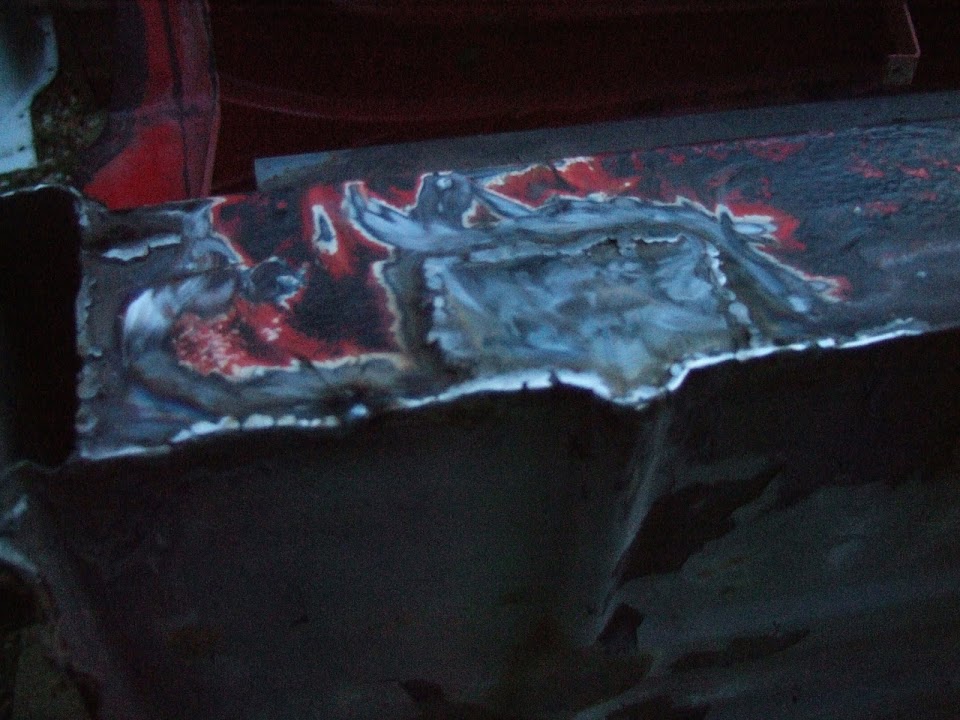
It really was a complete nightmare to get at, but eventually it was welded in place.
( Still struggling to take decent photos these days. )


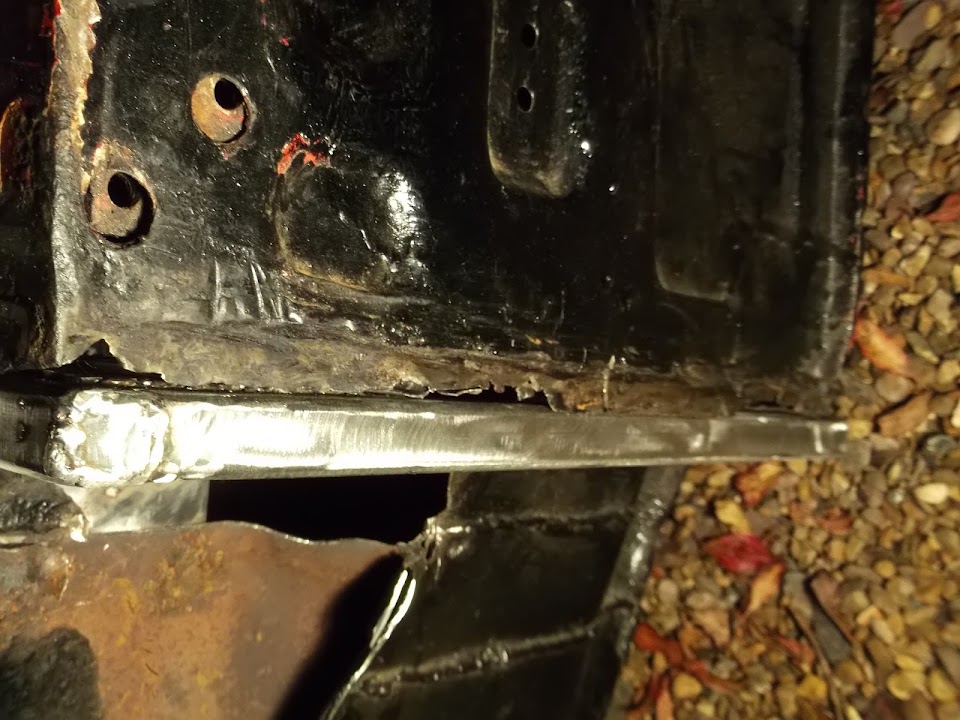
In addition to the patch, I also welded the original floor edges to repair panel below.


Then I covered the whole area in Kurust, both inside and out.


Bloody Weather!
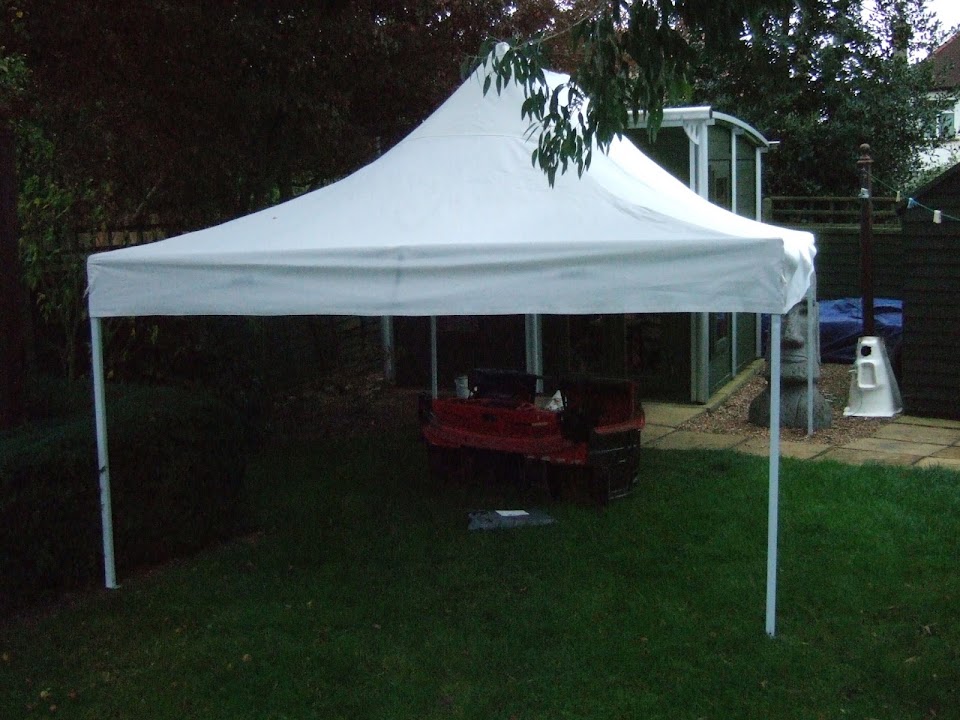
The wind really picked up this morning, so I had to remove the sides of the tent.


As the wind got worse, I had to drop the side poles down too.


Hopefully it will not blow away before the Kurust dries, then I can wrap it in the new tarpaulin I bought.
( Which is waiting to be unwrapped from the grey packet on the lawn. )

Got a few other things to do today, but hopefully I will put some P40 over these repairs tomorrow.

Cheers, Paul. :)
3 Nov 2013, 6:58pm
Chipping Away...
With the wind sending more of our fence panels into our next door neighbour's garden, the circus tent was packed away.
Thankfully I was still able to get a bit of work done and whilst progress is slow, it is steady, which keeps the build moving forward.

First job of the day was to mix up some P40 and spread it liberally all over the driver's side repair panels.


After that I started to prepare for the repair of the box section on the passenger side.
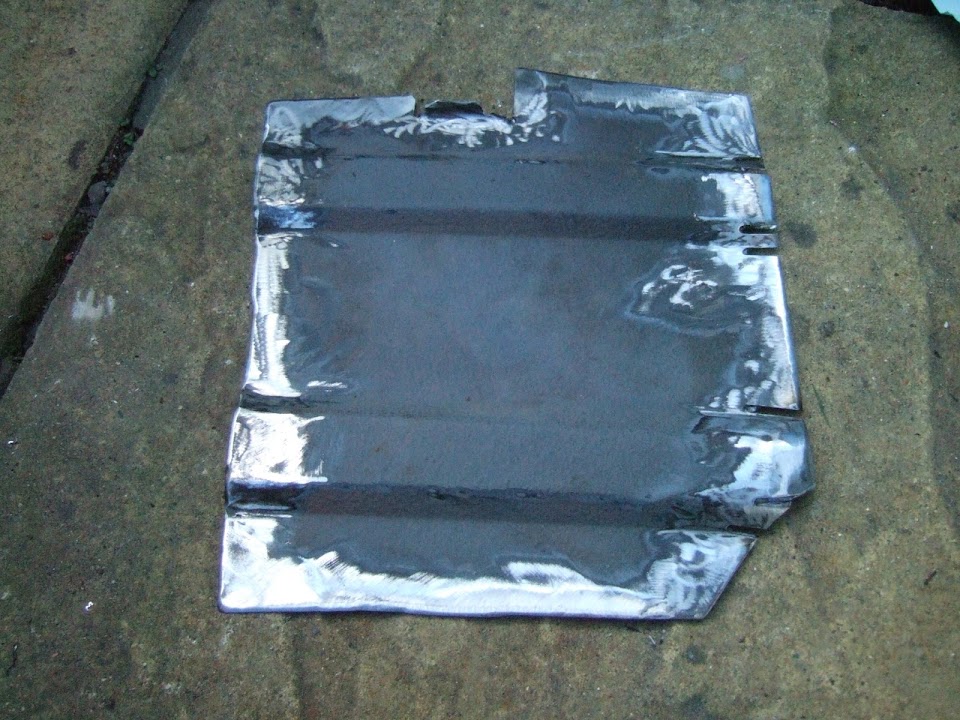
I cut out another section of an old Spitfire panel and cleaned it up ready for welding.


I also cleaned up the box section itself.


This is what the repair panel looks like in position.


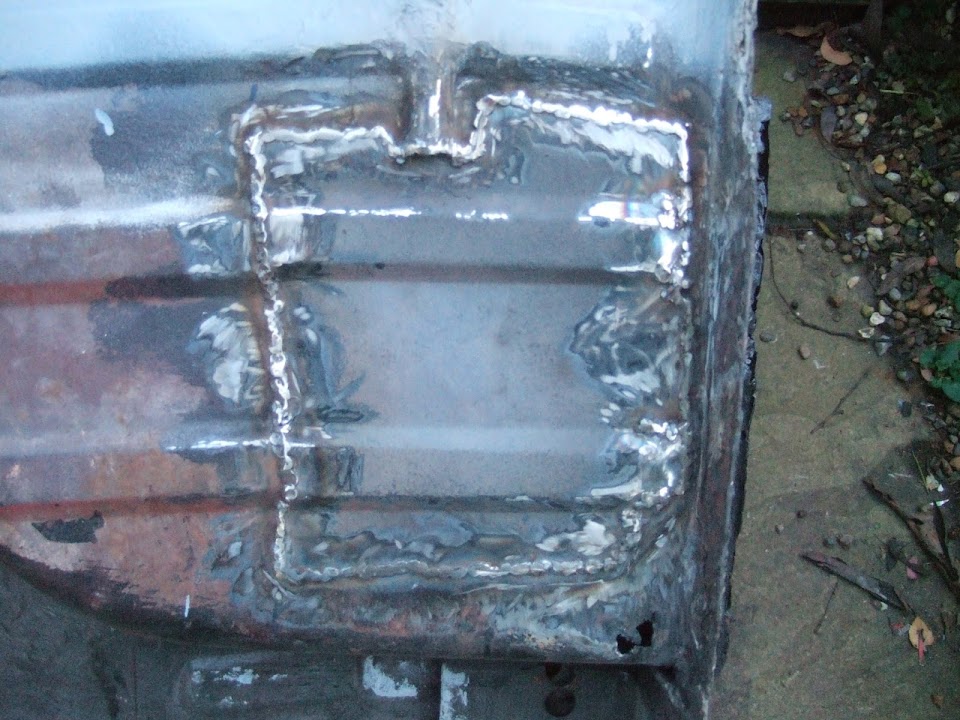
But first I clamped up and started welding the edges.


Then I welded the patch into place, leaving the whole thing looking like this.


So whilst I lost the rain channel / bulge in the floor on the driver's side, I've kept the shape on this side.


I need to do something similar for the other side of the "tunnel" through the box section.

Another area that I need to tackle is the remaining rust holes in the driver's floor.


I didn't have to look too far to find a suitable bit of old Spitfire to recycle...


This is the basic idea of the repair panel...


However, I need to trim both this and the floor to get a better fit before I start welding.

Whilst it might have been easier to buy a complete replacement floor panel, repairing as I go is good practise for me.
And believe me, I need all the welding practise I can get!

Until next time, take care, Paul. :)
4 Nov 2013, 6:02pm
Spitfire Bulkhead Repairs - Continued:
Before I started work on the big repair patch for the driver's side floor, I finished off the passenger side "box section".
I had welded over the "tunnel" hole on the outside yesterday, so I just needed to do the inside today.

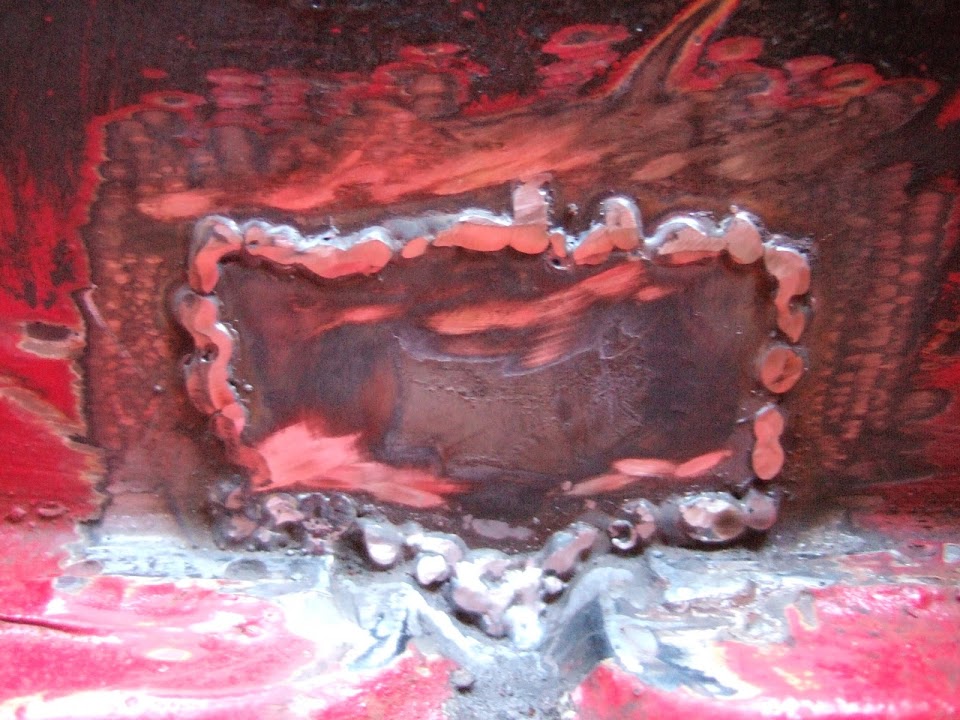
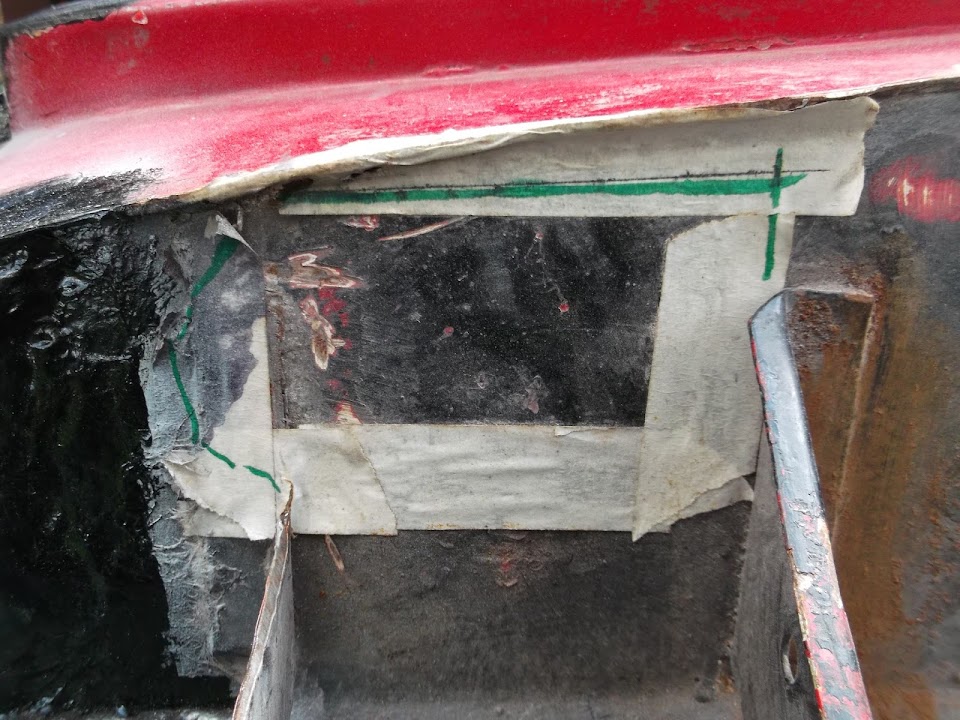
This was the hole "before":


This was it after I had cleaned it up with my grinder & finished off the hard to reach places with the multi-tool thingy.
It is fine for removing old paint, but, as predicted, the pink fitting quickly turned to dust when faced with a weld. :icon_sad:


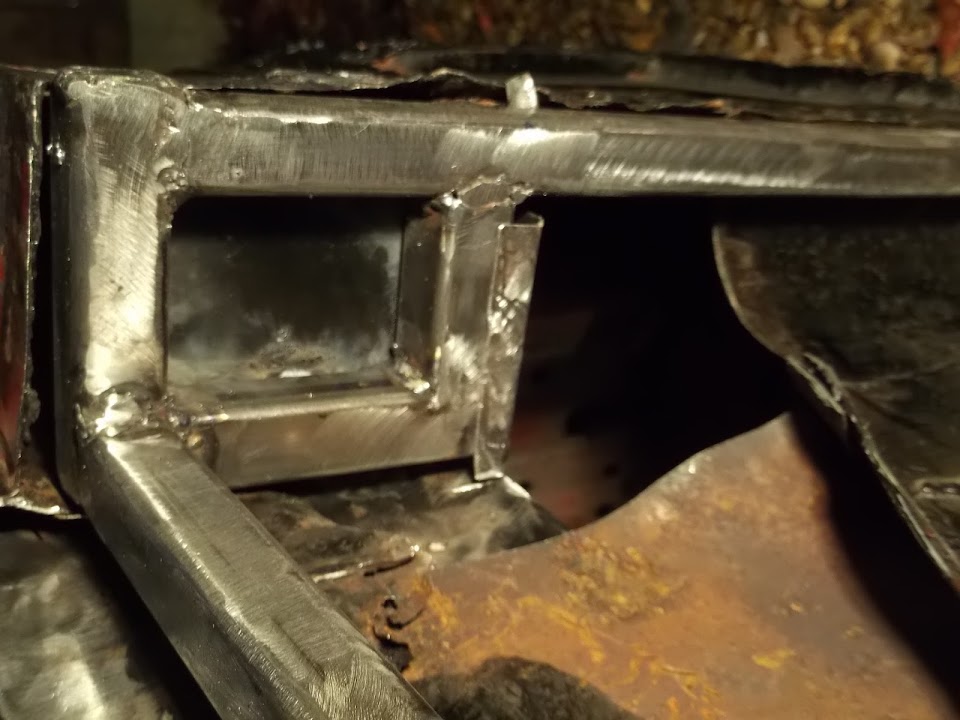
I cut out and cleaned up a small repair patch before clamping it in place.


Note: The metal has been cleaned for welding, the red colour in the photos is just a reflection.

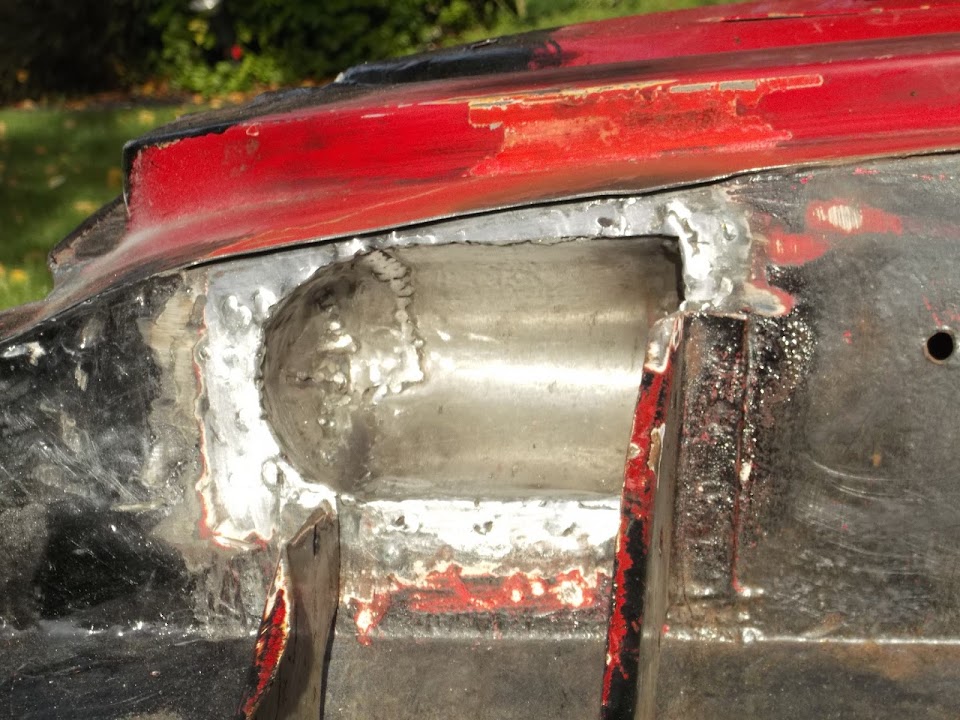
Despite it being hard to get at, it was eventually welded into place.
There was only a small fire when the waxoyl I'd sprayed inside the box section caught light. :rolleyes:


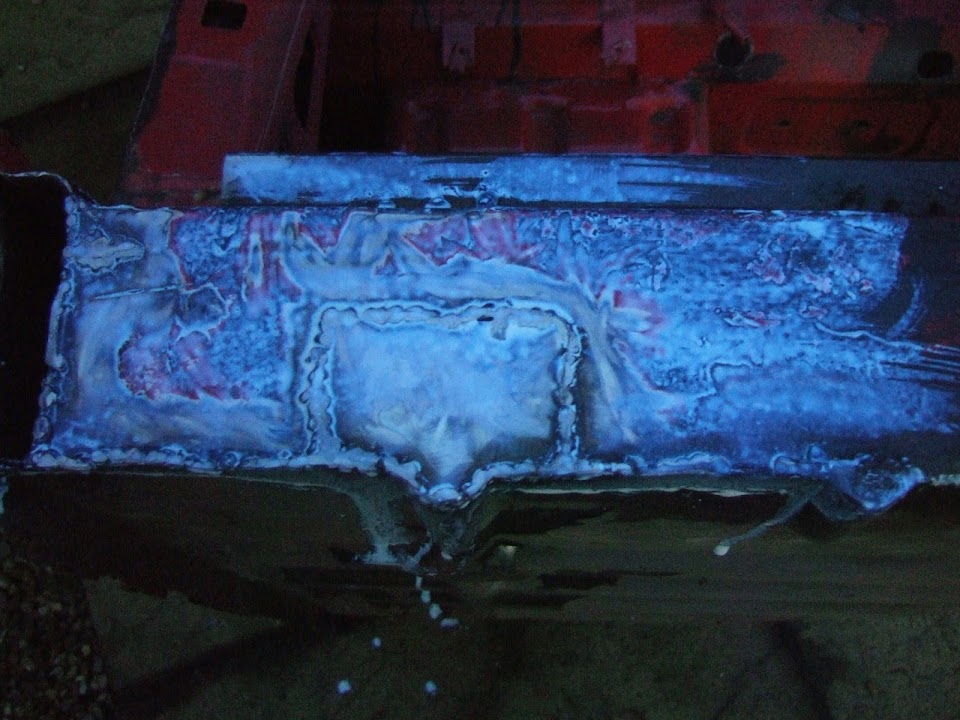
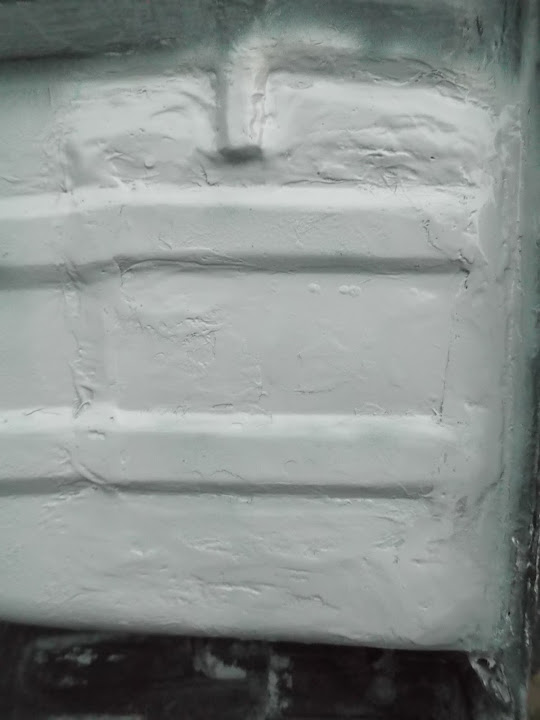
I then gave both sides of the passenger side repairs a coat of Kurust.


After sanding down the P40 filler on the driver's side repairs, I gave them a light coat of etch primer.


I will tidy up the inside of the floor a bit more after the next repair panel has gone in.

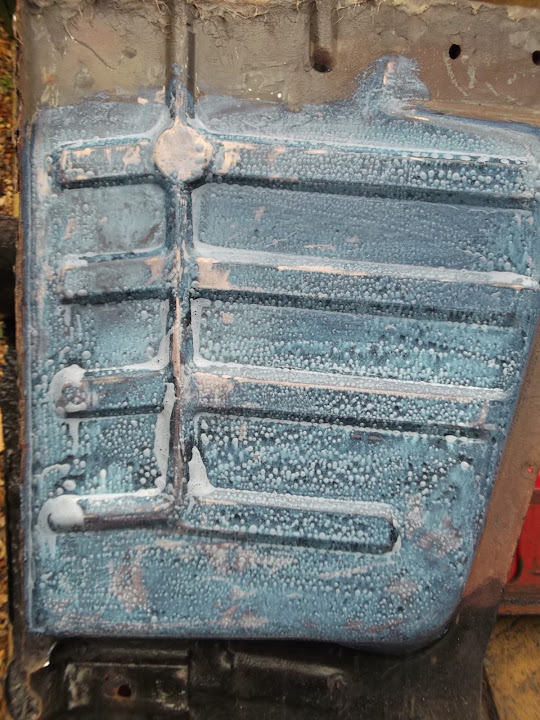
I then cut out the rust & the channels from the driver's side floor.
Note: I just left some cardboard behind the hole to make it easier to see in the photo.


I then trimmed and cleaned up the repair panel.


After completing the welding on the outside, it looked like this.


I've cleaned up the inside of the floor so that I can weld the cut edges of the floor to the repair panel next time.


The bulkhead repairs are taking on a production line quality that I quite like.
The next round of jobs will include more welding, grinding, Kurust, filler, sanding, primer & black paint.
There are clearly lots of repairs at these various stages at any one time.
But once the black paint goes on, that repair can be ticked off the "to do" list. :cool:

Cheers, Paul. :)
4 Nov 2013, 7:27pm
I really love what you are doing and your attention to detail.
When each job is done, what a wonderful feeling of accomplishment is felt!! Keep up the good work Paul.
5 Nov 2013, 4:30pm
Scottie - Thanks for your kind words, I'm certainly trying to do the best job I can.
I know getting a factory finish on my repair work is currently beyond my limited skills.
But I will take a "rough & ready" look provided the repairs are solid & water tight.

There have been many aspects of this build that I have struggled with so far.
So I am actually quite pleased with how this repair work is going overall. :cool:
Plus, for me, this bulkhead is a key part of this Sammio building jigsaw.

- - - - - - - - - - - - - - - - - - - - - - - - - - - - - - -

Every Little Helps...
Only had a chance to do a few small jobs today, but they all count.

I welded up the floor edges on the driver's side floor repair.
It may be ugly, but even my lead foot is not going to find its way through that.


I also gave the outside of this repair another quick tidy up with the grinder.


Then both sides of this repair were given a good wash in Kurust.


Finally the first repair panel I made for the driver's side box section / floor was painted.
( Sorry the photo is a bit blurred. )


Which is a big improvement on what it looked like when I started.


I have just one small hole in a corner of the driver's side floor left to repair.
Then I can start working my way up the sides of the bulkhead which are a real mess.

Until next time, take care, Paul. :)
5 Nov 2013, 7:16pm
Like you say Paul, as long as is strong and water tight that's all that matters.
I reckon a "good looking weld" depends a lot on ones after-grinding skill!!
6 Nov 2013, 9:21pm
Paul,

I love jumping on to your build thread and watching your progress.

You are a True testament to the kit car industry / car enthusiast / hobbiest. Learning new skills, failing but persevering through shows great character. My hat s well and truely off for you as I gave up and got some one to do the hard stuff on my build.

Keep up the excellent work and really looking forward to seeing you at the shows / car meets :)
7 Nov 2013, 5:44pm
Scottie - I'm still a little nervous about fully grinding the welds back flush to the metal.
So I'd rather keep the roughly welded look, rather than risk weakening the actual joins.

AcC8braman - Cheers Steve, you really are too kind.
In fairness, your car is in a different league to mine & it looks outstanding. :cool:

- - - - - - - - - - - - - - - - - - - - - - - - - - - - - - -

Little & Often:
Repairing this bulkhead is clearly going to take me quite a while.
However, I am pleased that I have been able to get a little time on it most days recently.
As this "little & often" approach is definitely helping me to make progress.

First job was to repair the final small hole in the driver's floor.


I think the "good" metal around the round was actually very thin, so lots of holes blown. :rolleyes:
But eventually the small repair patch I put on the inside was welded in place.


Then it was a case of tackling various other bits & waiting for things to set / dry.
So in no particular order, this is the rest of today's progress...

Driver's Floor Repairs:
A liberal coating of P40 around the repair edges & an extra blob over the small hole I just welded (bottom right in photo).


When that was set, it was sanded and given a coat of etch primer.


Note:
While this looks rough in places, the black bitumen paint is brushed on quite thick & this helps smooth it a bit.
( Well that's my story anyway and I'm sticking to it! :icon_wink: )

Passenger Box Section Repair:
As above, filler & primer.


Passenger Floor:
Whatever had been painted onto the floor was flaking off all over the place.


So I cleaned up the whole floor.


Applied the usual anti-rust treatment.


Followed by a coat of primer.


Inside of Bulkhead:
I cleaned up, used anti-rust & finally filler on the cockpit side of the heater and wiper/washer hole repairs.


Brake Master Cylinder Recess:
I wanted to make sure that the recess I need to make would be the right shape.
So I made a cardboard template in the shape of the back of the master cylinder.


The recess only needs to be around 4cm at its deepest.
Hopefully this template will help me to get the deepest point in the right place.

Until next time, take care, Paul. :)
7 Nov 2013, 10:15pm
As far as grinding back flush with the surface, I agree with you Paul, if Its not on show, strength is more important, I would only grind back on an outer surface (which would then need filling of course) But if I do that, I make sure I have good weld penetration first.
On that issue, I have come unstuck in the past!
8 Nov 2013, 3:55pm
Scottie - Thankfully most of my repair work will not be on permanent view.

- - - - - - - - - - - - - - - - - - - - - - - - - - - - - - -

Bloody Weather! :rant:
With yet more rain due to arrive I had to be realistic about what I could achieve this morning.
The primer needs 24 hours to completely cure, so it was too early to start on the black paint.
( Which was a real shame, as I am really looking forward to seeing both floors completed. )

Instead I did some more work on the brake master cylinder "recess" panel.
Last night I had re-made the cardboard template for the bulkhead recess panel.


Initially I had thought this was a much better match for the shape I needed.
( Based the on the template of the master cylinder I'd made the other day. )

But there was something not quite right that I couldn't put my finger on.
Then it finally dawned on me that the bulkhead is at an angle, not vertical. :rolleyes:

As I had been measuring horizontally from the back on the m/c, my recess was too big.
Not easy to make out in this photo, but the black lines match bulkhead & the green were my original measurements.
( This is the recess on the "wrong" side of the bulkhead. )


So I made yet another cardboard template & headed for my Spitfire recycling pile.


With the two pieces cut out & cleaned up they looked like this.


Note: I am going to add an additional "shape" for the brake lines on one side.

At this point the heavens opened and I had to quickly put the bulkhead & all my tools / parts away.
The rain wasn't due to arrive for a few hours and it caught me completely off guard.
Especially as I had a load of fence panels drying out on the patio & had to run to cover them too.
They arrived on Wednesday to replace the one damaged by the storm the other week.


I had to carry all this through the house on Wednesday in the rain.
So for the second time in three days I was left dripping wet.

Still, after cleaning up the mess in the Summer House I did have some space to work in...

Whilst I had a ready made lip on one end of the main panel, I needed to create a lip at the other end.
I don't have a vice (or for that matter a bench to fit it to, or anywhere for the bench now you come to mention it. :icon_wink:).
So I used a small section of box section, a couple of clamps & a small lump hammer.


I just needed to move the clamps as I went along, then I had two "lips".


I put some tabs on the end cap to make it easier to weld in place.


In the end, it was easier to bend the panel to fit by putting 2 tabs on the inside & 2 on the outside.

This was a dry test fit, held together with tape.


You might remember my first attempt at making this recess...


Well, in true recycling style, I took one of these sides and turned it into this.


Here is another dry fit of the way the whole recess panel will look.


By this time the rain had gone and the sun was back out (forecast said it would rain all day when it started).

So I switched to cleaning up filler that I applied on the inside of the bulkhead as that was set solid.
I then put a coat of etch primer over the top before covering everything back up with the tarpaulin.


No sooner had I finished doing this when the sky darkened again.
I had just enough time to weld one end of the recess panel...


I want to cut the hole in the bulkhead before I weld the other end on.
As it will be much easier to make any final adjustments to the size that way.

When I finally packed up for the day it absolutely hammered down.
So looking on the bright side, I did make a bit of progress today.

Until next time, take care, Paul. :)
8 Nov 2013, 5:58pm
So whats next Paul, custom steel fuel tank?, complete bonnet in steel formed over your knee? Your definitely making progress on your fabrication skills.
9 Nov 2013, 11:14pm
Mac - Cheers, but one step at a time, I'm still a long way from "real" fabrication work.
I've followed other build threads where the sheet metal skills on display are beyond belief.
But I'm happy to "give it a go" and I am actually enjoying this phase of the build. :cool:

- - - - - - - - - - - - - - - - - - - - - - - - - - - - - - -

Saturday
Managed to get a few jobs done in between the rain today.

Recess panel for the brake master cylinder:
I have decided to fix this panel to the rear of the bulkhead, instead of the front, like so...


It will sit a little higher than this, as I still need to bend the top "lip" to match the curve of the bulkhead.
I think approach will look a bit neater and also give me a few extra mm of clearance.

Then it was time to weld the curved end into place.
I started with the two outside strips of metal, welding one to the inside & one to the outside of the main recess panel.


Then the 3rd strip went over the top of these two.


Finally the 4th strip went over the top of that and I cleaned up the welds a bit.


Although it still looks a bit Frankenstein ish on the inside.


But I will smooth over the "scars" with some filler later on as I can't really get my grinder in there.
( Might try a hand file in the easier to reach places tomorrow. )

Painting:
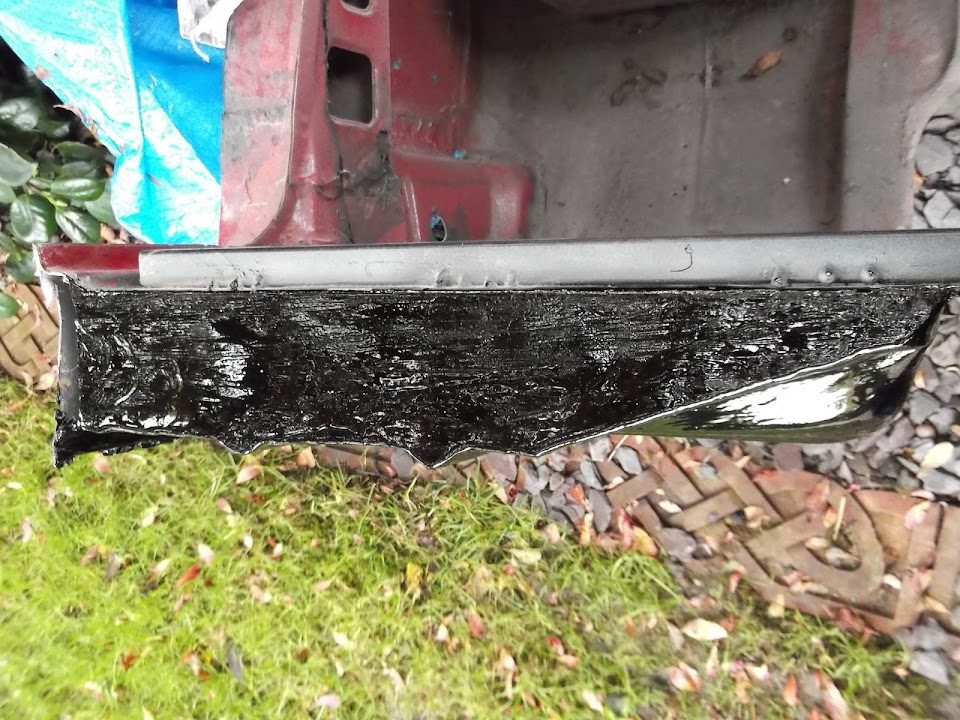
I was also able to get some black paint on the repairs to the bulkhead floors.
First up was the repair panel on the driver's side.


Which means the driver's side floor is now complete.


Then it was the box section repairs on the passenger side.


Followed by the rest of the passenger floor.


Which means that the bottoms of both floors are now complete. :cool:


I still need to repair the inside edges where the gearbox tunnel is attached.
But it is already a big improvements on what it looked like before.
Although I seem to have forgotten to take a recent "before" photo. :rolleyes:
So this is the best I can do, from when the body shell was still in one piece.


Cheers, Paul. :)
10 Nov 2013, 10:57am
Fabricator A1

Paul! It’ my turn to cough and splutter now!

Do not sell yourself short, what you are doing is REAL fabrication believe me!
You are doing so well, you ARE a fabricator.
Most people would not even attempt some of the tasks you are doing.

When you’ve finished, the body on your car will be totally rust free and as good as new,
In my book that’s damned good fabrication!

For my project I bought a “rotary file” as they call them, and I have used it so much, I really wonder how I managed before I had one.
It gets into all those places the grinder won’t fit.
They are cheap and all over the internet, I strongly advise you to get one.
[IMG][/IMG]
10 Nov 2013, 5:28pm
Scottie - OK, fair enough, I'll concede I am getting better at basic fabrication. :icon_wink:
I'll also admit I was so proud of that recess panel that I took it indoors to show my wife & children!
Personally, I blame Mister Towed for taking every new skill / challenge he faced in his stride.

I've just ordered one of those belt sanders.
( Which is the kind of thing I was looking for when I ordered the multi-tool thingy by mistake. )

- - - - - - - - - - - - - - - - - - - - - - - - - - - - - - -

Sunday


[COLOR="Red"]Show me paint fence...[/COLOR]


[COLOR="red"]Show me paint bulkhead...[/COLOR]


Mr Miyagi would be so proud. :rolleyes:

Note: Fence panels have brown paint on our neighbour's side & green on our side.

I had so little free time available today, I was happy to get anything done on the car.

Next Steps:
Cut a hole in the bulkhead and weld the recess panel into place.

Until then, take care, Paul. :)
10 Nov 2013, 7:15pm
Keep up the good work Paul, the best is yet to come.

I just had to pop out into the garage to fetch something and found myself staring at my car just wishing I could go out for a drive in it. Sadly wifey was expecting me to sort out a diy job inside so it was out of the question. Still, she's at work tomorrow morning and I don't start work until the afternoon. I do hope it stays dry tomorrow...
12 Nov 2013, 5:26pm
Mister Towed - Cheers. :cool:

- - - - - - - - - - - - - - - - - - - - - - - - - - - - - - -

Bulkhead Recess Panel
I actually spent more time painting garden fence panels than I did working on the car today. :rolleyes:
But these things need to be done, so that is just the way it goes.

However, despite the limited time, today was a great day for me.
I used my grinder & jigsaw to cut out the bulkhead for my recess panel.
( Ignore the lines on the tape, I added a final "straight" one before I started cutting. )

Before:


Cardboard template for hole:


After:


My new belt sander arrived today (top tip Scottie) and it was put to work straight away.


Note:
I had to trim the top lip of the panel to match the curve in the bulkhead as bending the lip wouldn't work.

Then I drilled a few holes and cleaned up the bulkhead on both sides.


I did my "spot" welding through the holes first to hold the panel in place.


Then I started welding along the edges at the rear of the panel/bulkhead.


Finally, I started to weld the join between bulkhead and panel.


This photo was taken with the flash which meant it was time to pack up for the night.
I do have lights, but there was a lot of moisture in the air as it was getting dark.

Hopefully I will be able to finish all the welding tomorrow.
Then I can clean everything up and get some filler on to smooth things over.

This is a landmark moment in my build for two reasons:
- I can keep my dual line brake master cylinder.
- It proves that with time & effort I can overcome my build problems.

:cool:

So on that happy note I'll end this update, take care, Paul. :)
12 Nov 2013, 8:46pm
Well thats not going to fall out!
Nearly there Paul, you'll miss all this metal work, but i suppose it will be replaced with fibreglass! Theres a cheery thought!
Im braking the Tig welder out for the first time in a while so am looking forward to some Ali work.
Keep up the good work
Mac
13 Nov 2013, 5:14pm
Mac - Cheers, at this point I'd still rather weld too much than too little. :icon_wink:
You are also right about all the fibre glassing work taking off when the welding is done.
So another new skill to learn and get on with.

- - - - - - - - - - - - - - - - - - - - - - - - - - - - - - -

Bulkhead Recess Panel
Still spending more time painting fence panels than working on the car. :icon_evil:
However, still a little bit of progress to report...

Daylight made it easier to see where welding on the inside of the bulkhead started a small fire.


In order to finish of welding the edges of the panel I had to rotate the bulkhead.


With all the welding done and cleaned up it was now looking like this.


So I applied some Kurust on both the front and back of the panel.


By the time that had dried I had just enough time to get some filler on the front.
( I'll do the back of the panel another day. )

Unfortunately it was dark again by the time I'd finished, so not a great photo.


Until next time, take care, Paul. :)
15 Nov 2013, 6:21pm
Catching Up...
Too many other chores to deal with at the moment, including fitting some of the fence panels I've been painting.
But there is still a small bit of progress to report...

New Welder:
My mate's welder broke on Wednesday, just as I finished welding the bulkhead recess panel. :icon_sad:
( The wire feeding mechanism has completely given up the ghost. )
I ordered a replacement from Machine Mart straight away & it arrived on Thursday. :cool:

The delivery van also had another box from Machine Mart with gas & wire for the old welder ordered a few days ago. :rolleyes:
Which is the main reason for ordering a Clarke, as these spares will work with both machines.


If possible, I will get the old welder repaired (& serviced) before returning it to my mate.
If not, he will get this brand new welder as a thank you for lending me his in the first place.

Welding Practise:
With a new toy to play with, I didn't need much encouraging to do a little bit of welding.
I am currently checking old photos of my Spitfire donor before I stripped it down.
This lets me cross check all the holes in the bulkhead with what they were used for.

This section of the bulkhead, to the left of the brake master cylinder, has two surplus holes.


They were used to mount the windscreen wiper motor.
While the remaining hole is for the throttle cable, so I will be keeping that one.

I cut out two tiny repair patches.


Which I ground back flush after welding.


Before giving the bare metal a quick spray with etch primer.


With a bit of luck I will be able to get some black paint on this area tomorrow.

Bulkhead Recess Panel
After roughly sanding down the filler I'd applied the other day, I sprayed the front side of this panel in primer.
Note: This is a darker colour than in the photo above, as it was from a second / different spray can.
I know it is still a bit rough & ready looking, but it will do the job.


The back of this panel had been treated in Kurust previously and looked like this.
( Not a great photo I know. )


After a liberal coating of P40 filler it looked like this.


Again, I hope to get some paint on both sides of this panel tomorrow / Sunday.

Odd Jobs:
I found my old work lights buried in a box in the Summerhouse, behind all the car parts!
They came in handy when I put the Circus Tent up a few weeks back.
However, both the bulbs blew shortly after their first use in at least a decade. :rolleyes:
Thankfully, new bulbs were all that was needed to bring them back to life.

I also picked up a couple of cable holders which will ready help me to keep things tidy.


Question - Help Requested:
I had to buy a can of 'Expanding Foam' for a small repair to our Summerhouse.
Whilst I've seen this stuff used on other Sammio builds...


Usually it is to form shapes (like above), or to fill in the gap between the Herald bulkhead & Sypder body work.

So my question is ... can expanding foam be used to "cap" the ends of box section in the framework?
I've also considered using it to "fill in" the hollow created where I cut off & capped the windscreen frame mounting.

I have been using Waxoyl as I go along, but the rusty state of the Spitfire bulkhead is making me worry.
So if a few squirts of expanding foam would help rust prevention then I will give it a go.

Until next time, take care, Paul. :)
15 Nov 2013, 7:32pm
Don't use the foam Paul, use silicon sealer instead, it will make the tube ends waterproof and you can get a nice finish. Are you finding the new welder any easier to use?
Mac
16 Nov 2013, 9:34am
mate , your epic threads are awesum . if anyone thinks they cant own one of these because they got no garage or shed whatever. this thread with all its detail proves them wrong. I must admit I find it hard work going through everything. you even tell us if you stop for a piss brake ! but its epic chief. take my hat off to you for it. Ribble boys must love this . this forum is an absolut jem for anyone selling this type of car. and the list of bodys being offered is growing all the time.
16 Nov 2013, 6:29pm
Mac - Thanks for the foam feedback, I might just get some plastic end caps for the frame's box section.
The new welder seems to be working well, I just need to get used to the new settings required.

The Shadow - Cheers, I learnt a lot from the detail in other builds, so wanted to do the same here.
There are certainly challenges with working outside & given the choice I'd take a warm garage every time.
But provided you accept that everything takes a lot longer, it is possible to make progress.

One thing to remember is that the new Spitfire based Ribble Navigator is a long easier to build than this.
Similarly, the Miglia is also straight forward, whereas Micky1Mo's new kit will be a real test of skills.
There were less that 20 Cordite kits sold before production stopped and the new version was developed.
Again, given the choice, I'd prefer an easier build, but I've learnt a lot doing it the hard way!!

- - - - - - - - - - - - - - - - - - - - - - - - - - - - - - -

Managed to get quite a bit done today, so here is a summary grouped by activity...

Painting:
All the repair work is now done on this section of the bulkhead, so time for some black.

Before:


After:


The "front" side of the recess panel doesn't look too bad now after a first coat.


The "back" side of the recess panel was given a rough sanding & coat of primer.


Bulkhead Holes:
I am leaving these 5 holes as they are for the moment.


The 3 vertical ones on the right were originally for (top to bottom):
- Heater Control Value Cable
- Choke Cable
- Screen Wash Hose

The 2 horizontal ones on the left appear "surplus", as my 1500 donor shell didn't have them?

I just need two of them, one for the choke & one for the heater control.
However, I wanted to switch the choke lever to the right of the steering wheel.
( Personally I found it a pain having both the ignition key & the choke on the left. )
Plus I haven't finalised the layout of the heater yet.

Once I know what I am doing, I will weld up 3 of the holes & finish painting this area.

Bulkhead Repairs:
The next area I have to tackle is on the drivers side and is a real mess.
It doesn't look too bad from this angle, just a small oval hole to patch.


But the real horrors are here.


I want to use some box section as an external "brace" for this whole area.
In keeping with my recycling tradition I found some "spare" box section to use...


Also by cutting up the Cordite bulkhead I am committed to making this Spitfire bulkhead work.
With a few sections cut out, this is the general idea of what I have in mind.


But more on that later as I started with a simple patch repair.


Then it was time to start building my support structure.


With a bit of luck I will finish this off tomorrow as the weather closed in after dark.
( Thankfully I was able to pack everything away for the night just before it rained. )

The box section will start at this end of the bulkhead.


But I have now cut this outside section of metal off.


It was only a few inches wide and I will replace it with something similar, but running the full length of this side section.

I also started cutting the worse of the rot out.


The small square in the middle of the hole is attached to a bracket in the pillar above.
By now I was working under spot light & decided to clean this up when I could see properly.

Getting this mess repaired to a good standard will be a big test of the skills I've learnt so far.
( Which is why I started with the more simple repairs first. )

Hopefully I'll have another update tomorrow, cheers, Paul. :)
17 Nov 2013, 8:29pm
Sunday Summary:
Mainly a family day today. :cool:
But I still managed to get a few quick jobs done...

I plan to trim my box section support "structure" after I know it all fits.
So it was a bit of a struggle to get it all lined up for the position of the final length.


But with it all marked up I could clamp & weld it.


This is the view of the bracket looking from the back to the front.


And this is the equivalent view of the bulkhead.


I also cleaned all of the box section up & got the first 3 caps welded to the ends.


Before I can weld this bracket into position, I needed to fix something else first.
It seems that one of the panels is only a press fit and it is coming away at the bottom edge. :icon_sad:


However, now that I have welded this bottom edge, I hope I am actually adding some strength back in. :cool:


I also fixed the last remaining hole just above the driver's side floor.


I also managed to get a first coat of black in the back of the recess panel.
( Not easy to see now that everything is black and this is inside the bulkhead. )


Note:
The two brackets at the bottom originally supported the under dash cubby hole.
I will keep them for now as they may be useful for something else later on.

Next Steps:
I'd really like to finish the welding / repairs on this side before the snow arrives!!
However, there is quite a bit of beard scratching required to ensure I do this in the correct order.
Otherwise I will end up with sections that I can't get at to weld up, or have boxed things in before treating the insides. :rolleyes:

Until then, take care, Paul. :)
17 Nov 2013, 8:50pm
I salute you Paul! Brilliant stuff, you really will have earned your car when its done!!
18 Nov 2013, 5:36pm
Scottie - Cheers, these bulkhead repairs are certainly hard earned!

- - - - - - - - - - - - - - - - - - - - - - - - - - - - - - -

3D Puzzle Solving:
The rot on the driver's side of the bulkhead is actually worse than it initially looked. :icon_sad:
So I will have to cut out a lot more than I expected which will not leave me much to work with.
But I do not want to make the final cuts until I have all the replacement panels ready to weld.

However, getting my head around what panels I need and how it will fit together is hard work.
I'm sure it would be very straight forward if you knew what you were doing, but I don't.
As before, I seem to be coming up with an over-engineered solution to the problem.

I started by cleaning up & applying some anti-rust treatment inside the pillar.
( I will be cutting some more of this pillar away later on. )


I then added two small sections of box section to my external support structure.


Quickly followed by a flat section of metal on top of the "square".


This plate will now provide the support to the bracket inside the pillar that you can see in the middle of the first photo.
So clearly I am not rebuilding the bulkhead to original spec.
All I want to do is make it water tight & retain the strength of the structure.

After a few attempts, I finally had a cardboard template for the first repair panel that I could transfer to metal.


Obviously I hadn't spotted the section of Spitfire I picked was caked in filler.


Eventually it was cleaned and ready to go.


I clamped it to some wood before hitting it with a hammer to create the first bend.


Eventually I had most of the bends I needed in the panel.


Unfortunately darkness was falling so the photos are not great under spot light.

This is a very blurred photo of the support structure clamped into place.


This is how the panel I have made will replace the bottom of the rotten section.


Fixing it this way allows me to weld an edge to the right of box section at the bottom.


I will also be hammering this edge down so it can be welded to the box section too.


There are still two repair sections I need to make before I can start welding.
The first just needs to be cleaned up and trimmed to fit as I cut it out earlier today.
This will replace the bottom of this vertical outside edge which needs to be cut out.


I will be able to weld the top edge of this section of Spitfire to the bulkhead.
Plus the bottom edge will be welded to the box section.


That just leaves a curved panel to fill in the remaining "gap" in the bulkhead.
Which I should be able to tie in with the new panel section & the box section support.

Overall, this is one of those areas that you wish you had never started. :rolleyes:
However, now I am committed to fixing it, I will try to do the best job I can.

But first I need to lie down in a darkened room as my head hurts!

Cheers, Paul. :)