MadaboutKitcars

This is a read-only archive of the old Madabout Kitcars forum. New posts and replies are no longer possible, but every thread is still here to browse and read.

Another Cordite Is Born ...

25 Oct 2013, 6:57pm
Spitfire Bulkhead Repairs - The Beginning:
Only managed to crab an hour outside just before darkness fell.
But it was still enough time to make a start on my bulkhead.

First job was to take a series of "before" photos.
I will post the "close ups" when the relevant section has been tackled.

But here is the overall look from the front and back.
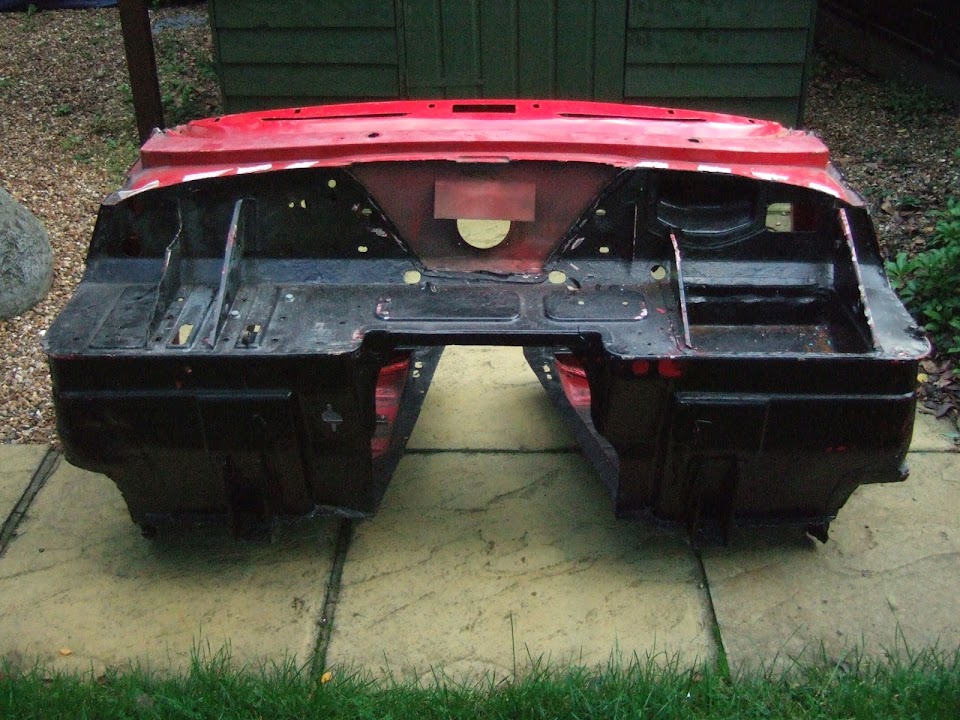


I remembered Mister Towed (AKA "The Oracle" :icon_wink:) mentioning his bulkhead cracking when it looked like this.
So I wanted to brace the two sections at the back to remove any flexing when moving this around.

I couldn't do this while it was still on the chassis as the prop. shaft was in the way.
( Well, I suppose I could have built a "bridge" in the brace, but that seemed a bit OTT. )
Instead I measured the distance between the two sections while they were bolted down.

Then it was simply a case of removing paint to leave clean metal along the edge.


Then I could clamp a length of box section to one side and weld it into place.
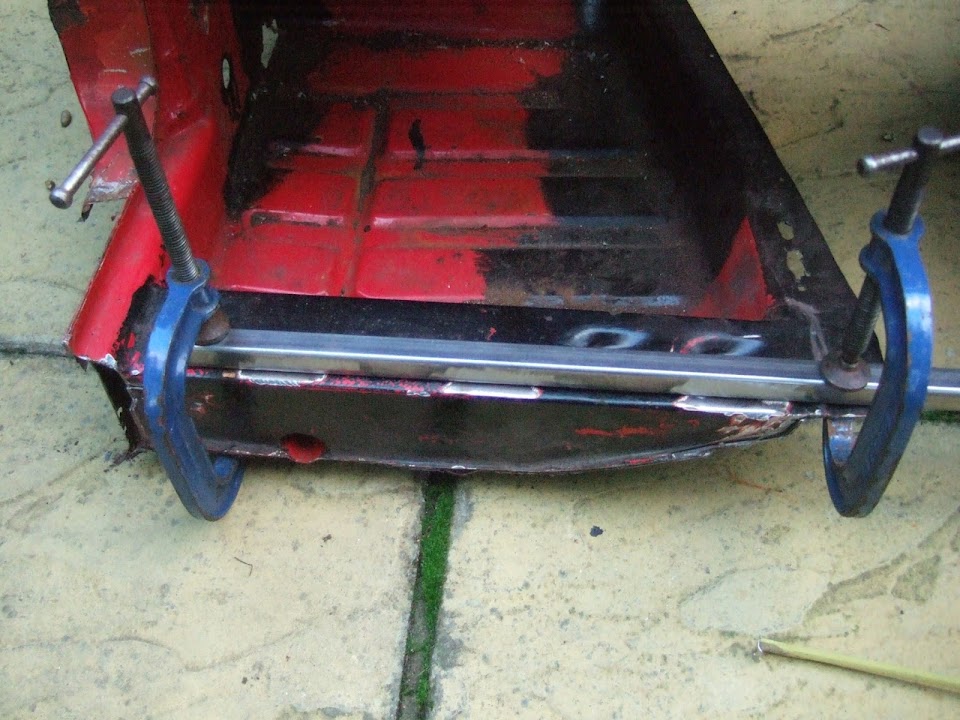


With that side welded, I could clamp the other side and check the gap.
Then it was simply a case of finishing the welding and job done.


It is amazing how big a difference this actually made, the whole thing is now very solid.

Thankfully, I only needed to tack it in place as obviously it will be removed before re-fitting.
I knew the current reel was almost out of welding wire & I have a replacement ready to go.
So I was very happy to see I got the job done with mm to spare.


Then I started preparing the area around the original heater mounting with my angle grinder.
As it was dusk, the sparks were pretty impressive in the fading light.

Before:


After:
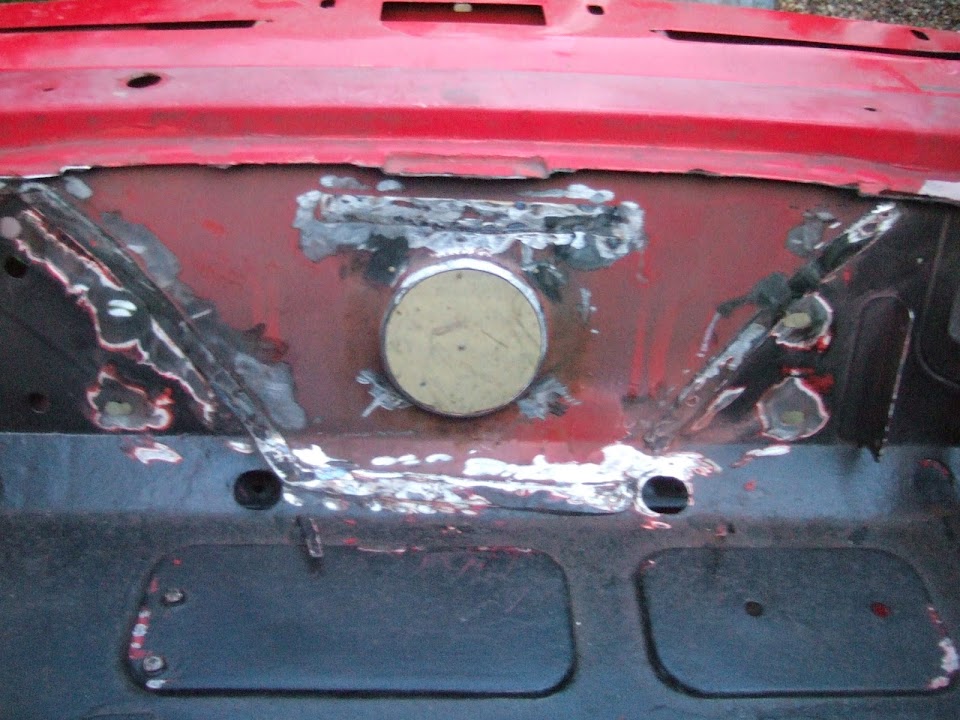

The micro heat that Mr T used sits inside the bulkhead, so I don't need these heater holes.
Although I still need to work out the routes for the radiator hoses, so I'll be leaving them for now.

There was just enough time to make some cardboard templates for my first repair patches.


Note: The two smaller circles are for the holes associated with the wipers & screen wash.
I'll cut them out of metal tomorrow, reload the welder and then start the repair work. :cool:

Until next time, take care, Paul. :)
26 Oct 2013, 2:18pm
Wow Paul!! I thought I had my work cut out but I feel humbled now!
You are a very brave man.
So far, I have left my heater in place. (I had a 7 type car couple of years ago and would NOT be without a good heater. There was just one switch, it was on full or off, and I loved it.
Please tell me about this Mister Towed micro-heater?
What kind of out put does have compared to a standard Spitfire one?

I was so pleased to see that you are working outside! I felt like a poor cousin or something but feel in better company now.
I built a concrete pad in my front garden, and built a tent like structure to work in. ( You can do things like that when you've thrown your wife out!!)

Of course you can't do that or your bulkhead will never go back on!
But until I get the body shell on, that has to remain under a sheet.
Please let me know the heater details and keep up the brilliant work
26 Oct 2013, 5:37pm
Replies:
Scottie22 - Welcome to the "other side". :icon_wink:
I do actually have a big tent that I can set up and work in at the bottom of my garden.
Although I can't set it up at the moment as there is a big storm due tomorrow night.

You can see photos of this micro heater at the bottom of Post #568 above.
It is available in at Demon-Tweeks.co.uk for £77.49 + £7.50 delivery.
Mister Towed says it gives out more than enough heat to keep him warm.

You can also read his brilliant build thread here:
http://www.madabout-kitcars.com/forum/showthread.php?t=3113

- - - - - - - - - - - - - - - - - - - - - - - - - - - - - - -

Spitfire Bulkhead Repairs:
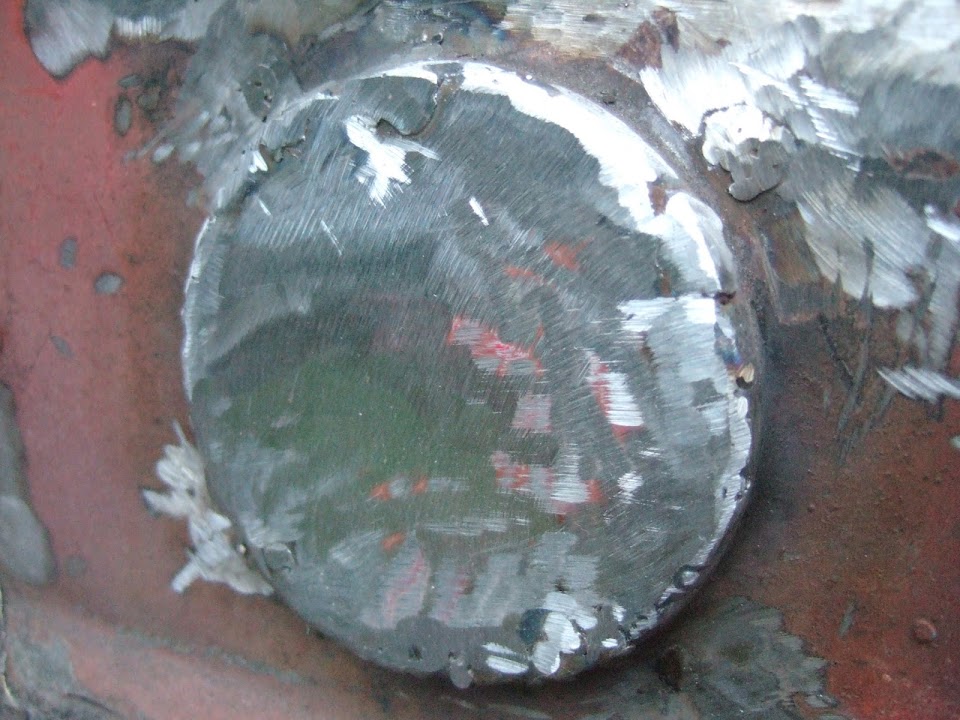
I cut the circles inside my house, slightly oversized, so I can give them a final trim outside at the bulkhead.


I didn't want to wake the neighbours with my angle grinder first thing on a Saturday morning.
But when I came back from a family trip out, it was raining in the afternoon. :frusty:

Still, I did have a dry working area that could easily be measured in inches...


This was enough space for me to clean up the metal circles ready for welding.


I quite like the fact I am recycling parts of the old Spitfire body shell back into the bulkhead.

Think Twice, Cut Once: - Today's lesson was planning ahead. :rolleyes:
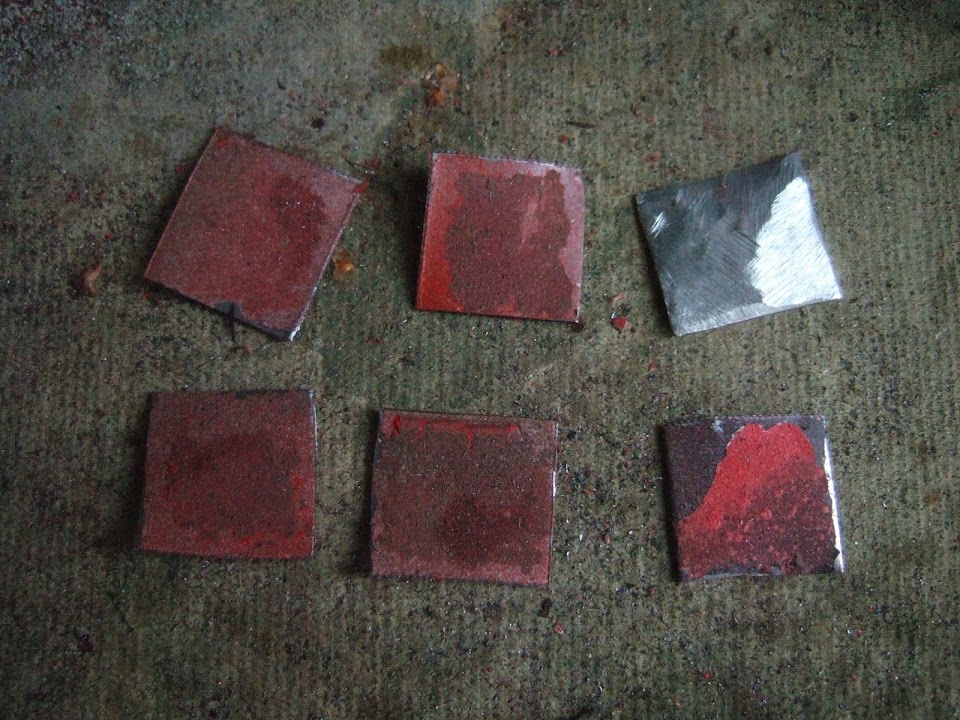
I wanted to weld up the 4 holes used to bolt the heater into place.
So I cut up some small metal squares which were a real pain to clean up.


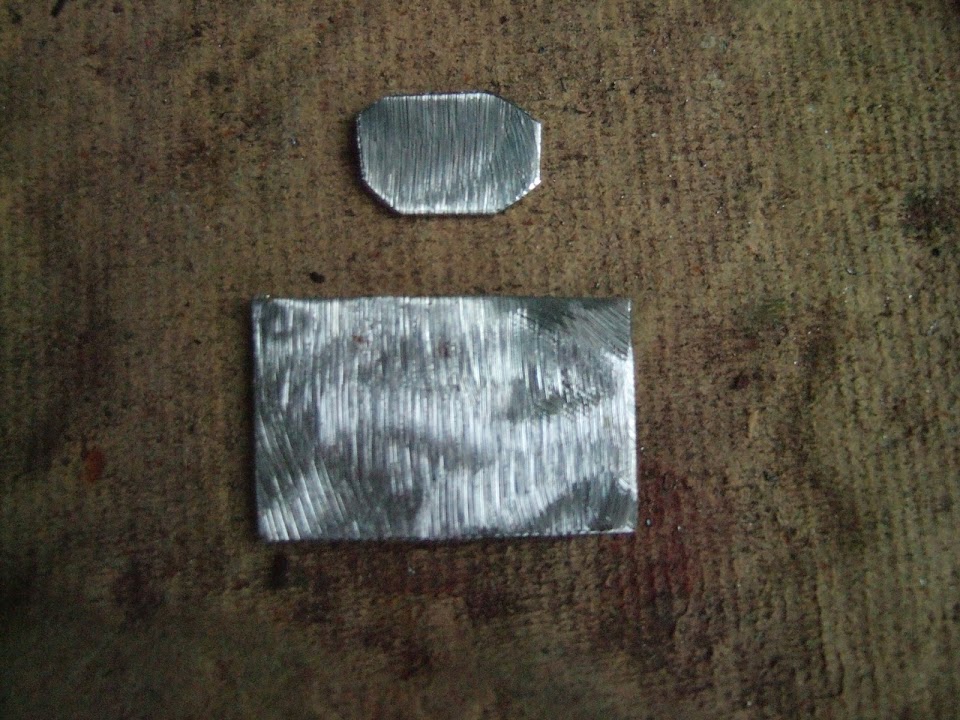
Plan B:
What I should have done was clean up the whole piece & then cut the squares out.


This allowed me to cut just the right shape, but this was very small.


Plan C:
Use a much bigger section of metal, put it behind the hole & weld it in place.
( I will just use a thin layer of filler to smooth over the surface. )


Eventually the rain stopped and I could start welding, although it was quite windy.

The big heater hole actually has 4 "pin" holes around it, which just needed a blob of weld to fill in.
( Not a great photo, sorry. )


By the time I had welded everything in place (& fixed the holes I blew through the metal) I had this.

Before:


After:


Obviously a bit of tidying up still to do.

Next up were the holes for the wiper motor and screen wash, as seen here on my original donor.


( Not sure why this photo is so small???)

And this is the before and after on my second hand Spitfire bulkhead.


A bit more grinding and a layer of filler will hopefully make this look a lot better.

Thanks all for today, hopefully I will get a bit more done tomorrow.

Cheers, Paul. :)
26 Oct 2013, 5:38pm
Viatron: - Sorry Mac, I was just previewing my post when you posted your links.
27 Oct 2013, 3:24pm
The Calm Before The Storm - Part 1:
Thankfully it was dry this morning, although the wind was already blowing quite strongly here.
So I managed to get a few hours in before it was time to batten down the hatches for the approaching storm.

Rather than follow the actual time line, I will group the work together.

Windscreen Support "Holes":
Cutting the windscreen off the body shell obviously left a couple of "wounds".


I had already started cleaning up the metal around these area with the grinder the other day.
So today I applied some "Kurust" to the insides of the holes (as I can't use noisy toys first thing on a Sunday morning).
Notice my high tech way of getting at those hard to reach places...


The other end of this section can be reached from the inside of the bulkhead.
So I will extend the treatment in this area when I turned it "upside down".

Next up was cutting out a couple of metal repair sections to cap these holes.
Although for some reason I don't seem to have taken any photos of them. :rolleyes:

When the rust treatment was dry I sprayed some etch primer into the holes.
The masking tape was to keep the metal clean for welding rather than over spray protection. :icon_wink:


I am sure the wind did not help my welding attempts, but the repair panels are in.
There are a number of holes blown through the metal that I need to come back to. :frusty:


Bulkhead Repair / Replacement Panels:
As making cardboard templates doesn't disturb the peace, I looked at other repair panels required.
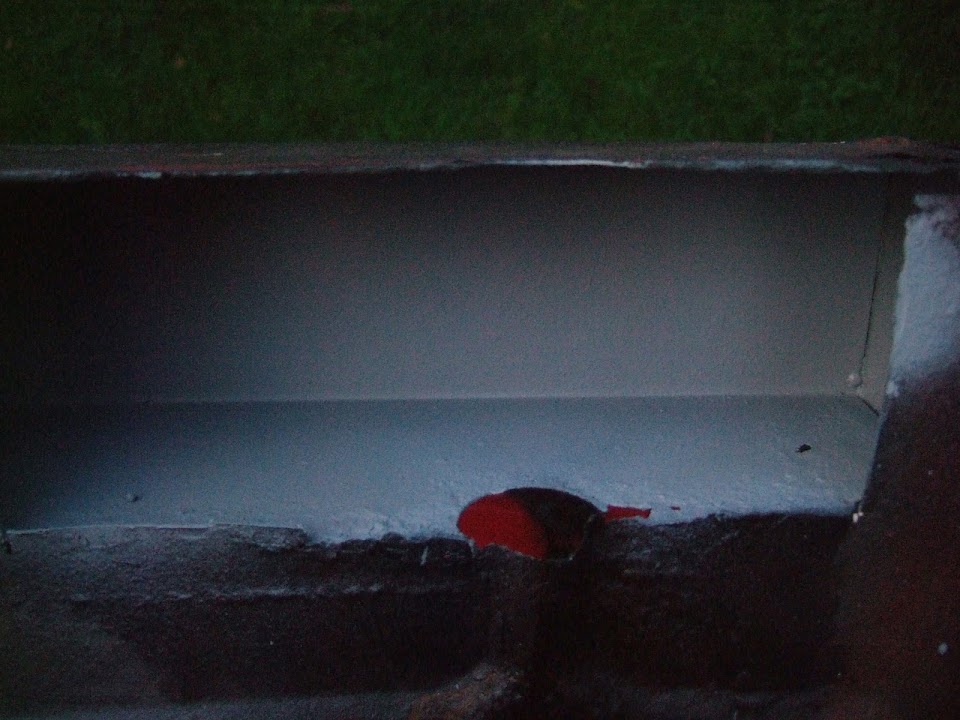
The first was for the gaping hole in the box section underneath the driver's side of the bulkhead.


While I had the Kurust out, I put some on the inside of this section.


Later when I had cut a large section of metal out, I was able to reach all of the inside.


I think this section of Spitfire sill will be perfect for the job, once I have flattened it out a bit.
At this point I am not sure how far down the repair panel needs to go, so I have included "extra".


The other panel I needed to make was for the cut out behind the brake master cylinder.
This is the cut out on the passenger side (I assume for the USA export market).


And this is roughly where I need to insert a similar cut out on the driver' side.
I did consider "swapping" the cut out panel over, but figured the less holes I made the better.


I found these two sections in my Spitfire scrap yard and think I can make them work.


It didn't take the angle grinder long to cut out these repair panels.


Then it was time to play with my two lump hammers until I had the shapes I wanted.
It was very easy to flatten the sill...


But the cut out section is still a work in progress...


The current plan is to fit these two sections top & bottom by welding the edges to the bulkhead.
I will use the existing bulkhead metal for the sides by carefully cutting the hole and hammering them out.
Depending on the final shape of the pieces above, they will either join up, or need a small section at the back.

Back in a minute with "Part 2"...
27 Oct 2013, 3:26pm
The Calm Before The Storm - Part 2:

Box Section Repairs:
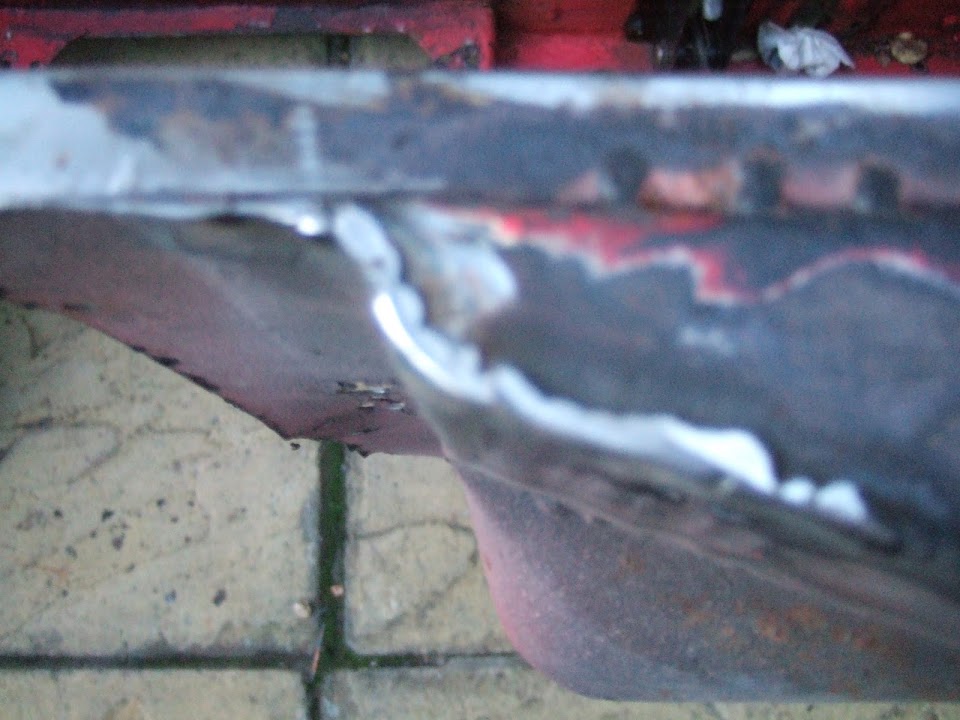
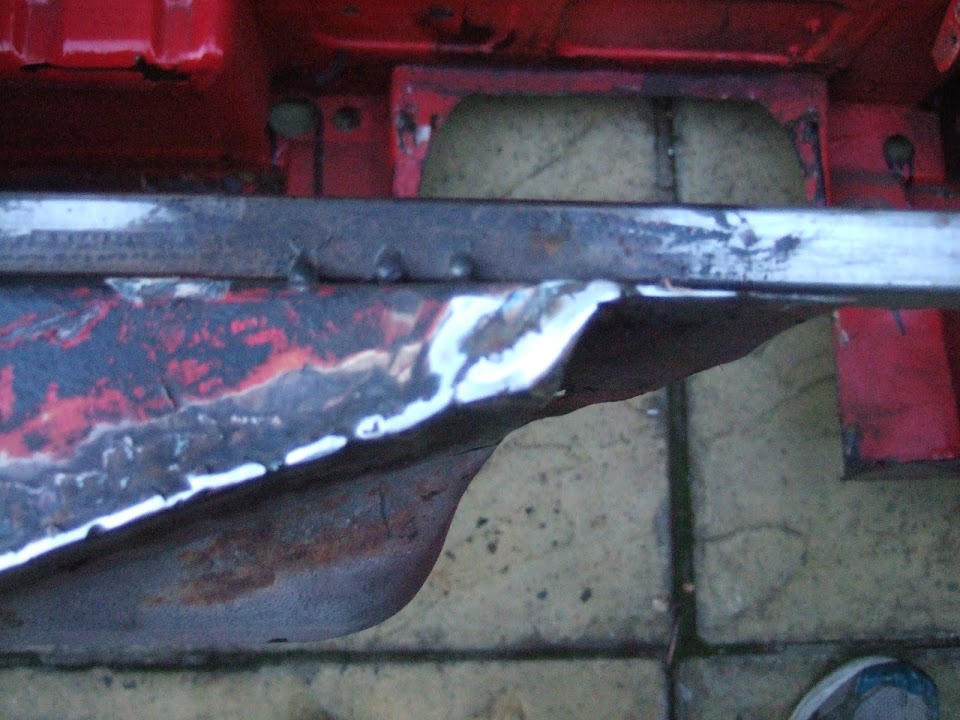
When the body shell was cut in two, these joins had come apart, so I cleaned them up.


Then clamped them together.


Before finally welding a large chunk of the join back together.
( I will finish the bit on the left, after I have got the repair panel in on the right. )


I will need to do this on the passenger side as well.

Yesterday's Bulkhead Repairs:
It didn't take long with the grinder to finish tidying up the welds & then I applied some anti-rust treatment.


The next job here will be to add a layer of filler to tidy things up a bit before a quick coat of primer.

Overall, I am pleased with today's progress, although welding thin metal is still a challenge.

Re-Body Inspection Rules:
I've been following Scottie22's A352 build "next door" as it is another Spitfire based kit.
http://www.madabout-kitcars.com/forum/showthread.php?t=4553

He had removed the brackets for the original bonnet hinges and bumper mounting.
Chris @ Tribute + Mister Towed confirmed this was OK, which is not how I understood it.
I checked the rules which include the words "the original unaltered chassis".
I will check with the DLVA, but it seems that these brackets are not part of the chassis.
If true, this would be a big help as these brackets are a PITA getting in the way of my bonnet hinges.
What I haven't got my head around is the difference between these brackets and the Herald's rear outriggers.
As traditionally, Spyder builders leave these in place until after the inspection.
So are the Herald outriggers considered to be part of the chassis?

Anyway, I don't need to solve that problem today.

So until next time, take care, Paul. :)
27 Oct 2013, 4:17pm
I can't guarantee that the inspector won't say 'Aha!' you've cut off the bonnet brackets, you're going to need to IVA it. Muhaha. Muhahahaha.'

However, it'd take a pretty anally retentive inspector to know what you've cut off so long as you don't tell them. The way I read the 'rules' is that they're intended to stop someone altering the wheelbase or presenting a home made spaceframe as if it's the original chassis.

Keep up the good work and you'll be on the road before you know it. :)
28 Oct 2013, 6:50pm
Mister Towed - Cheers mate.
For now I will resist the temptation to remove the brackets until I've double checked.
But that is one job with the angle grinder that I am really looking forward to. :icon_twisted:

- - - - - - - - - - - - - - - - - - - - - - - - - - - - - - -

Twilight:
No, not the teenage vampire/werewolf movies, but the only chance I got to work on the car today. :rolleyes:

First job was the clean & clamp the passenger side of the rear chassis mounting bulkhead section.


Then I welded a section of the two sides together (as before the bits either side will be done another day).


By the time I finished welding up the last few holes in the windscreen support "holes" the light was gone.
So I will have to take some photos another day.

My wife took this picture of me cleaning up the welds which gives you some idea...


I really wanted to get some filler over the top of my previous work, but it was not to be.

Recess for brake master cylinder:
Although I have already started work on this, I had a much better idea on how to approach it.
It would be easier to make the whole recess as a single piece & then weld it into the bulkhead.

This gives you a very rough idea of what I now plan to do.
There needs to be a bit of a curve / slope on the top edge to match the bulkhead.


This approach would also allow me to use a single length of metal "top to bottom".
Then I would just need to add the two smaller side sections.
If I just cut out a hole in the bulkhead, I would be able to weld the tabs on 3 sides straight away.
The right hand tab needs some more thought as there is cross brace welded to the bulkhead at this point.

Note:
Not sure I've done a very good job of explaining that, but hopefully it will become clearer.

Cheers, Paul. :)
29 Oct 2013, 10:43am
Flying Visit...
I'm supposed to be doing something else, so I'd better be quick.

This is what the windscreen support "holes" looked like after my grinding in the dark. :rolleyes:


To be honest, that will do, as I will be covering the whole repair area in P40 filler.
But first I gave the bare metal a quick wash in Kurust.


Then I mixed up some P40 for the washer/wiper holes and the heater section.
( This will be sanded back a bit before I add paint. )


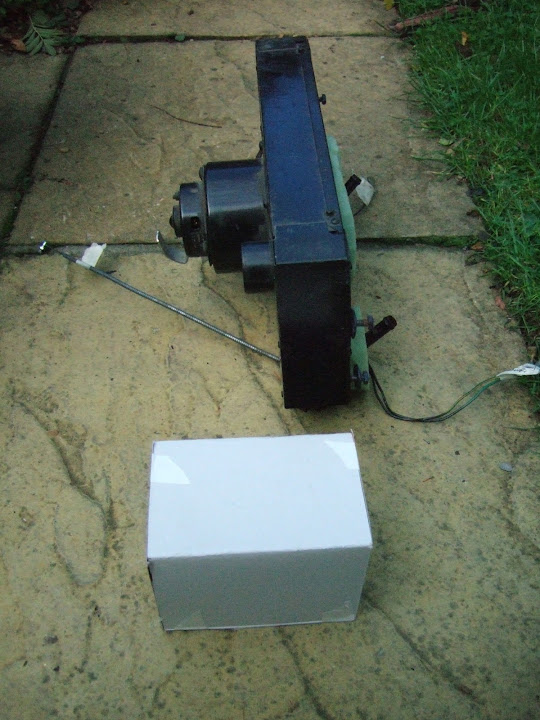
Last night I turned a cereal box into the outside dimensions of Mr T's micro heater.
( Given the heater's shape, it doesn't take up all of this space. )


I could then use the box to work out where it would fit behind the dash.
This is where the Spitfire heater was fitted and there is plenty of room around here.


Not surprising really given that this is the comparison with the original heater.


Right, got to go, Paul. :)
30 Oct 2013, 6:22pm
A small collection of poor photos:
Another brief session outside at twilight which made limited progress.
I really must get a new camera to document this build as the photos are getting worse.

I got some etch primer on the inside of the box section before I start welding the repair panel over the top.
( I'll also add some waxoil after the welding has been done. )


I hammered the remaining inside edges of the box section together on both sides & welded them up.


I then cut a small metal cap to seal up one of the passenger side "tunnels".
As the wiring will not go through the bulkhead, but along the side of the body work instead.
This cap is not required on the driver's side as that was part of the area I cut out for repair.


I also managed to get some P40 on the windscreen support holes on both sides.


Unfortunately the P40 I applied yesterday was still a little bit tacky.
So I may not have put enough hardened into the mix for the colder weather. :frusty:

Hopefully it will be hard enough to sand down tomorrow. :pray:

Cheers, Paul. :)
30 Oct 2013, 6:24pm
Keep plugging away Paul, every job done is one less to do!
Im jealous as i haven't had grease or filler under my nails for a while now :-(
Mac
30 Oct 2013, 7:03pm
Paul L wrote:


Unfortunately the P40 I applied yesterday was still a little bit tacky.
So I may not have put enough hardened into the mix for the colder weather. :frusty:

Hopefully it will be hard enough to sand down tomorrow. :pray:

Cheers, Paul. :)


Get the wife's hair dryer on it that will get it going
31 Oct 2013, 3:34pm
Mac - Cheers, there is still a lot of work to be done on the bulkhead.
But I'm enjoying the fact that I can chip away at the jobs and see visible progress. :cool:

RedRatBike - Thanks for the tip, although I got away with it this time.

- - - - - - - - - - - - - - - - - - - - - - - - - - - - - - -

Happy Halloween!
Spend the morning pumpkin carving with my daughters & here are the results...


Bits & Pieces:
Only had the chance to do a few small jobs, but thankfully all the P40 filler has now gone off.
I gave it a very quick rub down and put a coat of etch primer over the top.
Cabbage had achieved a lovely, "GQ Smooth", bulkhead on his build.
Whereas, I have gone for a rough & ready, too many other things to do, finish. :rolleyes:

However, whilst the repairs looks rough, they are solid and water tight which is all I really want.

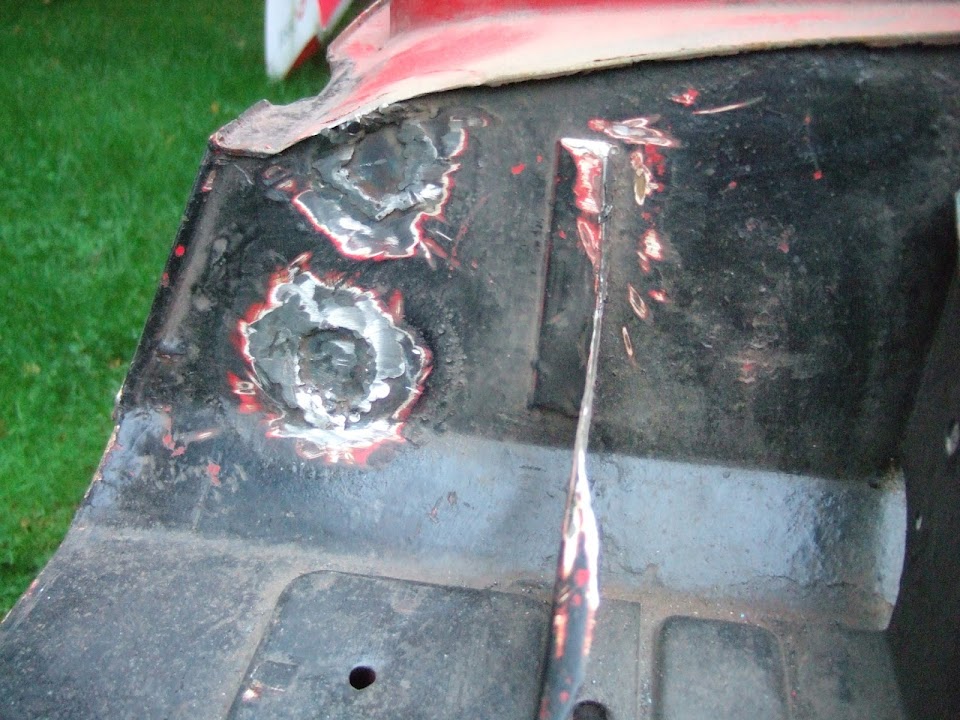
Holes for wiper & screen wash:


Heater section:


Windscreen support - driver's side:


Passenger side:


I also dug the gearbox tunnel cover out as I want to see how that is fitting.
There seems to be excess holes in both the cover and the bulkhead which I will "fill in".


Bulk Head Age:
I came across the VIN plate from the second hand body shell I bought the other day.
I looked up the number on a website and it turns out it is a MkIV, not a 1500 as advertised. :rolleyes:
It is also from 1972, which explains the state of it in places, as it is over 40 years old!

Until next time, take care, Paul. :)
31 Oct 2013, 7:32pm
Bulk Head Age:
I came across the VIN plate from the second hand body shell I bought the other day.
I looked up the number on a website and it turns out it is a MkIV, not a 1500 as advertised.
It is also from 1972, which explains the state of it in places, as it is over 40 years old!


If you can obtain a V5c for that chassis number you will be tax free and can run black and white plates legally!!
Keep up the good work. Nice to see you are making good forward progress.
31 Oct 2013, 8:23pm
That one is worth following up, I chose my donar as it was a 1971 Spit, and as froggy says it is tax free,lovely black and silver plates, plus the added bonus of stating " Historic Vehicle" on the free tax disc
all very convincing stuff to a non believer!
31 Oct 2013, 9:49pm
Hi Paul,

It is becoming neat. Must be labour intensive work getting it all together like this. The trick is to keep up this kind of attention and not to bent for the urge to get it finished in a hurry.

Regards,

Michiel
1 Nov 2013, 11:09am
Nice work Paul, it may seem like it's taking a long time but once you've finished you'll be able to place a proud hand on it and say I built this.

Couldn't agree more with the comments about using your '72 vin plate. These cars' identity is the vin plate. There's no number stamped into the chassis anywhere, so everything apart from the vin plate is a replaceable component.

You'll need to do some digging with DVLA to make sure that the vehicle isn't still registered to someone else - after all, you can still buy blank vin plates and stamp them up to replace corroded or lost/stolen ones (I've been to a job where the vin plate was stolen from a classic car after they levered the bonnet open) but if it's shown as 'last keeper details only' or some such, you might just be able to register it in your name.

That way you would be able to legally run with black and white/silver number plates and save yourself £125/£235 a year in road tax (dependant on engine size).

Oh, and I raised this point over on the Tribute site, but the current fine for putting black plates on a post '72 car is £100, even if it's parked on your drive.

I got slagged off on the Tribute site by someone who said I didn't know what I was talking about, but believe me, I have white hatted colleagues who wouldn't think twice about slapping you with that fine if they twig you're trying to cheat the system.

Anyway, keep up the good work and I'm looking forward to seeing a Cordite actually on the road.
1 Nov 2013, 12:56pm
Oooh the RATS...
1 Nov 2013, 1:10pm
Towed - quick question about number plates and what is likely to happen in practise.

If I accidently left some 'show plates' in place over the top of my 'real' number plates and removed the 'show' plates as soon as plod pointed out my mistake, is the nice policeman still likely to slap the fine on me?

I know he can do it but is he likely to bother if the rest of the car is legit and I am poilte to him?
1 Nov 2013, 2:42pm
WorldClassAccident wrote:
Towed - quick question about number plates and what is likely to happen in practise.

If I accidently left some 'show plates' in place over the top of my 'real' number plates and removed the 'show' plates as soon as plod pointed out my mistake, is the nice policeman still likely to slap the fine on me?

I know he can do it but is he likely to bother if the rest of the car is legit and I am poilte to him?


That would very much be down to luck - whether the individual officer recognises the deception, whether they're busy doing something else and don't have time to write the ticket, whether they exercise their discretion etc. - but, as with all Public sector workplaces, successive Governments have driven for 21st century Policing to be 'measurable and accountable'.

I'm all for the accountable bit, I don't believe anybody should be above the law in a democratic society, but measurable inevitably means target driven, and there's nothing more easily measurable than a sheaf of traffic tickets.

All forces are different, but I wouldn't be surprised if you were to drive your car through an area where the roads police officers have a specific number of tickets they need to give out each week to prove that they're out there doing their job, which kind of reduces the individual officer's discretion a bit.

Just to play Devil's advocate though, some forces have trialled a 'zero tolerance' approach to minor breaches of traffic law, giving tickets for everything - blown bulbs, emergency breakaway cable not connected twixt caravan and car, wrong type of number plates fitted etc. - and they've found that overall crime rates have dropped across the board as a result.

The sad truth is that criminals use vehicles to commit crime and the more cars/vans/homages to racing cars on iffy plates that the Police stop the more criminals get caught.

I know you're in a position where you can't really use a classic donor for your build because of the foot thing (don't mention the foot, I mentioned it once but I think I got away with it), and I obviously can't condone you breaking the law by fitting black and white plates to your BMW based Maser, but ultimately it's up to you to decide if it's worth the risk of frequent £100 fines if one of your local traffic cops cottons on to the deception, which they'd be much less likely to do if it had an ageless plate on it ;)

I know what I'd probably do if I was in your position...
1 Nov 2013, 5:56pm
Replies:
Thanks for all the suggestions about re-using the 1972 VIN Plate, I will look into it.
Although I'm sure the guy I bought the body shell from was also selling a rolling chassis.
In fact I'm pretty sure that was the only reason I'd kept the VIN pate in case he needed it.
But there is no harm in checking and a legal way of running black & white plates would be good. :cool:

Picking up on Michiel's point about the labour intensive repair works.
I'm actually enjoying bringing the bulk head back to life as I can see the progress I'm making.
There is still a lot of repair work to do, but I did manage to get a bit more done today...

- - - - - - - - - - - - - - - - - - - - - - - - - - - - - - -

Spitfire Bulkhead Repairs - Continued:
My daughters helped me to raise the Circus Tent in the back garden as the weather was a bit hit & miss.
I positioned it close to the Summer House where all my tool & parts are + power.


Note:
If you look closely at the photo you will see the pile of stuff I had to rake off the "floor" / lawn.

This gave me somewhere to work on the bulkhead in relative calm.


Note: The marks in the primer are where I gave the edges of the P40 an extra rub down this morning.

The first thing I did was put a coat of black paint on the repairs I put primer on the other day.
Although they still need a second coat of paint, I am calling these repairs completed. :cool:

Windscreen Support "Holes":
Driver's Side - Before & After:


Passenger Side - Before & After:


Wiper & Screen Wash holes: - Before & After:


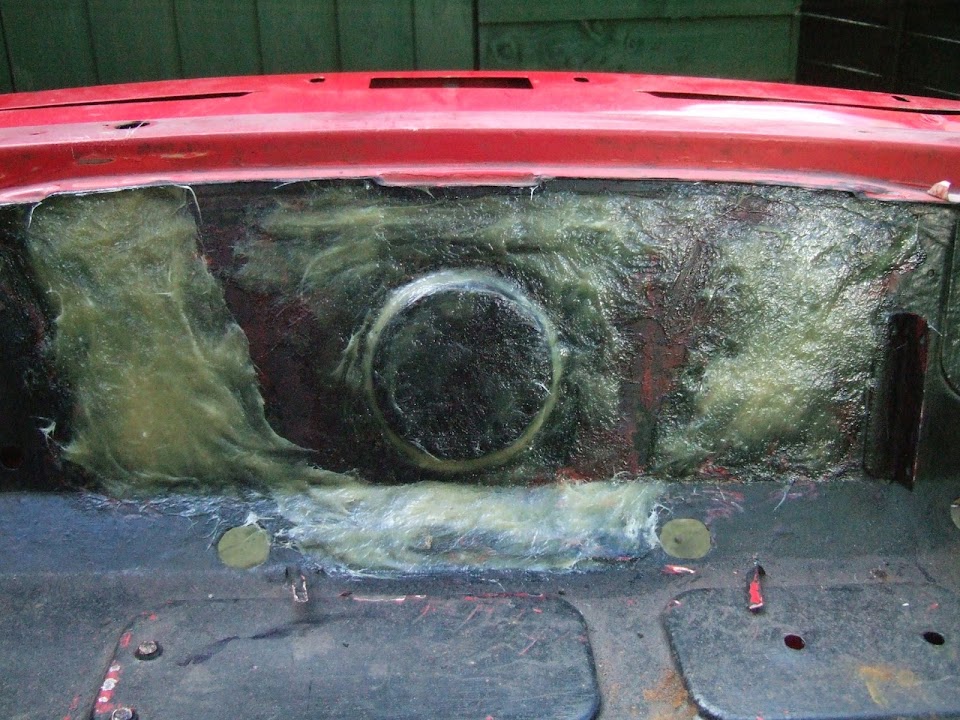
Heater hole: - Before & After:


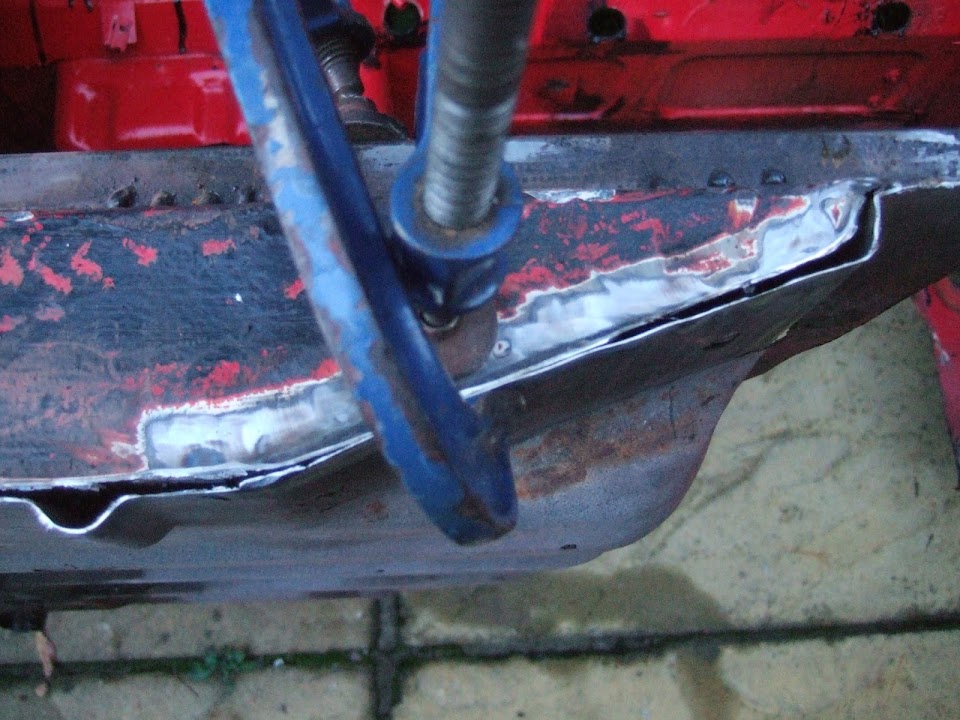
Driver's Side Floor Pan Repair:
I cleaned up the repair panel I'd made from an old sill & drilled a few holes in it.


I also cut some more of the floor out to make it easier to make the repair panel fit & cleaned / drilled it too.


Then it was time to clamp it all together and start welding.


I did the welding in two stages as I wanted it firmly fixed before hammering the final section into shape.


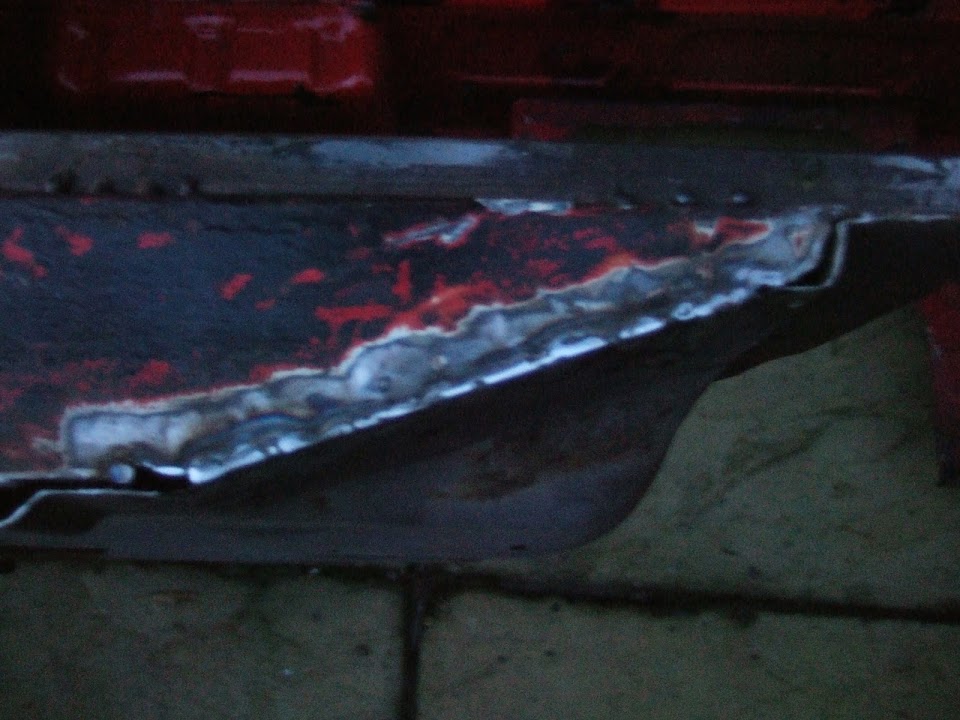
Eventually I had the whole thing welded up and it is a solid, if a little ugly, repair.
( Sorry the photos are not great. )


The next stage for this will be to apply the P40 filler, sand, primer & paint.
As this repair will be visible when the car is having an MOT, I will try to get it a bit smoother.

Until next time, take care, Paul. :)
1 Nov 2013, 7:13pm
Quite the fabricator developing there mate!

T, with ref to your comment about small triumphs not having chassis plates i beg to differ see below :-)

From all the layers of paint and rust it was under i have no reason to belive it wasnt factory fitted.
2 Nov 2013, 12:34pm
Viatron wrote:
Quite the fabricator developing there mate!

T, with ref to your comment about small triumphs not having chassis plates i beg to differ see below :-)

From all the layers of paint and rust it was under i have no reason to belive it wasnt factory fitted.


Oops. Never seen one of those before...:redface: