MadaboutKitcars

This is a read-only archive of the old Madabout Kitcars forum. New posts and replies are no longer possible, but every thread is still here to browse and read.

Another Cordite Is Born ...

11 Oct 2013, 2:33pm
Replies:
Michiel & Mr T - Thanks for the feedback chaps, please see below.

Mike - Welcome back, hope wedding & honeymoon went well.

- - - - - - - - - - - - - - - - - - - - - - - - - - - - - - -

One of those days...
The day didn't start well when I discovered my new tool wouldn't tidy up welds.

[SIZE="4"]D'Oh![/SIZE]

Hopefully I will find a good use for it somewhere along the line.
And I guess I will just have to get better at welding instead. :icon_wink:

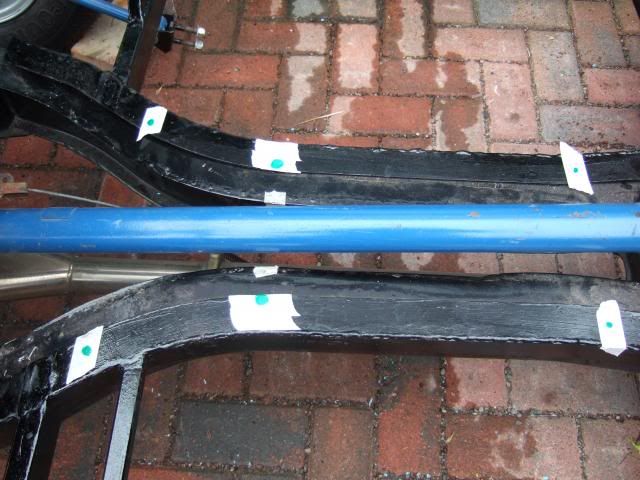
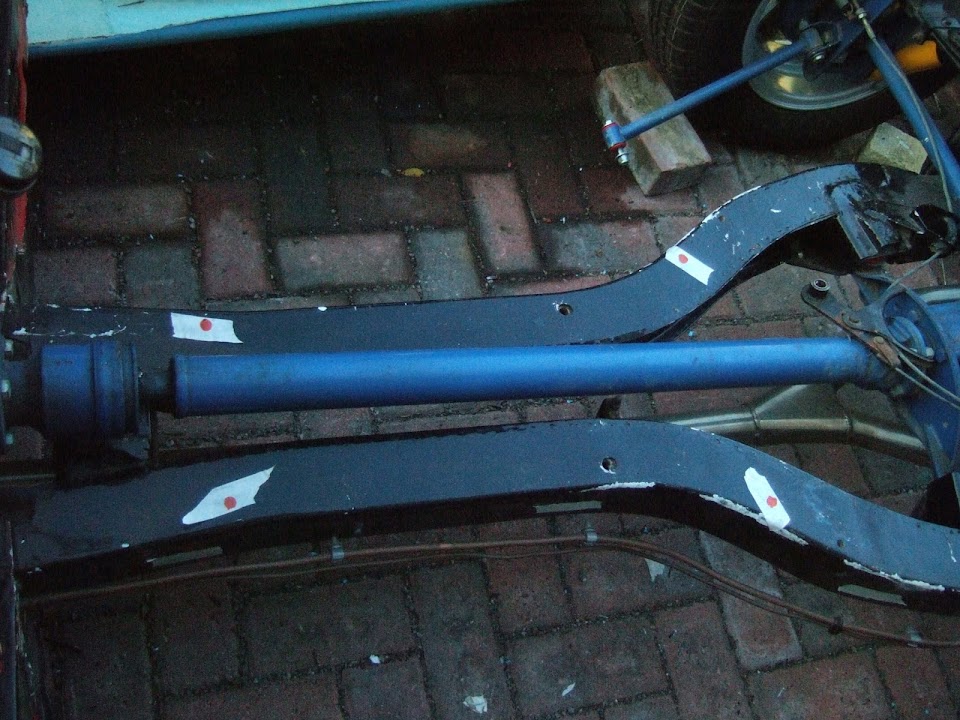
The first job of the day was to check the seat belt chassis holes.
These are easy to see in the hand brake panel.


But I haven't drilled the corresponding holes in the frame yet.
Instead I had marked them with green dots on some masking tape.
As things currently stand, the holes do not quite line up.


I don't think it will be must of an issue & hopefully it will all line up properly.
However, I need to take the body off before I can see just what is going on.
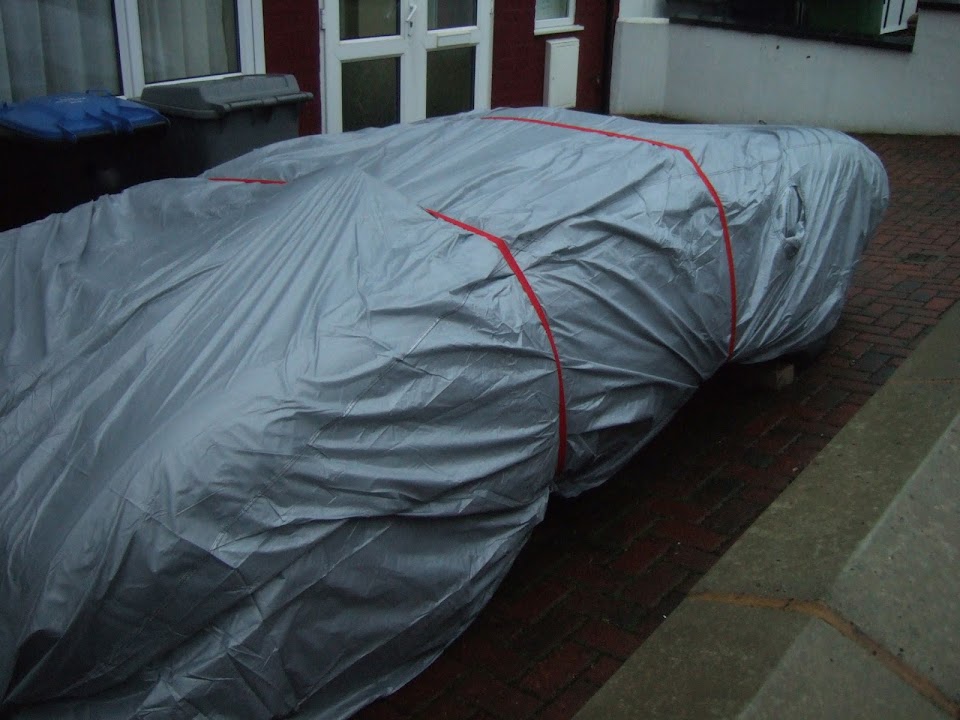
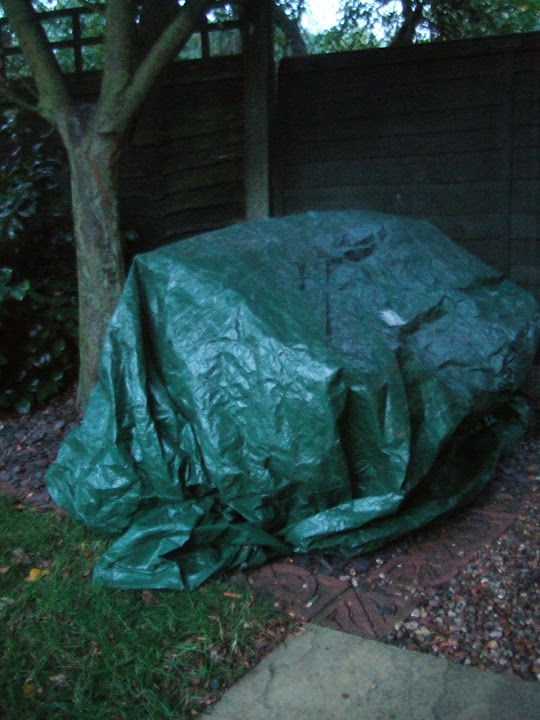
But the rain was due any minute and thankfully the cheap cover had arrived.

So the old cover was consigned to the bin, although I kept the retaining straps.
I blame the fact I had a few other things to do today and so my mind was elsewhere.
I did think that for a cheap cover it came in a nice bag...


It even occurred to me that it didn't have the "ears" for the mirrors in the Ebay picture.
It also seemed to be a very snug fit, given that it was supposed to be oversize.


But I didn't have time to dwell on it as the rain arrived shortly afterwards.
It was only when this arrived in the post in the late afternoon that the penny finally dropped.


Yes, the cover that was supposed to take weeks to get here arrived overnight.
I know there is something to be said for "under promising & over delivering", but really.
If it ever stops raining, I will try to get the cheap cover on over the top of the fitted one.

Until next time, take care, Paul. :)
14 Oct 2013, 4:14pm
Fitting Rear Framework Debate:
Rather than hijack Mac's (Viatron) build thread I'm switching the debate back here.

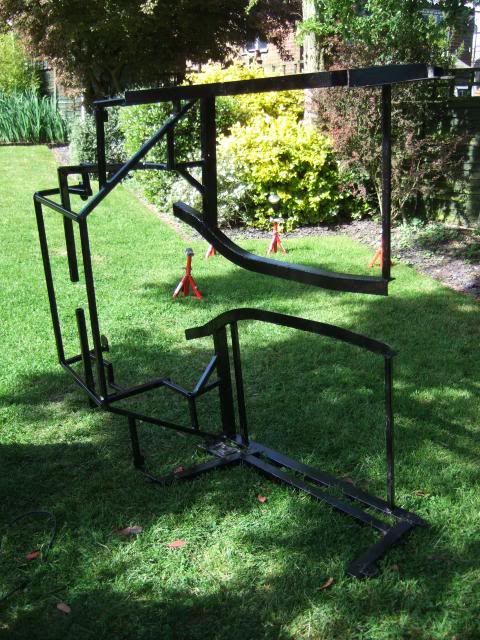
Mac posted this picture of what his frame currently looks like.


The biggest difference between this & my Cordite frame is around the central chassis mounting area.
My frame has a large section of shaped "angle iron" designed to fit on top of the Spitfire chassis.


Well, when I say "fit", obviously I mean in the Sammio sense of the word. :rolleyes:
Because the rear ends of this angle iron section do not sit flush with the chassis at all.


My initial thoughts were to stick a big bonding blob into the gap.
Another alternative would be to hit it with a big hammer until it was a better fit.
But after seeing Mac's frame, I could simply cut off these small sections at the back.

However, Mac asked if the angle iron could be held tight to the chassis and then bolted down.
I actually bought an extra pair of bolts to look at the possibility of doing just that.
As this is where DonnySoutherner bolted the rear of his frame to the chassis.


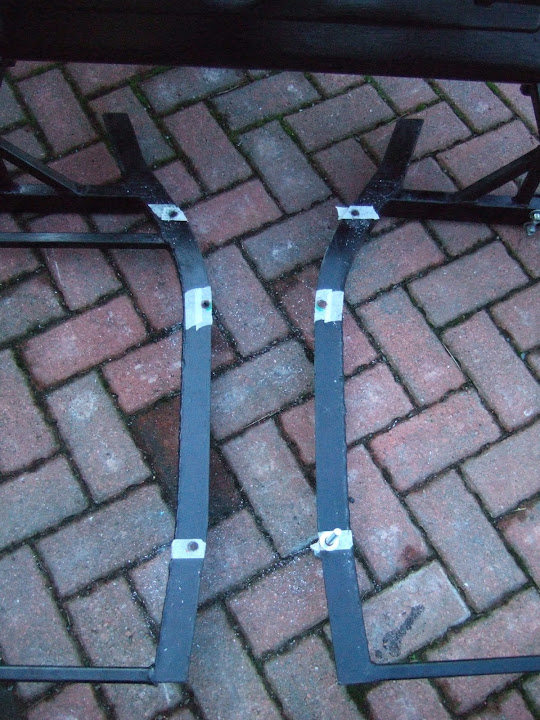
Whereas my first plan was to use two bolts at the front of the frame (green dots on right of the photo below).
Plus two bolts at the rear of the frame, but just inside the rear cockpit wall (dots on left of photo).
With two extra holes cut in the frame to allow the seat belt bolts to be fitted (middle of photo.)


So rather than starting cutting off bits of the frame, I will try to bolt it into position first.
Once I know the frame is in the right place I will then make sure that the rear arches section fits the frame.
If that means opening up the holes in the hand brake section, so be it.

Wooden Tonneau Cover:
It has been raining pretty consistently since I fitted the new car covers.

This was a regular sight with the old cover...


And I've already had to bail out the new covers too. :icon_sad:

I've got the feeling that the weight of water isn't good for them, so I needed a quick fix.
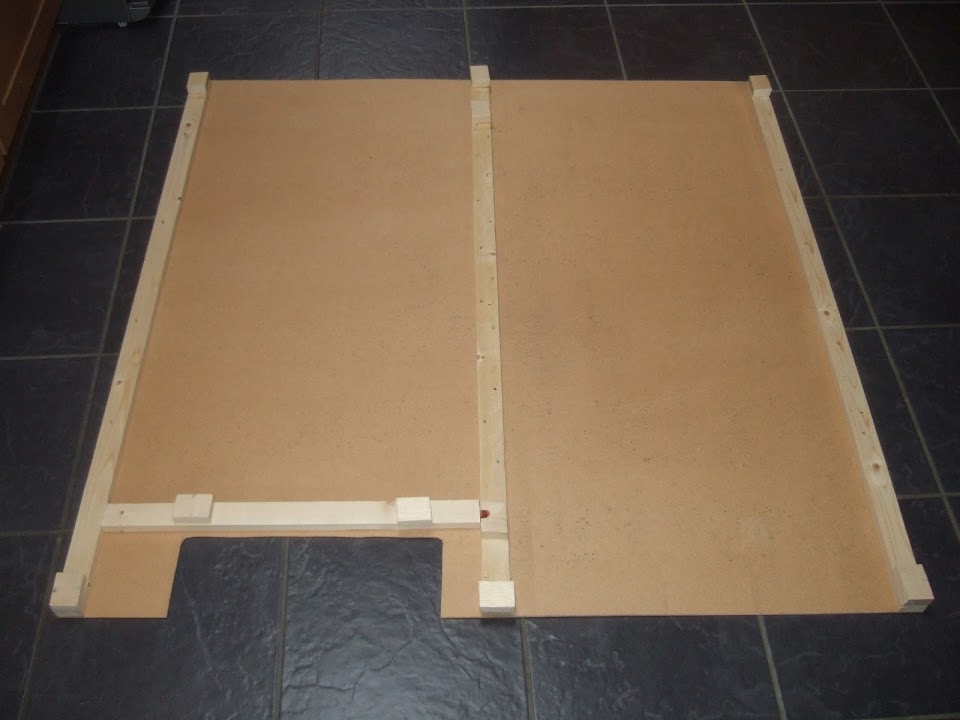
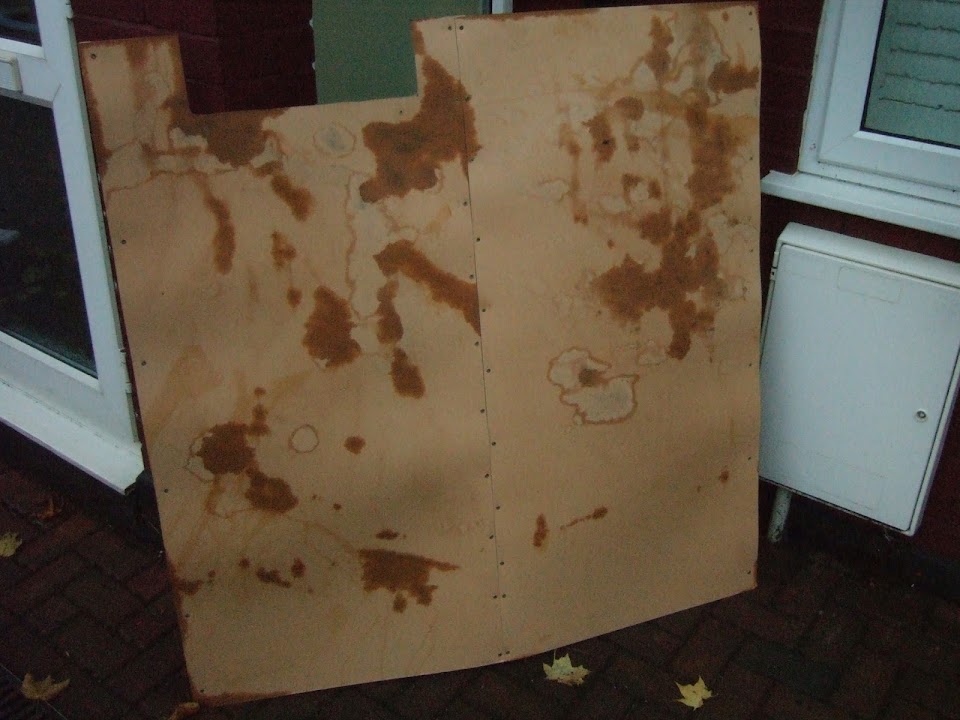
I made a trip to B&Q for some hardboard panels and a couple of lengths of wood.
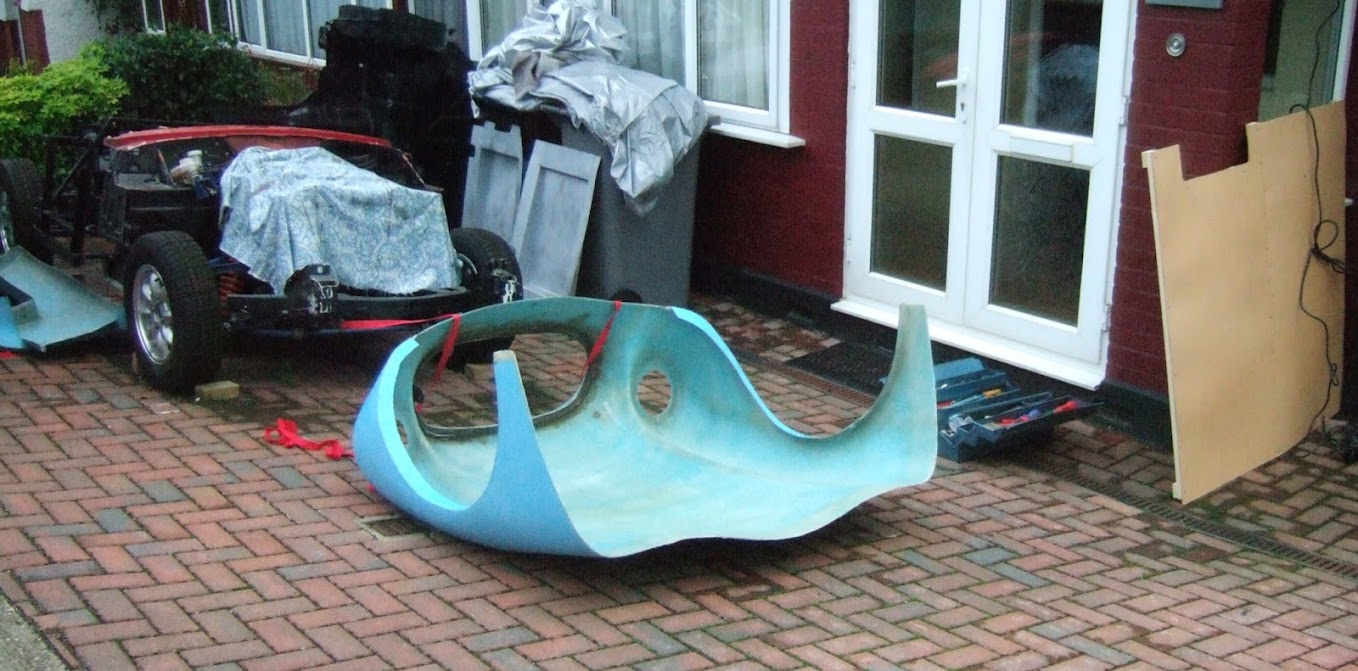
I was then able to knock up this rough & ready cover for the middle of the car.


If I get the chance I will get some more wood to run extra lengths "side to side".


This then sits on the car, located around the hump.


I then threw an old dust sheet over the top to avoid any edges scraping the cover.


The "fitted" cover then just sits over the top with no issues.


Until I get the chance to sew the old cover's straps onto the "cheap" cover, I've have to hold it in place.
( Without these straps it would simply blow away given the weather we have been having lately. )


Re-Body Inspections:
I know I have posted on the specific thread about this, but Micky1mo had some great news.
The opportunity to simply supply some photos and words to the DVLA would be a big help to me.
So I plan to contact my local office shortly to see if they are also following this approach.
Even if it is only for a six month trial period, it is a good excuse for me to get a move on!

Trading Standards:
I got an email the other day saying the company that supplied my rear number plate is under investigation.
Apparently they have not been following the rules and the plate they supplied may be illegal to use.
( E.g. It doesn't have a post code for the supplier listed on the bottom of the plate. )
I have filled in the questionnaire I was sent and asked what that means for me.
Not sure at this point whether I need to get a refund, or a new plate issued.

That's all for now, cheers, Paul. :)
14 Oct 2013, 6:19pm
Most online plate suppliers aren't strictly speaking legal, however, i don't think the plate rules will apply to you anyway due to the age of the car? I have the original silver on black plates that came with my donor so plan to use those.
14 Oct 2013, 7:26pm
really impressed with your build Paul - but I don't recommend forcing that angle down to meet the chassis - it'll just put stresses into the frame and eventually crack at the weakest point IMHO.

you can't get in trouble for buying illegal plates (even if they're advertised as "show" plates) - you can only get in trouble for using them on the road.
15 Oct 2013, 7:22am
Hi Paul,

Nice tonnau cover design. I'm not sure it beats Towed's. But still.:rain:

Michiel
15 Oct 2013, 8:04am
Everything you ever wanted to know about number plates but were too afraid to ask...

Here's a little light reading about number plate regulations -

http://www.legislation.gov.uk/uksi/2001/561/pdfs/uksi_20010561_en.pdf

The upshot is that the maker's id marks are only a legal requirement on cars registered after 1st September 2001.

Anything registered pre 1973 can use black plates with either silver or white letters, and you can even use black plates with white backlit translucent letters on the back if you like.

For Cordite builders using post '72 Spitfire donors, legally you're stuck with reflective plates. You could always transfer a dateless three number three letter plate onto it and go with black plates, but just be aware that there may be a dedicated, thorough and ruthless law enforcement official out there somewhere who knows you're breaking the law -

http://www.thisisgloucestershire.co.uk/Gloucestershire-dad-slapped-1k-fine-W1-LDN-number/story-14006687-detail/story.html#axzz2hm4msbov

Just to play Devil's advocate though, this guy's guilty as hell of the offence he's been accused of and only fought the case because rich to$$ers generally believe themselves to be above the law. As for his accusation that the criminal justice system should be focussing on 'real' criminals, 'real' criminals use vehicles to commit crime and alter their number plates to make it harder for the Police to catch them, confusing the ANPR (automatic number plate recognition) cameras fitted to all Traffic cars, for example, which is why those offences exist. Oh, and the fine's now £100 btw.

Anyway, keep up the good work Paul, looking forward to finally seeing a Cordite on the road next spring :)
15 Oct 2013, 8:16am
Bentley driving accountant, why am I not surprised! I'm guessing his vehicle is registered to his business and he is probably claiming his legal fees through his business against tax, so were probably all paying for both the prosecution and the defence costs.T0553r!
15 Oct 2013, 8:27am
Paul, if you can find a local garage with oxy acetylene they could heat it up enough for you to bend it a bit? Might mean some repainting though :-0
15 Oct 2013, 9:02am
Viatron wrote:
Bentley driving accountant, why am I not surprised! I'm guessing his vehicle is registered to his business and he is probably claiming his legal fees through his business against tax, so were probably all paying for both the prosecution and the defence costs.T0553r!


Honestly officer, W4NKR is my middle name...
16 Oct 2013, 7:59am
Viatron, ScimJim, Christinedmc & Mister Towed - Thanks for the replies gentlemen. :cool:

Numberplate - I'm still waiting for Trading Standards to confirm if my rear plate is legal to use.
I did order a yellow & black one and the numbers/letters are all the right size & spacing.
If the post code requirement doesn't apply to 1980 cars, then that is good enough for me.
Although, if I did buy an ageless plate I'd be very tempted to "chance" black & white/silver plates.
Finally, I hope the Bentley driver loses his case as he is giving accountants a bad name! :rolleyes:

Rear Framework - During the work I did yesterday (see below) the "gap" at the ends was significantly reduced.
I will give it a bit more thought as another option is to put a section of steel plate in the gap before bolting it down.
But for now, I have worked on the basis of four bolts holding the frame in place.

Temporary Tonneau - I actually did think of Mr T's beautiful cover when I saw mine fitted.
But more in the sense of his being Premier League and mine being the local pub team. :icon_wink:
If I get a decent break in the weather I will give the wood a coat of furniture oil for some basic waterproofing.

- - - - - - - - - - - - - - - - - - - - - - - - - - - - - - -

Inching Forward - Part 1:
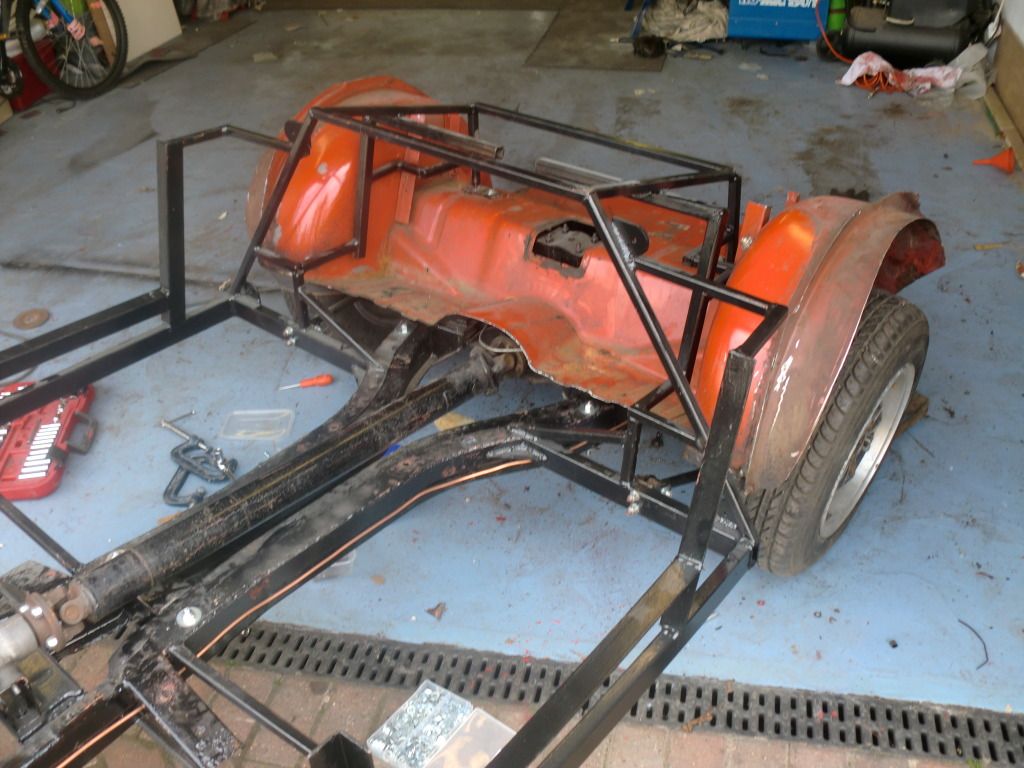
I had another look at the way the rear frame & Spitfire arches were coming together.
I then ended up convincing myself that one section on the driver's side was still fouling.


So off everything came, so I could mark up and remove a small section.
Rather than go all the way to the bottom of the garden for my grinder I used a hack saw.
But I seem to have forgotten just how long it takes to cut something by hand. :rolleyes:


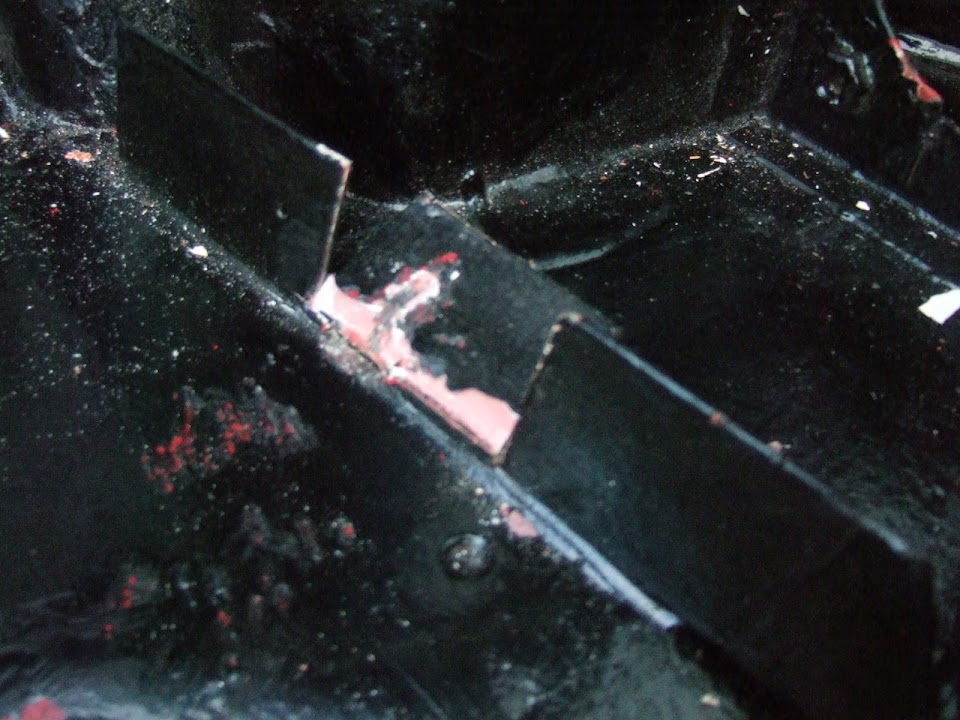
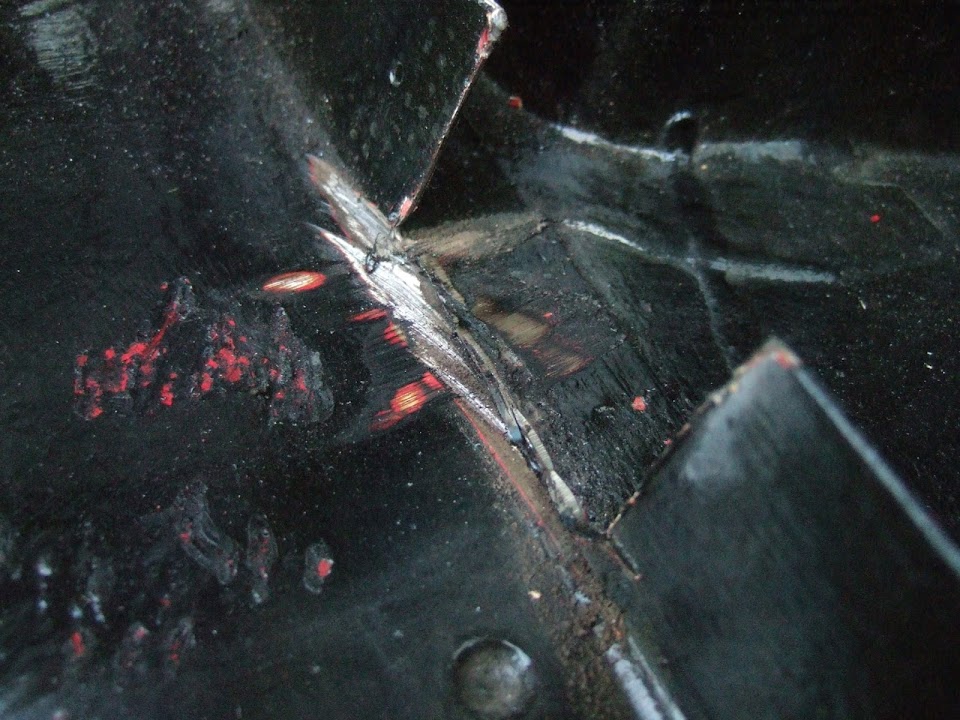
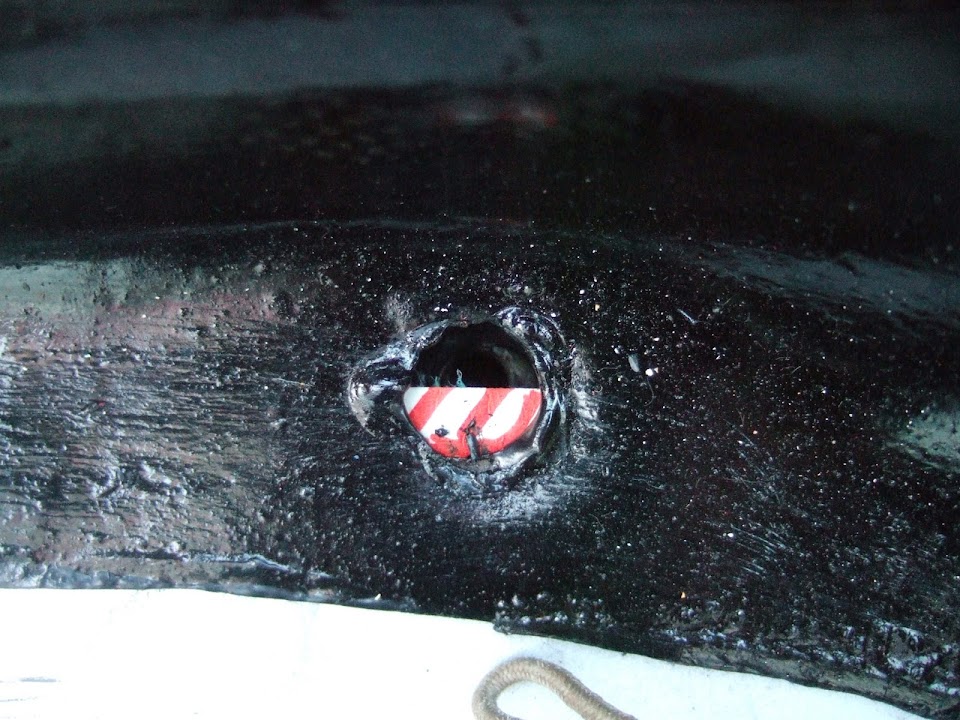
Obviously I will need to weld a "cap" over this hole at some point.
Note: By the end of the day, this "problem" had gone away, so a complete waste of time all round.

Then I put just the frame work back on the frame as I wanted that in the right position.
But before I started marking things up and drilling I put the floors in place.


One issue I have at the moment is the front edge of the floors sits over the Spitfire bulkhead.


I don't really want to trim this off until I know what I am doing with the front end.
( More thoughts on that later on. )

I then roughly connected the radius arms to the frame to keep that distance correct.


Then I gently clamped the frame to the chassis.


This allowed me to re-mark the holes required for the seat belt mounts in red.
There was a small shift in position of the hole which will help alignment.


I then marked up where I needed to drill holes in the chassis to bolt the frame on.
As I said earlier, at this point I am definitely using 4 bolts & I'll decide on the extreme rear ends of the frame later on.


Then the frame came off, the drill came out & the frame holes were done.


With the frame back on the chassis, the seat belt holes lined up nicely. :cool:


Although on the driver's side, I ended up notching out the hole as it was very thin at the edge.


Then I put some tape on the chassis and marked the holes that need to be drilled in it.


I'll be back in a minute with Part 2....
16 Oct 2013, 7:59am
Inching Forward - Part 2:

I then fitted the floors again and marked up where I need to trim the overhang along the frame edge.


I also marked up where I need to make a notch for the seat belts mounts.


I will mark the holes where the bolts through the frame are going another day.
( As I should have done this when the frame was off. :rolleyes: )

In the end I did fetch my angle grinder so I could remove a section from the wheel arches.
Previously I had just cut the sides and folded the metal back out of the way.


Now I was able to remove these sections completely.


Obviously there is a lot of tidying up and re-painting to do before final fitting.

Unfortunately there is no way I can lift the frame, floors & rear arches by myself.
So I attempted to guide the arches into place with the frame and floor already in position.
This was seriously hard work on my own and you can see the "scars" in the paintwork. :icon_sad:


But the good news is that my "Scooby Doo" sandwich of chassis, frame, floors & arches seems to work. :cool:
And the seat belt holes will be accessible through all the layers.


Then, when I put the body back on to tidy up for the night, it was actually starting to look a bit like a car inside. :cool:


Weather Watch:
I really need to have faith in the forecast when I'm doing this sort of work.
As there are car parts all over the place and it takes me a while to put everything away.


The fact the sky went very dark at this point made me very nervous.
( Not sure this photo really does the sky justice. )


Thankfully the rain held off and I lived to build another day.

Front Bulkhead:
Looking at the way the floors over lap the Spitfire bulkhead I think I need to sort this out before I bolt the rear frame down.
There is no point in cutting off the front sections of the lowered floor pans if I am not going to use this old bulkhead.
Whilst the metal work I have done on the rear of the car has given me some hope for tackling the front, it is still a big job.
So I will start the serious beard scratching shortly and work out the best way forward.

Next Steps:
There are still lots of small, but time consuming, jobs to do connected with the rear frame.
I need to drill the first 4 holes in the chassis and work out if I can make crush tubes work.
Also I need to fill in the old holes for the fuel / brake lines and drill new ones, etc.
But as you can see from the photos above, I will need a dry weather forecast.

Overall:
Whilst I've called this update "Inching Forward", I know that all forward progress is good.
I've put a lot of work into ensuring that some big parts will all fit/work together.
I also know that when these parts are finally fitted, then a major milestone will have been reached.
Whilst the finish line is still a very long way off, seeing the "interior" for the first time was a big boost.

Until next time, take care, Paul. :)
16 Oct 2013, 9:19am
You've reached a very satisfying stage of the build Paul - the point where all the parts start to come together and look like a car. Well done and keep up the good work. :)
16 Oct 2013, 9:35am
As Towed says, it's really starting to look like a car, and a very neat one at that. Keep going! I find that car building is an excellent reason to watch Elizabeth Saary and Laura Tobin on the BBC Weather Channel.
16 Oct 2013, 11:37am
Keep up the good work, sorry if my account pop touched a nerve im guessing your "in the trade" :-)
16 Oct 2013, 1:25pm
Looking very good.
I had better push on with mine but the wife keeps using the "D" word .... yep you've got it .... DECORATING ... :lalala: things might go a bit quiet for a while on Spyder 125.
Think of me
Slarti
16 Oct 2013, 1:47pm
slartibartfast wrote:
Looking very good.
I had better push on with mine but the wife keeps using the "D" word .... yep you've got it .... DECORATING ... :lalala: things might go a bit quiet for a while on Spyder 125.
Think of me
Slarti


That's domestic abuse, that is.

Quick, retreat to the man cave before she notices that the skirting boards aren't quite as white as they used to be...
19 Oct 2013, 4:39pm
Mr T, Oxford, Viatron & Slarti
- Thanks for the encouragement chaps. :cool:
- No worries on the accountant jokes, thankfully I'm not a typical bean counter.
( I only went down the road of becoming an accountant to fund my motorcycle racing. :rolleyes: )
- Thankfully our house was completely decorated in 2009/10.
( Unfortunately, that was the same time that our garage was converted. :icon_sad: )

- - - - - - - - - - - - - - - - - - - - - - - - - - - - - - -

Front Bulkhead - More Thoughts:
No chance to work on the car at the moment, but I did have another quick look at the Spitfire bulkhead.
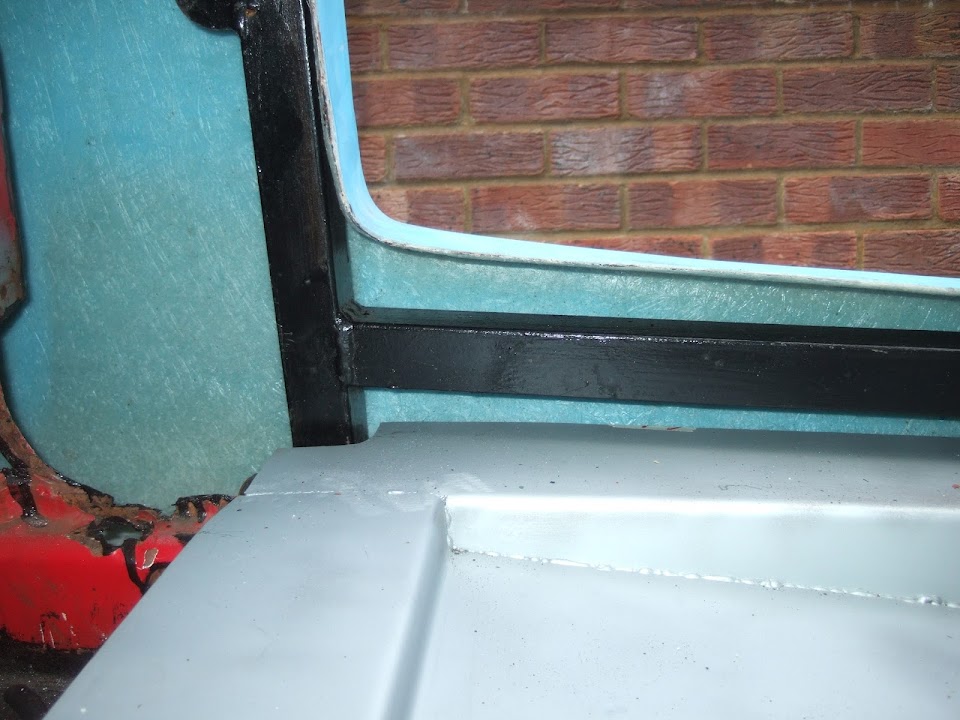
I need to lower it by around 4 cms so the front end of the Cordite bodywork can drop to the right level.

This is the current gap between frame and door opening:


And this is what the gap should look like:


Although part of this gap is caused by a problem I've just noticed at the back.
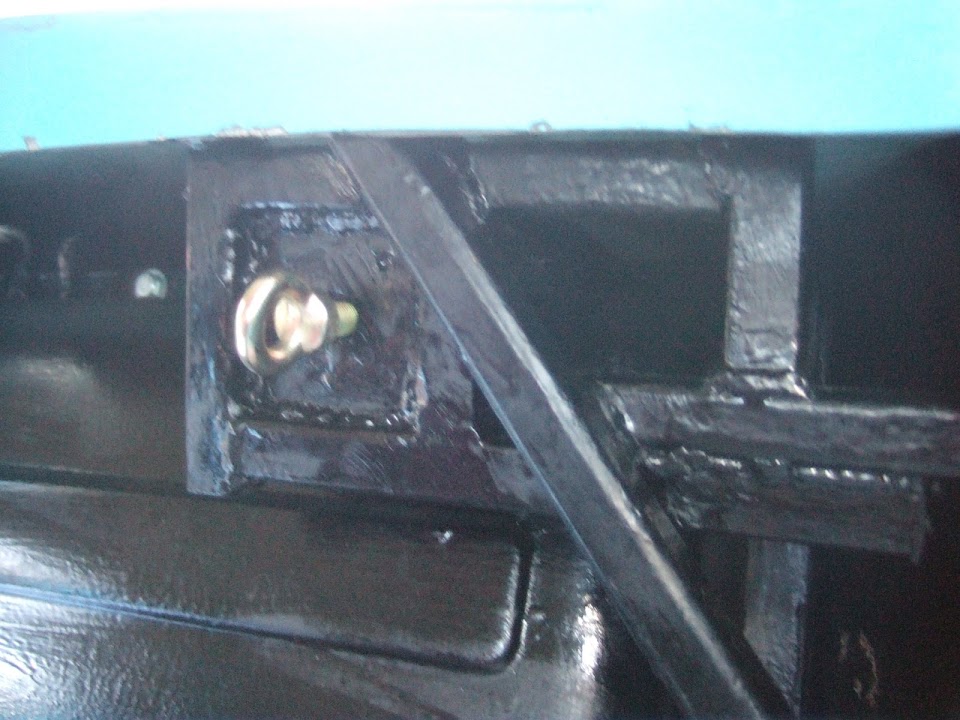
As one corner of my rear seat belt mounting bracket fouls the bodywork. :frusty:


Sorry the photo is a bit blurred, but you get the idea.


There is only a few mm in it before the rest of the standard framework becomes the limiting factor.
( Either way, every mm helps, so I will add this to the list of things to sort out at some point. )

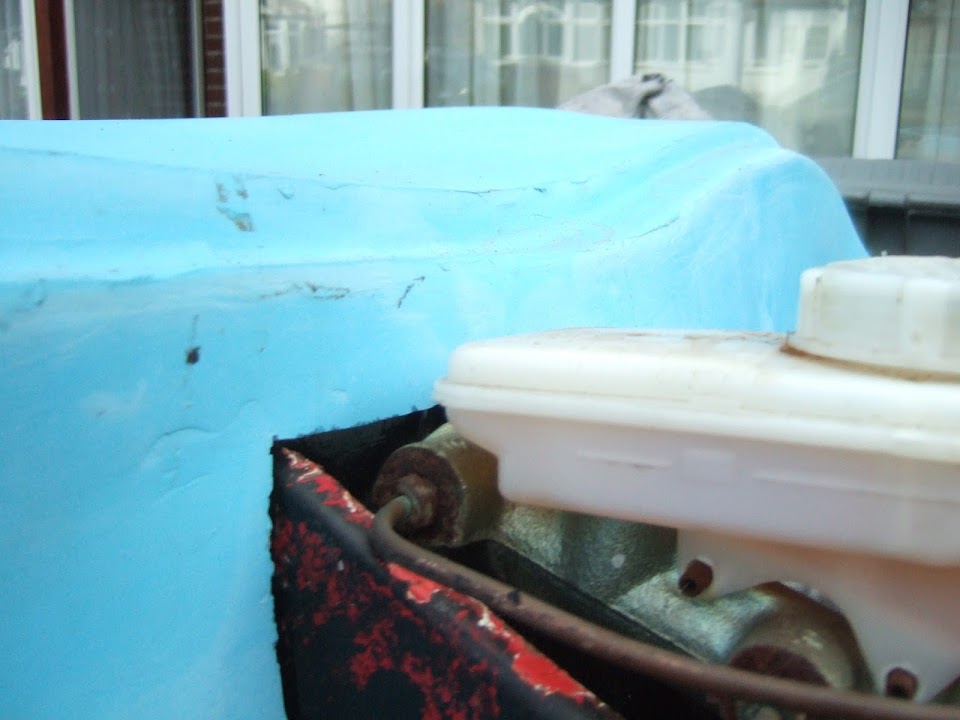
Turning my attention back to the front bulk head I had another look at the brake master cylinder.
I have actually bought a single line alternative, but I am hoping to avoid the need to use it.
As it stands, the back of the m/c will fit under the bonnet lip of the bodywork.
( The m/c will move back around 6 cms from where it is in this photo when finally fitted. )


The filler cap would require a "bubble" in the bonnet for clearance, but that is OK.
The important thing is that I need to keep the current "pedal shelf to bodywork" distance intact.
So I can't chop the top of the Spitfire bulkhead off to find my 4 cm, as per the Herald builds for Spyders/Pilots.

Similarly, I can't chop the bottom off as this is where the bulkhead mounts & floors are.
This means I am faced with chopping a section out of the middle and joining it back together.
This will involve a lot of cutting and welding, but at least I have had a bit of practise now.

The real issue is the need to vary where the chop takes place.
It needs to be under the pedal mounting points, but over the gearbox cover mounting.
( As this aligns from the floor upwards. )
Similarly the hole in the bulkhead for the steering column is aligned from the floor up.
But the Spitfire steering column mounts would need to be re-aligned to fit.


There is also a lot of rust/rot in the bulkhead to cut out and repair while I'm at it.
So it will be a massive job that I will need to tackle one small step at a time.

Note:
I haven considered re-working the original Cordite bulkhead framework to make that fit.
But I still think using the Spitfire bulkhead is the better option.
Mind you, this approach will be my Plan B if it all goes horribly wrong.

Car Heater:
Initially I was opting for a KISS approach of not having a heater in the car.
But now I think I will fit one like Mr T, although I also saw one Viatron picked.
I just need to make sure there is enough space in the bulkhead left to fit one.

Until next time, take care, Paul. :)
21 Oct 2013, 4:23pm
Chipping Away:
I was able to grab a few minutes on the car today in between the perpetual rain.

First thing I noticed was that my new car covers are not exactly water tight. :rolleyes:


Although in their defence it was seriously lashing down yesterday.
But at least the hardboard did keep the rain out of my shiny lowered floor pans.

My first job was to trim the rear seat belt mounting brackets.

Passenger side - Before & After:


Driver's side:


I took another wafer thin slice off this side after the photo was taken as it was still fouling.
Although if I gave the shell a little shove towards the other side it cleared nicely.

Which leads me to the next issue which is centralising the bodywork...

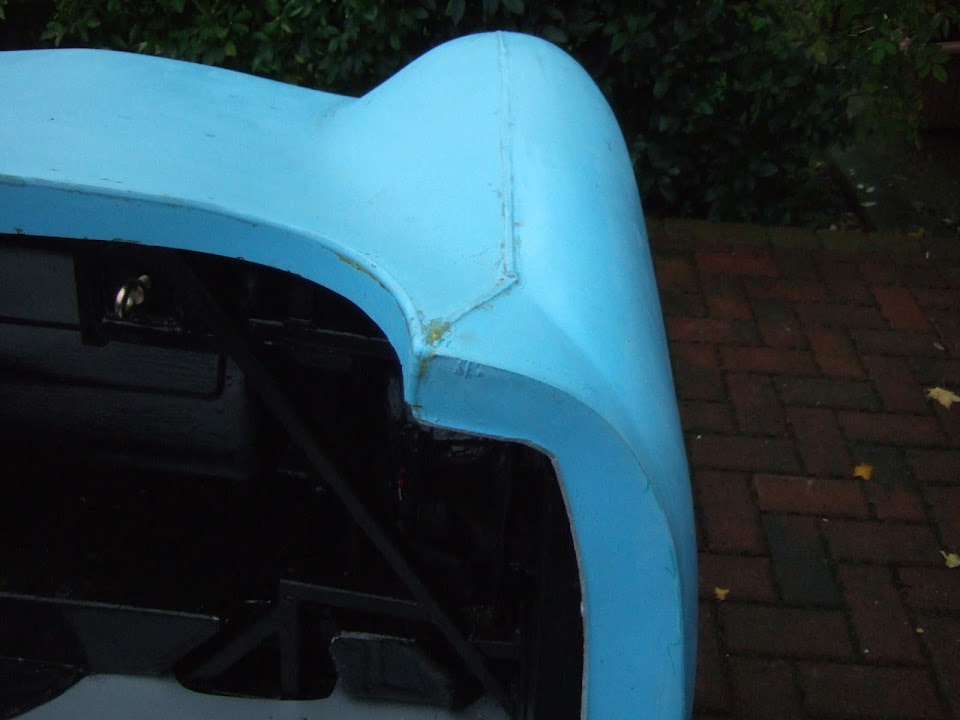
Obviously the rear corners of the cockpit are not the same size. :rolleyes:

Driver's side:


Passenger side:


In addition, the driver's hump will not clear the rear cockpit frame work.


Note:
As mentioned previously, the frame work for the door openings stops the body going back any further.

There are a few builders currently reworking their fibreglass bodies at the moment.
( And their detailed build diaries are a big help. :cool: )
Plus the new Ribble Navigator has been re-worked substantially to get a better fit.
So there is no escape from the fact that I need to perform similar fibreglass surgery on my bodywork.
The only good news is I don't need to fix it today as I have plenty of other things to do first.

One simple job I could do while I had the angle grinder out was on the bulkhead...

The second hand Spitfire body shell I got is not one of the later 1500 models.
Which means it does not have the recess in the bulkhead for the twin line brake master cylinder.
So I will need to make one when I am modifying the bulkhead.

There was also a cross brace on the bulkhead that was in the way of the brake lines.


After a quick trim with the grinder all the brake lines clear nicely.
( It is just the angle of the photo which makes the lower line look closer than it is. )


The back of the master cylinder needs to go back 4 cms from this point to align with the pedal.

My final job before covering everything back up again was another quick check.
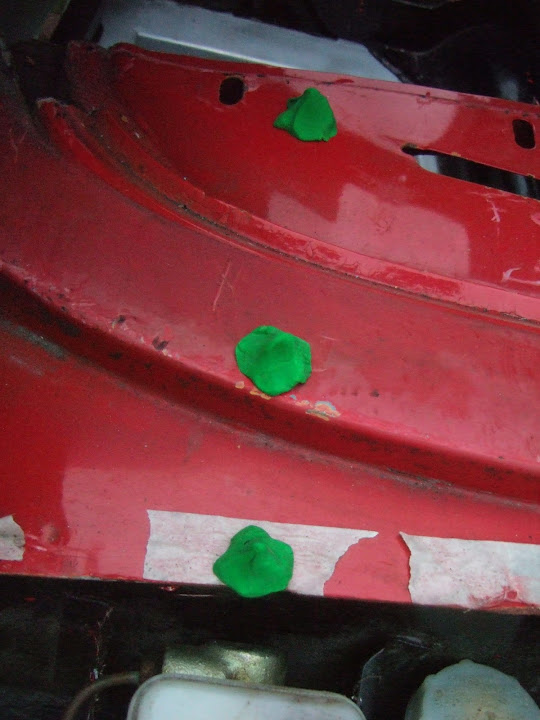
I wanted to see where the Cordite bodywork made contact with the Spitfire bulkhead.

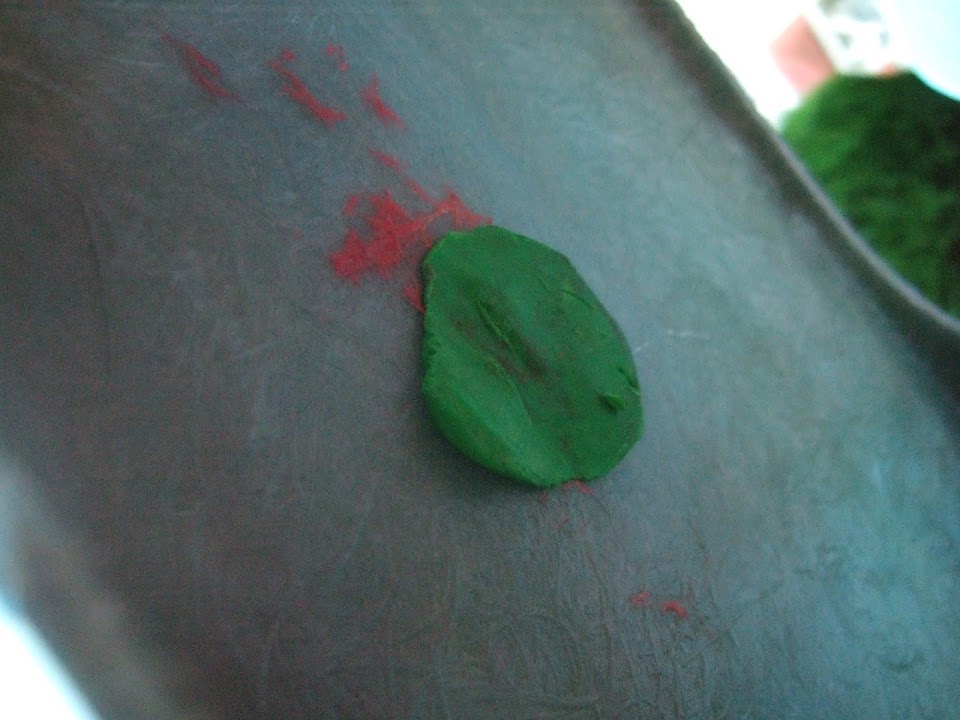
So I simply stuck three small blobs of plasticine on the bulkhead.


After re-fitting the bodywork, it was the one in the middle that was squashed.


This means I will have a nice big surface area to bold the body shell to.
But I am a long way off worrying about that at the moment.

Next Steps:
I need a day with no rain forecast to take everything apart again.
Then I can weld up the cuts I've made to the rear frame and rear wheel arches.
With these out of the way I will be able to remove the Spitfire bulkhead.
( Something I can't do while the front edges of the floor pans overlap the bulkhead. )

Micro Heater - More Thoughts:
The thing I love about other build threads is the fact you can learn so much from them.
I went back through Mister Towed's build yesterday while it was raining outside.
Here are some of his photos which really help me understand what I need to do...

Special hose connections through the bulkhead:


Cable operated control value:


Split of ducting to the two vents:


The other thing that was good about going through his build thread again is the end result. :cool:
It just confirms that if you keep chipping away, you will get there in the end.
My only slight concern is that the end of my build is still a very long way off yet.

Until next time, take care, Paul. :)
21 Oct 2013, 6:19pm
Glad you're still finding my thread useful, Paul.

My build felt like it took a long time, but, having read some threads where people are building 'conventional' kit cars and taking up to a decade to get them roadworthy, two years from collecting the body to driving it to the MOT station sounds pretty swift. Keep chipping away and you'll be on the road in what seems like no time at all. I can assure you it's well worth the effort. :)
23 Oct 2013, 4:22pm
Mister Towed: - Your build thread keeps coming in handy (see below).
Since I got my kit I've read a lot of build threads on here & on other forums.
Given the skills you had to learn & the state of your chassis, your two year build was great.
Your many "challenges" also highlighted how even the simple jobs can take ages.
So I will keep chipping away and it will take how ever long it takes.

- - - - - - - - - - - - - - - - - - - - - - - - - - - - - - -

Spent the day watching films with my youngest daughter who was too ill for school. :icon_sad:
Despite the fact it was actually sunny outside, I have no regrets about leaving the car alone.

However, I had a major breakthrough in my build plan this morning that I want to check with you...

Dreams, Nightmares and a Vision:
To say I have been worrying about the bulkhead "chop" would be an understatement.
This is just a selection of the photos & notes I've been making trying to work out a plan.


Note:
My old digital camera is really on its last legs now, so apologies for the poor quality photos.

These days as I put my head down to sleep I find myself mentally working my way around the bulkhead.
Just when I think I have resolved one issue, another one pops up. :frusty:
So this dreaming about my bulkhead was really turning into a nightmare for me.

But this morning, it was like I'd been hit by a vision from above.
Why am I going to all this effort to make the bulkhead fit the Cordite body shell?
After all, the body shell isn't exactly symmetrical, or square, in the first place. :rolleyes:

I've enjoyed watching how Micky1Mo has made his shell fit the Spitfire bulkhead.


He was able to simply cut away the top of the bulkhead as he is retaining the windscreen, etc.
But the point is that the Spitfire bulkhead has remained completely intact. :cool:

So my "vision" is to simply avoid chopping the Spitfire bulkhead at all.
Instead, I will add a few cms to the Cordite body shell so it can fit over the top.

As well as Micky, Oxford, Viatron & christinedmc are currently cutting & re-working their body shells too.
I'm not saying it is easy, as I've never used fibreglass before, but clearly it is possible.

As I don't have Photoshop, it was back to a 'Blue Peter' cutting & sticking approach to illustrate my plan.

I think there are a few steps required to make this work:
- Cut the body shell into two halves.
- Then cut a strip from the bottom of the front half of the shell.
( This is because the body curves under at this point & that needs to match the rear section. )
- Then the gaps need to be filled with fibreglass and the whole repair strengthened.
This would also leave the lip for the bonnet to rest on unchanged.

Which looks quite straight forward on paper. :rolleyes:
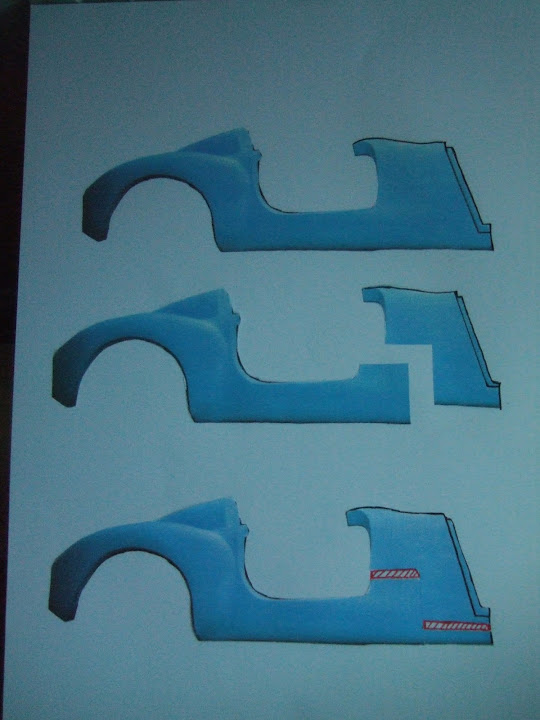


So what I need to do is simply repair the bulkhead and then fit it.
At this point I will be able to cut the body shell and work out how much of a gap I need.

[COLOR="Blue"]"If any man on this forum knows of good reason why these two sections of bodywork can not be joined together, let them speak now, or forever hold their peace."[/COLOR]

Jokes aside, is this a workable plan?
( I know there will be a lot of filling & sanding required to hide the repair/maintain body shape. )

It seems like a such a KISS approach, I don't know why I didn't think of it before.
Well, apart from the obvious "Can't see the wood for the trees".

Note:
I know this approach will increase the size of the door openings.
But the doors need to be sorted out by a professional anyway, so hopefully not an issue.
Especially as I plan to leave the curves at the bottom of the door openings as they are.

Spitfire Bulkhead Repairs:
If there is no "chop", then I just need to worry about repairing the bulkhead.
Although I have been thinking about where the rear Cordite frame meets the bulkhead.
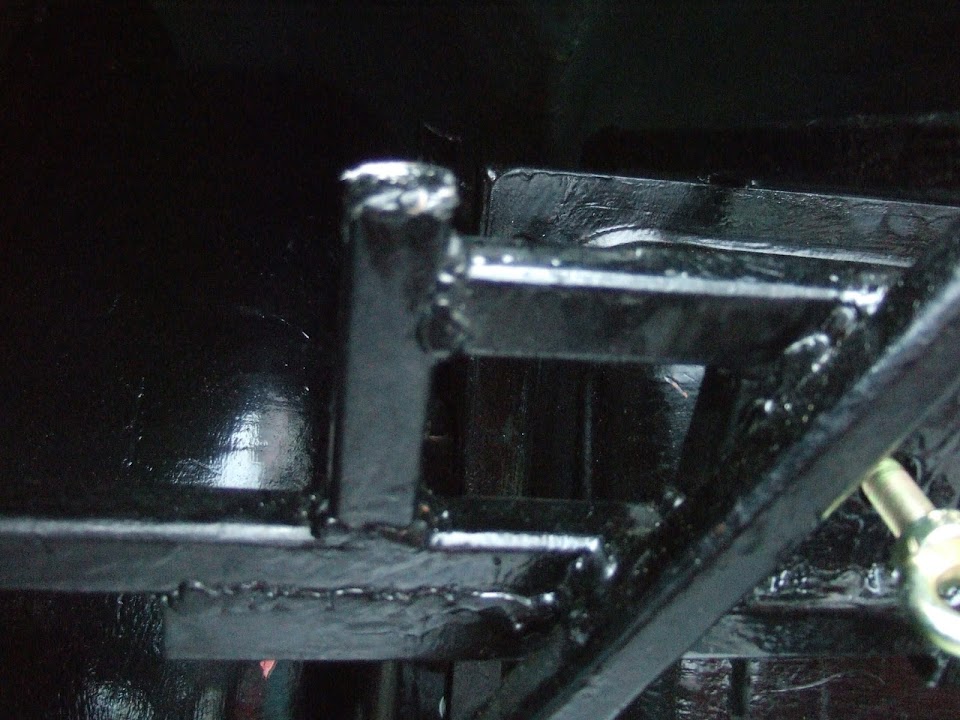
Initially I cut the body shell so that the chassis "arm" was boxed in on 3 sides.
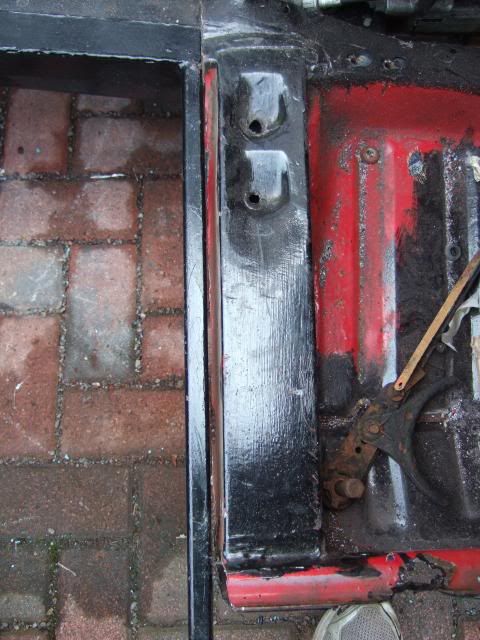


But when I was lining up the frame the other day, it was clear it was pressing against the bulkhead.
Going through Mr T's build thread the other day gave me this great photo of his Herald bulkhead.


So I could simply cut the side nearest the rear Cordite frame away from my bulkhead.
Which would still leave the floors supported, & bolted to, the chassis.
Note: Herald chassis rail is full width at this point, unlike the "stubby" Spitfire arm.
However, I will be adding some box section to join the bulkhead to the rear frame.
So it should be possible to add some extra support in this area.

Mr T's build also gave me this great example of a fibre glass repair.


So I will tackle the bulkhead with a mixture of welding extra metal in & fibre glass repairs.

Until next time, take care, Paul. :)
23 Oct 2013, 4:40pm
Well done, Paul. It looks like a neat solution. Have you read through seanick's build thread on the Tribute area? If you want to see what can be achieved through cutting and shutting, he's your man. It has to be said that he is a GRP pro, but the rest of us can dream and work within our limitations. As you know, it's amazing what can be achieved as long as you don't hurry. Best of luck! I bought my fibreglass supplies from CYB - http://www.cybglassfibre.co.uk/

I'm sure other places are as reasonable, but I wouldn't hesitate in recommending them.
23 Oct 2013, 5:09pm
Hoi Paul,

Ypur plan to make a zig zag cut of the body above the bulkhead looks good to me. I have no experience with the cordite/spifire examples. But the fibreglass work you plan is really straight forward. For example. The job of extracting 4 cm's of length in the bodywork most of us with a Sammio Spyder went through, is in fact 2 hours of work. This would be a little bit more complicated. Just have the 2 halfs lined up very well when you laminate it together.

Michiel
23 Oct 2013, 8:18pm
Paul, looks like a plan but have you thought about the doors? They will need reshaping to match the new door aperture shape. Not the end of the world but you need to consider it.
Mac
23 Oct 2013, 10:39pm
Glad you're still finding my build pictures useful Paul. Looking back I can't believe I managed to finish my car in only two years either, although my original time budget was six months. I'd love to build another one but I couldn't afford the divorce :(

Interesting that you're considering altering the body to fit the bulkhead. I'm not too familiar with the Cordite structure, but what's the worry about cutting the Spitfire bulkhead? Hope it all goes well whichever way you tackle it, just remember , whatever you chop/hack/burn, there's nothing much that can't be undone or replaced afterwards anyway. Except fingers.
24 Oct 2013, 9:35pm
Replies:
Oxford - Seanick has already given me tips/ideas for both fibre glassing & welding.
Your own step by step guide to the work you are doing is also a big help.
Michiel - I am reaching the stage where I am prepared to "give it a go".
Seeing what other people have achieved is a big part of this.
Mac - My doors need so much work already, that I hope this isn't too much extra work.
Although I think they will end up with a slight slope on the top edge of the doors.
Mr T - My main worry on the bulkhead chop was it needed to be "in the middle".
It couldn't come off the top like your Herald as there would be no room for the master cylinders.
Similarly it couldn't come straight off the bottom due to the steering column route.
The final issue revolved around the bulkhead opening for the gearbox tunnel / engine fitting.
Overall, I think I need to add around 4cm to the body, which shouldn't ruin the overall lines. :pray:

- - - - - - - - - - - - - - - - - - - - - - - - - - - - - - -

My youngest was still off school today, so we watched a couple of films together.
However, I was able to sneak out and remove my wooden tonneau cover.
As the sun was out, I gave it a couple of quick coats of furniture oil & left it to dry.


Thankfully, it was still dry outside when my wife got home from work.
So after doing the supermarket run I was free to play outside briefly.

It was a serious PITA to get the floors out of my metal work "sandwich" without completely removing everything. :icon_evil:
But once they were out of the way I bolted down the bulkhead to double check the gap to the frame.

There is a slither of daylight on the driver's side.


The passenger side had the "wonky" frame rail.
But it is where this rain meets the chassis edge of the frame that fouls.


Going back to KISS principles, I am going to keep this box section of the bulkhead.
When it comes time to re-fit it, I will adjust the Cordite framework a few mm to fit.

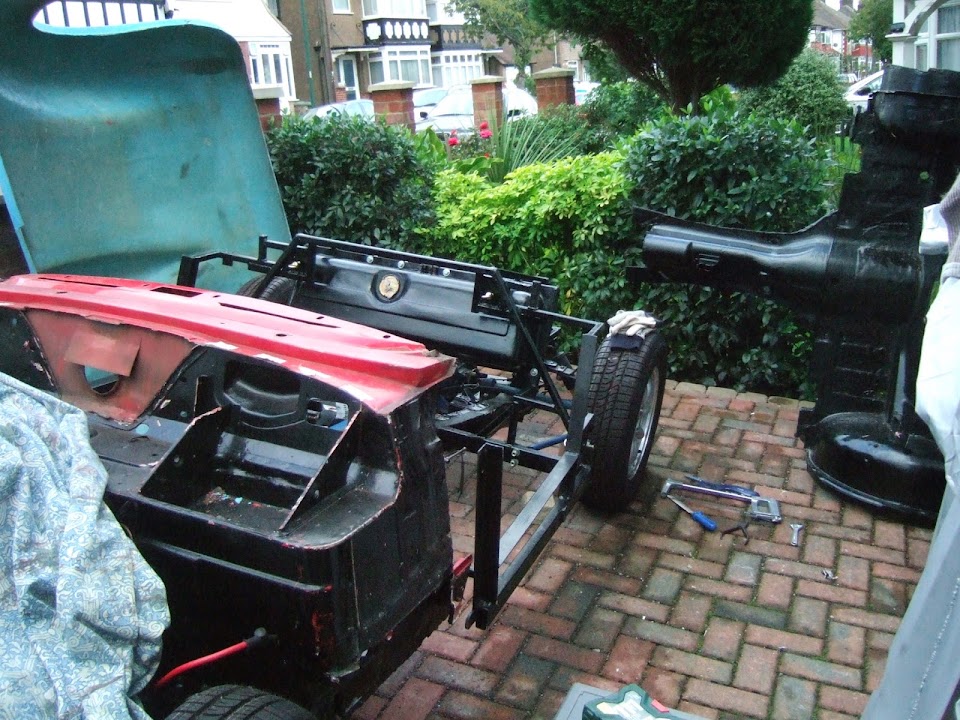
But for now it was time to remove the bulkhead so I can start my repair work.
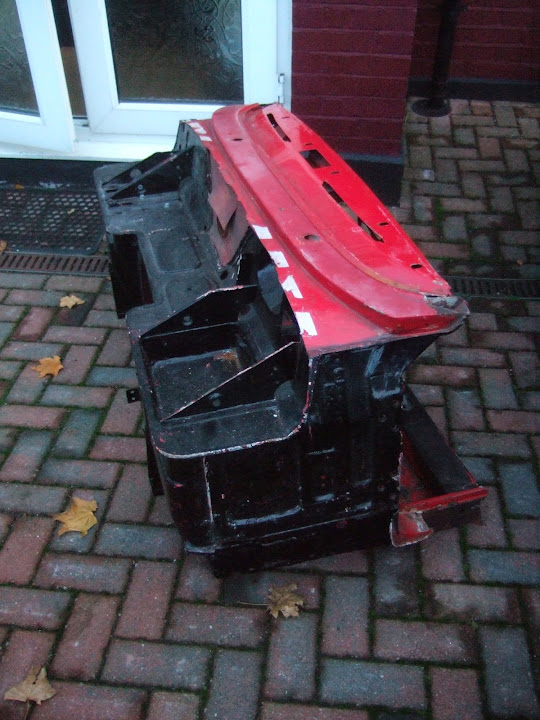
I needed my wife's help to lift it clear and leave it on the drive.


This left the frame looking like this.


At which point I put the body back on and left the floors resting over the top of the hand brake panel for now.
When I had everything on the drive back in place and covered up I called on my wife's help again.
We carried the bulkhead through the house and back down to the end of the garden.
( Sorry the light was fading & the photo isn't great. )


Then it was back on with the cover and I could call it a night.


I'm actually looking forward to tackling this now, although the weekend weather looks grim.

Until next time, take care, Paul. :)