This is a read-only archive of the old Madabout Kitcars forum. New posts and replies are no longer possible, but every thread is still here to browse and read.
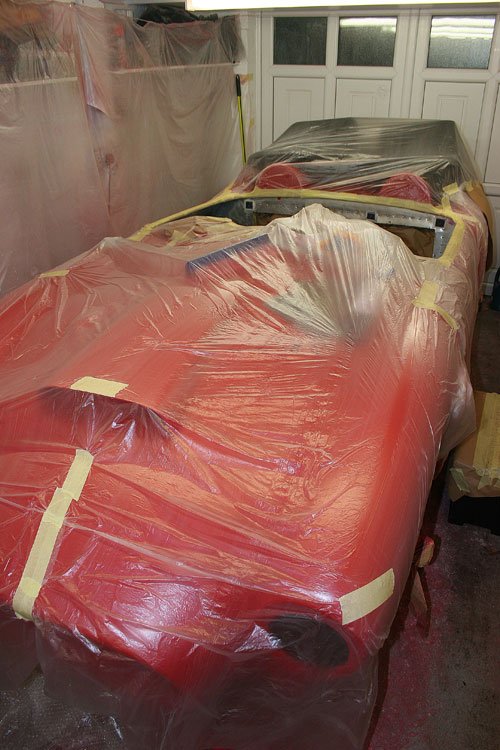
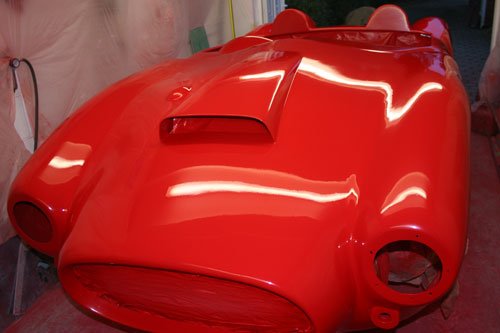
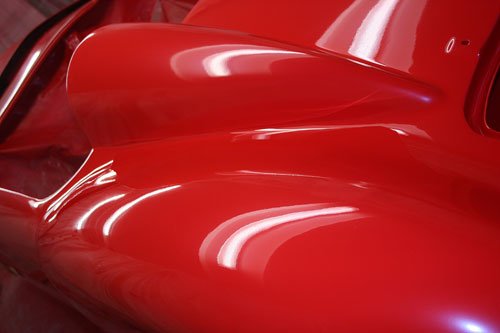
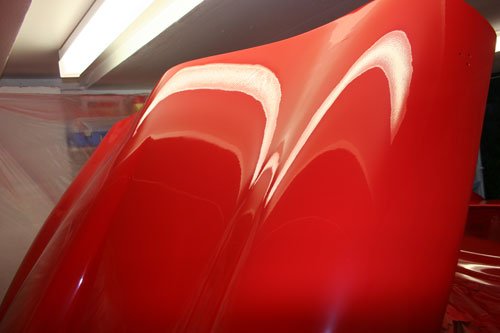
Next stage of the car paint job was completed at the weekend after the whole body was blocked off with 2000 grit, definitely not one of my favorite jobs, a few pin holes became apparent after the blocking so i back filled with very fine filler then flattened off again.
First another two coats at 50/50 were applied then one coat at 75/25 and finally 90/10 that's 90% high gloss thinners and 10% paint although it difficult to spray at this viscosity it gives a fantastic finish.
Most of the slight orange peal effect has been taken away with the last two coats and a high gloss surface is left behind. There are a few dust particle's in the paint which will disappear with 2000 grit wet and dry with a small amount of soap added to the water for good measure, but all in all i was very surprised at how well the whole paint job has turned out, now i just have to wait at least a month before i block the whole body again for the last time.
Ordered the paint for the interior to hopefully finish all the spray painting off for this year.
Attachment “IMG_6254.jpg” from the original forum could not be reliably recovered.
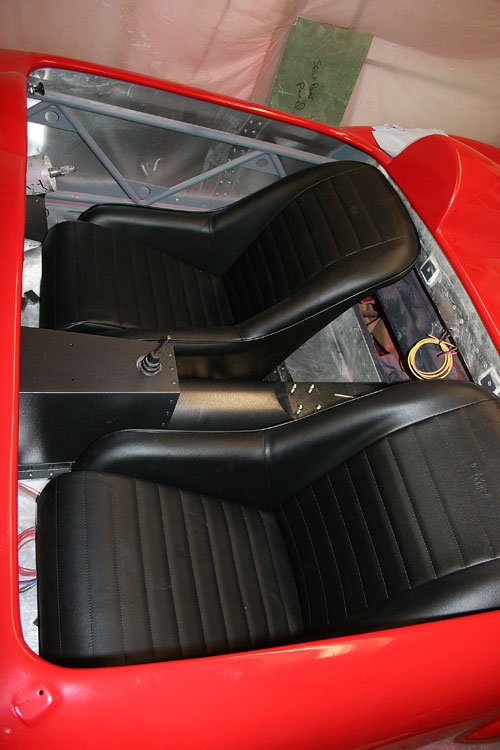
Two seats arrived which i have to make a couple of mounts for to suit the build as the factory mounts would be unsuitable.
Paul The pin holes were in the high build primer which i had missed when flattening the primer but after flattening the painted surface they became visible, should of done more flattening of the primer i think. I decide to fill each pin hole with a very fine body filler then flatten off before the final coats of paint were applied, not sure if that is the correct way to deal with pin holes but its the way i decided to go down.
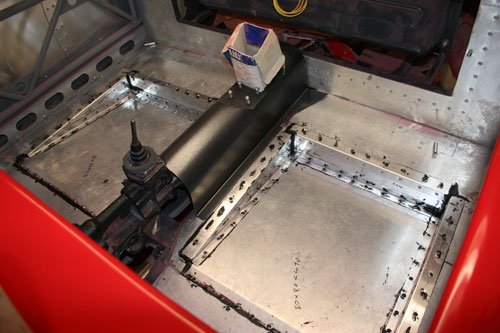
The seats where a little to high (it looked like noddy was sitting in his little red car) so ive had to cut the top floor away and make the usual recessed floor pans so that the seats are now angled back over and 70mm lower.
In the previous post showing the seat in place you can see that the back of the seat is higher than the rolled edge so by cutting the top floor away has dropped the seat back to below the rolled edge and also makes the hump surface fully visible.
Paul The pin holes were in the high build primer which i had missed when flattening the primer but after flattening the painted surface they became visible, should of done more flattening of the primer i think. I decide to fill each pin hole with a very fine body filler then flatten off before the final coats of paint were applied, not sure if that is the correct way to deal with pin holes but its the way i decided to go down.
The seats where a little to high (it looked like noddy was sitting in his little red car) so ive had to cut the top floor away and make the usual recessed floor pans so that the seats are now angled back over and 70mm lower.
In the previous post showing the seat in place you can see that the back of the seat is higher than the rolled edge so by cutting the top floor away has dropped the seat back to below the rolled edge and also makes the hump surface fully visible.
Thank goodness for that, I wasn't going to say anything but you would have found driving it very uncomfortable with the seats so high. Good decision.
The seats are made by OMP classic silverstone race seats.
I totally agree with you Mr T the driving position before the floor mod was done was too upright but now with the raked back look they are that little bit more comfortable although getting in and out will be a challenge especially with wet feet, will more than likely carry a piece of carpet around to place on the seats to get in and out with dirty feet etc.
Come across this site which may be of help in clarifying a few grey areas in a build http://www.motester.co.uk/mot-guide/. One point I was interested in was "does a seat belt have to have an E mark" , there is no mention in the guide of E mark required.
The seats are made by OMP classic silverstone race seats.
I totally agree with you Mr T the driving position before the floor mod was done was too upright but now with the raked back look they are that little bit more comfortable although getting in and out will be a challenge especially with wet feet, will more than likely carry a piece of carpet around to place on the seats to get in and out with dirty feet etc.
Getting in and out is very straightforward Swifty, not as difficult as you'd think. You do need to stand on the seats unless you're as flexible as a double jointed snake though.
I bought a set of Herald/Vitesse tailored mats (similar to those below). I use the fronts as intended but the ones meant for the rear footwells I use as seat protectors to step onto when getting in and out. Worth thinking about.
Come across this site which may be of help in clarifying a few grey areas in a build http://www.motester.co.uk/mot-guide/. One point I was interested in was "does a seat belt have to have an E mark" , there is no mention in the guide of E mark required.
Fitment and markings on seat belts is covered in the Construction and Use regulations, which legally trump the MOT testers guide -
So, any vehicle 'first used' on or after 1st January 1965 but before 1st April 1981 needs a driver and passenger seat belt, but that can be a lap belt, while it's got to be three point belts for vehicles first used on or after 1st April 1981. Pre 1965 and no belts required.
Personally speaking I wouldn't run with no belts or a lap belt as my life was saved by a three point inertia reel belt in 1983...
Wow how time flies, its been nearly eight weeks since i last did any work to the car.
Today a little progress made i cut the floor away for the seats to sit lower and angled back over, will post pictures tomorrow.
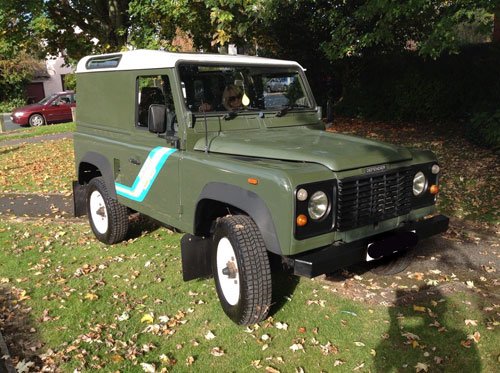
Ive also bought another project, a 25 year old piece of British history that will hopefully increase in price.
Swifty - Nice work (as usual) on lowering your floors.
The photos above also highlight what a great job you have done on the cockpit sides too.
( Especially when compared to the plywood jigsaw puzzle I'm making. )
This really will be a stand out car when it is finished.
The car is still up an the axle stands so no pictures of the whole car just yet, it wont be off the stands until all the body work is flattened off as the extra height make's the rubbing down easier, less strain on the back.
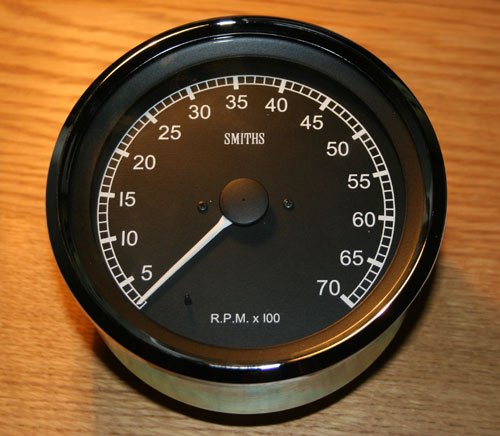
Probably one of the last major buys for the build arrived today a 120mm tacho.
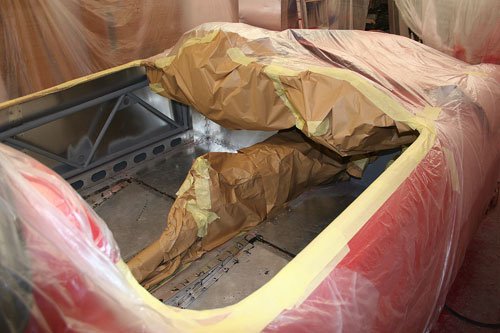
I thought i would take advantage of the unusual warm weather and prep the interior before hopefully spraying tomorrow that is if the temperature stays above 10 degree's.
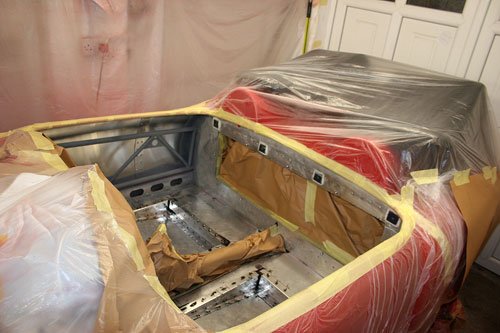
Seats firmly attached to the floor with the gearbox tunnel and prop shaft cover fitted for the last time before painting commences in case any adjustments were required.
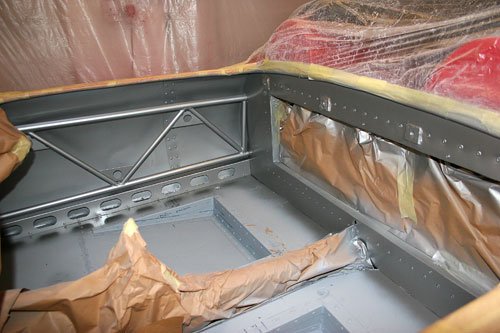
Masked off the areas were no paint is required. First i will apply two coats of etch primer to all the interior followed by silver cellulose on the sides, front bulk head and rear bulk head with black truck liner to the floor panels. If the black does not look right then i may give it a coat or two of the silver cellulose, that is if it does not react with the bed liner so will do a test panel first.
May apply the bed liner to the floor with a roller to give a texture finish.
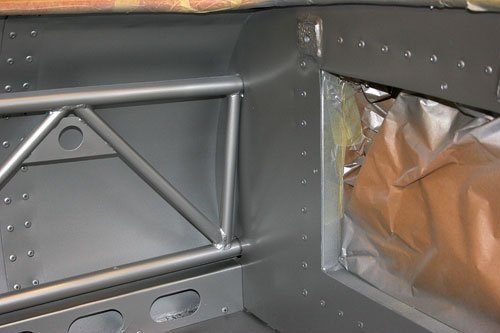
Today put two layers of etch primer on then four layers of cellulose silver, it wasn't the easiest of parts to spray due to the tube section in front of the ally back panel and trying to get an even coat as was possible, consequently Ive a couple of runs on the back panel to sort out once the paint drys.
It does not look to bad, next the floor will be painted in bed liner that is once the silver paint has gone off so that masking tape can be put along the side edges.
Swifty, that looks great the attention to detail and quality of your finishing touches is going to make for an awesome finished product. Can't wait to hopefully see this at a show or two next year!?
Cheers Mr T and Jones. I am trying to create a build of deception, that is to make what is basically a cheap kit look like a period car and to hopefully have people wondering what it is and it's true age, but time will tell.
Cheers Mr T and Jones. I am trying to create a build of deception, that is to make what is basically a cheap kit look like a period car and to hopefully have people wondering what it is and it's true age, but time will tell.


 )
)