This is a read-only archive of the old Madabout Kitcars forum. New posts and replies are no longer possible, but every thread is still here to browse and read.
Must be a Spaniel thing, after seeing N-Dog, Moo pie decided a mud treatment was the order of the day.
[/IMG]
Terrible photo because the same Spaniel bounced my phone and now the camera is ruined.
Reason for post, how has the Kubota alternator worked out! Cheers Ed
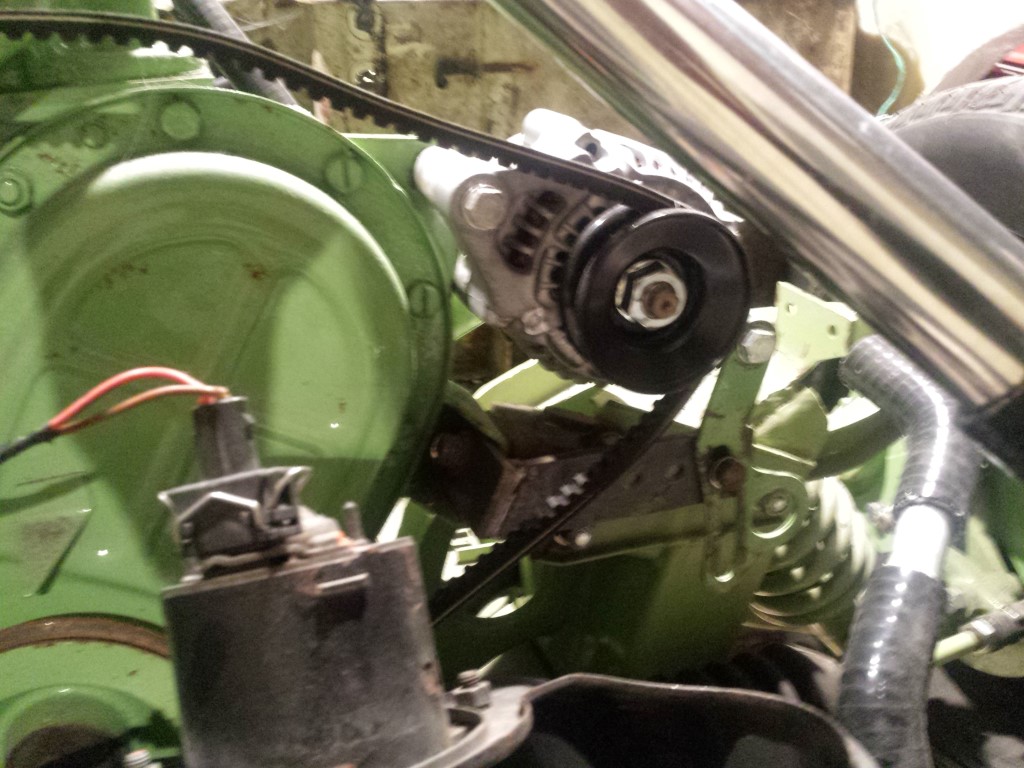
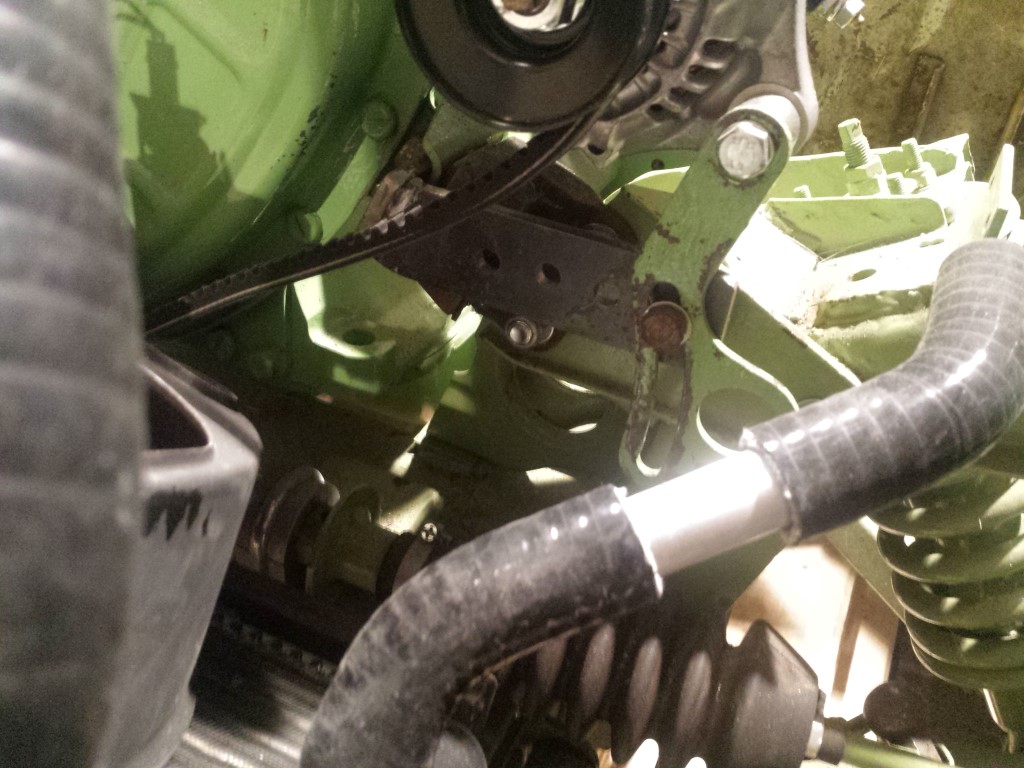
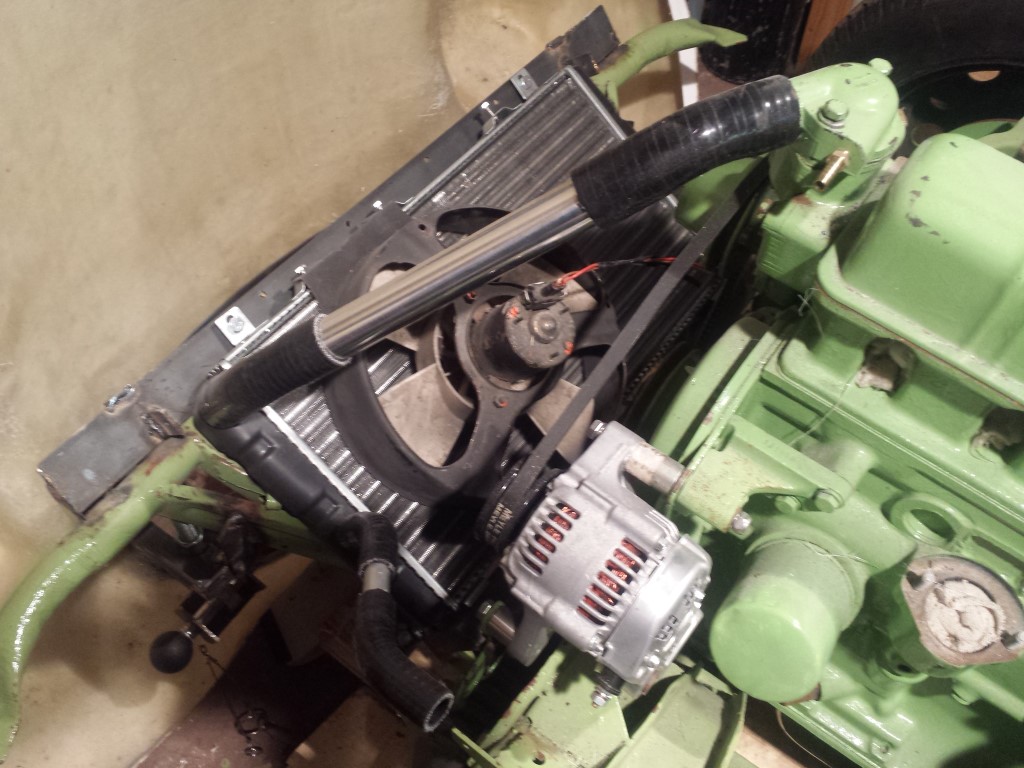
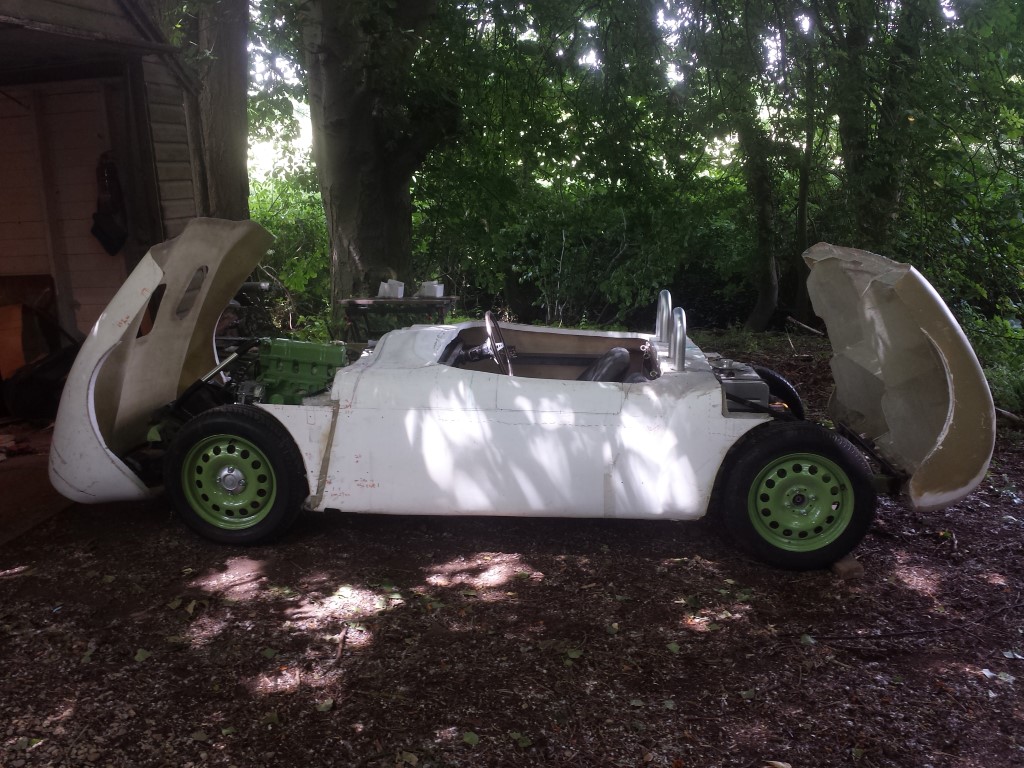
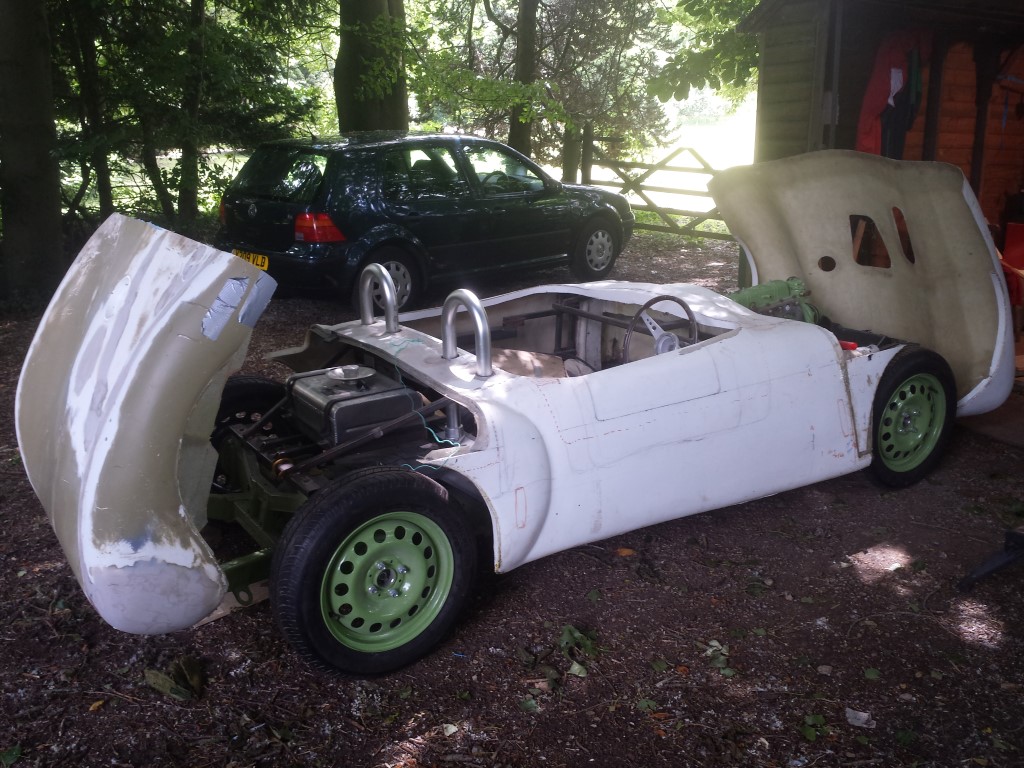
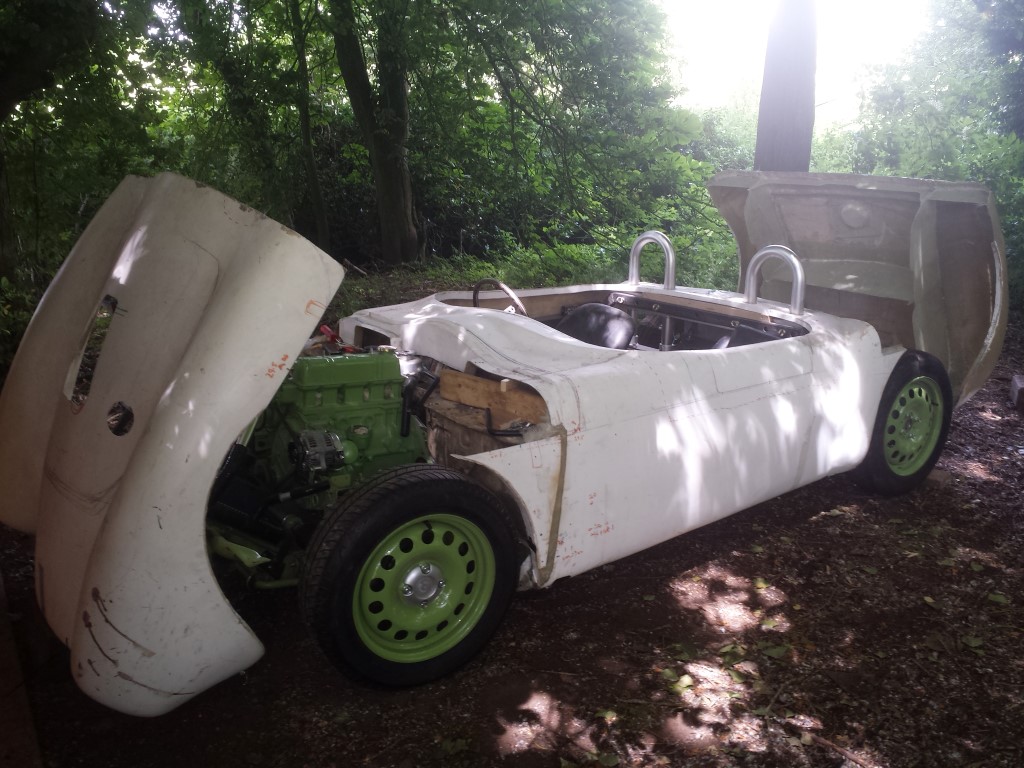
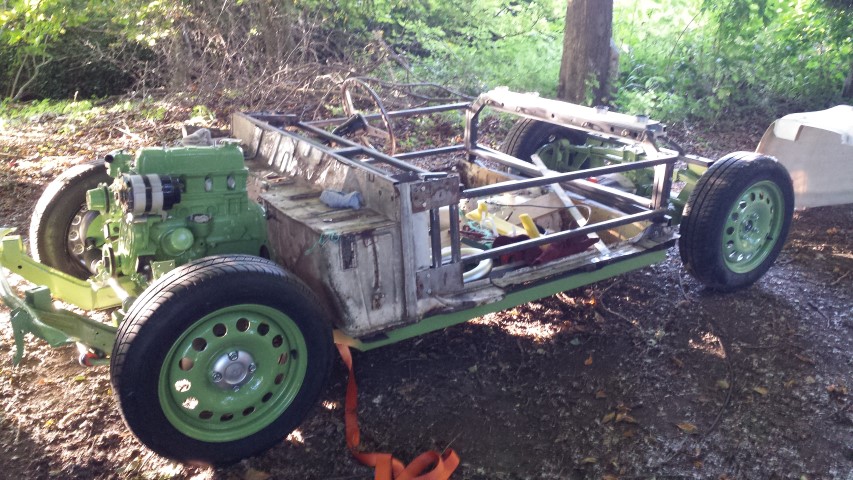
Ed, the Kubota alternator fits nicely. I had to make a new mount for it that bolts to the engine side of the engine mount and buy a conveniently available M8 spacer, but it now sits exactly where I want it.
As you can see I have also done some tentative plumbing to make sure that none of the key components are vying for the same limited area under the bonnet.
The rad (from a Skoda Felicia as the take-offs are in the right place) is at an angle but an aluminium shroud in front will direct air through. Only testing will see whether it works, but I am reasonably confident.
Thanks, that looks very neat, and may just be the answer to a project I'm toying with THANKS.
I was off roading a while back and one of the guys has a one off space frame quarry basher type vehicle he made himself off a Suzuki chassis, he loves to go wading the deeper the better and goes through alternators monthly. He has a peugeot XUD engine so only has the fuel solenoid a rear mounted rad fan and strobe light when the fan is on. I suggested a solar panel to keep the battery topped up. The last time I saw him he had fitted a 150w one as a rain shield above his head he said its great and now only puts the belt on if winching. He fitted a switch to isolate the electric power steering pump but said it was fine as long as the sun was out.150w panel will give 8 amps in full sun. A creative solution indeed.
I am liking your use of engineering machine green, my father has many pots of this left no doubt borrowed from David brown tractors in the 70's Ed.
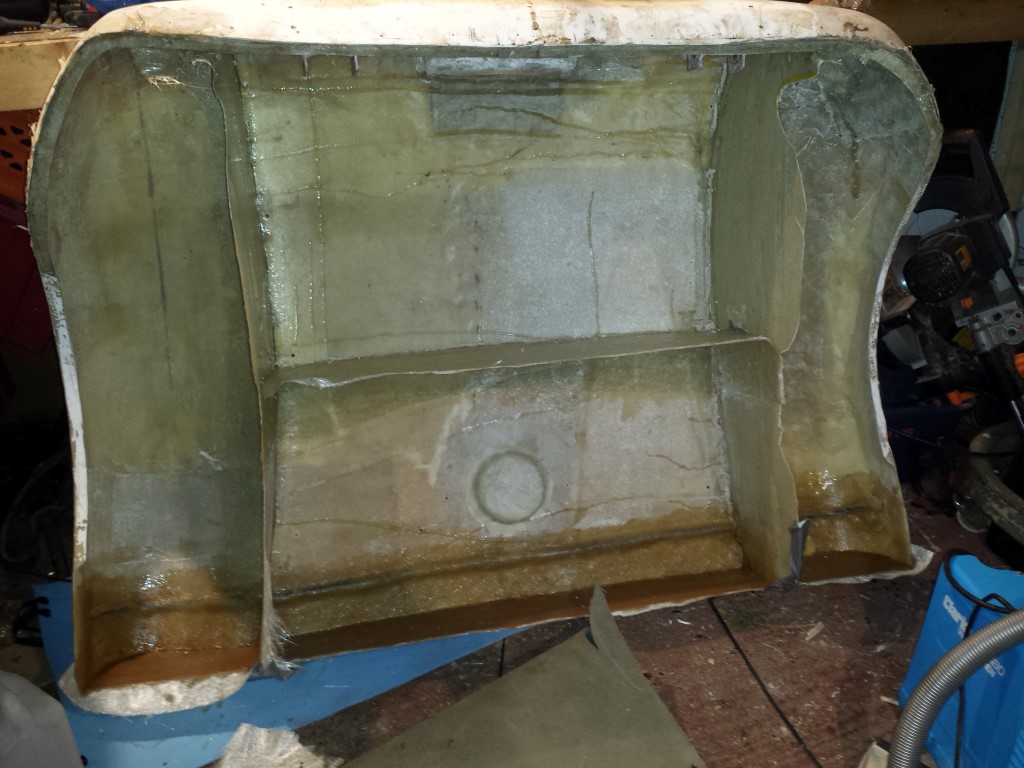
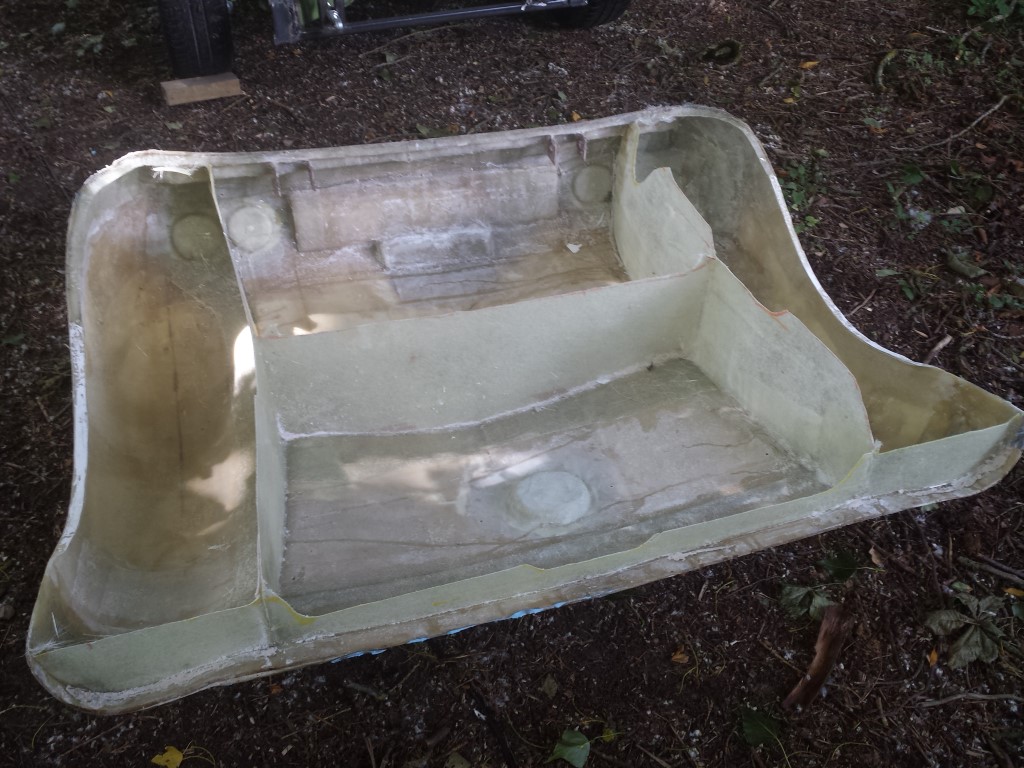
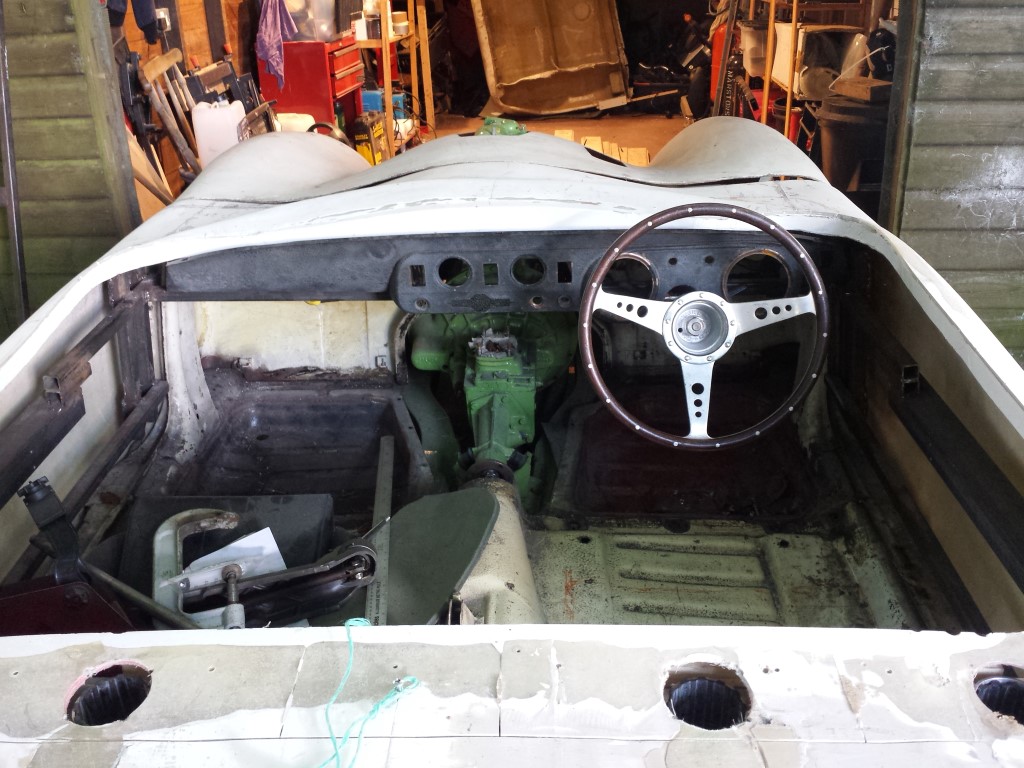
More time spent on Operation Rear Deck. I'm sorting out the inside, adding internal arches and some mini bulkheads to add rigidity.
They are currently single layup of 400gsm. I will then trim them to shape and add further layers. It is adding weight but I believe that it is worth it.
The deck looks distorted in the photo but it is just an optical effect.
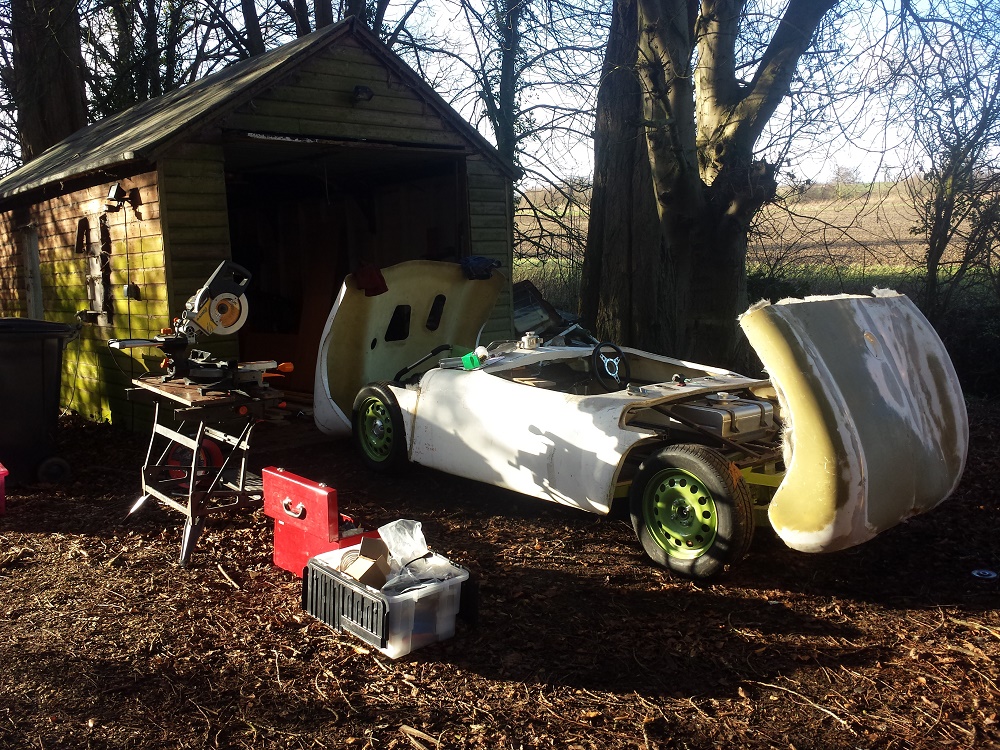
The flip rear is great and a nice homage to the cars original influence before it went down the Lancia route.
Micky1mo could do a lot worse than include this modification in the 'rebirth' of the car . Maintenance becomes a doddle in the tank and rear electrics and suspension etc. dept as well as creating some ( not a lot ) luggage space maybe ?
I love the wheels and the colour is fantastic too.
That was a bargain Ox! I paid £130 for mine (similar) But the "new"
ones go for £350, which is a bit much for what they are.
The older more battered ones look more original!
This is the stable that the Three Wise Men should be heading for. I could do with their help.
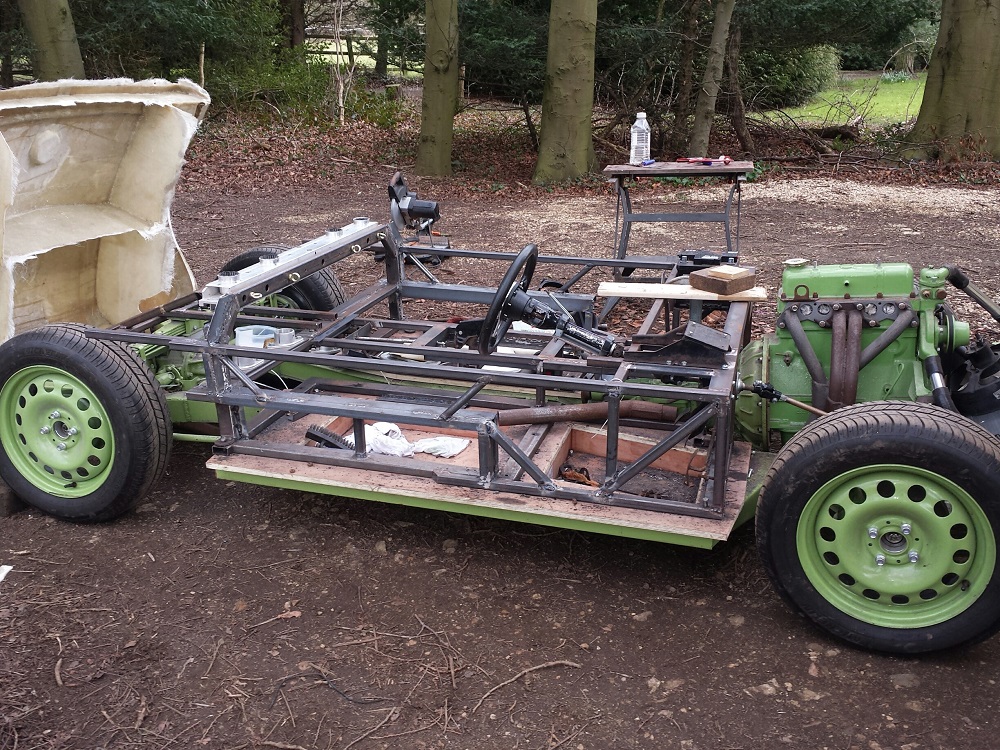
I'm still making regular progress but since deciding to make my own floors and bulkhead the progress hasn't always been obvious. I shall do a proper update sometime soon.
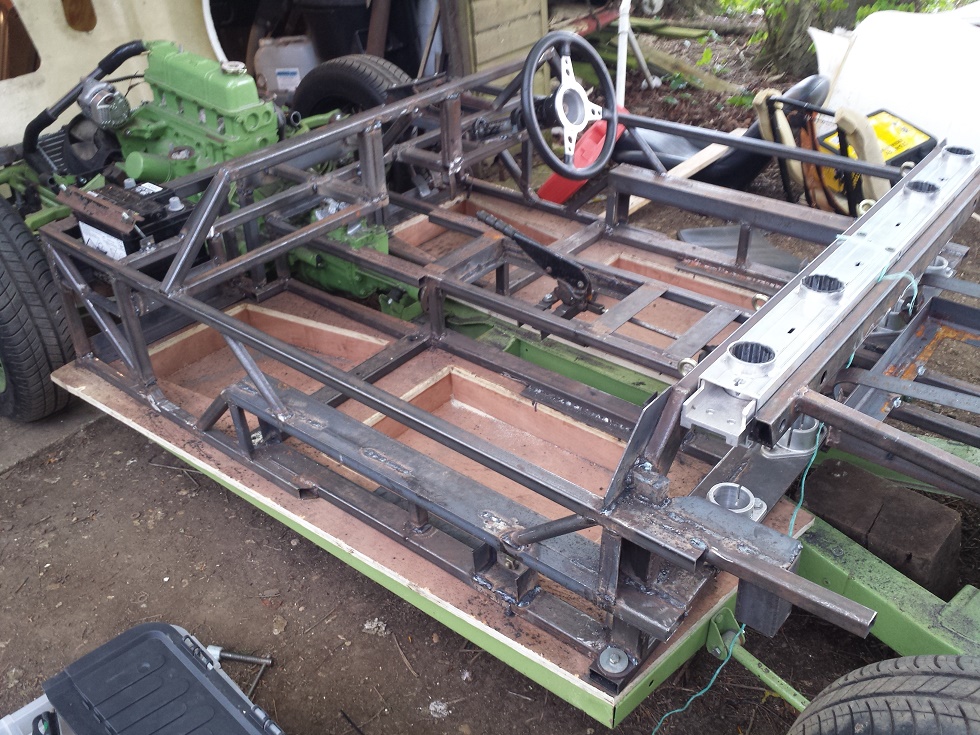
Today was spent making brackets and fixings for the fuel pump, catch tank, solenoid, fuel filter, etc. etc..
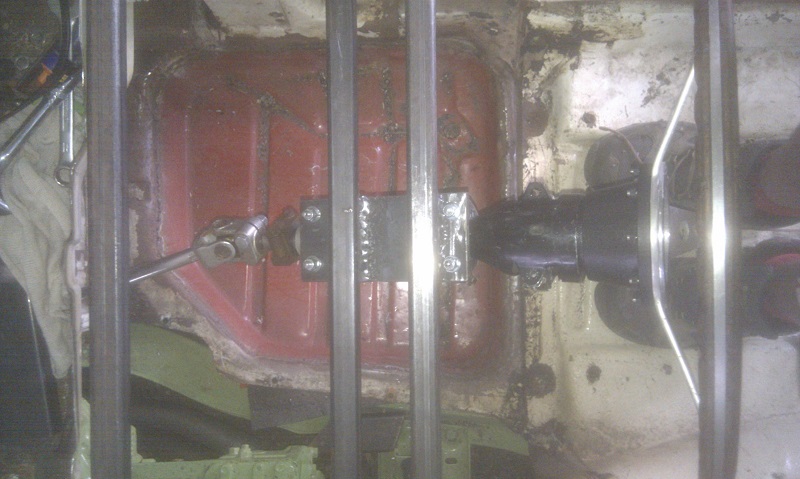
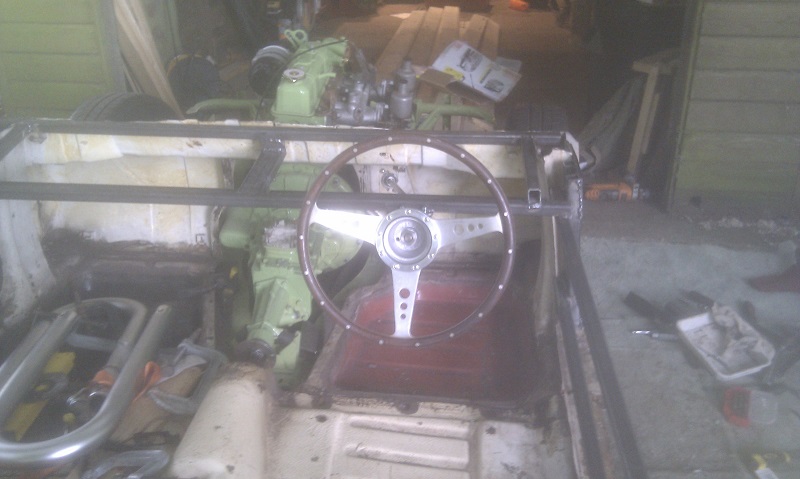
Paul - I just couldn't get a seat to sit low enough. The lowest point was actually quite narrow and I was playing around with all sorts of compromises. Once I decided to make new floors I thought I may as well go the whole hog and make the bulkhead. It has been quite rewarding even if I got myself into a fix with the steering and pedal positions. This is now sorted.
As I said, I shall do a proper catch-up with photos in the near future.
Yesterday I made the mounting for the handbrake on the newly constructed transmission tunnel. All progress is good progress!
So, a quick update. I became obsessed with trying to build a car that was "perfect" in my eyes. It was a mistake. I should have got on the road and then improved it. Anyway.........
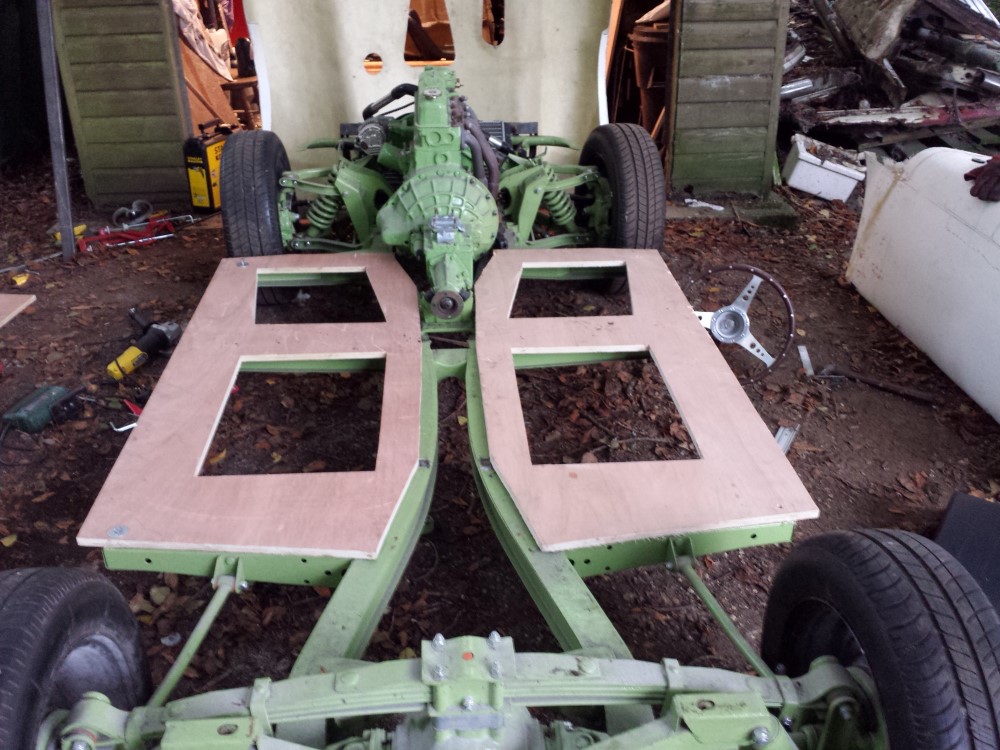
To recap, I wanted to use the full steel floor of the Herald. I made a new steering column so that the column was perpendicular to the bulkhead and centred on the driver.
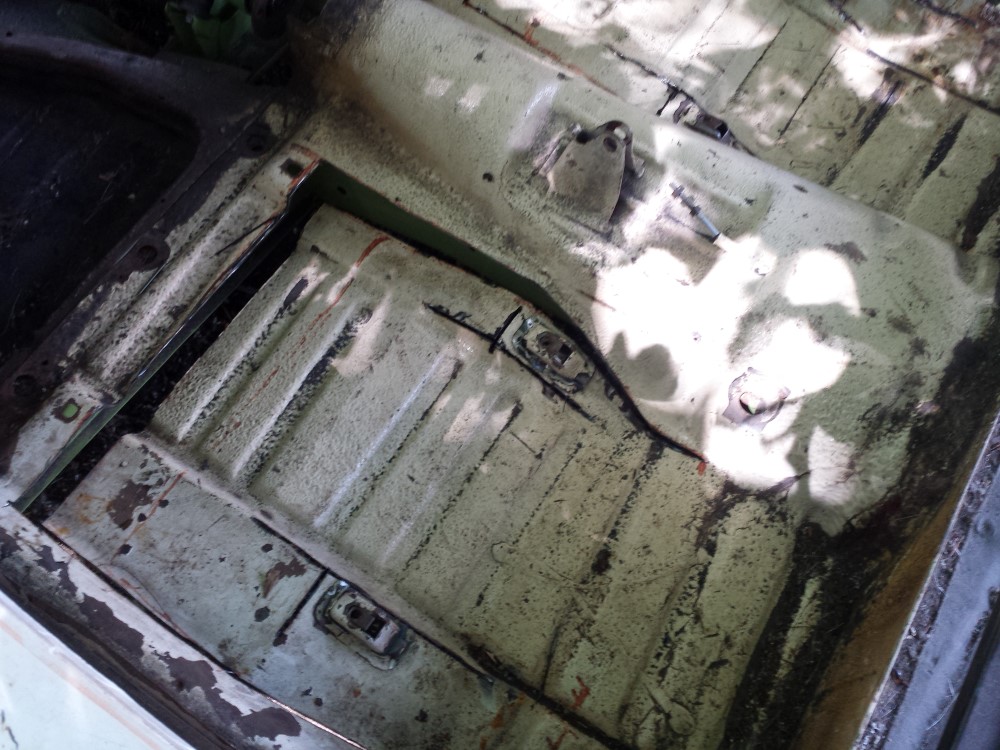
But........the floor was a pain in the arse. The shape made it impossible to get a seat in place that would allow me to get in and out. I tried a lot - I cut it with the intention of flattening it.
After a day or two of p*ssing about, I though, "What am I doing?" So, if anyone wants some new footwell floorpans, they are free for collection.
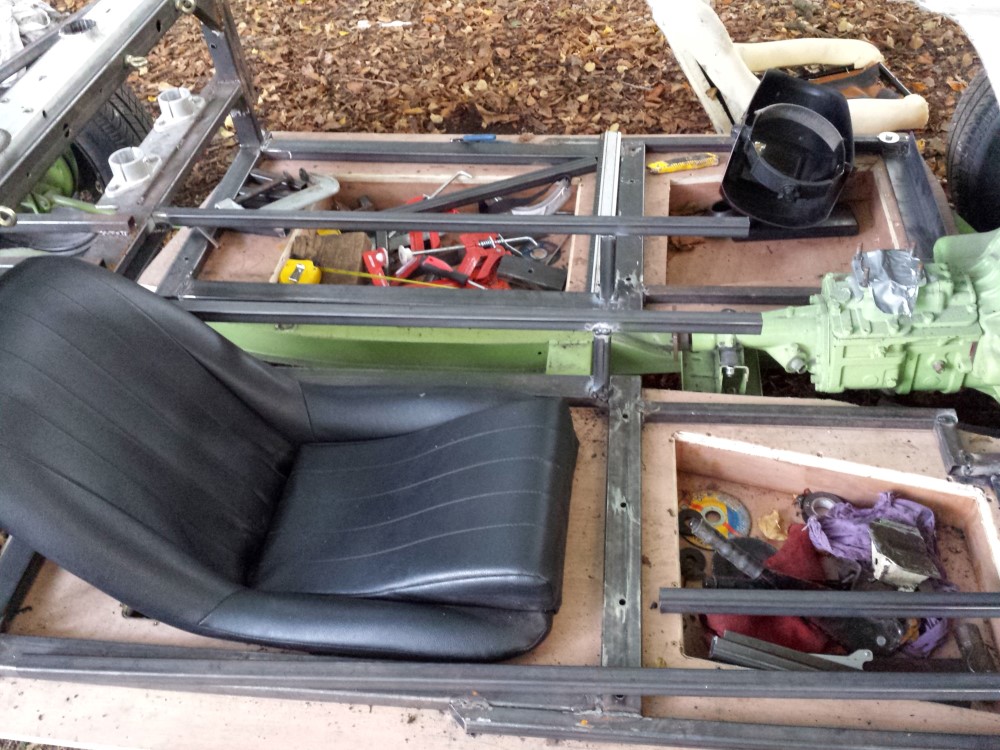
The new ply floors are exactly as I need. They will be GRP-coated and they will not be load-bearing - they are just there to keep the water out.
These aren't the seats I'm using. They are just to give me an idea.