MadaboutKitcars

This is a read-only archive of the old Madabout Kitcars forum. New posts and replies are no longer possible, but every thread is still here to browse and read.

New Cordite Build, with a twist....

8 Jun 2014, 7:09pm
Paul, I promise I will take pics for hump 2 mate, hopefully Tuesday or Thursday night this week.
10 Jun 2014, 9:46pm
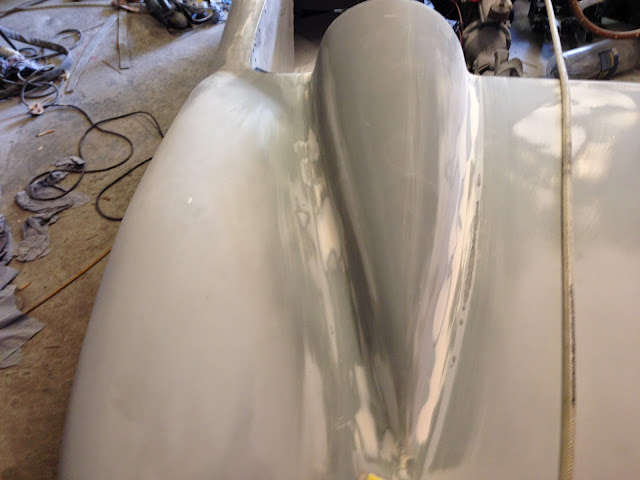
Managed to grab a quick 3 hours this evening, filler work on the first hump I fitted:


Also found I needed to do a bit more work on the rear deck.


The additional work on the rear deck only became obvious when I ran over it with my shiny new long board


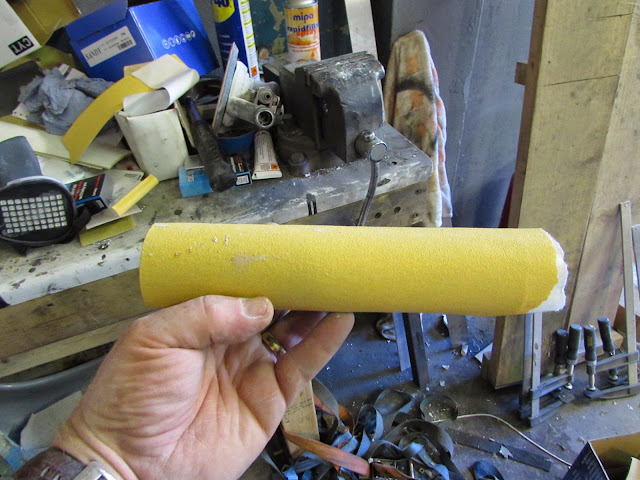
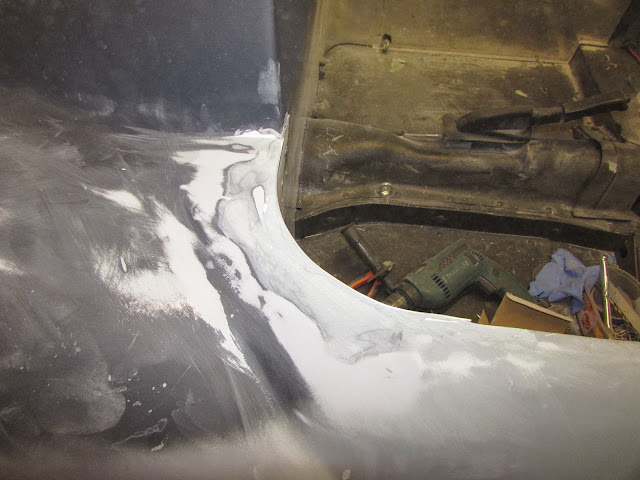
To get in to the area between the hump and the deck I need a round sanding object:


At last a use for old PU adhesive dispensers! with a bit of self adhesive sand paper it did the job nicely, had a to be a bit careful though as heavy pressure started to collapse what is only really a very thing Ali tube:


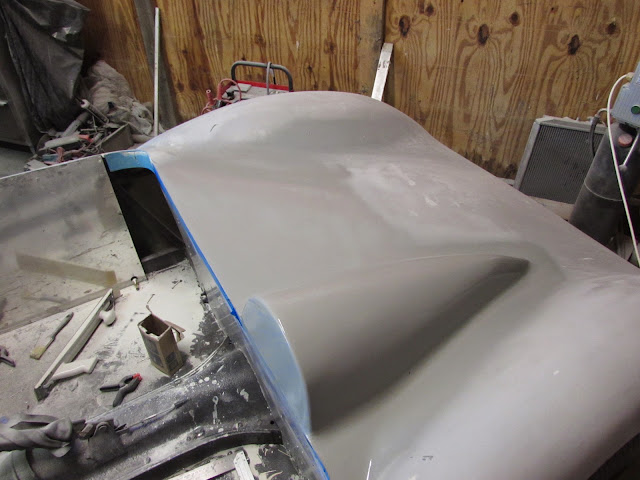
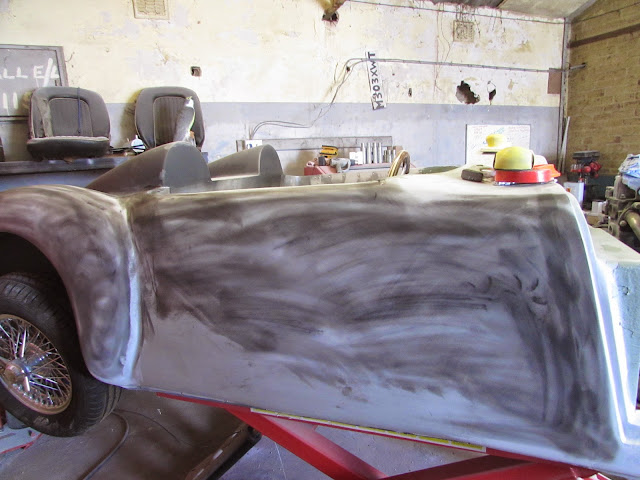
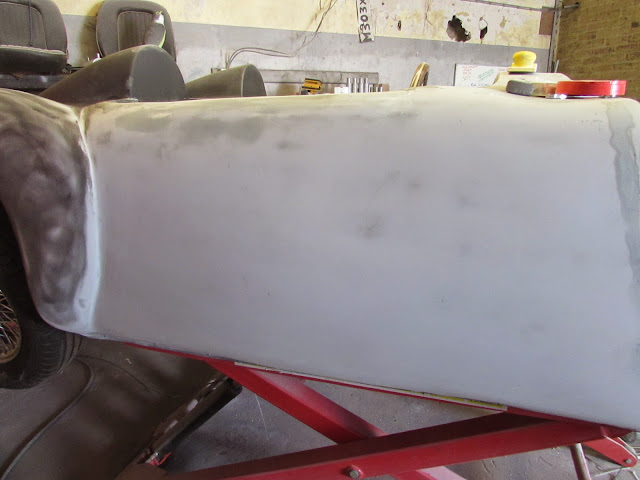
So after an hour of sanding and a quick blow over of primer filler to help highlight defects it was starting to take shape:


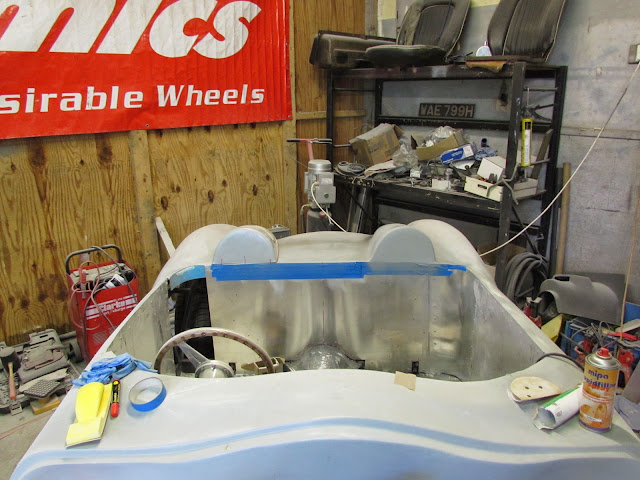
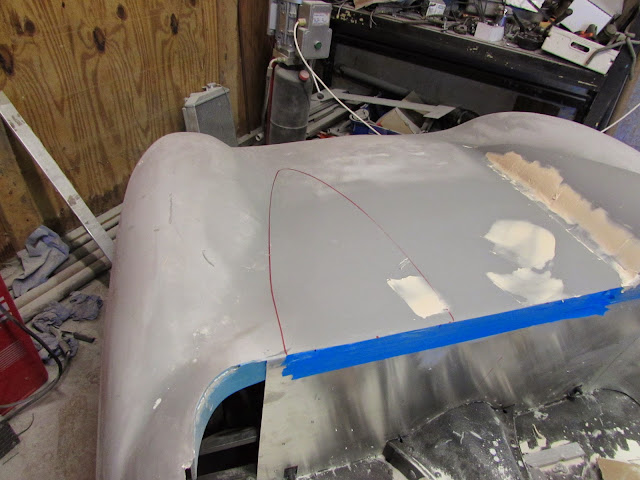
Trimmed the second hump and faffed for a bit till I was happy with the position:


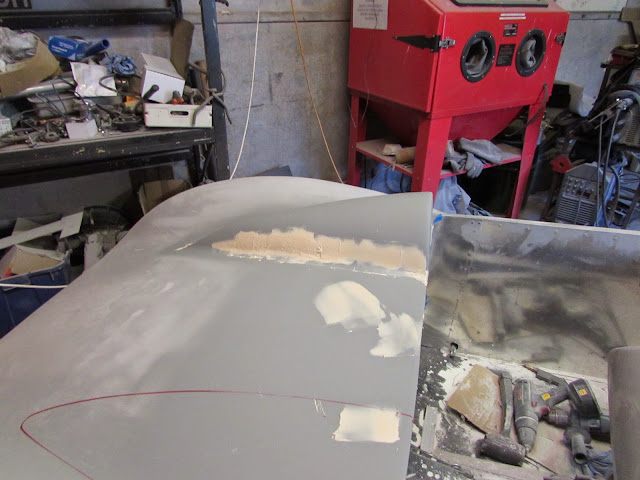
You can just see in this shot where I have outlined its final resting place in red felt tip:


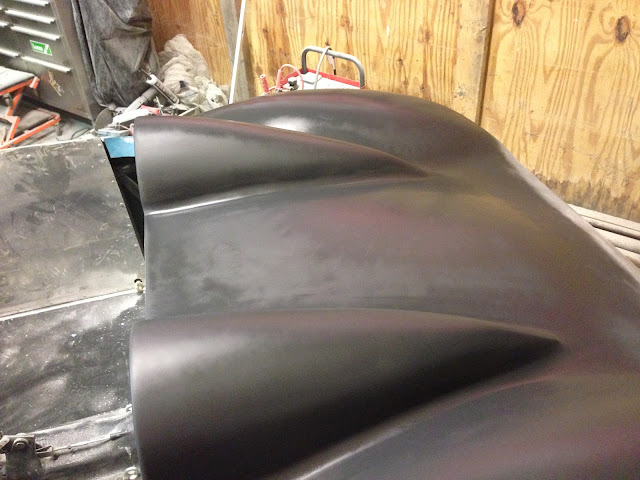
The coat of primer did its job and highlighted that more filler work is required on the first hump:


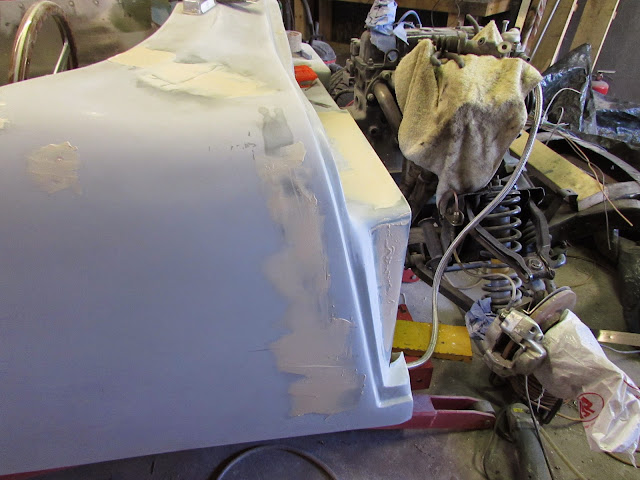
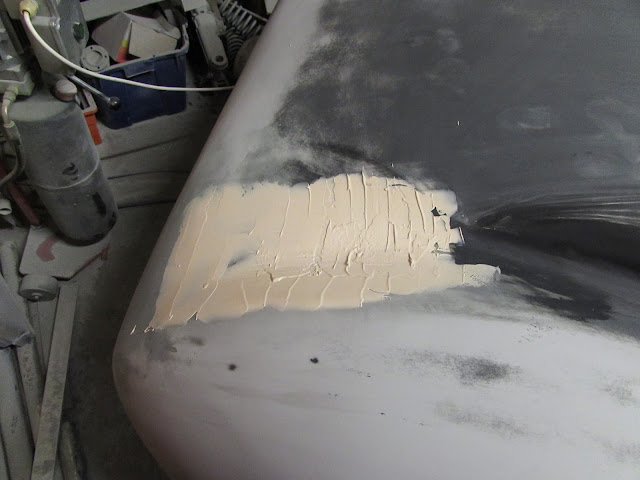
So before I left I got busy with the heat gun and encouraged the primer to go off enough to be able to get what will hopefully be the last of the filling on the first hump:


So the plan for Thursday is to final finish the first hump and hopefully get the second hump bonded into position wit the rough fibreglass filler work done so it has plenty of time to go off for a full day up the workshop on Saturday.

TTFN

Mac
11 Jun 2014, 5:11am
Mac - Your step by step guides are really helpful. :cool:

I will be re-reading all of this again when I get to this stage of my build.

Good luck, Paul. :)
11 Jun 2014, 5:30am
Hello Viatron,

I'm enjoying all the skills you have putting this car together. It looks tremendous. Is there any job you can't do?
It will be a very nice car indeed.

Michiel
14 Jun 2014, 4:46pm
Michiel, thanks very much, there are plenty, half the secret is knowing where to draw the line, upholstery for instance will be outsourced as although I am able to darn socks and even hem a prom dress (don't ask) I don't have the facilities of the experience to do a decent job.
TTFN
Mac
14 Jun 2014, 5:02pm
So today was second hump day...
Started with this:


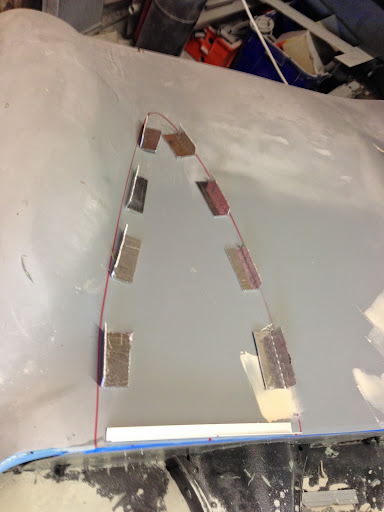
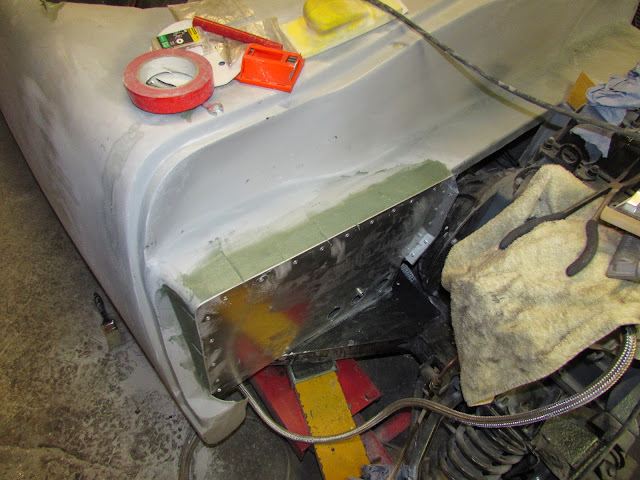
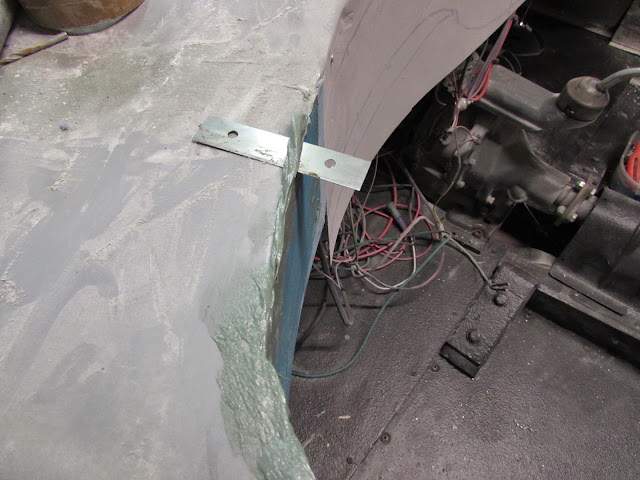
Bent up a series of 2mm Ali brackets out of left over sheet, notice the horizontal face that sits on the body is bigger than the vertical one that the hump bonds and rivets to. That's because I am lazy and love my air riveter and if the hole is too close to the vertical face I cant get the air riveter in, its the little things that make life just that bit easier.


Pre drilled both the brackets and the body and applied a generous amount of PU Adhesive.

[IMG]https://lh3.googleusercontent.com/-oMNomRqhRSY/U5xHSa3J5-I/AAAAAAAAG2o/r8SqmRk4aWE/s640/IMG_01310.jp][/IMG]

Riveted all of the brackets in place.


All the brackets need bending a bit to follow the curve of the hump, the outer edge far more than the inner one, this is just trial and error until the hump fits on nicely but you still have contact between the face of the bracket and the inside of the hump.


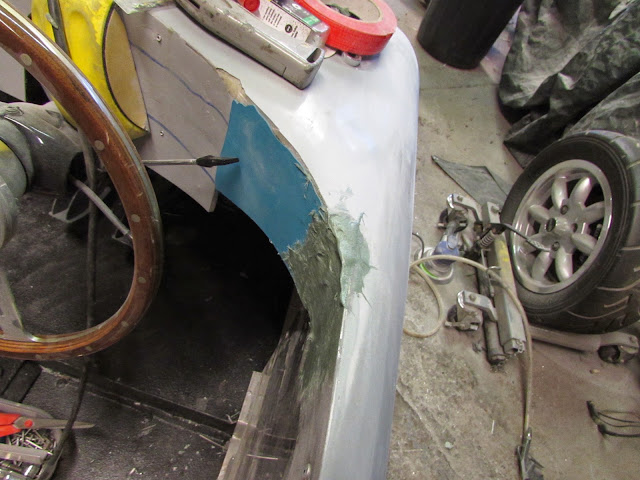
Another good dollop of PU on the brackets and the hump is slid into place. The hump is then drilled straight through the exterior of the hump and through the bracket behind ready for riveting. All the holes are countersunk first though so that the rivets don't sit too proud.


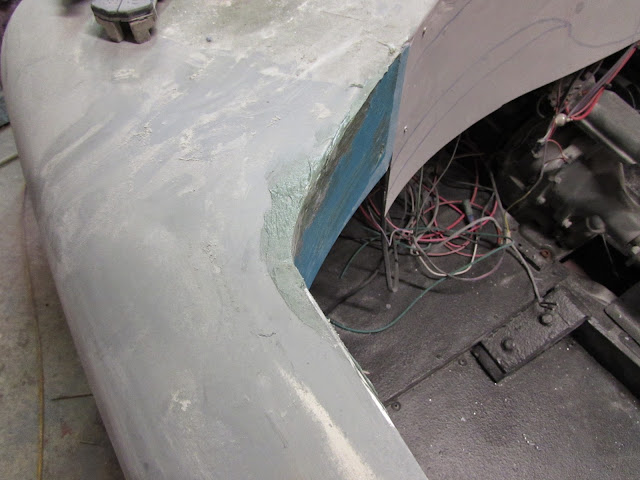
Quick coat of fibreglass filler making sure to press it well home between the hump and the body and a final contour with the silicon chefs thingy and it starts to look ok.

Sorry for the rubbish pics but was using the phone as I forgot to take the camera.

Whilst that was going off I knocked back the filler I applied to the other hump before I left last time.


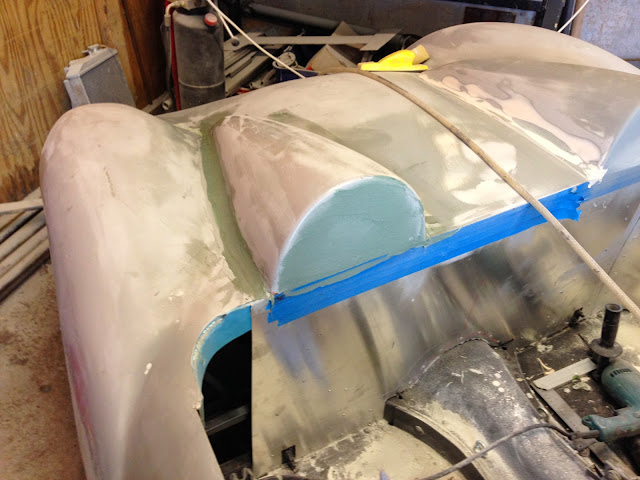
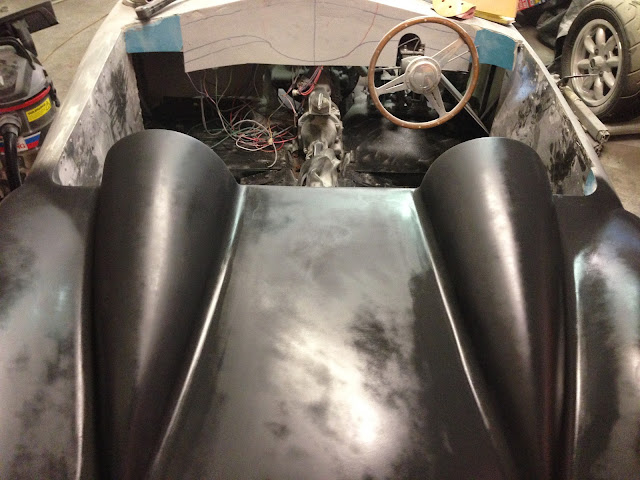
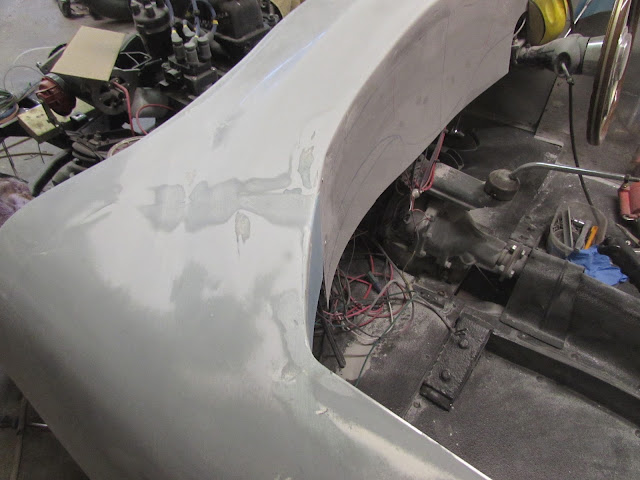
And here we are, both humps on


First hump is pretty much there now, couple of pin holes that I will get with stopper before priming.


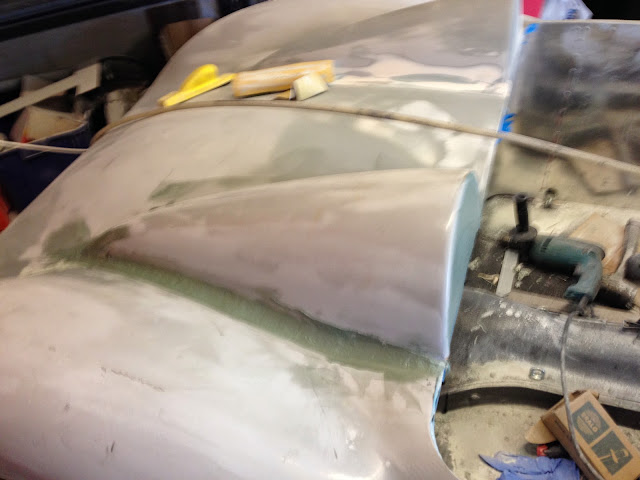
Much better shot of the fibreglass filler on the outer edge of the second hump that shows how good the silicon cheffy thing is at getting the base contour ok.


And the same join after about 10 minutes work with some 80 grit followed by some 180 grit.


Before I finished I did get the first coat of final filler on but forgot to take pics. sorry....
TTFN
Mac
14 Jun 2014, 7:07pm
Thanks for the step by step guide, very helpful. :cool:
14 Jun 2014, 8:12pm
Hope it helps Paul.

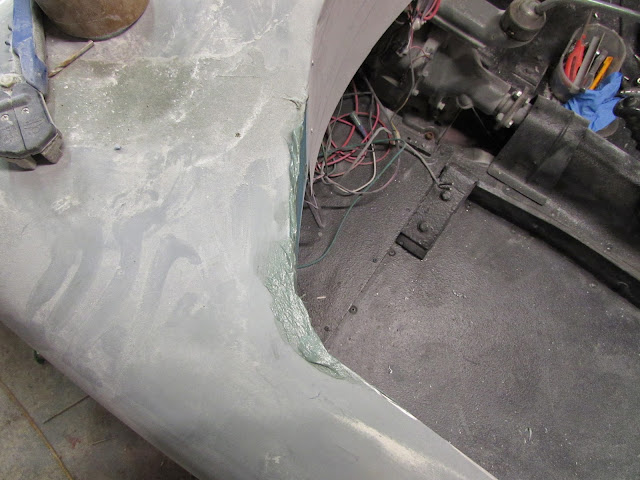
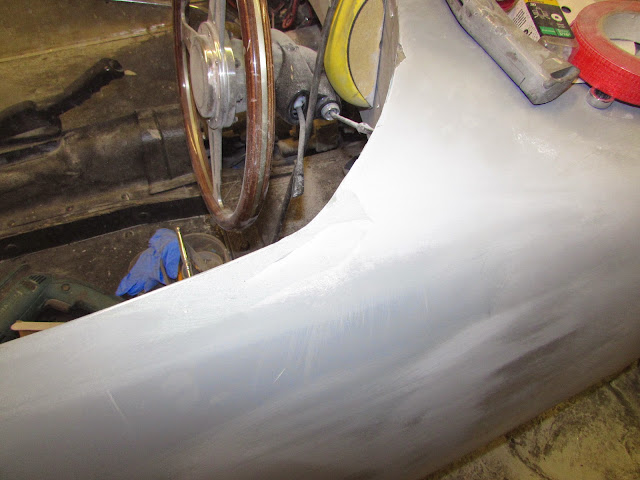
One other pic I neglected to post is the transition from the hump to the deck at the tail end of the hump


Hopefully up the man cave again Tuesday so till then

TTFN

Mac
19 Jun 2014, 8:12pm
So managed a few hours up the workshop this evening.
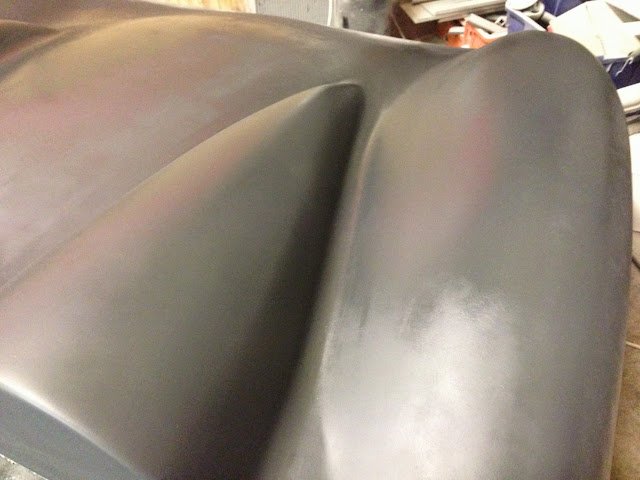
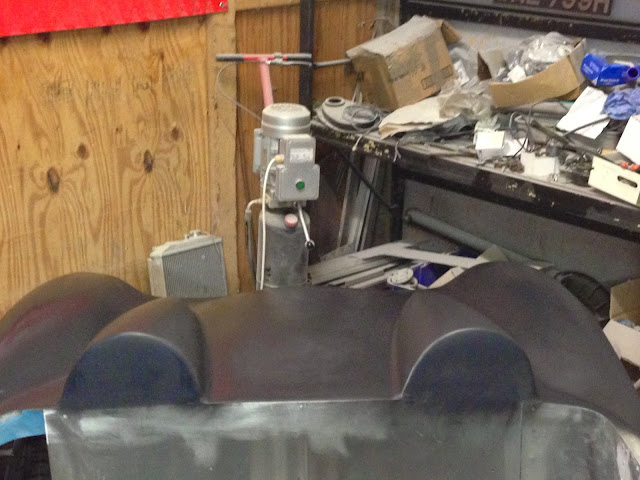
The news is.... The humps and rear deck are finished!


Primer looks patchy in this shot because it was fresh on out of the gun.


Not really the rear deck area but the flash line on the Offside wing still needs a small skim if I sand it any more ill risk making the fibreglass too thing, 5 minute job on Saturday.


Primer looks patchy on the face of the hump here as I ran out so just gave it a dusting.


So bit of a landmark, For those that are interested im using an etch high build primer for the final prime that will be wet sanded with 320grit before paint.

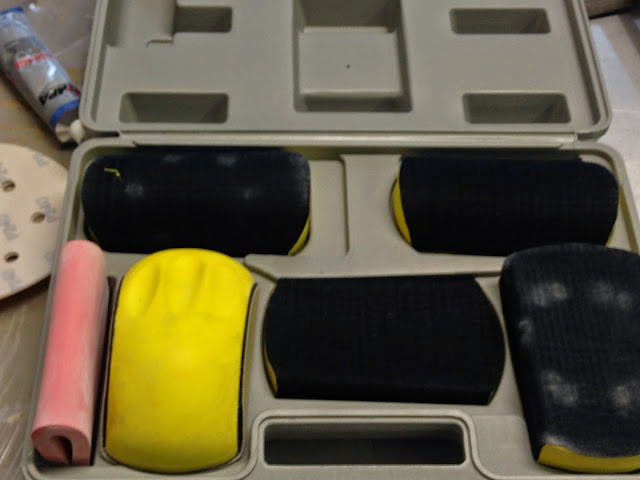
One thing that really helped get the final finish in a reasonable time today was my new set of sanding blocks, seen these on EBay for around £30 to £40, my paint shop had them on offer for £19.99 less 10% discount as I had it with paint etc.


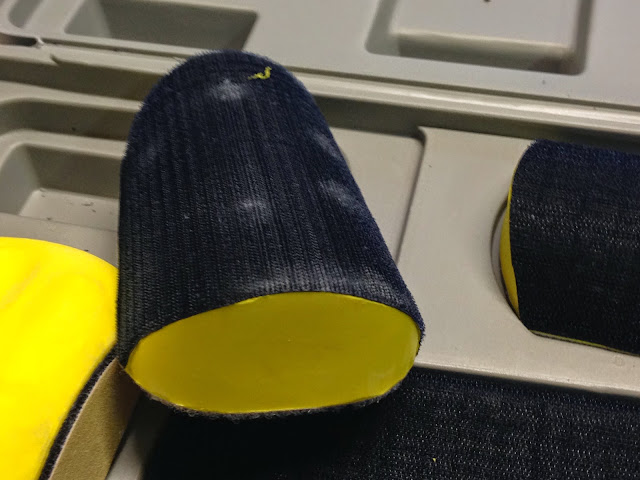
The really useful piece was this one, really handy for the transition between the humps and the deck, gave a really good consistent pressure and finish, its foam but much much firmer than you would think.


Lots of different profiles:


All except the teardrop shaped one just take a standard hook and loop circular sanding disc.


Till next time
TTFN

Mac
20 Jun 2014, 6:41pm
Mac - Those two humps really do look like they were there from the start. :cool:

Is it worth adding any extra fibreglass underneath the flash lines?

I haven't finished sanding mine down yet, but the gel coat disappeared before the raised line was gone.

Good luck, Paul. :)

PS
I've been re-reading your report on developing the new Navigator buck and you mentioned "truck paint".

Do you have any details of the stuff you used?
21 Jun 2014, 5:11pm
Another day in the workshop today, Dave made an appearance to lend a hand as he is as keen as I am to get it finished so we can move back to the other projects, The Tiger GTA re-engine and conversion from Race to Track/Road Car and get the Alfa 147 Track Car finished so we can at least get some track days in this year!
Anywhoo.....
First job of the day was to get the drivers side rear cockpit corner panelled up.

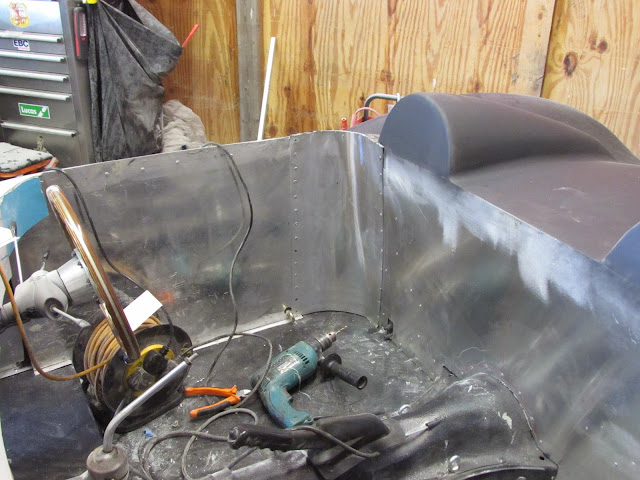


Left it a little long and as per the back side used fibreglass filler to make the transition, when it has well and truly gone off I will sand bot the Ali and filler back to give a similar finish to the other side. Was hoping to get to it today but ran out of time.
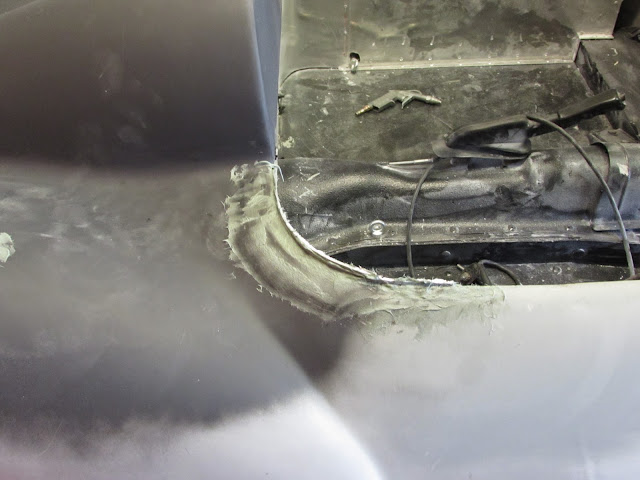


next job was to use up the left over fibreglass filler so used it up on some of the flash line areas that need work.
Front Drivers side:
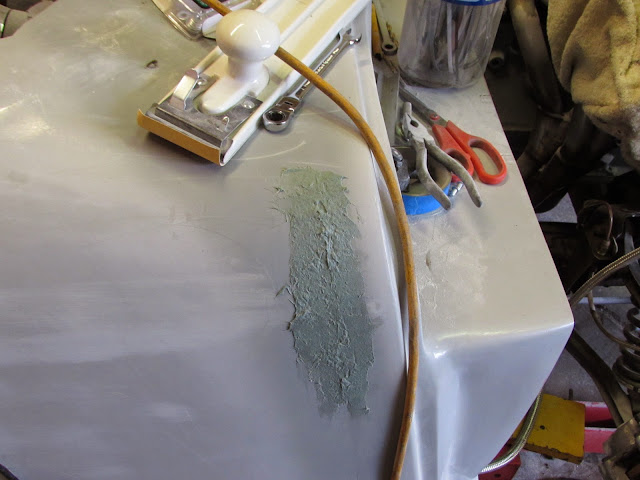

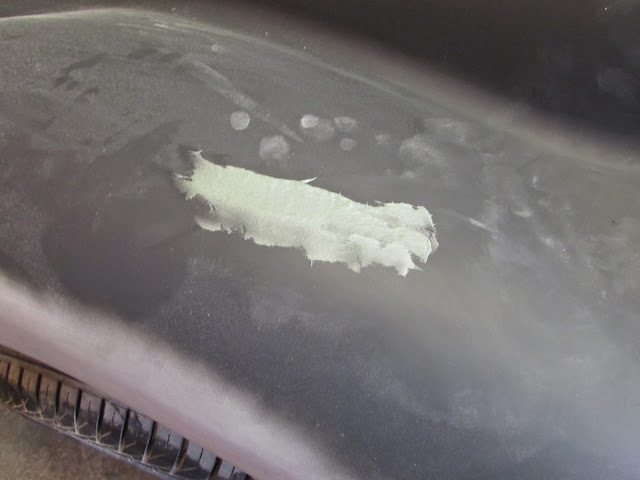
the small area I highlighted a couple of posts ago on the top of the drivers side rear wing.


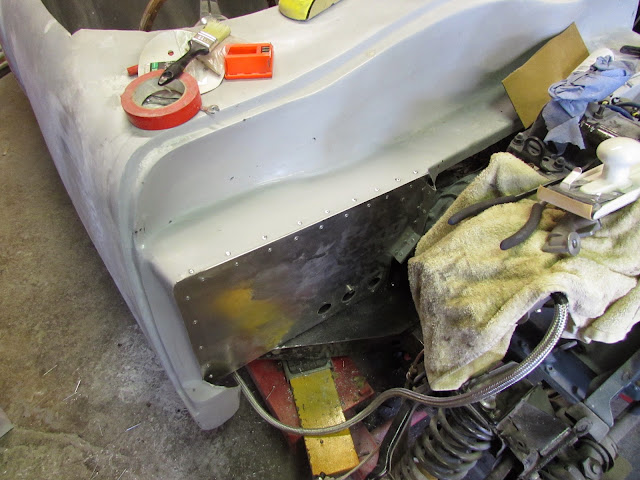
Next on the list was a small closing panel on the drivers side outer foot well wall. This pic is taken through the glaring hole where the front of the foot well used to be.


With that all done it was time to try and sign off the drivers side of the cockpit. We trimmed and measured, trimmed again, measured again...well you get the idea. Eventually the face of the floor mounted pedal box wash flush with the fibreglass surrounding it. We then bonded and riveted some very thick Ali angle I got from a local coach builders to give us something very solid to rivet the foot well closing panel too. You can see the 2 main pieces in this pic. The foot well panel picture above is to the left of the foot well when looking through the hole.

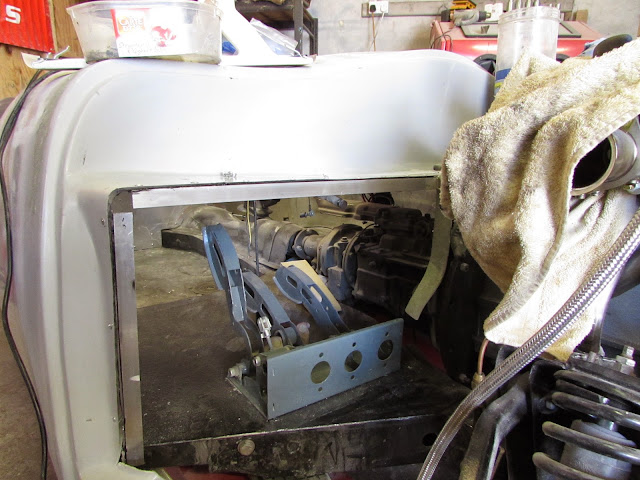


This pic isn't too clear but shows that the closing panel is sandwiched between the ali angle and the outer fibreglass so makes the foot well nicely sealed.
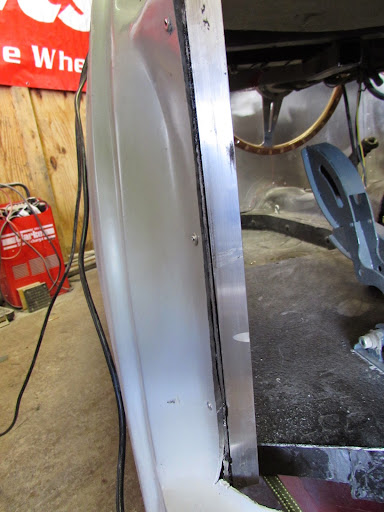


Same area different angle, I did clean up all the excess PU after I took the pic!
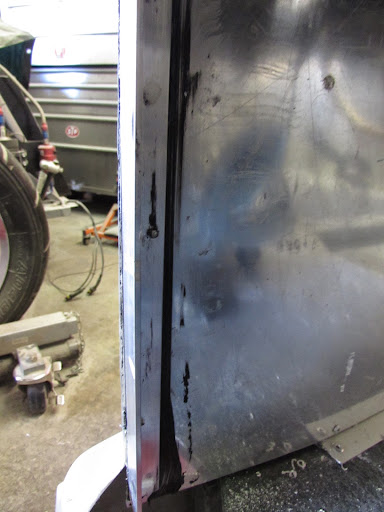


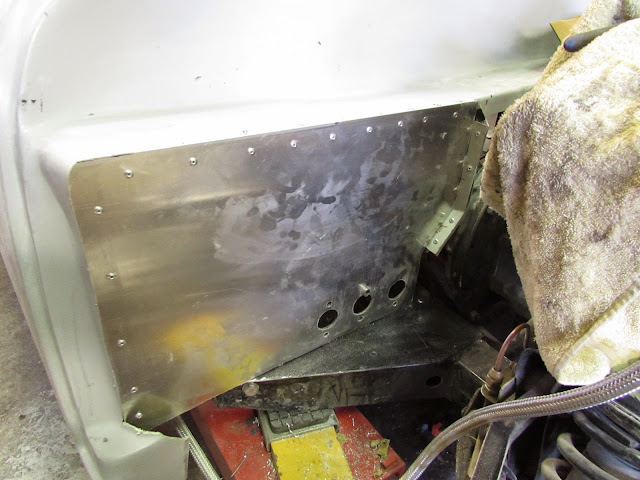
Bit of CAD later and we had the closing panel, I have left it approx. 2mm oversize so that once again I can sand the edges flush with the body giving a, hopefully, seamless look.
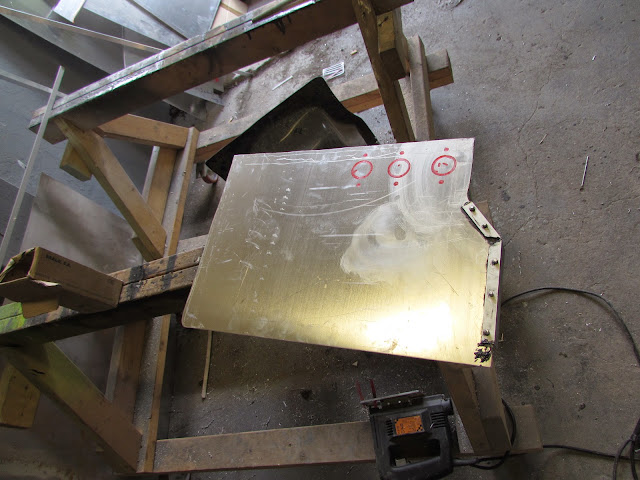


And trial fitted:


For those of you wondering what the odd shaped piece of ali riveted to the side of the panel was here's the answer:


And a better shot of the panel in place:


A shot showing the slight extra left for sanding back:
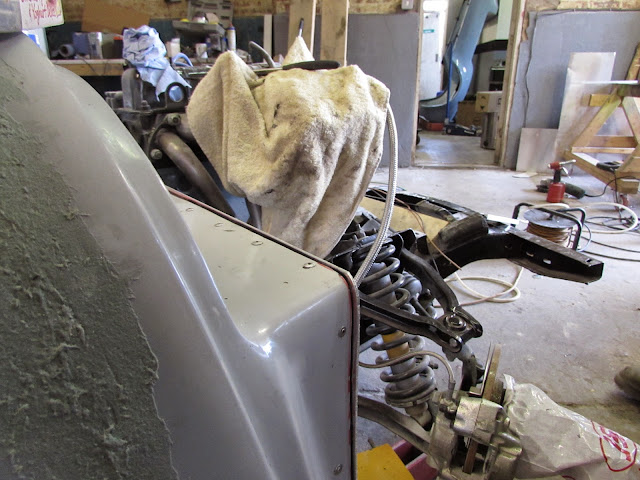


We would have liked to get the panel on today but I realised that I didn't have the right sized Starrett hole saw for the master cylinder holes and didn't want to risk bodging it with the cheepo set I have for emergencies!
So till next time, hopefully Tuesday night
TTFN
Mac
22 Jun 2014, 10:50am
can I ask you what thickness ally you used to line the cockpit thanks
22 Jun 2014, 10:54am
2mm on most but 1mm on the rear corners so it forms easier. 2mm is very sturdy. The drivers firewall panel is 2mm also but will have a doubler to make it 4mm where the steering bearing will be
HTH
Mac
22 Jun 2014, 5:42pm
Mac - Whoever ends up buying your car is going to have a very cool ride. :cool:

Good luck, Paul. :)
26 Jun 2014, 8:58pm
Didn't manage to get up the man cave on Tuesday but did a couple of hours tonight.
First job was to put the 32mm holes for the master cylinders in the drivers side foot panel, quick job using the new hole saw I bought for the job, 32mm if anyone needs to know. Needed a little fettling with the half round file but I test fitted all three and they fitted like gloves.


Next I used the now obligatory PU adhesive plus 4mm X 12mm rivets to fix it to the beefy 3mm Ali angle we installed last time


You can see in this pic that when fitted the end panel actually stands off the body a couple of mm, this was intentional so give the fibreglass filler a good area to lock into.


Quick skim of the green gloop


next I turned my attention to the drivers rear cockpit corner which Dave and I panelled last time and back filled but didn't get any time to start profiling.


this is one job the air powered DA does get used for as sanding the Ali and filler down would be tedious by hand, 15 minutes later....


End of Part one
26 Jun 2014, 8:58pm
Part two

Next job on my list was to make good the area where the dash meets the Ali side panels. Eventually these will have a riveted ali panel joining the two but I didn't want to leave a gap so more green gloop.


and the same on the passenger side.


Looks a bit of a mess at this stage but here's a good tip. If you catch it just right when its green, ie its set but not fully hardened, you can actually trim it very easily with a good blade.


All of a sudden it looks much better and the amount of sanding is drastically reduced.


Same to the inside edge.


Much better and only took 2 minutes.


10 minutes with some 150 grit and the basic shape is there


Same treatment on the drivers side.


Managed to get the first coat of filler around the front panel knocked back and a final coat left to go off as I'm up again tomorrow so I should have the drivers side pretty much done. Plan is to raise the car up a bit on the ramp and attack the drivers side with the long board to make sure its all level, will be using some dry guide coat which is very unforgiving in picking out lows and highs so there might be some very revealing shots tomorrow night!

TTFN

Mac
27 Jun 2014, 8:33pm
Another few hours in the bat cave this evening.
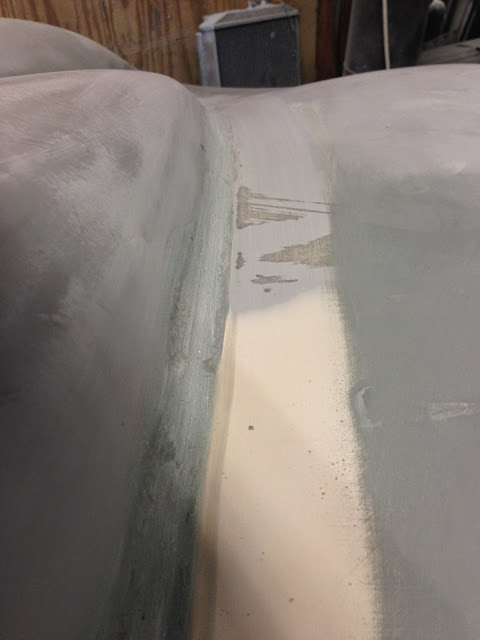
Wanted to get the drivers side of the tub finished and ready for primer today so broke out the dry guide coat.


you cant put this stuff straight on shiny gel coat as it just smears around so a quick go with the long board and some 180 grit had the sides looking ok already


Applied the guide coat


You can see at the back of the tub where it transitions into the rear wing I didn't take the shine off and it just hasn't stuck

30 minutes later with the long board and its looking pretty damn good


Couple of close ups of areas that need attention

Bit of orange peel in the gel coat low don near what would be the cill on a conventional car:


Here I've been over it and marked all the areas that need further work:


but another 15 minutes and thanks to the quality of the fibreglass there is enough gel to be able to get rid of most of them with no filler required:


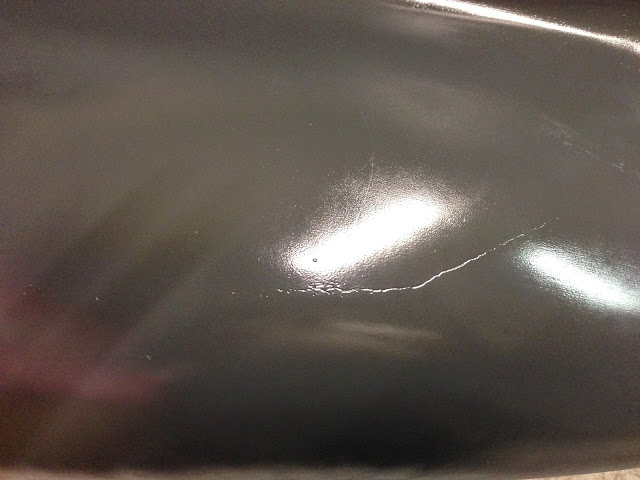
Even though I didn't need it to see the flash line I thought I would use some on it as it demonstrates how well it highlights faults:


bit of filler work which didn't take very long at all:


Rear wing after guide coating, again a few small areas but over all very happy:


So that's it the drivers side is ready for etch primer then 2 coats of 2 pack primer filler followed by wet sanding with 320 grit and I can paint it. Sounds like a doddle when you say it quickly. Have decided to do the paint myself as well so ordered it today 2 pack solid colour, nice and period.

Before I left I started to work round the rear and found that the area where I stretched my rear wing out needed some love so bogged it up so its ready for final sanding in the morning.


Once I get the rear all sorted tomorrow I will be doing some re shaping at the rear to accommodate my rear lights,


not sure what will be required hopefully not much :eusa_silenced:

TTFN

Mac
28 Jun 2014, 7:02am
Mac - You are making this body prep. work look very easy. :cool:

Whereas, I know it will be a complete nightmare when I try to follow your example. :rolleyes:

Jokes aside, you are giving me hope that a rough finish can be made smooth, even if it does require time and effort.

Can I ask what "period colour" you have chosen? Although I am happy to wait if you want to keep it as a surprise.

Good luck, Paul. :)
28 Jun 2014, 11:58am
Not feeling the love for the bodywork today, its making a real mess of the workshop, on top of that my hands are a bit swollen which is a sign I should back off or rick a Lupus flair.
So decided to turn my hand to something that doesn't require fine motor skills, cleaning up!

But I couldn't go a whole day without making something and tidying up highlighted that power tools on flex are a pain!

So inspired by these guys, worth a watch if you have some free time and admire top class fabrication,

https://www.youtube.com/channel/UCHvBHWBzzB7NyU5tIiEZHBg

I started with this:


An old spitfire wheel rim and a cut off length of very expensive roll cage tube which I'm never going to use.

Welded the tube to the rim thus:


Added a piece of 2" X 1" (or the metric equiv)


Bent up some hooks out of some 10mm steel bar I had lying around going rusty.


Welded the hooks onto the tube:


And voila, a power tool tree! The box section will have a pair of good quality double sockets bolted on once the paint has dried.

Just off to order some good quality flex to extend my power tool leads and also to buy a couple of cheapo rubber wheel so I can make it easy to move around.

TTFN

Mac
28 Jun 2014, 12:23pm
Quick coat of left over red truck coat

1 Jul 2014, 9:11pm
Just got back from a session at the lair.
first job was to finish the grinder tree, couple of cheapo wheels off the bay, couple of box section offcuts and some 12mm thread bar gave me this:


The wheels are just to allow easy movement of it around the workshop, when in use the wheels sit just off the ground but a quick tilt back means it can be wheeled around easily:


Next job was to tidy up the last of the filler work on the drivers side. Front flash line sorted:


Front of rear imperfections sorted, I have gone through the gel coat in a couple of places but there is plenty of glass underneath and as I'm etch priming first I'm leaving them as is they look rough but in fact running a hand over the patches are dead smooth.


Also sorted the previous wing stretch at the rear but forgot to take pics.

Blocked the passenger side next and then dye coated it, came out ok, the areas that needed work were almost identical to the drivers side so a skim of filler was required.


Filler went of super quick as it was quit warm and humid. by the time I had given the grinder tree a final coat of paint it was fit to be sanded, and so I did!


Final job before I left was to make a start on getting the seat buck into a state fit to take a mould off it. I had been a little ott with the filler so started with the grinder, then moved onto the DA and finally sanding by hand. I'm not after a show finish on the seats as they are shells which will be fully upholstered so the odd imperfection is irrelevant but they need to be reasonably smooth and true so before I headed for home I put a final skim of filler over the joins.


Back up on Thursday so am hoping I can get the seat buck done and painted and will also be making a start on the rear fitting the lights etc. Once that job is done then the shell is for all intents and purposes ready for primer. The only area I haven't tackled is the bulkhead as I'm removing the engine and gearbox for painting and it will be much easier to get access to the bulkhead without the engine in the way. If things go well on Thursday I may even make a start on the bonnet :eusa_pray:

TTFN

Mac
1 Jul 2014, 9:22pm
It's coming along very nicely Viatron and it looks like the body has not required to much work.

Where did you come by the seat buck, I've been looking around for some time and so far have acquired two plastic seat bases which were being thrown out at a local school. My intentions was to use them as a buck for two fibreglass seats with a little bit of modification.
1 Jul 2014, 9:23pm
Looking good. Not long before that tub has some colour on it...........
1 Jul 2014, 9:25pm
Cheers Swifty, enjoying your build also,
Its actually I mini bucket I got off the bay, I then stretched it for my more ample frame as it was obviously made for a midget originally! If the finished product comes out ok I could probably knock out another couple pretty cheaply as long as your going to upholster them as they certainly wont be suitable for a plain painted seat.

Mac