MadaboutKitcars

This is a read-only archive of the old Madabout Kitcars forum. New posts and replies are no longer possible, but every thread is still here to browse and read.

Another Cordite Is Born ...

14 Aug 2013, 7:37pm
Paul, for inside corners get yourself some rubber or vinyl gloves £6 or £7 a box, you can then apply the filler using your finger to the inside corners then drag your fingers down it and you should have an almost perfect finish.
Keep up the good work.
14 Aug 2013, 8:18pm
Hi Paul,

I like what you are doing. I'm sure sanding en painting will transform this workpiece in something very pretty. And I'm confident that the welds wil hold too. I had doubts about the strengt of my own welding. On the chassis etc. But then I considered the state of corrosion that had been there in the first place. It couldn't have more then 15% of the original strength left. The welds would sure do better then that!
15 Aug 2013, 6:45pm
Replies:
Mac - I was actually using those rubber gloves, but the filler was setting too quickly on me. :rolleyes:
Michiel - Thanks, although your chassis welding looks a lot neater than mine.

- - - - - - - - - - - - - - - - - - - - - -

Dodging the rain...

Despite the weather forecast predicting a dry day today, it kept bucketing down. :(
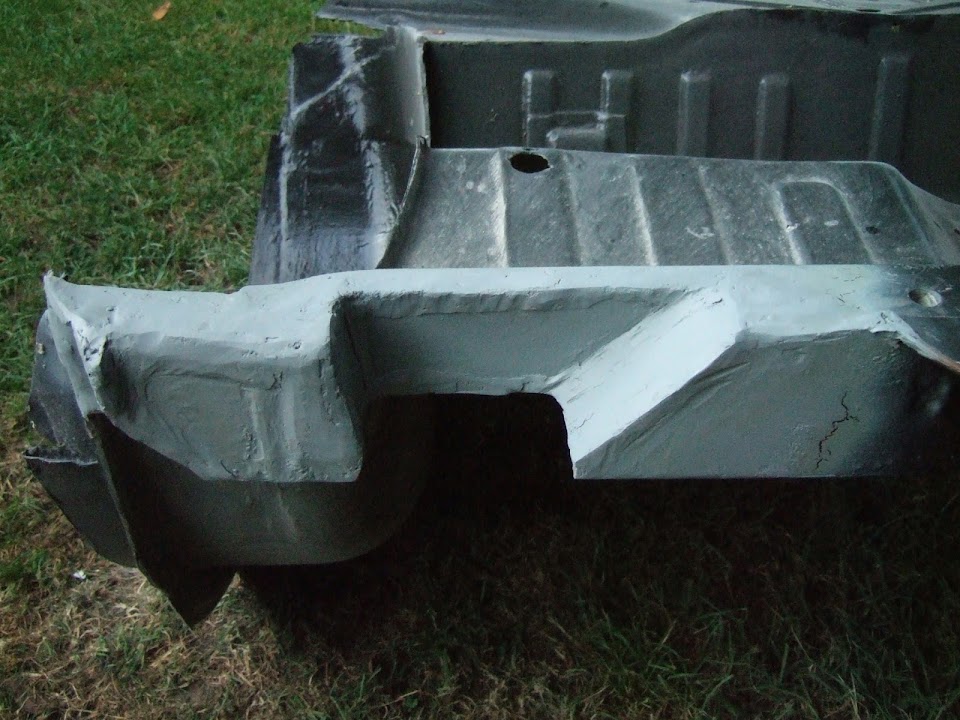
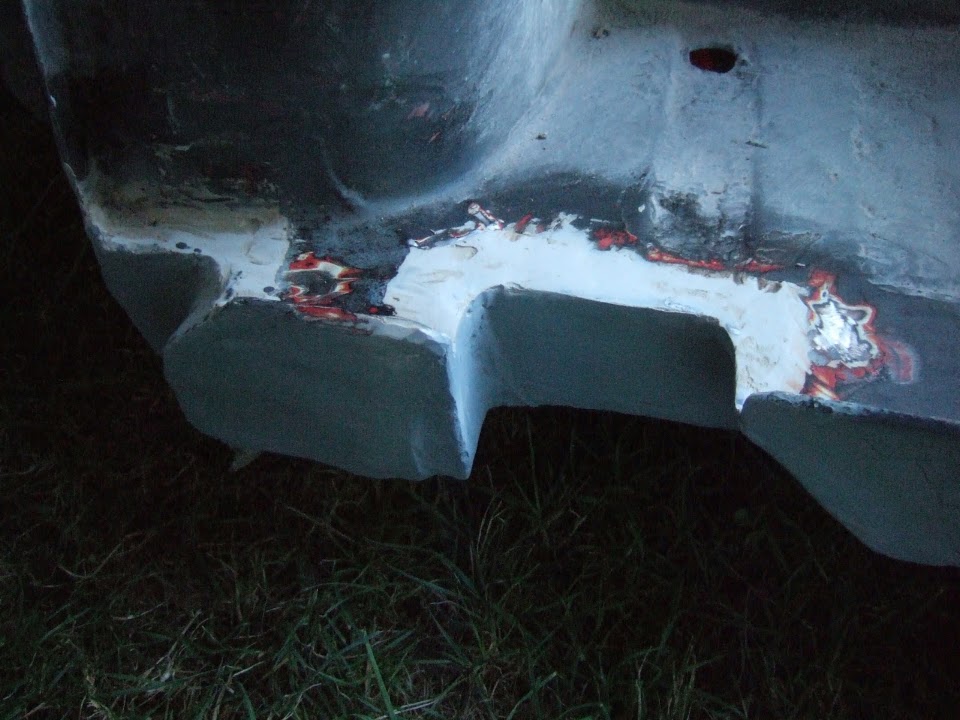
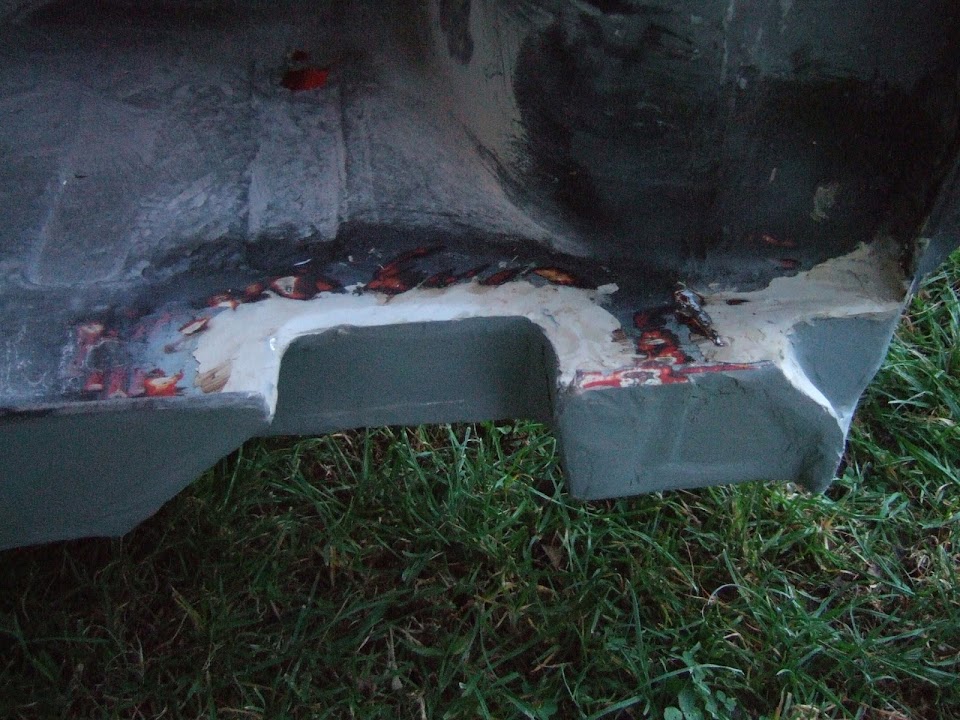
So it was quite late in the day when I finally had a chance to tidy up the body filler.

It was a complete mess in places, but at least it was set hard...


Given that this is not external bodywork, or on show in any way, it was grinding time.
Whilst this certainly speeded up the process, it did sent filler dust everywhere...


Then it was simply a case of brushing the areas down & wiping them with white spirit.
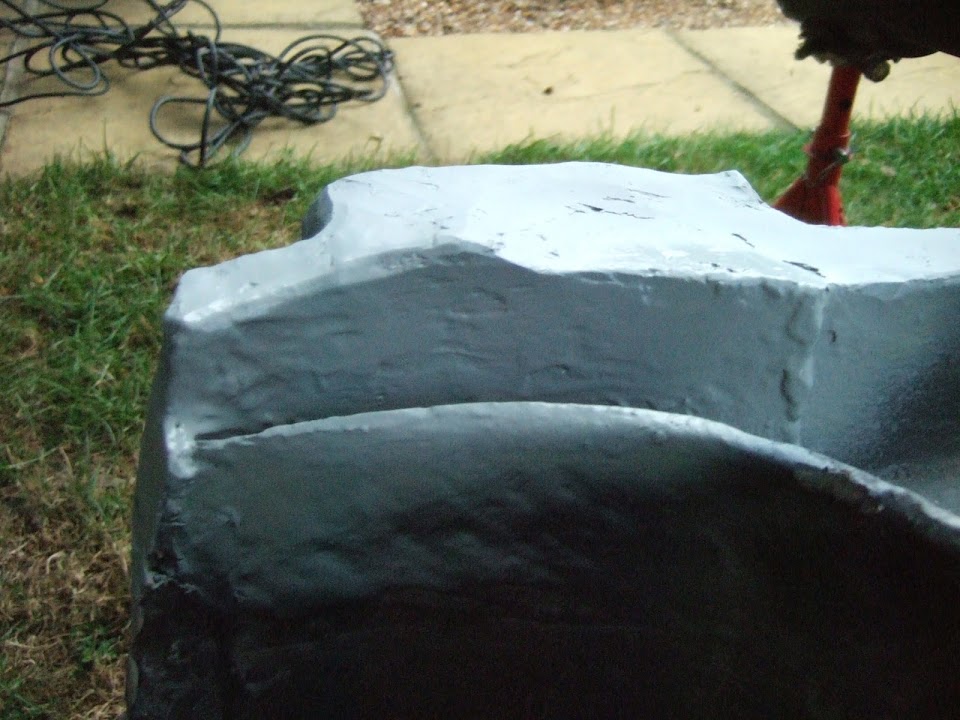
I then gave each section another coat of etch primer so they will be ready for black paint soon.


Oops, looks like I didn't actually take an "after" photo of the view above. :rolleyes:


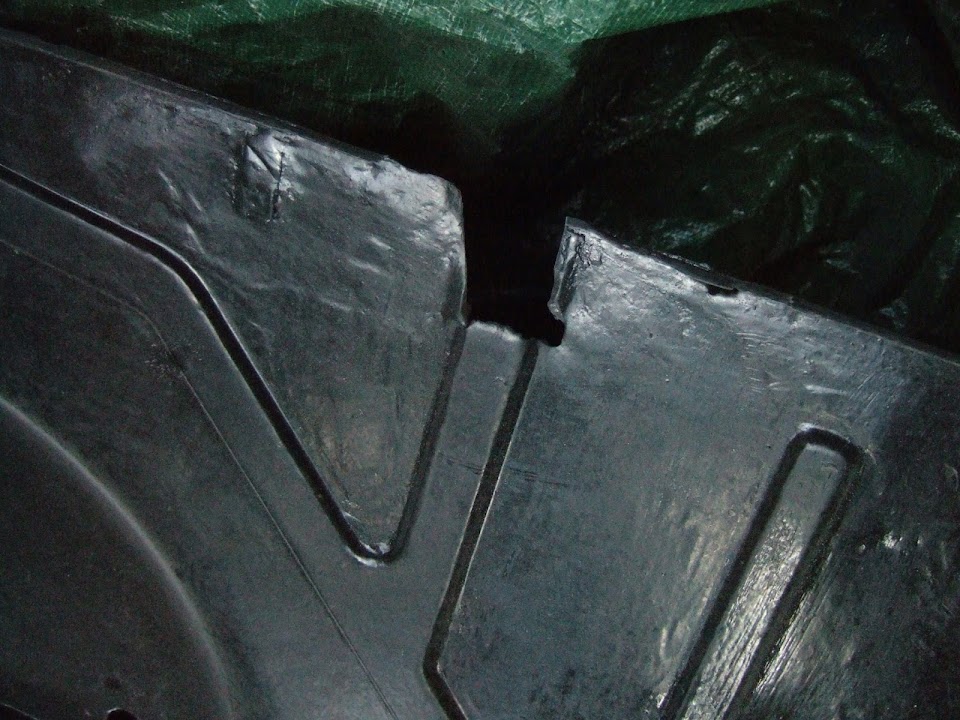
I needed to apply a last bit of filler on a small section that I managed to miss yesterday...


I also remembered I want to weld in a repair piece to this section of the boot floor...


This is where my rear silencers will be mounted once I have drilled some holes in the right places.
( I will also strengthen this area when the rear arches are finally fitted. )

The forecast for tomorrow is some serious rain, so we will see if I can get anything done.

Cheers, Paul. :)

PS
I think I'm having problems with my old camera as I have just bought a new "bridge" camera.
And you know how jealous these electronic gadgets can get. :icon_wink:

I have still got to get the hang of it, but I took this photo last night.
The view from my bedroom window during the England vs. Scotland match. :cool:
( Obviously the zoom makes it appear a bit closer than it actually is. )

16 Aug 2013, 8:53am
Good job - It looks as if it could've just left the Triumph factory!

I hope that isn't too much of an insult...
16 Aug 2013, 12:00pm
Not raining at the moment, Paul... but i can't see Wembley today.

16 Aug 2013, 4:49pm
Replies:
Mr T - I assume you are referring to factory output on a Friday afternoon?
Which would certainly account for the collapse of the British mass produced car industry. :icon_wink:
GaryH - With that many train tracks near by I hope your windows are sound proofed.

- - - - - - - - - - - - - - - - - - - - - -

Back to Black...

It was raining / wet for most of the morning, but I did get a break in the late afternoon. :cool:

Let me start with the "after" photo I forget to take yesterday. :rolleyes:


First job was to give a quick grind & clean up of the body filler I applied yesterday...


Then this was given a quick coat of etch primer...


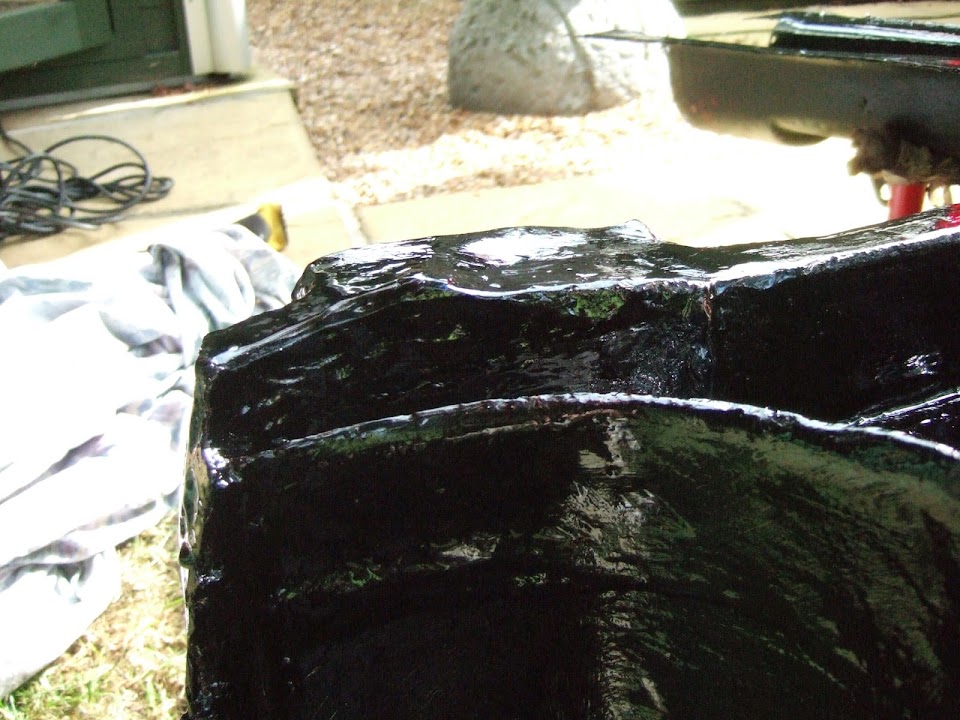
And later on, when that was dry, it got a coat of black bitumen paint...


This was actually the last bit I painted, as I did the most of the underside first...


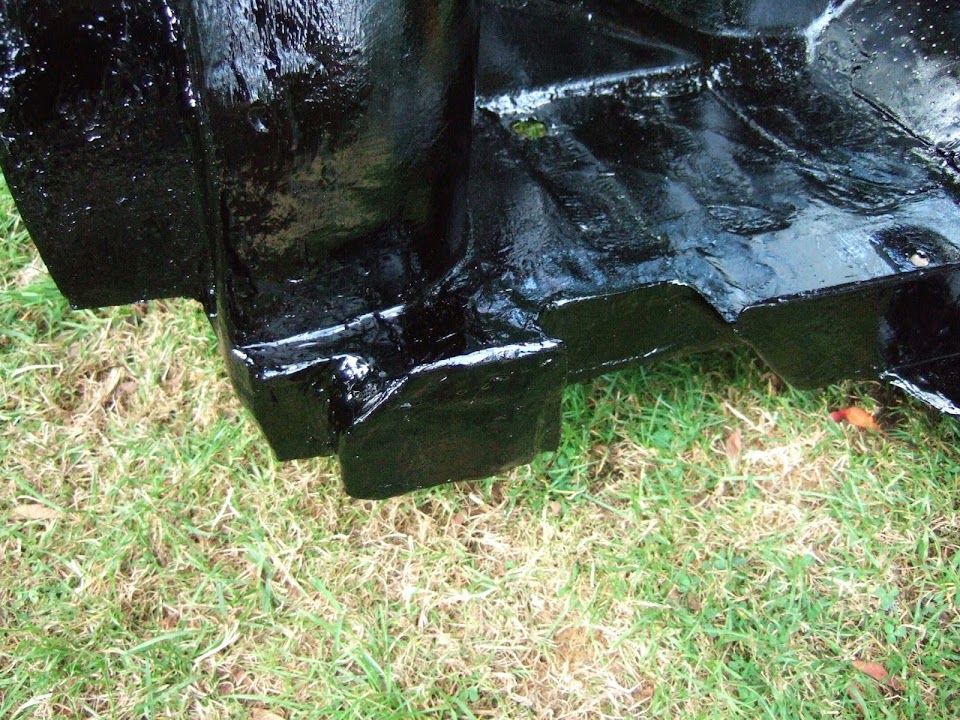
The good news is that with all the "boxed in repairs now one colour they look much better.
The bad news is that because that colour is black it is hard to get a good photo.

Driver's side:


Passenger side:


Then I flipped the whole thing over so I could paint the "top side"...
( Note: I've left the boot floor for now, as there is a lot of repair work required in that area. )


Driver's side:


Passenger side:


So slow progress, but still progress none the less. :cool:

Until next time, take care, Paul. :)
16 Aug 2013, 5:47pm
It looks very good. I'm curious how it all turns out when everything is in place.
Michiel
17 Aug 2013, 11:45am
Replies:
Michiel - So am I! :icon_wink:
I will need to add spacers between the chassis & the rear mounting point of the rear arches.
This will "lift" the hand brake section higher than stock, which would have sat flush on the chassis.
As I need to put the internal framework & floor pans on top of the Spitfire chassis.
Then the hand brake panel should sit on top of that (touch wood).

- - - - - - - - - - - - - - - - - - - - - -

Take Cover...

I will have to focus on some domestic matters for the next 2 weeks.
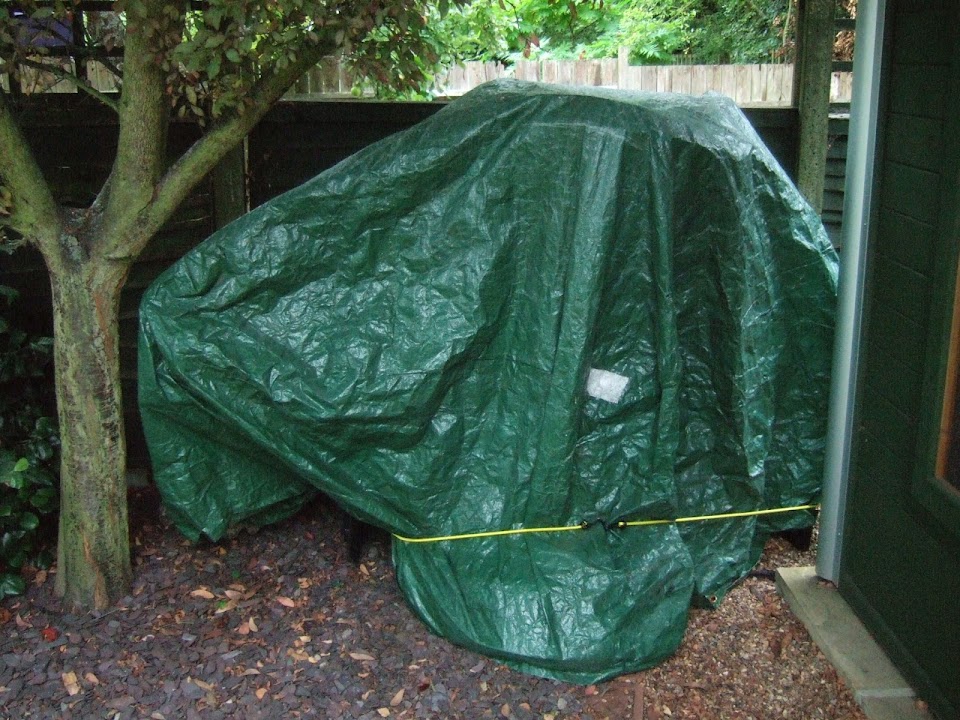
So this morning was a race against the rain promised this afternoon to "tidy up".

I put the rear wheel arches and the rear internal framework together...


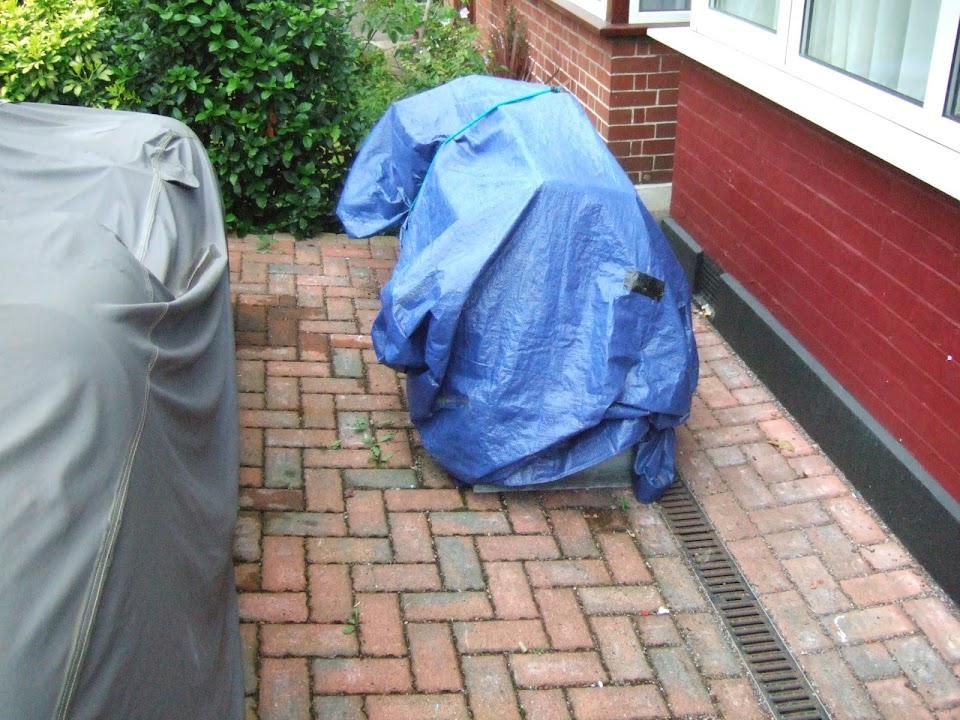
Then I had to drag a pile of stuff from the front drive, through the house, into the back garden.

Front Drive - Before:


Front Drive - After:


This pile includes the front bulkhead frame & various other pits & pieces...


And another job done...


Apart from tidying up the front drive, there was another reason to move this parts.
The next big job for me will be to finally fit the rear suspension lowering block.
And in order to do that, I will need space to the side to pull the leaf spring out.
With a bit of luck & a fair wind, I will start on that the first week in September.

Until then, take care, Paul. :)
17 Aug 2013, 2:48pm
Hi Paul,

I haven't figured out yet what the problems are with the hand braking. I really don't get the arguments. The cable runs to a fixed position on the chassis. (these slot bends). I don't understand why placing the handbrake/pull mechanism a little different would make braking any better or worse. You have to adjust the cable between the two brakes with suitable tension and the pull cable. I see no problem there.
And then you have the argument of lowering the suspension. I don't get that either. The slot bends are practically at the same place as the U-joints of the shafts. So if there is wheel travel, the cable should travel with the shaft having the same pivot point (approx).
Apperently it's not a very good design in the first place, maybe that is the trouble. I can see 1 catch however that could be looked over. I think you have to adjust the lever that converts the movement of the pull cable to the movement of the cable between the brakes. Firstly you can adjust the points where the cables meet the lever. And then you have to find the correct angle of the lever (which is the ballance between adjusting the pull cable and the cable between the drums). It's a sinus effect. When the lever is 90 degrees with the car, all pulling movement, will be translated in the "right" direction. But if the ever is more in line withe the car, you loose efficiency (the "slot bracket" pulling the drum cable is also moved to side, which is not going to help you braking) . I beleive you have to adjust the leverarm to 15 degrees "BTC". That way you get maximum efficiency when the lever is turning 30 degrees when pulled.

Michiel
17 Aug 2013, 3:51pm
The issue with the Herald/Vitesse handbrake mechanism is that the swing axle arrangement means that the levers on the rear brake cylinders that the brake cable running through the compensator (that 'U' shaped thing) attaches to move closer together or further apart depending on where the suspension is in its travel.

With the tension set correctly with the car at a standstill, if you take the weight off the back end, as if you were going over a hump back bridge, the tops of the wheels move further apart and pull the handbrake on. This hasn't been a problem on the road for me (so far), and I just explained the dynamics of it to the MOT chappy when he noticed that the rear wheels locked up when he jacked the back up.

I moved my curved guide tubes up onto extensions I welded onto the frame so that the cable wasn't sitting at an angle that was bound to lead to fraying and failure, and so far so good...

Hope that all makes sense :)
17 Aug 2013, 6:50pm
I don't have the guides on my Mk2...
18 Aug 2013, 6:00am
Replies / Possible Crossed Wires?
I appear to be causing some confusion with my descriptions (again :rolleyes: ).
I have no intention on re-inventing the hand brake mechanism itself.
The Spitfire hand brake panel will be in the same place as stock (if a little higher horizontally).
That way I can re-use the original hand brake and reconnect the existing cables.
This arrangement was tested by a garage before I removed the body tub and all worked OK.
( Although I will check that fitting a lowering block doesn't cause any problems. )

Hope that makes a bit more sense, Paul. :)
18 Aug 2013, 10:09am
Hi Paul, MrT,

I have the same thought, I'm not looking for changes to the hand brakes as well.
Thank you Mr T for the explanation, how it works. So, it's a swing spring thing!
I wouldn't like it if the wheels are braking when you ride over a bump. But apparently it is not a issue in practice. That's good. We can proceed with convidence then :tea:

michiel
4 Sep 2013, 6:26pm
Quick Update:
I've not been able to work on the car recently as we went on a family holiday to Florida. :cool:
This is all part of leaving my job and getting a better balance between work & home.
We were staying in Orlando and did the usual theme and water park things which were great.

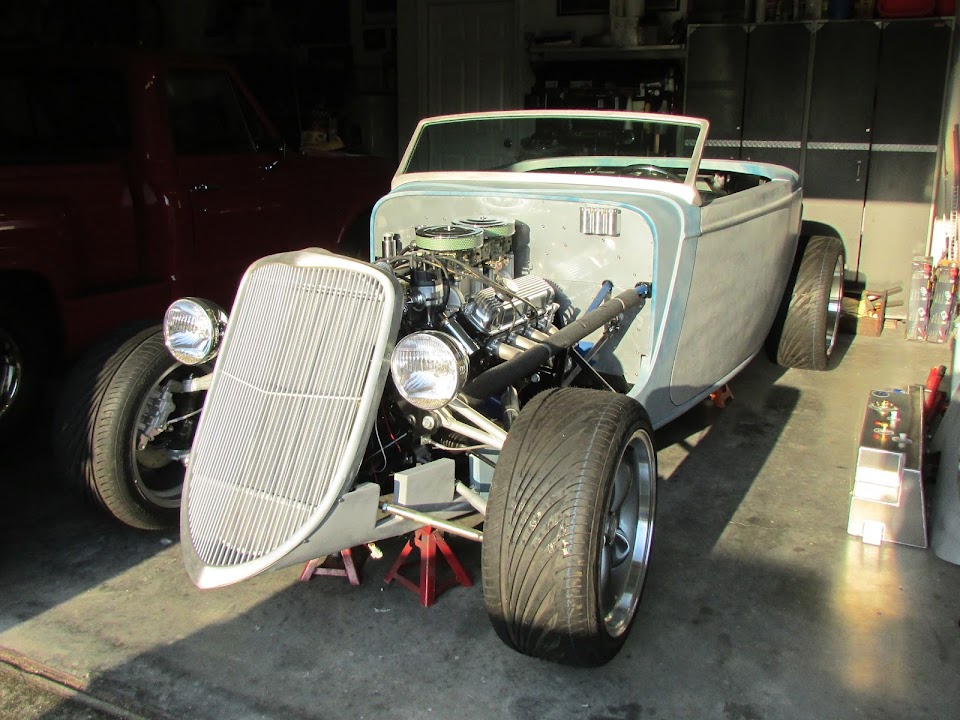
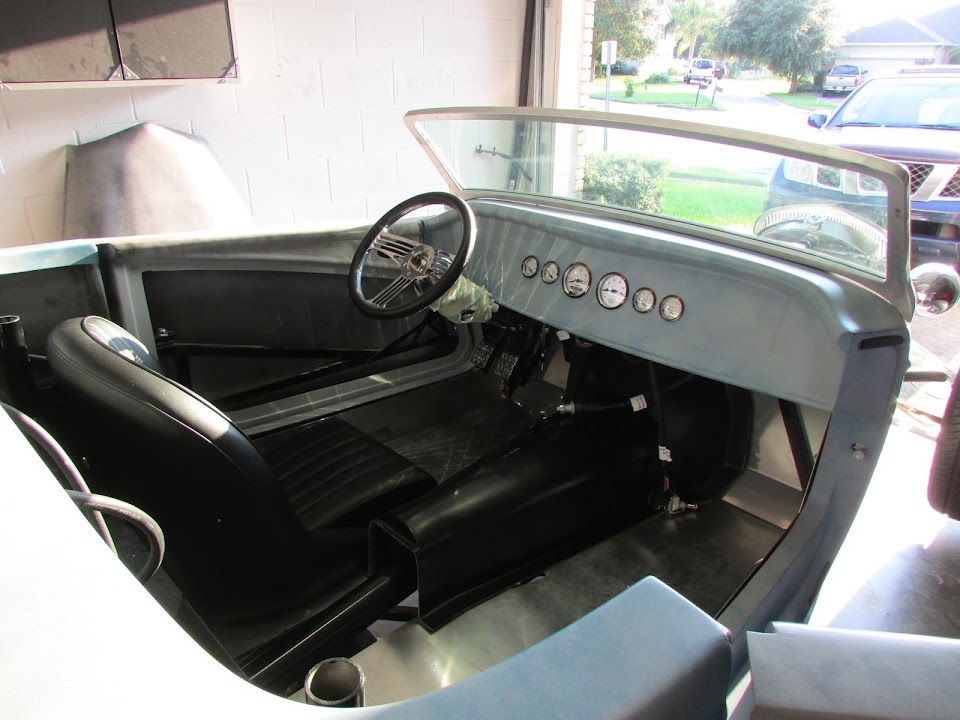
I also use the power of the internet to arrange a visit to see my dream kit car in the flesh.
I'd previously joined a US kit car forum as part of my research into building one of these...


One of the forum members who lived near where we were staying invited me to his garage.
It was great to chat with him and compare kit car building notes as this is a very high end kit.


The lesson's I've learnt from this build mean that I would love to build one of these cars one day.
However, that day is a long way off, as I would only consider it when I had a garage to work in.
I also know that I'd need a lot more time on my hands too (i.e. when my children have left home!).

We also picked up a couple of ideas for paint...

My daughters thought this pink Mustang was "cute":


Where as, deep down, I was drawn to the flames:


Hopefully I will be able to get back to my own car in the next few days.

Cheers, Paul. :)
4 Sep 2013, 6:55pm
Looks like you have had a great time in America. Nice pictures of cars..

I am leaving to go to Las Vagas on Saturday. I other half has rented me a Dodge viper for the two weeks . Should be a good time, i realy need a break :biggrin:
4 Sep 2013, 7:38pm
mikmiglia wrote:
Looks like you have had a great time in America. Nice pictures of cars..

I am leaving to go to Las Vagas on Saturday. I other half has rented me a Dodge viper for the two weeks . Should be a good time, i realy need a break :biggrin:


2 weeks in Vegas or are you starting from here?

Just returned from a month in California and took in Vegas and got married whilst I was there...elvis etc ha ha it was great
5 Sep 2013, 7:06am
Starting in*Las*vagas*, and stopping several times working right down to * *san*Fransisco. We are also getting married in Vagas, the valley of fire..
5 Sep 2013, 11:19am
RedRatBike - Belated congratulations on your wedding.

Mike - Good luck for the wedding too, hope it all goes well.
I'm sure you will enjoy driving around America as they do love their cars.

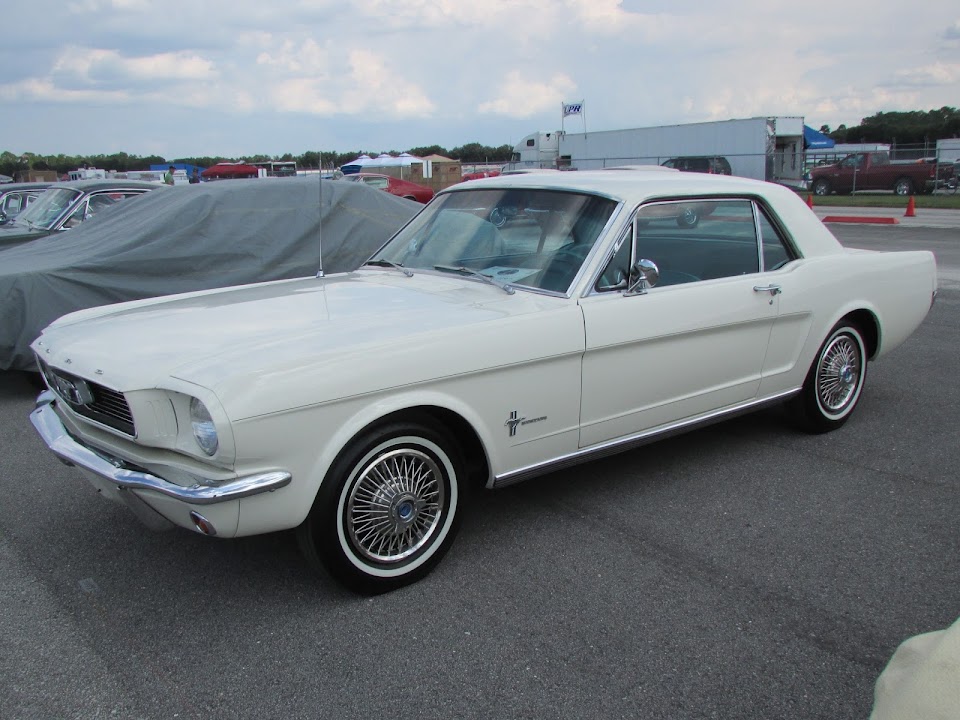
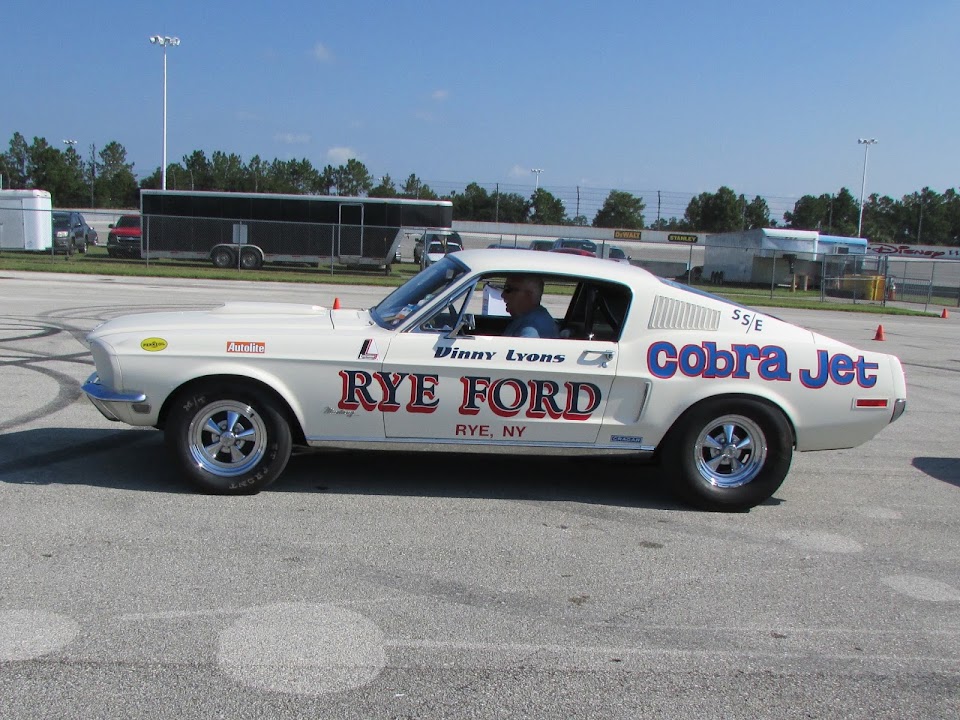
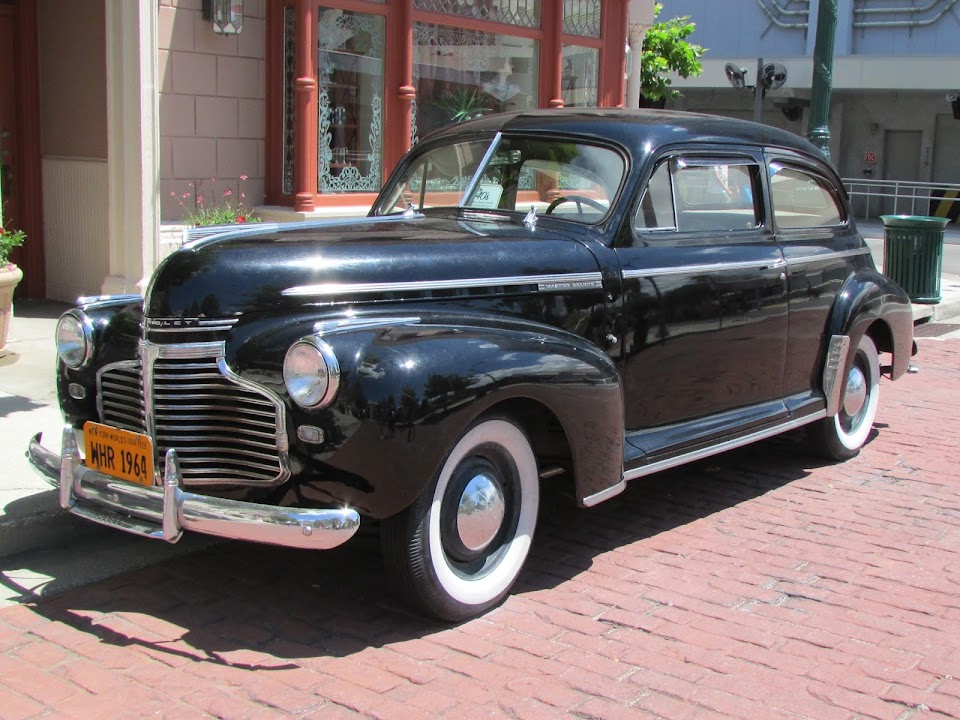
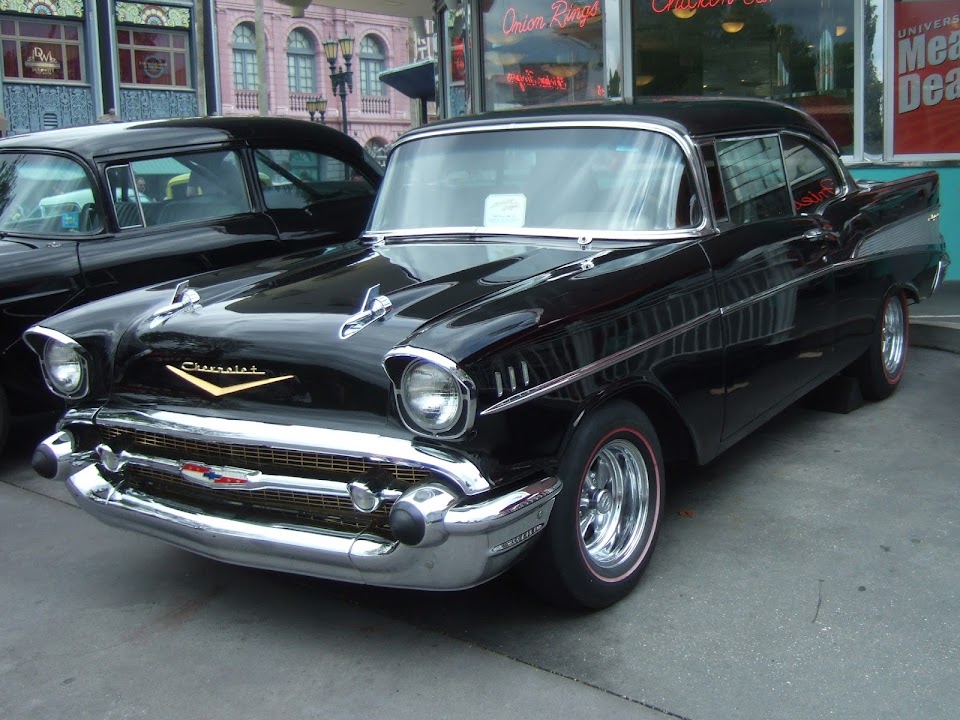
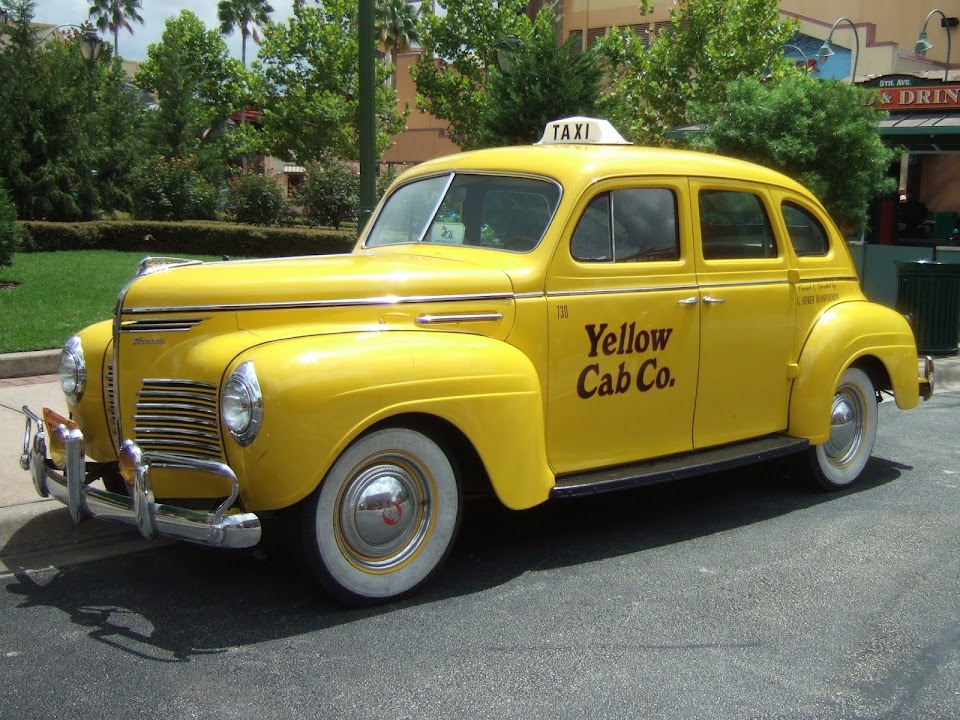
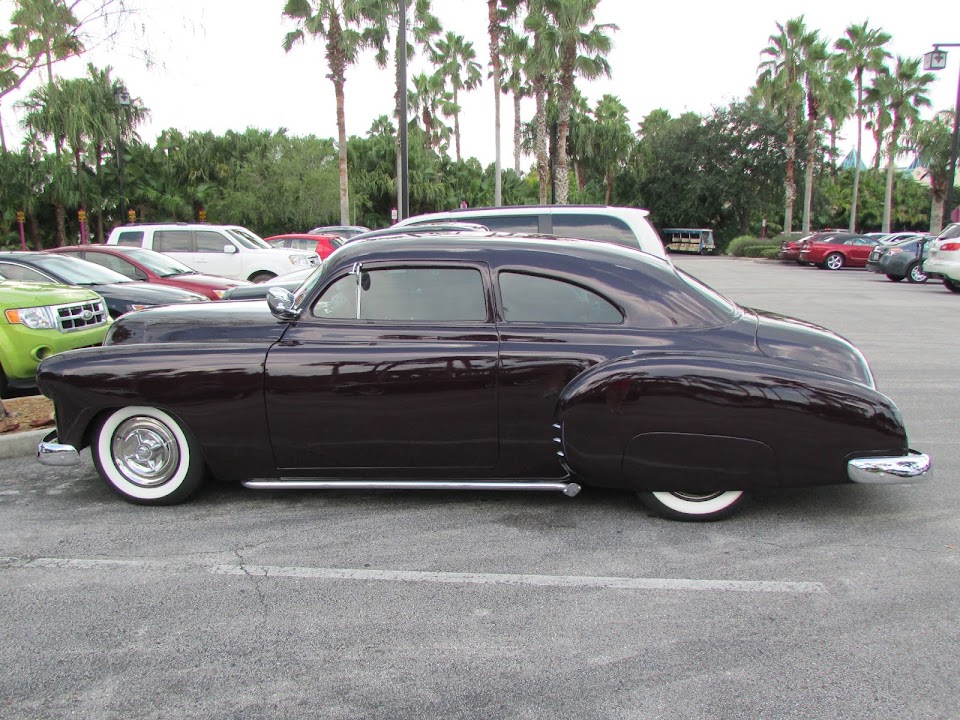
Below is a selection of some of the other cars I saw on our holiday...


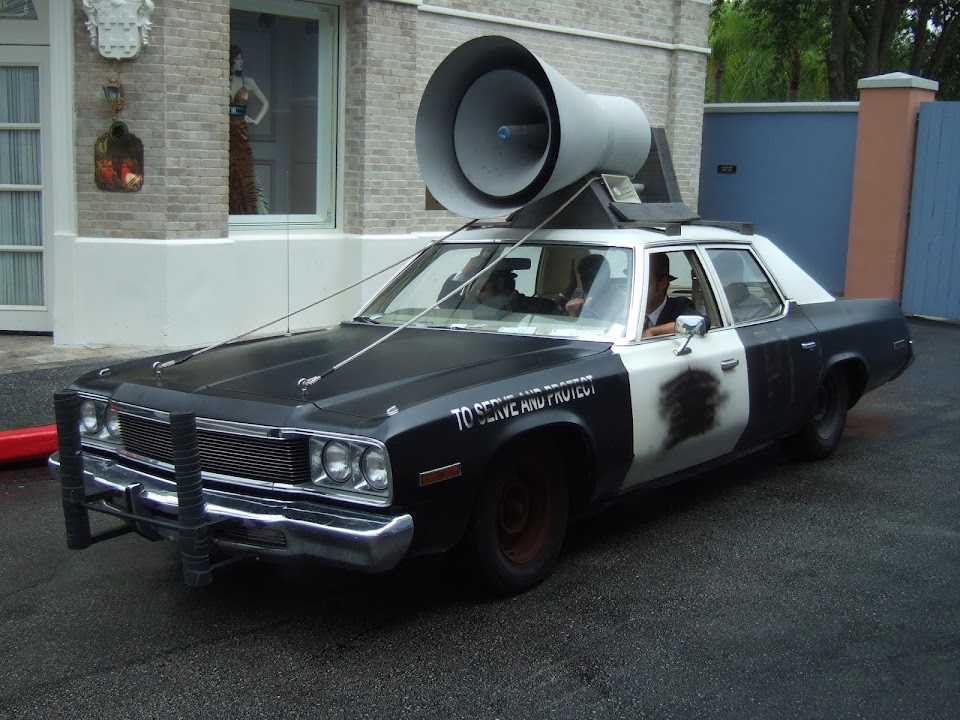
Plus the recreation of an all time classic...


Cheers, Paul. :)
5 Sep 2013, 12:44pm
Never been into Detroit Iron myself, but I love all of those!

Could make real use of the last one at work :madgrin:
5 Sep 2013, 4:52pm
mikmiglia wrote:
Starting in*Las*vagas*, and stopping several times working right down to * *san*Fransisco. We are also getting married in Vagas, the valley of fire..


Cool ....sounds like a blast ....congratulations on the forthcoming wedding
5 Sep 2013, 4:54pm
Paul L wrote:
RedRatBike - Belated congratulations on your wedding.

)


Thanks very much:madgrin:
5 Sep 2013, 5:45pm
redratbike wrote:
Thanks very much:madgrin:


Same from me mate..:icon_smile:
10 Sep 2013, 5:07pm
Another Quick Update:
It has been raining pretty much every time I've had any chance to work on the car. :icon_sad:

While I've been waiting to work on my own car I have been constructing a new build thread.
As I promised the guy I went to visit in Florida that I would post some photos on his forum.
It was taken a bit of time to summarise this build thread into a more condensed & logical order.

I've haven't finished yet, but it has been a very useful exercise in reminding me how far I've come.
Obviously, I wish I was further on in my build, but I have completed a lot of work I can be proud of.
Again, I'd rather not have to over come some of the problems I've faced.
But the amount of problem solving I've done has been pretty good (for an accountant! :icon_wink:).

However, whilst searching for the right section of their forum to post in, I found another kit build.
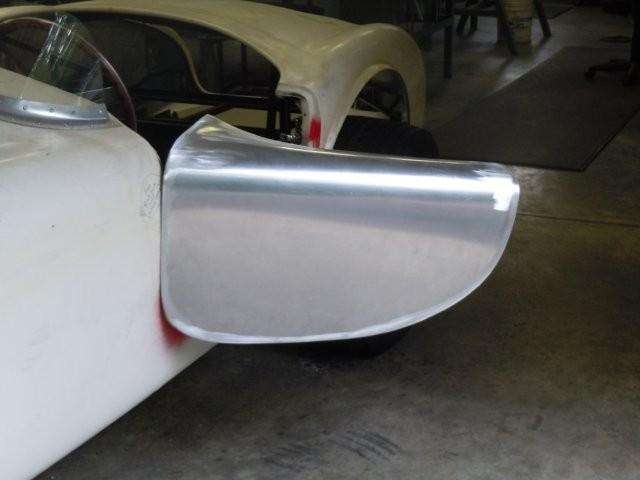
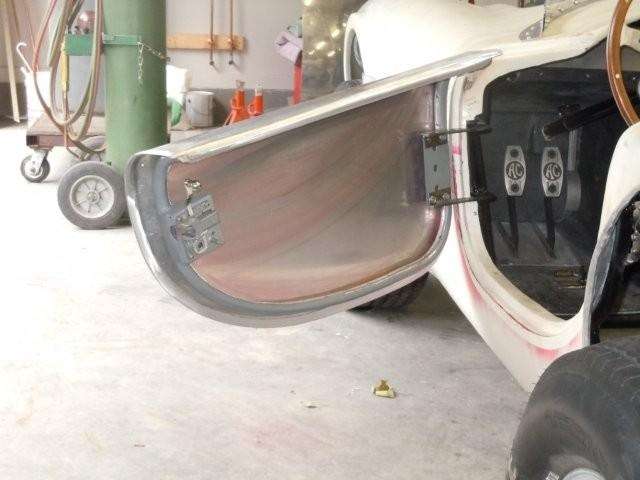
This had come up with a great way to solve the perpetual door problem that looked great.
They took a standard fibre glass body (similar to the Sammio/Ribble/Miglia) and added alloy doors! :cool:

So I thought I would share their solution with you...


It looks like they used a specialist fabricator for the job, but what a great result.

If the weather ever improves, I'll be back on my own car soon.

Take care, Paul. :)

Replies:
Mr T I just love those custom cars based on the old "curvy" '40s style cars.
If you are interested, here is a link to another inspirational build from 'Rods n Sods':
http://www.rodsnsods.co.uk/forum/garage/49-mercury-build-pics-8642

I'd also love to see the Bluesmobile become standard UK police issue. :icon_twisted:
10 Sep 2013, 7:40pm
Wow, these doors look very good. It's probably the part of the car you feel and touch. Making these out of aluminum would make the "illusion" complete. However, I think it won't be cheap to have them made. I'm thinking of having the windscreen rail made out of aluminium (3 pieces).
16 Sep 2013, 5:26am
Still Raining:
Well it does look like the Summer is over. :rolleyes:
So I'm preparing myself for the months ahead, where the weather dictates progress.
Clearly getting nothing done in the last two weeks has been a good reminder of this. :icon_sad:

Re-body Inspection:
AndyP57 posted a helpful update on the changes to the way this will be done in the future.
http://www.madabout-kitcars.com/forum/showthread.php?t=4497

At one point I really was hoping to have reached that stage by now, but I am no where near.
In my defence, the issues around leaving my job meant missing a lot of good weather to work in.
So I will keep chipping away and see how the new offices deal with these inspections.

Frame & Body Bonding:
I do like to follow other build threads and see what other people are doing.
zèbre69 / Sebastien posted these great photos of this 2CV kit...
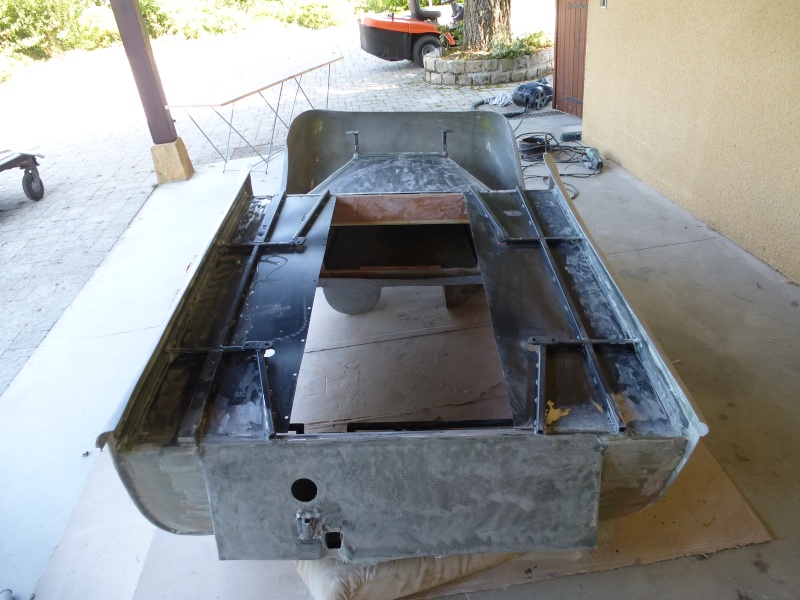
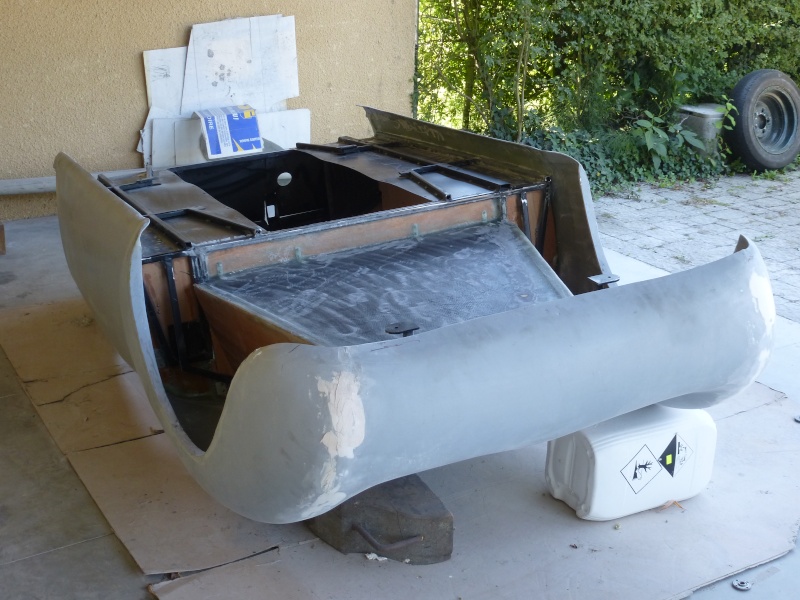


I remember asking the question a long time ago about whether anyone did this.
To me, it would make it easier to fibreglass the underside of the frame/body.
It would also make it easier to stone chip / paint the area with no rolling chassis in the way.
So I will bear this in mind when I finally get to that stage.

Wise Words:
Taken from the Tribute section "next door"...

tonyt wrote:
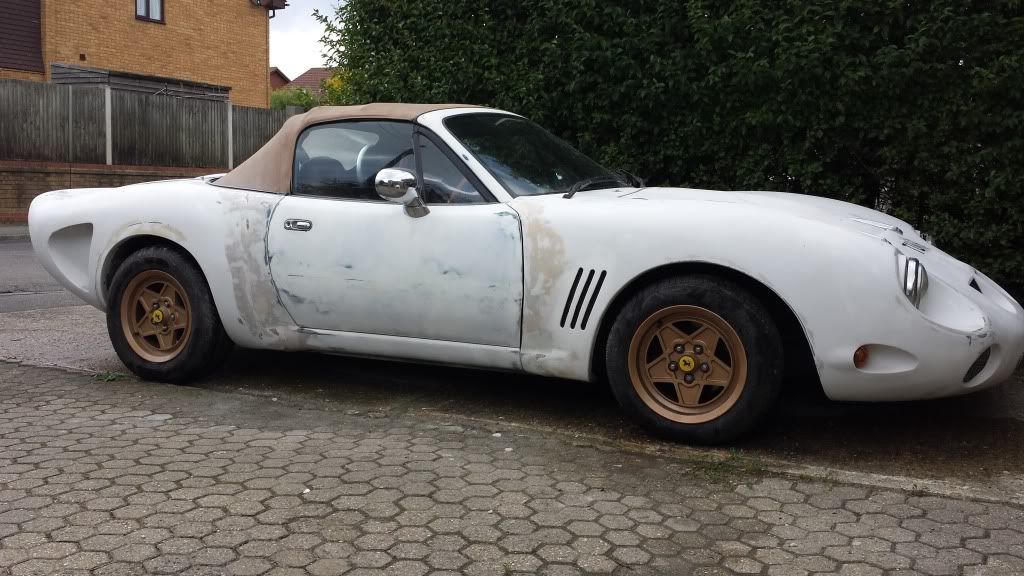
There is no such thing as an easy build with kit cars, otherwise everyone would do it, its a rollercoster ride of good days and bad days.... Mine has been built outside between working shifts and around family life, so I've taken my time. I've made changes along the way some inspired by others on here some out of neccesity.... Remember its the journey that counts but do not lose sight of the end goal, Ebay is full of unfinished prodject kit cars where enthusiasm has drained.... Regards and good luck Tony.


Senna:
I finally got around to watching this on DVD yesterday and it was an amazing film.
I'd forgot some parts of the story, but still remember watching his final race live on TV.
It was the absolute sinking feeling that comes from knowing how serious the crash looked.
That and the fact they simply re-started the race as if nothing had happened & the show must go on.
Hard to believe it was almost 20 years ago (May '94)!

Next Steps:
I've got a few domestic issues to deal with this week.
But, weather permitting, I hope to start fitting the lowering block to the rear suspension.
Or at least patch the hole in the boot floor of the rear arches.
( A job which may be easier to do logistically if the weather doesn't improve much. )

Until then, take care, Paul. :)

Replies:
christinedmc - I also get the impression this would be a very expensive solution.