MadaboutKitcars

This is a read-only archive of the old Madabout Kitcars forum. New posts and replies are no longer possible, but every thread is still here to browse and read.

Another Cordite Is Born ...

23 Jun 2013, 5:36pm
Slow Progress:
Well another week slips by and life & the weather have conspired against me.
Still I have managed to get a few minutes to play and this is what I did...

I made my first attempt to join the Spitfire rear aches to the Cordite frame...


I was just planning to mark up where I needed to cut, but I ran into a problem straight away.
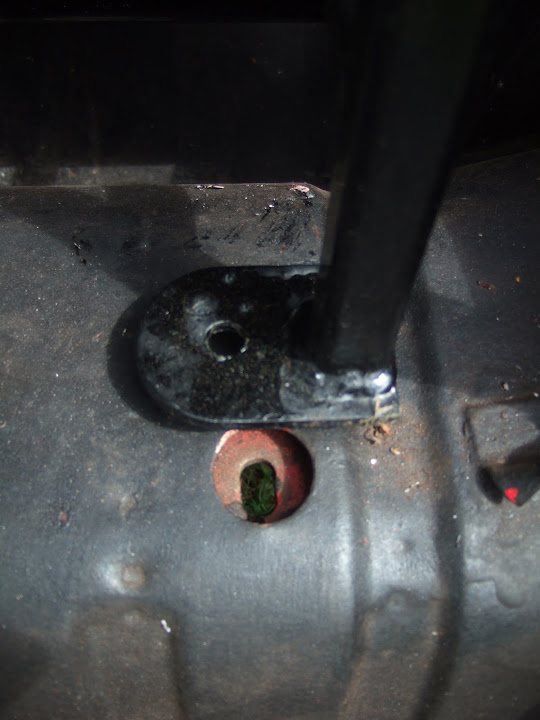
The the top of the arch above the prop. shaft hits the bottom of the petrol tank...
( Not a great photo I know)


But this was nothing a quick trim with the angle grinder couldn't fix...


I ended up using my trolley jack to help me to position the Spitfire section...


And eventually I was in a position to roughly mark out where the Cordite frame will be...


Then it was back to the angle grinder to do some more cutting...


I needed the cut out to be approx. 2 inches deep...


That way the holes in the hand brake panel will line up with the holes in the frame.
( See previous post where I marked up the position of the chassis holes on the frame. )

This was repeated on the driver's side and I was left with 2 cut outs...


But at this point I had to call it a day and I will try another test fitting during the week.
( Weather permitting. :rolleyes: )

Once I know everything fits, I may weld some metal back in to "box" this section.

Different Battery Charging:
In an effort to get my "normal" car back on the road I have been charging my flat battery.
Given it is a 2L diesel, it does make the Spitfire battery look small by comparison...


So until next time, take care, Paul. :)

Replies:
Viatron & Oxford - Cheers chaps. :cool:
I have a lot of chores at the moment as we have friends coming around next weekend for a BBQ.
So for a change I have been doing some gardening in the garden, instead of car building. :icon_wink:
23 Jun 2013, 6:31pm
Gardening in the garden.....madness!
30 Jun 2013, 6:36am
No Real Progress:
We have some old friends coming over for a BBQ this afternoon. :cool:
So most of this week has been spent get ready for that.

And I started by giving myself more storage space in the summer house.
With a fully charged battery back in my car, it was off to IKEA for more shelving...


This allowed me to extend an existing set of shelves & put another wider set at 90 degrees to it.
This lets me stack the storage boxes higher as there were falling in on top of each other...


The summer house now has all the parts, tools & other stuff that was in the utility room.
So a few brownie points for me for clearing some space there.

I also transferred the last of the "off cuts" from the Spitfire body to behind the summer house...


These were in various piles on the front drive, so that is now tidier too.

Finally, I shifted the frame off the grass & tucked that down the side of the summer house...
( This will be back on the grass & under a cover by the end of the day.)


It would have been nice to test fit the rear arch section to the frame after making the cut outs.
But it looks like that will have to wait until during the week at the earliest now.

Until then, take care, Paul. :)

Replies:
Viatron - Hopefully I will get back to "normal" car building in the garden next week. :icon_wink:
30 Jun 2013, 7:51am
Off cuts! You could build a 'Se7en' Shell out of that :biggrin:
6 Jul 2013, 11:50am
Major Home News:
I have been a little bit distracted from my build over the last few weeks.
But I am leaving my job at the end of July after 18 years with the same company.
This might sound a little rash, given that I don't have a new job to go to (yet).
But the time is right to make this break and see where life takes me next.

However, I've built up a financial "cushion" over the years, so my family is protected. :cool:
So jumping is considerably easier to do when there is a safety net in place.

Impact On Build:
This may actually turn out to be a good thing for my Cordite project. :pray:
As I have my wife's support / blessing to take a short "sabbatical" between jobs.
So I should be able to spend some of August working "full time" on the build. :cool:

Next Steps:
There is a lot of work "stuff" to sort out in the next few weeks which will take some time.
But I do want to make use of the sunshine to mate the rear arches to the frame.

Until then, take care, Paul. :)

Replies:
AndyP57 - Some of this metal is bound to find its way back into the car somewhere.
6 Jul 2013, 1:53pm
Good luck with sorting out the life changes Paul. If you're having an extended summer holiday I hope to see your car finished some time soon then...
31 Jul 2013, 11:09am
Mr T - Cheers.
I am now looking forward to some time off and will then plan a route back into work.
I'll probably take on some temporary/interim positions before committing to a permanent role.
Although at this rate, I'm not convinced there will be a completed car any time soon.

- - - - - - - - - - - - - - - - - - - - - -

Quick Update:
Unfortunately, despite having the best weather of my entire build, I have made no progress. :icon_sad:
The reality is that leaving my job after 18 long years took a lot more out of me than I expected.
My last day of paid holiday is today and then everything will finally be "done & dusted".

However, my wife has just taken on some extra work because I was available for child minding. :rolleyes:
So it will be a little bit longer before I get a chance to spend some decent time on the car.

I'd really like to get the rear frame & wheel arches sorted ASAP so I can switch my attention to the front bulk head.
That is going to take a lot of beard scratching to resolve, but I am determined to fix it one way or the other.
Following the progress of all the other builds on here helps with my motivation to get back into my own project.
But there is one build thread that inspires me more than any other...

Mister Towed's Car:
I have really enjoyed followed this build and it was great to see it finally on the road. :cool:
The fact that he can now join in the Phil & Barry "run outs" will really turn some heads...


Following his experiences I am considering getting my engine checked over professionally.
I know my limits, and despite it's previous restoration/rebuild, it weeps oil from a lot of places. :icon_sad:
Given the fact it will be some time before I am road worthy, I'll look into my options.

Shopping Update:
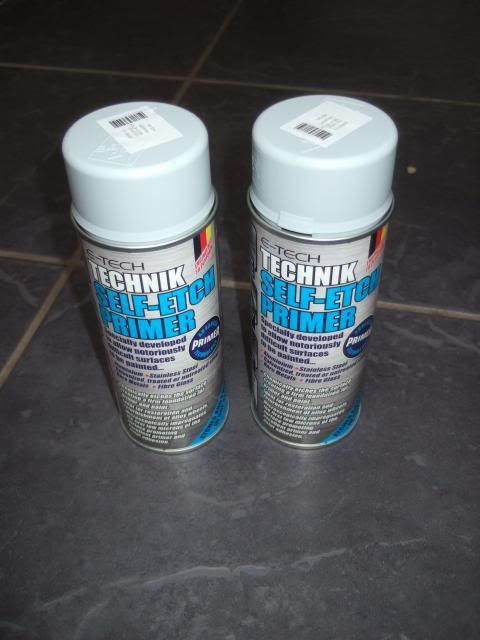
Not much to report here either, I just picked up some more cans of etch primer:


And Finally...
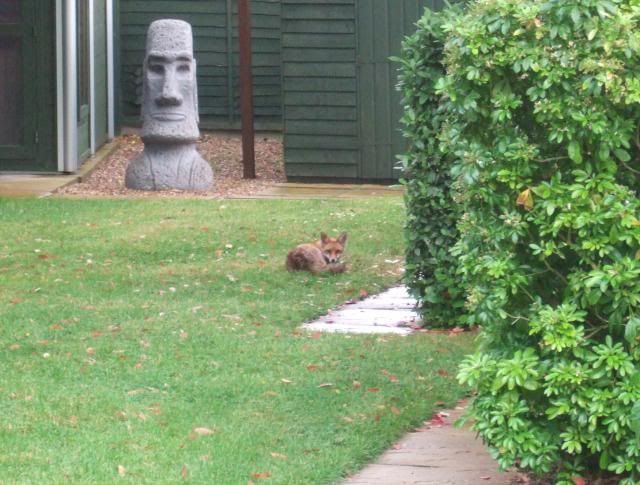
I did wake one morning a while back with an unwelcome guest in my "workshop"...


Although, to be fair, I'd be more worried if there were hounds & people on horses giving chase.

:icon_wink:

Hopefully I will have something more substantial to report shortly.

Until then, take care, Paul. :)
31 Jul 2013, 1:54pm
Paul, good to see you back in the fold posting again. I am also at a bit of a standstill as the summer is my busiest work period and also took on the re engine job as a favour for a fellow Tiger owner that is taking longer than anticipated...shocker!!
Now get back out there and get cracking!
7 Aug 2013, 7:45pm
Small Steps...
After a long period of inactivity, it was nice to play with the car again today, even if it was for a short while.
First job was to finally see if the rear wheel arches would fit around the framework after my last cutting session...


The short answer was no!

Not exactly sure why, but the angle cut outs to match the frame were very tight on both sides...


Still, this was nothing a quick session with the angle grinder couldn't fix...


Then it was easier to see where I needed to trim the outside edges of the wheel arches...


Again, a quick session with the angle grinder got the shape I needed...


The good news is that I can now push the hand brake panel far enough forward to line up with the chassis holes.
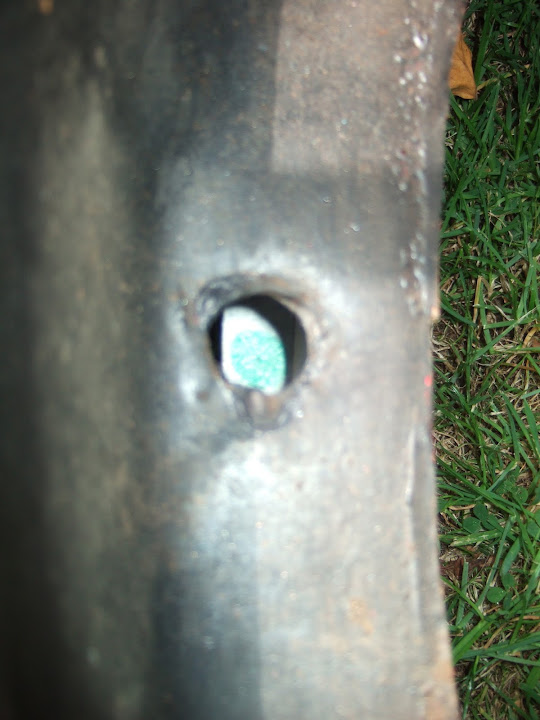
Not a great photo, but the green dot was marked on the frame above the seat belt holes in the Spitfire chassis...


The not so good news is that with the front of the wheel arches in place, there is a problem with the rear...


The frame mounting points do not line up with the corresponding holes in the wheel arches...


In order to sort this out, I need to bring the frame and wheel arches back to the front of the house.
This will allow me to see the chassis, frame & arches in the same place to work out what is going on.
However, I need my wife's help to get the frame through the house and she was out.

So instead I decided to work on boxing in the the cuts I'd made in the wheel arches.
Once again a cereal box was sacrificed to make some templates (note arches are now "upside down") ...


I also cut out a couple of round(ish) discs to weld over two of the holes while I was at it...


I then marked up and cut out the main pieces I needed out of a section of Spitfire wheel arch in my "scrap" pile...


Then using one lump hammer as an "anvil", I used another one to flatten the metal...


Then I cleaned up the edges of the metal section in preparation for welding...


I also cleaned up the corresponding edges on the wheel arches...


It was only when I got the welder out that I remembered I needed to change a load of parts.
Thankfully I had already bought every thing I needed, but it took a while to remove & refit everything.

I wanted to practise on some test pieces to get the setting right on the welder.
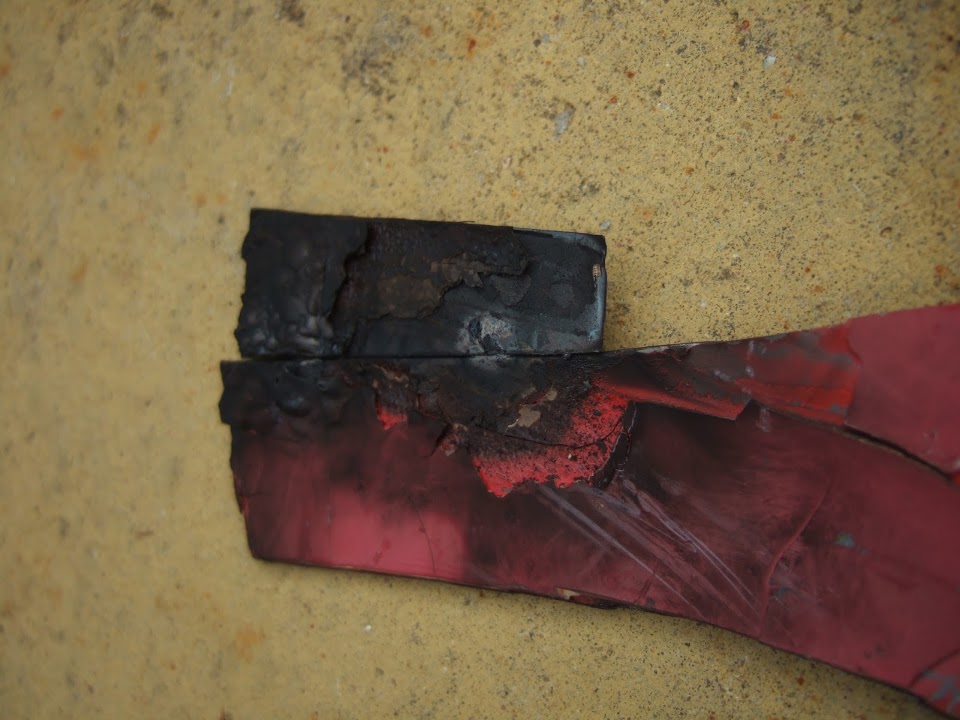
The first problem I came across was the old paint on the Spitfire arch bursting into flames.
I was too busy blowing the flames out & making sure I didn't set fire to my lawn to get a good photo.
But this gives you the general idea...


So before I start on the wheel arches I need to remove the paint from the outer surfaces of the wheel arch pieces.
( Which are on the opposite sides to the ones with the cleaned edges above. )

Hopefully this will help me avoid this...


As it was past my power tools curfew, I called it a night.
With a bit of luck I will get a chance to do some more tomorrow.
( I will also do some more practise welding as it was hard to get a good weld that didn't blow a hole. )

Until then, take care, Paul. :)

Replies:
Viatron - Cheers Mac, it is good to be back at it again.
7 Aug 2013, 8:06pm
Been there, done that, and I can remeber the smell of the fumes just thinking about it :)
8 Aug 2013, 9:14pm
Just got back to the PC and catching up on this thread.

Work / Life balance is a difficult juggling act - I quit my job two years ago and now I'm so busy working 6 days a week no time for car(s) or much else - it would be great if I was making heaps of money rather than just a few beer tokens...

Those fumes could be quite nasty and not something to be 'sniffed' at..

In respect of welding I was thinking about going to a local adult education class (ooh Matron!) if such things still exist, just to brush up a bit (ooh Mat..etc ).
9 Aug 2013, 5:25pm
Even Smaller Steps...
Life has got in the way a bit recently, but I did get a couple of hours on the car.

I started by scrapping the old paint from the underside of my small sections of metal...


I then cleaned up more of both sides as I remembered that one section will join at an angle.

After cutting another couple of sections from the Spitfire wing, I did some more practise welding.

This was my test piece from the other day...


This was today, where the final weld on the right melted into the two pieces nicely & "disappeared" when ground down.


Unfortunately my camera seems to playing up at the moment and I'm not getting clear photos.

I then welded the first section into the rear wheel arches...


My welding is still a bit hit and miss, but this piece actually feels very solid.
Hopefully I will get a chance to put the other sides in over the weekend.

Cheers, Paul. :)

PS
I remembered by the frame & arches were not lining up at the back.
The hole in the arches is "double sided", so the top hole is higher than the chassis.
Whereas the frame mounts are designed to bolt direct to the chassis.
My original plan was to cut out the arch to allow the frame to fit.
Although I am now tempted to cut the frame to match the arch.
But I'll worry about all that another day.

Replies:
Dave - Thankfully no fires today.
Nigel - I actually send an email off the other day asking about a local welding course.
9 Aug 2013, 11:36pm
I must admit the small amount of welding I've completed on the Land Rover (since my City & Guilds course) has not been to structural parts (limited to bulkhead holes and footwell thin sheets) but they've come out quite well. Could always do with a refresher though.
10 Aug 2013, 7:53am
Nike55 wrote:


Those fumes could be quite nasty and not something to be 'sniffed' at...

:icon_rolleyes:
<sigh>
10 Aug 2013, 12:04pm
A little more welding...
Finished off welding in the two side pieces & "disc" to form my first boxed section of the rear arches.
Again it appears to be pot luck when I get nice welds, but at least I know what they look/sound like.
I also had a bit of practise at filling in the small holes I blew through the metal. :rolleyes:

So I know it is not pretty, but at least it is done and does the job I need...


I then gave it a quick coat of primer...


I might get another chance to play later on this afternoon, but I have a busy day ahead.

Cheers, Paul. :)

Replies:
Nigel - These sections I am welding now are not really structural, more "tidying up".
However, the seat belt mounts were both structural & safety critical. :shock:
Which is why they were massively over engineered to build in a margin for error.
Dave - :icon_wink:
10 Aug 2013, 12:16pm
Paul, could I suggest a tad more power or possibly a little less wire feed on the welder might get you a neater weld with a tad more penetration (fnar fnar)
Mac
10 Aug 2013, 3:42pm
and get a pot of brushable seam sealer and brush over the welds prior to painting. It will seal all the little bits between the welds and protect it for longer.
Practice makes perfect and as Viatron says, more power and slower wire feed. Also don't move the weld too quickly, you aim to puddle it and 'drag' the puddle along the joint. Start with little circles lapping each side of the joint.

Good luck!
10 Aug 2013, 6:16pm
Mac & Tony - Thanks for the welding tips as I am here to learn, cheers. :cool:
Slower wire feed seemed to help, but more power blew holes, as did moving a bit too slowly. :rolleyes:
But I did manage a series of nice "spot" welds on one edge (see below).

Seam Sealer was actually on my list of things to find out more about, so will do.

Small welding improvements...
I did get a chance to do a little bit more on the car in the early evening.

I started with a bit more practise on my test piece with the tips above.
I then tried it in out for real with the first section on the other side of the wheel arch...


Note: I did finish welding the bottom edge after this photo was taken.

But it did come together (for a little while) as the second section was welded in.
( I think the angle and distance I hold the welder away makes a difference too. )


By now it was too late to start the angle grinder up.
However, this little run of welds have penetrated properly and will not need much "dressing". :cool:


I know I still have a lot to learn, but this was the most I've done with thin metal.

Until next time, take care, Paul. :)
10 Aug 2013, 6:30pm
Definate improvement there Paul, thin sheet is actually the most difficult to weld micely so your doing well.
11 Aug 2013, 6:27pm
More Welding...
I finished off the "boxing" section I was working on yesterday...


I then added a small repair "slither" of metal into this cut further along the arches.

Before:


After:
( Arches are now flipped over so I could weld both edges. )


( Note: I did notice the couple of gaps in the bottom edge & went back over them later on. )

Then I turned my attention to one of the outside sections of the rear arches...


In the end, when I was cleaning this section up, it was easier to remove a damaged section from the bottom edge...


Then it was back to the cereal box to make some more templates...


These were small enough for me to use the off cuts from the lowered floor pans...


I hope to get a chance to clean these up and weld them into place tomorrow.

So until then, take care, Paul. :)

Replies
Mac - Cheers.
At least with all the welding I need to do I am getting a chance to practise.
12 Aug 2013, 5:31pm
Still Welding...
First job was to clean up the two pieces I cut out yesterday and then weld them in place.

The first section was straight forward...


But the second section required a bit of "shaping".
So once I had welded in the the top of the piece on three sides I hammered it into shape.
I then finished off the welding and I have a nice gentle bend (if not nice welds :rolleyes: ).

Note: Camera is still playing up, so I am not using "soft focus" to hide my welding, honest.


[COLOR="Red"]Question: - What do you use to grind welds (or anything else for that matter) in hard to reach places?[/COLOR]

This is the view from the front...


With one end section done, it was time to fix the other side, which was more of a mess to start with...


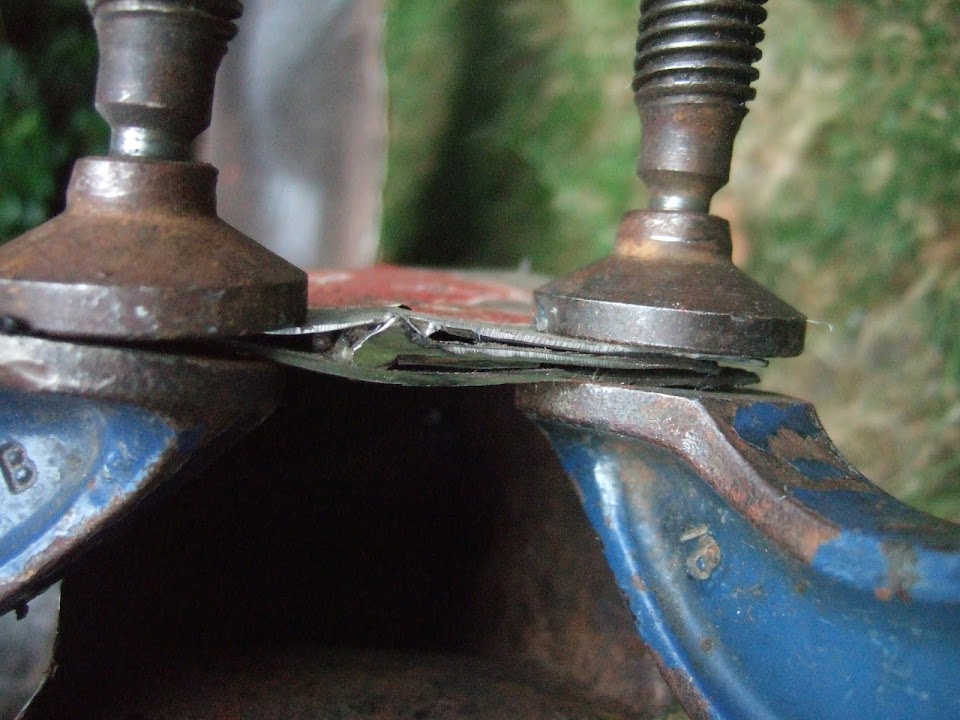
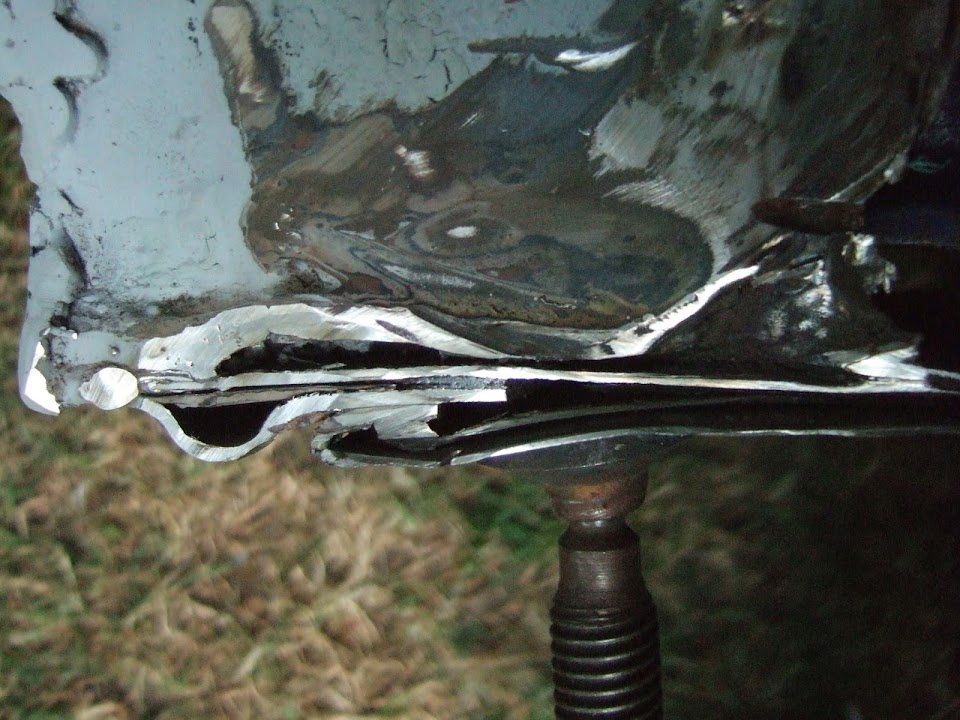
I clamped up the various sections on metal that overlap here & welded the edges together.

Before:


After:


( Again, forgive the poor photos, but hopefully you can get the general idea. )

I then did the same thing on the edges on the other side too.


Then it was time to apply a liberal coating of "Kurust" inside and out...


While I was waiting for that to dry, I made another cardboard template...


This will be the most complicated of all the boxing in I have done so far.

However, at this point the storm clouds were gathering over head and it didn't look good.
With lots of electrical stuff out on the grass I decided to start packing up early just in case.
With everything put away I just had time to roughly cut out some metal to make the pieces I need.


( 2 x left over bits of lowered floor pans + 1 section of Spitfire wing. )

I will finish cutting these out tomorrow and see if I can weld them all together.

All this work on the rear wheel arches is taking a lot of time.
But there is some real satisfaction in seeing the end result. :cool:

I intend to put some body filler over the welds to give a smoother look.

Until next time, take care, Paul. :)
13 Aug 2013, 6:42pm
Frankenstein Repair...

Just squeezed in a bit of work on the car this evening.
Started by cutting out and cleaning up the 4 pieces I need for "boxing in"...


In the end, these required quite a bit of final trimming to work.

My ham fisted attempts at creating a temporary vice were a complete waste of time. :rolleyes:


It was easier to simply hold the metal to one hammer while hitting it with the other.
This cave man approach did give me the double bend that I needed to slot the main piece into place...


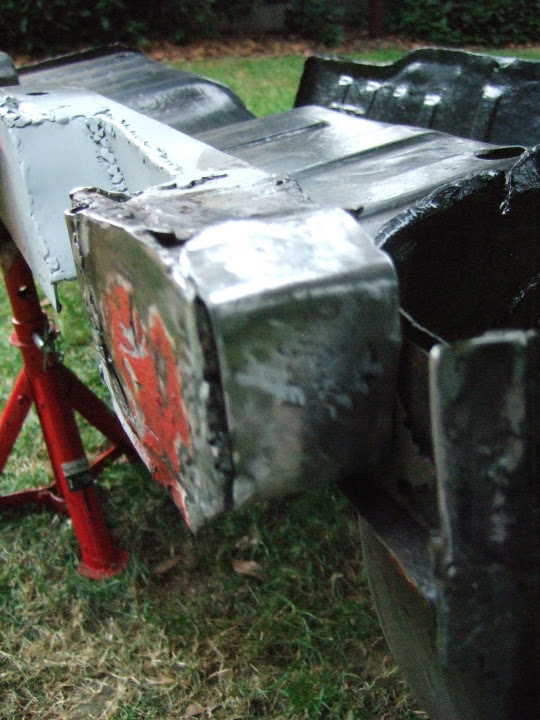
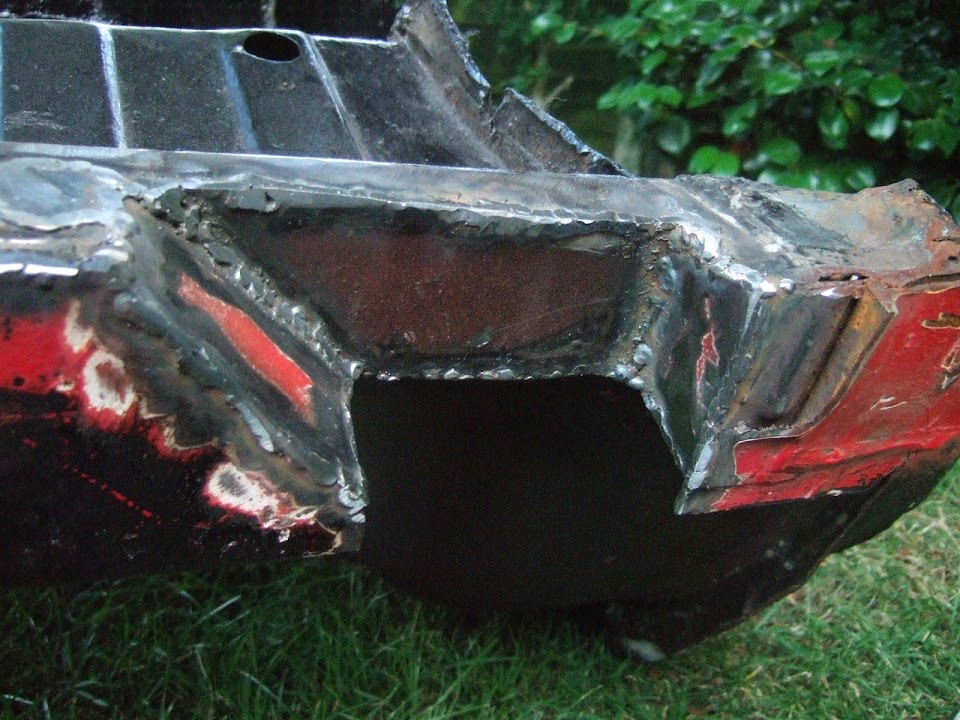
With so many bits to weld together & various other repairs while I was at it, the result was a bit of a mess...


But thankfully the over all effect is a lot stronger than is looks & this is the view from the front...


Given this was the "Before" shot, I am actually quite pleased with the result. :cool:


Obviously I'd like to be able to do neater work, but I still have a lot to learn.
My plan for tomorrow (time & weather permitting) is to apply some body filler to smoother over the welds & joins.
That way I should end up with something that looks a lot better. :pray:

Until then, take care, Paul. :)
13 Aug 2013, 7:52pm
good work Paul.

I find it is easier to tack weld a piece on and then shape it in situ as I weld it in. The welding heats up the metal and makes it easier to work with. Get yourself a cheap set of body repair hammers which have varying different heads - like a pick and chisel etc so you can shape things easily.

It is just practice now and the more you do, the better you will get!
13 Aug 2013, 8:57pm
Good work Paul, keep plugging away. As above, tack one edge in place then tap, tack, tap, tack,
Still think a little more power is required as some of your beads still sit on the surface of the steel you really want the bead to blend between the 2 surfaces. It also wont help that your welding outside as the slightest breeze blows the gas shield away.
That said I admire your perseverance!
14 Aug 2013, 4:51pm
Body Filler...

I can't remember how many years it has been since I used any body filler in anger.
But it is funny how quickly what a messy job it is comes flooding back from your memory.

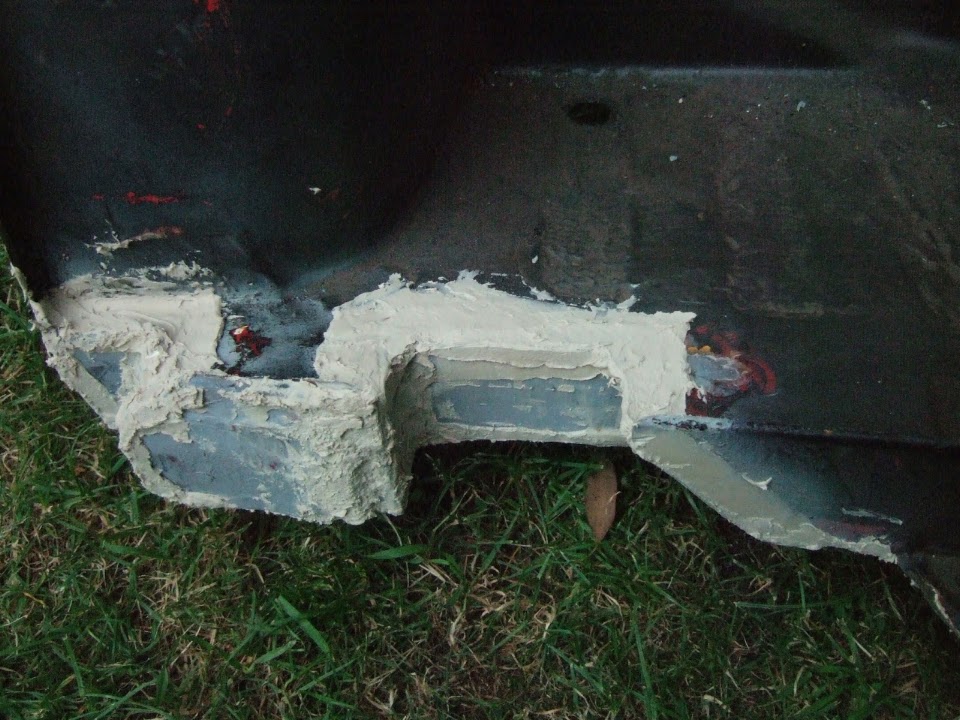
This is what my rear arches are looking like after all my welding work...


I accept Tony's previous comments about using seam sealer.
But as the arches are currently stored under a tree, I needed to at least prime the bare metal.

This is what the boxed in sections looked like before...

Driver's Side:


Passenger Side:


This was my body shop. :rolleyes:


And this was "after" ...

Driver's Side:


Passenger Side:


Then it was simply a case of flipping the wheel arches over...


And slapping on more filler...

Driver's Side:


Passenger Side:


My mix ratio of hardener to filler was a bit hit & miss, which limited my working time.
But I guess there will be plenty of other areas for me to practise working with filler on this build. :icon_wink:

For now, I will wait overnight before sanding the mess I've made into something a bit smoother.

Cheers, Paul. :)

Replies
Tony & Mac - Thanks for the encouragement guys. :cool:
My mate who supplied the welder also has some panel beating tools, I'll give him a shout.
The conditions outside do vary from day to day, which certainly isn't helping my welding.