This is a read-only archive of the old Madabout Kitcars forum. New posts and replies are no longer possible, but every thread is still here to browse and read.
Just read the link... blimey, those Club Triumph boys know their stuff and wouldn't you just bet there could be a thousand bits to check!
If the diameter of the master cylinder were the same as the slave cylinder, the movement of the two pistons would be the same. Making the cylinders different diameters I E master cylinder smaller, means firstly, you get more movement in the master than in the slave, and secondly, the pedal effort is reduced. Could it be that your master cylinder is the wrong one? If the ratio of the two is wrong, the clutch could bite at the top of the travel. I've seen adverts on ebay for uprated master cylinders and wondered what it is that they uprate.
Looking on the plus side, if it was a Ford Mondeo or similar, you'd be down at the dealership, cheque book in hand getting no pleasure from the job at all.
As the clutch plate wears the outer rim of the diaphram compensates thus causing the inner fingers to move back on to the release bearing which then pushes the fork backwards that rocks on the pivot pin and pushes the push rod back into the slave. So the less push rod showing the less meat on the clutch plate..The other possibility is the fork arm is worn and may be cracked and bending.
As the clutch plate wears the outer rim of the diaphram compensates thus causing the inner fingers to move back on to the release bearing which then pushes the fork backwards that rocks on the pivot pin and pushes the push rod back into the slave of the court of king caractacus, were just passing by...
Sorry, couldn't resist that. Getting some good advice on here though. I've decided to get the car on the road and then change the clutch if necessary. Summer is here and I'm still building my Spyder rather than driving it
Plan for today: fit seat runners, seats and seatbelts; bolt up and adjust handbrake; start thinking about fitting body to chassis
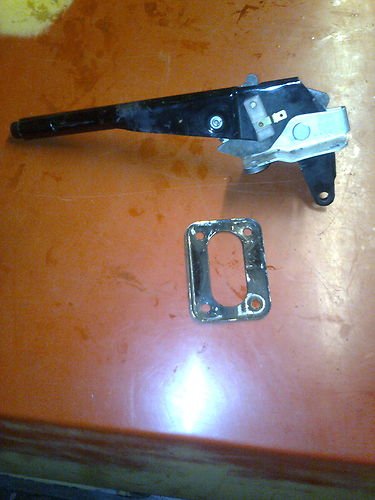
Reality: bolt up handbrake, adjust cable tension, pull handbrake lever 'on' and check back wheels locked - yesssss! Excellent! Press button on end of handbrake lever and try to move handbrake to release brakes - nooooo! Handbrake lever jammed
On closer inspection, the Morris Minor handbrake assembly had twisted and jammed solid. The minor handbrake was clearly designed to carry two cables, one each side of the lever, and by fitting only one it's created enough torsion to bend the sides of the lever around the ratchet mechanism knackering it completely. So, it's back to the drawing board on the handbrake front again.
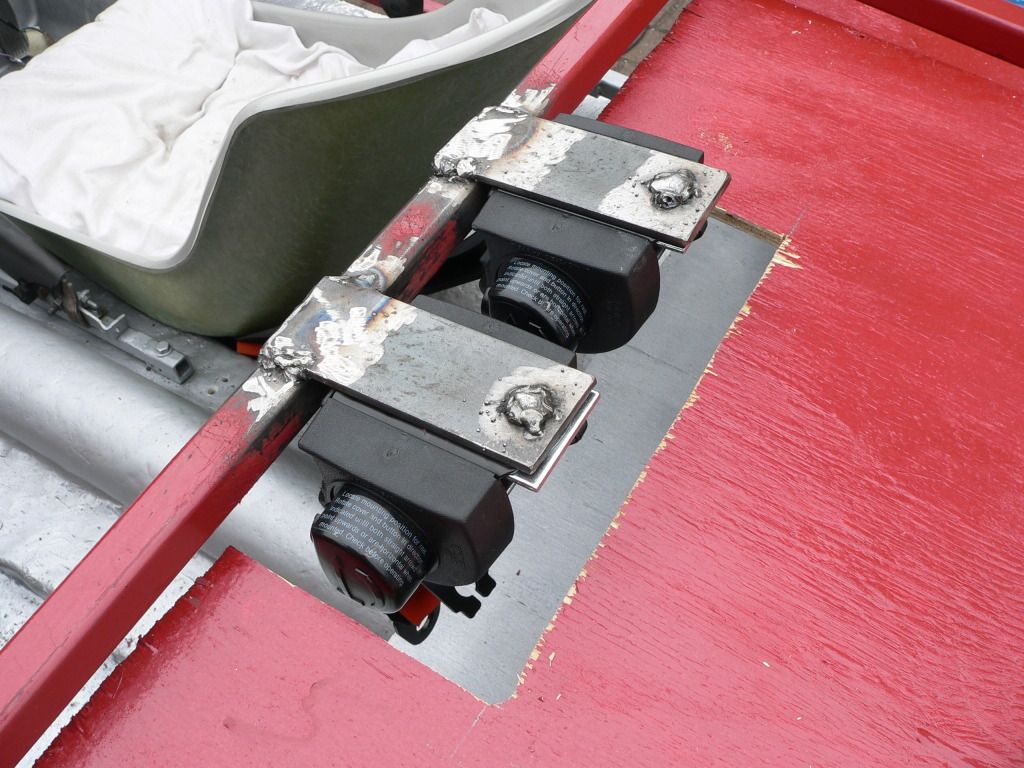
Better news is that I did manage to bolt up my seat runners, try a couple of options as to how to mount the seatbelts and make a bracket to take the female part of the seatbelt so it moves with the seat as you slide it back and forth -
The observant amongst you will notice that I've only managed to fit one seat so far and the body still isn't bonded on Still, tomorrow's another day.
I'm guessing that'll only happen the once and she'll come back all pale and flustered, but I thought I'd make the effort anyway. It's also the only way to access the luggage bay as I didn't want the much taller tilting mechanism raising the seats up too far. It could help if I get a shortarsejobsworth MOT tester who can't see over the dashboard with the seat all the way back too.
The seats are a perfect fit for the Sammio shell and give a very laid back driving position. You can get an idea of just how reclined they are if you look how far forward the runners are bolted. I'd recommend this type of seat over a bench seat or more upright arrangement though as it's both comfortable, and means there'll be a lot less of me sticking out of the cockpit and spoiling the aerodynamics.
As for the seat belt reels, yes, I'm expecting them to foul the bodywork. I'm going to trial fit the body again in a day or so and see how bad the issue is - if it's only a couple of cm's then I'll probably add over the shoulder 'power' bulges to give clearance above. If that's not practicable then plan 'b' is to move the reels down to the lower mounting points that I've welded on beside the seats and attach the fixed end of the belt to the mounting at the top of the frame. I tried that set up yesterday and it works fine (the reels are any angle adjustable), although it does give the effect of a static shoulder belt, making it impossible to lean forwards at junctions.
I've also found a suitable handbrake that I think could be adapted for my needs. It's a bit modern but should be stronger than the ancient Minor one and I'm sure I can make it look more period with a little thought.
I'm using a 106 H/brake but found the lever only just had enough travel to pull the brakes on passed the MOT but turned up as an advisory will mod before the next MOT, Pat
Cheers Pat, I did look at a couple of Peugeot handbrake levers myself. The problem seems to be the original Triumph handbrake was pi$$ poor in the first place.
Short video of 'putting the moon rover to bed' below with any luck. Wish I had a private drive like Phil J's though...
TR7 handbrake lever looks suitable, I was looking for something similar with a single, central cable connection. Early mini ones looked like a possible candidate but from memory, they were a bit flimsy. I'm hoping the VW Polo one will be a bit more solidly made.
The verdict on my Honda radiator idea is so far so good. I haven't had the chance to take it out for a proper run yet but I left it idling in the blazing heat for half an hour yesterday and it kept the temperature gauge in the mid range with the electric fan running. There were a few teething troubles on first run up to temperature - the Honda radiator cap had steam bubbling out from under it shortly followed by more steam from the Triumph one on the in-line filler, but that seems to have been them just bedding in as they haven't done it again. Plan B is that I made my shroud big enough to take one of the Civic alloy racing radiators if it does overheat.
Don't think this will affect your plan MrT, but I've just mended a Polo handbrake that the owner had yanked up so hard, it tore the spot welds out of the floor. I've seen it done on a Mini 1000 too. As I say, it was the spot welds that failed, the actual handbrake was ok.
Keep it up, all good ideas will be greatfully stolen
Don't think this will affect your plan MrT, but I've just mended a Polo handbrake that the owner had yanked up so hard, it tore the spot welds out of the floor. I've seen it done on a Mini 1000 too. As I say, it was the spot welds that failed, the actual handbrake was ok.
Keep it up, all good ideas will be greatfully stolen
Len.
Cheers Len, feel free to use/modify ideas as necessary. My handbrake will be fixed to brackets welded to a bit of box section metal bolted to the main chassis. On my mk2 handbrake the mounting remained solid while the Moggy lever twisted like it was made of tinfoil Looking forward to having a parking brake that just works. Perhaps a trip to the Honda parts bin will be in order if the polo one fails.
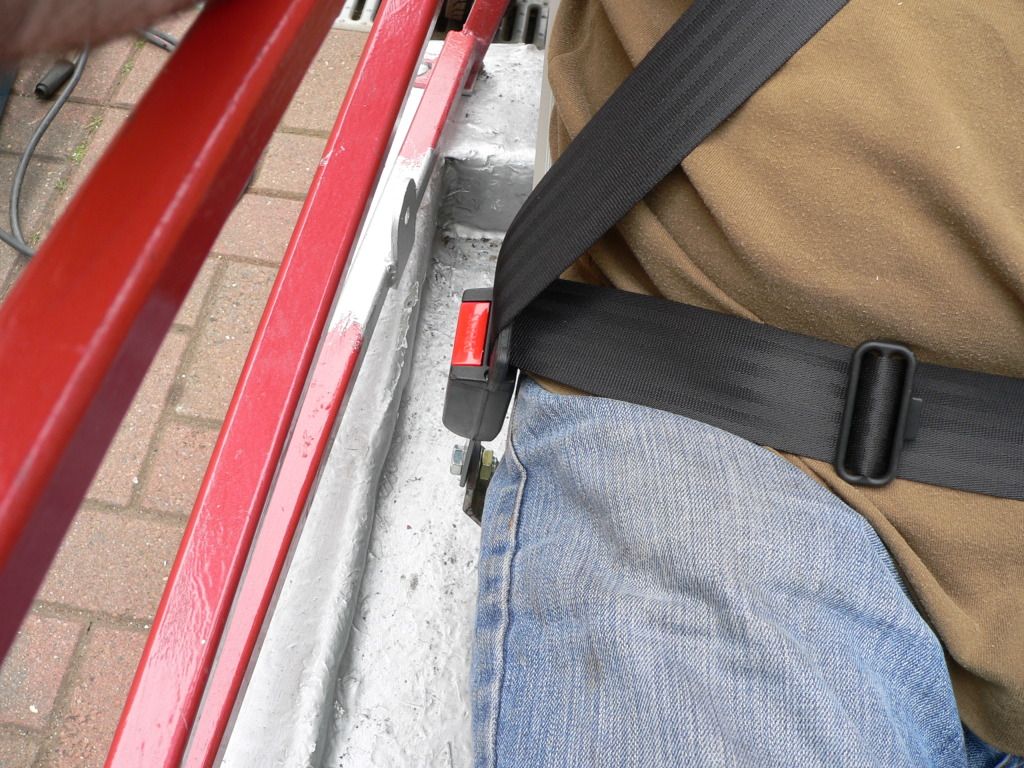
Complete rethink on the seat belt front today: decided I didn't want to add humps over the reels or mount them in the 'doors' which would've given me the effect of static shoulder belts. As I wanted to be able to lean forwards I decided the easiest option was to go with inboard belts mounted similarly to Dave Cymru's.
Both ends of the lap belt mount to the bolts on top of the seat runners so they move back and forth with the seats meaning anyone should find it easy to put them on.
Slowly but surely I'm inching my way towards being ready to fit the body. I can't wait.
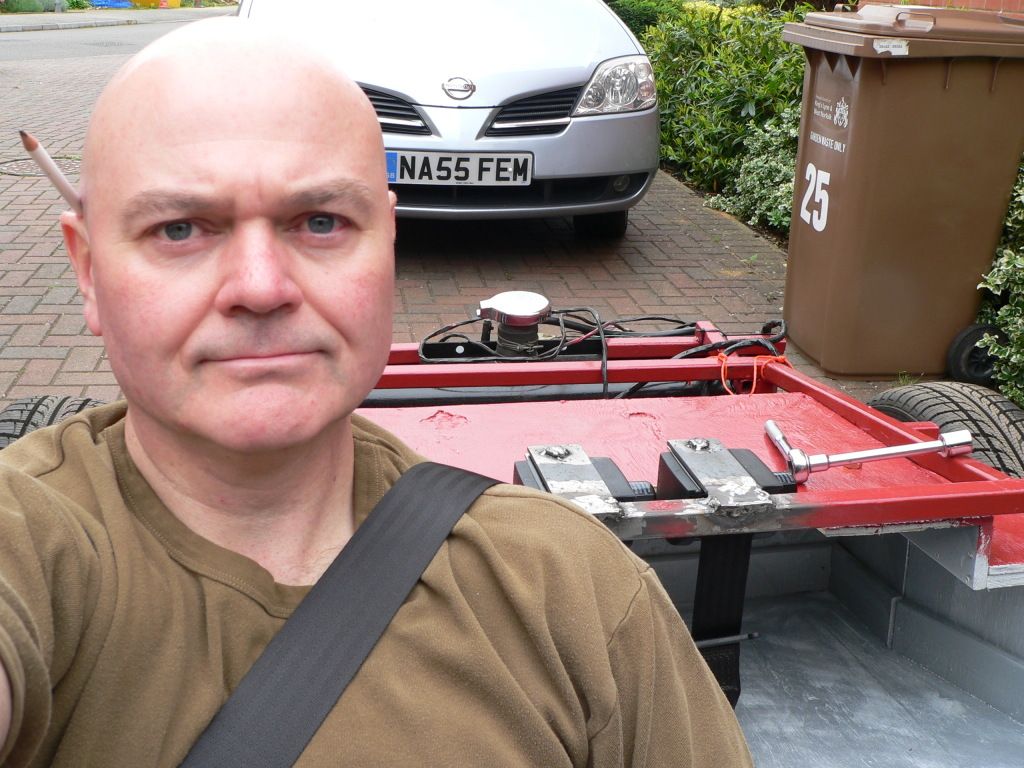
Signs of a Sammio builder - "pencil behind ear"!
I came in from the garage one evening and had been watching tv with the wife for an hour before she finally started laughing and told me that i still had one behind the ear and she wanted to see how long it would be before i noticed
Spent today tidying up a few loose ends prior to bonding the body on tomorrow (hopefully!). Fitted the tank for the water/methanol injection system, boxed in the gap above the new central seat belt mounts and cut the hole for the fuel filler neck to fit through.
Then spent ten minutes trial fitting the lights and number plates with sticky tape -
As you can see, it's a bit of a departure from the usual bee hive lenses. The red ovals are reflectors, the white ones are indicators (actually intended as side repeaters) and for safety reasons there are twin rows of led's either side of the number plate light to give much brighter illumination of the brakes and rear marker lights than with conventional bulbs. I'm quite pleased with the look.
Just a thought, how about a single (race car stylee ) single brake light frenched into the hump? Could those led brake lights go right under the rear valance? I like the indicators.
Just a thought, how about a single (race car stylee ) single brake light frenched into the hump? Could those led brake lights go right under the rear valance? I like the indicators.
I'd considered a single brake light as that's all the law requires believe it or not. I'd also thought about putting the led lights down very low on the rear valance, but the requirement is for the brake light(s) to be at least 350mm from the ground. There's no minimum for the rear marker lights though, but they need to be a maximum of 800mm inboard. The rear lights are still a bit of a work in progress at the moment and I can see from the picture that I need to do a bit of work tomorrow to level the rear valance before committing to the final positions.


 !
!