This is a read-only archive of the old Madabout Kitcars forum. New posts and replies are no longer possible, but every thread is still here to browse and read.
Thanks Ian, yup all makes sense now. I like your second attempt (post #24), looks like they'd blend in very nicely to a slightly extended number-plate plynth, similar to what you'd find on the front of an MX5, to allow you mount them flush, and hide the screws.
For the fogs, what do you think about using a pair from a Fiesta, in place of the reflectors currently at bottom?
Good shout, Paul.
I have similar but in orange as side indicator repeaters. Yes they are very bright when you wire them to use all of their LEDs.
Guess I didn't know that they are available in red.
Watch this space!!!
...For the fogs, what do you think about using a pair from a Fiesta, in place of the reflectors currently at bottom?
Thanks for that, Kon. As it is supposedly emulating a 1960's car I think basic is better- see Paul's suggestion for the round lights. Being flat, they don't even need to be frenched in. Not sure my GRP skills could handle that.
Thanks to Lucky for the example and Paul for the suggestion.
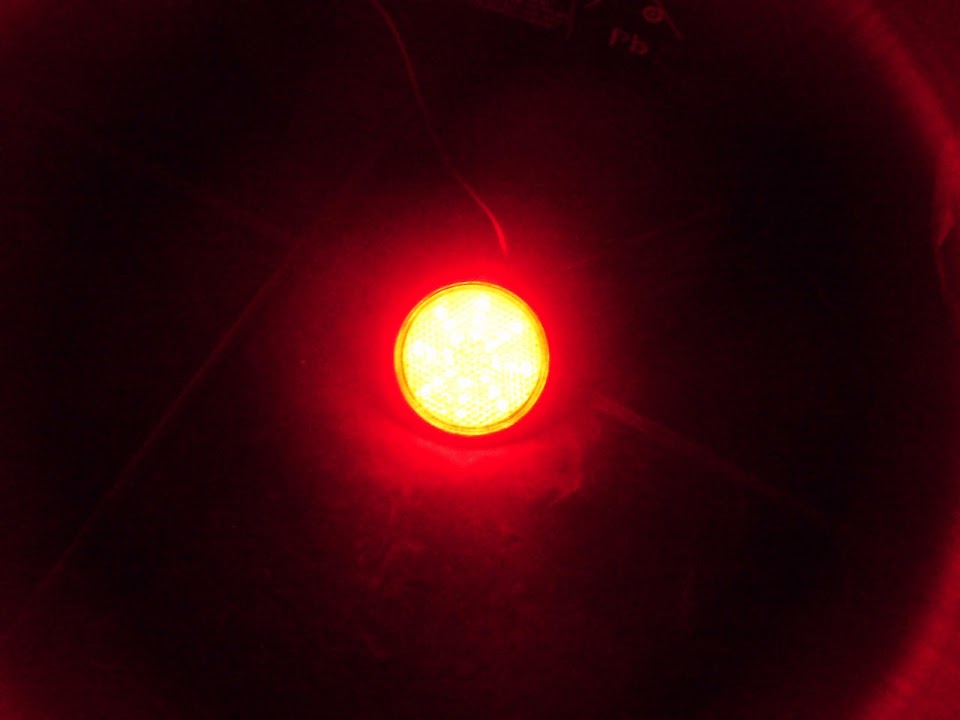
I've just fitted the combined reversing and number plate unit along with the reflector/LED rear fog lights. Some adjustments required but I'm very pleased with the results and hope to keep them like that. Just need to fill in the colander-holed bootlid from versions 1 & 2.
I've started on the rear bodywork with the DA sander using 600 grit discs- just a matter of time before the etch primer goes on. Roll on the next heatwave- it's raining here now.
Looking good Ian ! How much of a dip did you find on the top of the rear wigs each side of the boot lid ? That was the only area of my kit that needed any extra work. Goes together very quickly otherwise.
Thanks. It's only a few mm where the mould splits and restoring that contour line at the boot aperture is not the problem. It's the shaping of the filler to blend in away from there that I'm interested in. The Oberg file has done it's stuff, then the second cut file (I skipped the bastard cut) and now the 600 grit disc is doing the business. The rest of the body is smoothing out well, I've got rid of most of the seams and very little filler will be required elsewhere. I will fill in the number plate light recess- it needs to be flat there. I trial fitted some round door mirrors today- another success. As it's my everyday car, I need to keep it road legal between completion activities.
The easiest filler I found to work with on GRP is "Bad Boy" Plastic Filler. It mixes into a really soft paste that remains slightly flexible when cured. Sands nicely too and blends in without problem.
I don't know if its an approved method but I use a 12"or 18" flexible plastic ruler to blend the filler to roughly the right shape of the panel. It gets the contours very close so minimal sanding is required.
The easiest filler I found to work with on GRP is "Bad Boy" Plastic Filler...
"Big Boy" filler? There's a wide range on eBay. I'm using Plastic Padding flexible filler (now Terason). That's easy to sand as well.
I used Isopon P40 (now U-Pol) on the door mirror recesses followed by the PP stuff for the final skim. I'll do the same on the number plate light recess.
... I use a 12"or 18" flexible plastic ruler to blend the filler to roughly the right shape of the panel...
Good idea- I use a steel rule covered in cling film.
Pics show that I've started with the etching primer on the sills and boot lid. There are a few pinholes and I've not decided whether to fill them or let the high-build primer (the yellow patch on the door) cover them up.
Dolphin Glaze is a very fine filler that is ideal for filling pinholes. Putting primer on thickly to try and fill them will normally cause runs and it will probably cause more problems.
I would give it a coat of Upol Reface before primer. It can be put on with a small gloss roller if you don't have access to a decent compressor.
Dolphin Glaze is a very fine filler that is ideal for filling pinholes...I would give it a coat of Upol Reface before primer...
I've previously used primer directly over filler and had no problems but I'll give Dolphin Glaze a try.
Unfortunately : "REFACE is not recommended for use over ... etch primers." which I've already applied. It's that coating that has revealed the pinholes.
The new V5C registration document has just arrived. Great relief to see that the Make has been confirmed as TRIBUTE TARGAFLORIO - that's just what I'd asked for. The colour has now changed to black officially.
Any enquiries on the database via gov.uk now show that whereas it will probably remain a BMW Z3 on the MOT Testing Station system.
A good morning today. Most GRP panels now have etch primer and most of the steel panels have zinc primer.
I'm now a fan of Dolphin Glaze. Very easy to use and sand. Goes off a bit quick for me- seems difficult to use too little hardener but a super product.
I'm also using a large "Scotchbrite" sanding pad. It's ideal for de-nibbing and a final light smoothing before the tack rag and paint.
So I capitulated on the paintwork and took the car along to the guy who painted the Z300S to see what a pro job in black would cost. He came back with a quotation for an amount that I can live without so we are now in the queue behind a 1970s VW Beetle and a DeTomaso Mangusta.
Agreed. He made two observations- with a rattle can, by the time you've finished a spraying stroke, the paint at the beginning is too dry for the gloss to form when you start the next. Also, the nozzle can't deliver the amount of pigment required for a good finish.
Having heard that, I have seen some decent spray jobs done with them but the amount of work required in multiple coats and mopping would make it a labour of love.