This is a read-only archive of the old Madabout Kitcars forum. New posts and replies are no longer possible, but every thread is still here to browse and read.
Hi paul L ,the blue material is good old lino flooring off cuts grate stuff for shaping and bridging gaps the glass will not stick to it so its easy to pull it off when ready. I made up a rough frame out of MDF then shaped the lino over it, set it behind the body. trimmed it back when it was hard and glassed it in front and back the body is so thin it was on a couple of mm to build up. it was all set to eye with a bent taped measure bugger when you dont have any stright lines to work off
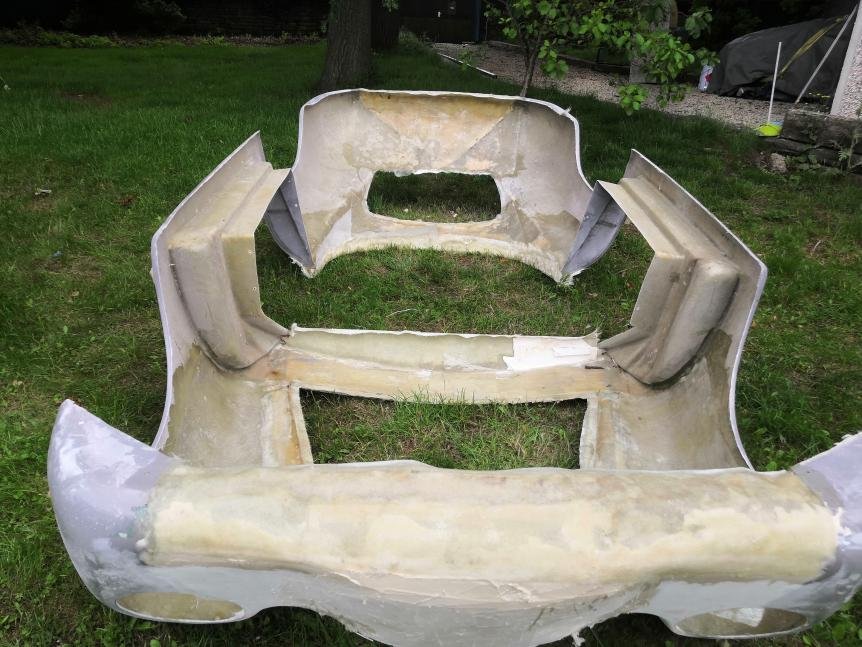
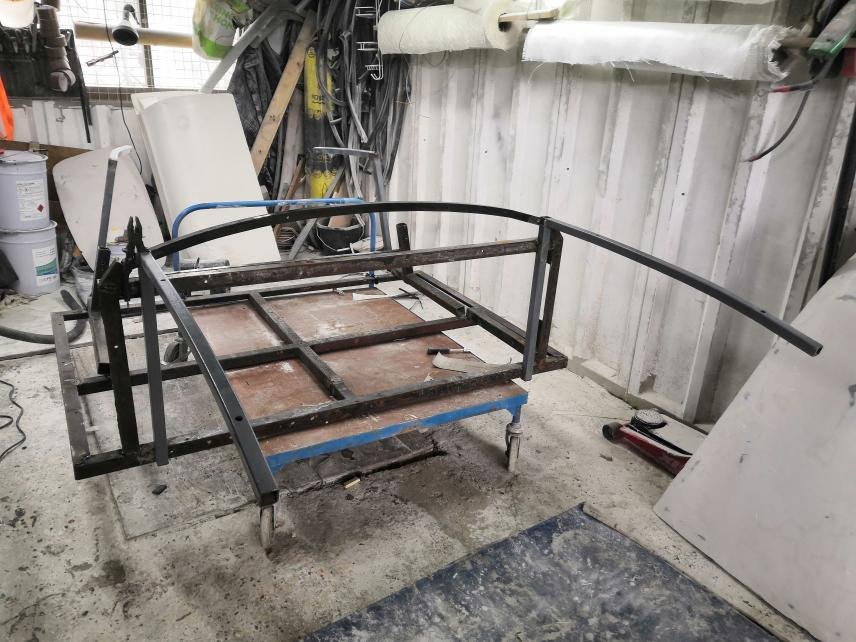
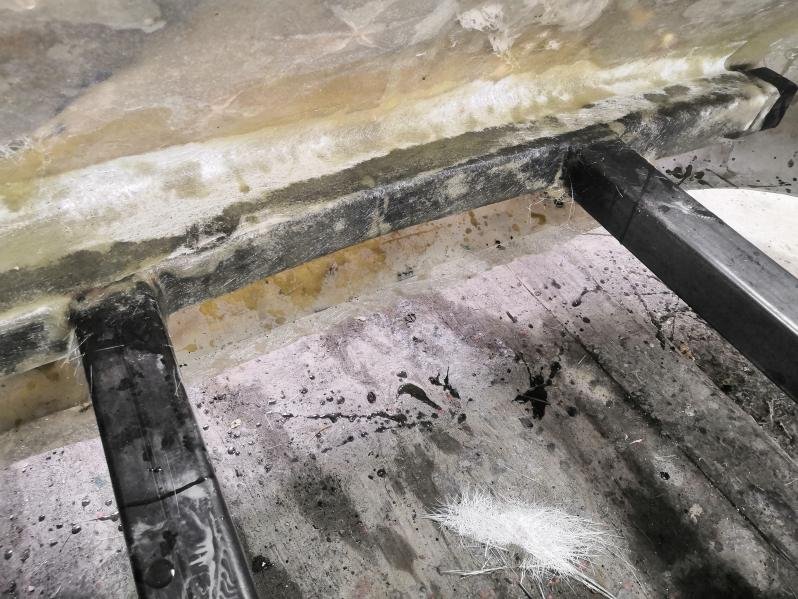
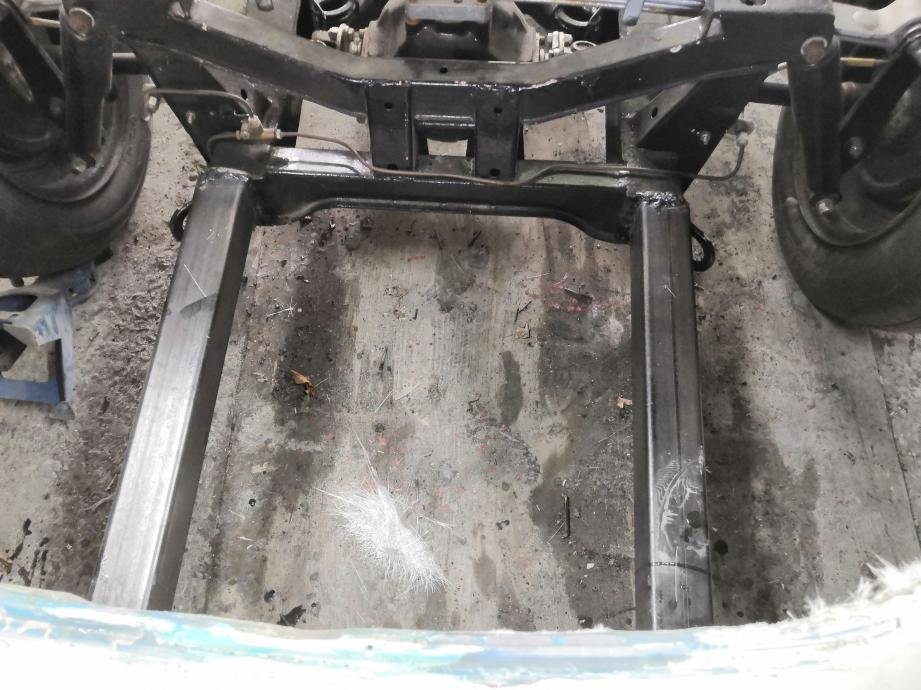
some progress over the last few days ,I had some fire escapes replaced at work that were made out of 2" box steel seemed a shame to waste it. So I have framed out the inside of the main body and supported front and back at the top till I get it on a chassis .if nothing else its rock solid now but will still lift off when I need it to.
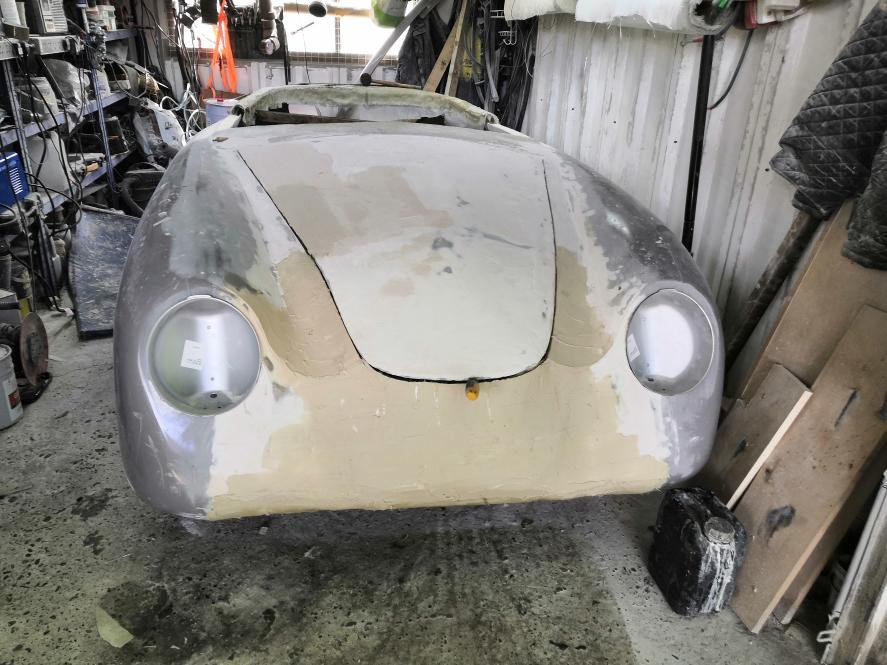
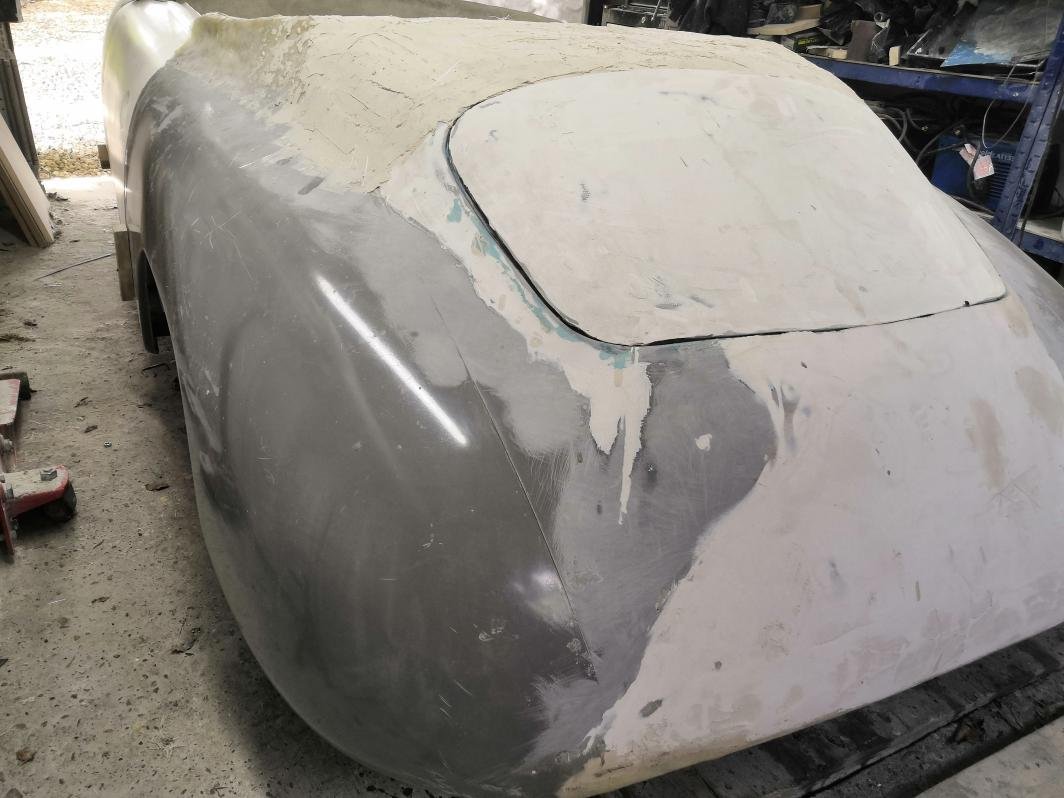
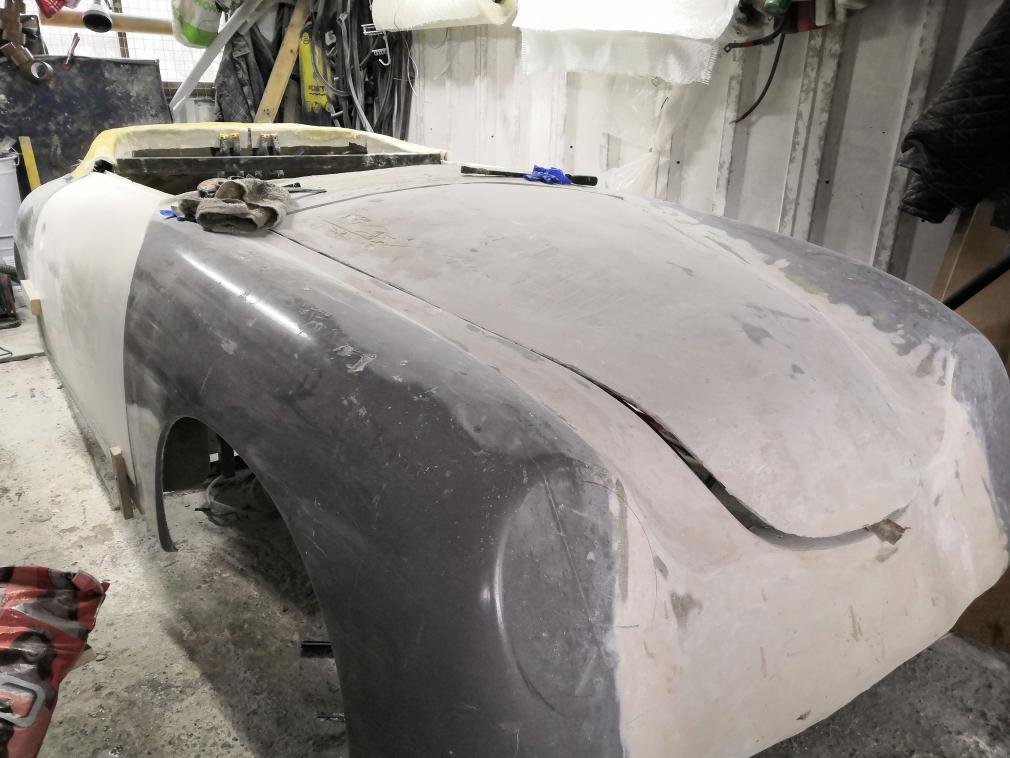
outer skin of bonnet now on rear boot lid made
loads more filling and sanding to do ,I found a vintage speedster parts supplier in the states just waiting on shipping costs then we should see a big jump forward
believe me if they sell anything to do with speedsters I have been on there web site Im from Yorkshire we dont like wasting money up north.I found rusty tubs expensive look at 356A Speedster windshield post $225 or $95 with vintage.speedster emblem $25 or $46 the VS emblem karmen Kollection was selling the £30each they are $11 that's a good mark up. door hinge best price I have found $24 or a light weight alloy one for $750 EACH wtf excuse me
believe me if they sell anything to do with speedsters I have been on there web site Im from Yorkshire we dont like wasting money up north.I found rusty tubs expensive look at 356A Speedster windshield post $225 or $95 with vintage.speedster emblem $25 or $46 the VS emblem karmen Kollection was selling the £30each they are $11 that's a good mark up. door hinge best price I have found $24 or a light weight alloy one for $750 EACH wtf excuse me
deffo going to need some more fiberglass now body off for a spot of sunbathing
while put some extra fiberglass on all the joints and the areas that will be used to support the main body
got the welder out to go over all the welds now the body is off under and over and it bloody packed in after an inch add another £150 for a new one bummer
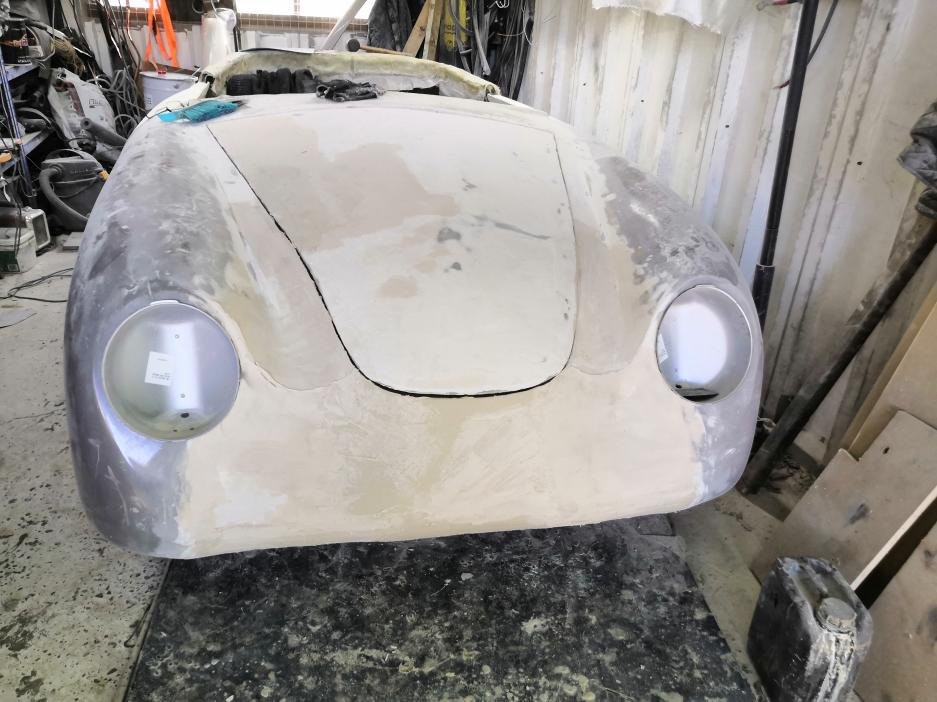
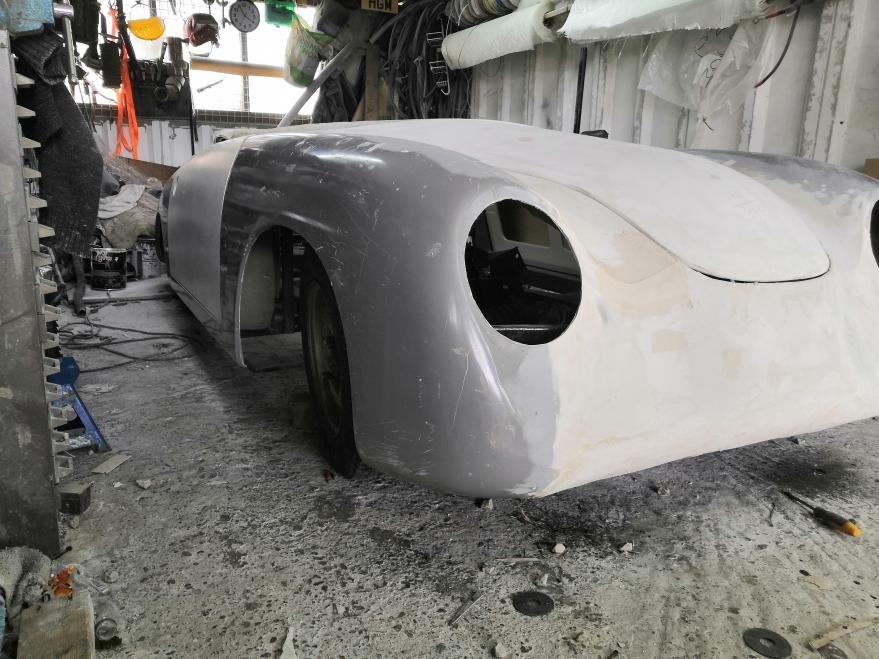
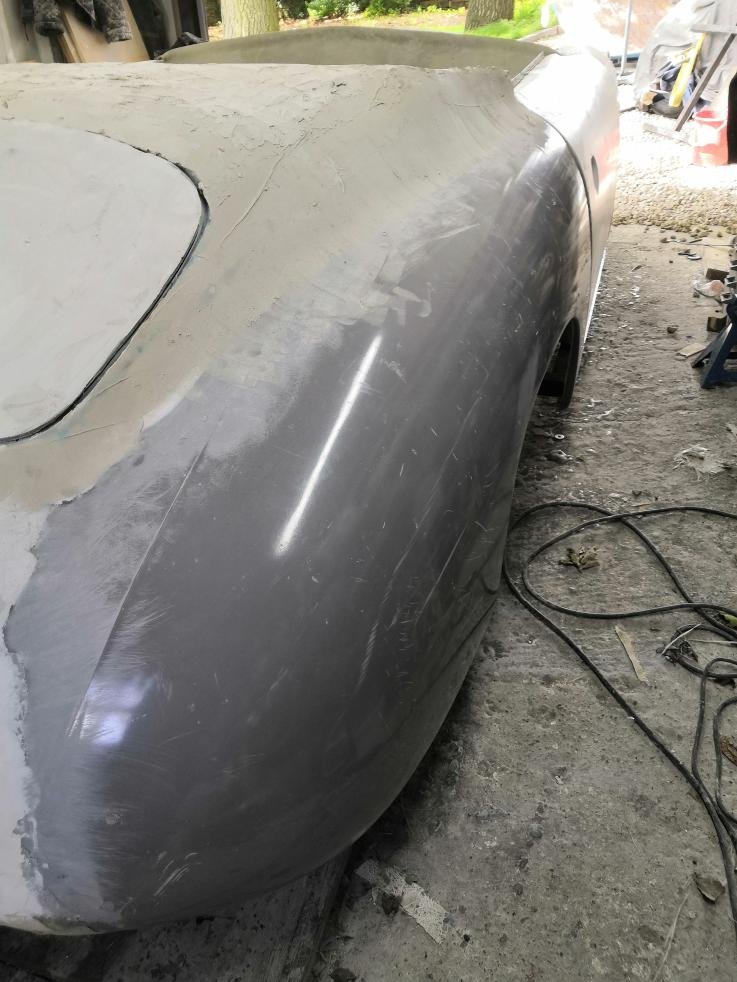
and body back on again decided to change the front around a bit more filling and sanding but taking shape
Fascinating and fast progress, I do like your frame.
Have you decided on a chassis yet? Might be an idea to have a rolling chassis to line everything up to before fixing the panels in place.
Also, I'm not sure if this is the change you're making, but the 356 and 356A have a bit of a beak in the centre of the front end rather than going straight across. You can see it in this pic -
The 356B and C models had a smooth curve, but the headlights are much higher up in the wings (I always thought that the Nissan Micra K12 front end would be a good starting point for a later model 356) -
I have been looking for a chassis for a while managed to get a fully rebuilt spitfire one yesterday hoping to have if for next weekend. Not 5 minuets after putting the phone down did I get offered another fully rebuilt one typical but not complaining 400 quid all new ready to go. steel is here ready to chop and change things and I have a 1840cc MX5 sport lined up to pull all the parts from if things go to plan that should be here for the weekend too.The inner fame work has all the body bolted to it so it ridged I hoping to just notch out the frame I have made around the chassis and weld it on with some extra steel work off the out riggers and chassis rails. Well that's the plan, I do need the chassis here to make the boot inner frame and inner panels as its just an empty shell at the mo. headlights should be coming from vintage parts but still waiting on the shipping quote any problems I will get some early bug ones there always on ebay . this like my other cars is not a copy of anything I am going with the flow and changing things if I dont think it sits right it will get changed. do like the low slung wide boy look tho in black proper outlaw.
mister towed ware did you get the wheel adapters form to fit the bug wheels on your chassis
I got the 5x205 adaptors directly from Limebug for £100 for four, but they don't seem to have them on their website any more. Would be worth calling them though.
Completely in awe of this. Makes me realise how slow and backwards my method of shaping foam is!
I have no experience of fibreglass so terrified of using it, maybe I should just go for it?
Completely in awe of this. Makes me realise how slow and backwards my method of shaping foam is!
I have no experience of fibreglass so terrified of using it, maybe I should just go for it?
Looking forward to your next updates!
Yes you should go for it from the bits I have picked up along the way, dont do it in full sun it will set while your working on it . two thin lairs of CSM is better than one thick one because it wets out easier and holds the shape better. if its very cold add more catalyst.if it goes wrong dont panic let it set cut it out or sand t back and start again.
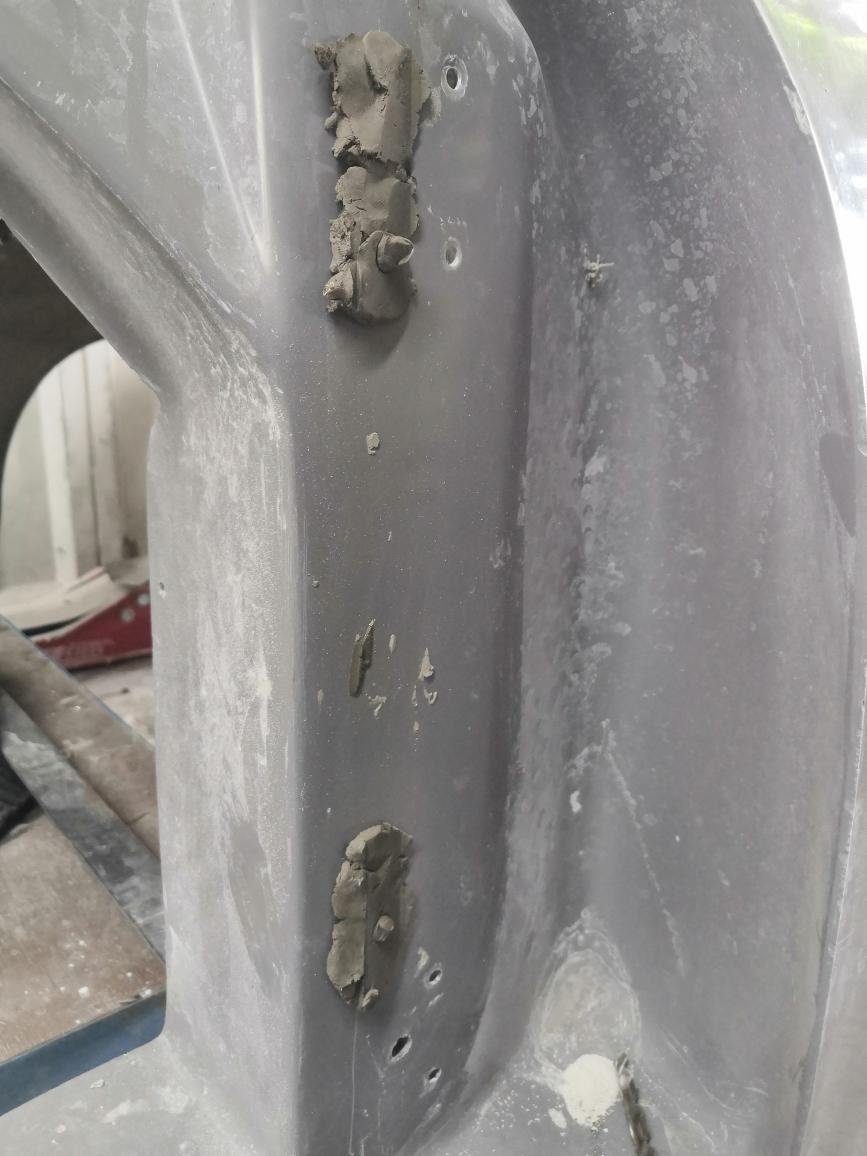
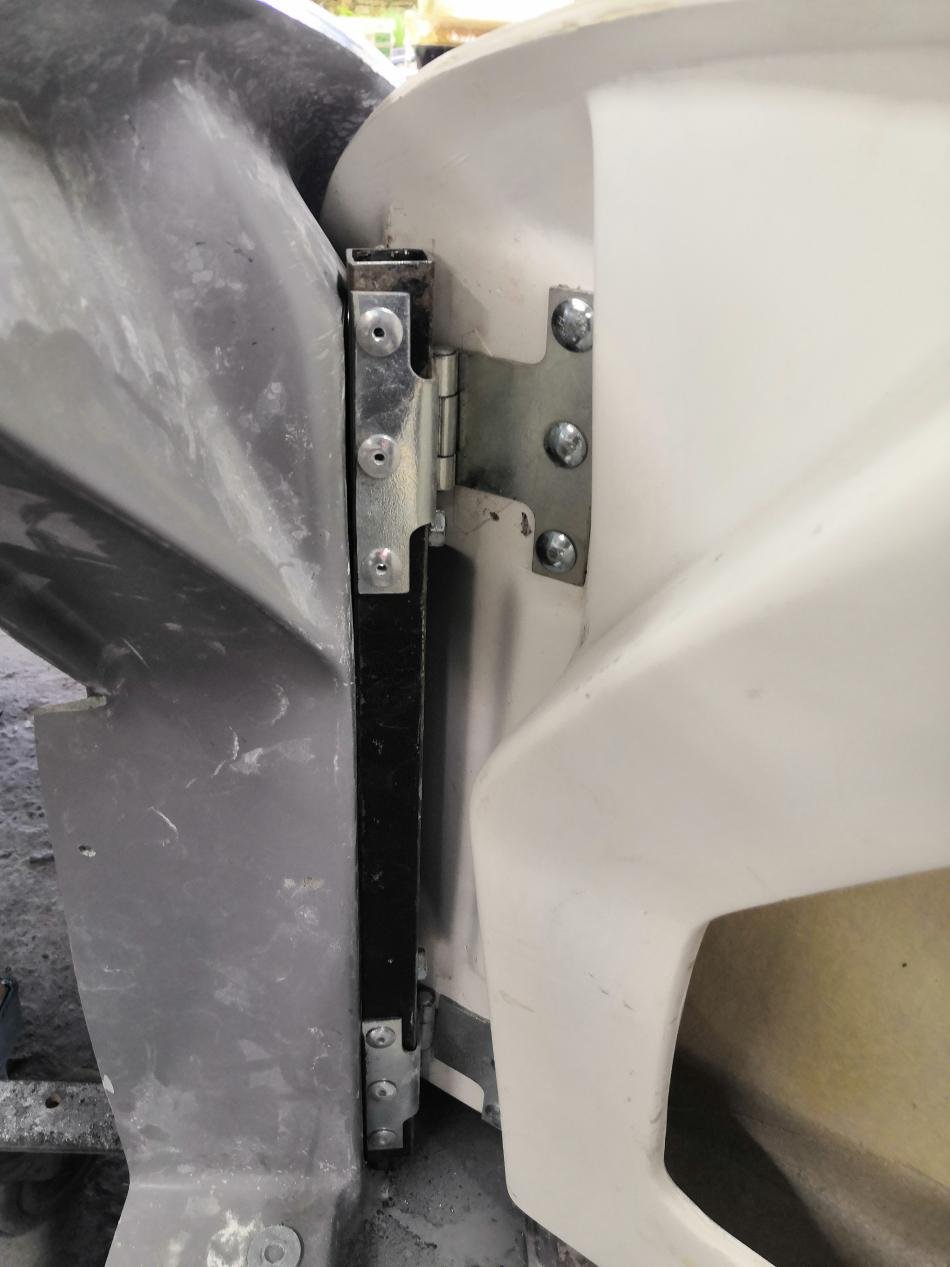
bit of progress hit the local old fashioned iron mongers in search of door hinges and found so that with a bit of work made puka job of it . top tip you can not see were to mark the bolt holes when the door is on so use some clay or putty to leave a mark to drill. I am leaving the final tweaking till its sat on a chassis
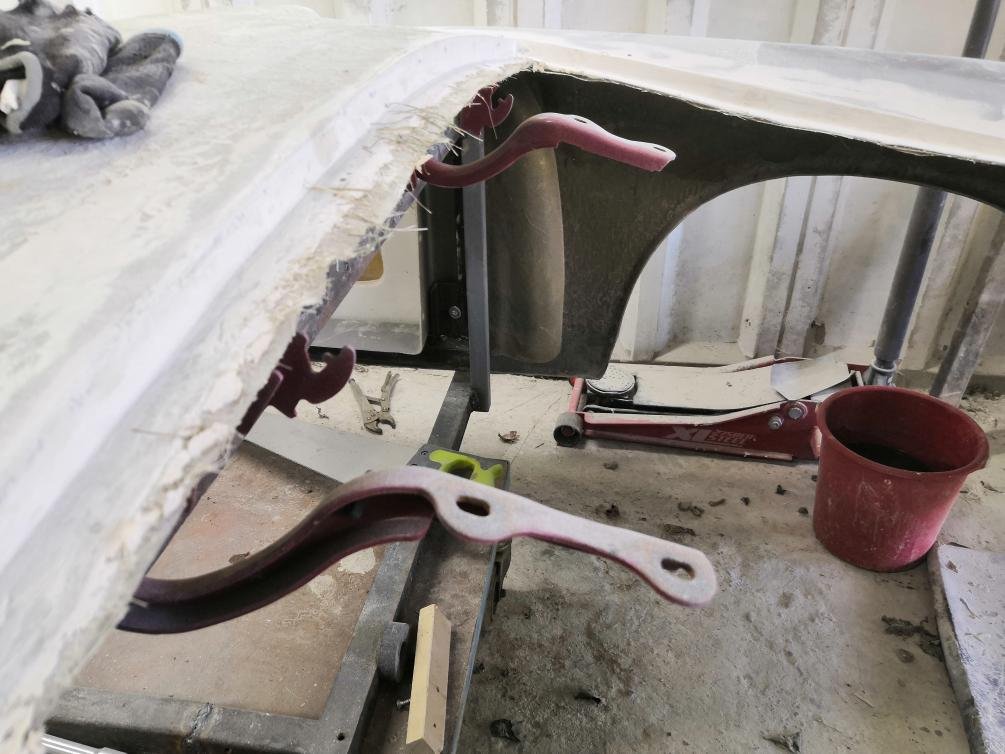
bonnet hinges welded in place and reshaping around the front end coming together the bonnet now sits about 1" higher than before
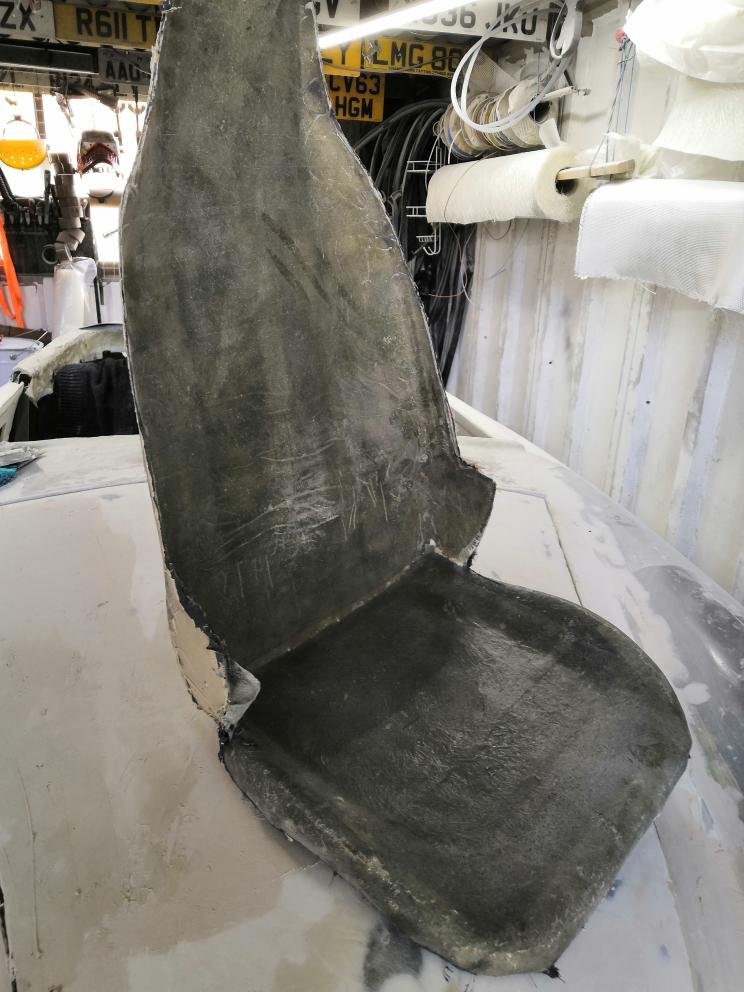
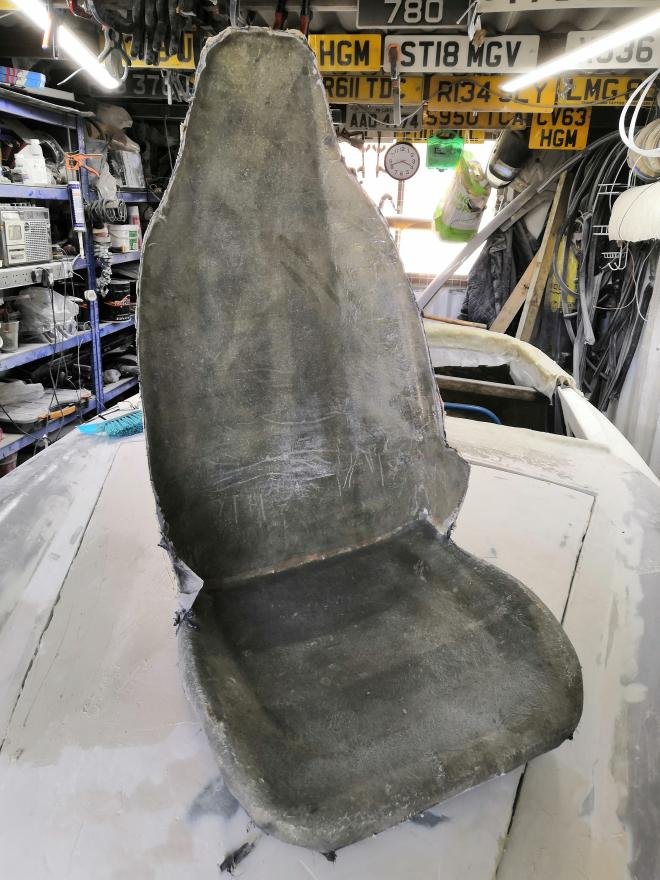
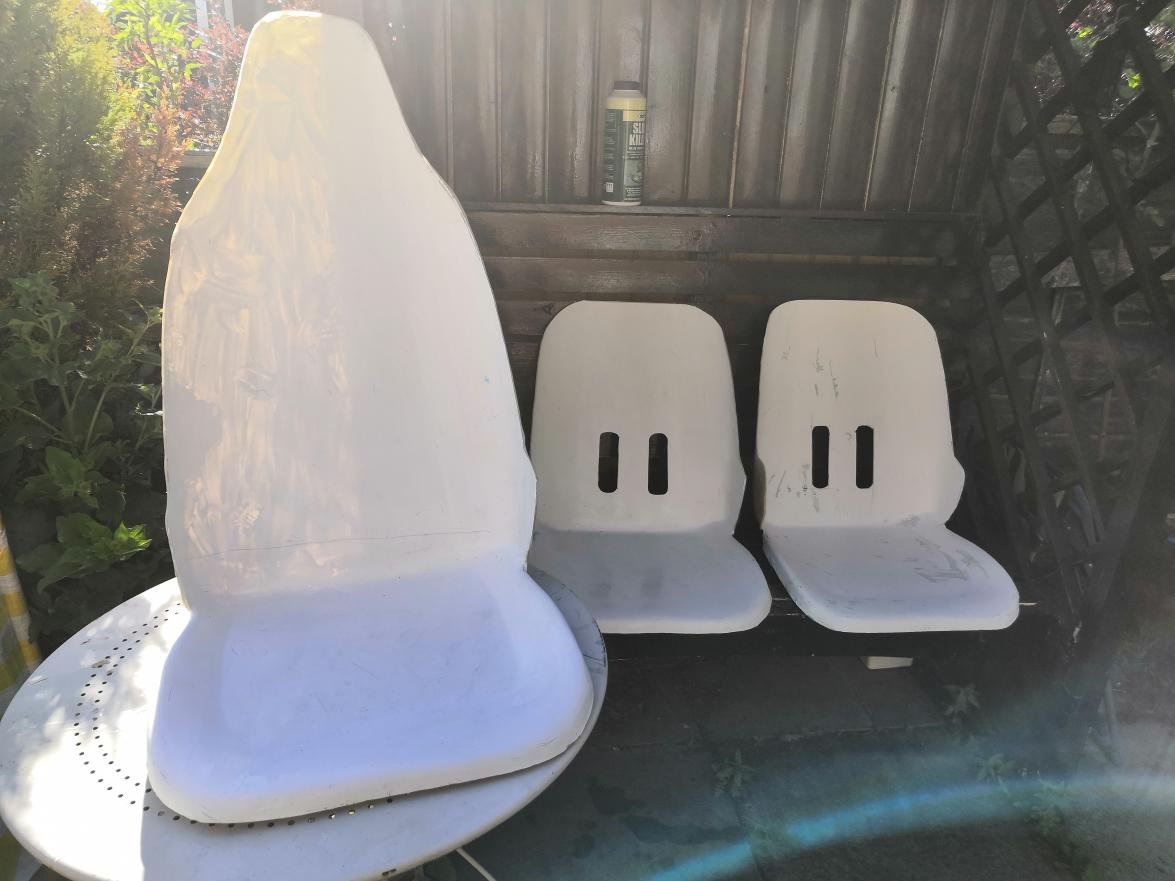
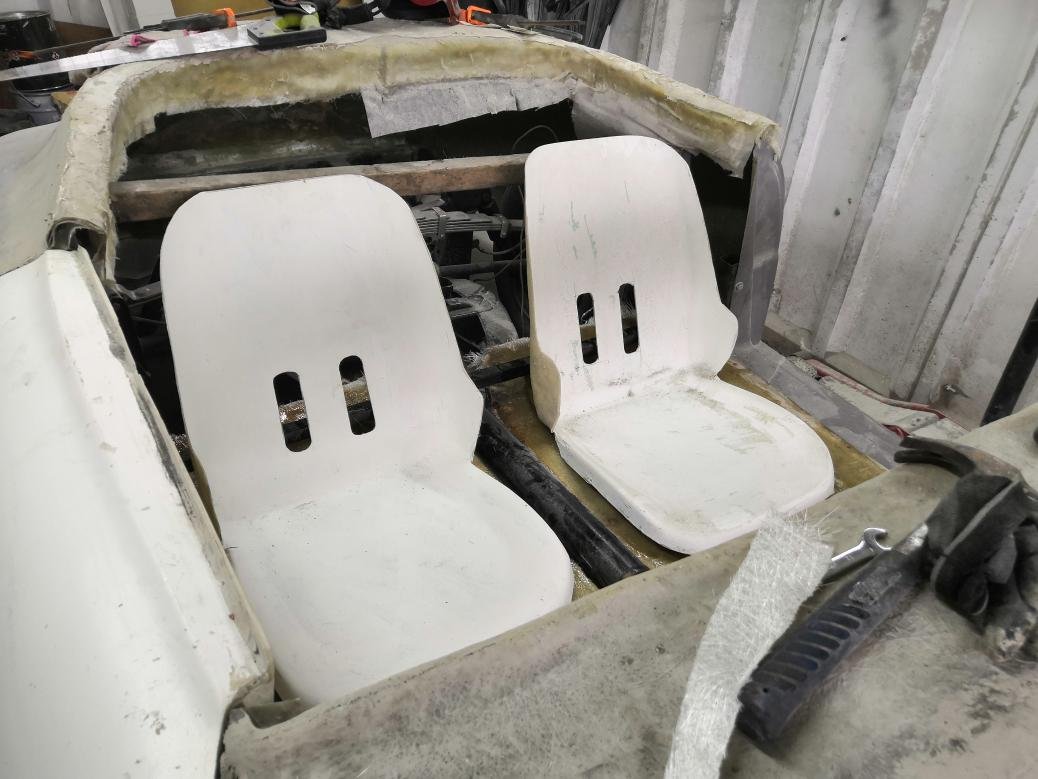
not so happy with the seats I bought for the other car they look brill but have got to be the most uncomfortable seat I have ever sat in. So fiberglass out time to make some seats this is the inside view of the seat I have made ,tomorrow I will try it out making a copy right side out
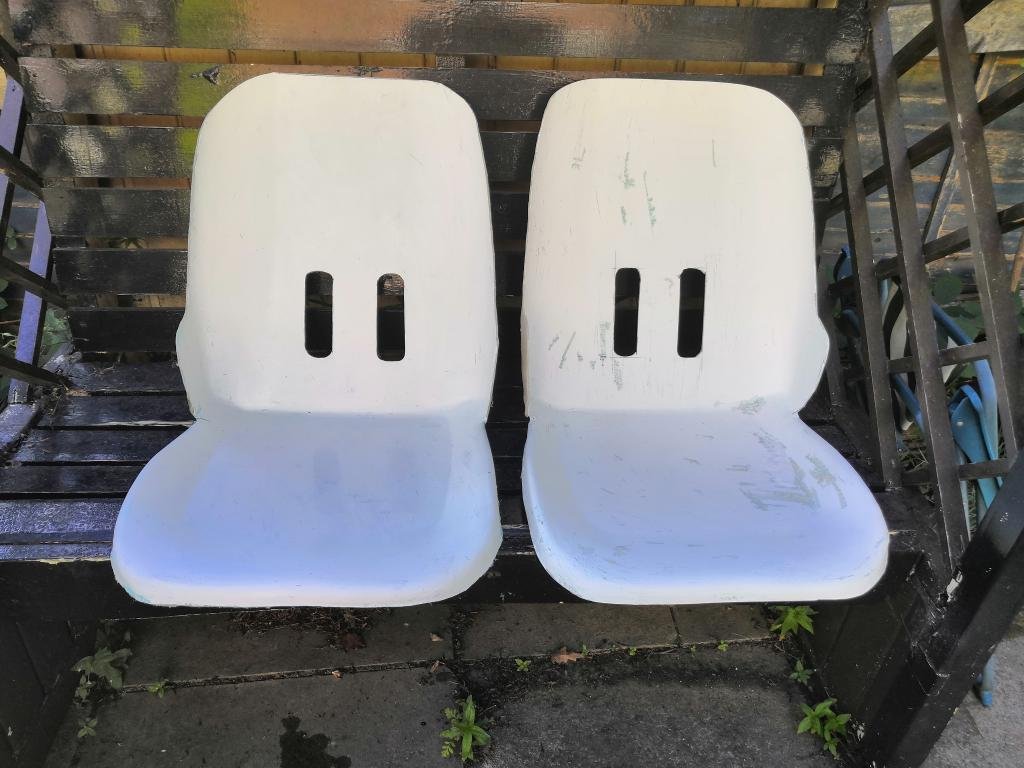
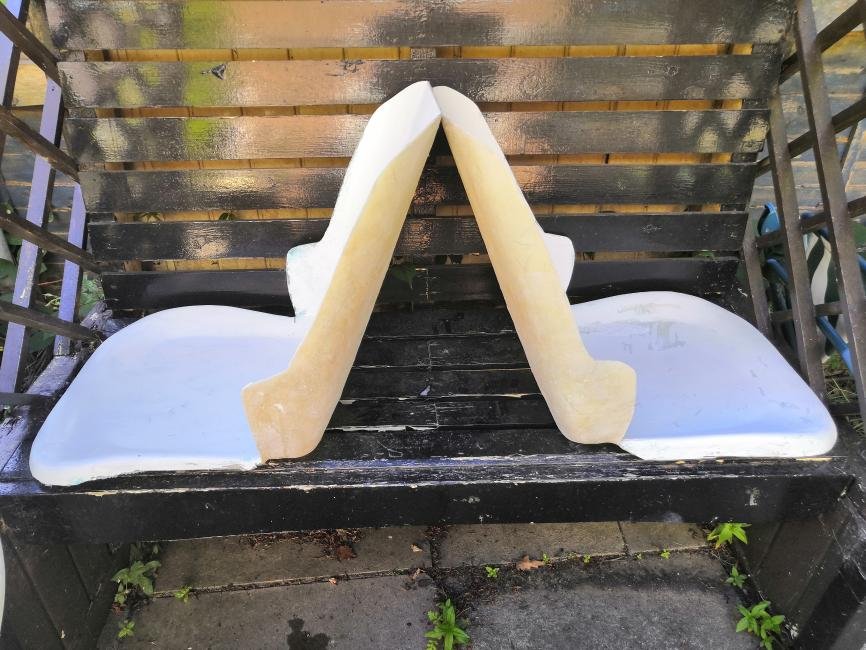
made me some seat shells two for the speedster and one for the other tribute build I am working on. gel coats a bit thin but they are getting covered so hay oh
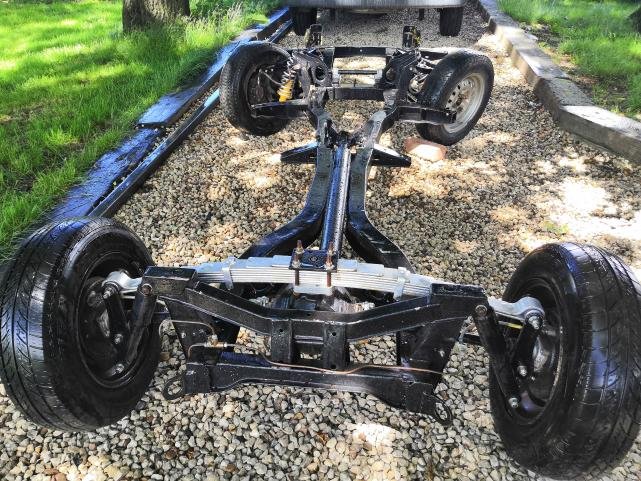
my chassis will be here Saturday along with the wheels so looking forward to build the frame up next week and getting it on wheels whoop whoop
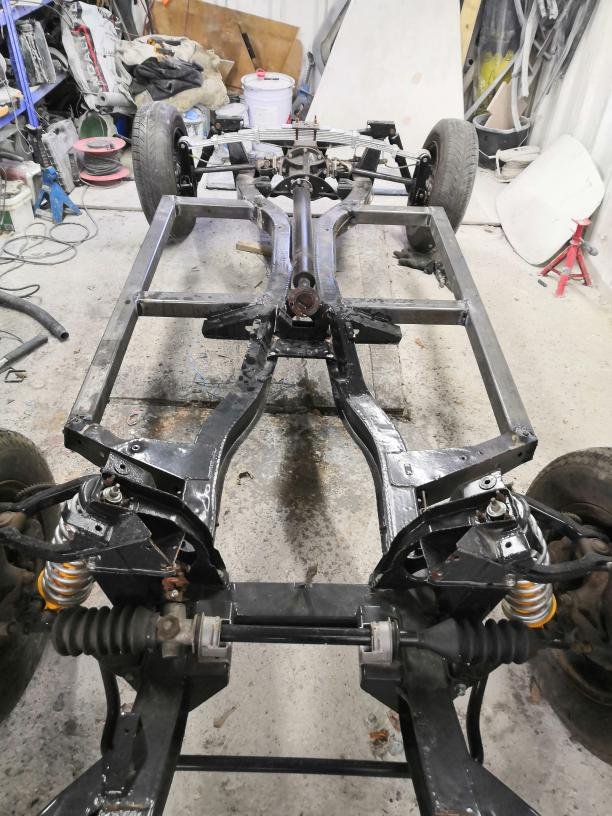
picked my chassis up the morning that can only mean its chassis build time lol 60mm box section think that should be enough
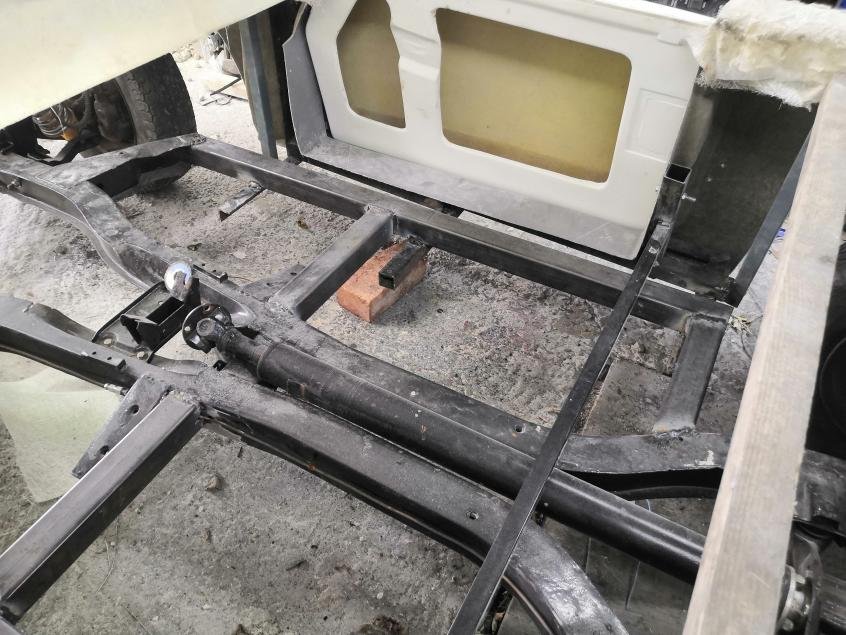
test fit the car tomorrow going to hang the inner frame I made under the chassis rails I've just fitted. hoping that should be about right for looks and ground clearances
Wow, great progress again, proper Hare and Tortoise stuff when compared to my build.
I suspect you've already thought this through, but have you worked out where your seats are going to sit (no pun intended) yet? I only ask because to get mine in the right place and at the right height, their front edges will be exactly where your centre outriggers are at the moment.
If you look at both real and replica 356 Speedsters, the top of the seat squab is pretty much level with the bottom edge of the doors, so they're set quite low in the car. They're quite a bit higher up in a coupe - and bigger seats too, but they have a much taller windscreen for the driver to look through.
Wow, great progress again, proper Hare and Tortoise stuff when compared to my build.
I suspect you've already thought this through, but have you worked out where your seats are going to sit (no pun intended) yet? I only ask because to get mine in the right place and at the right height, their front edges will be exactly where your centre outriggers are at the moment.
lIf you look at both real and replica 356 Speedsters, the top of the seat squab is pretty much level with the bottom edge of the doors, so they're set quite low in the car. They're quite a bit higher up in a coupe - and bigger seats too, but they have a much taller windscreen for the driver to look through.
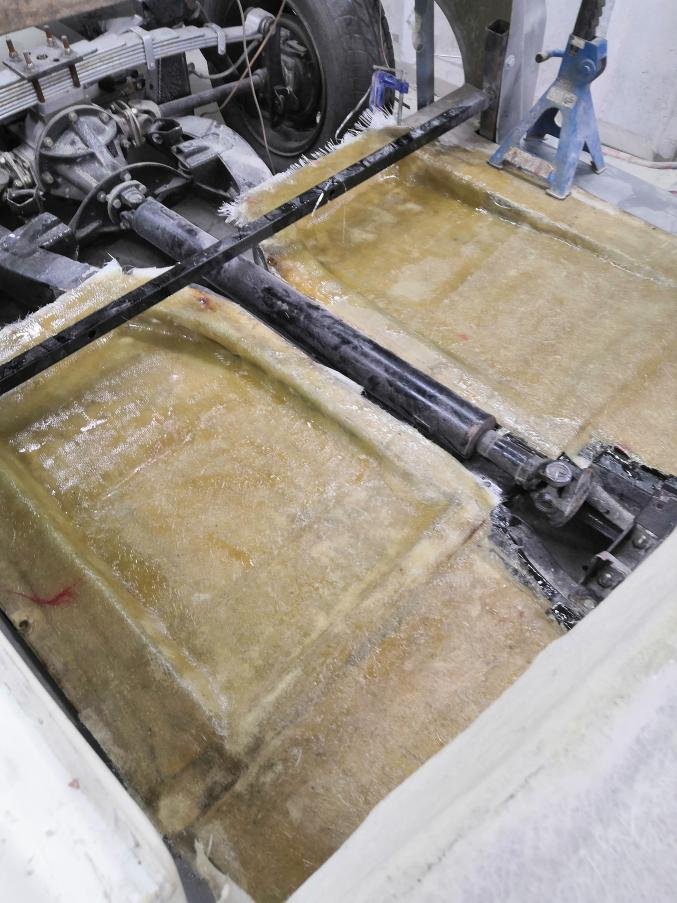
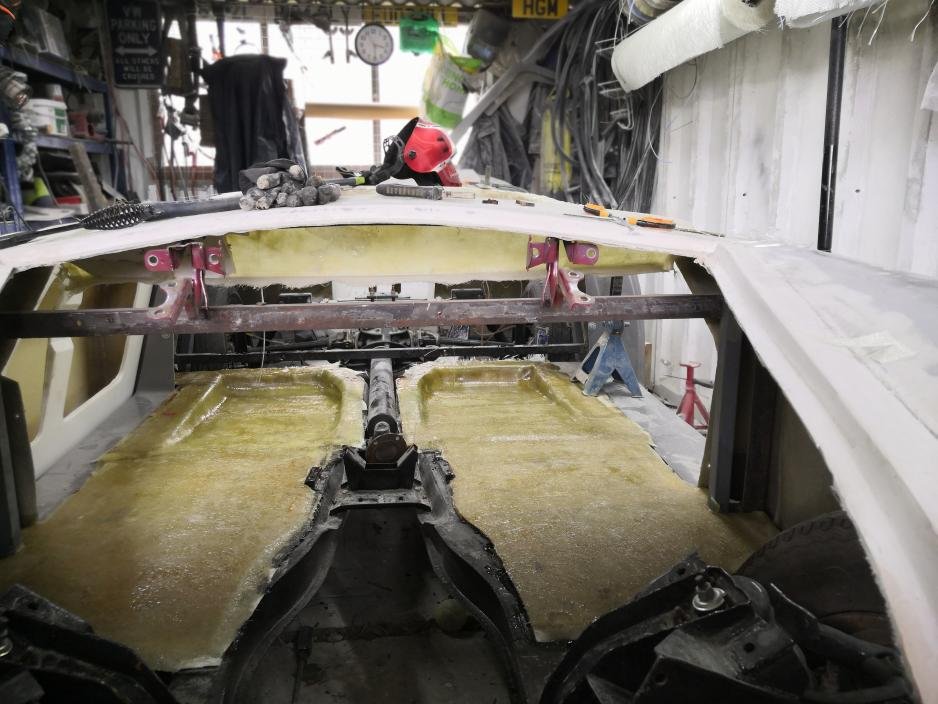
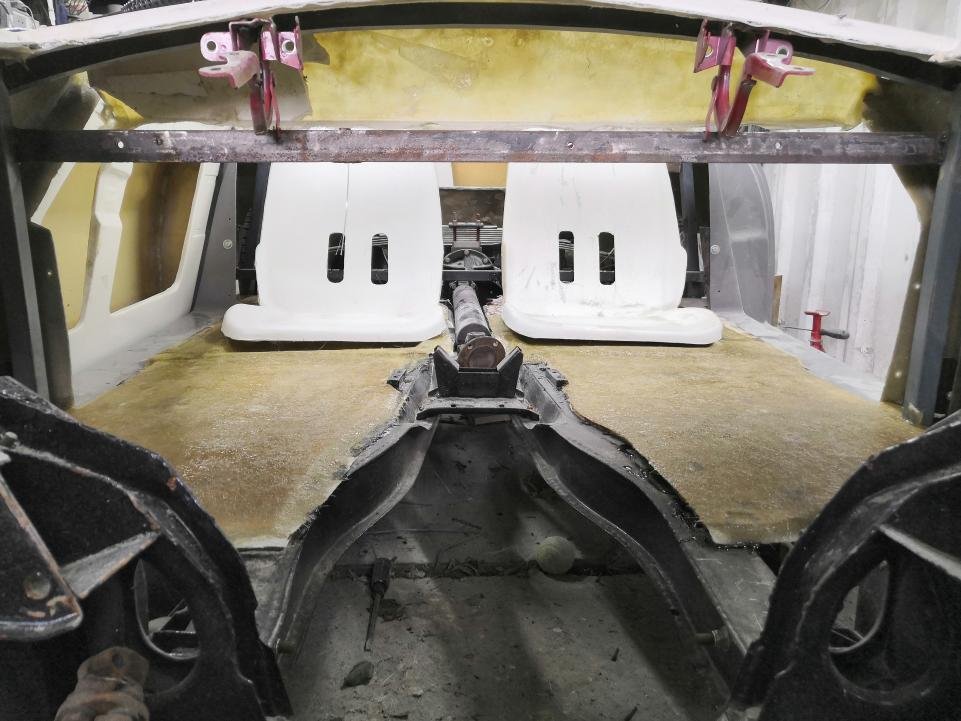
thanks Mister Towed work will come to a stop soon my caravans opening so gone fishing will be on the garage door lol. Must admit no I have not got as far as were to put the seats made the seats tho so that's a start . I've got some 3mm ish fiberglass flooring sheets that come off the fire escape that I made the frame from. so that,s going to be the car floor been fiberglass it will tie into everything with a bit of work. Once that's in I can work on seat frames. windscreens on order along with a list as long as your arm coming from Vintage in the states just about got over the shock off cost
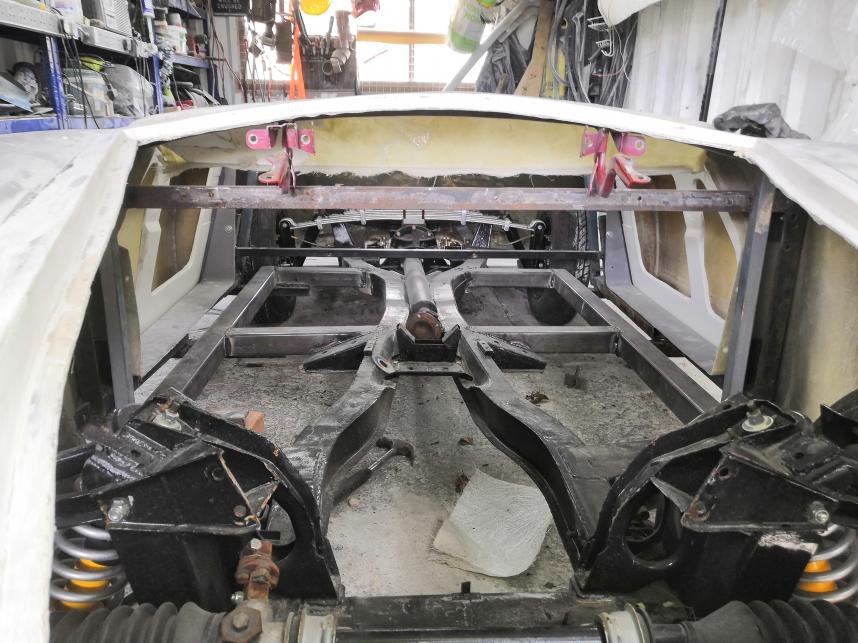
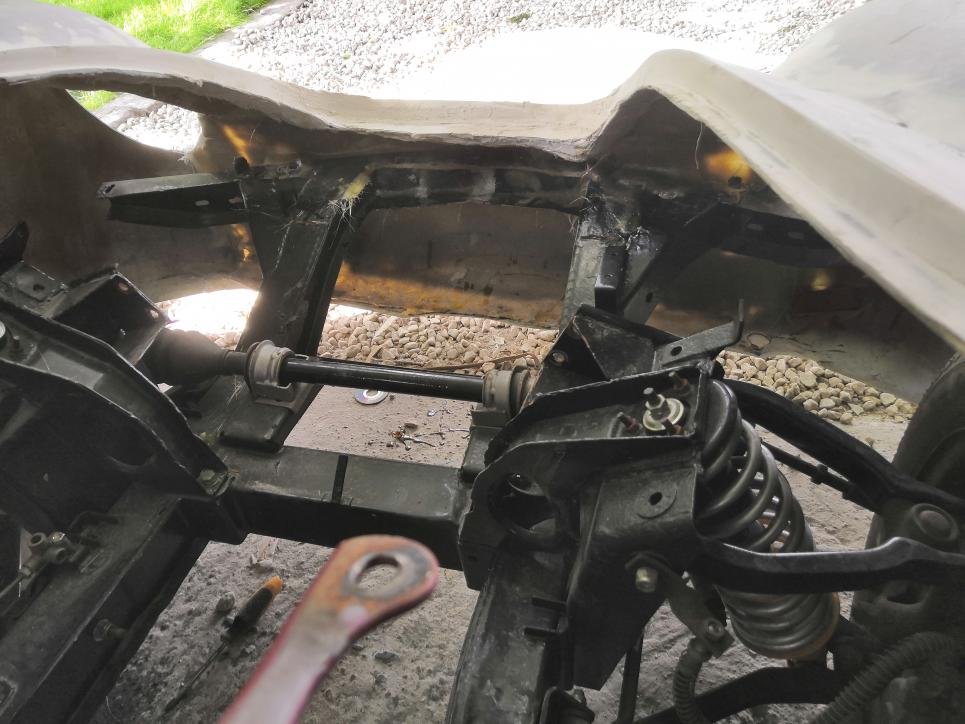
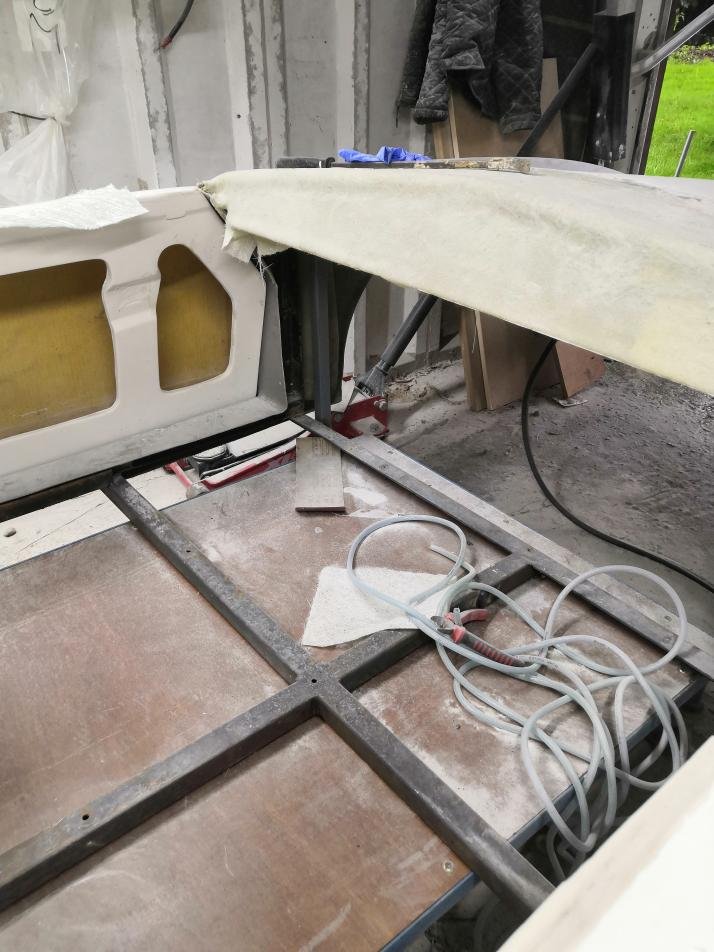
Huston we have a car on wheels hanging the frame from the underside of the chassis worked a treat I just need to nip the ends off the steel work job for tomorrow. The front of the chassis tucked tight into the front of the body allowing me to glass it in so it dose not move. I extended the rear chassis all the way to the body and run a length of box across the rear end. this gives me support for the boot floor but more so to give us some protection from the rear end also glassed it to the body. headlight buckets hit the crash rail on the chassis so going to have to trim the last 2" off both ends to fit the lights. relay need to find a mx5 so I can work out the inner working seat pedals etc but the boot can all go in now.
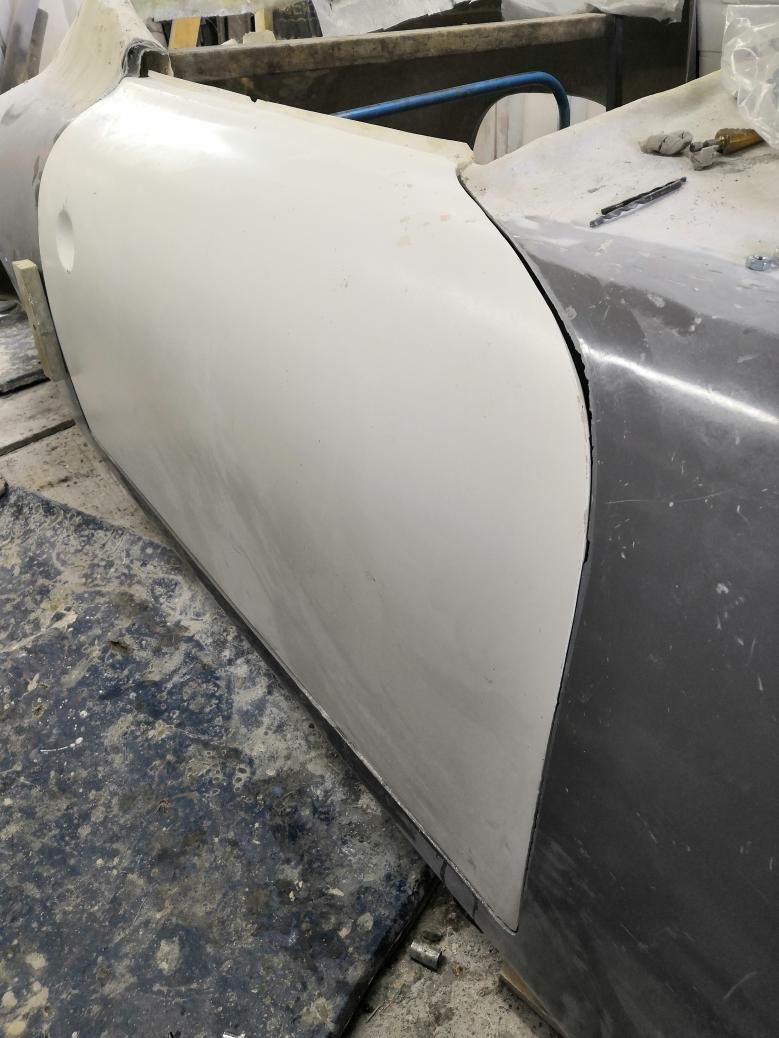
The door gaps look better now the body has support at both ends as well as the middle. The bonnet fits and looks so much better now I have lifted and brought the front out a little . I think its a bit to flat across the back of the seats so need to have a good look at some picture see is I need to raise it a little. should be seeing some primmer soon whoop whoop
did the google bit and found the external dimensions of an mx 5 engine 600mm high from bottom of the sump too the oil filler cap. that should just hang passed the cross member by about 2" and clear the bonnet. the new wheels lift the car by a good 3" so the should cover the low sump. not sure about how the gearbox will fit tho but I should have the mx here by the end of the week so we will no if I need to get the grinder out again. today's works start on the floor I recessed the seat bit 60mm at the back but even before with the seat on a flat floor it was good for seeing over the bonnet and head height.




 wtf excuse me