MadaboutKitcars

This is a read-only archive of the old Madabout Kitcars forum. New posts and replies are no longer possible, but every thread is still here to browse and read.

MX250 Phoenix from the ashes

17 Jul 2019, 9:35am
A good procedure from Paul but remember to go easy on the catalyst/hardener in the resin. Many a GRP-under-GRP mod has caused the original panel to droop/distort.
18 Jul 2019, 4:49pm
OK, I’ve had a rummage through some old build photos and apologies if you have this covered already.

I don’t want to hi-jack your thread, as I’m certainly no expert, but I did a LOT of fibreglass work on my car…

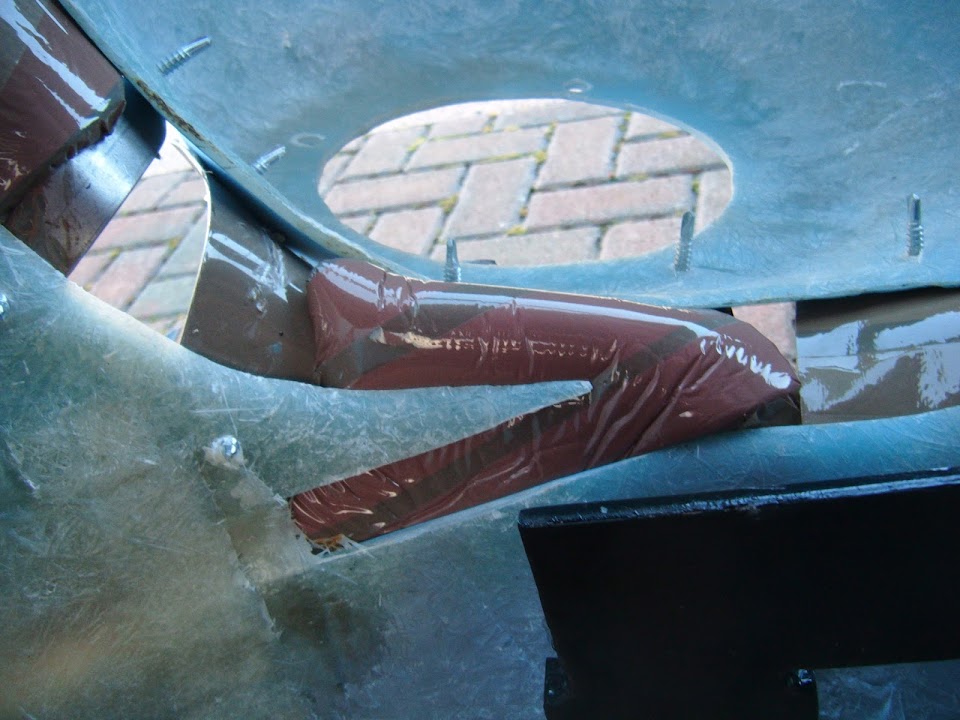
Normal brown parcel tape creates an effective barrier that fibreglass matting will not stick too.

So by adding tape to the bottom of a length of hard board I had a ‘former’.
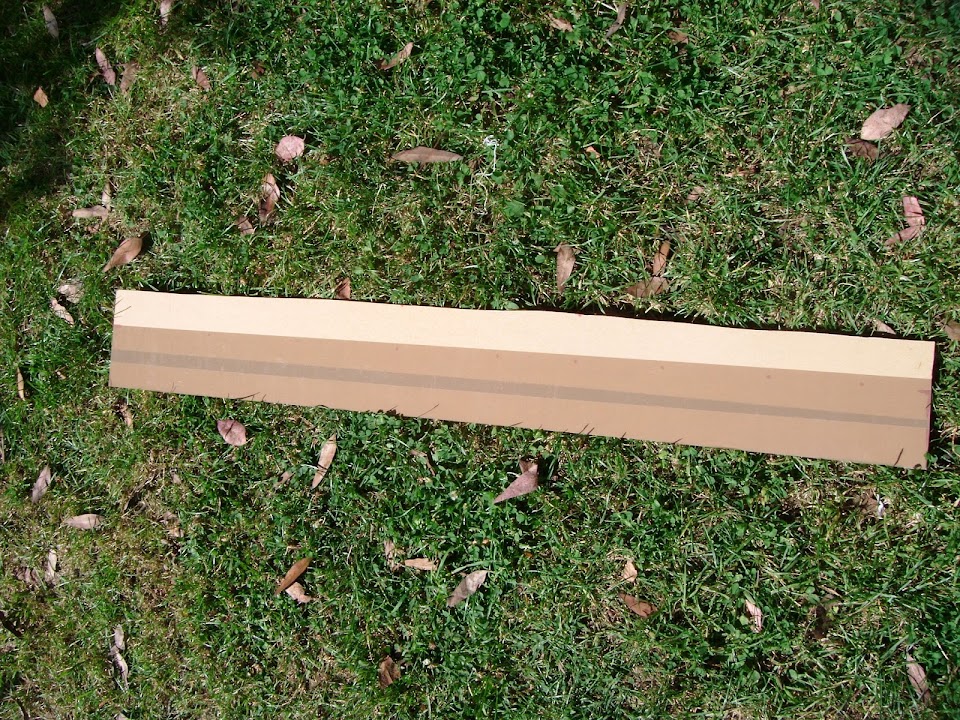


Which I then screwed to the sunny side of an aero hump in order to extend the depth on one side.
( Note: I used way too many screws for this job. :rolleyes: )


Leaving the underside looking like this.
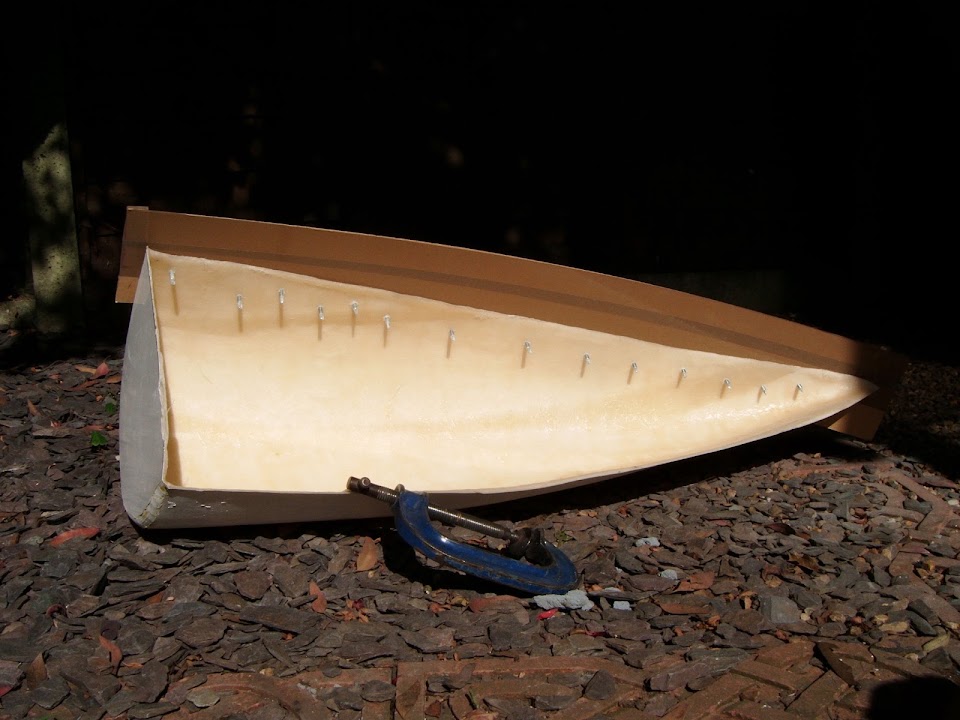


The matting was then added to both the former to match the depth of the original piece and overlapping the join too.


After removing the screws, the hardboard simply peeled away from the hump.


You can see the gaps / messy join on the sunny side of this hump.

But the following photos are from me sealing my doors shut, as they show the next steps better.

In this case, rather than use a former, the original doors were fixed into place and joined on the inside first.


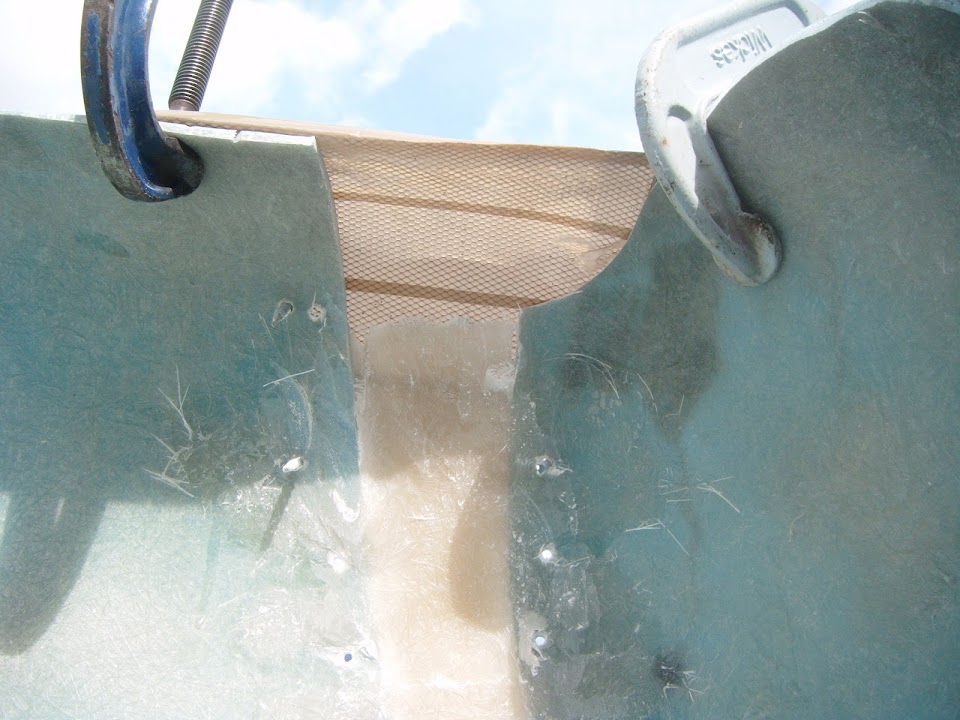
Again, there is a gap on the sunny side where the old and new pieces meet.
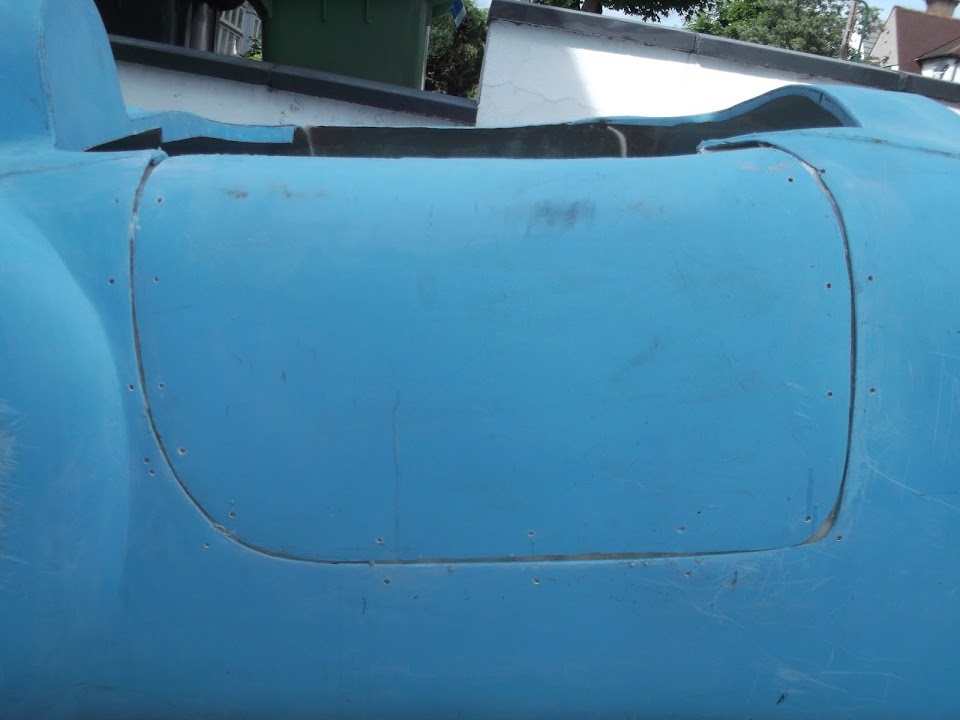


This gap is ground out into a “V” which is narrow and the bottom and wider at the top.
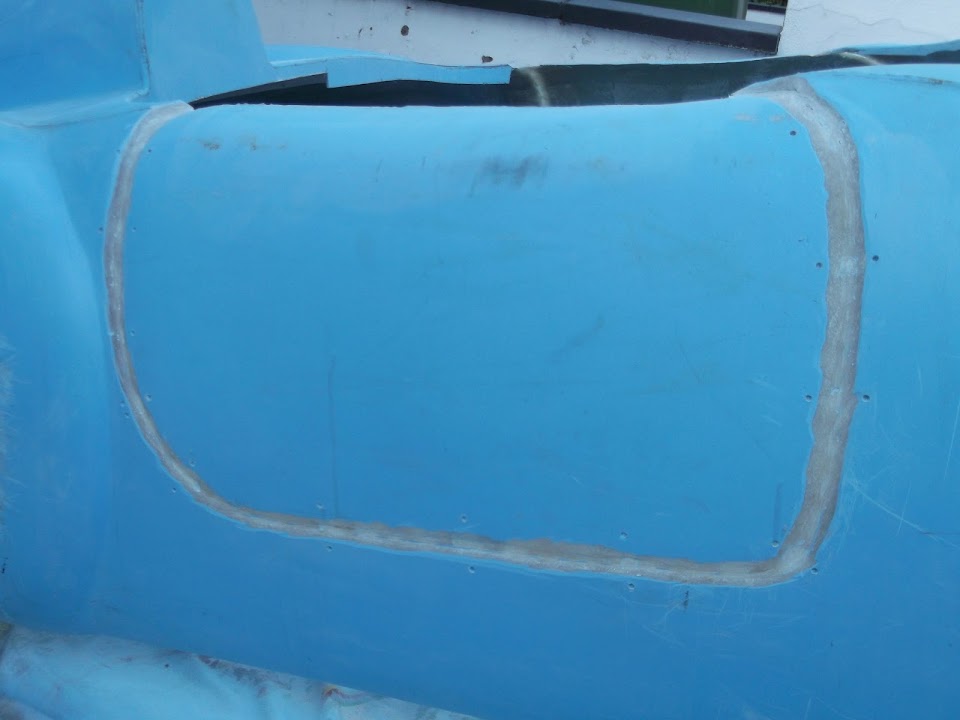


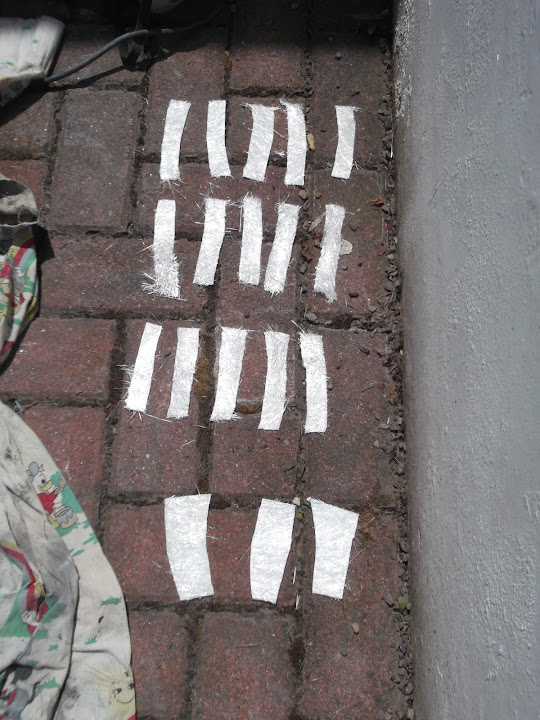
To fill this, I cut out a selection of fibreglass strips in various widths.
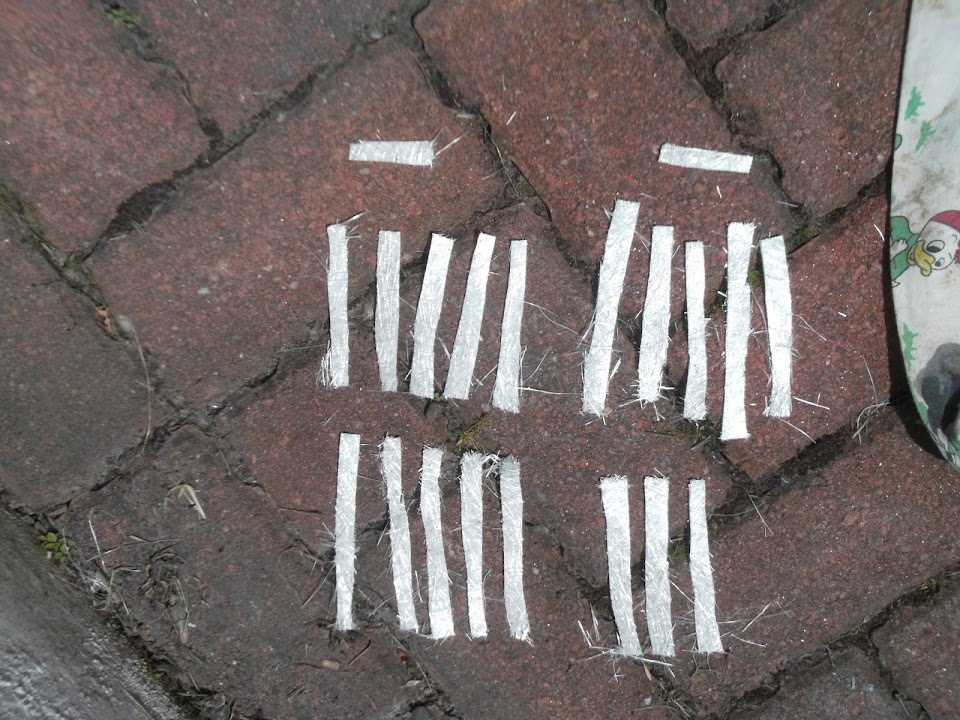


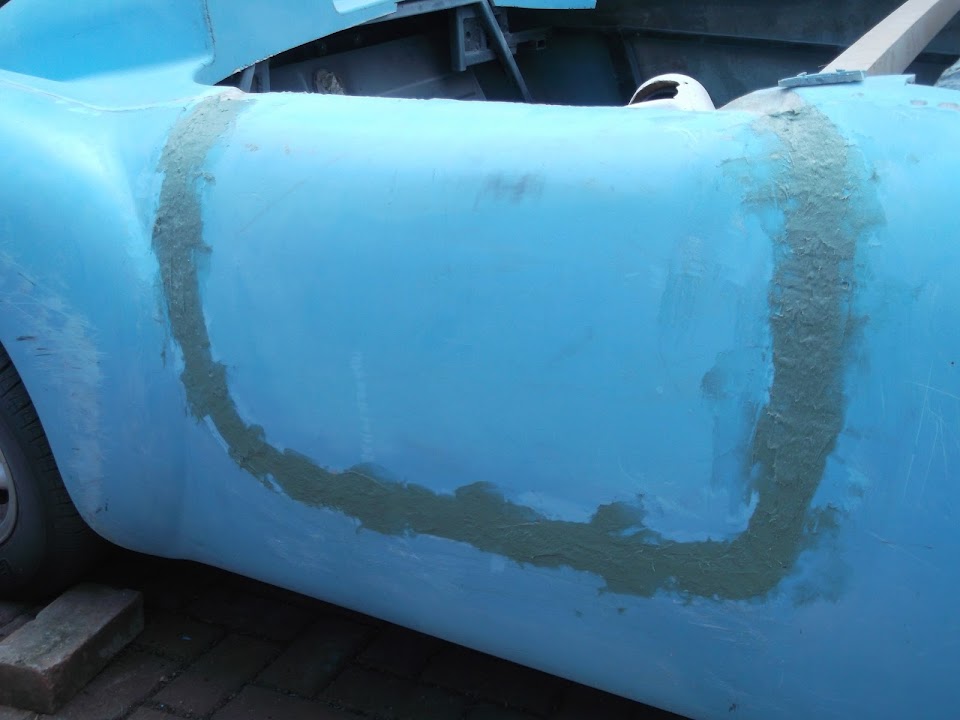
Then I slowly built up the layers of matting in the V.


Before a final layer of filler to tidy things up a bit more.


By the time the sanding is finished and the primer is on, you can’t see the join on the sunny side.
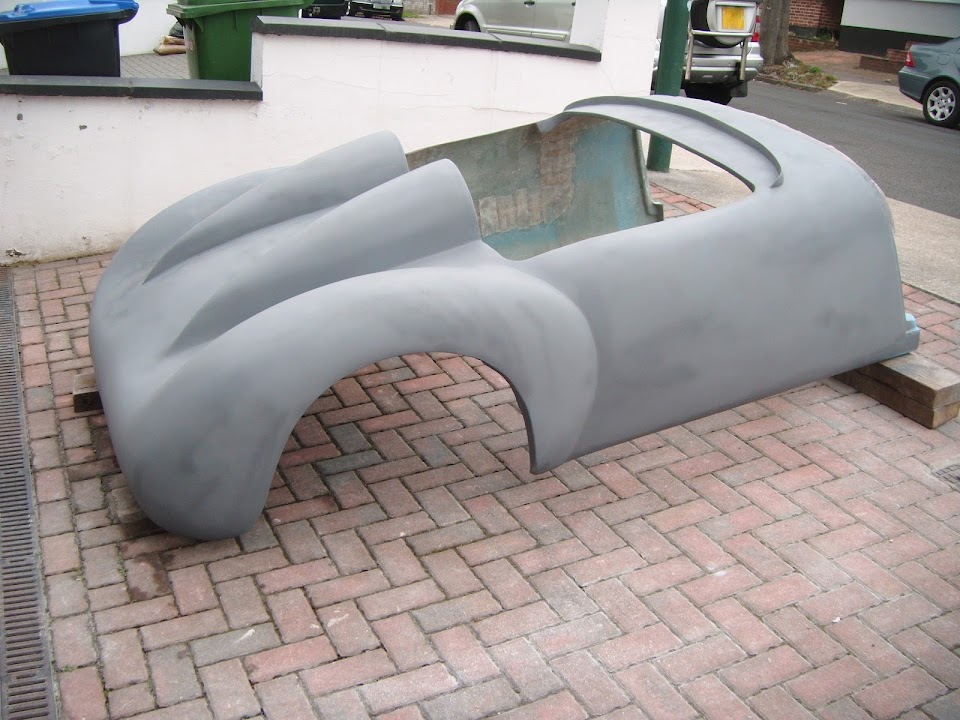


End of Part 1…
18 Jul 2019, 4:50pm
Formers:
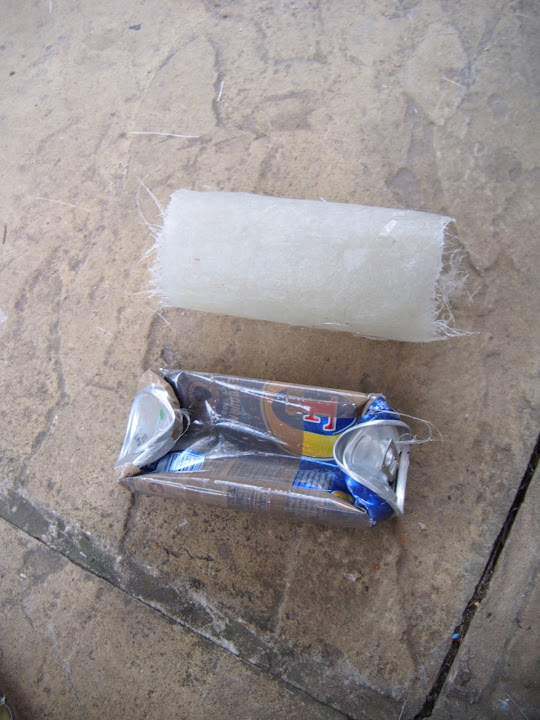
It is worth mentioning that you can put parcel tape on almost anything to create a former of the required shape.

So I have used beer cans to create cut outs in the body shell for my exhaust pipes.


Modelling mesh to repair a curved corner section of my body shell.


Even a pink yoga mat to create a curved valley in my bonnet (after I had chopped it into two pieces).


Building the join up in stages.


Because the inside surface is where you are working, the sunny side of the former can be a real mess. :rolleyes:


But once you have added the strength you need to the underside, you just need to finish off the sunny side.


And finally, I found a roll of ‘Builders Band’ to be very useful for holding complex shapes together.


Note: I’m happy to delete these two posts if they are a distraction from your thread, but I hope that helps.

Good luck, Paul. :)
18 Jul 2019, 10:09pm
Paul, that is brilliant. Thanks a million. I am a heavy diesel fitter by trade, so good with the spanners. But my limit of being 'creative' involves hitting stuff with a hammer to make it work. The more broken it is, the bigger the hammer needed!!

As you may have seen from my first MX250 build I was pretty unadventurous, sticking to an easy idea (GTO recreation). However, as I was building it for a mate (I do have unlimited access to it) I was glad of the 'learning curve' and the experience. Now I am on to my own, and keeping in mind I bought it as an 'unfinished project' off Gumtree I am keen to differ from the norm.

The tips and hints in your last 2 posts are absolutely invaluable. I had no idea that brown parcel tape is so useable as a former. I have seen people talking about using 'formers' but had no idea what it was or how to use it. After reading your last couple of posts I am filled with a whole new sense of confidence (and a rough idea of how to use that new confidence).

Thanks a million and watch this space for some slightly more adventurous kit car building!!!!!
19 Jul 2019, 8:37am
No worries Craig, I’m glad I could help. :cool:

I’d never used fibreglass before and learnt a lot from reading other build threads.

In particular, the way Chris and Dan @ Tribute built their cars from scratch was a big help to me.

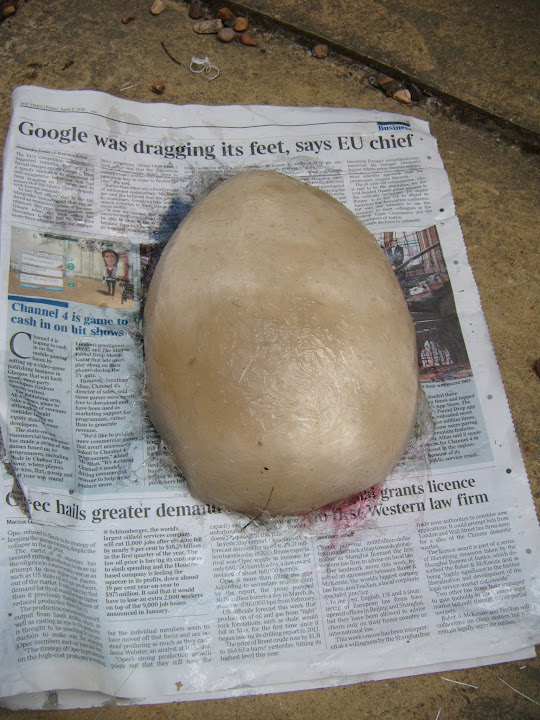
Another former trick is using some cling film.

In this case, I’d wrapped it over some shaped insulation foam to make a bonnet ‘bulge’.


The fibreglass matting goes on as before.


It can then be separated after the fibreglass has set.


I made a few, OK, quite a few, mistakes as I learnt how fibreglass worked.

But once you get the hang of it, it does allow you to make any shape you want.

Good luck, Paul. :)

PS
With Irish parents and an Irish wife, the phase “Thanks a million” did make me smile. :D
21 Jul 2019, 8:01am
Paul I knew you rebuilt that body - but I had forgot the extent of your work.
You are now the inspiration to other builders nervous to pick up that angle grinder

Craig my advice is to give it a go
fibreglass is great because you can always re attach it if you don't like the cuts you made.
21 Jul 2019, 8:25pm
Some great tips there, thanks Paul.
22 Jul 2019, 8:55pm
I like that .. what is it ???
22 Jul 2019, 8:59pm
its a Nissan s14 silvia
22 Jul 2019, 10:12pm
redratbike wrote:
I like that .. what is it ???


" Rocket Bunny " Boss conversion. Looking at google images and their website the body kit is aimed at the drifting enthusiasts ! Think I'm 25 years too old for that !
22 Jul 2019, 11:32pm
Lucky@LeMans wrote:
" Rocket Bunny " Boss conversion. Looking at google images and their website the body kit is aimed at the drifting enthusiasts ! Think I'm 25 years too old for that !


Most of their stuff, with the over inflated bolt on wheel arches etc is more than just a bit 'drift'. But that front end and the way it flows with the car's line's while at the same time evoking muscle cars of times past... for me it is a win.