This is a read-only archive of the old Madabout Kitcars forum. New posts and replies are no longer possible, but every thread is still here to browse and read.
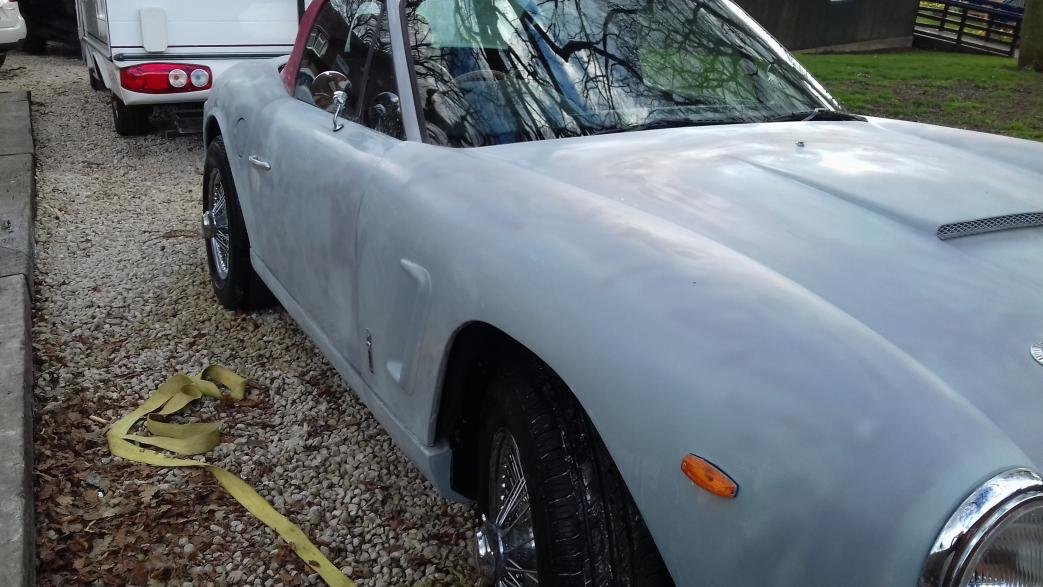
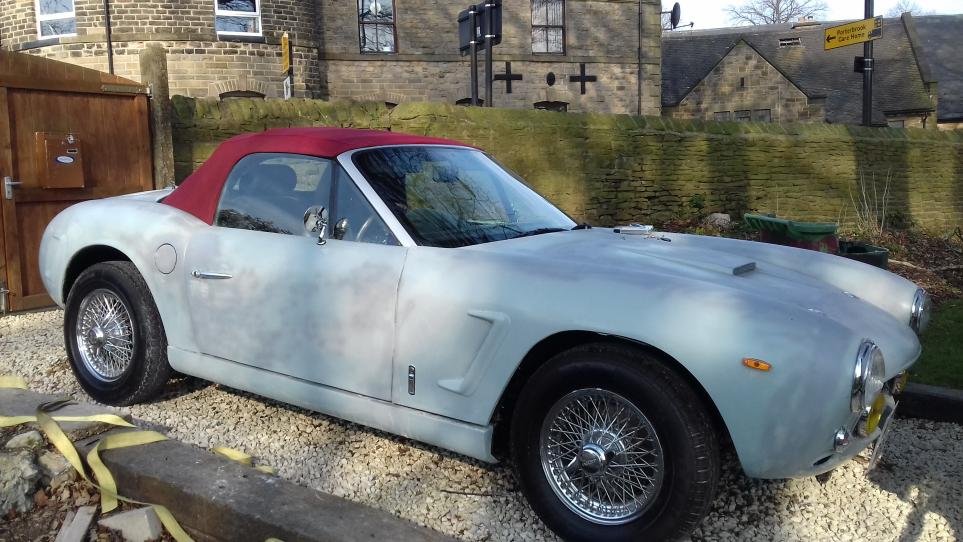
Interesting that these wheels fit and on your other kit you had to flare the rear arches. I don't think Chris has changed the mould.
I seem to remember that the last set of wires were from an Aston and these are from a Jag.
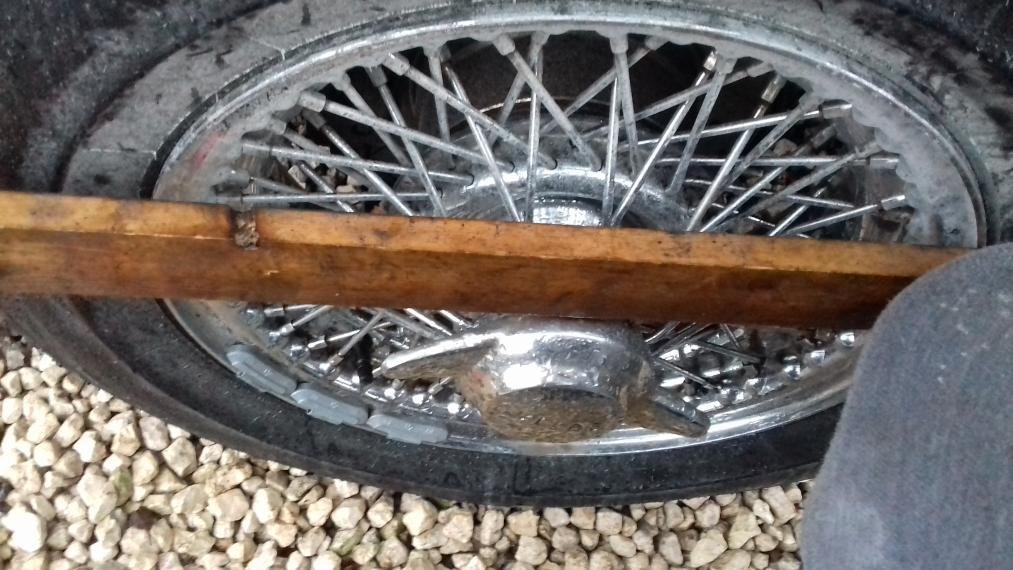
Any chance next time you have the wheels of of taking a measurement as the wheels can be trued with the spokes for different offsets. If you place a flat 2x2 wooden batten on the front surface at the wheel centre and then take a measurement from the outer rim to the batten. That will give us all a measurement that we know works.
I have a set of Aston wheels in the garage, I will take the same measurement from mine. With this sort of information you could ask an Ebay seller this measurement so that you don't waste your money on a set of wires that sit too far in or out.
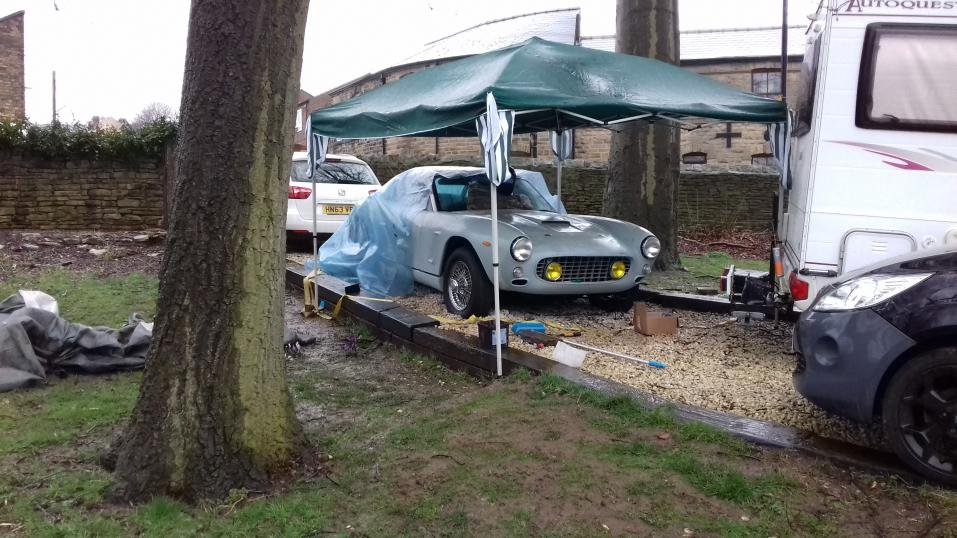
Back at work next week so it will slow down a wee bit more or less been full time this week bar the bloody weather it's a outside build.
looking at the wheels the offset looks nowhere near the last set I had I will take a measure them when I think on, there off a etype jag.
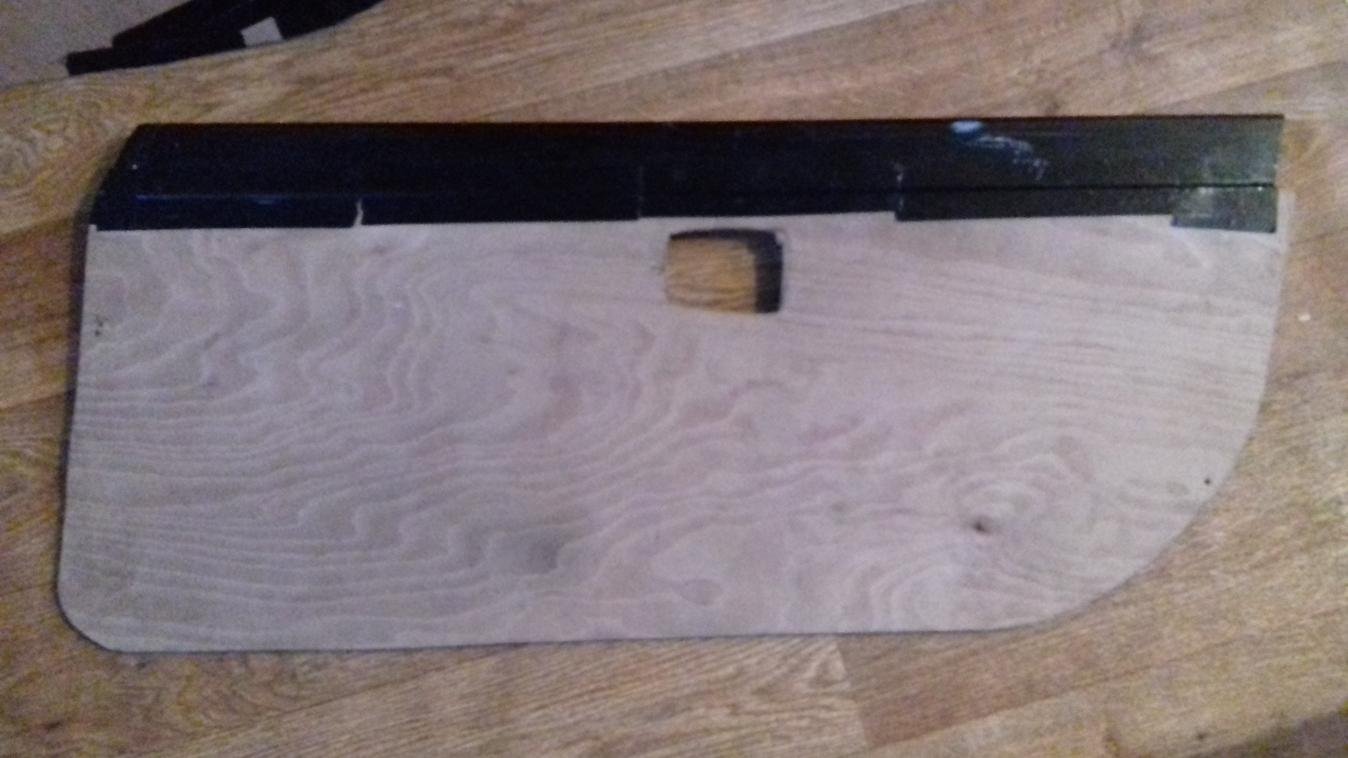
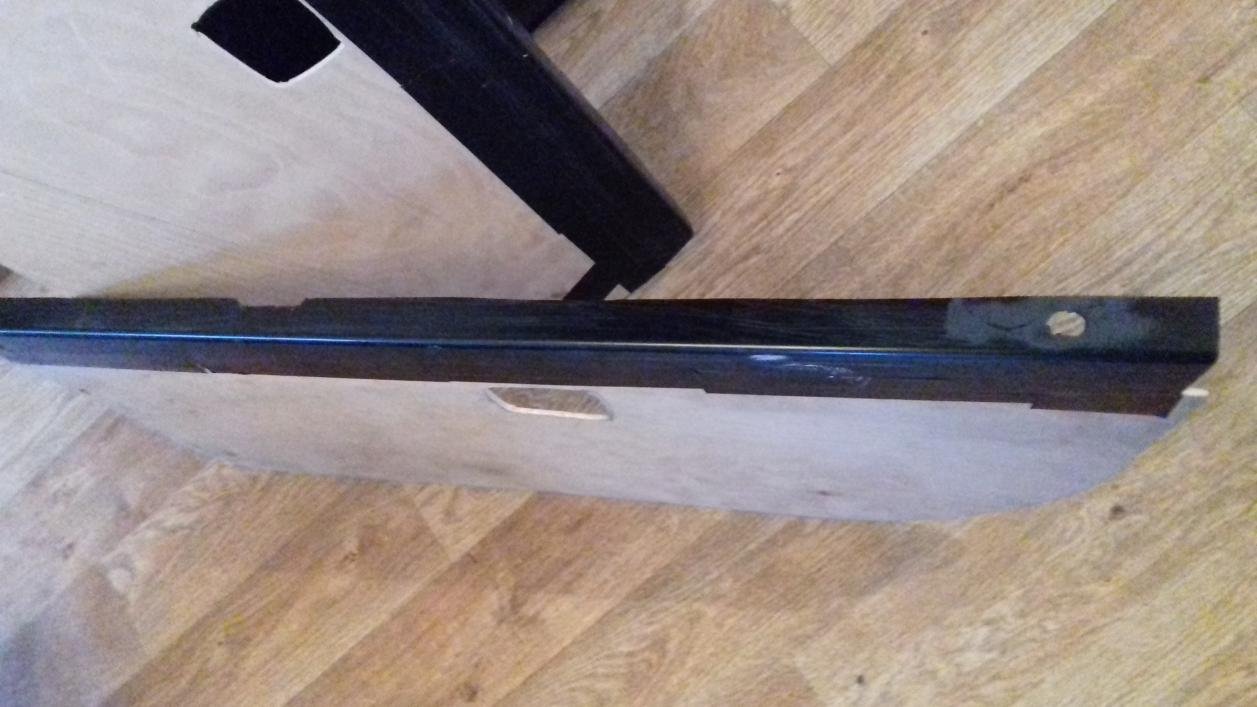
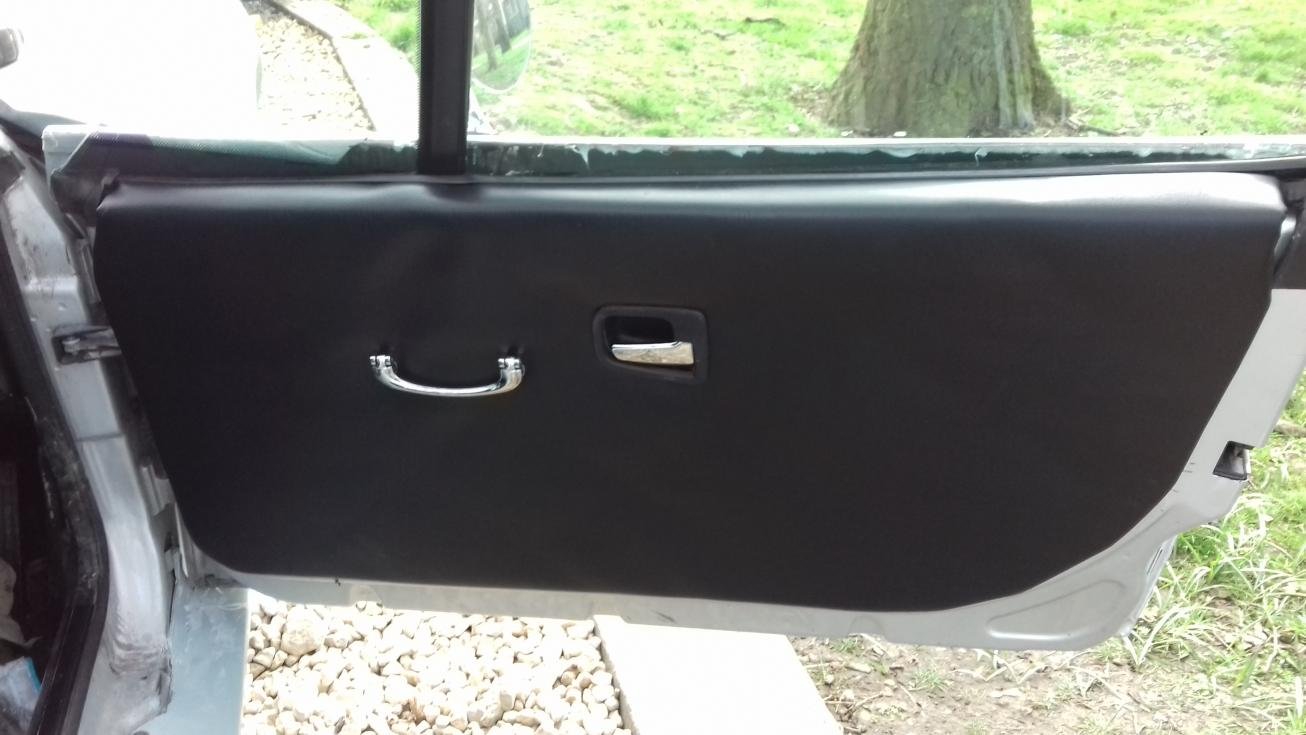
rained off all day saturday so had a go a making some door panels 5mm exterior ply with a bit of cut down square drain pipe for the top.
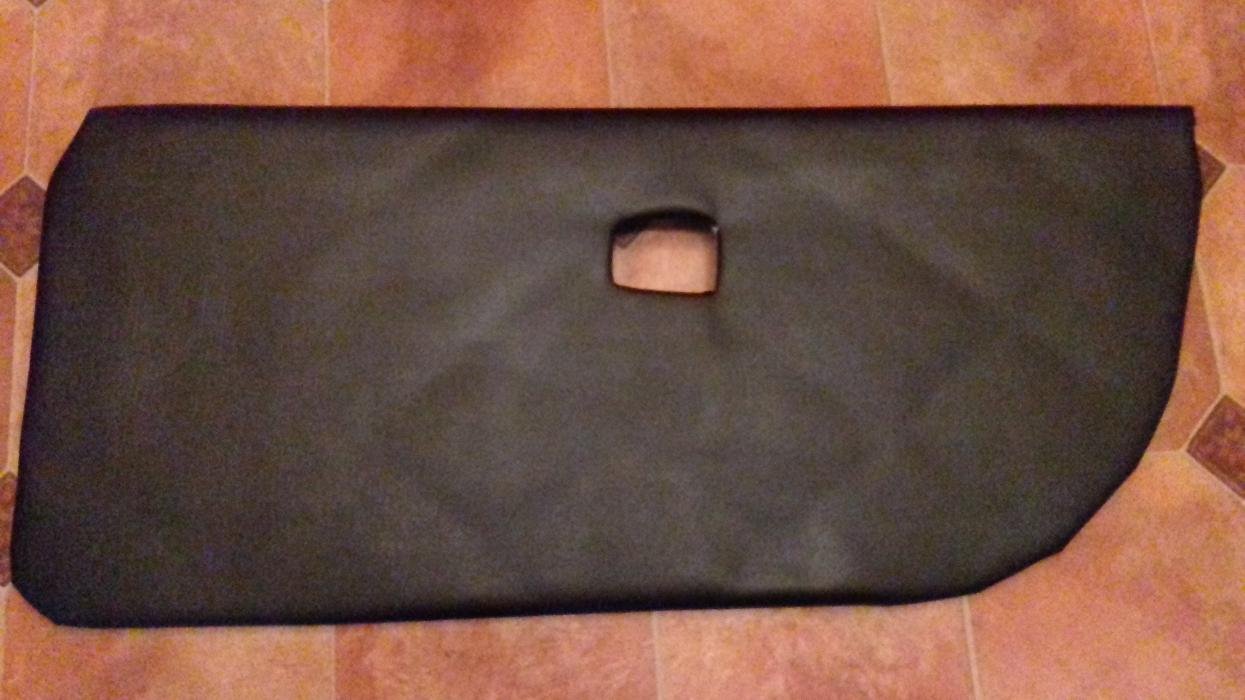
used on old quilt to give it a bit of padding its given them a diamond pattern showing through, bought a set of lucas original chrome pull handles should look good fitted.
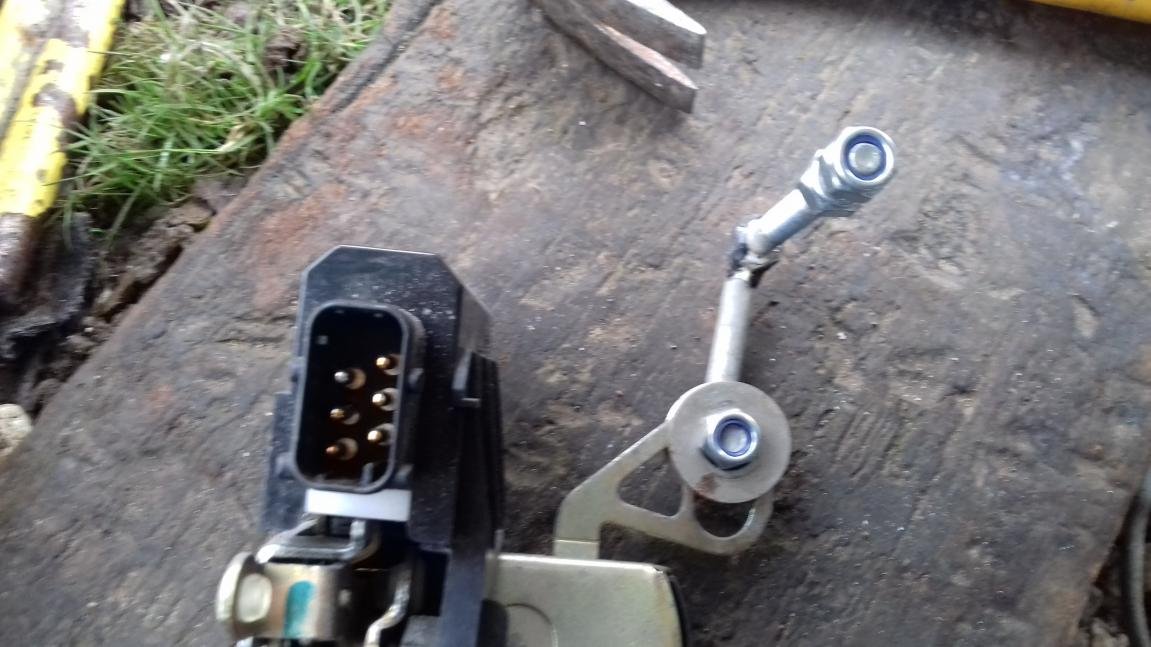
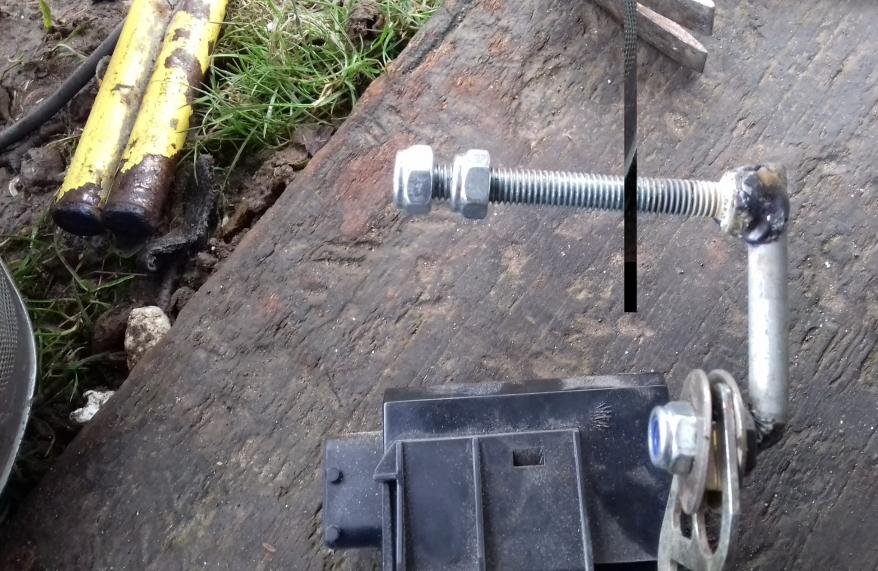
spent all day working on the door locks been a proper pain in the arse you get them days . walk away think about it figure what you're doing wrong try again. I wouldn't mind but there the same as the last build and I had no problems getting them to work
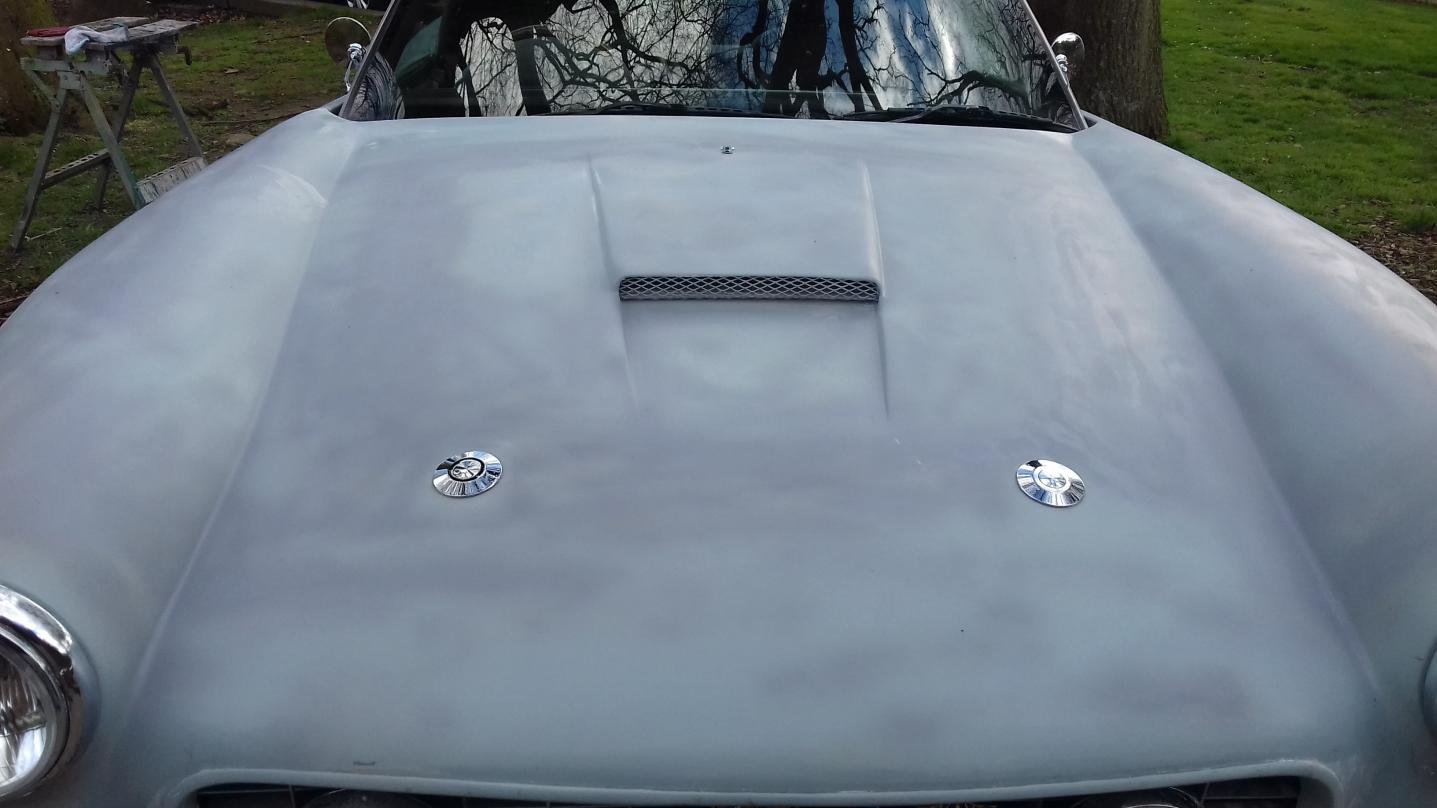
Like the bonnet fixings, they look great and seem familiar...
...make sure you have something underneath to push the bonnet panel up. I have to open my bonnet on the left side first otherwise the right side opens and then nothing.
Interesting that these wheels fit and on your other kit you had to flare the rear arches. I don't think Chris has changed the mould.
I seem to remember that the last set of wires were from an Aston and these are from a Jag.
Any chance next time you have the wheels of of taking a measurement as the wheels can be trued with the spokes for different offsets. If you place a flat 2x2 wooden batten on the front surface at the wheel centre and then take a measurement from the outer rim to the batten. That will give us all a measurement that we know works.
I have a set of Aston wheels in the garage, I will take the same measurement from mine. With this sort of information you could ask an Ebay seller this measurement so that you don't waste your money on a set of wires that sit too far in or out.
holding the wood to the wheel the hubnut part is about 20mm proud of the rest of the wheel I suppose you could say a negative offset
this weather is been a pain in the arse soaked again
well finally got the doors to work but no central locking the battery is flat in the remote fob always something.
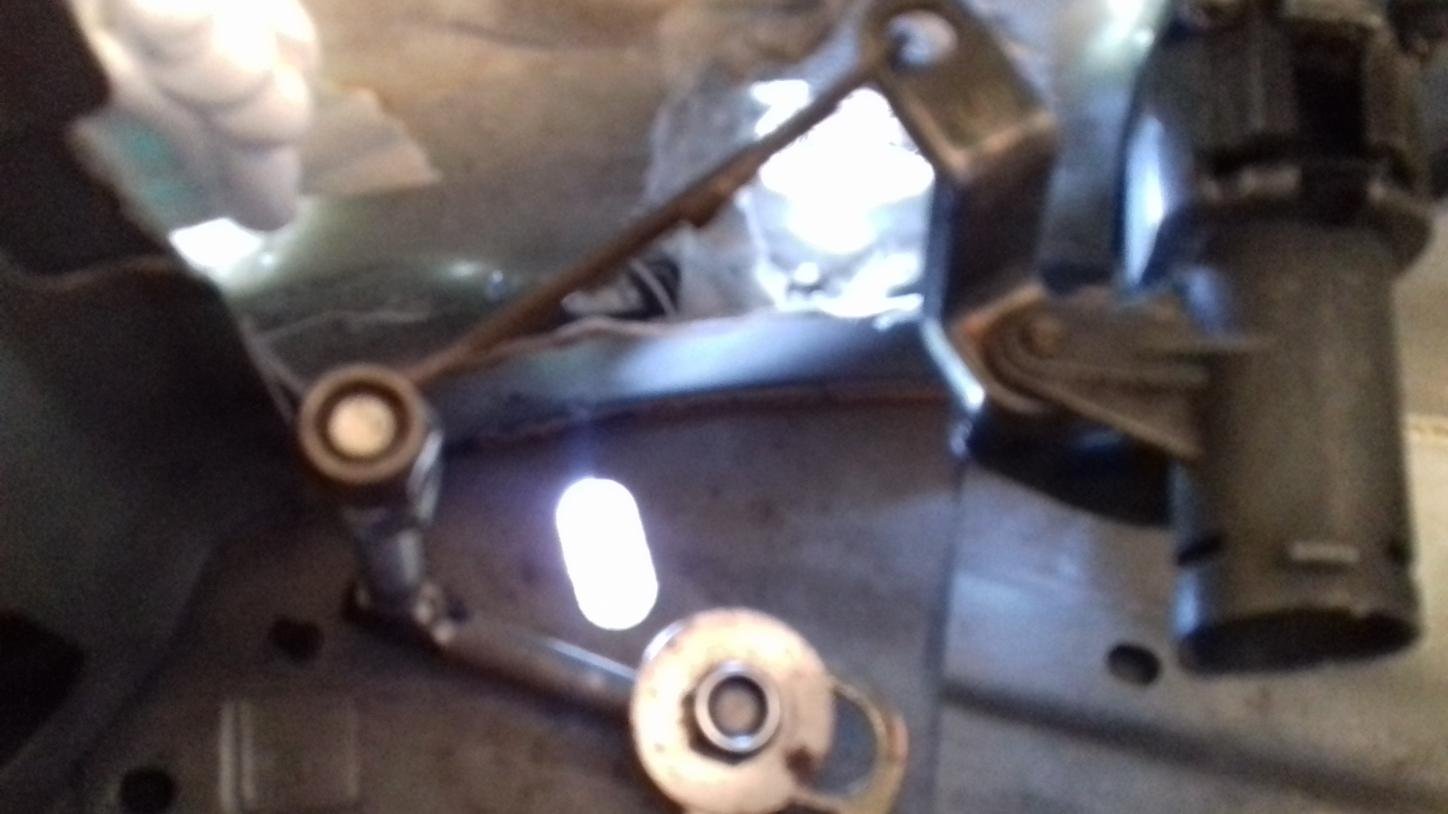
heres what I came up with for the doors
The door handles are a little low but it works and after two days of playing with it I will not be changing them they will grow on me . The door locks need to be set spot on to release the locking mechanism otherwise it will lock but not unlock. you need to listen for a click when it locks and unlocks that's what took me so long it would not release it fully.
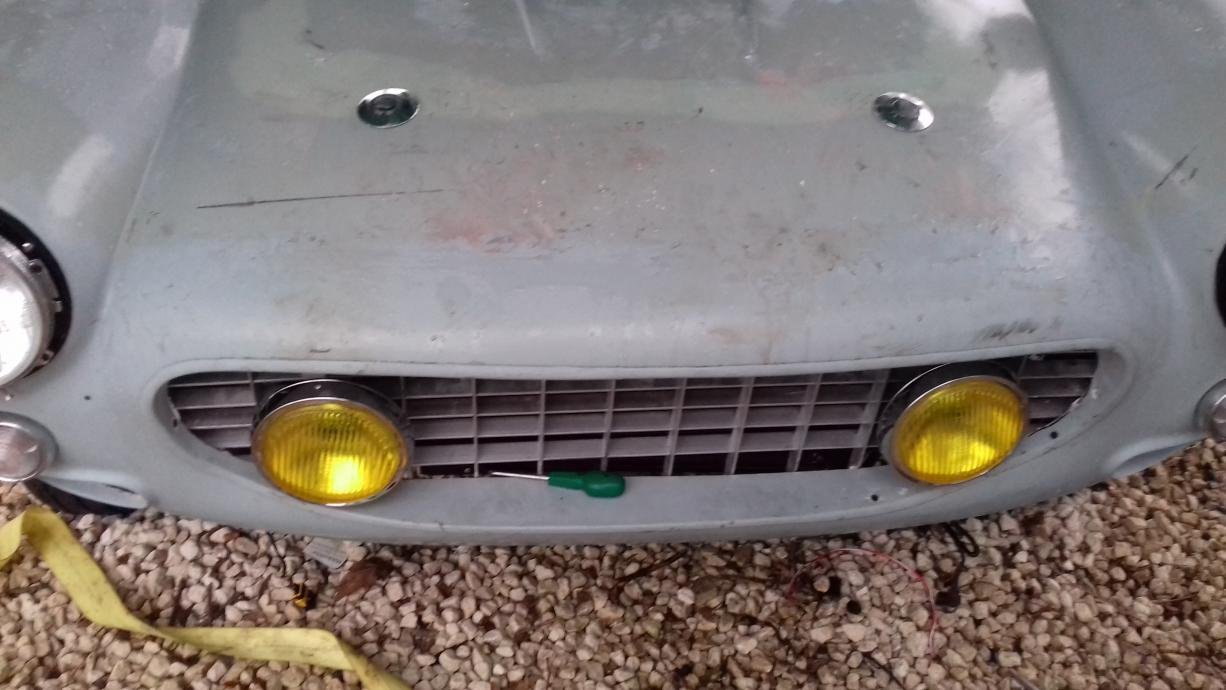
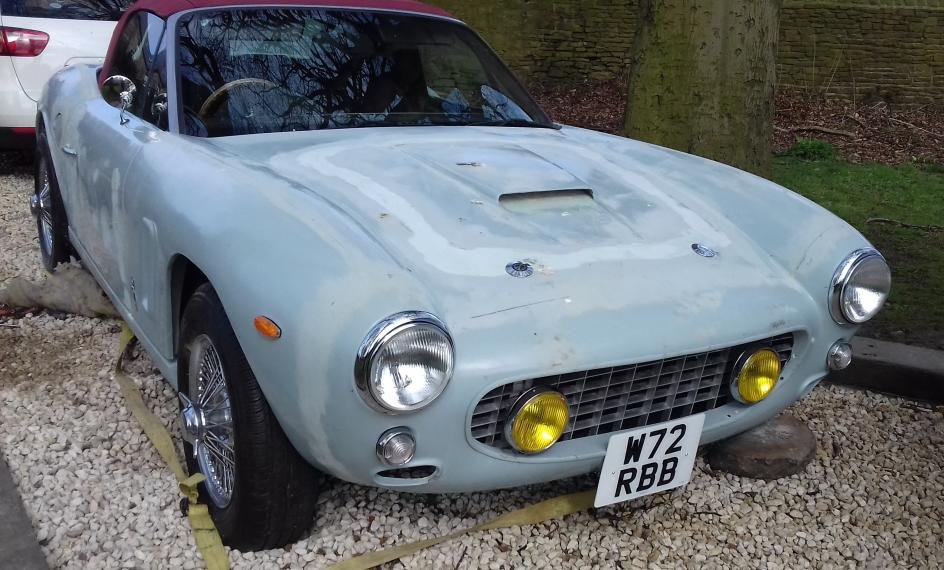
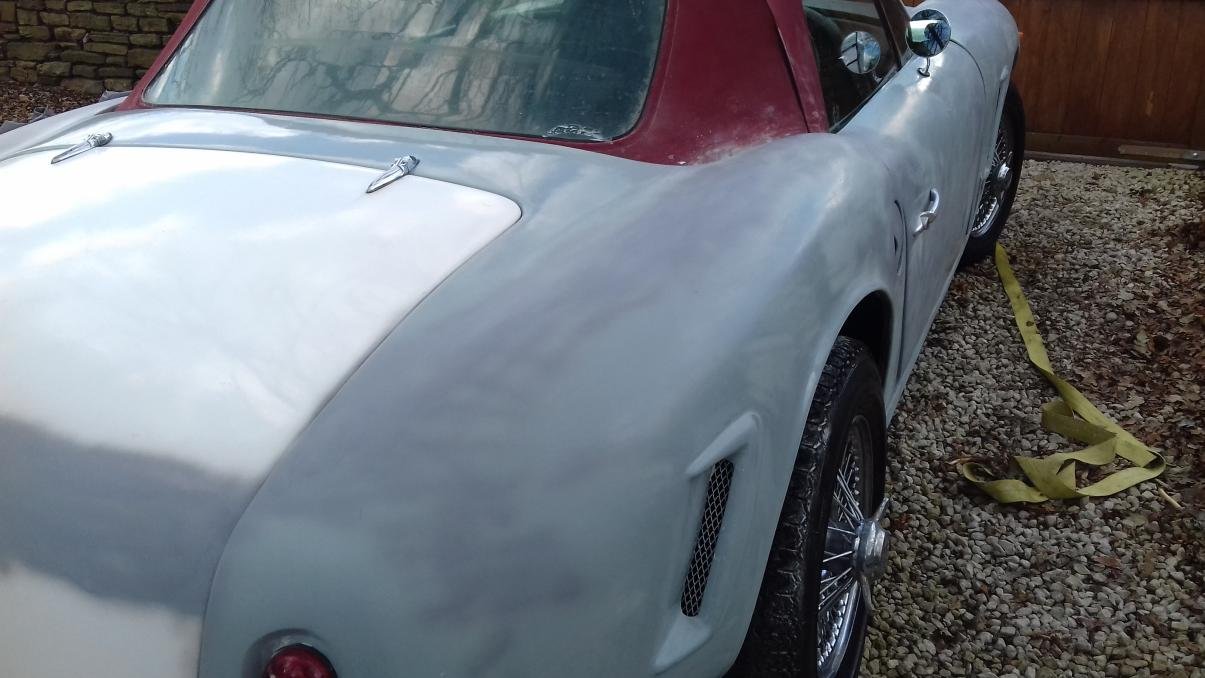
Managed to get the hood pins and fog lights fitted this weekend in the pouring rain.
bought some bb classic bucket seats but don't like them mega uncomfy so back on ebay and the seat hunt starts again.
I reckon a couple of good days will see it ready for paint
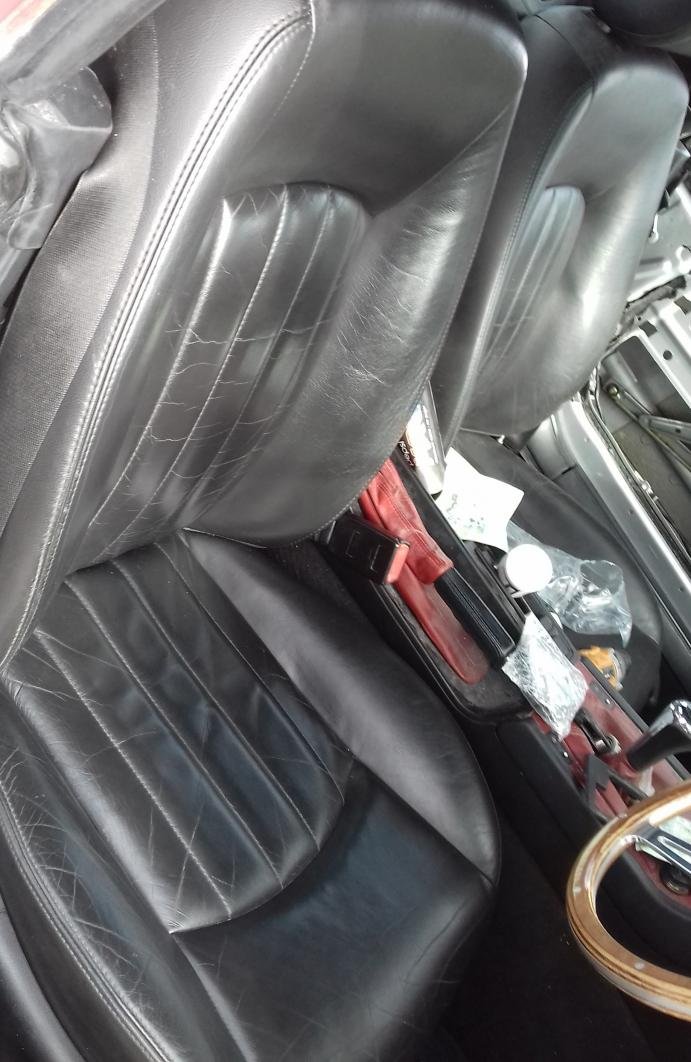
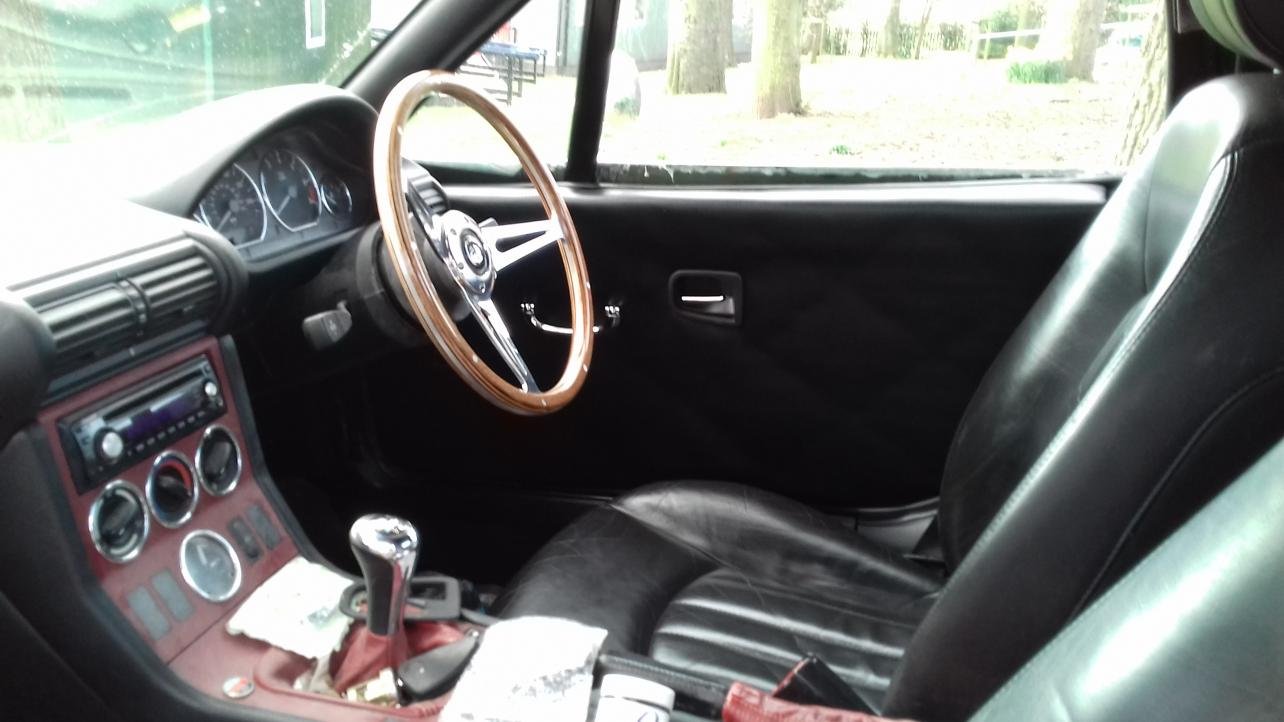
managed to squeeze a pair of jag leather seats in and I do mean squeeze
had to try the door cards I have made
I know they need to come off for paint but they fit well and look better than the stock Z3, I may have to ebay a pair of speaker covers not sure on that one
Ha Ha, I tried Chrome and they came up fine, but I mainly use Firefox, Weird...!
Wow you certainly move fast on these builds Andy, You have done what took me 1 year in 2 months!
Those Jag seats look big & comfortable and the filling in the the smaller bonnet piece looks interesting, no fiddly gaps to contend with on that one now.
It will be intersting to see what the car looks like in paint, what colour are you going for?
What are you using for the locking catch itself as it sitting too low to use the normal bear claw?
I made a longer arm which worked well but didn't have any kind of spring to hold it closed. Was worried it might open on its own if I had forgotten to lock it.
Got my V5 back this week we now have a tribute 250swb. 7 days from sending it not bad going.
Thats good news ...mine has just taken 3 months , but it was slightly different situation !
Did they retain BMW ?
I only ask as originally when we started the S*mmio's , they removed Triumph and replaced it with S*mmio , then they decided that Triumph had to stay and model details only can be changed .. so , it would be MAKE -S*mmio , MODEL - Spyder .... The guy I spoke to this time said thats how it has to be from now on , yet my V5 came back MAKE - Triumph S*mmio , MODEL - left blank !!
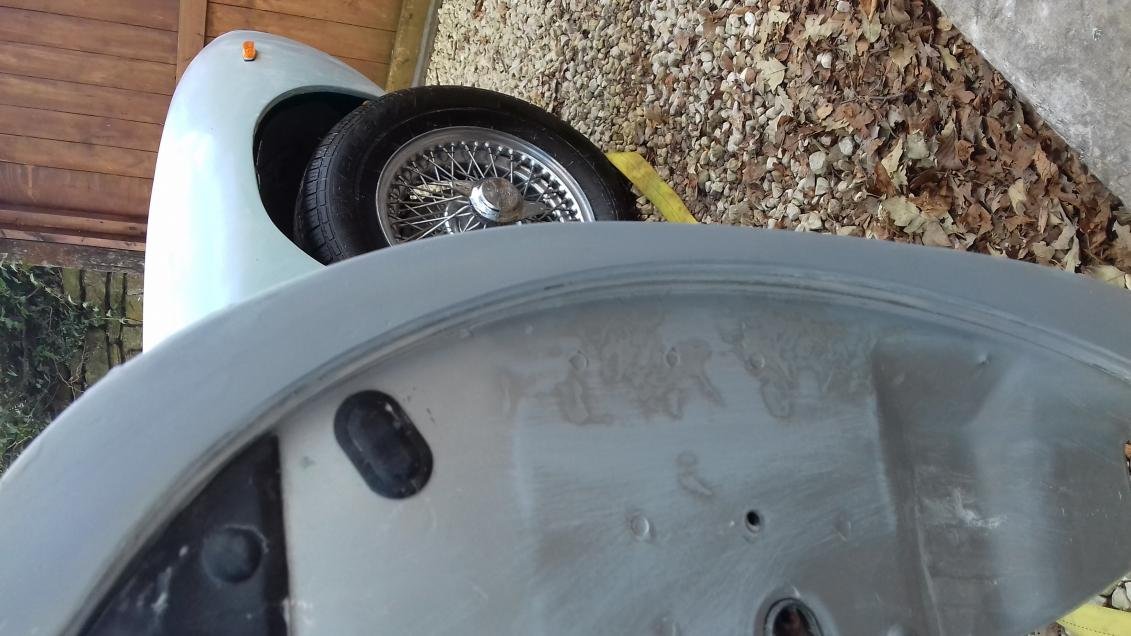
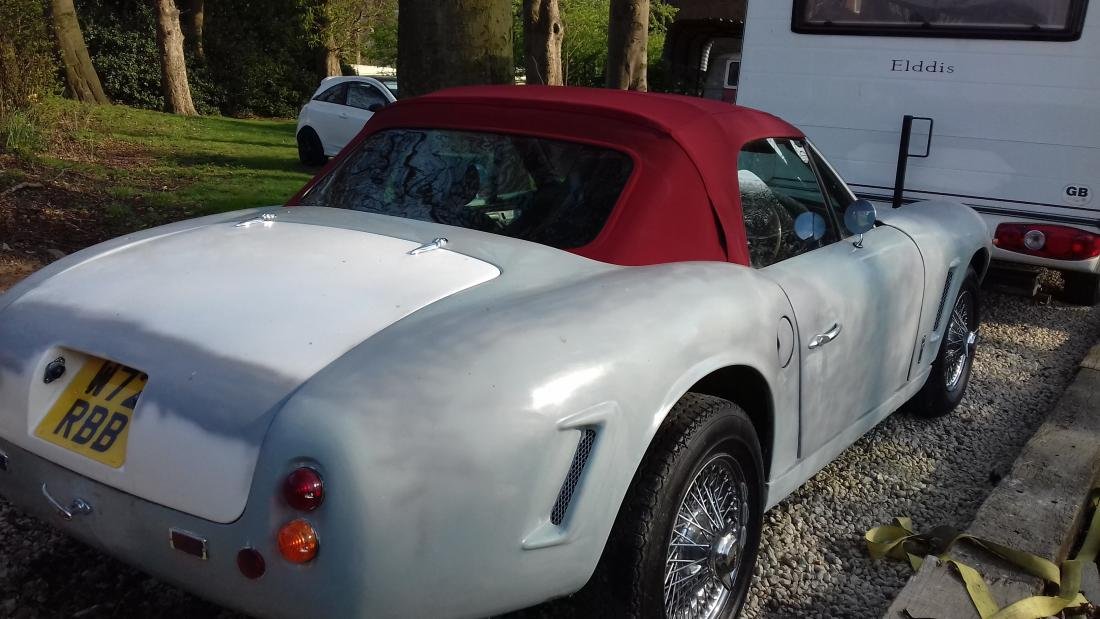
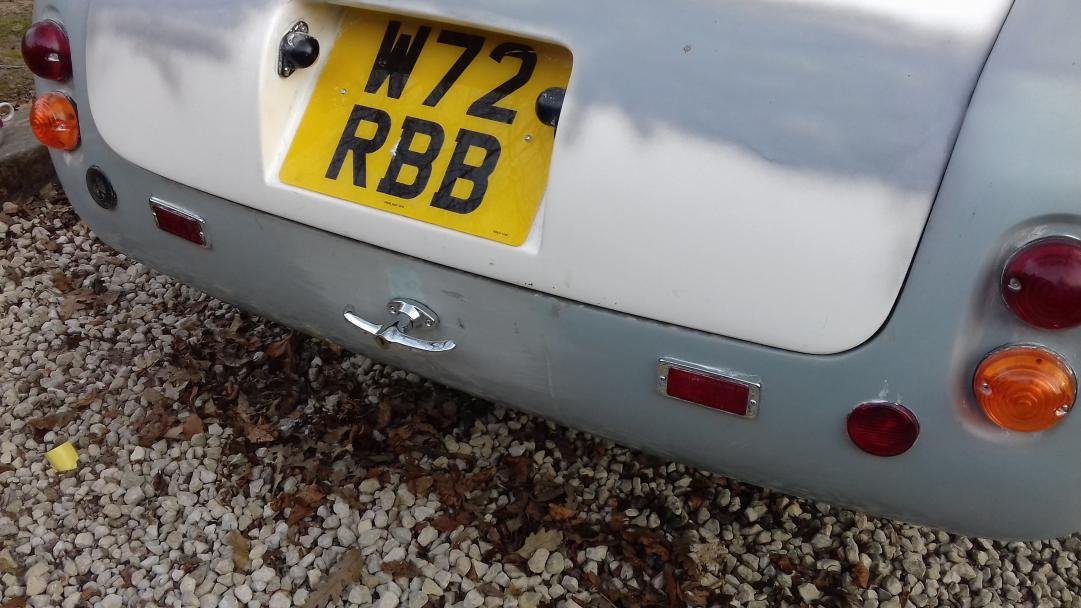
Have you sorted your boot issues , it looks to fit a bit better in these pics ?