MadaboutKitcars

This is a read-only archive of the old Madabout Kitcars forum. New posts and replies are no longer possible, but every thread is still here to browse and read.

Darren's MX250

15 Jan 2017, 7:59pm
Not sure that the picture worked in the last post, so attached here
15 Jan 2017, 8:07pm
Question 2:
The roll cage is not fitting quite right. I think it is the centre mounting points rear of the doors. The mounts need to go slightly more rearward but can't because there is a raised area of metal. Has anyone else had this issue? I thing the answer is to grind a few mm off the rear edge of the centre mounting feet, but wanted to check if others have had to do the same? (My MX5 is a Mk2.5).
15 Jan 2017, 8:32pm
Q3 - Front wing extenders:

I have trial fitted the front wing extender and it does not seem to be naturally fitting well, so I just wanted to clarify the following

(i) there is a lip on the inboard side of the top rail (see picture). Does the wing extender fit on this, or does it need to be bent over / flattened?
(ii) In the picture with the wing extender in place, it fouls on the metal on the top left hand corner. Do I need to cut round this part or is it okay?


15 Jan 2017, 8:35pm
Photos:
16 Jan 2017, 6:09pm
I did have to fettle my roll cage slightly, no idea if it was the car out of true or the cage.
The wing extenders were just bolted on without modification or seam hammering.

Not sure about the rubbers, I did it on a Mk1 which looks different I think.
16 Jan 2017, 10:56pm
Thanks Landmannnn. What tool did you use to fettle the rollcage - did you just use an angle grinder an cutting disc?

Any mark 2 builders out there that can help with the roof rubber question?
17 Jan 2017, 3:12pm
Angle grinder. Do lots of measurement of the cage and the car first, now I remember that I had a broken front spring which put the car slightly out.
18 Jan 2017, 4:38pm
On the wing extenders, I fitted mine on to a Mk2. I didn't flatten the lip, just bolted through it. I also bolted through the bar at the top to give the extenders some extra support.

The kit I had was for the Mk1 so when trying to fit the front end I had to take out some quite large lumps of GRP to get it to sit where I wanted. I think the Mk2 kit has addressed these problems.

On the roof, can't help as I made the convertible although when I fitted the hardtop I just cut the rubbers and tucked them back in then stuck the bit I had cut out across the middle to make it look finished.
19 Jan 2017, 7:05pm
On the 2 I have put together , I flattened those areas before bolting the wing extenders on ...

I am not surprised that the rollcage doesn't fit every car every time without a bit of fettling ...a fully welded rollbar , no matter how its welded will want to move whilst its bolted to its jig , if you weld a bit of tube , as you roll around it , you can see it move due to heat ...when you release them from the jig , sometimes they will 'spring' a little ..add into the equation repaired cars , pattern panels , slightly twisted cars etc etc ....and things will often be slightly misaligned .. opening up some holes a little or forcing or relieving it with a grinder will compensate for the slight irregularities
19 Jan 2017, 8:46pm
Thanks for all of the comments. Appreciate the help.
23 Jan 2017, 9:24pm
Got the rollbar on at the weekend. Cut a few mm out of the rear of the B Pillar Feet, which allowed it to move slightly more rearwards.
Still had a lot of trouble to get the front windshield bolts in as the feet were slightly too close together. Had my son pulling and pushing, but we couldn't get it to flex enough. In the end, I put a bolt in the left side, put some tape around a screwdriver head and levered the foot on the right side using the hole for the bolt. Whilst I did that, my son put a bolt in the other right hand hole. Then it was easy to get the other two bolts in.

I also did flatten the lip for the front wing extenders. It was actually pretty easy using some pliers using them at 45 degrees so that I could get as wide a lateral area as possible with each turn.

I've been looking at the rear boot extender. A few questions here
- On the mk2, I have a wooden baton under the boot extender that should sit on the rear crash can, but doesn't because it is prevented from doing so by the support flanges. I assume that I need to cut slots to allow the boot extender to move forward more?
- what are the points where I should fix and glue? should I glue the baton to the crash can or is there a way to mechanically fix it?
- there will still be gaps between the extender and the rear boot, should I use fibreglass matting to bridge these gaps?
23 Jan 2017, 9:39pm
On the MK1 I glassed the gaps.
26 Feb 2017, 4:01pm
Hi all,

been making steady progress over the last month or two. Have been trial fitting the rear clamshell and have nearly got it how I want it to sit.

One issue that I still have is that the pods behind the rear wheels are fouling on the rear wing lip. Again, did any Mk2 builders have the same issue? If so how did you get round it?


5 Mar 2017, 9:19pm
It's been a pivotal moment in the build this weekend. In theory, before now, I could have reversed everything I've done and put the car back to its original MX5 specification.

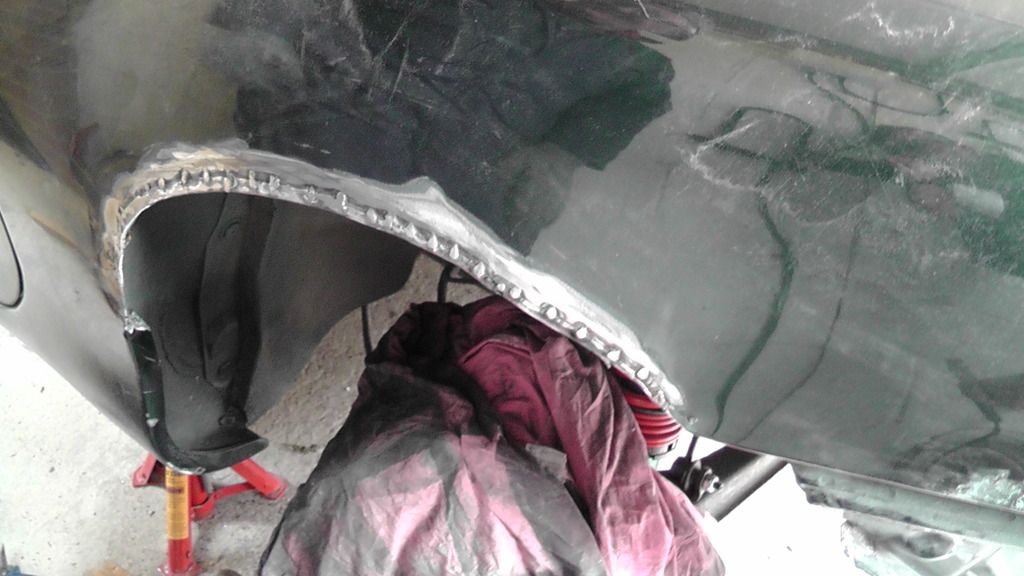
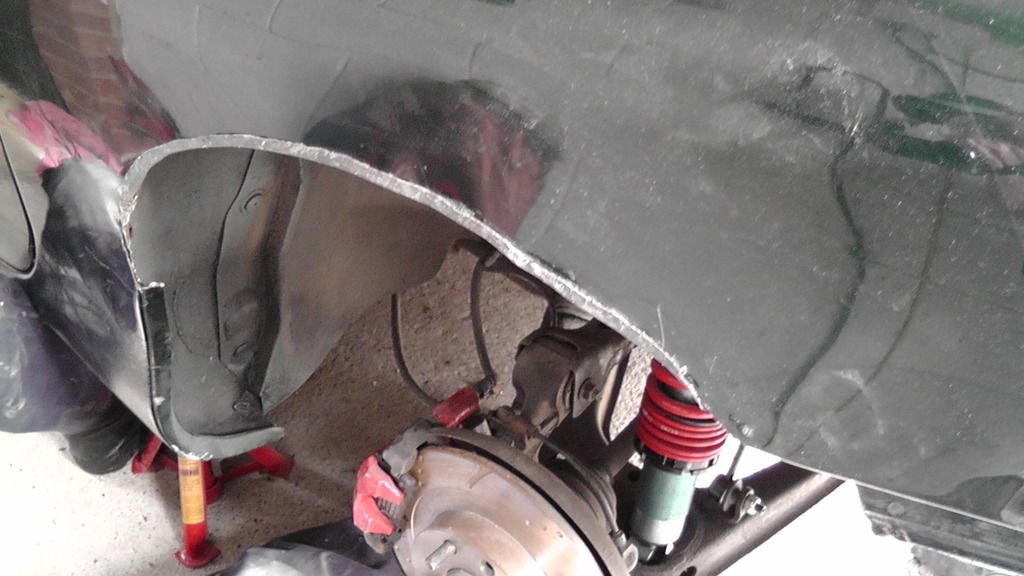
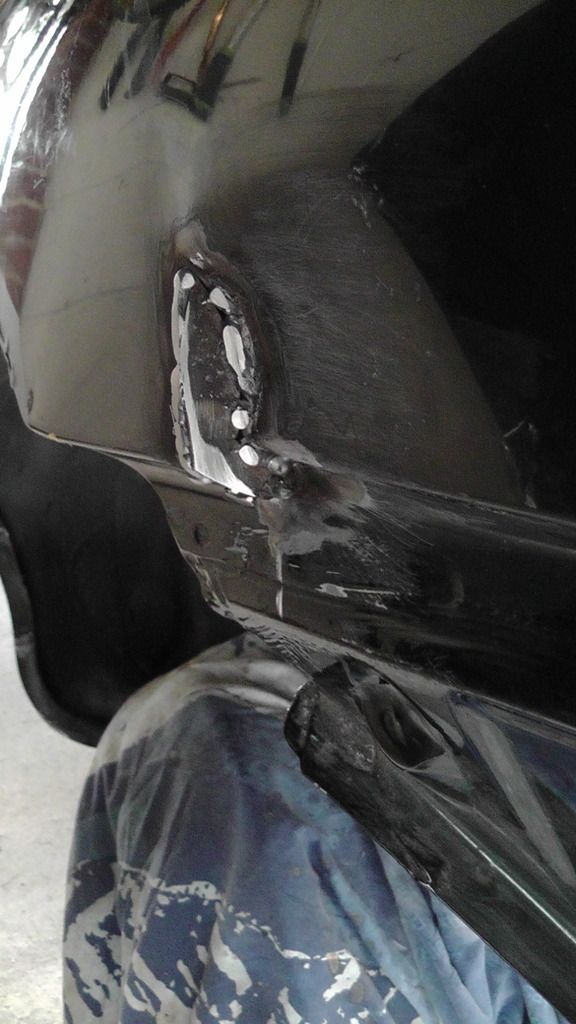
BUT, this weekend, my friend Brian and I had a go at the rear wheel arches. I had tried (briefly) to turn them up, but it wasn't pretty and was hard work even to turn the lip up. So instead, we
- drilled the exixting spot welds
- cut out approx. 4cm from the outer wheelarch
- separated the cut outer panel piece
- cut 1-2 cm from the inner wheelarch
- rolled the inner wheelarch over the outer
- spot welded the two back together

This took the wheelarch up to be pretty much flush with the maximum height.


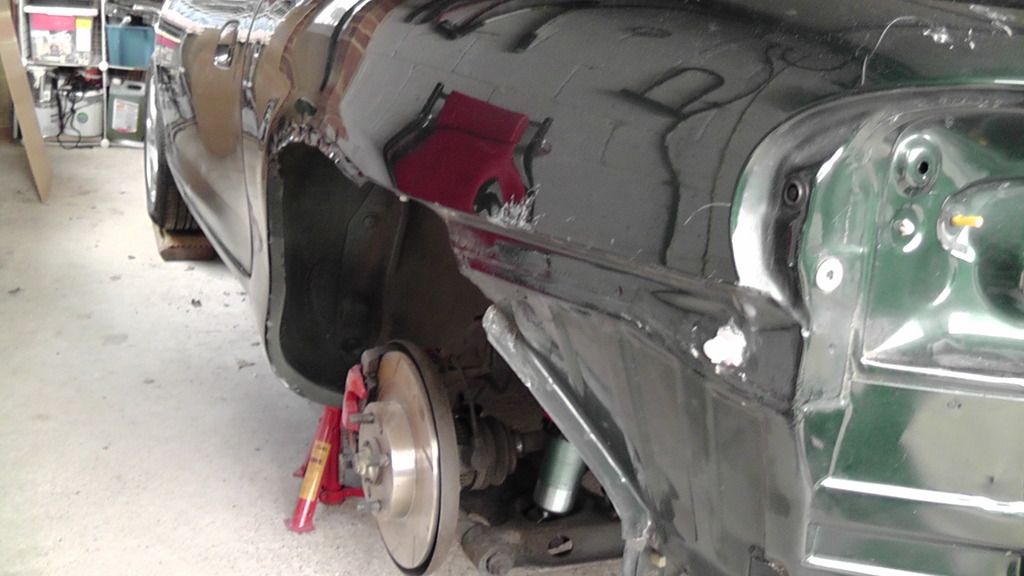
Previous test fits of the rear clamshell had shown that the ducts behind the rear wheel arch were fouling on the Mk2 bodywork and not allowing the kit to sit inboard enough.

To fix this we
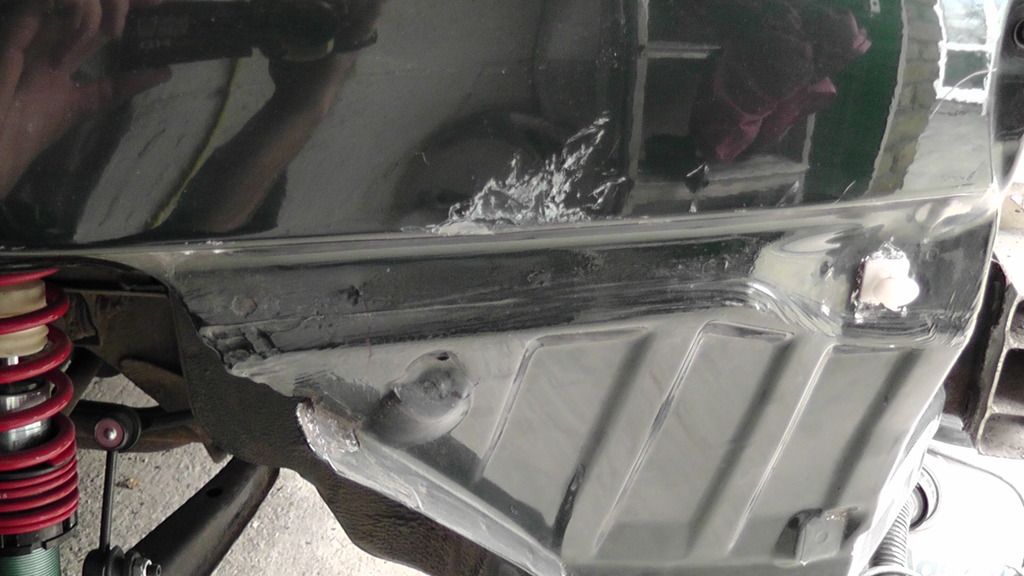
- made a cut at the forward edge of the bodywork where the duct touched
- then knocked the panel inwards (because of the lip, this would not have been easy without the cut and we think it would have distorted quite a lot of the panel)
- then made a template and fabricated a small filler panel and welded in place.


So to date - work completed:-
- all mx5 parts not needed removed
- front and rear calipers and discs changed
- front chassis rails repaired and undersealed
- other areas of rust treated
- adjustable shocks and lowered springs fitted all round (ARB links were a nightmare and had to cut all four off and fit new ones)
- inner wing extenders cut, painted and trial fitted
- front wings cut and re-fitted
- roll bar painted and fitted
- clamshell de-waxed, seam lines sanded, also initial general sanding
- rear boot extender, parcel shelf and clamshell dry fitted. Much fettling to get to sit correctly / find issues
- rear wheel arches cut and r-welded
- indents for rear ducts cut and re-welded

Attention over the coming weeks will be on the mx5 boot, boot extender and rear parcel shelf. Generally need to sand, make tidy, route wires, fill gaps, paint etc.
6 Mar 2017, 10:45am
Interesting, keep it coming.
6 Mar 2017, 9:07pm
Rear Lights

Struggling to decide which way to go on rear lights. I quite like the GTO / land rover /lucas rear lights. But with added fog, reversing lights and reflectors, I think it looks a little busy.

I quite like the Daytona rear lights, but can't really find anything similar for sale that would fit flush-ish on the rear of the kit.

Any ideas /good web seller links?


6 Mar 2017, 9:24pm
Check out Opel manta "a" series rear lights
7 Mar 2017, 4:21am
Google images "BMW 2002 rear lights"

Similar to the black 275GTB. brake/tail, indicator and reversing light all in one, I was going to use one of the reversing lights with a red LED bright bulb for the fog light. Meant to be separate but my MOT tester said it would be ok.
I bought mine on Ebay.DE, don't come up much on UK Ebay.
7 Mar 2017, 9:11pm
Thanks chaps. Neither Manta or BMW 2002 is doing it for me though. Need to make my mind up soon though!
7 Mar 2017, 9:33pm
I think the only way you would get an "all in one unit" is if you got those modern kit car LED units, but they don't look period and scream kitcar.

Take a look at older Nissan skyline various models of ferrariesqe rear lights. And can be had very cheap, think mine cost £10 off ebat.
9 Mar 2017, 5:15am
I'm going Opel GT lights on mine. I don't really have a decent picture yet but here's the holes cut for the lights, to show size and position etc..


The lights have built in reflectors, so no need for that. For a reverse light I've bought a square Lucas reverse light which I will mount under the number plate (it has an "arm" so will float"