This is a read-only archive of the old Madabout Kitcars forum. New posts and replies are no longer possible, but every thread is still here to browse and read.
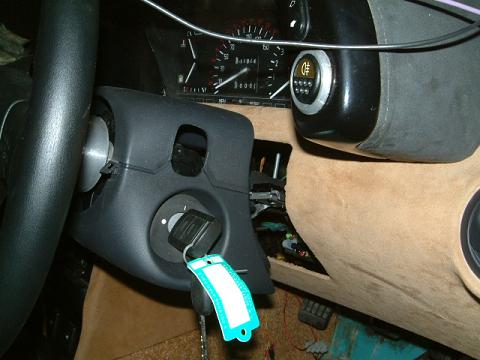
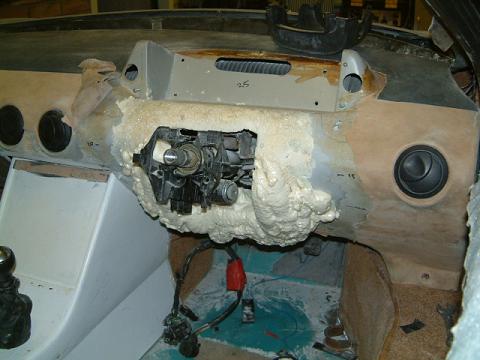
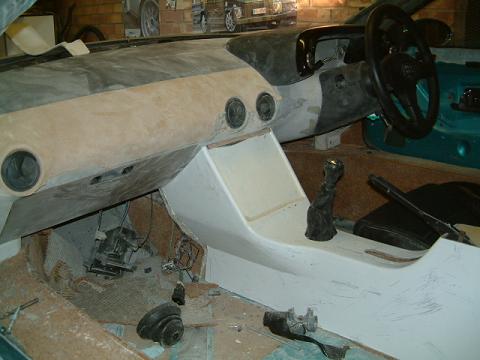
The electric assisted corsa column needs the dash reshaping to suit.
So, some polyfiller expanding foam
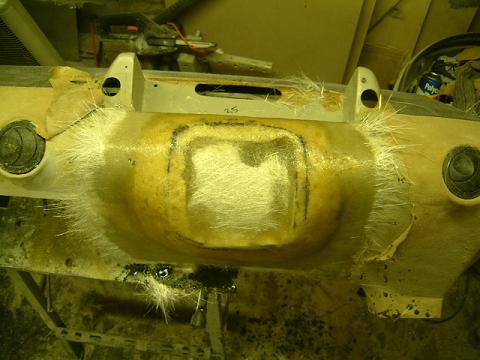
then fibreglass
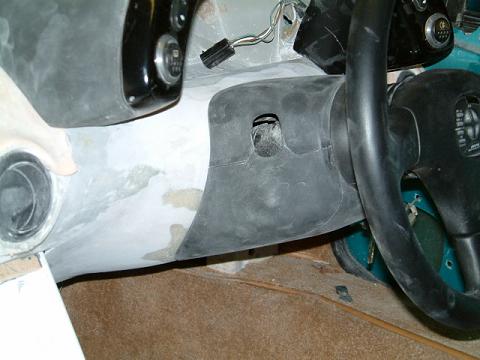
finally filled to shape
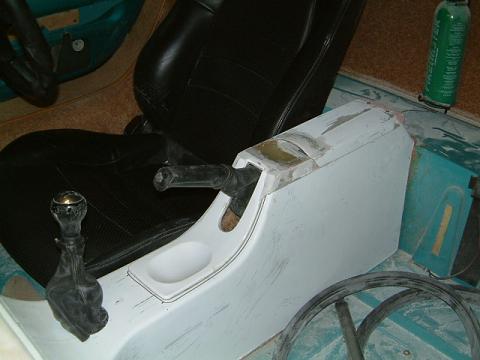
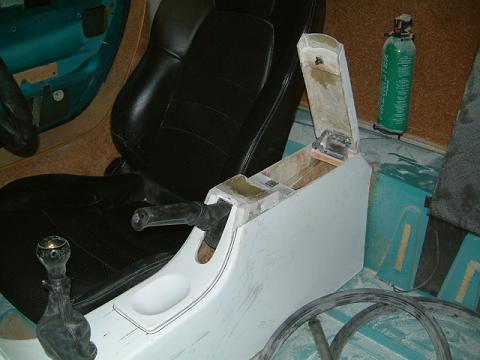
Then I wanted to have an extra opening cubby hole in the rear section of the centre console. Hinges/clips from the local scrappy and lots of reshaping ended up with this:
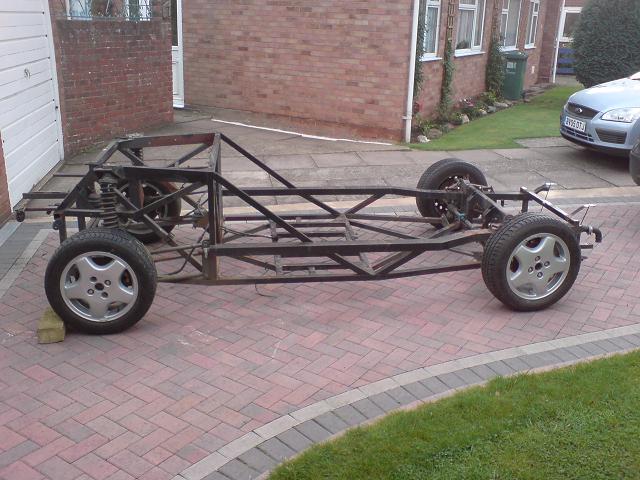
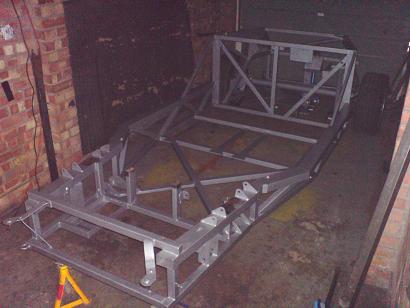
I guess most people didn't know, but I have decided to change my chassis for a straight one rather than repair and make new wishbones myself, just don't have the time! It was the one made after mine with the 'production' geometry but slightly beefier top rail. It uses production front suspension and uprights instead of the current steel uprights with spherical bearings (not ideal for road use and future replacements).
All I need to do is notch the top rail for increased steering lock and modify the steering rack mounts for a sierra rack (which I will convert to quick ratio).
Fun getting it home, it was wider than the trailer!
bet you're popular with the missus at the mo
they are suprisingly wide arent they, mine only just fit in the trailer i used to pick it up as well.
when you get the sierra rack dont forget its an LHD one you need, not an RHD.
Got a sierra rack from Norman, so I'm assuming it is correct!
To get it on the trailer we had to put a load of planks on one side so it rolled over the mudguards and then back down, then lots of ratchets and a slow drive home..
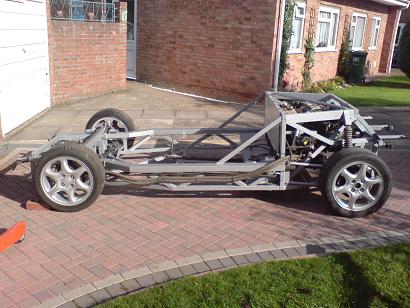
More progress, had to do a few mods to the chassis to bring it into line with later ones, also put some extra strengthening in and converted for later sierra quick rack for which I've just ordered a quick ratio kit, welded in new top rear damper mounts for the adjustable dampers that were on the car
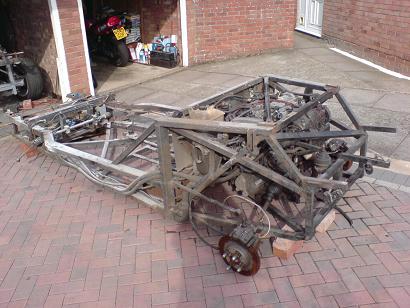
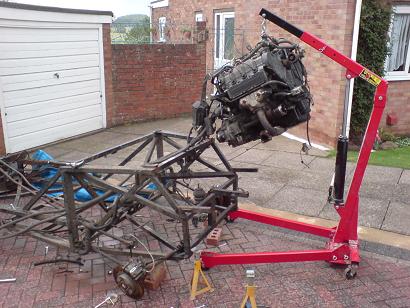
'just' have to transfer the engine etc etc to the new one and then I'll be on the home straight..
Was fun lifting the body up so high to get over the engine!
Rich
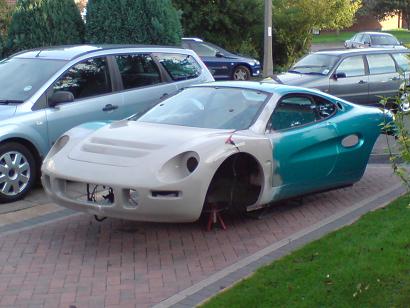
I put a length of 6x4 timber through the door apertures (with blocks so it lifts on the built-in steel cage) and used a couple of strops and an engine crane to lift my bodyshell off the chassis I didn't have four strong bodies handy
Good thing you used the blocks, Eddy didn't and suffered the consequences!
I just rounded up some neighbours for a 5 minute lift, my engine hoist wouldn't have lifted it high enough to go back over the engine anyway.
I'm making good progress on transferring bits, unfortunately semi reliant on weather for that and the dark evenings don't help now..
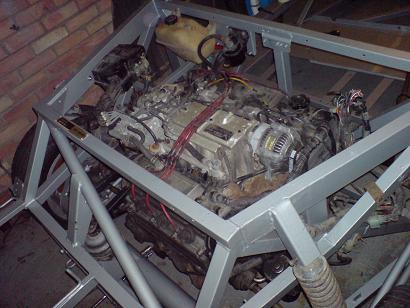
You dropped the lump in through the top???? Don't Norman's instructions say to lift the chassis over the lump and install from the bottom? Maybe you did do it that way and left out a few pictures in between!
I had a bugger of a problem wth the upper mount but it did eventually line up - don't know why it was reluctant.
Of interest is that the lump uses a number of (non-standard) "fine" metric threads especially where bolts screw into ally - which is quite the opposite of British engineering convention where ally tends to have coarse threads.
Even the rubber engine mounts have "non-standard" metric threads.
yes the honda blocks are all weird threads, its a bit annoying really.
im pretty sure with my chassis you could only put the engine in from the top as theres a couple of cross members in the way underneath that would stop it coming out.
The old chassis had a big crossmember welded in so it had to be lifted out of the top, it was a hell of a squeeze, I only forgot to unconnect the clutch flexi! As it came out that way I figured I'd put it back in to the new one through the top as I thought it would be easier than lifting a rolling chassis up, probably would have been easier from the bottom.. I have bolt in crossmembers on the new chassis which is a better idea..
My main problem was that the rear mount was in the wrong position, I had to make a spacer from 1 1/2" square tube to bring it up to get the engine level!
I didn't check the bolts, just re-used them in the same positions.
Do all the new chassis have a bolt in bottom cross member 'coz mine only came with a top one ?
Good question! Mine, which is a pretty early one (4 or 5 depending on what you go by), has a tubular one that bolts diagonally across the top of the engine bay.
No sign of any bottom one - either fixed or bolted. Maybe I should give Norman a call and ask?
all of the chassis have the bolted cross member across the top, checked my chassis when i was under it last nite, i was slightly wrong, i dont have one going across under the engine, must have been getting it mixed up with a different chassis id seen at Normans.
Don't worry guys! My 'new' chassis is actually the second chassis produced, the one after the prototype (it is the one that was used for the burgundy car) so isn't exactly the same as the other later cars. It has two bolt in diagonals underneath the engine and one top bolt in diagonal above the engine..
I asked Norman about it and he said the lower one wasn't really needed, although I'm keeping mine as you can never have a chassis that is too stiff!
Rich
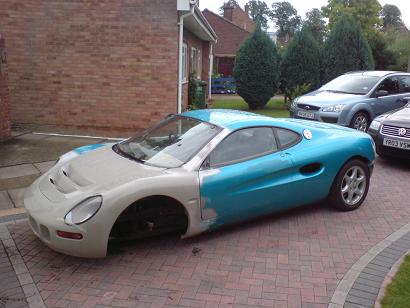
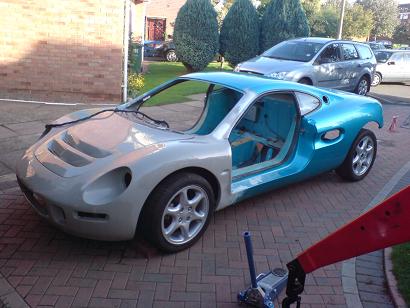
Well the body is on, nearly! The top damper mounts are stopping it go down fully as the whole coil-over is positioned slightly higher than the prototype chassis, I'll cut a section out tomorrow and make a small shaped section to 'glass back into the body. It's great to finally have it rolling again!