Forum Home
/
Mad Build Area
/
Dino 246 Builds and Discussion
/
Ozi 206 dino
Ozi 206 dino
Nice work.
ted on the chassis.
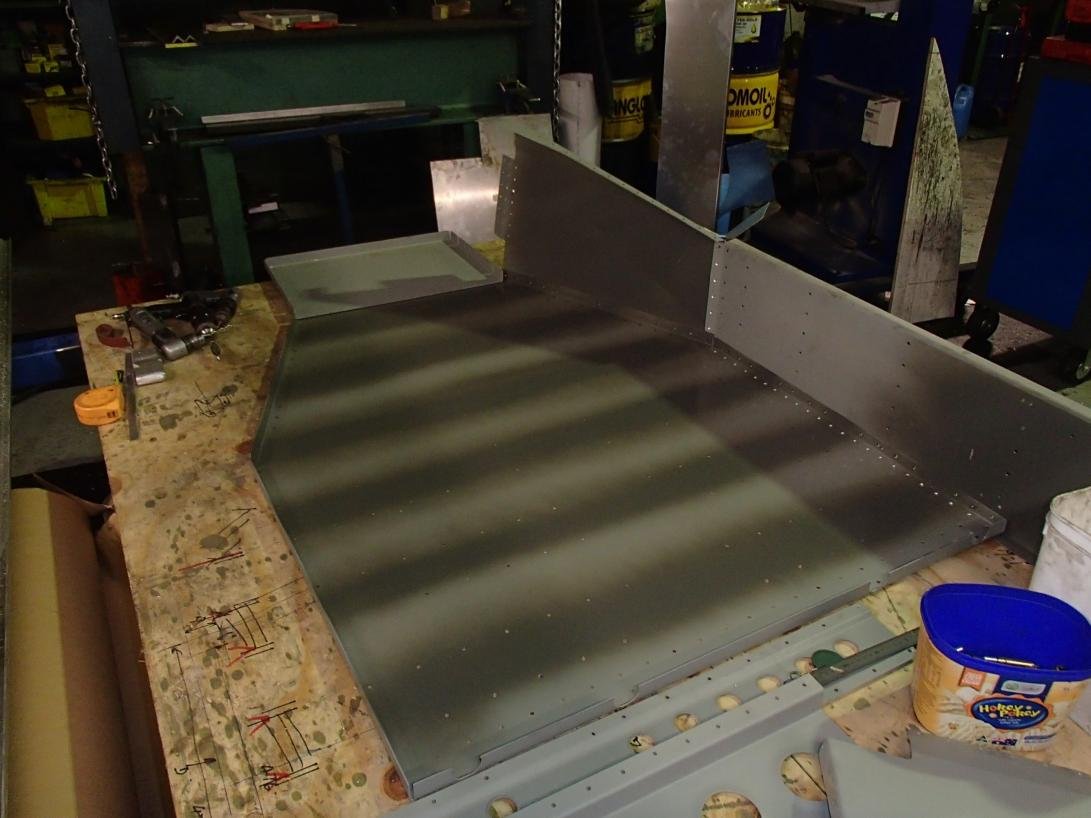
It is 1.6 5005 alloy sheet.
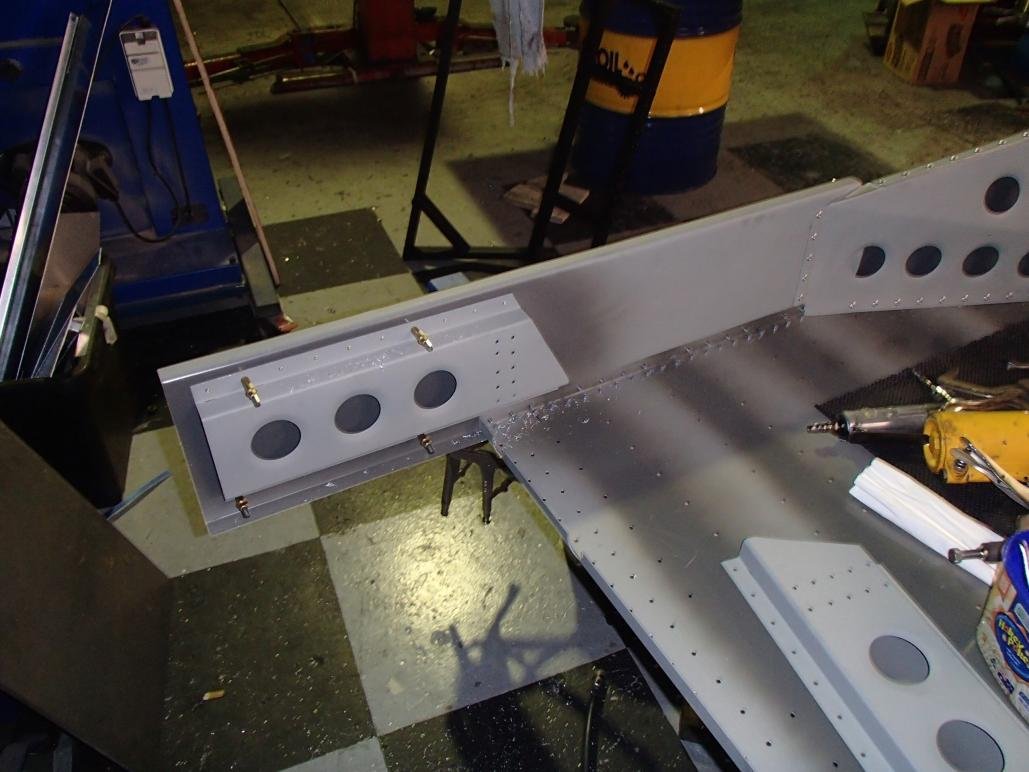
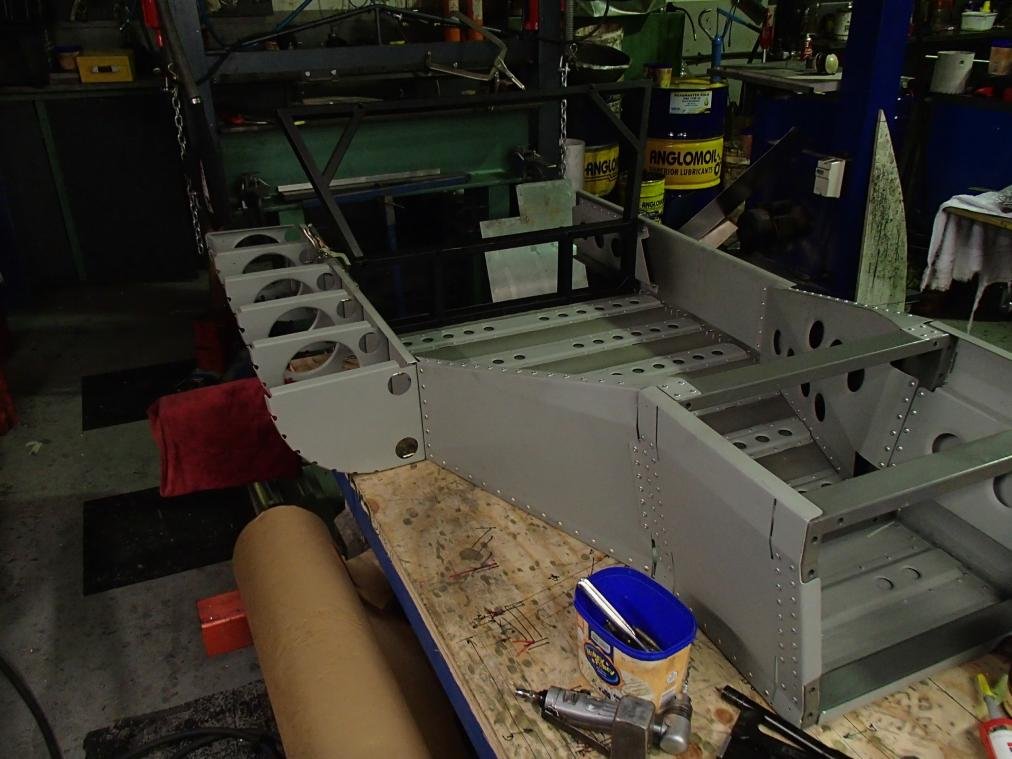
I made 3 members out of 50 x 25 x 1.6 ERW
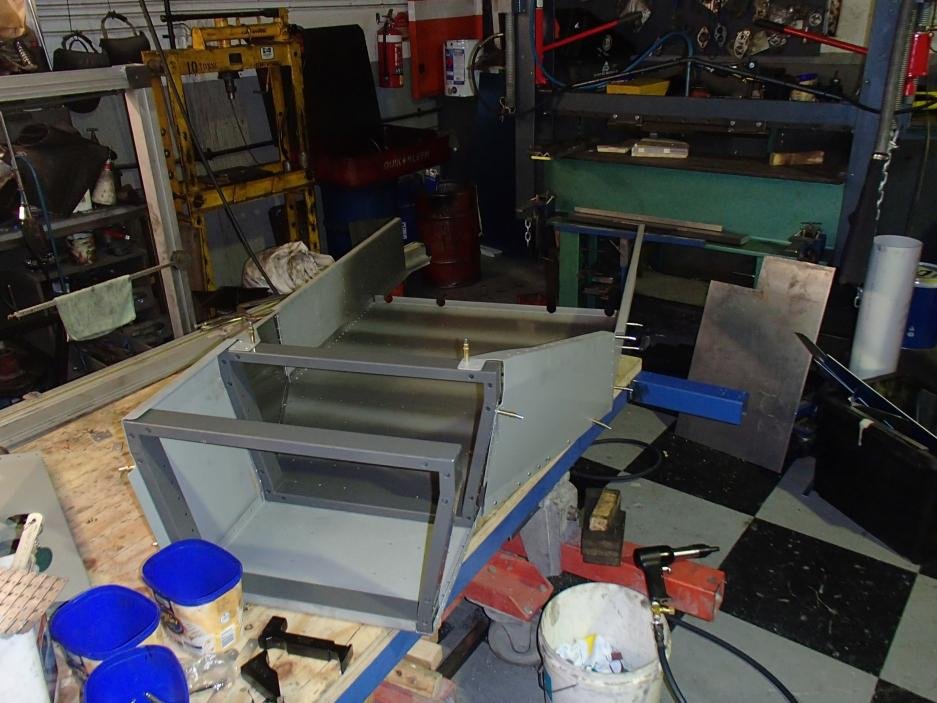
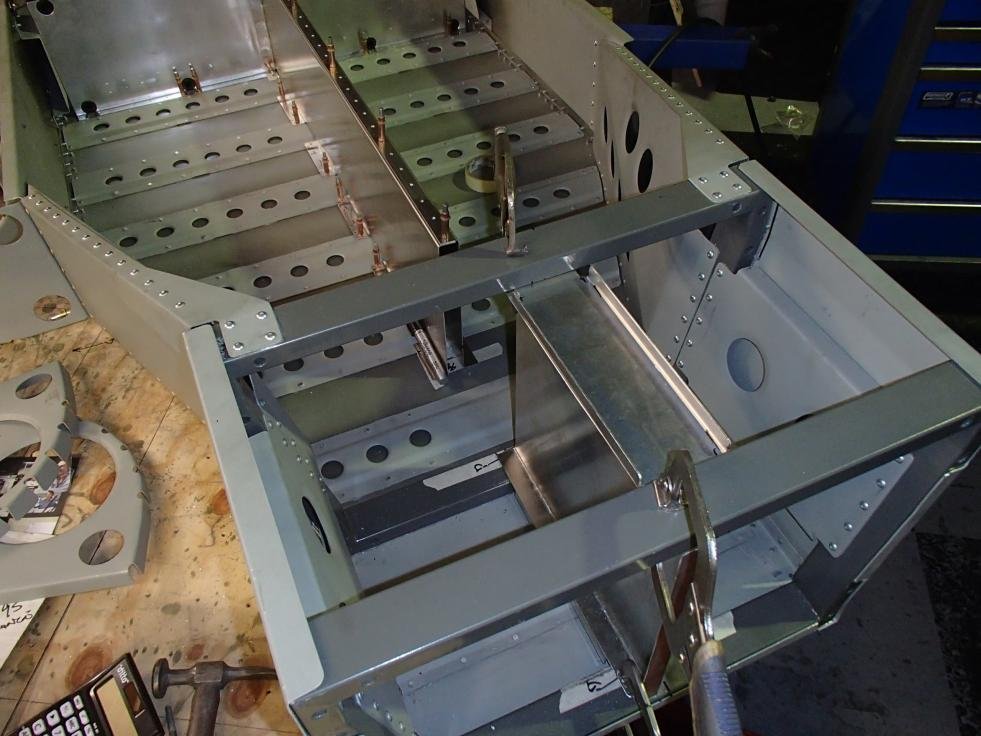
the 2 at ther front are for the suspension and the rear the engine and suspension frame couples to it.
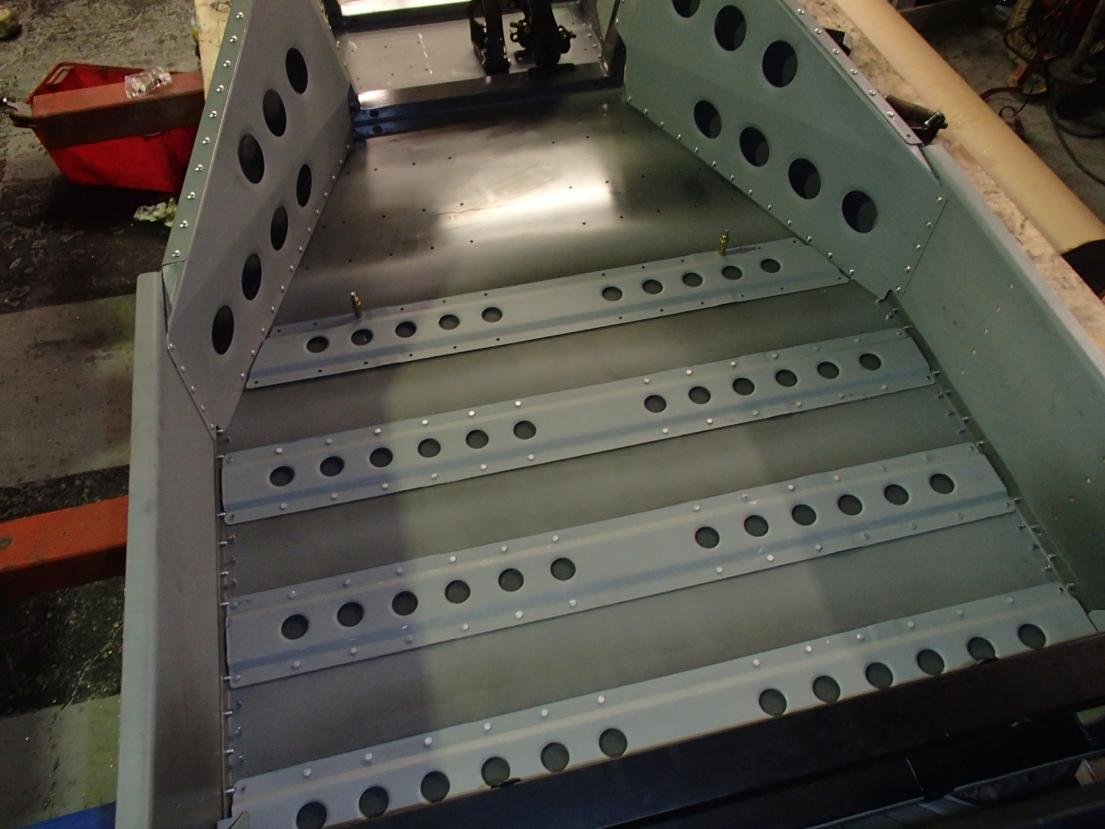
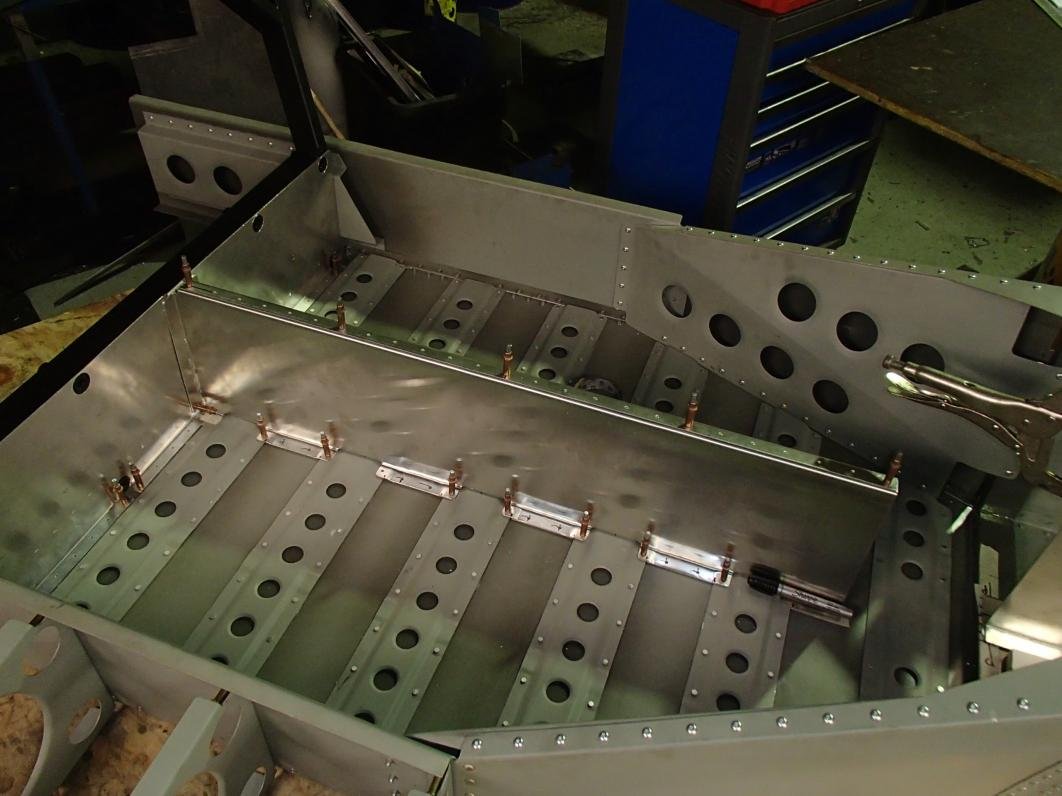
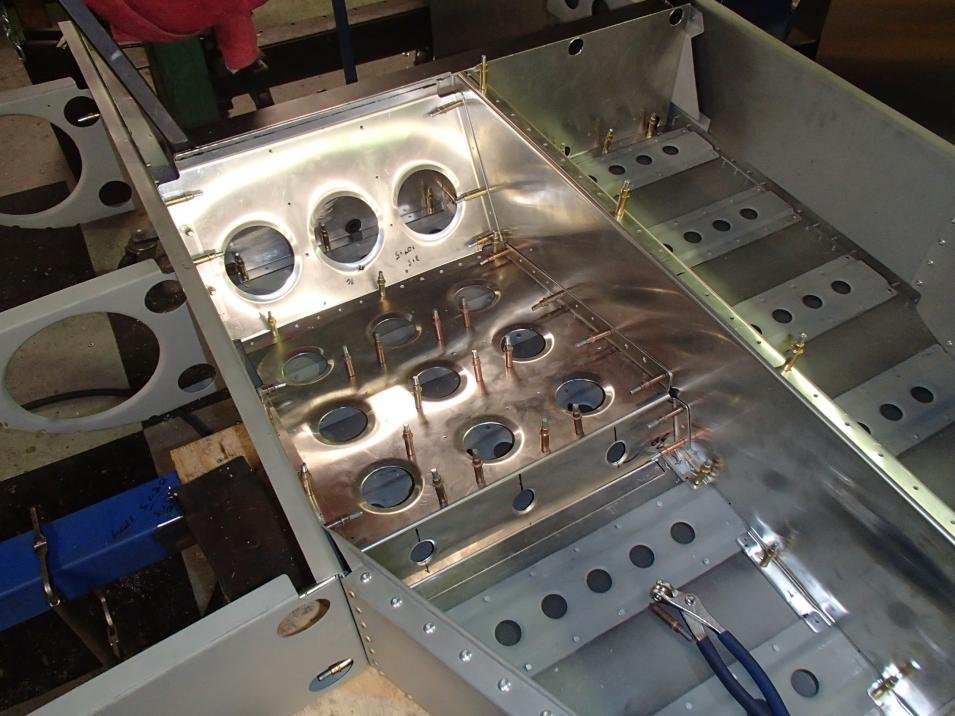
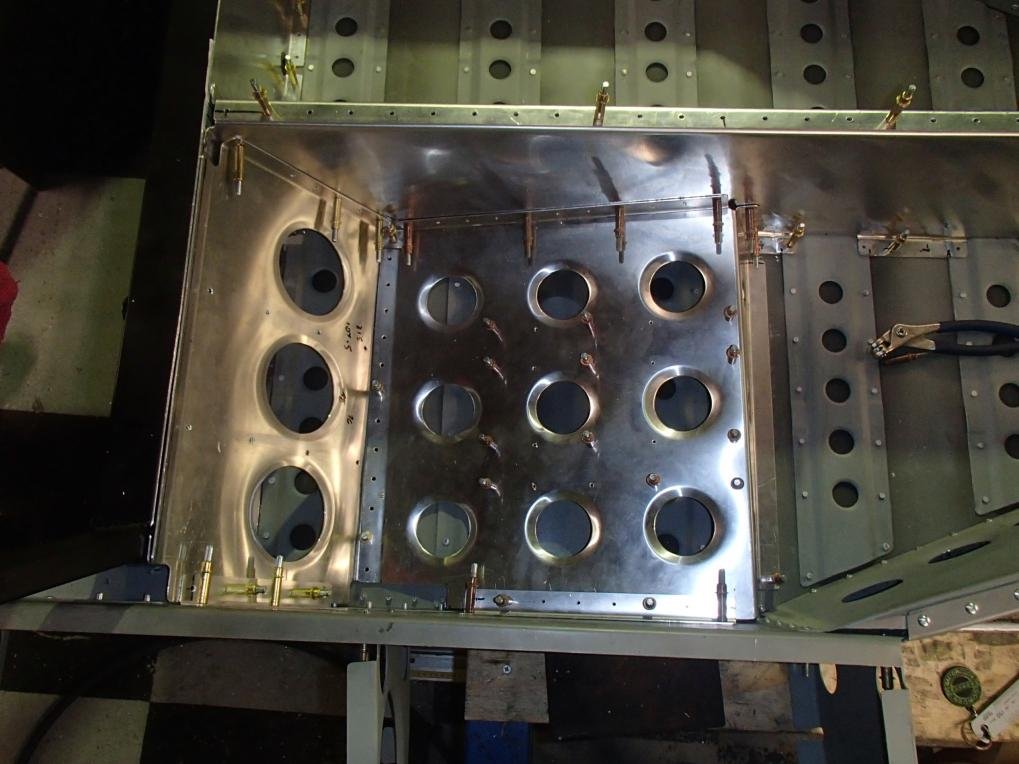
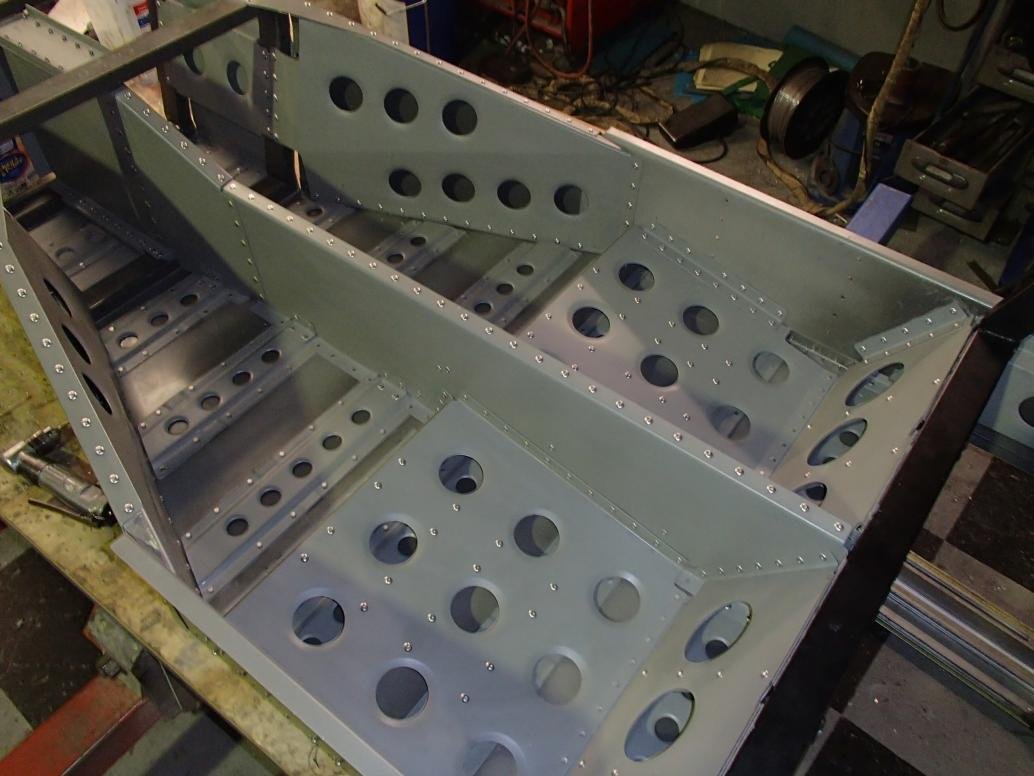
The sheet work starts at the floor and I just worked up.
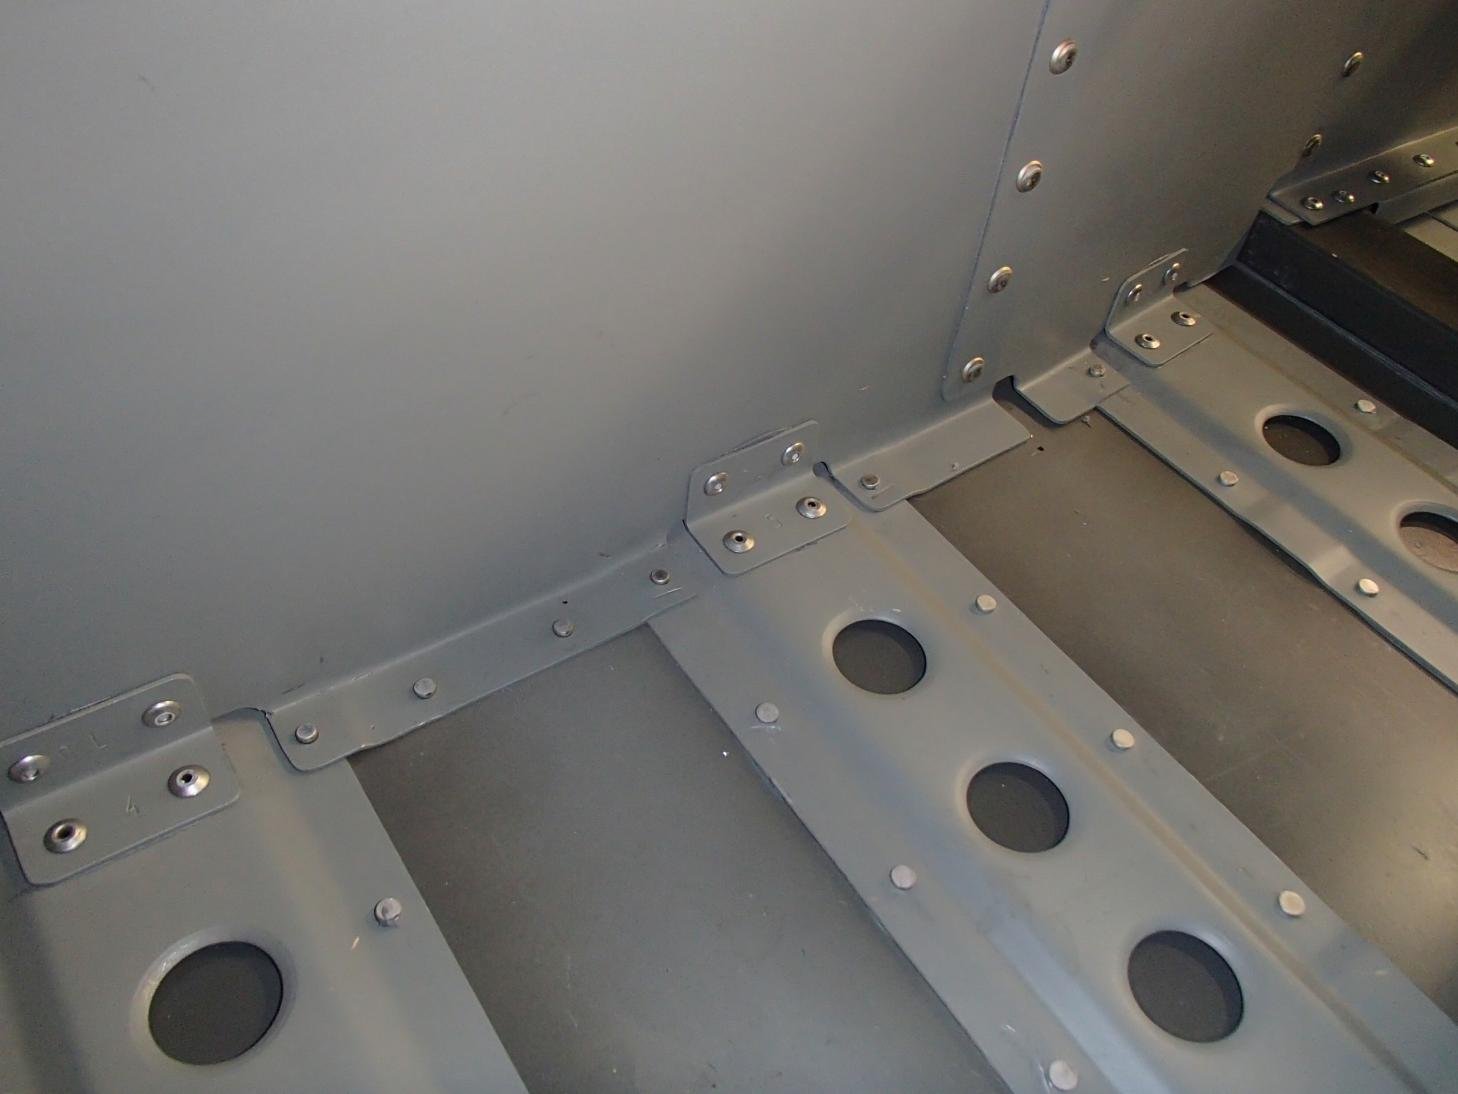
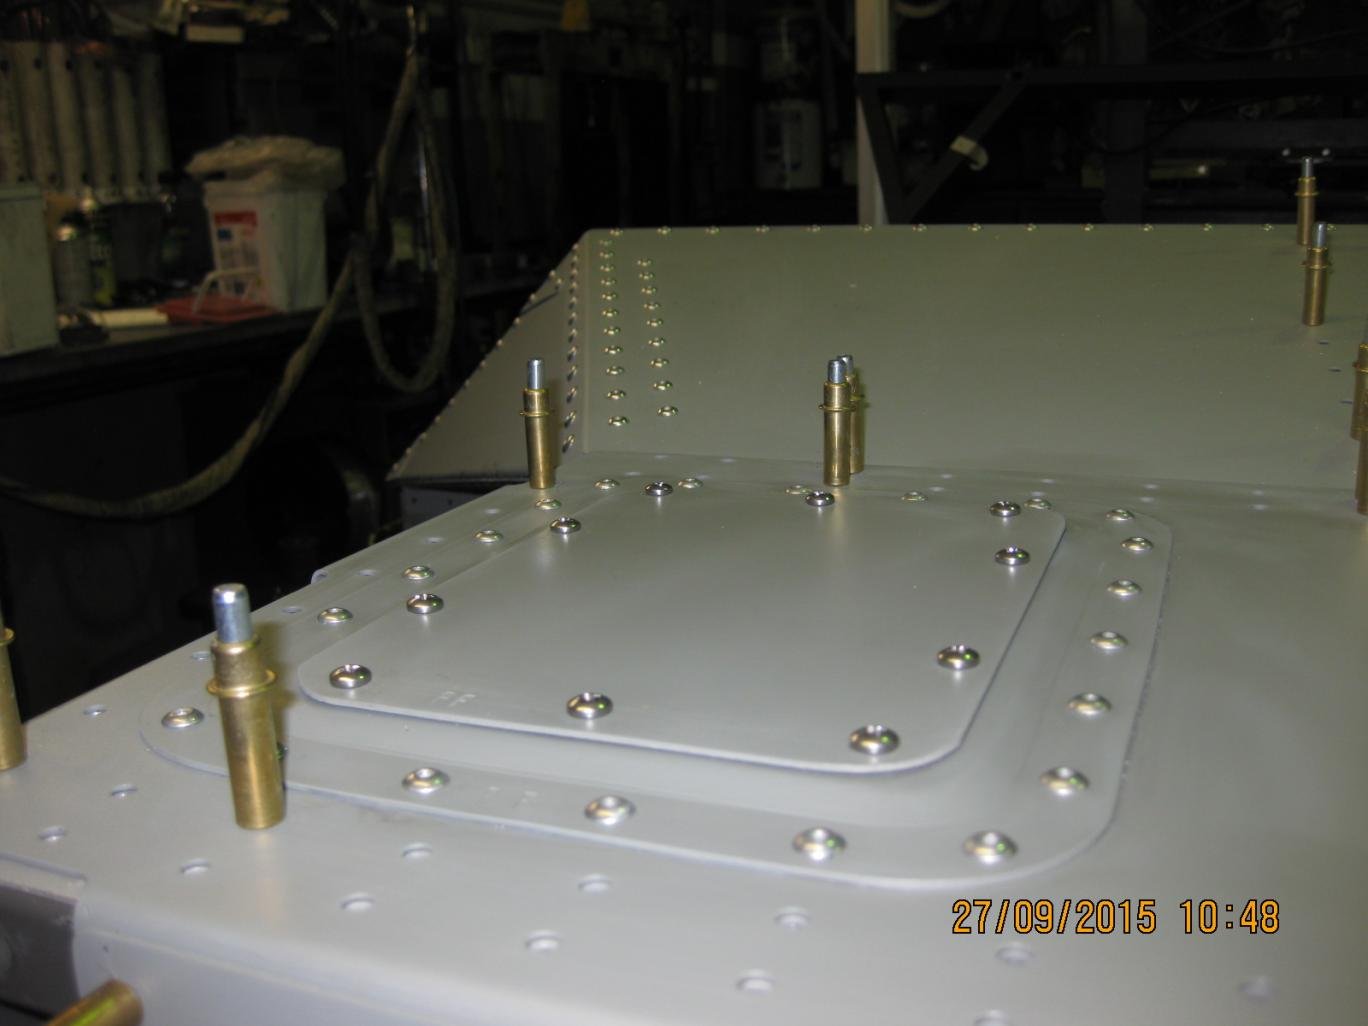
If I can see the back of a panel I use solid aircraft rivets, on other areas I use structural rivets alloy and steel.
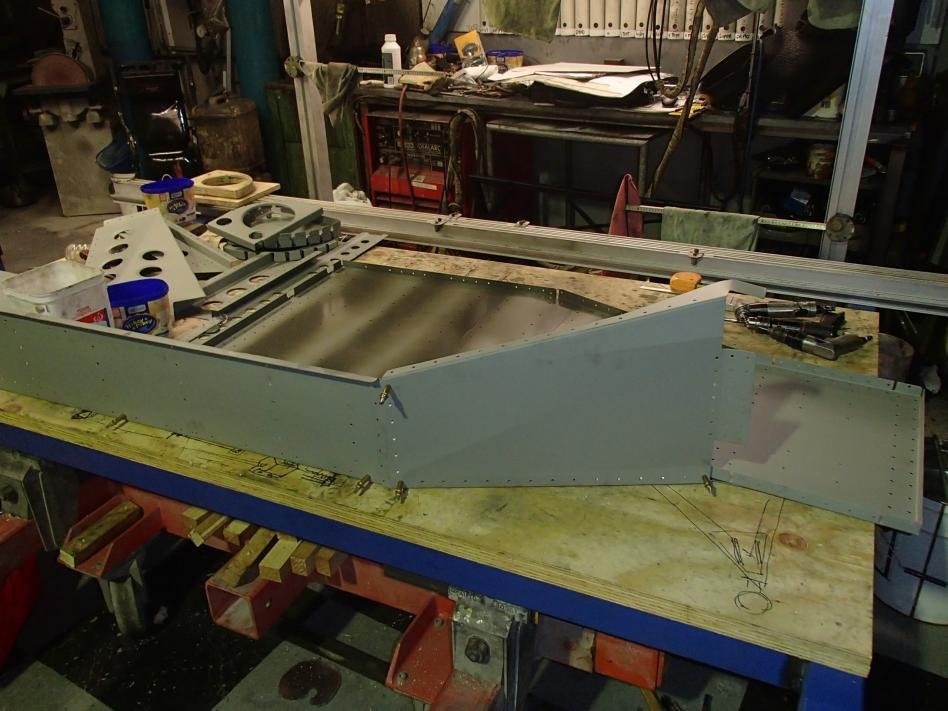
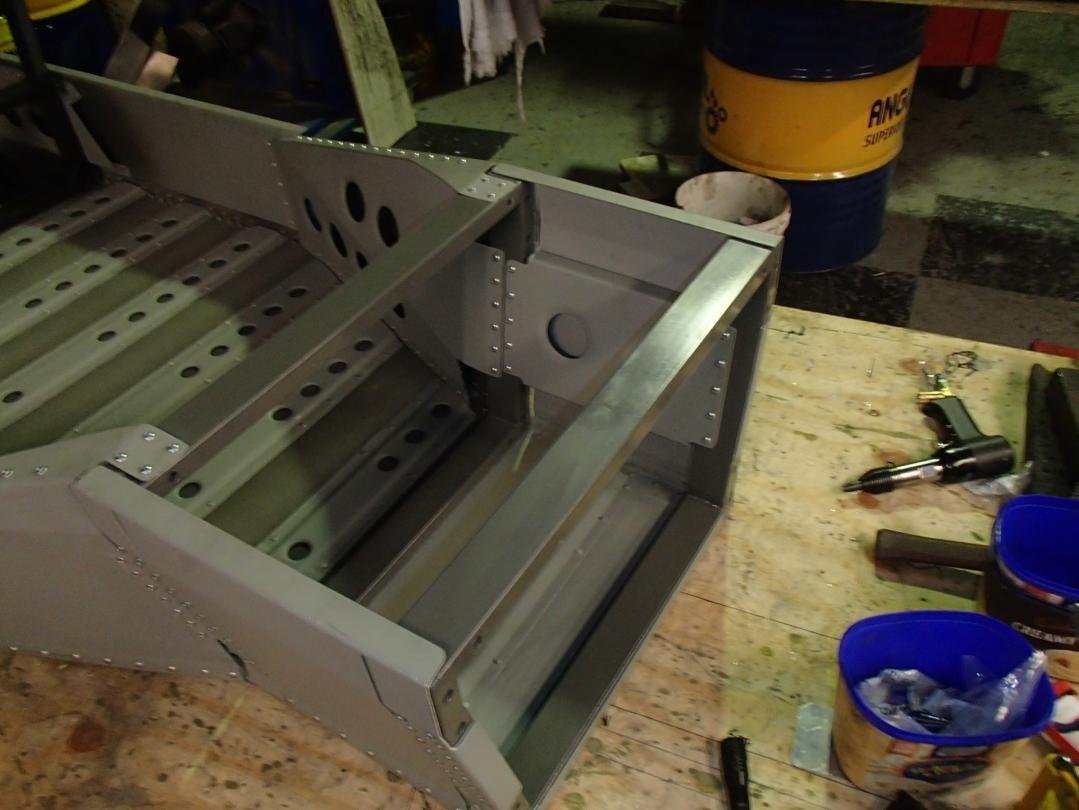
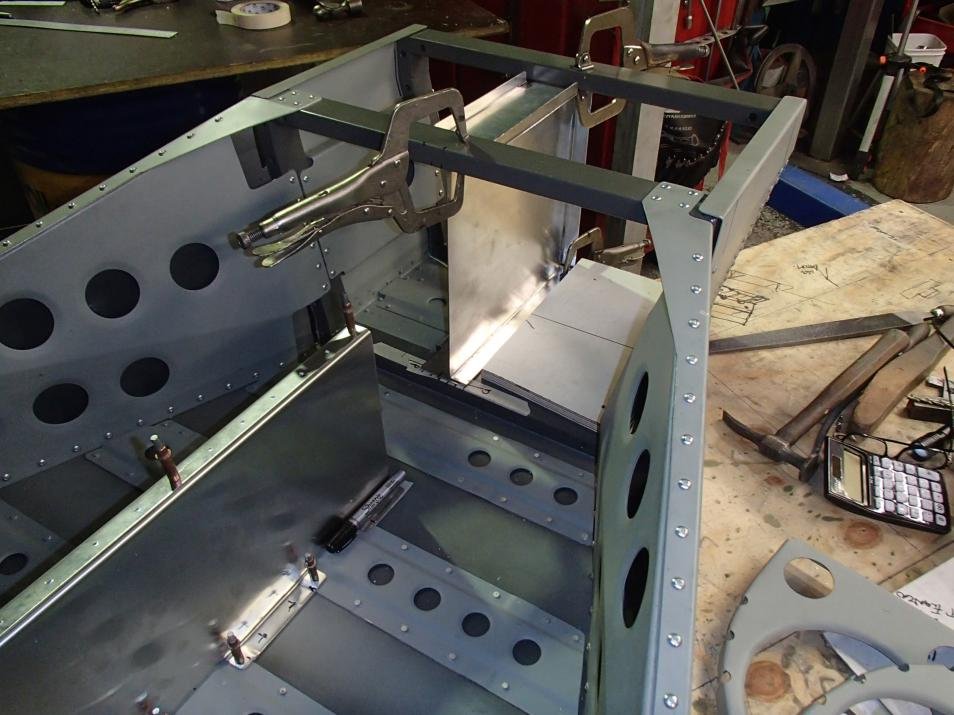
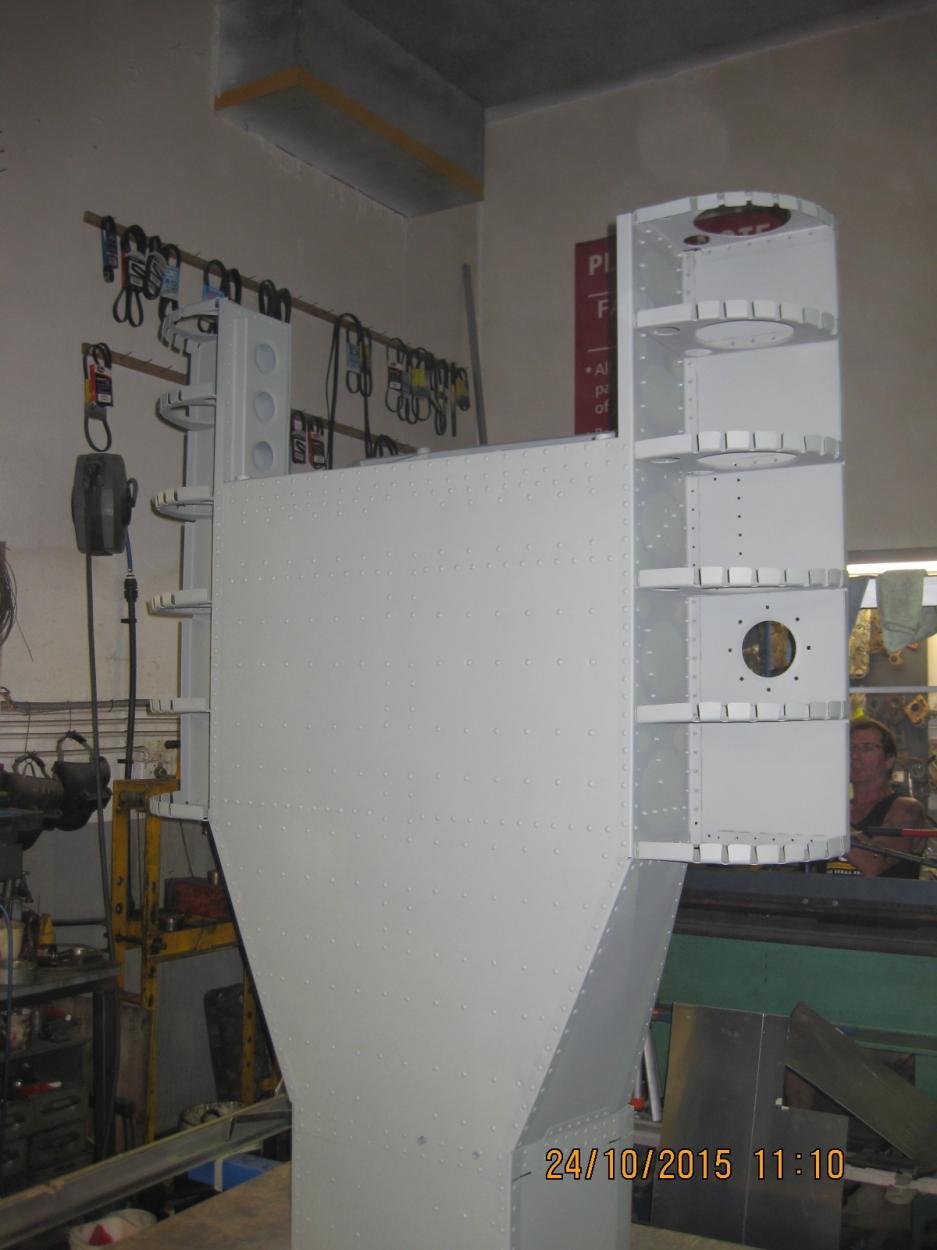
Inner panels are to add strength from the front to the cabin seating area.
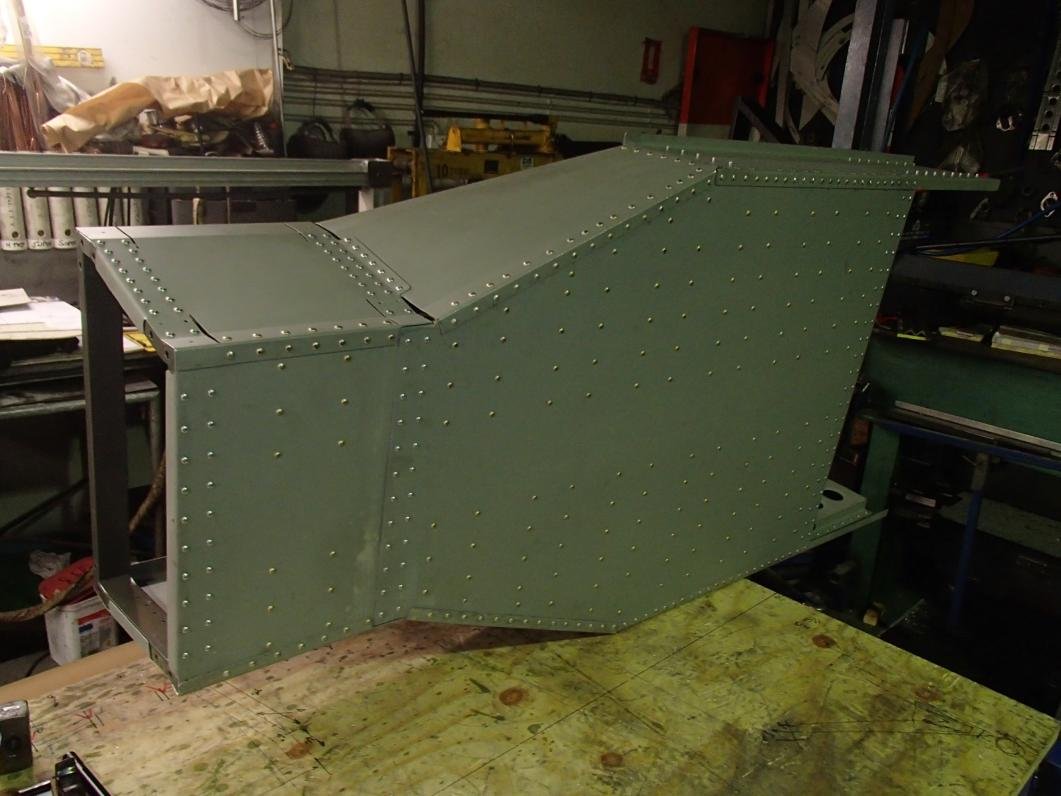
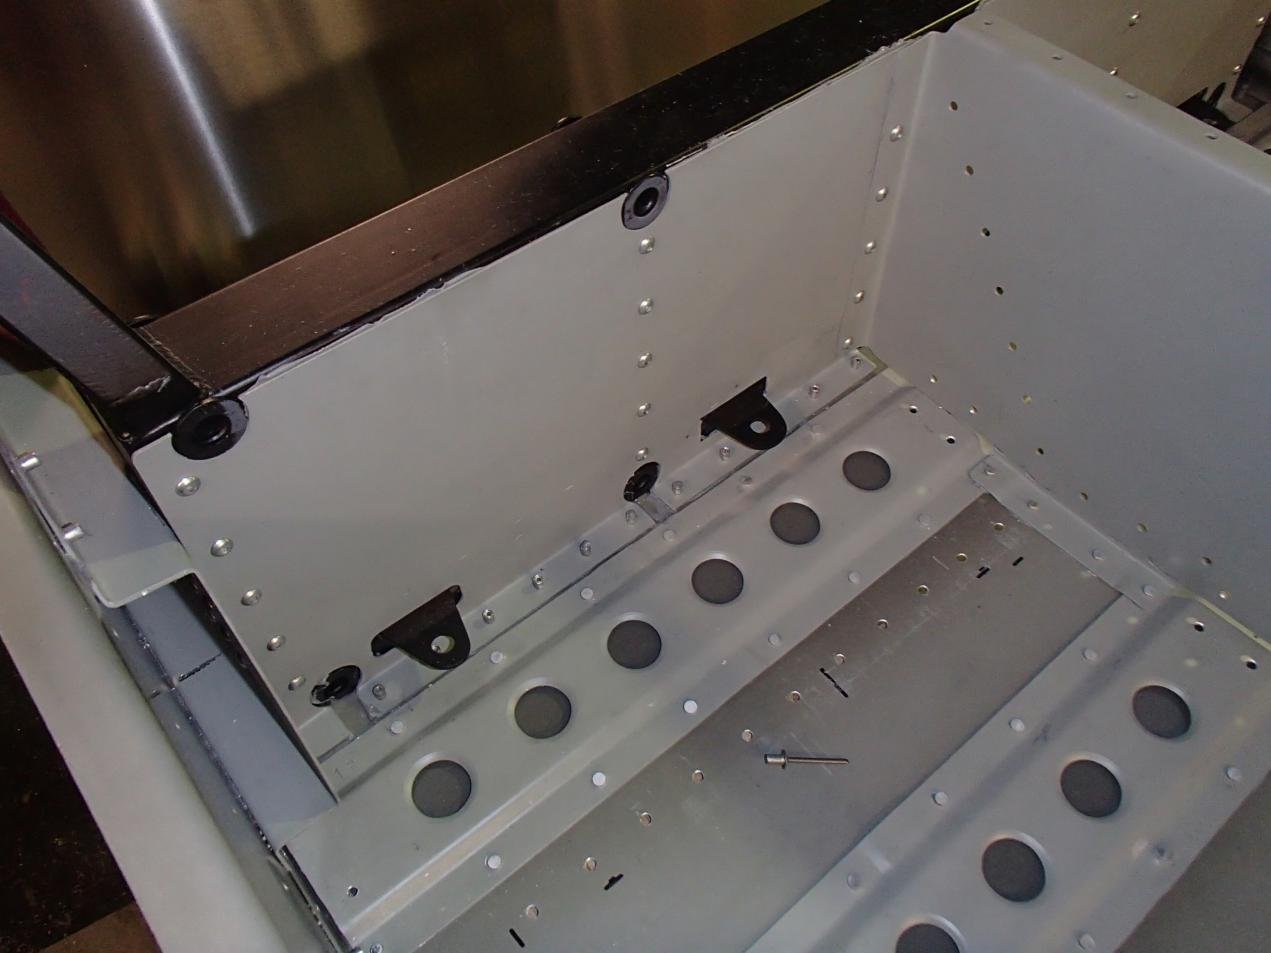
This box panel attaches to the end of the rear frame then to the inner sill panel.
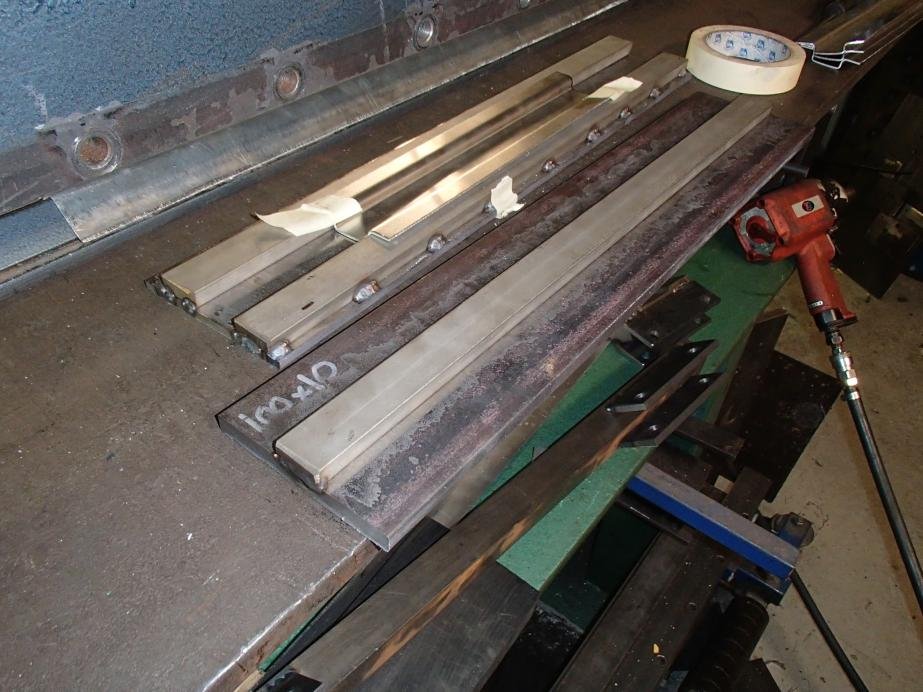
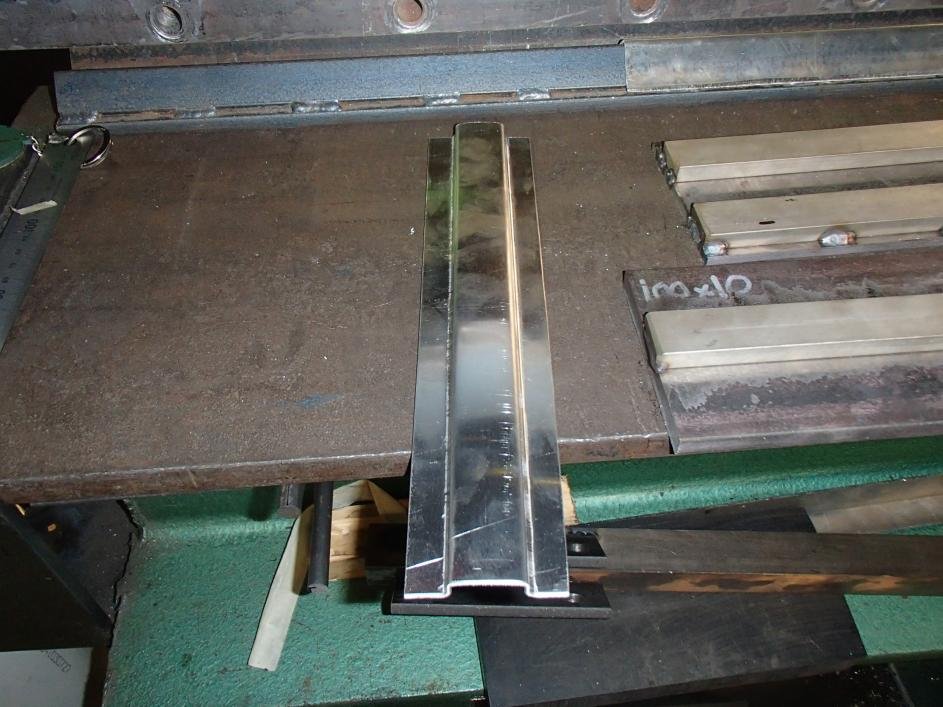
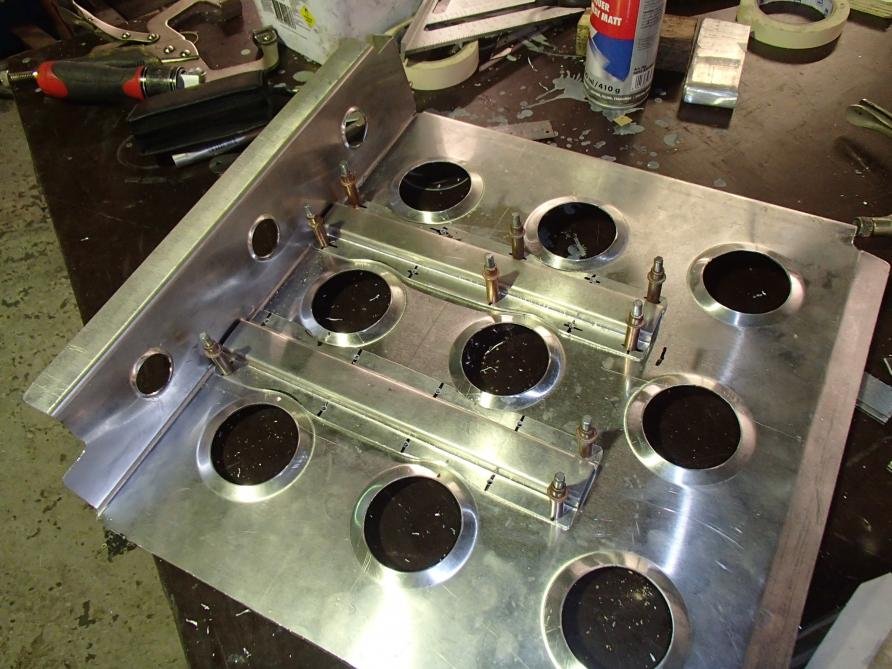
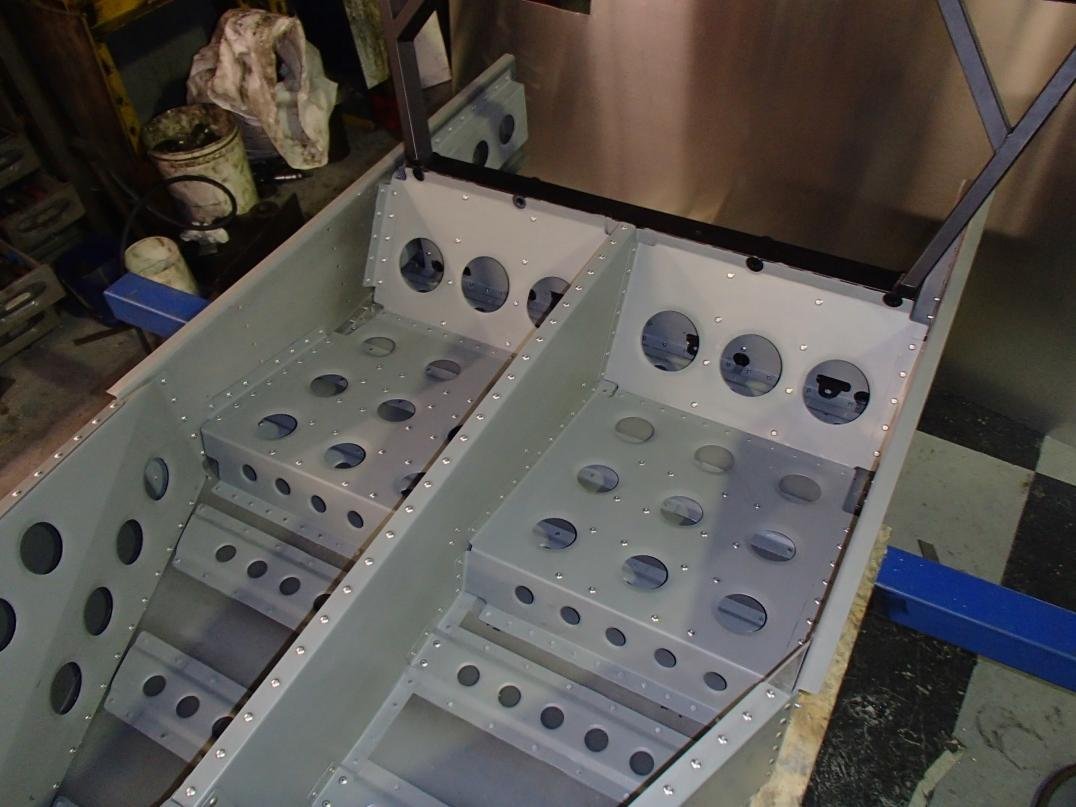
The floor stiffners I made some tooling to get a low hat profile.
I then punch and swage the holes.
.
The stiffners are solid riveted to the floor using universal head aircraft rivets.
Between the two front frames an inner panel is riveted in.
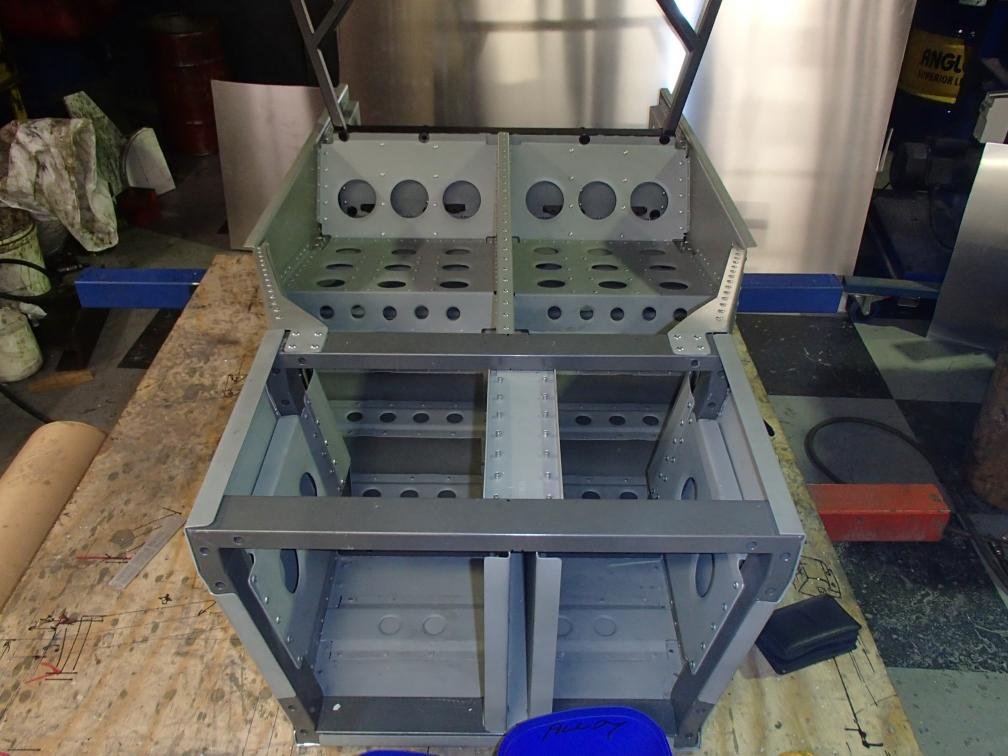
Up the center of the floor I am installing the center board. this reduces the open area of the floor and adds rigidity to the chassis as a whole.
I have offset the foot well section over to the left by 25mm to give the driver more foot room.
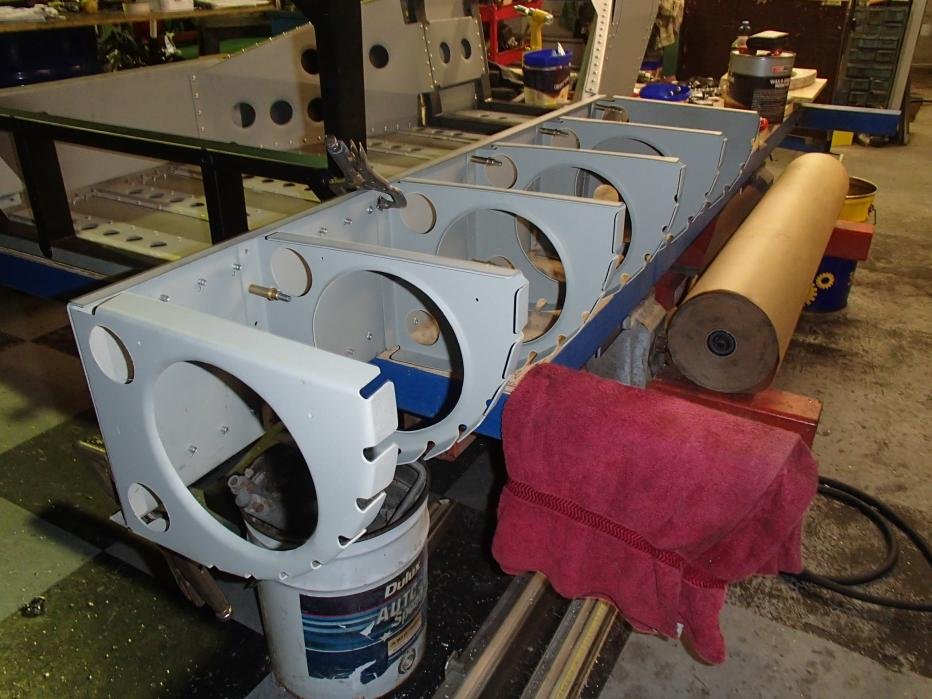
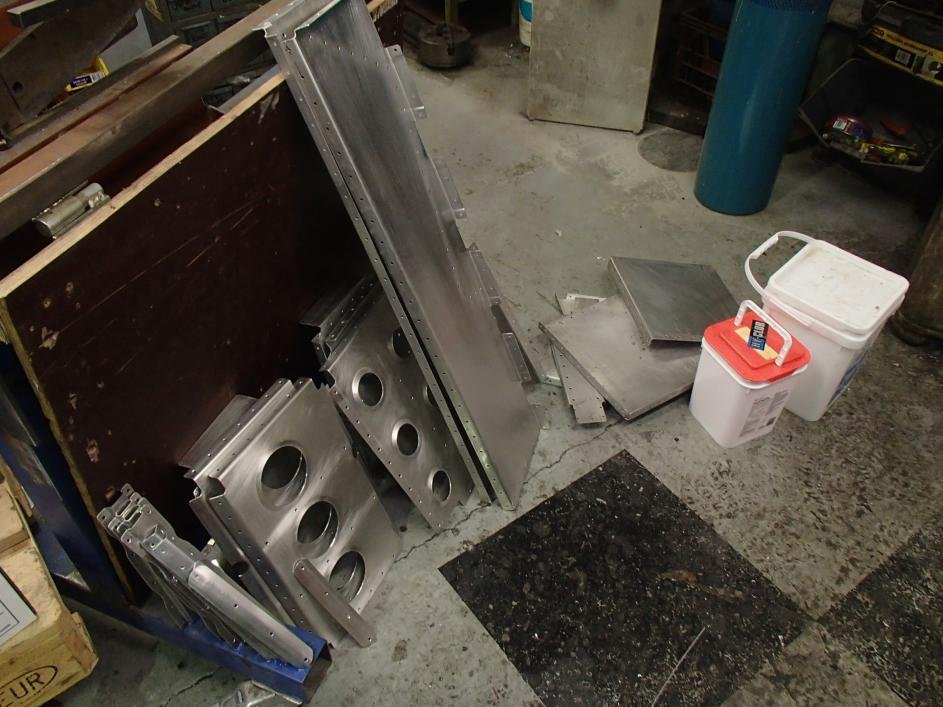
The side pontoons I made a jig to cut the panels out using a trimmer (router).
I need them all the same.
I also use a ply jig to form the radius folds so they all match up when fitted.
Thats it for the moment when I progress further I will put up more.
Jim
Jim - This really is a very high skilled build.
Thanks for sharing and good luck, Paul.
Thanks Paul
Speechless!!!!
I have done some more over the last 2 weeks.
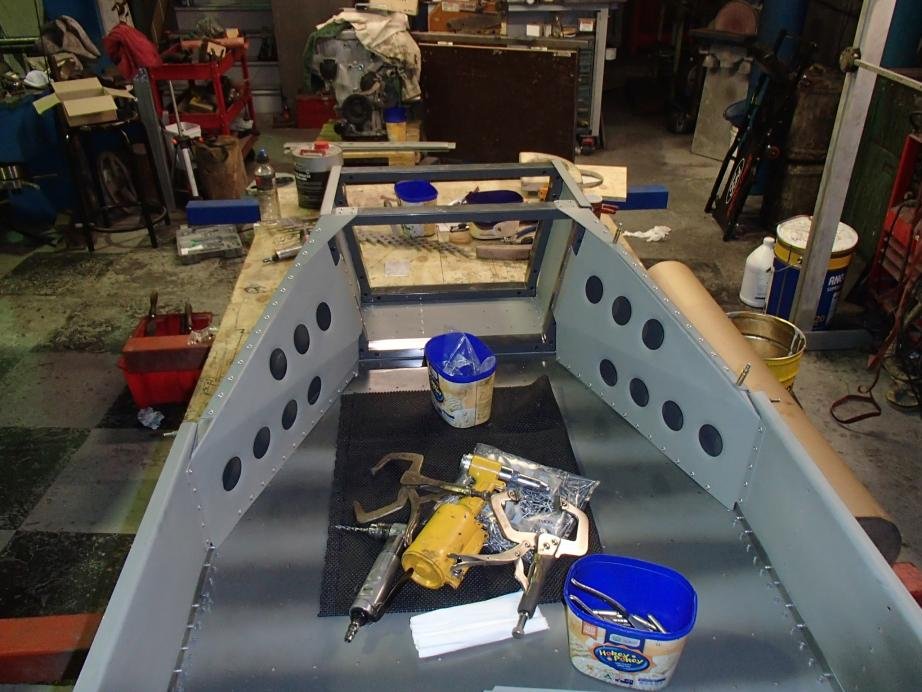
I got all the back bone in and the seats.
Next stage will be the dash structure.
The seats required stiffeners on the under side.
I made a simple die to press the hat shape.
fitting up one side then I just reversed it for the left.
Doing a prep with prekote before painting.
Fitted seat belt mounts to the frame before installing the panels.
painted and installed.
It came in so far at 40.2 kg, I would expect the completed tub be under 50kg
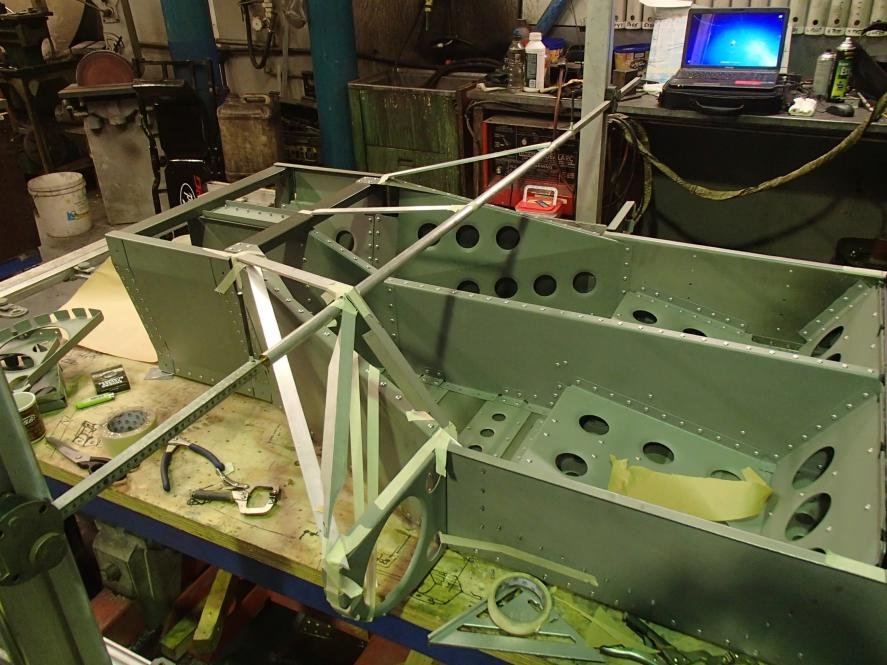
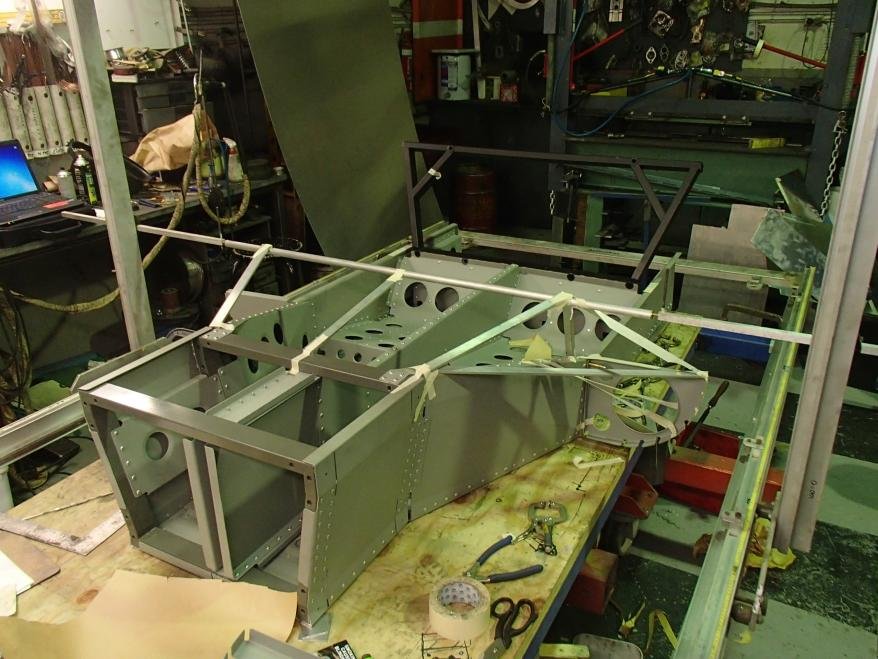
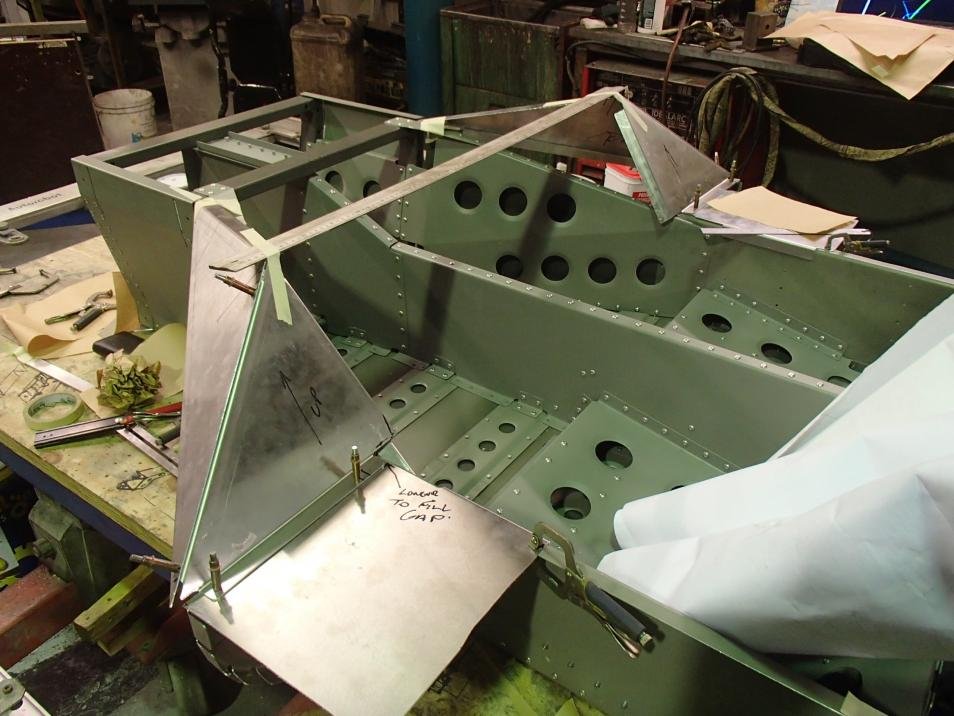
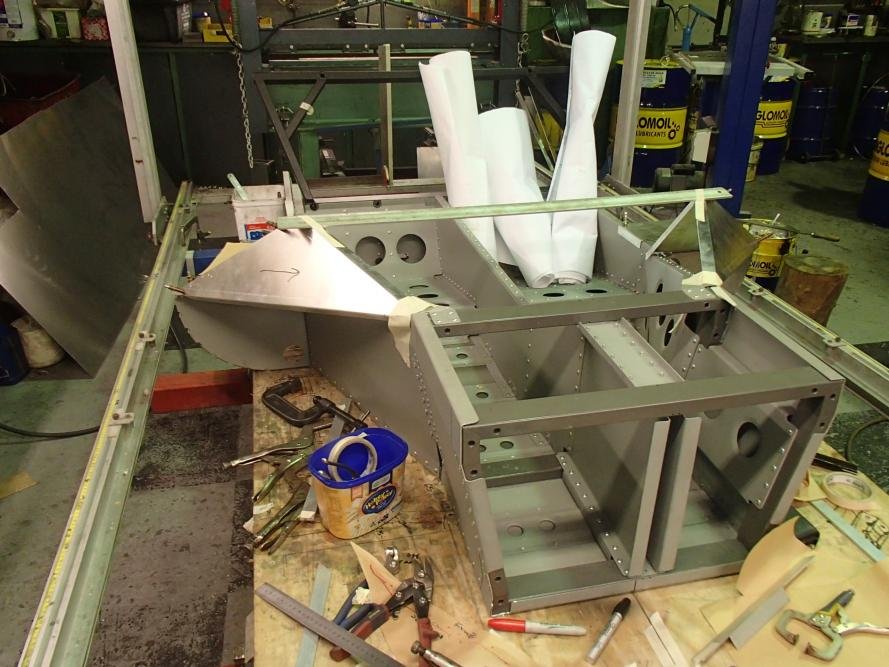
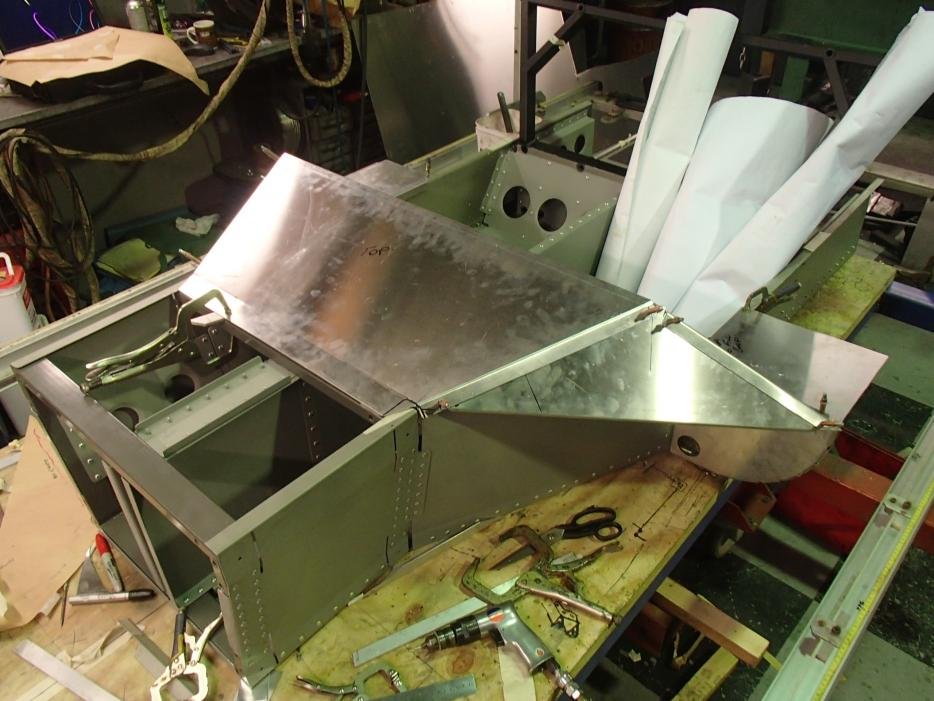
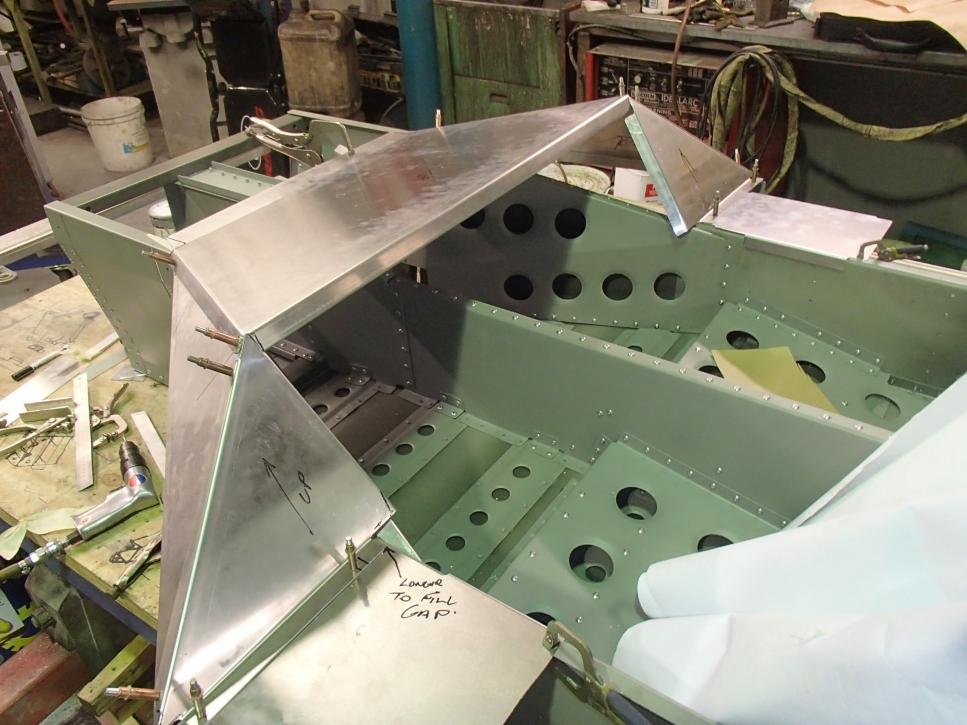
The chassis has a structure for the screen and doors and dash to mount to but it is really part of the main structure.
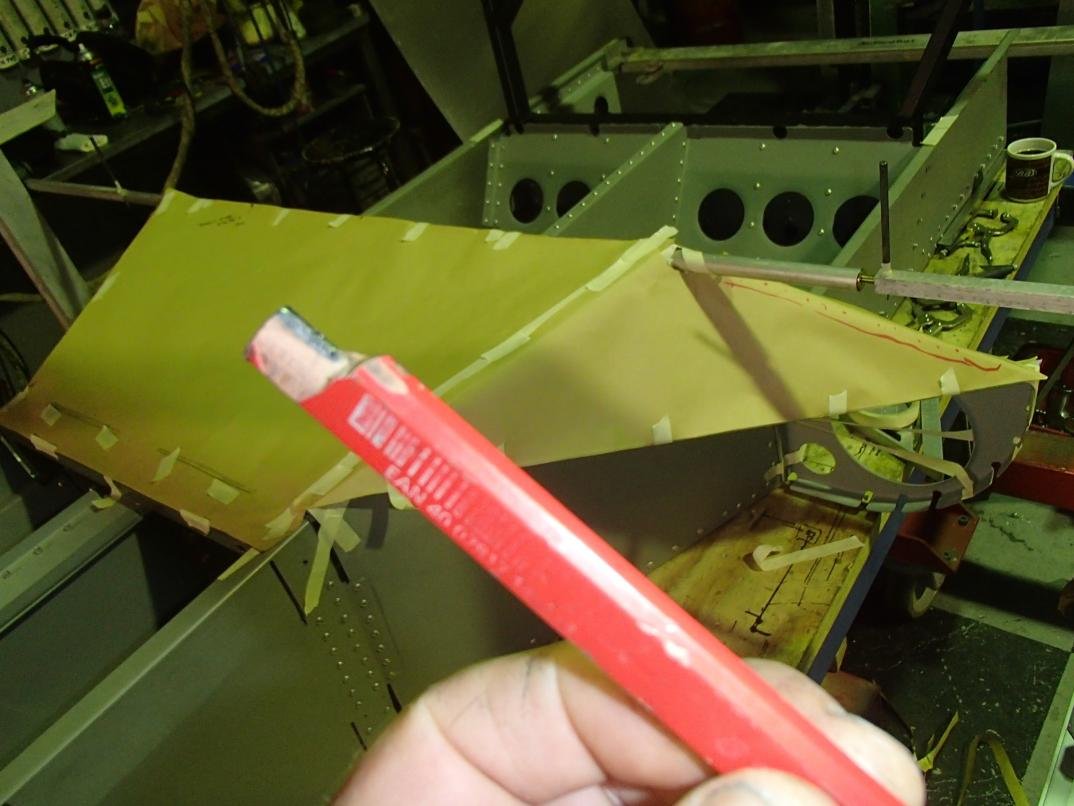
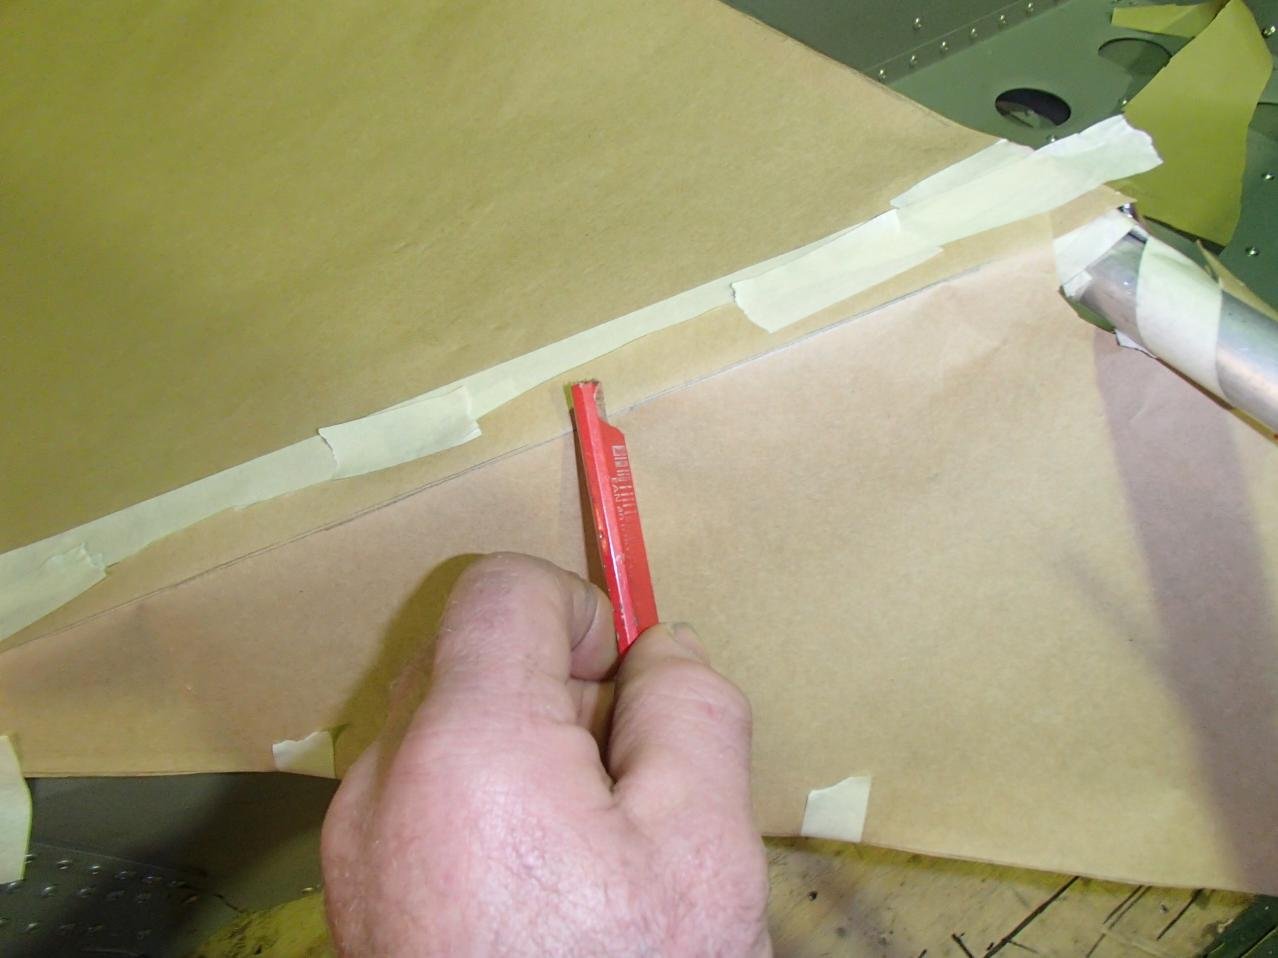
I used the tube set in the correct location to run some flat strips to get some patterns to start with.
Then made the parts off the patterns.
4 more panels to go then detail work and paint.
Thats all for know
Jim
Fantastic work Jim!
thanks Ross
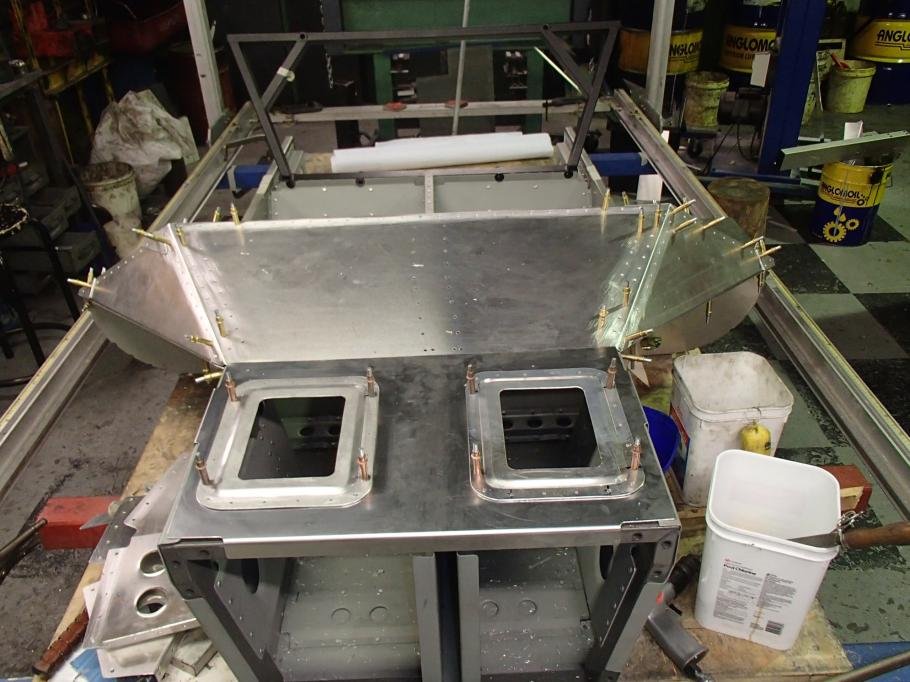
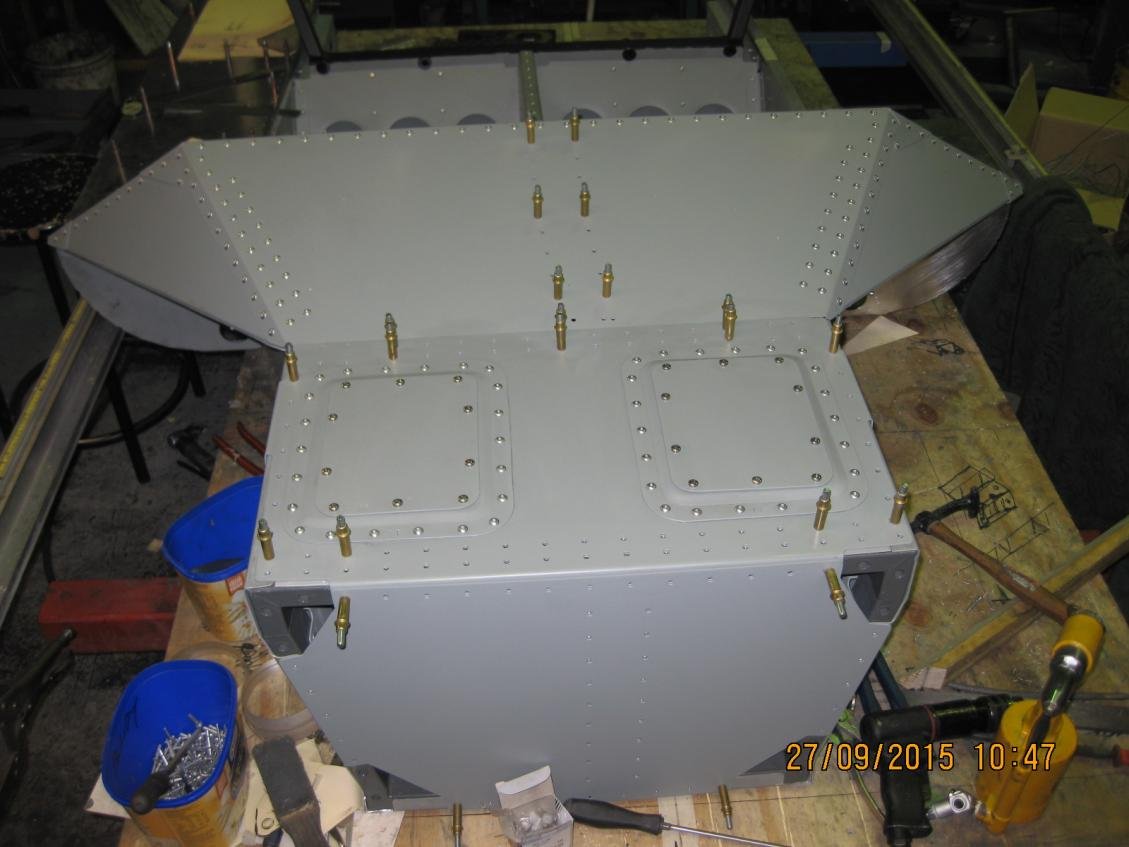
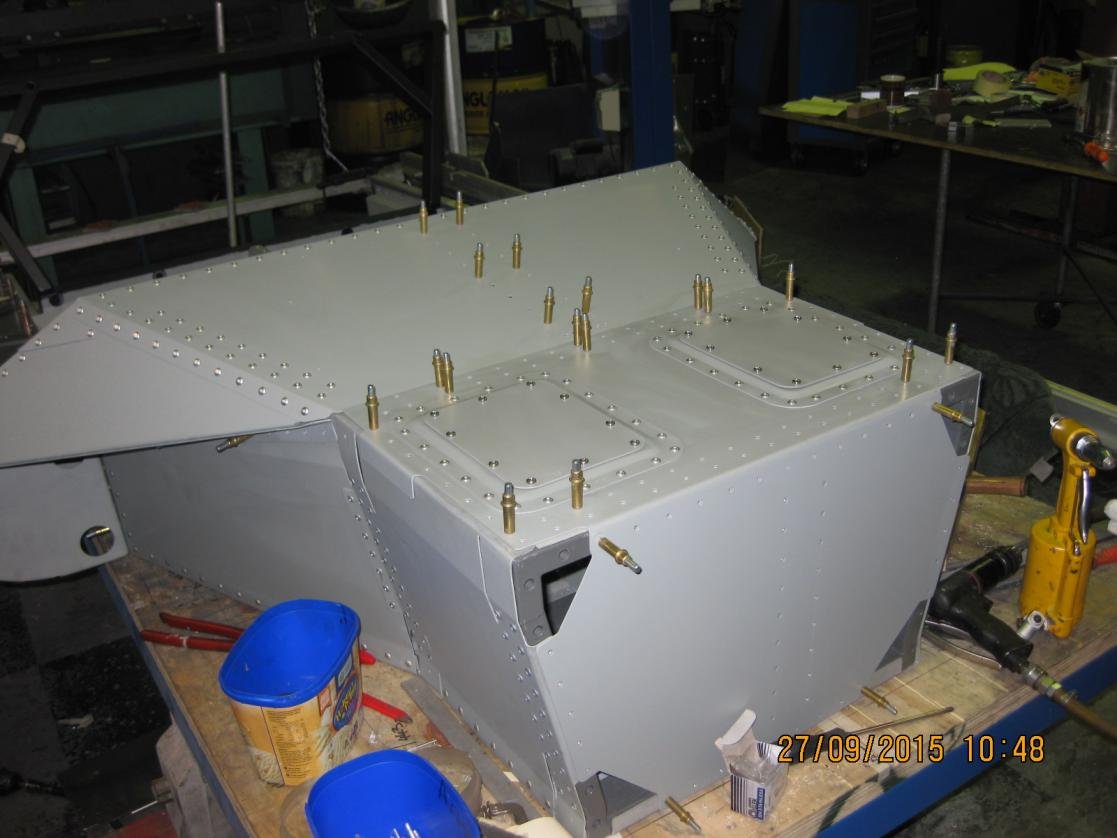
A bit more progress.
Tail end of the sheet work.
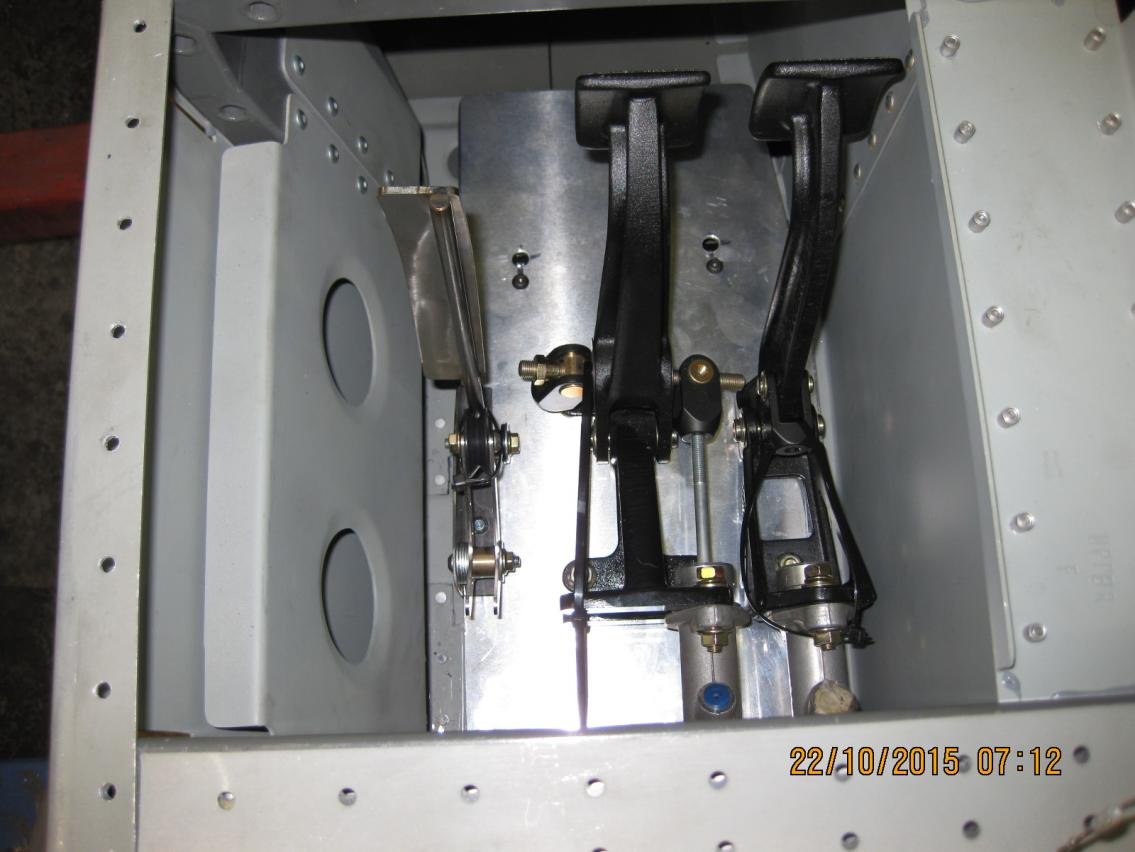
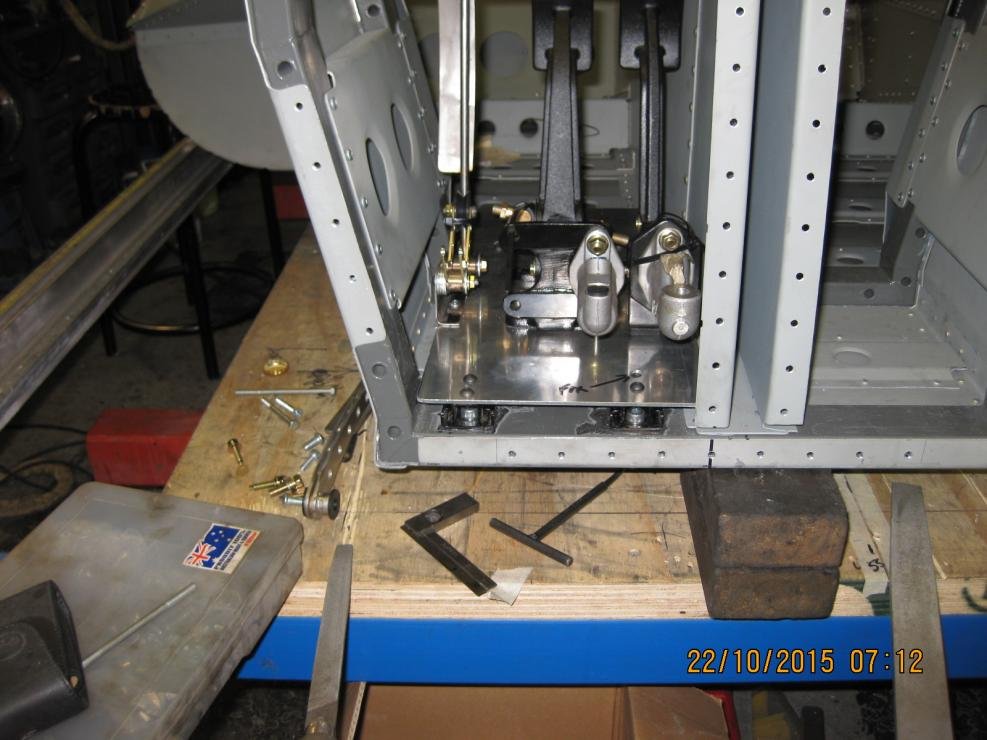
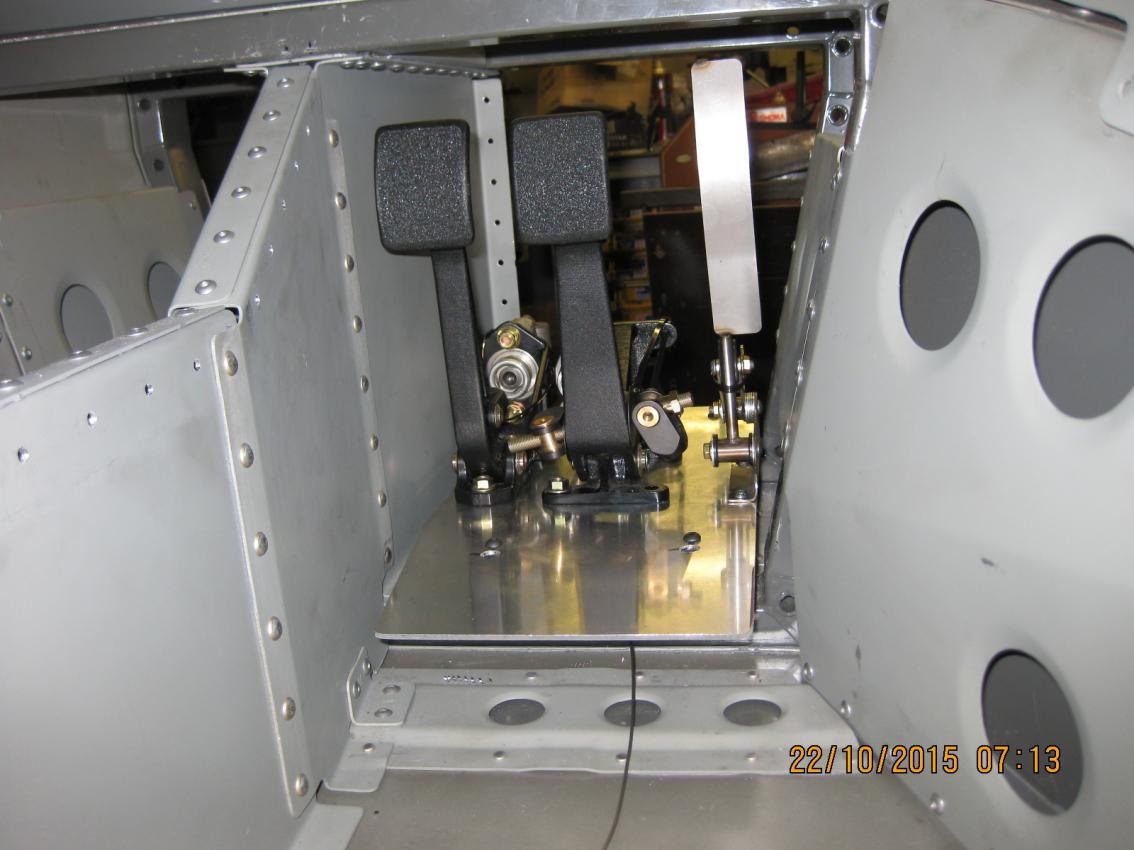
Made the pedal set up before attaching the top to the chassis.
Repainted to cover the rivets.
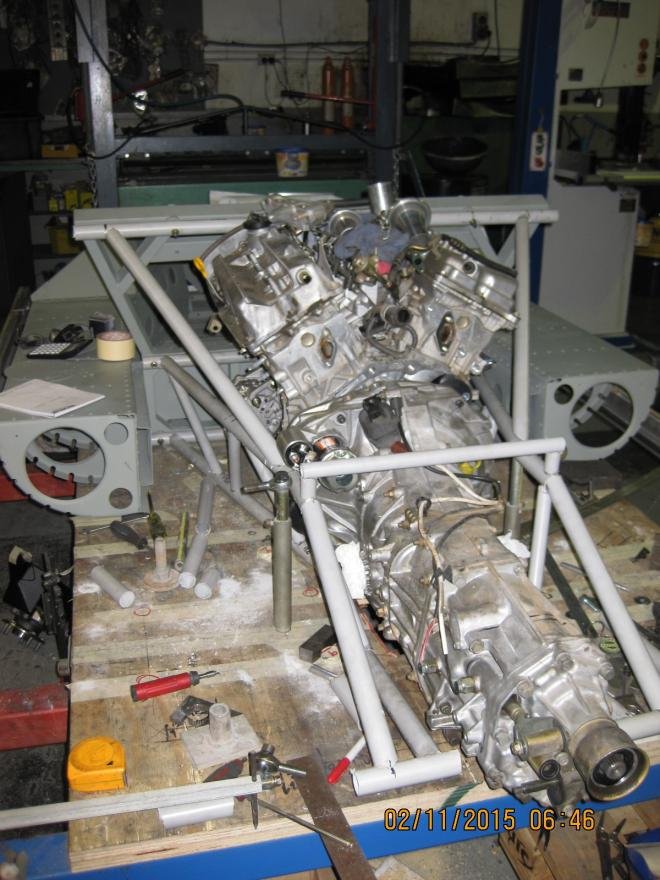
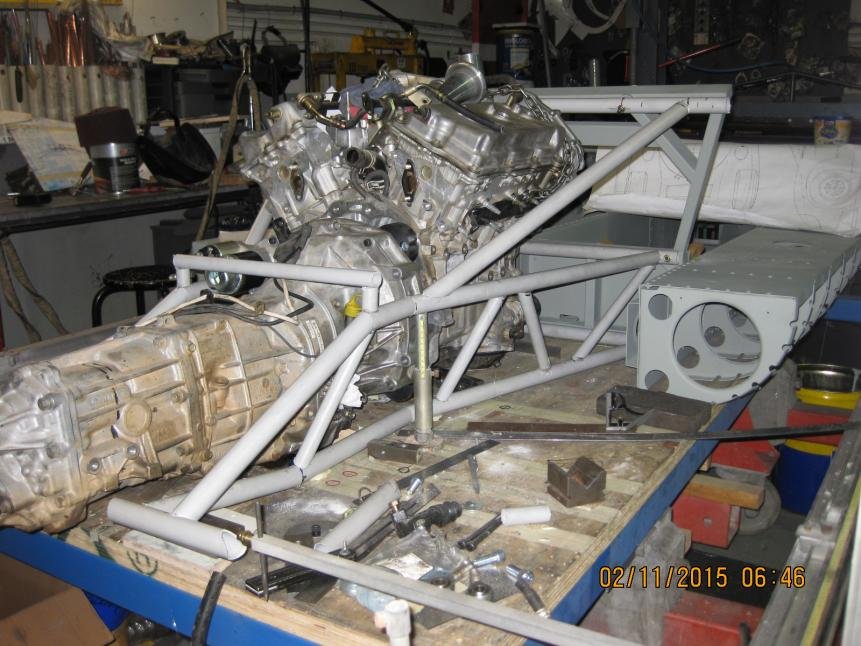
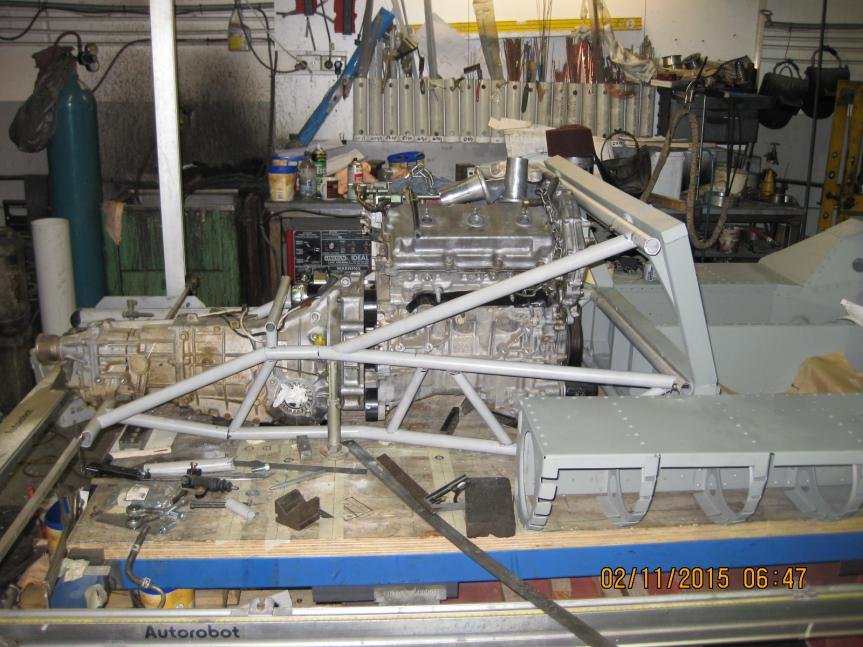
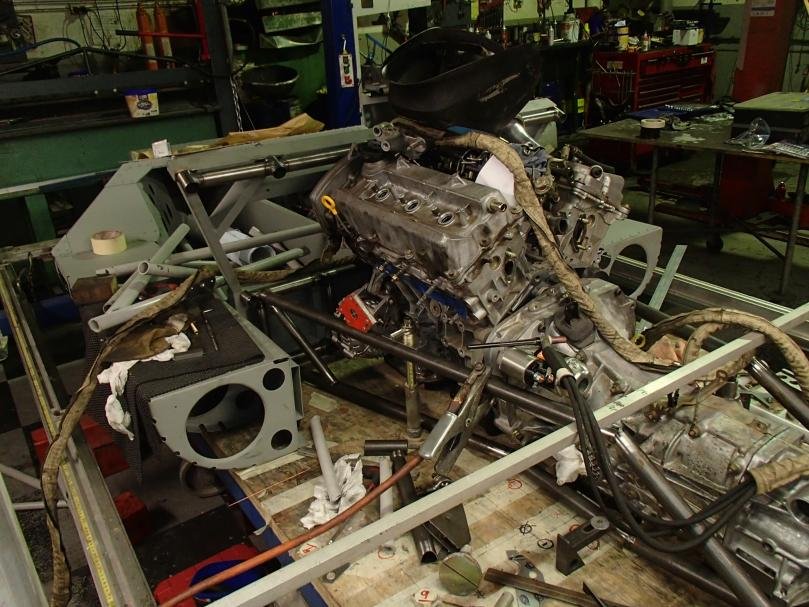
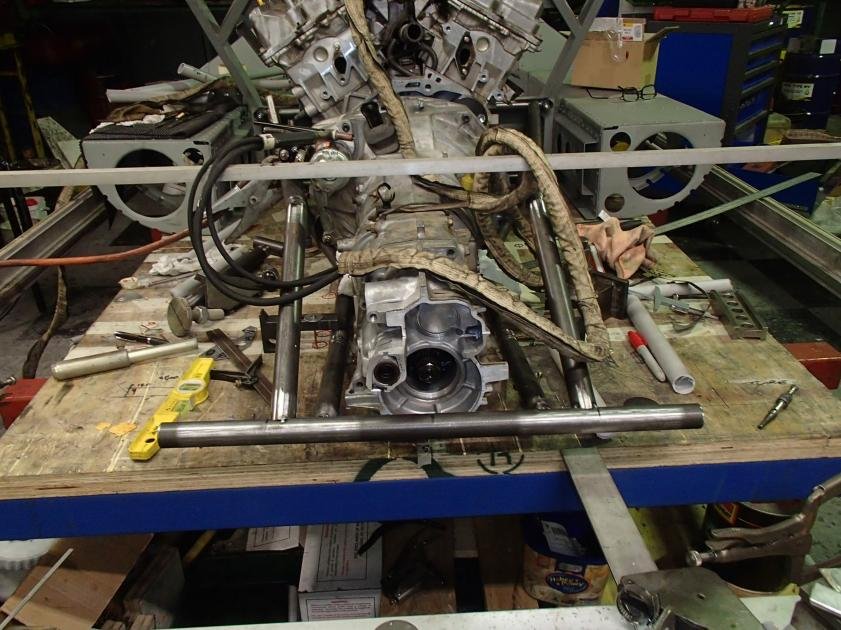
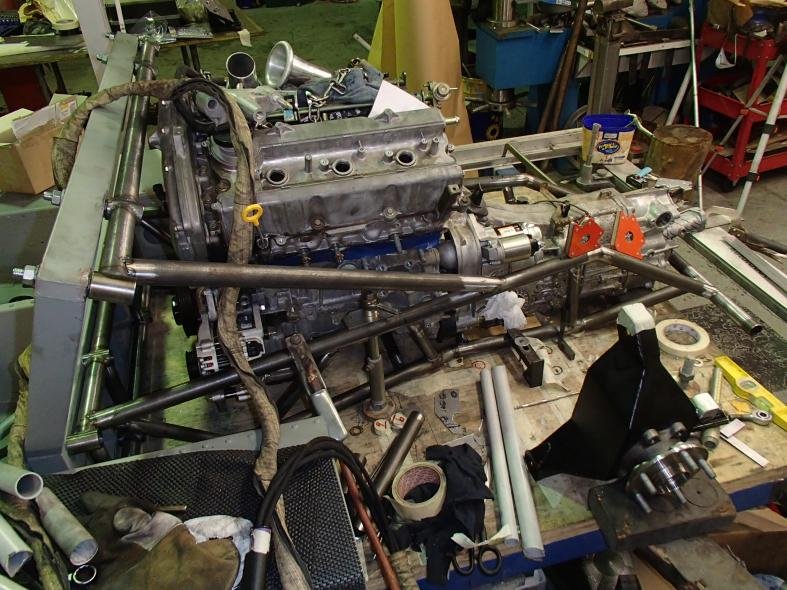
I am currently dummying up the rear space frame out of condute and a hot glue gun to get things worked out.
Thats it for the moment.
Jim
Engineering art.
Thanks Paul, a lot of my art has gone in the bin over the years, thats the learn.
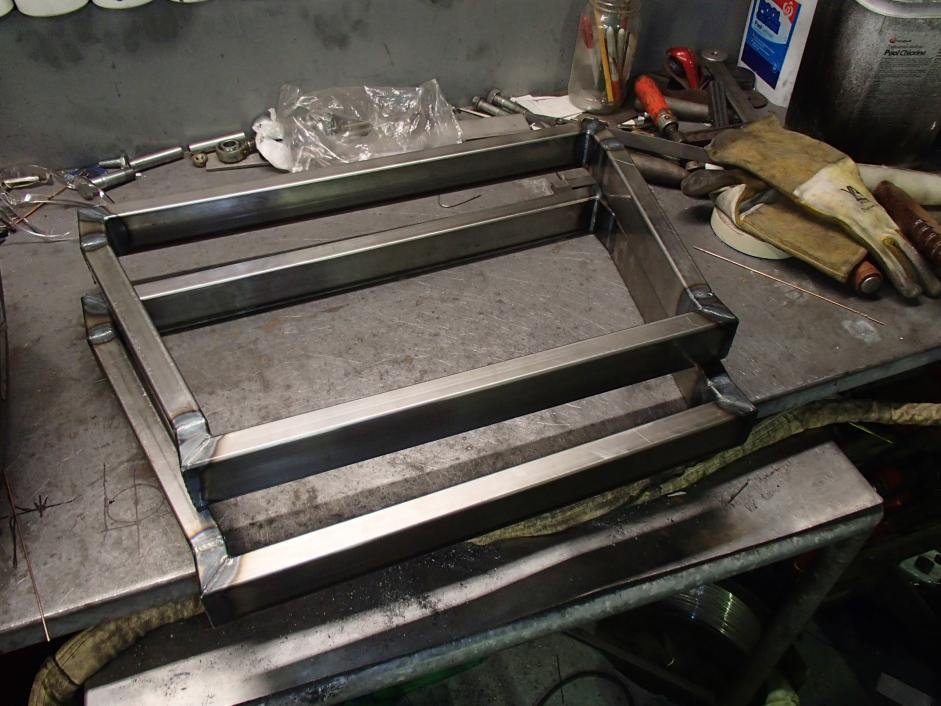
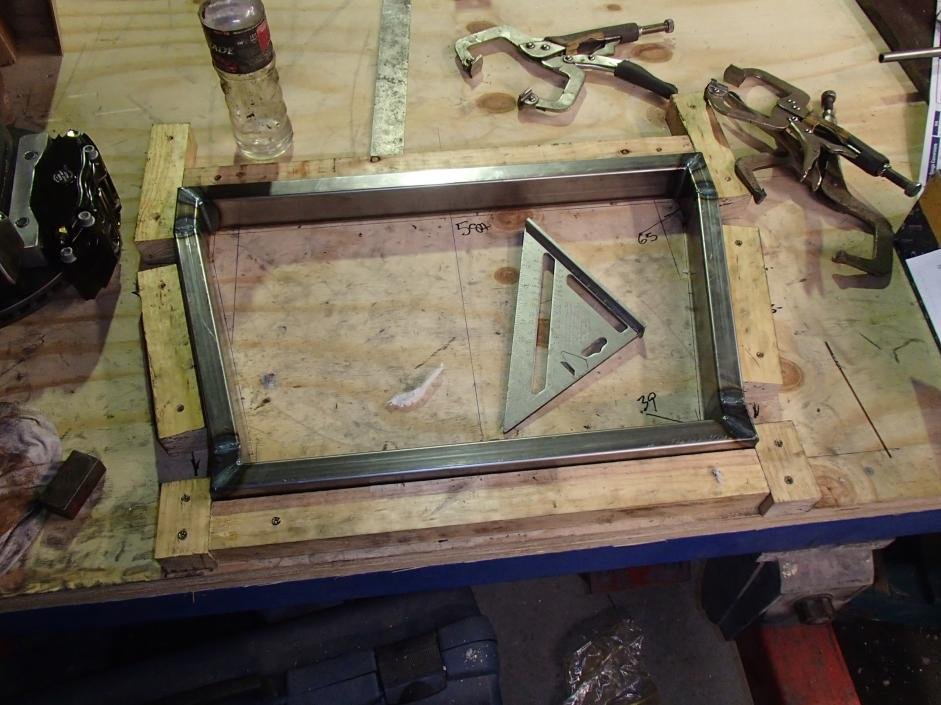
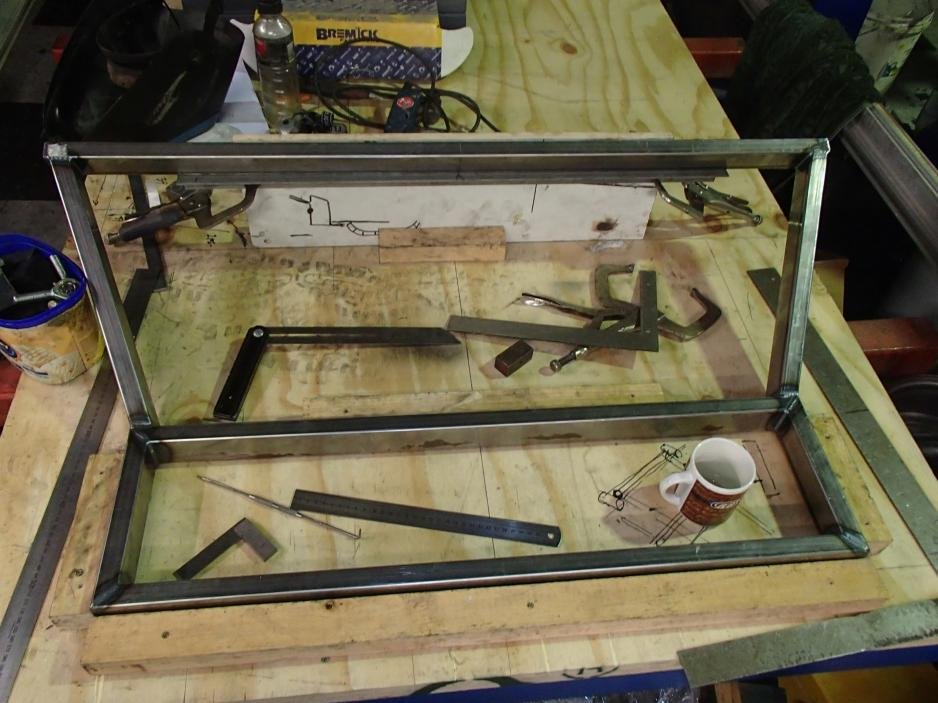
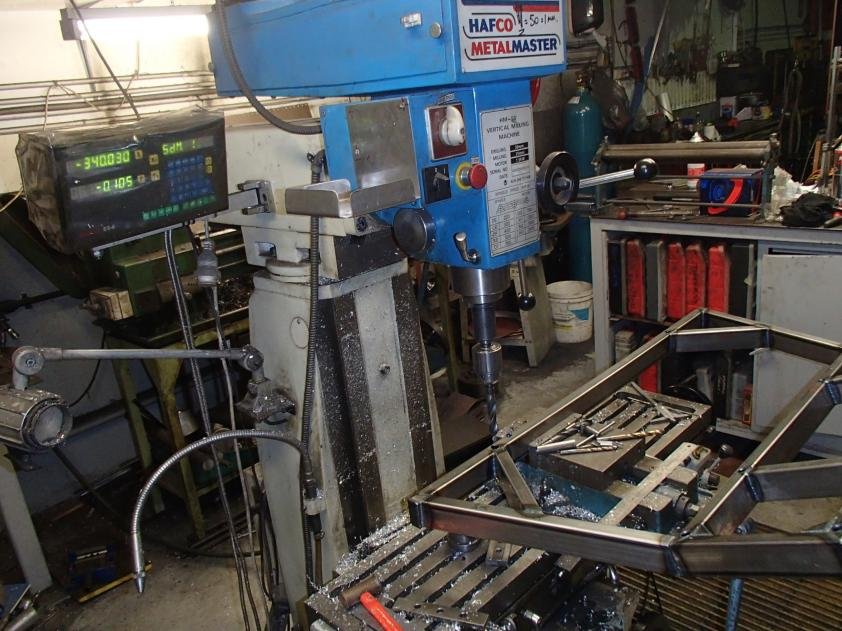
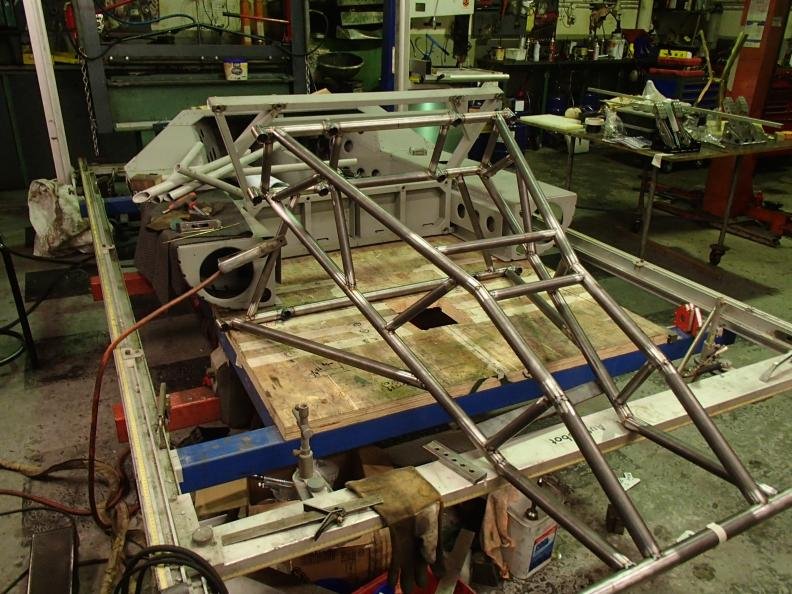
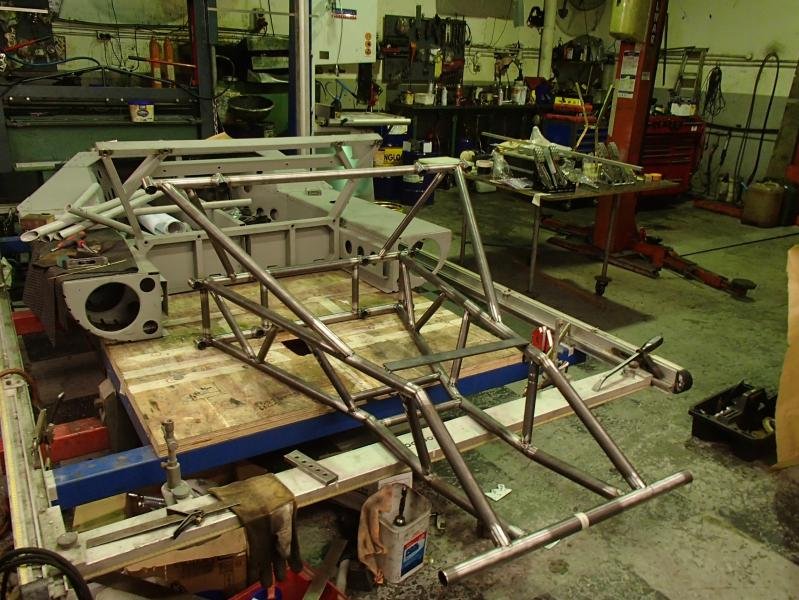
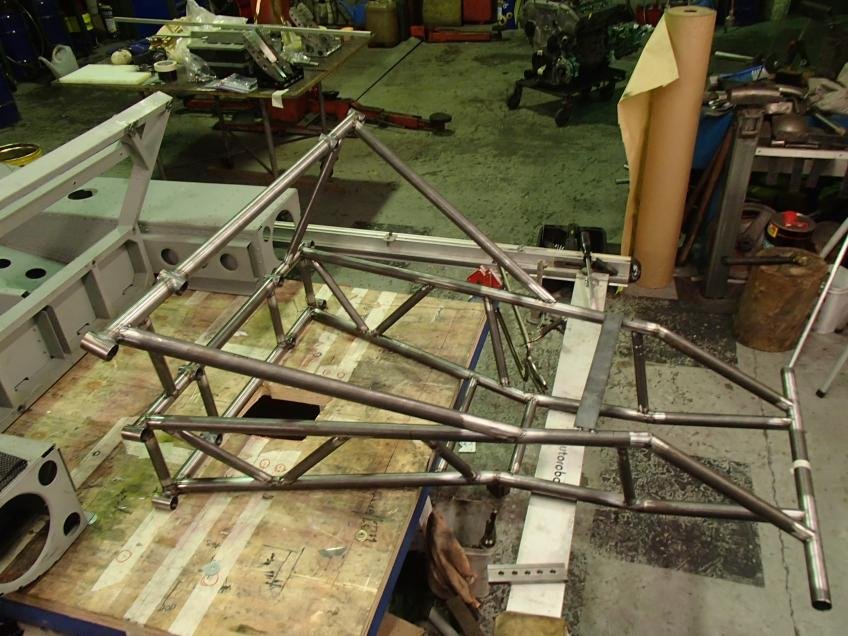
Frame made to the weld up stage.
I will tig it next then make suspension brackets and engine mounts.
Jim
Hi Jim, I am too impressed to say anything.....
+1 Awesome work!!!